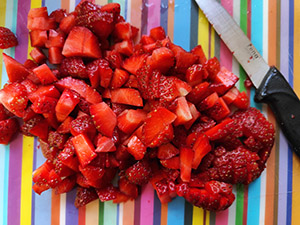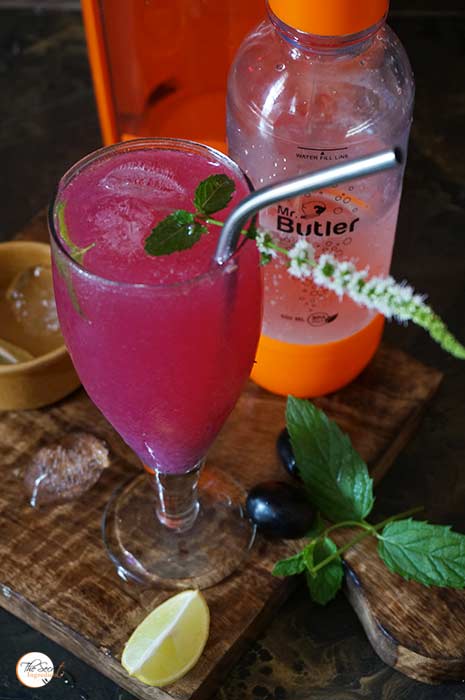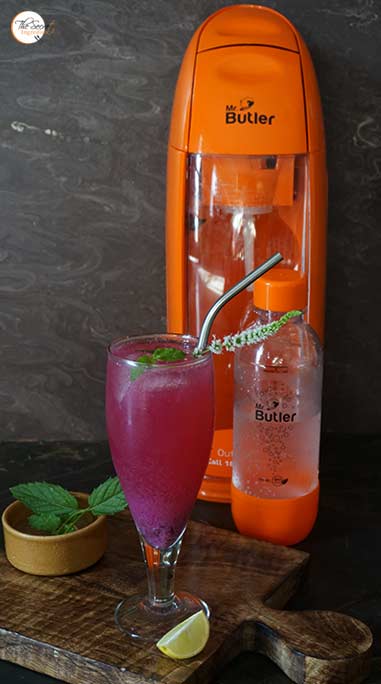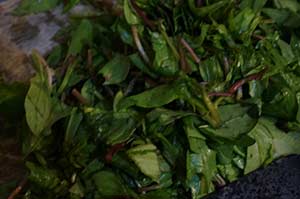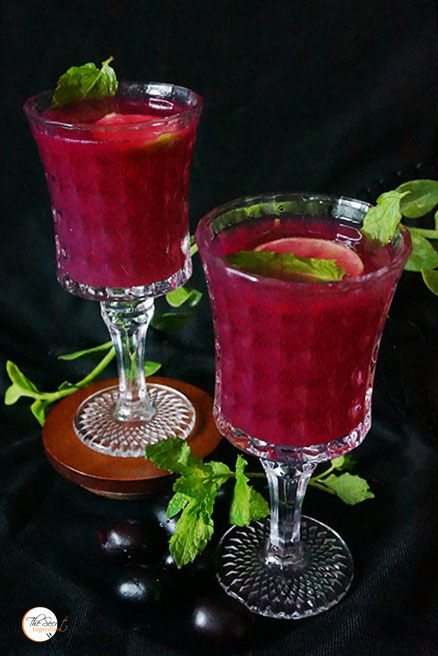
Kala Khatta Sherbet is made from Java Plums or Jamun as well call in hindi. These stone centered berries are available for a brief period during summers going up to monsoons. They have an incredible taste and the colour is simply intoxicating. I miss them immensely as they are not available in our little hillock. Last week I was driving from my Mother’s place in the plains to my abode in the hills. I saw a vendor whose cart was full of these delicious berries. I asked him to pull over and bought a few kilos greedily.
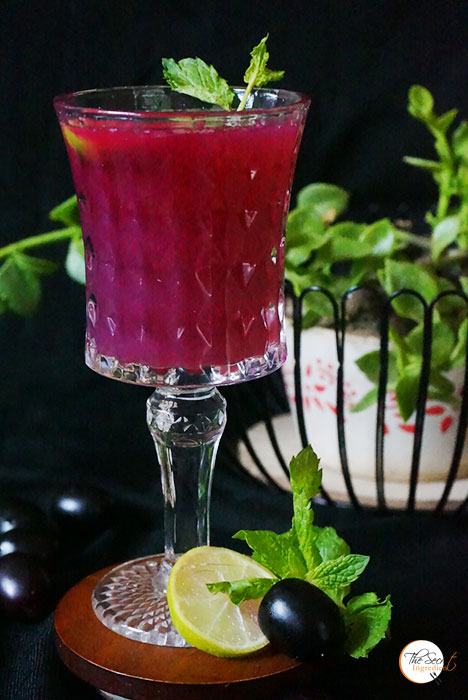
Now the challenge was to put them to use and not just hogging. Last I had made Java Plum Ginger Lemonade with them, which was quiet refreshing. But this time I wanted to make Kala khatta sherbet which is a spicy sweet tangy drink with jamuns. After this was ready I was blown away. It was a flavour bomb. I not just had it virgin but also spiked it with vodka. The results were hick! amazing. I cant stop but share this recipe with you so that you can enjoy this incessant rainy humid weather.
Directions:
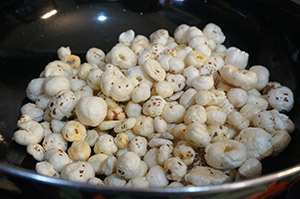
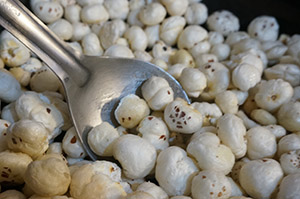
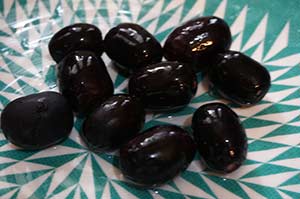
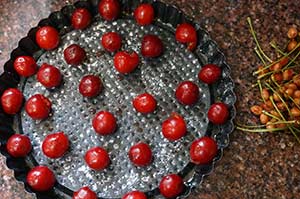
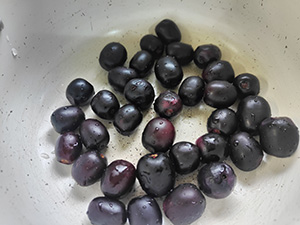
1.Take some ripe jamuns and wash them under running water.
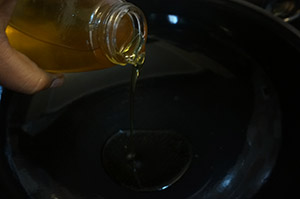
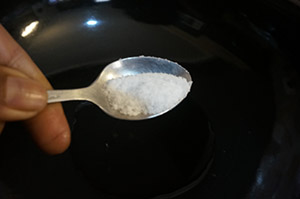
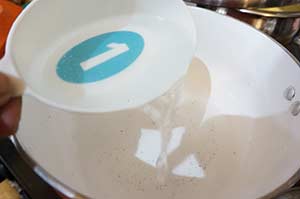
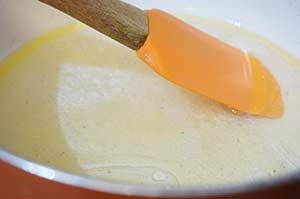
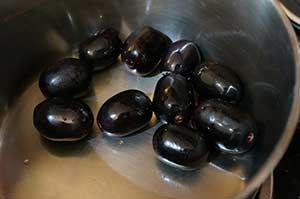
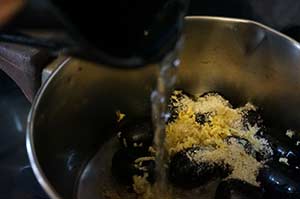
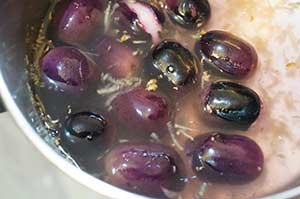
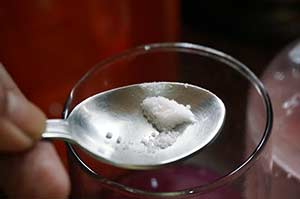
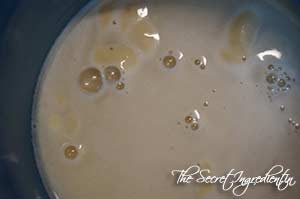
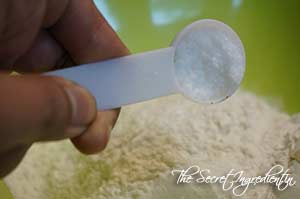
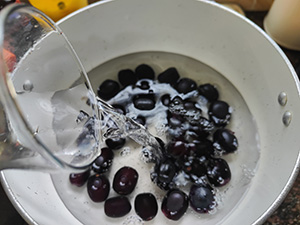
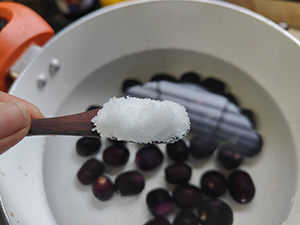
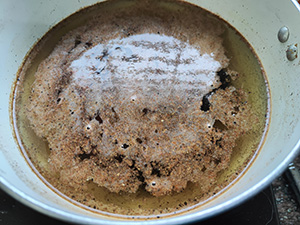
2. Take water in a vessel and add washed jamuns. Also add rock salt and common salt. Turn the flame on.
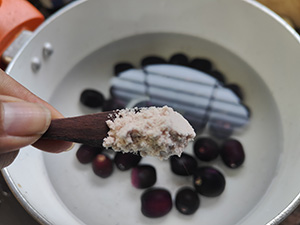
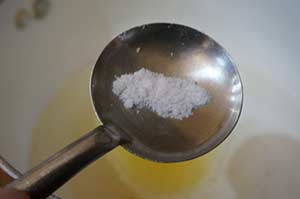
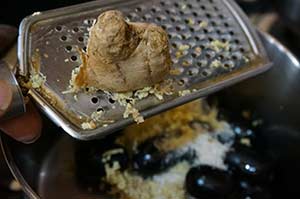
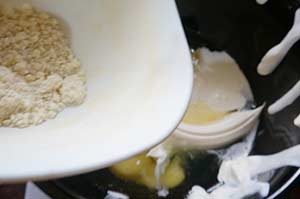
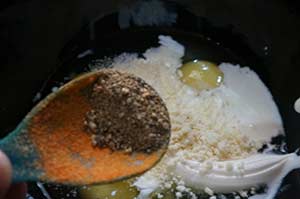
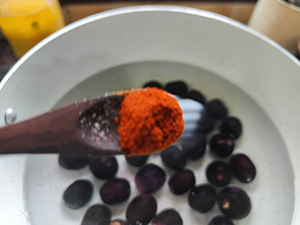
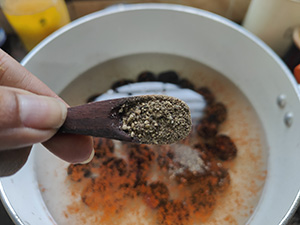
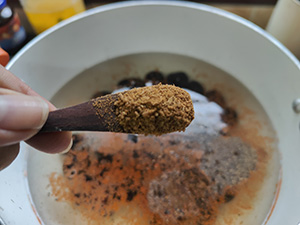
3. Now add red chili powder, black pepper powder and roasted cumin powder .
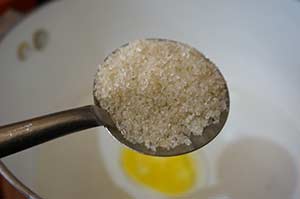
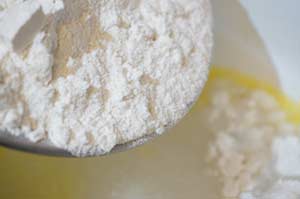
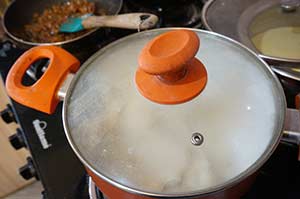
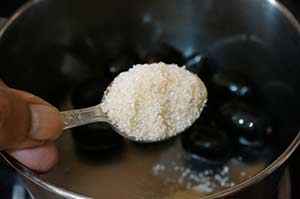
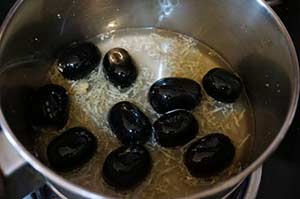
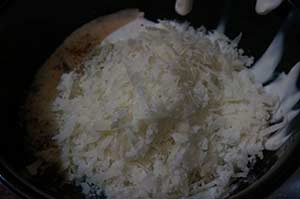
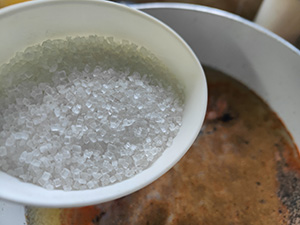
4. Add Sugar and let the jamuns simmer for 10-12 minutes till you find them mush.
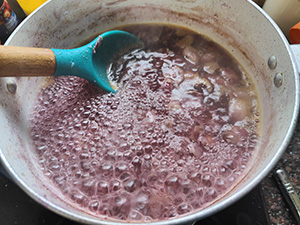
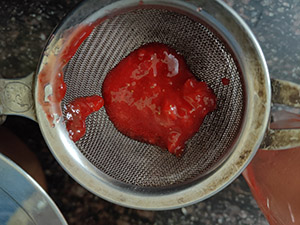
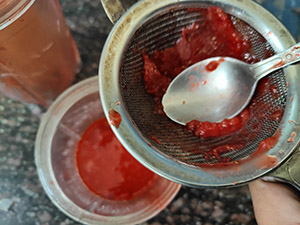
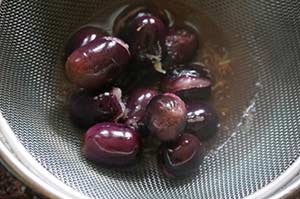
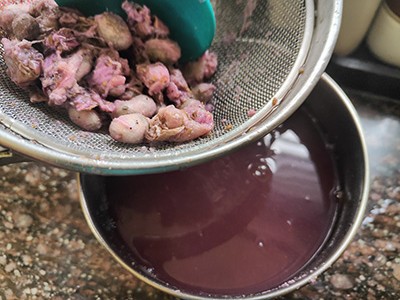
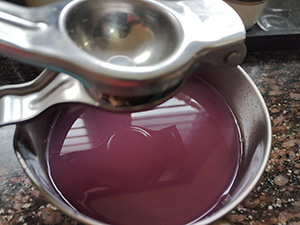
5.Turn the flame off and pass the liquid through a colander. Reserve the liquid.
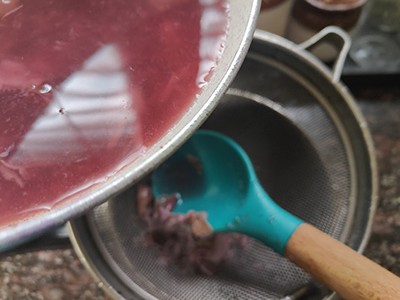
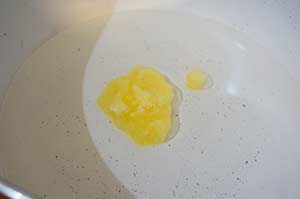
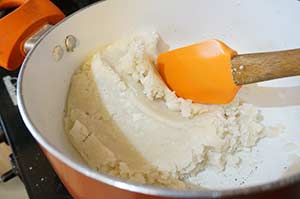
6. Mash the pulp of the jamuns and try to squeeze out maximum juice. Do not try to bruise the seed otherwise the drink will become bitter.
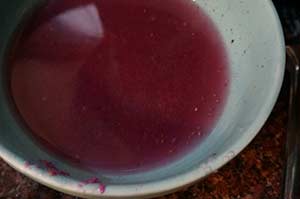
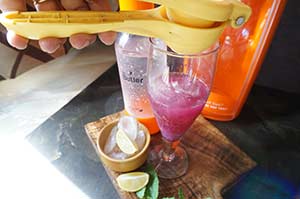
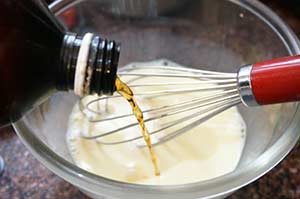
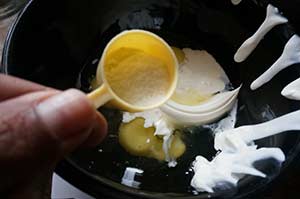
7. Now let the liquid come to room temperature. Add juice of a lemon.
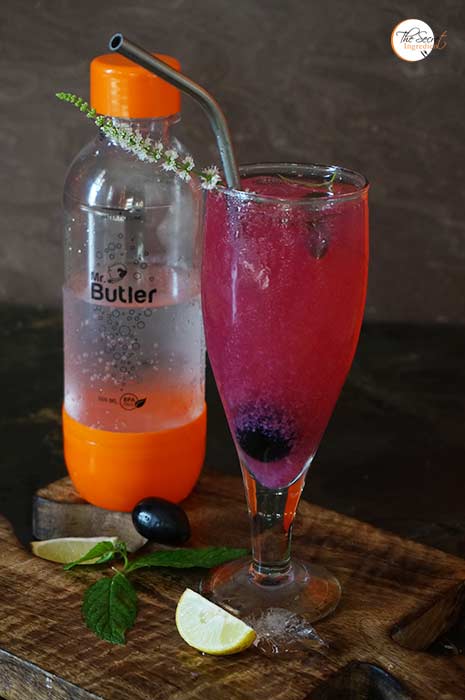
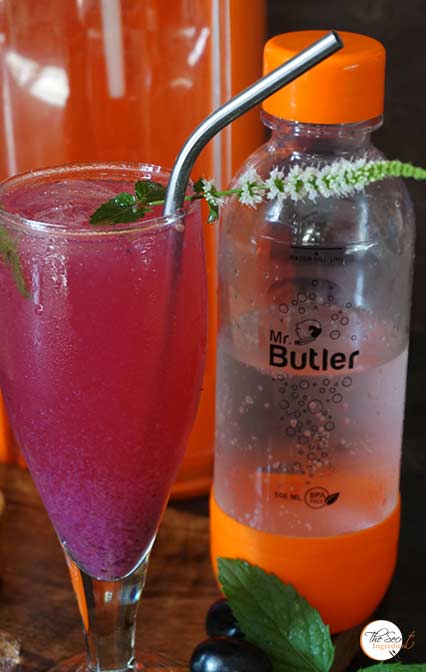
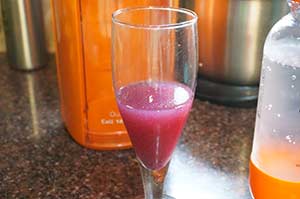
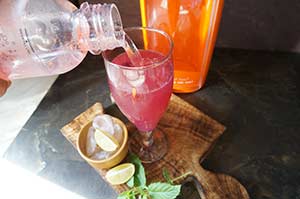
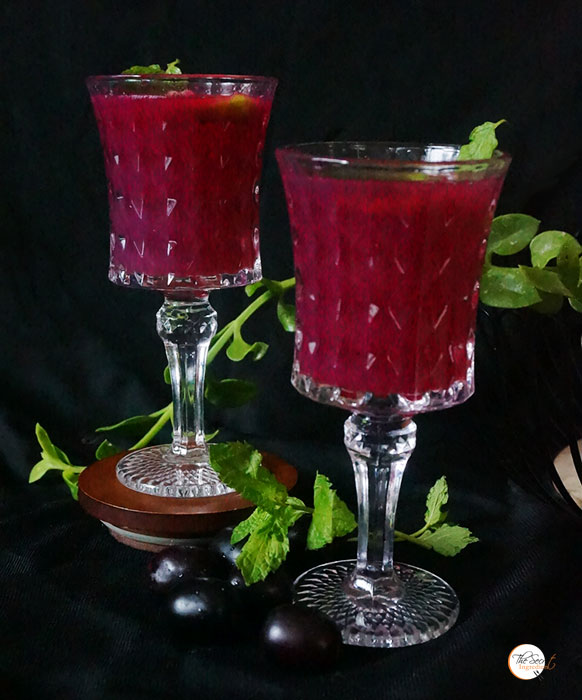
8. Add ice to the serving glasses and pour the reserved liquid. Enjoy with a fresh slice of Lemon and some mint leaves as a garnish.
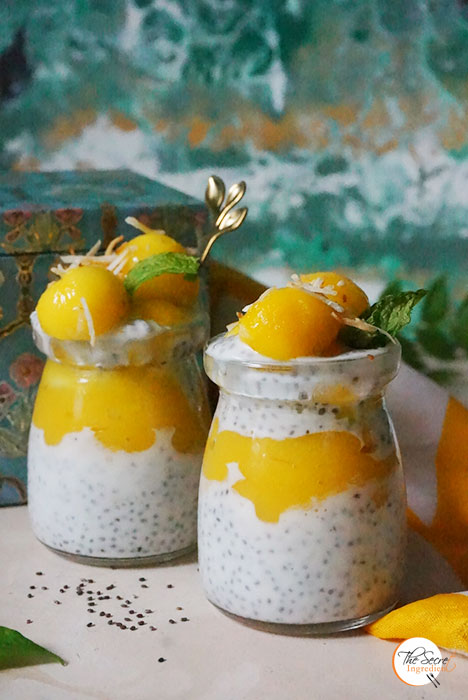
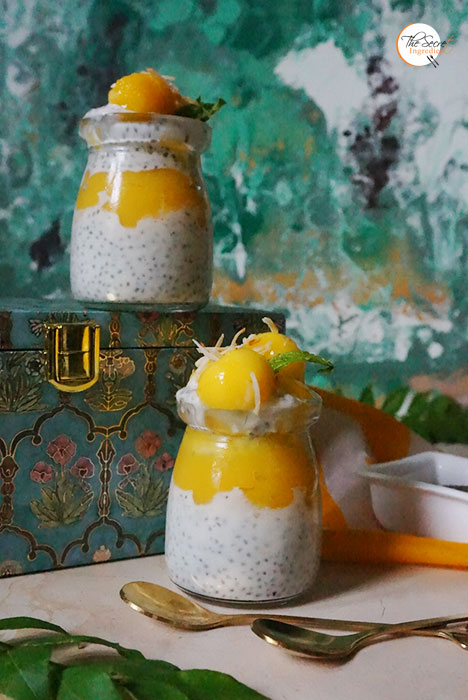
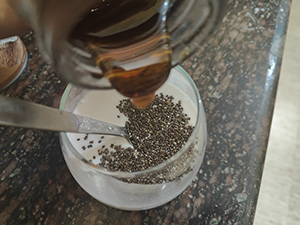
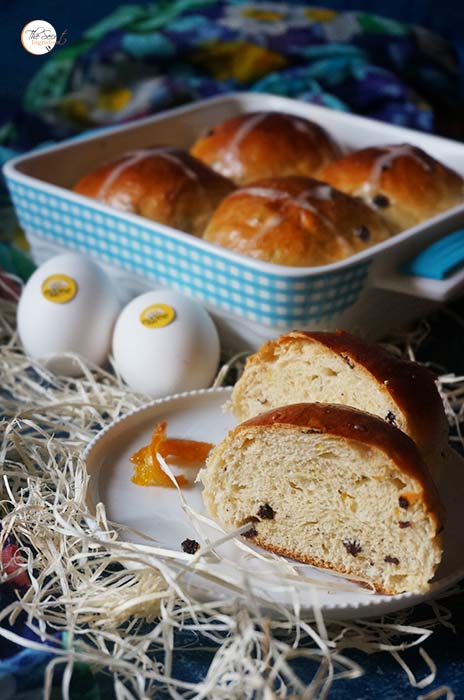
Other refreshing summer drinks you can try are: Plum Smoothie , Raw Mango Drink with Mint and Roasted Cumin ,Detox Green Smoothie , Ginger Papaya Mint Smoothie, Java Plum Lemonade, Kafal Ka Sharbat, Litchi Lemonade , Mango Chamomile-Mint Tea Lemonade , Musk Melon & Cucumber Smoothie with Mint , Peach Lemonade, Spiced Mango Lassi , Fresh Orange and Blueberries Smoothie .
- 500 gms Jamuns or java plums
- 2 Litres Water
- 1/2 Cup Sugar
- Salt to taste
- 1/4 tsp Black pepper powder
- 1/4 tsp Red Chili Powder
- 1/2 tsp Black rock salt
- 1 and 1/2 tbsp Roasted cumin crushed
- 1/4 cup Lemon juice
- Ice Cubes – few (optional)
- Mint leaves – handful
- Take some ripe jamuns and wash them under running water.
- Take water in a vessel and add washed jamuns. Also add rock salt and common salt. Turn the flame on.
- Now add red chili powder, black pepper powder and roasted cumin powder .
- Add Sugar and let the jamuns simmer for 10-12 minutes till you find them mush.
- Turn the flame off and pass the liquid through a colander. Reserve the liquid.
- Mash the pulp of the jamuns and try to squeeze out maximum juice. Do not try to bruise the seed otherwise the drink will become bitter.
- Now let the liquid come to room temperature. Add juice of a lemon.
- Add ice to the serving glasses and pour the reserved liquid. Enjoy with a fresh slice of Lemon and some mint leaves as a garnish.