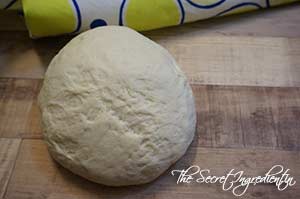
Ladies and Gentleman I am back and I am back with a lot to share. This Corona lock down has made me write all over again on my blog. The reason for disappearance was pure laziness (proud to be a lazy bum :P). Although I had been baking and cooking and posting on my Instagram handle. I hope you are following my feed. I bring you today my go to recipe of No Bake Foxnut and Puffed amaranth granola bars. The reason I chose this recipe is because we all are home these days. The situation is bad and scary out there. But at the end of the day precaution can save us which means staying home without cribbing,finding reasons to cook together, enjoy with your loved ones. Rather than sulking we can transform this worry into hope. Just keep your mind and body occupied constructively.
These granola bars are so easy to make. You can engage your kids to make this like a DIY project and you can supervise. It requires no baking and no major cooking. It has goodness of foxnuts or makhana , amaranth and almonds and taste nutty and chocolaty. Requires handful of ingredients and little of your time. I wont yap more and will jump directly to the recipe. Do write to me how are you dealing with lockdown and this scare. Sometime venting helps. It may not solve your problem but lightens your burden. If you wish to check out more energy bar recipes you can try Oats & Almond Energy Bars and No Bake Amaranth Granola Bars.
Directions:
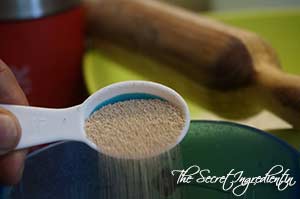
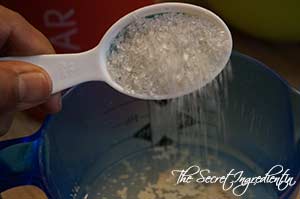
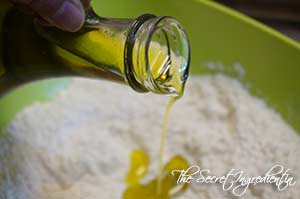
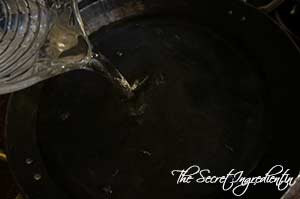
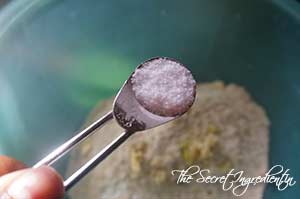
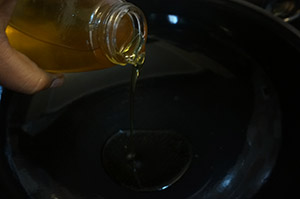
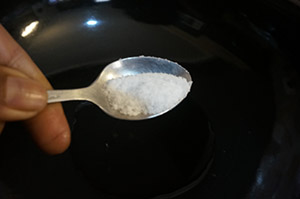
1. In a wok add some oil and salt
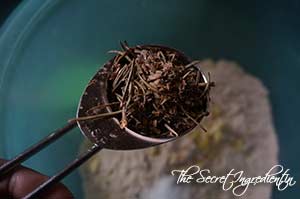
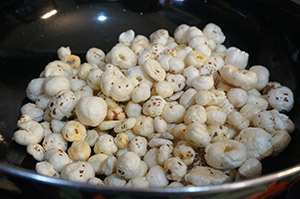
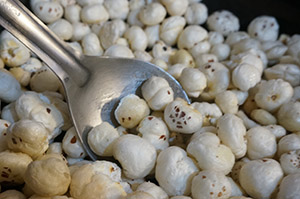
2. Add foxnuts. Roast them on a medium heat till they become crunchy and acquire some colour. This should take less than five minutes. Keep tossing the nuts constantly. You don’t want them to burn down. Remove on a plate and set aside.
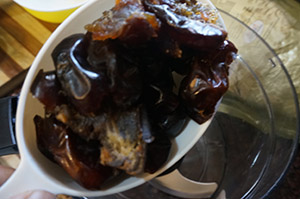
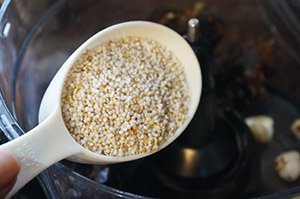
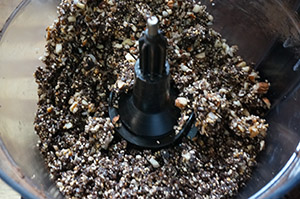
3. In a food processor add seedless dates, roasted foxnuts and puffed amaranth.

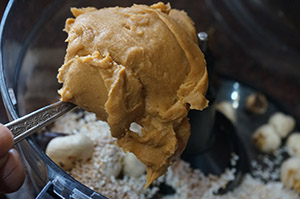
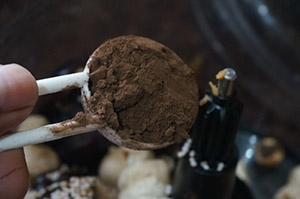
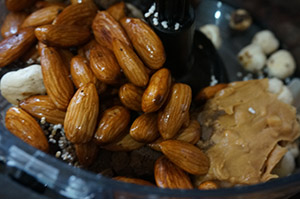
4. Also add peanut butter, cocoa powder and almonds.
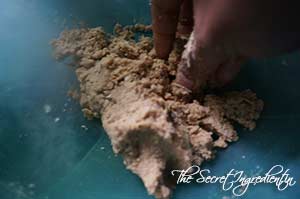
5. Blitz everything till you get a sand like mixture.
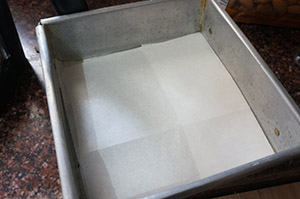
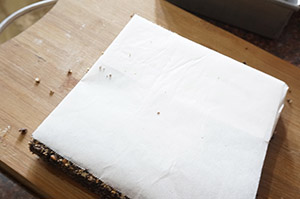
6. Line a baking pan with 90 degree angles with parchment paper, so that nothing sticks. I have used 8 x 5.5 inch pan.
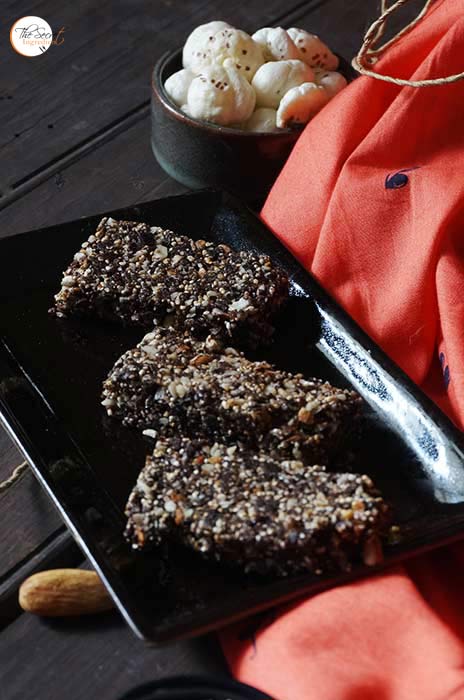
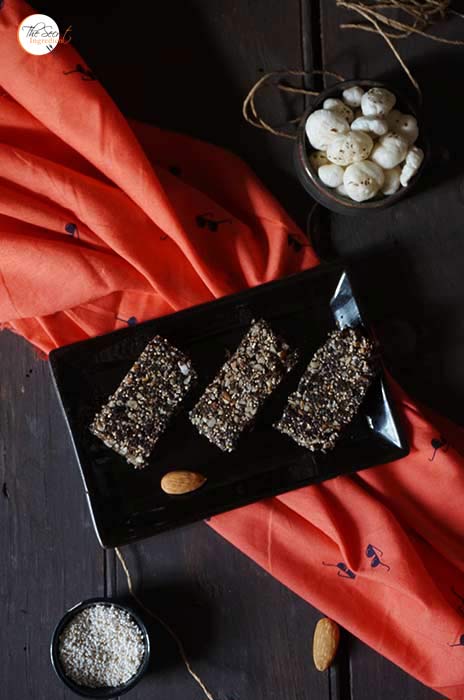
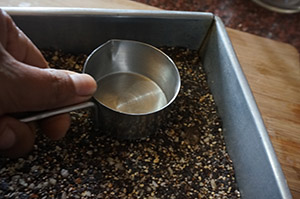
7. Dump the mixture into the baking pan and try to spread evenly and press with the help of a flat bowl so that everything gets settled and sticks together, If you do not use force you may come up with a crumbly bar.
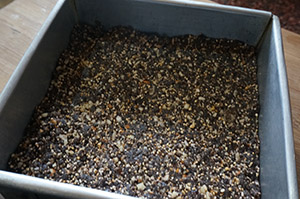
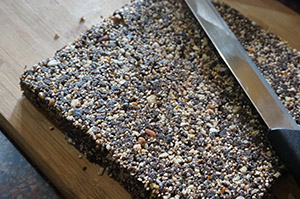
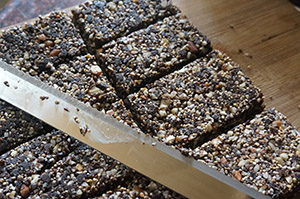
8. Refrigerate for at least an hour to set properly. Flip it upside down on a chopping board and cut into desired bars with a sharp knife.
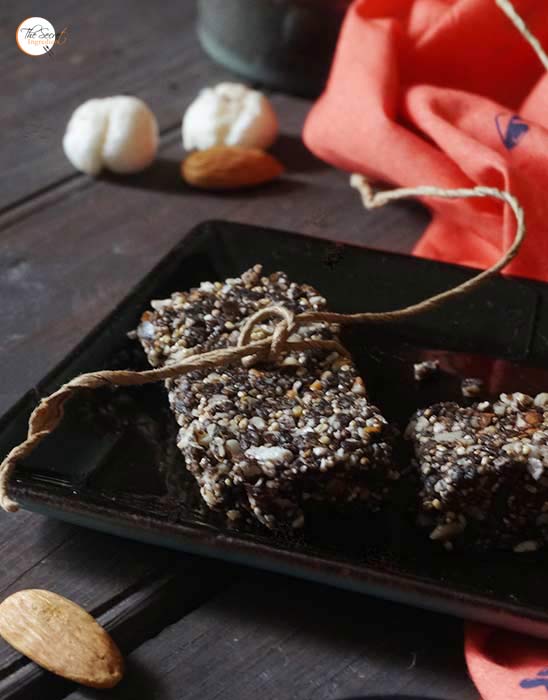
9. You can cover them individually in food wrapping paper and refrigerate. It has a good shelf life. Lasts upto two weeks or so.
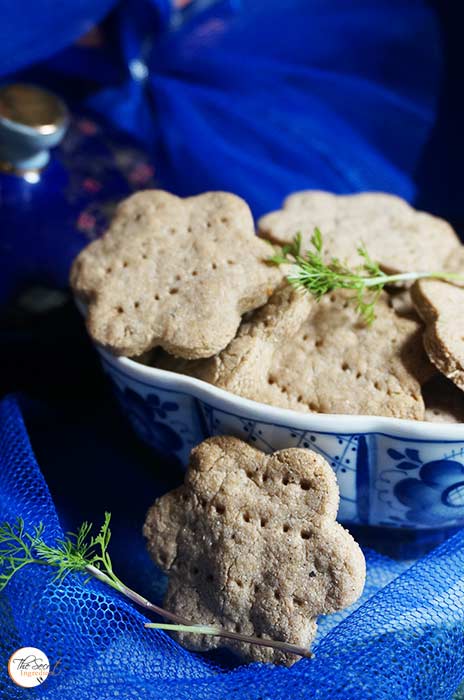
Other gluten Free recipes you can try are: Foxnut Milk pudding, Persimmon Buckwheat Gluten Free Cake, Vintage Honey Figs and Date Cake Squares Recipe with Gluten Free Flour,Amaranth Herbed Crackers,Gluten Free Chocolate Ragi Brownies,Besan & Corn Flakes Cookies,No Bake Amaranth Granola Bars, Apple Crisp
- 3 cup Pitted dates
- 1 cup roasted Almonds
- 3/4 cup fox nuts
- 3/4 cup peanut butter
- 3 tbsp cocoa powder
- 3/4 cup puffed amaranth
- In a wok add some oil and salt.
- Add foxnuts. Roast them on a medium heat till they become crunchy and acquire some colour.This should take less than five minutes. Keep tossing the nuts constantly. You don’t want them to burn down. Remove on a plate and set aside.
- In a food processor add seedless dates, roasted foxnuts and puffed amaranth.
- Also add peanut butter, cocoa powder and almonds.
- Blitz everything till you get a sand like mixture.
- Line a baking pan with 90 degree angles with parchment paper, so that nothing sticks. I have used 8 x 5.5 inch pan.
- Dump the mixture into the baking pan and try to spread evenly and press with the help of a flat bowl so that everything gets settled and sticks together, If you do not use force you may come up with a crumbly bar.
- Refrigerate for at least an hour to set properly. Flip it upside down on a chopping board and cut into desired bars with a sharp knife.
- You can cover them individually in food wrapping paper and refrigerate. It has a good shelf life. Lasts upto two weeks or so.