
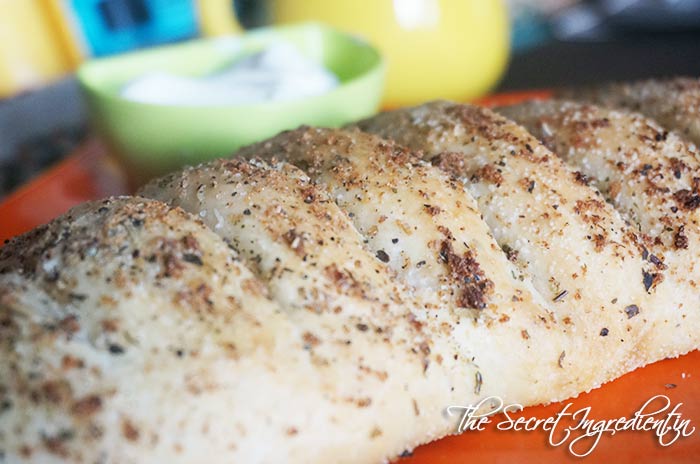
I have moved to a small city, Almora in Uttrakhand which has green lush mountains, pine trees, beautiful weather and a sunset to die for but it doesn’t have any food chains which means we are constantly craving for fast foods. I specially miss eating Domino’s Garlic Breadsticks, who doesn’t know about them!! They are little bites of soft, buttery, garlicky bread sticks generously loaded with Oregano Seasoning. One fine day I stumbled into a recipe on the internet of BharatzKitchen who claimed that his recipe makes exactly Domino’s style Garlic Breadsticks. I was not sure but then thought why not give it a try. I baked them and we were like Ohhh Boy! they taste exactly the same. Thank you Bharat for this incredible recipe. 🙂
Directions:
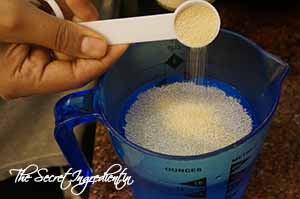
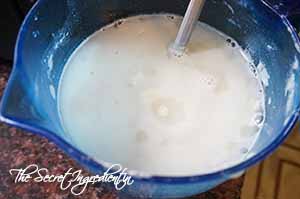
1. In a container take some lukewarm water. It should neither be hot nor cold, just hot enough to comfortably put your finger into it . The right temperature of the water is very important for yeast to activate. Put yeast into it.
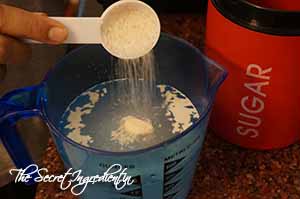
2. Along with yeast add some sugar and spoonful of All Purpose Flour.

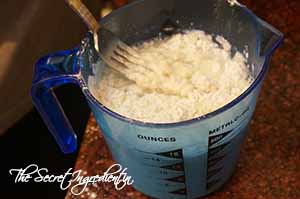
3. Give it a gentle stir with a fork and let the mixture sit and activate for 10 minutes or until you see some bubbles on top and mixture has become frothy and milky.
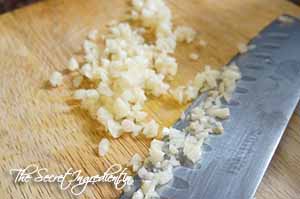
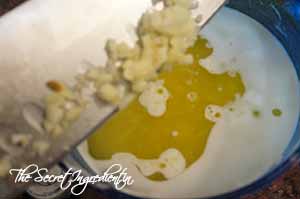
4. In the meanwhile yeast is getting activated chop some garlic and set aside.
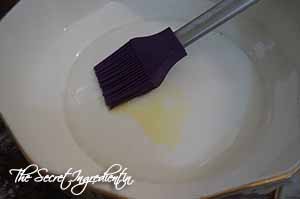
5. Add olive oil, melted butter, salt to the yeast mixture.
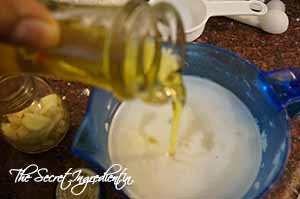
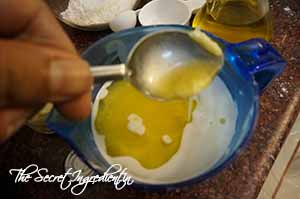

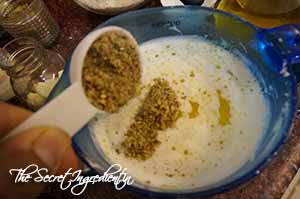
6. Also add chopped garlic and most importantly Oregano Seasoning (Learn to make it here).
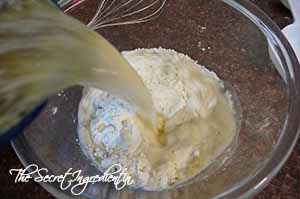
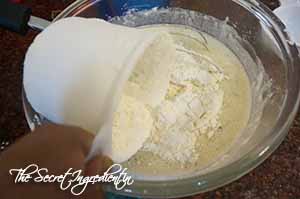
7. Now add the wet mixture to one third of the flour and mix well with a whisk.
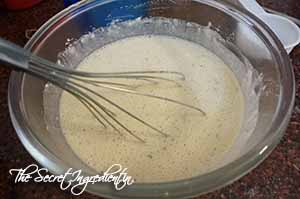
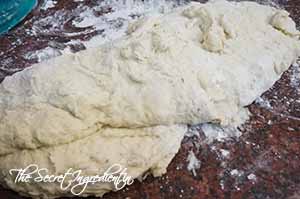
8. Add rest of the flour and mix well to combine into a smooth dough. You can do this on a flat counter top. It will be a sticky dough but do not worry.
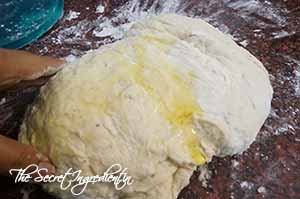
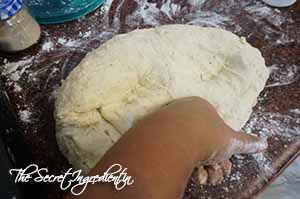
9. Pour some olive oil and knead again for 5-7 minutes so that gluten develops. Meaning that the dough becomes stretchy.

10. Oil a big size bowl and place the dough ball in it and oil it from top as well. Do not make the mistake I made, I used a relatively smaller bowl and my dough was everywhere 😛 Cover it with a plastic wrap and let it rest and rise in the fridge for a minimum 24 hours. Yes you heard me right for 24 hours and that too in the fridge. Even I was skeptical when I was asked to do so. I followed the orders and I was rewarded with a delicious garlic breadsticks. So just do as I say 😛
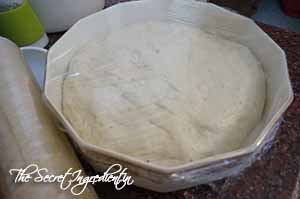
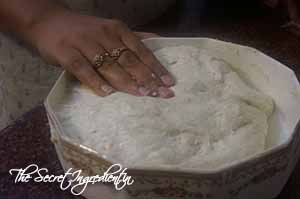
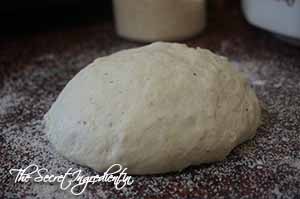
11. After 24 hours my dough rose pretty well against all my doubts. I sprinkled some flour on my counter, placed it on top and deflated it.
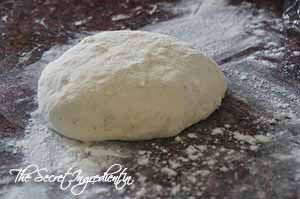
12. Divide the dough into more or less equal sized four balls. Each ball represents one loaf of garlic breadsticks in future. Cover them with a kitchen towel or plastic wrap for ten minutes before we start working on it.

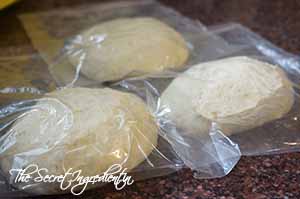
13. We are going to now work on one dough ball. You can freeze the other three dough balls to make bread sticks later. I placed them individually in three zip log bags, removed the extra air inside and put them in freezer. They can be removed from freezer half an hour to one hour before you wanna bake these babies.
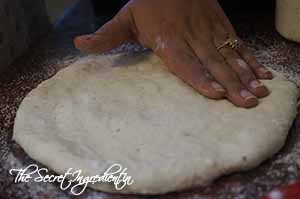
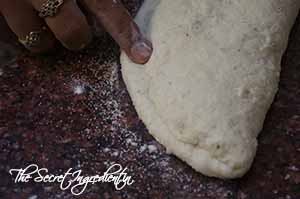
14. Sprinkle some corn meal also known as makki ka atta, on the counter and place the dough on top. If you cannot find corn meal in this season you can always substitute with semolina or sooji.
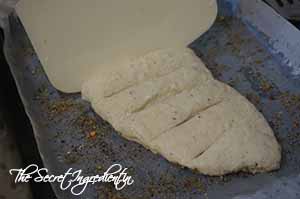
15. With the help of your fingers flatten the dough to form a a circular shape just like a roti or pizza crust. It shouldn’t be thin like a roti.
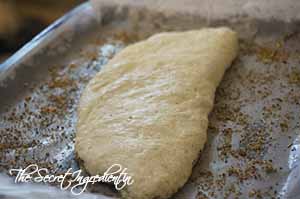
16. Now lift its one end to meet the other forming a semi circle.
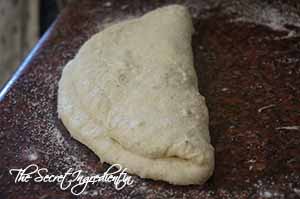
17. Seal the ends with your finger gently.
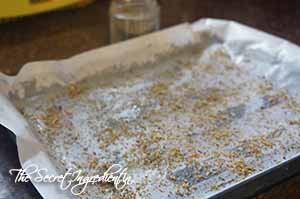
18. Line a baking sheet with parchment paper and brush it with melted butter. Sprinkle on top some oregano seasoning and place the rolled semi circular dough.
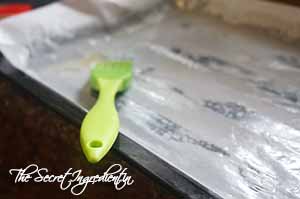
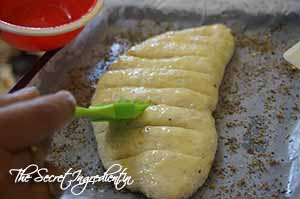
19. Cut the dough in to sticks using a pastry cutter or a sharp knife. The stick can be 1 to 1.25 inches thick.
20. Brush it generously with melted butter and sprinkle on top Oregano Seasoning .

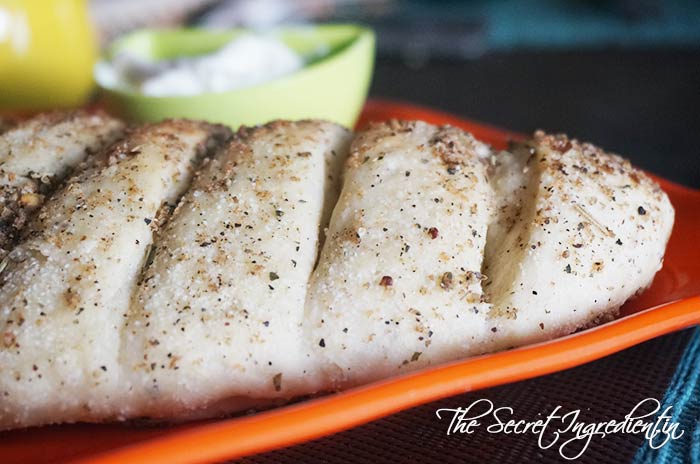
21. Put it in a preheated oven for 5 to 8 minutes on 180 Celsius (Learn more about Oven Temperatures and Conversions) and then for 5 minutes on 220 Celsius till the crust has become slightly golden brown. Serve hot with Creamy Cheese dip.
[whohit]DominosGarlicBreadstick[/whohit]
![[whohit]DominosGarlicBreadstick[/whohit]](http://www.thesecretingredient.in/wp-content/uploads/2014/07/SoojiHalwa_Featured1.jpg)
[yumprint-recipe id=’37’]
9 Comments
Hi..iam in the process of making you amazing garlic bread recipe. However i have a question.there is a significant difference in the final colour of the crust once ready between yours n where you have adapted from. Was wondering the reason.
Hi..iam in the process of making you amazing garlic bread recipe. However i have a question.there is a significant difference in the final colour of the crust once ready between yours n where you have adapted from. Was wondering the reason.
Hi Megha! Yes there is definately a colour difference because I have used semolina in the 13th step while Bharat has used Polenta or Makki ka Atta. I made this in summers when Makki ka Atta wasnt available. That changes the colour. I hope that answers your query 🙂
Hi.. my problem with this garlic bread was it remained uncooked from the inside despite cooking it longer than you suggested.
Will be great to get the exact texture as dominos
Jeena try keeping the bread in the center rack of your oven and make sure the heating mode is selected equally for top and bottom. You can keep 12 minutes on 180 and to give a top crust 5 minutes on 220 degree.
lthanku so much anshu 4 this lovely recipe
I am happy that you liked it 🙂
HI … I had eaten this bread in malaysia before came back to my country … I was obsessed about it and finally I could find it in baharatzkichen …then here. … This bread reminds me of great time with my kids there…thank you
Glad this post took you back in time 🙂 Do try it sometime and lemme know if you like it 🙂