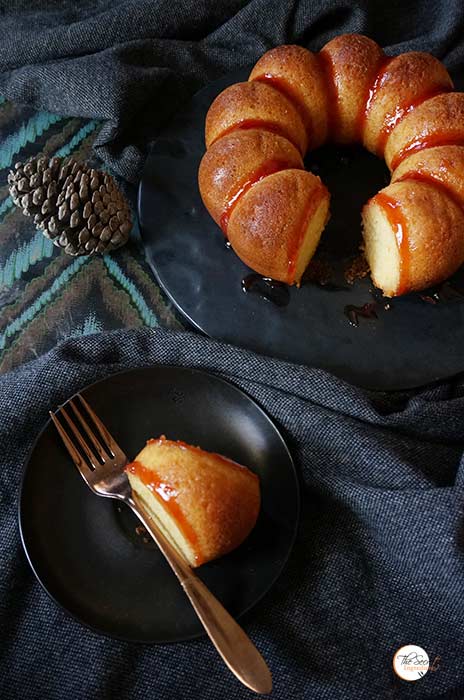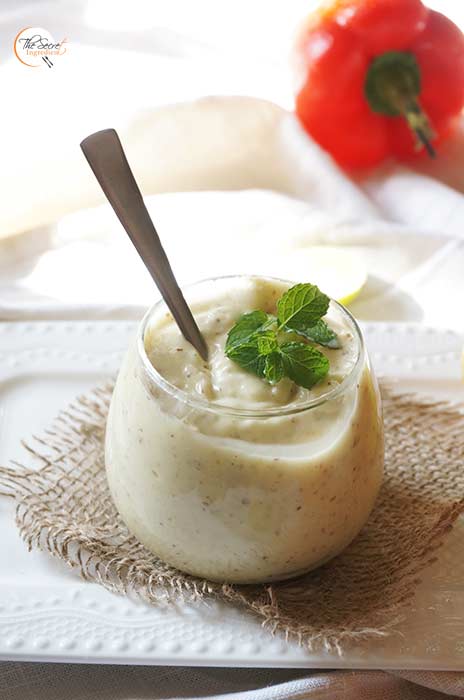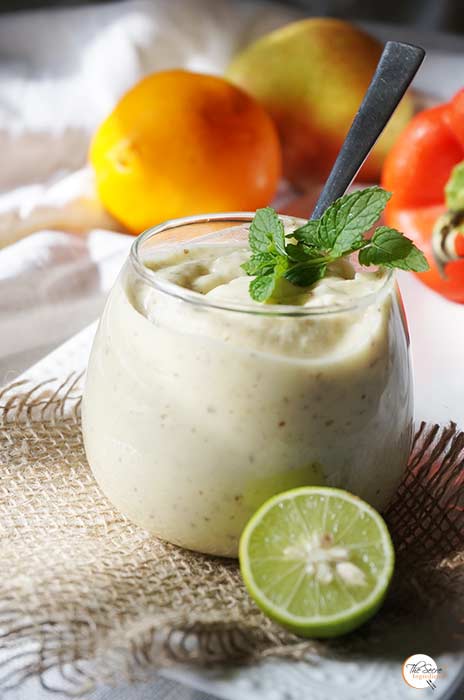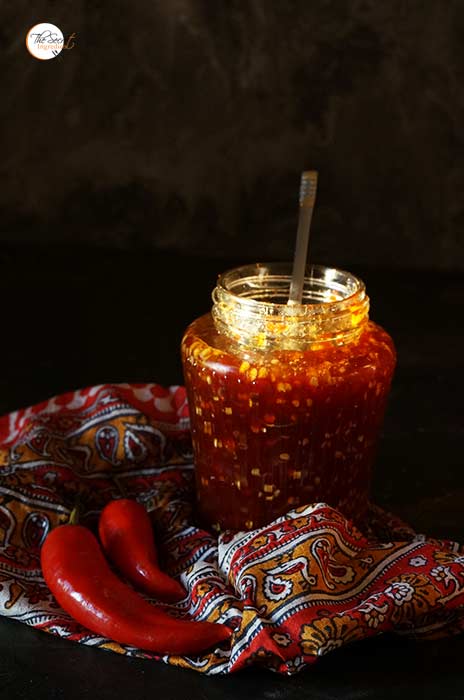
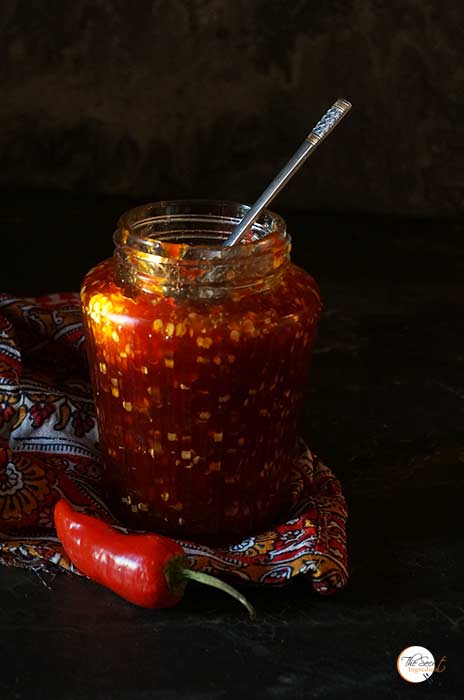
Making condiments, chutneys , sauces is my forte. I love to curate recipes which involve lesser ingredients and time but taste amazing. Also making these dipping sauces at home means you are not buying that commercial, preservative laden crap. I mean when you can make something easily at home with a foolproof recipe and within your budget why not try it out. This Thai Sweet Chili Sauce I have been making for years, but have always failed to post it on my blog. I simply blame my laziness (no excuses). But this time when red chilies arrived I bought them in bulk and made this chili sauce for my readers. Good things should always be shared 🙂
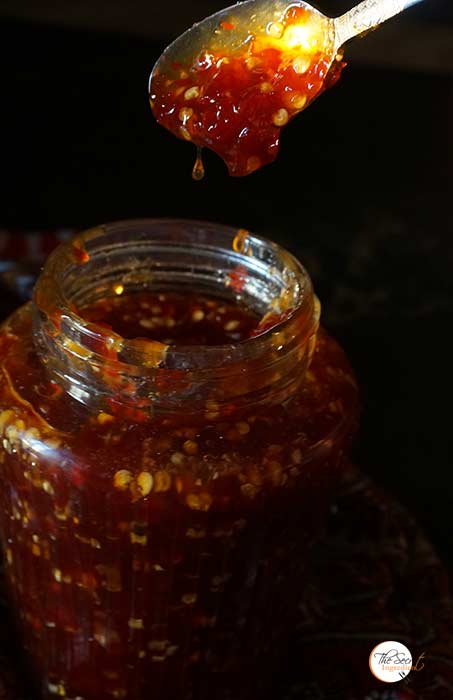
This Thai sweet chili sauce is so versatile that you will find reasons to eat it. We love to add it to our salads,add to our sandwiches and I simply spread it over my roti, roll it and enjoy. It has just the right amount of sweetness and hotness. That lingering after taste is to die for. I am sure if you try it you will love it. If you still have more chilies you can always make my Stuffed Chili Pickle and/or make Red Chili Jam. This explains my obsession for red peppers.
If you try any of any recipes do share the feedback with me by posting a comment below in the comment section. I am elated when you write to me.
Directions:
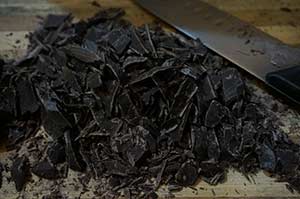
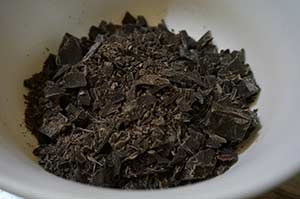
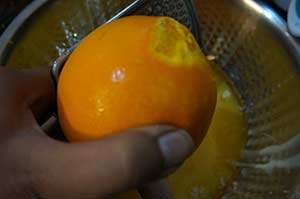
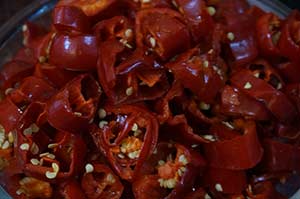
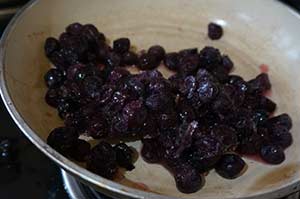
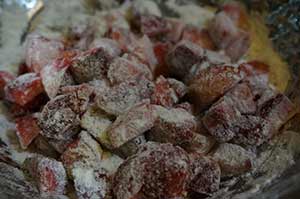
1. Wash and chop Fresno chilies. Remove the stem and deseed the chilies and remove the membranes from half of the chilies and retain the seeds from the rest. Adding all the seeds will make it more hot. But if you like it hot you may use the entire seeds.
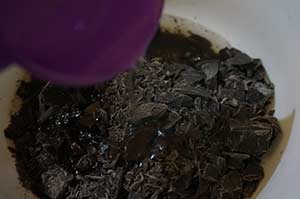
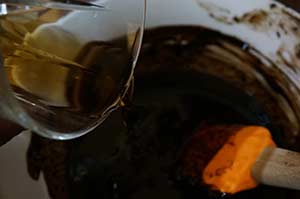
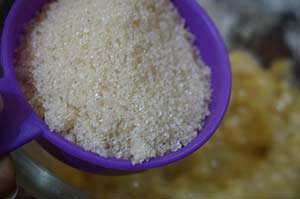
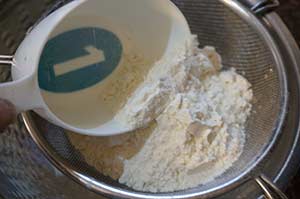
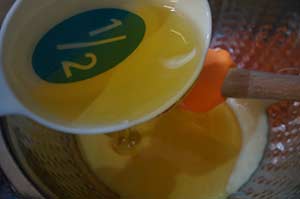
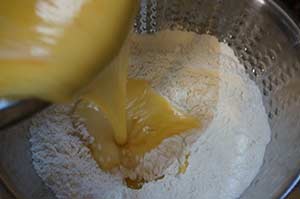
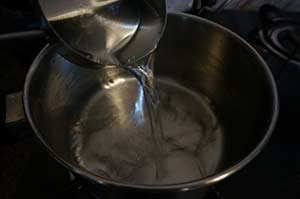
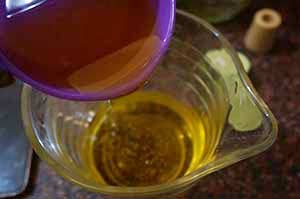
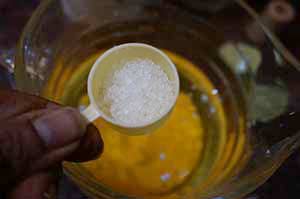
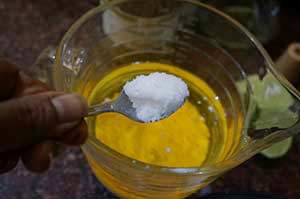
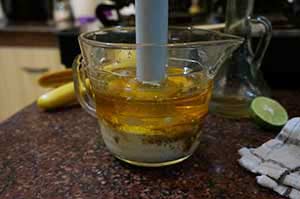
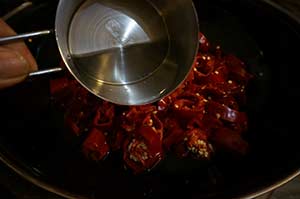
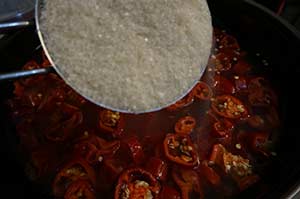
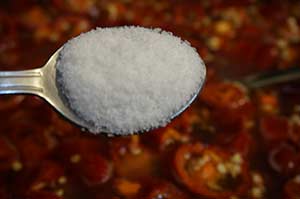
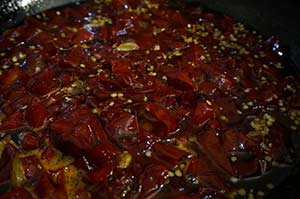
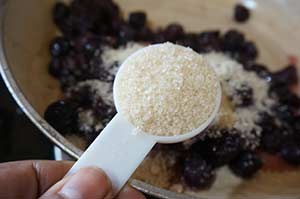
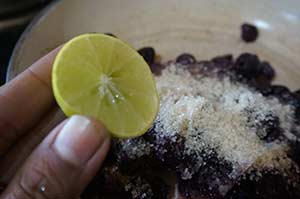
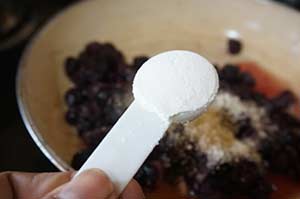
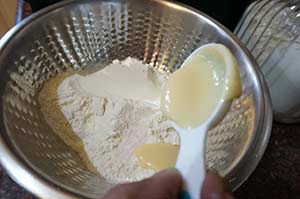
2. In a large wok add chopped chllies and add Water, White vinegar, Sugar and Salt.
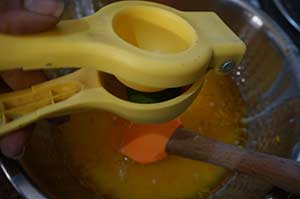
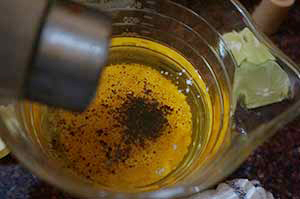
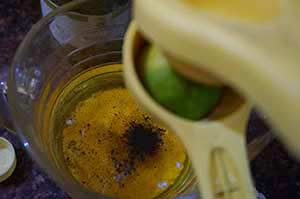
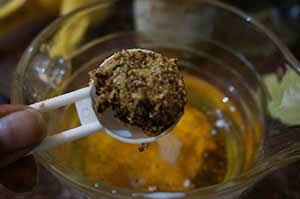
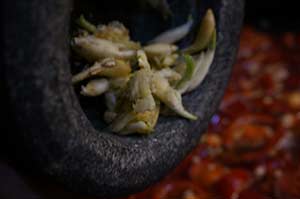
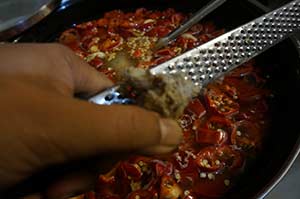
3. Add smashed garlic and grated garlic to the wok.
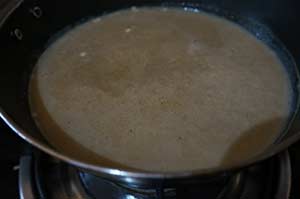
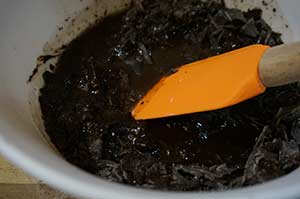
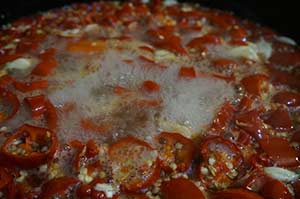
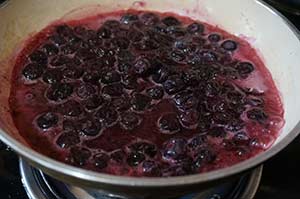
4. Bring the mixture to a boil and simmer on low heat for 20 minutes till the chilies have gone softer.
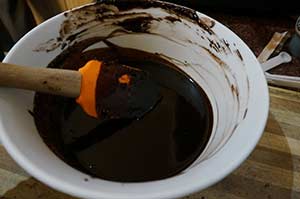
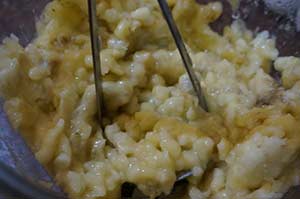
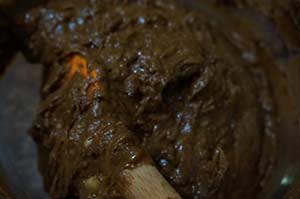
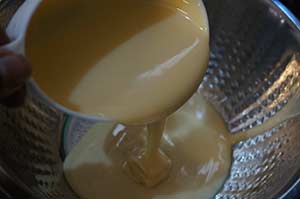
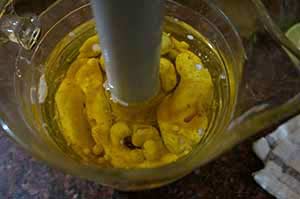
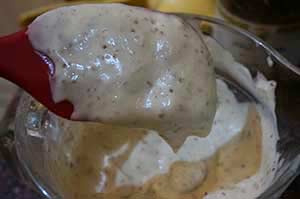
5. Turn the flame off and puree everything into a coarse mix. I used immersion blender you can even use a traditional grinder. Remember to puree when the sauce is at room temperature or it can lead to sever accidents.

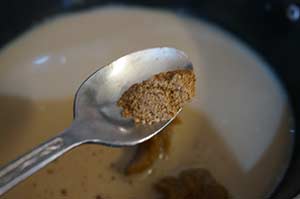
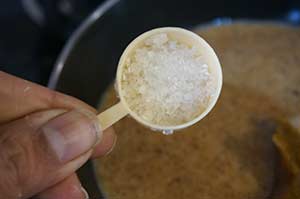
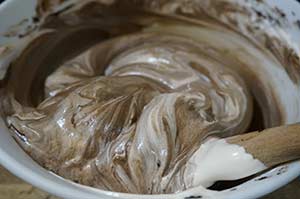
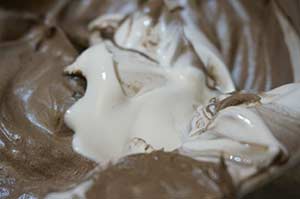
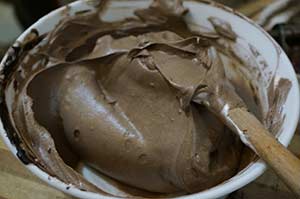
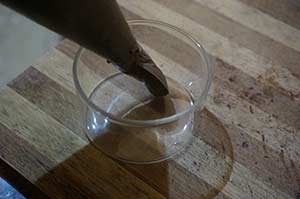
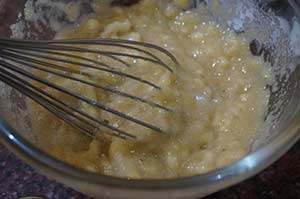
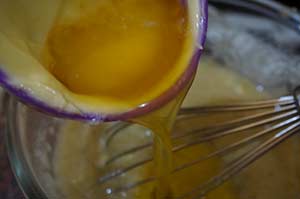
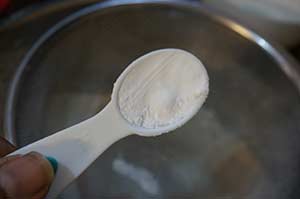
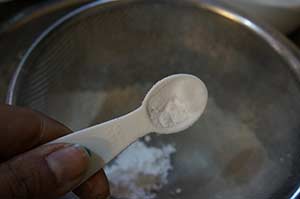
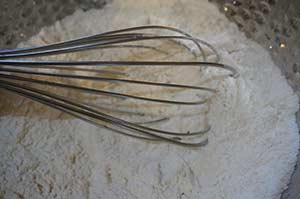
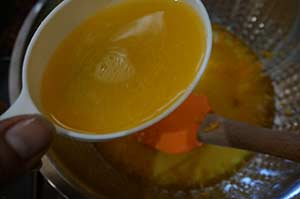
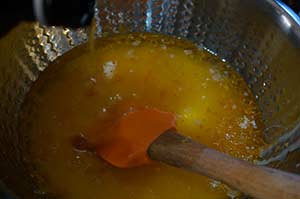
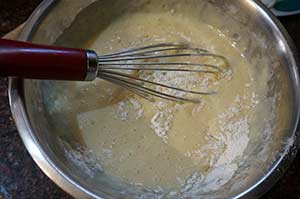
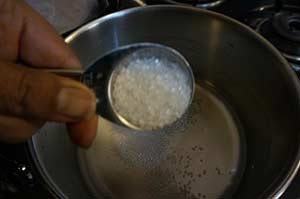
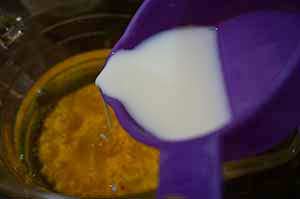
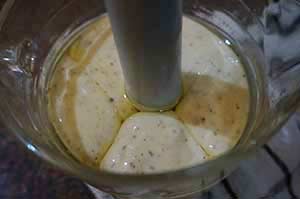
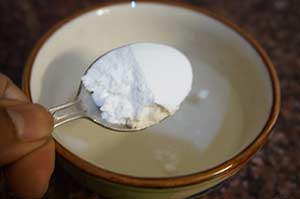
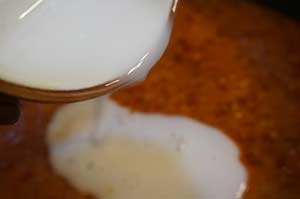
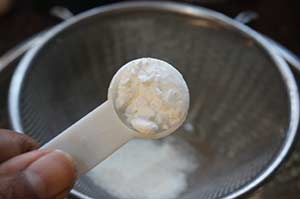
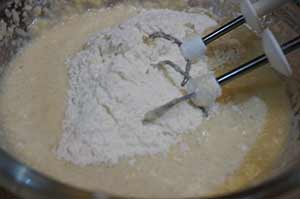
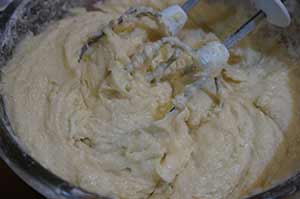
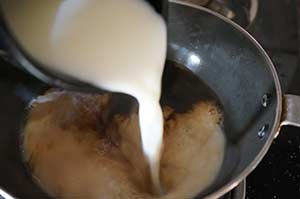
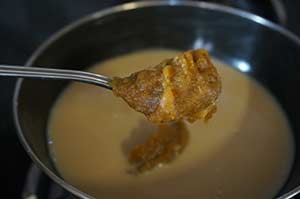
6. Return the pureed sauce to the stove and simmer for a little longer. In a small bowl add cornflour and 2 tablespoons of water and combine. The slurry should be lump free. Add this cornflour mix to the chill sauce. In a minute you will see the sauce will thicken and in case it doesn’t thicken you can add a little more of this cornflour slurry and achieve the desired consistency.
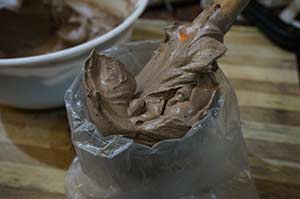
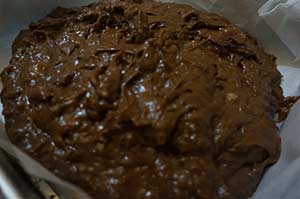
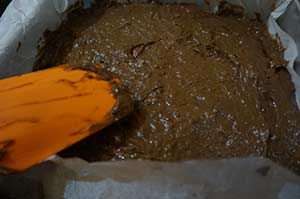
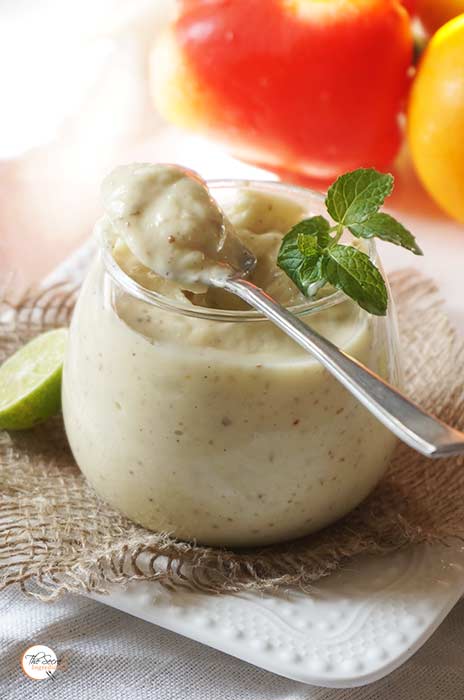
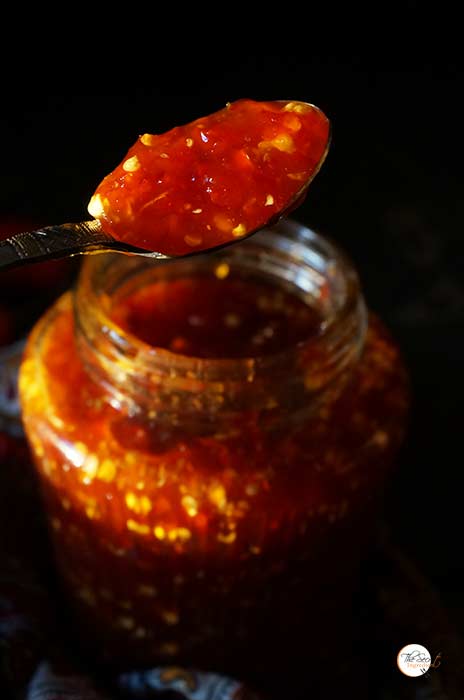
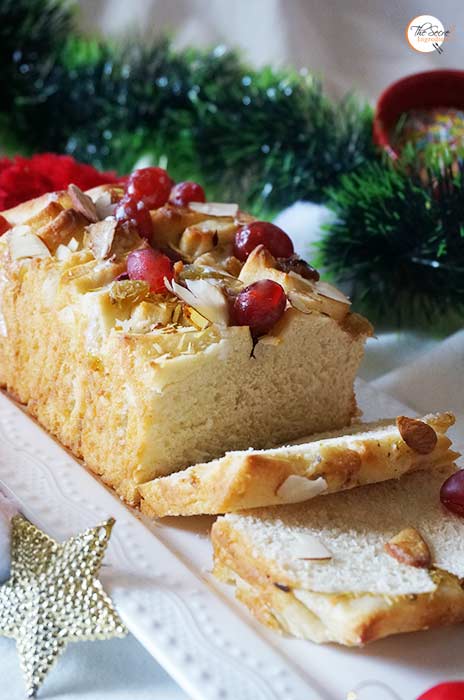
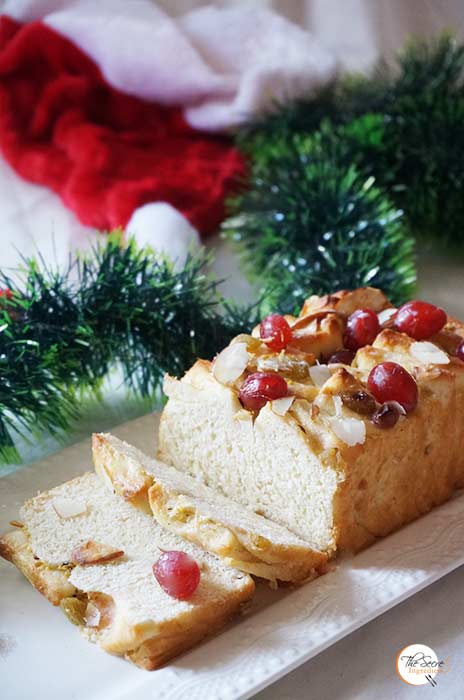
7. Let it cool down and then transfer it to a glass bottle. Refrigerate till use. This stays good for 6-8 months if refrigerated properly. Enjoy this on your bread slice, smear on your paranthas, use as a dressing in your salads and basically you wont stop eating and will find innumerable reasons to devour it.
Other Thai recipes you can try are : Thai Green Papaya Salad , Thai Tapioca Coconut Milk Pudding,Homemade Basic Thai Red Curry Paste,Thai Hot & Sour Clear Soup With Rice Noodles
Other Dressings, chutneys and dips you will like to try are: Traditional Mayonnaise Argentine Chimichurri Salsa, Guacamole, Italian Basil Pesto, Muhammara, Parsley Pistachio Pesto, Szechuan Sauce, Eggless Mayonnaise.
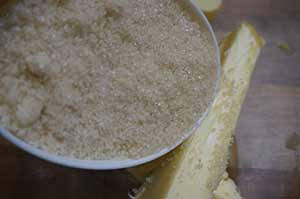
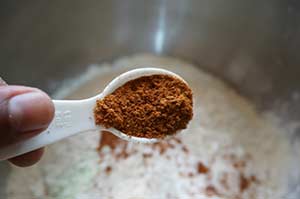
- 250g Red Fresno Chili Peppers – 50/50 deseeded
- 2 cups white vinegar
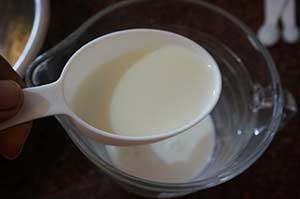
- 2 cups water
- 2 cups sugar
- 6 cloves garlic minced
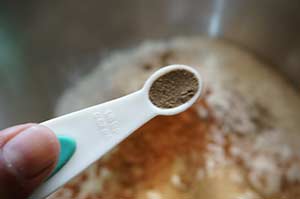
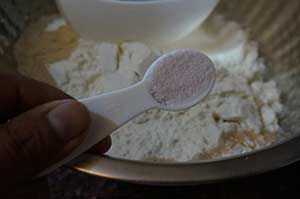
- 1 teaspoon salt
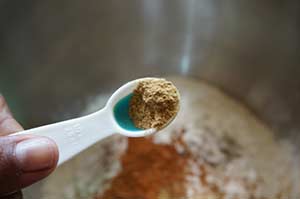
- 1 teaspoon grated ginger
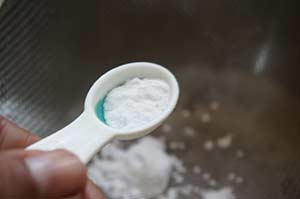
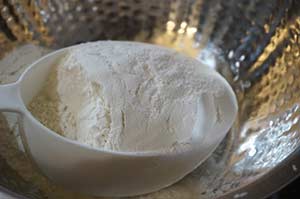
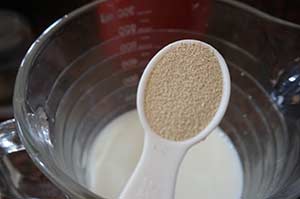
- 1 tablespoon cornstarch
- Wash and chop Fresno chilies. Remove the stem and deseed the chillies and remove the membranes from half of the chillies and retain the seeds from the rest. Adding all the seeds will make it more hot. But if you like it hot you may use the entire seeds.
- In a large wok add chopped chillies and add Water, White vinegar, Sugar and Salt.
- Add smashed garlic and grated garlic to the wok.
- Bring the mixture to a boil and simmer on low heat for 20 minutes till the chillies have gone softer.
- Turn the flame off and puree everything into a coarse mix. I used immersion blender you can even use a traditional grinder. Remember to puree when the sauce is at room temperature or it can lead to sever accidents.
- Return the pureed sauce to the stove and simmer for a little longer. In a small bowl add cornflour and 2 tablespoons of water and combine. The slurry should be lumpfree. Add this cornflour mix to the chilli sauce. In a minute you will see the sauce will thicken and in case it doesn’t thicken you can add a little more of this cornflour slurry and achieve the desired consistency.
- Let it cool down and then transfer it to a glass bottle. Refrigerate till use. This stays good for 6-8 months if refrigerated properly. Enjoy this on your bread slice, smear on your paranthas, use as a dressing in your salads and basically you wont stop eating and will find innumerable reasons to devour it.


 4. Add