Tag

BachelorFood

Browsing

I am returning after a very long gap. My father was hospitalised and it was a very tough time for my family. With God’s grace he is alright now and recovering very well. I have been away from my kitchen for almost 2 months. I have been cooking but havnt been developing any recipes for the blog. This has made me very restless. I feel my expressions are lost. I am soon getting back into the groove. Thank You for your patience and your support while I was gone. 

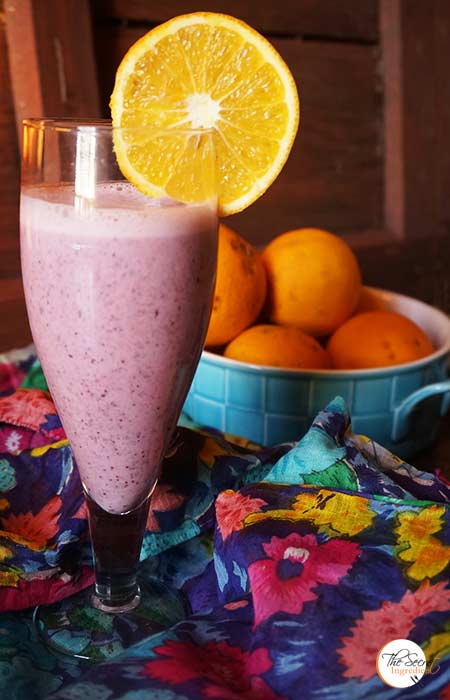
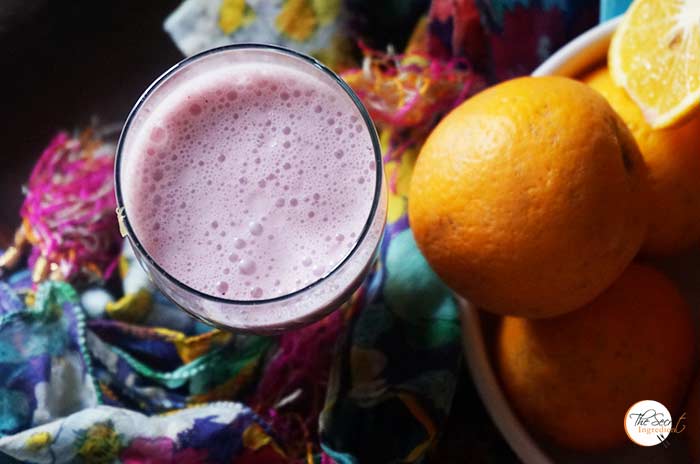
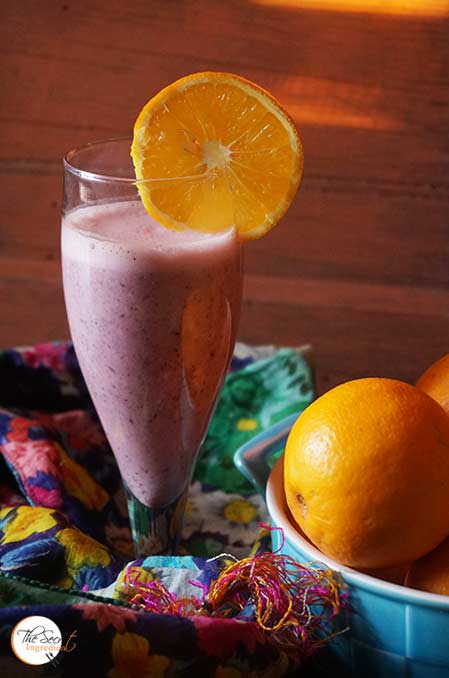
Not only I have been away from baking and cooking but by exercise regime has also been compromised. Although there hasn’t been much of a weight increase still I feel I need to start working out again and feel better. Since I have returned I have been eating a lot of salads and drinking a lot of smoothies. I love smoothies and like to try new variants to make life more fun and delicious. This time I came up with this Orange Blueberry Smoothie. The pastel pink purple colour says it all.. It was fresh, refreshing and oh so delicious! Oh well with same flavours you can even make Orange Blueberry Pound Cake.

Directions:
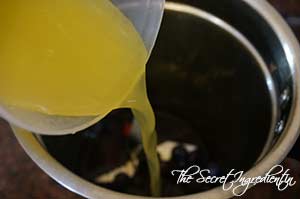
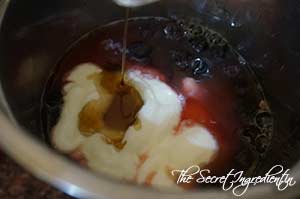
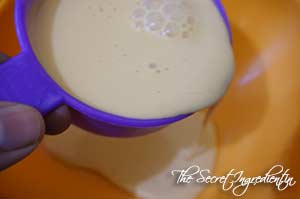
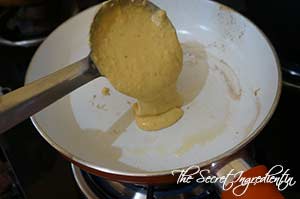
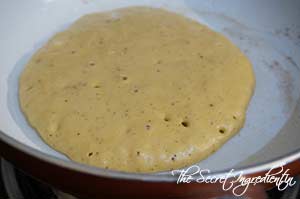
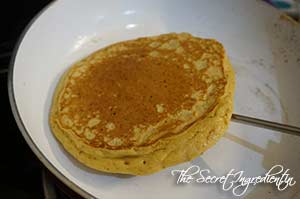
1. In a blender add some orange juice. I have used freshly squeezed juice you can use from the box.


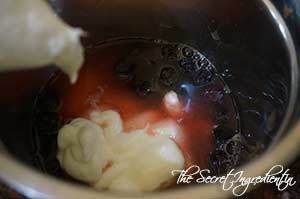
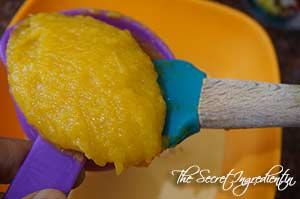
2. Add blueberries fresh or frozen. I had frozen on hand. Also add plain yogurt. You can use greek yogurt also. 


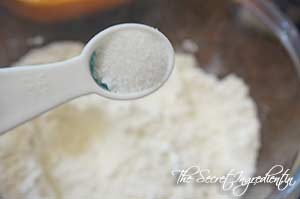
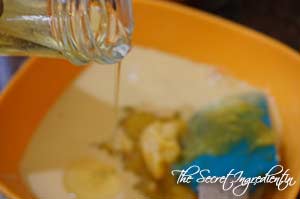
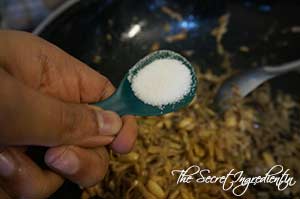
3. Add honey or maple syrup for sweetening it.


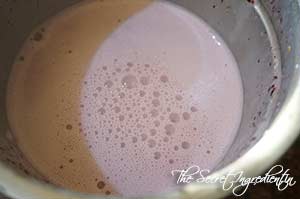
4. Blend and serve. You can also add ice cubes if you like.


5. Serve in a tall glass with a slice of Fresh Orange and make your day beautiful.

Other Smoothies and Beverages  you can try are: Plum Smoothie Raw Mango Drink with Mint and Roasted CuminGinger Papaya Mint Smoothie Central Himalayan Wild Bayberry SyrupLitchi LemonadeMango Chamomile-Mint Tea LemonadeKiwi Chia PuddingPeach LemonadeSpiced Mango Lassi, Melon Cucumber and Mint Smoothie.

[whohit]OrangeBlueberrySmoothie[/whohit]

[yumprint-recipe id=’271′]

baigan-bhaja

Since the starting of the year when I got my air fryer I have been trying recipes giving them a new healthy avatar. I made Malai KoftaKamal Kakdi Kay Koftay Plantain & Potato Kebabs and many other things in this amazing gadget. It has changed the way we eat. The things I avoided because they were fried and greasy have come back in our life but now with a healthy makeover. Making this decisions not only keeps our weight in control but also gives us the pleasure of eating everything (almost) without feeling guilty. 

baigan-bhaja

Recently, I was thinking about making Begun Bhaja which are deliciously crispy Aubergine Slices which are marinated in spices and then deep fried. This recipe hails from Bengal which is known for its cuisine and culture. I love traditional recipes and dont wanna twist and turn them much. I followed the same recipe however I changed the way you cook it, I air fried them to make them guilt free. They were still crispy and delicious. If you are thinking to change your lifestyle do invest in an airfryer and make healthy choices, because you are what you eat 🙂

Directions:
1. Take a big sized Aubergine or Eggplant. The bigger the size the bigger will be the slices. Wash it and pat dry.

dsc09125
2. Cut it into thin slices about 1 cm thick and soak them in salted water for about 20-25 minutes. We soak the eggplant slices because sometimes the eggplants can be bitter and this will ensure they loose their bitterness. 


dsc09126


dsc09132


3. In the meanwhile in a bowl add Red Chili Powder and turmeric powder.


dsc09127


dsc09128


4. Also add garam masala, amchur powder.


dsc09129


dsc09130


5. Also season it with salt and add chana masala. yes that does the trick!


dsc09133


dsc09134


6. Pat dry the soaked pieces of eggplants and rub the dry spice mix on them on both the sides.


dsc09135


dsc09136


7. Place them in the bowl and sprinkle some lemon juice on them. Let them marinate for 10 minutes. 

dsc09137
8. Preheat your airfryer for 10 minutes on 180 degrees.

dsc09140
9. In a flat plate take some chickpea flour or besan and coat the marinated eggplant with flour on both sides. You can dust the extra.


dsc09141


dsc09142


10. Once the air fryer is preheated add a few slices on the wire rack of the basket and brush with some mustard oil. Let it air fry for 15-18 minutes. Flip it half way and brush the other side also with oil and continue to cook till you see them golden brown and crisp. Follow the same with rest of the slices.

dsc09145
11. Serve hot with dal and roti or you can just eat it like a snack with your drinks 🙂 

Other Eggplant recipes you can try are: Baingan Ka Bhartha Bharwan BainganBaingan Ka RaitaBaigan Ka Salan

baiganbhaja_featured3
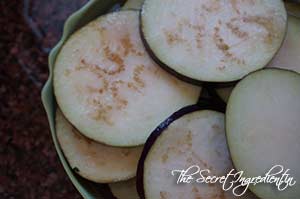
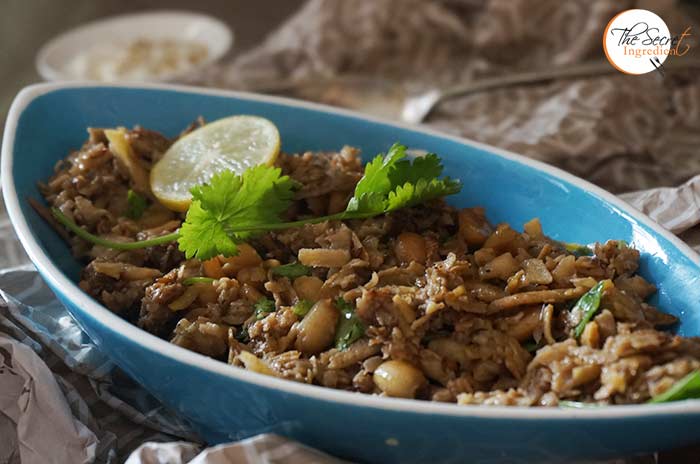
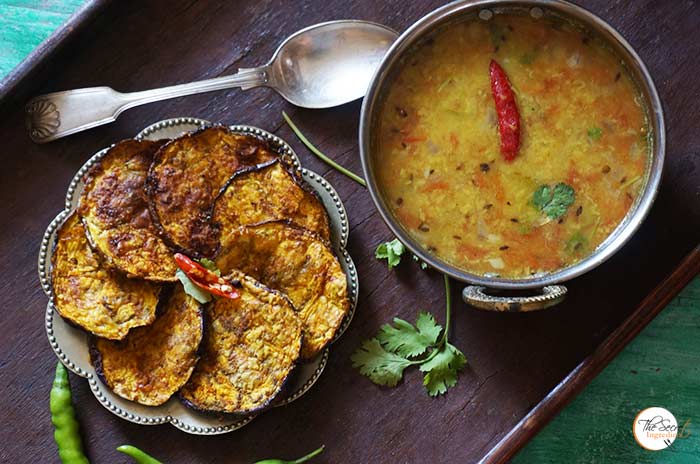
[whohit]BainganBhaja[/whohit]

[yumprint-recipe id=’255′] 

pumpkinpureepancakes_featured2

Pancakes are my favourite breakfast as they bring out the child in me. I love the fluffy, cakey texture and then you get to decorate it with chocolate, maple syrup, honey… fresh fruits… chocolate chips and every sugary thing on earth!! Its time for Halloween and I have roasted a huge pumpkin and made fresh Pumpkin Puree. Today I made these fluffy pancakes with pumpkin puree which were to die for.

pumpkinpureepancakes_featured3

I plan to make a lot of other things in the days to come. Adding Pumpkin to recipes is not only delicious but pulls up the nutritional quotient of the dish. If you wanna hide pumpkin in your kids food try these pancakes. I am sure they will love it.

Directions

1. In a bowl add All purpose flour, Pumpkin Pie Spice and Baking Soda. You can make it at home very easily. Follow this recipe.


dsc09161


dsc09162


dsc09163


2. Also add salt and sugar. Combine everything well and set aside.


dsc09164


dsc09167


3. In another bowl add evaporated milk, Pumpkin Puree (Oh you can also make this at home. Learn to make it how).


dsc09165


dsc09166


4. Add egg and oil and combine everything well.


dsc09168


dsc09169


5. Add wet ingredients to the dry ingredients and combine till everything is moist. Add a little water and make the consistency pourable.


dsc09170


dsc09171


6. Heat a pan or griddle and brush it with butter or spray with some oil. Pour a ladle full of batter in the centre.  


dsc09172


dsc09173


7. When you see some bubbles emerging on the cake batter that’s when you must flip it to cook on the other side. Cook the other side for a few minutes or till the top is golden in colour.


dsc09175


dsc09177


8. Stack a few pancakes on top of each other and generously drizzle with some maple syrup and even a cube of butter. Indulge in the festivity with style, taste and nutrition.

Other Pan cake recipes you can try are : Blueberry Buttermilk Pan Cakes Eggless Walnut Pan Cakes , Apple & Cinnamon Pan Cakes.

Other recipes with Pumpkin Puree you can make:  Pumpkin Puree Bread BunsHalloween Special Baked Pumpkin DoughnutsPumpkin Cake Rolls

pumpkinpureepancakes_featured1

[whohit]PumpkinPancakes[/whohit]

[yumprint-recipe id=’253′] 

creamofmushroom_featured5

By now I must stop yapping about my love for mushrooms. Its a known fact and needs no more proof. I have 15 recipes of Mushroom on my blog already what else needs to be said. If you give me just mushrooms, I can happily spend my entire life eating Mushrooms 🙂 If I hadn’t included this classic recipe of Cream of Mushroom Recipe this collective would have been totally incomplete.  This time I promised my self to take pictures before all of it is devoured.  This recipe doesn’t use any flour to thicken the soup. But if you like you can add 1 tablespoon All purpose flour to it. This soup is a haven for all mushroom Lovers. I often team it up with my fresh homemade Whole Wheat bread.

creamofmushroom_featured1

Its very easy to put together. Even bachelors can make this and doesn’t require much time and effort. The quantity of cream can always be adjusted and the soup can be made healthier as per your need.  If you are looking for other soup recipes you can find the links below.

Directions:
1. Wash Mushrooms for any grit and pat them dry using a kitchen towel. Chop them into thin slices and set aside. Also chop Onions and garlic.


dsc00100


dsc00101


2. In a pot add some olive oil and also add chopped garlic and onions. Saute them till they have become soft and onions have turned pink. At this stage add sliced mushrooms and and toss them with onions and garlic.


dsc00102


dsc00104


dsc00105


3. Add thyme and Parsley. I used both in dried form. Mix together with the mushrooms. Add All Purpose Flour to the mushrooms and saute for a minute. This will make the soup more thicker. This is purely optional.


dsc00106


dsc00107


4. Turn the flame on low and cover it with a lid. Let mushrooms sweat out and release water. This should take about 5-7 minutes.


dsc00108


dsc00110


5. Add water and a cube of vegetable broth. You can even use fresh broth if you like.


dsc00111


dsc00112


6. Season with salt and pepper. You can also add a pinch of nutmeg.


dsc00113


dsc00114


7. Cover it once again and let it come to a boil. Remove the lid and turn the flame off. Puree the mushrooms using a hand blender or instead you can use a conventional blender till everything becomes smooth.


dsc00116


dsc00117


dsc00118


8. Return it back to the flame and bring it to another boil. Add cream and combine. 

dsc00120
9. Transfer it to a serving bowl and garnish with chilli oil and add freshly chopped herbs. You can serve it with fresh home made bread. This soup is truly heartwarming. 

If you are looking for other soup recipes you can try: Classic Russian BorschCream of Asparagus SoupCream of Broccoli Soup with ChivesPeas and Mushroom Spicy SoupClassic French Potato Leek SoupMexican Red Kidney Beans Soup With Baked Tortilla ChipsTomato Soup , Zucchini Garlic Soup with Yak Cheese ShreddingsChicken Soup with Rice.

creamofmushroom_featured2
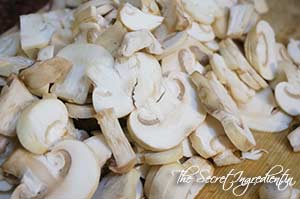
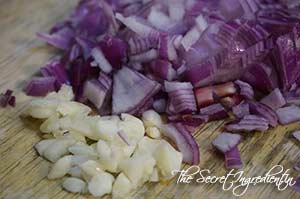
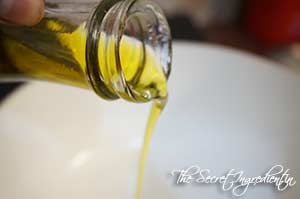
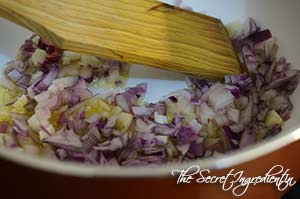
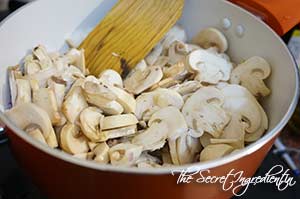
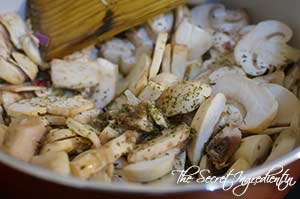
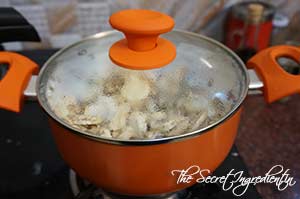
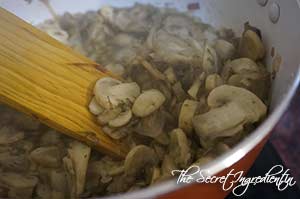
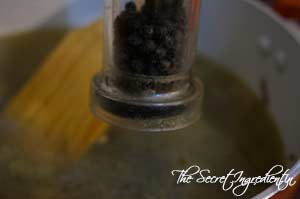
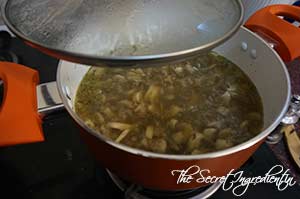
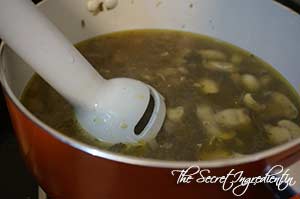
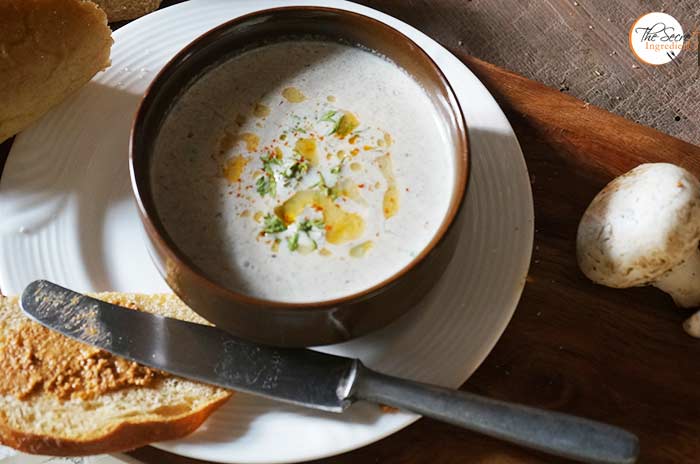
[whohit]CreamOfMushroomSoup[/whohit]

[yumprint-recipe id=’250′]

surankhichdi_featured5

There are a few vegetables which are not commonly used in all households. It might be due to difficulty in making them or purely because of their taste. When I saw elephant foot Yam which is also known as Suran or Jimikand in the farmer’s market I asked my mother why we never brought it home. The reason she gave me was that she did not like its taste but that my grandfather was very fond of it. I decided to buy it and experiment it in my kitchen. Sometimes when you make a recipe in your own style disappoints you. What you need is a fresh eye and a new recipe which makes that dish exciting. That is exactly what I did and tried a gujarati recipe which can eaten during navratri fasting. 

surankhichdi_featured3

The recipe was quite simple and the results were amazing. The khichdi turned out delicious, filling and I found a new and interesting way to use Jimikand. I will be trying out more suran recipes in the days to come. Lets see if I can make Suran more appetizing and to my taste buds.

Directions:
1. Apply oil in your hands to avoid irritation and itchy feeling on your hands while handling Jimikand.  Cut a piece of suran or jimikand and peel its skin.


dsc08945


dsc08944


dsc08946


2. Grate the yam and soak the grated pieces in a bowl of water till we use it for cooking. This will prevent it from getting black.

dsc08947

3. In a wok add some oil and when the oil is hot enough add cumin seeds and sesame seeds and wait for them to crackle for a few seconds.


dsc08948


dsc08949


dsc08950


4. Add chopped green chillies and pounded peanuts. toss the peanuts till they have got some colour. Do not burn it.


dsc08951


dsc08953


5. Add grated yam and salt. Mix everything and let it cook uncovered for 6-8 minutes.


Tdsc08952


dsc08954


6. Add ground cinnamon and cloves and combine. Since its a gujarati Recipe you may like to add a little sugar to it. I am not fond of it so gave it a pass. Turn the flame off.

dsc08955

7. Add juice of lemon and mix thoroughly, this will prevent the itchy feeling when you eat it and overall makes the khichdi delicious. Garnish with fresh Coriander Leaves and grated fresh Coconut.


dsc08956


dsc08957


8. Serve hot with fresh plain curd and falahari Dhaniya Chutney. Its the most fulfilling vrat or fast recipe and can be made in no time.

Other recipes for fasting you can try are: Healthy Kachalu Aloo ChatTangy Mint PotatoesKhajoor Til Ke LaddooVrat Wale Dahi-Paneer KebabsSwang Ke Chawal Ka HalwaSwang Ke Chawal Ki PhirniTapioca Coconut Milk Pudding with Strawberry PreservePaneer Ki KheerSabudana KheerKaddu Ka Halwa,    Sabudana Khichdi .

surankhichdi_featured8
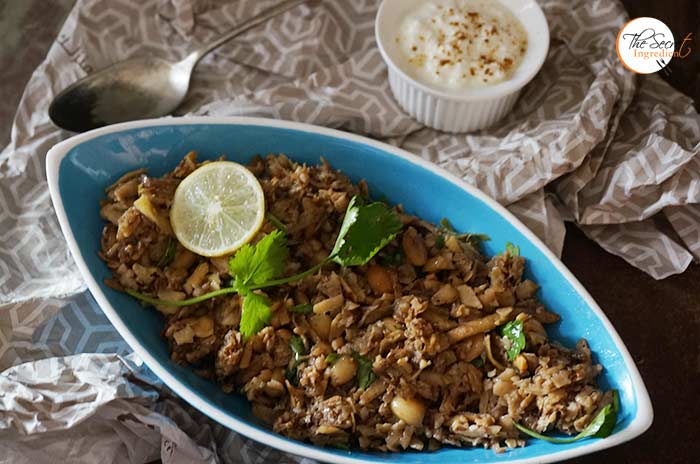
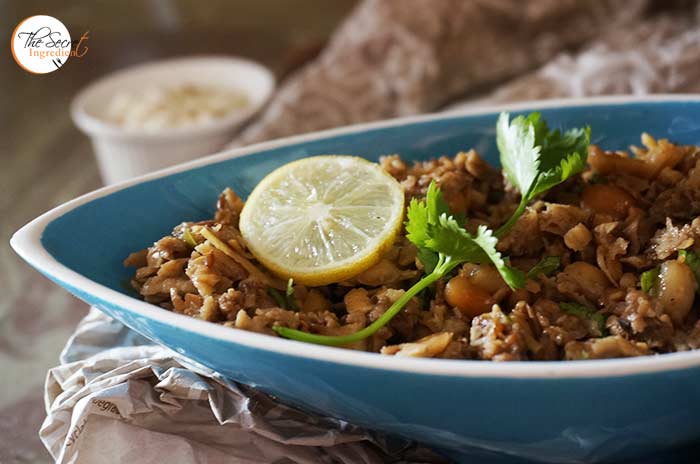
[whohit]Suran Khichdi[/whohit]

[yumprint-recipe id=’248′]

roastedbellpepperpasta_featured5

Sometimes you have a special attraction towards a particular type of ingredient. You may be fascinated by its taste or simply its appearance. I have such a fetish towards bell peppers, the red ones, the yellow ones and oh the orange ones. When I find them displayed in the supermarket I wanna hoard them. I love the way they make every dish look and taste special. The most interesting thing is that when you roast them they become sweeter and have such an amazing smokey taste. 

roastedbellpepperpasta_featured3

Last time when I found these I made charred Bell Pepper and Black eyed Peas Salad. Oh that was a hit in my house. The charred flavours of bell peppers lingers on in your mouth and want you to have them more and more. If you wanna know how to roast bell peppers in oven you can click here. For the sheer love of roasted bell peppers I tried pasta with charred bell pepper and pine nuts sauce. It came out so well and delicious that my husband wants this every now and then. Its a perfect under 30 minute dinner idea. Try it to believe it.

 Directions:

1. Boil pasta of your choice till al dente. Learn how to boil pasta perfectly. Strain and keep aside. In the meanwhile take some fresh pine nut and remove them from its shell. 

dsc00204

2. Toss the pine nuts in a pan on medium high heat for a couple of minutes just to get a bit of colour on them. Do not burn them! Remove them on a plate and set aside.


dsc00205


dsc00206


3. Chop Onion and Garlic finely and set aside. Also roast bell peppers and remove its skin, seeds and membranes. Learn how to roast your bell pepper in your oven.

dsc00200

4. In a grinder add your roasted bell peppers and toasted pine nuts and make a smooth puree.


dsc00211


dsc00233


5. In a pan add some olive oil and add Red Chilli Flakes. We are infusing the oil with the taste of chili. But if you dont like chili you can always ignore this step.


dsc00212


dsc00221


6. Add chopped Onions and garlic and saute them till they have acquired a light golden colour.

dsc00232

7. Add the puree and combine together with onions and garlic. Let it simmer on low medium heat for 5-7 minutes till it starts to bubble up.


dsc00234


dsc00235


8. Season with salt and to make it more velvety add cream to it.


dsc00236


dsc00237


9. Add the boiled pasta and toss it with the sauce.

dsc00238
10. Add Parsley, I used dried because that is what I had on hand. You can use fresh and it will make it more delicious! Also add Parmesan Cheese and combine everything together.


dsc00239


dsc00240


7. Serve hot and enjoy the incredible taste of Roasted Pell Pepper and Pine nut Sauce Pasta. All I need is a glass of wine to make my day 🙂

Other pasta recipes  Avocado Parsley PastaHealthy Broccoli PastaPasta Alla VodkaSautéed Red Bell Pepper and Olive Pasta SaladSpaghetti Vegetable PastaSundried Tomato Pasta SaladWild Fiddlehead Fern & Angel Hair Pasta

roastedbellpepperpasta_featured1
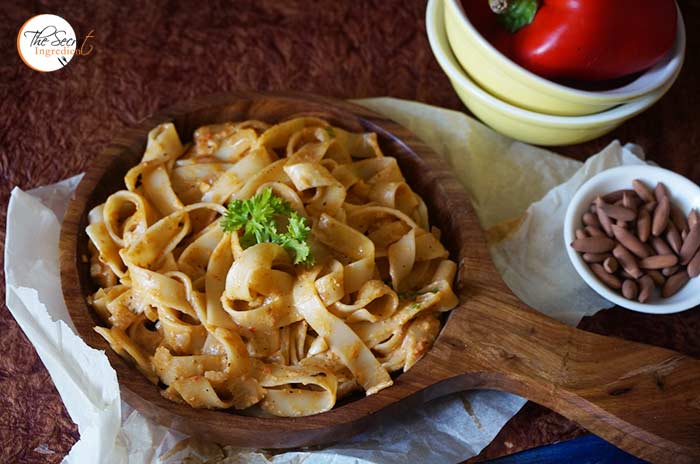
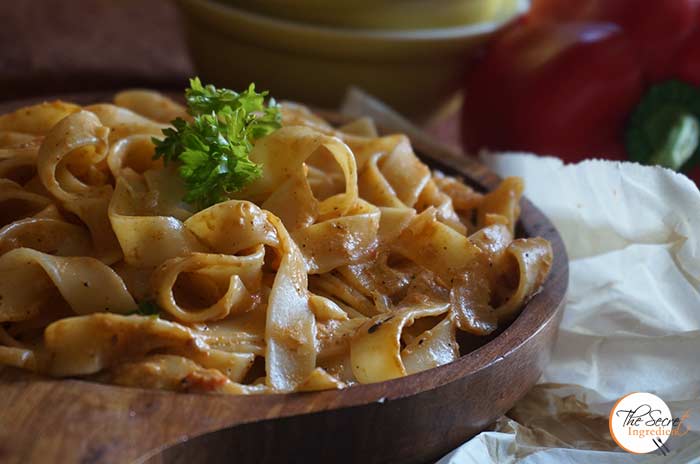
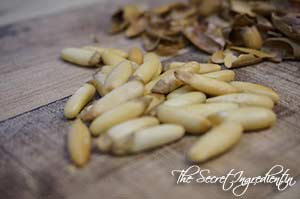
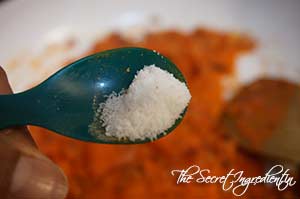
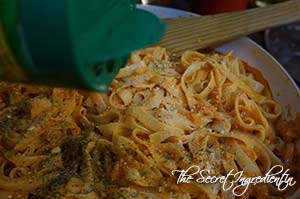
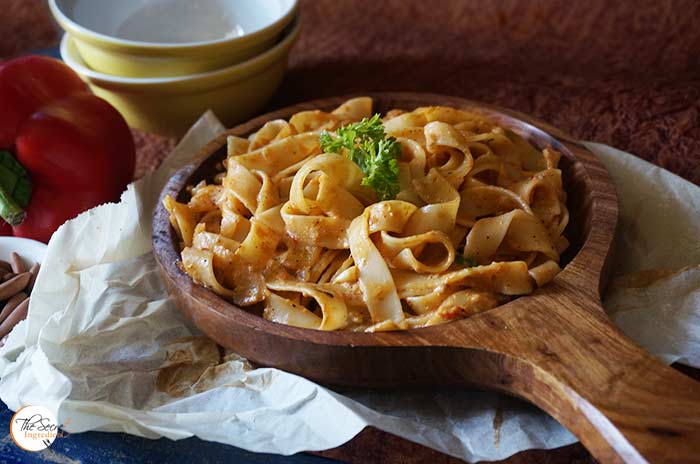
[whohit]RoastedBellPepperPinenutPasta[/whohit]

[yumprint-recipe id=’245′]

HashBrowns_Featured1

Eggs are the most convenient and loved breakfast all across the globe. In the past I have posted a lot of Egg Breakfast recipes on my blog .In the west these eggs are often accompanied with Hash Browns which are Fried Crispy Potatoes. I am a little uncomfortable with fried stuff so I decided to fuse both of these in one healthy avatar. These Crispy Potato baskets were baked to perfection in my oven, you can also use air frier.

HashBrowns_Featured2

You can top it up with crispy bacon to make it even more naughtier. The feeling of eating a sumptuous breakfast without feeling guilty cannot be expressed in words. I have been eating clean for a while now and the results are beginning to show. I feel more energetic, fresh and younger 😉 If you wanna live a healthy life start with clean healthy eating and regular exercise for 20 minutes a day. There is nothing in this world which can stop you from becoming fit except temptation. 🙂 

Directions:
1. Wash and peel potatoes.


DSC01231


DSC01232


2. Grate them using a grater into thin but long shreds. Put the shredded potatoes in a bowl of cold water so that do do not turn black.


DSC01235


DSC01236


3. Rigrously wash the potatoes under running water for a couple of minutes to remove its starch.

DSC01238
4. Soak out the water and place the potatoes in a bowl. Add an egg, salt and pepper. You can even add shredded. Cheddar Cheese to make it more interesting and delicious. I wanted to keep it low cal so gave cheese a pass. 🙁 Having said that I feel sad.


DSC01239


TDSC01240


DSC01241


5. Combine everything with a spoon.

DSC01242
6. Generously grease some bake proof Ramekins with oil*. You can  even use non stick muffin tray. Spread a spoonful of potato mix all over the ramekins in one thin layer. Press with your fingers to form a nest. Let the potato strands poke out of the bowl. Do not overfill the ramekins or else as they will not become crisp on baking. Bake them in a preheated oven on 225 degree Celsius (Learn more about Oven Temperatures and Conversions) for about 20 minutes until they have crisped up. 


DSC01237


DSC01244


7. In the meanwhile chop some onions and add some oil in a pan. Saute them till they become brown.


DSC01245


DSC01246


DSC01247


8. Add a spoonful of  Sour Cream  and Sauteed Onions on top of the baked potatoes.


DSC01248


DSC01252


9. Break an egg in each ramekin and season with salt and pepper. Bake it in in preheated oven for 15 minutes till the egg white is set while yelow still runny.


DSC01253


DSC01256


10. Let it sit for 5-7 minutes then run a sharp knife around the ramekin and carefully remove the hash brown basket and serve in a platter. You can pair it with crispy bacon and a hot cup of Coffee. 

Other Egg Breakfast you can try: Fried Egg Over Polenta with Homemade Basil PestoItalian Frittata with Mushrooms and SpinachShakshoukaWrapped French ToastMexican Casserole Eggs. 

HashBrowns_Featured3
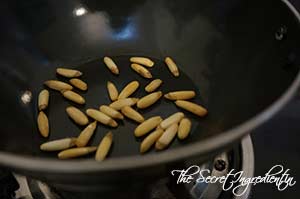
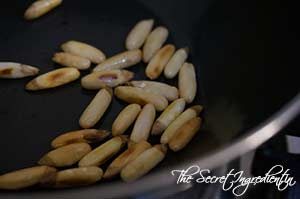
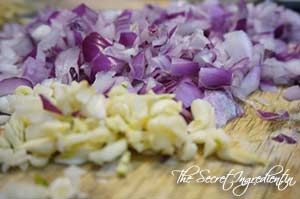
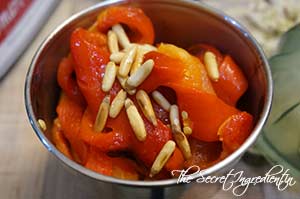
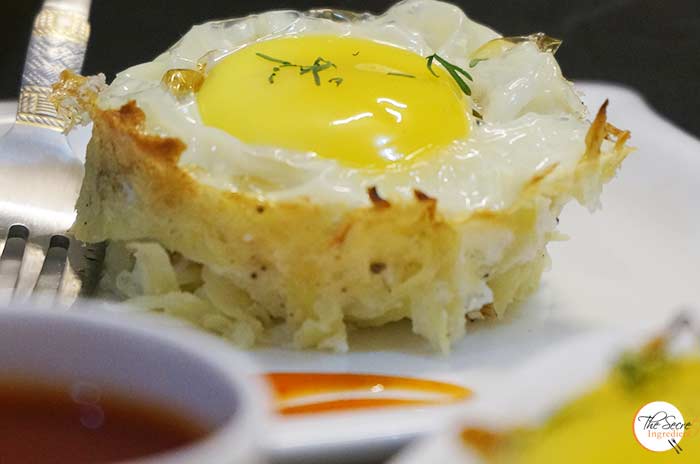
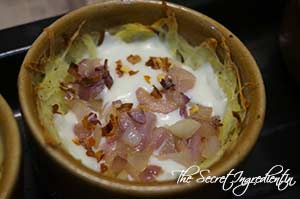
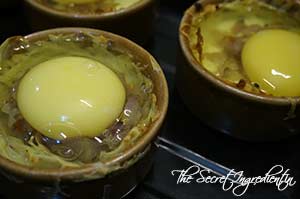
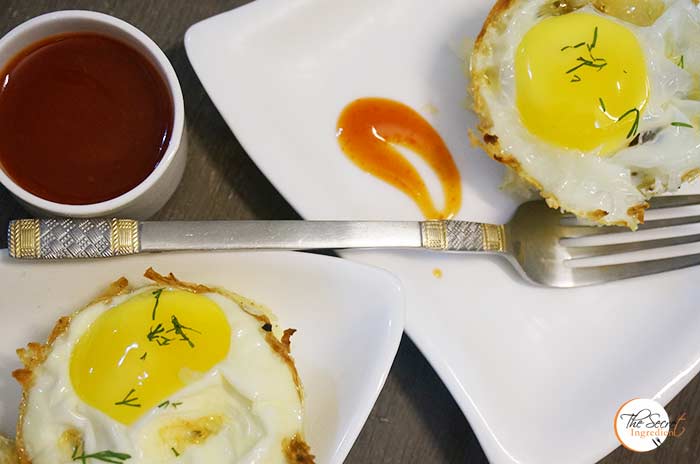
[whohit]HashBrownCupsandegg[/whohit]

[yumprint-recipe id=’240′]

MicrowaveMugLasagna_Featured2

I am an extremely lazy person and when that laziness assimilates in me I look for all possible ways to cut short my work, be it cooking, exercise or anything else. Such times see emergence of use of microwave in my kitchen. I hate microwaves and use it only for reheating. I detest baking in it but this lasagna recipe made me change my opinion about microwaves. This single serving lasagna in a mug is like your best buddy and can be made by anyone. Bachelors will love some quick fix dishes and so will people who are lazy like me.

MicrowaveMugLasagna_Featured3

This no cook pasta sauce has been a boon in disguise. I love it for my pizzas and for everything which requires red sauce. Gets ready in a jiffy without any hassle. The ricotta cheese can also be made in no time. Its just paneer with a little salt which is not set and has a crumbly texture. All you need is to curdle milk, drain the whey and its ready to use. Check out a detailed step wise step recipe to make Ricotta Cheese at home.

Directions:
1.  In a glass microwave friendly bowl add water and Lasagna sheet and microwave for 3 minutes. Cut it into small squares and set aside.


DSC07535


DSC07536


DSC07545


2. Chop Mushrooms and Shred Mozzarella Cheese, set aside.


DSC07539


DSC07540


3. In a bowl add Chopped mushroom, Ricotta Cheese, ground black pepper, granulated garlic,red chili flakes, chopped basil leaves and salt. Set mixture aside.


DSC07541


DSC07542


DSC07543


4. Prepare the sauce by mixing all the ingredients under No Cook Red Pasta Sauce. Set aside for assembly.

DSC07549

5. Pour 2 tablespoons of pasta sauce at the bottom of the mug. Top with a piece of softened pasta sheet. Add some mushroom mixture, 2 tablespoons of mozzarella, and a pasta sheet. Continue building the lasagna, ending with a layer of pasta sheet at the top. Sprinkle mozzarella over the pasta.


DSC07556


DSC07557


DSC07558


6. Microwave everything for 1 minute 30 seconds or until Mozzarella Cheese melts. Serve hot.

Other Lasagna recipes you can try: Vegetarian Mushroom Lasagna in Creamy White SauceCheesy Chicken Lasagna .

Other Pasta dishes you can try: Healthy Broccoli PastaPasta Alla VodkaSautéed Red Bell Pepper and Olive Pasta Salad , Sundried Tomato Pasta SaladWild Fiddlehead Fern & Angel Hair Pasta  Avocado Parsley Pasta.

MicrowaveMugLasagna_Featured1
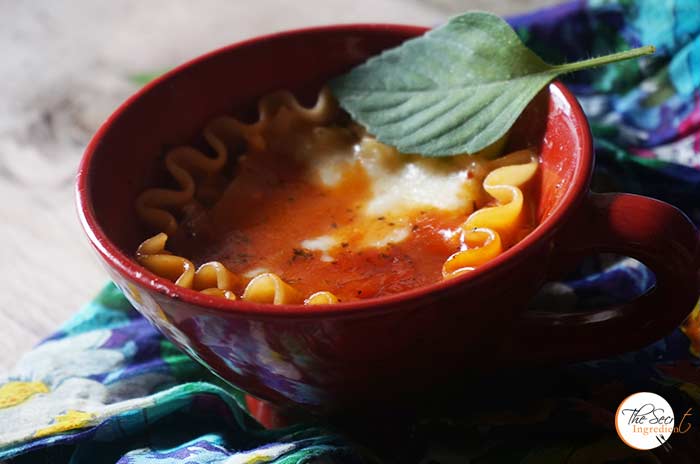
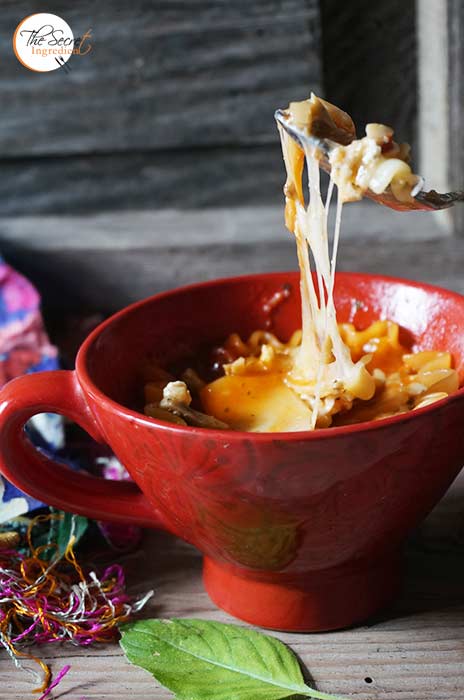
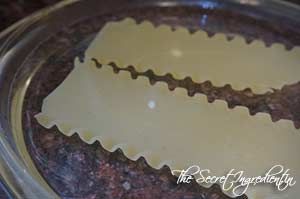
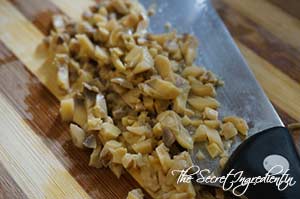
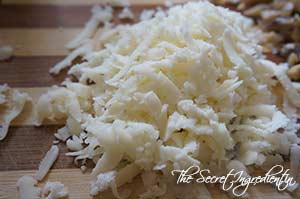
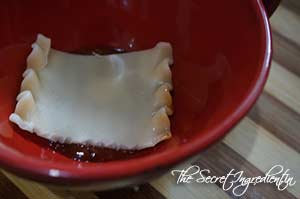
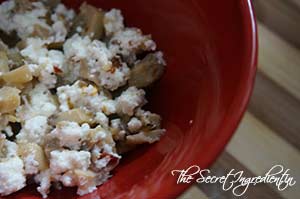
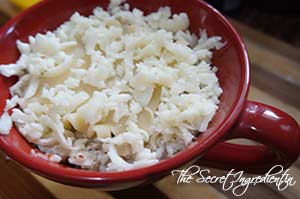
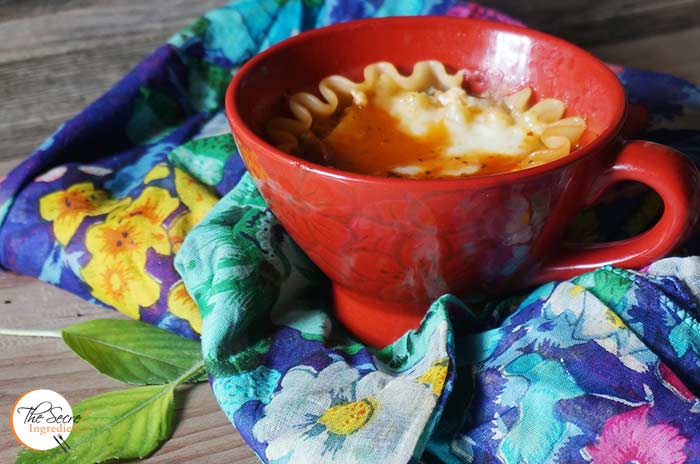
[whohit]LasagnaMug[whohit]

[yumprint-recipe id=’238′] 

We are an egg loving family. For us our breakfast has to be with eggs but the same old omelette and fried eggs can be boring at times. So when I picked up this Polenta from SOS organics I was keen to make something with it. Polenta is widely used in Italy as a porridge. Its also known as Corn Semolina. The corn is coarsely ground in a mill and is used widely in place of wheat and rice. Its excellent for those people with gluten allergies. 

This is not exactly an elaborate recipe post as you are used to seeing on my blog but its an interesting breakfast idea which can be made in a jiffy and which is utterly delicious and nutritious. You must be well aware by now what emotions I have with respect to Eggs. I have recently come across high protein, organic and nutritious Eggs from Eggee. And trust me I never had better eggs than this in India. If you can lay your hands on Eggee I insist you try any recipe with it and you will feel the difference in taste and texture. Earlier I had posted a few other egg breakfast recipes on blog like Spinach Mushroom Quiche, Italian Frittata with Mushrooms and SpinachShakshoukaWrapped French Toast Mexican Casserole Eggs. However, this combination of simple fried or poached egg with polenta and pesto is a killer. If you are looking for homemade Italian Basil Pesto  you can try here. Nevertheless, you can buy in a jar. Just cook your polenta following the directions below wand assemble everything together.

Directions:

1. For polenta, pour water in a saucepan and bring it to a boil. Add polenta and simmer it for 20-25 minutes till the polenta is cooked and has absorbed water.


DSC05430


DSC05431

DSC05432


2. Take it off the flame and season with salt, pepper and parmesan cheese. Mix thoroughly and set aside for assembly.


DSC05434


DSC05436


DSC05433


3. Fry eggs. If you like you can even poach them.

DSC05447

4. You can make your own pesto by using fresh ingredients and you can follow this recipe. Now in order to plate this dish ladle some Polenta in a large serving bowl, garnish with Pesto and olive oil and place your fried egg in the centre resting on the bed of Polenta and pesto. You can even garnish with pine nuts.

Related Recipes: Italian Basil Pesto

Other Delicious egg recipes you can try:  Italian Frittata with Mushrooms and SpinachShakshoukaWrapped French Toast Mexican Casserole Eggs.

[yumprint-recipe id=’237′] 


BabyCornSatay_Featured1

Last week when I had plenty of Baby corns lying in my refrigerator I wanted to use them differently. Not just adding them to any Thai or Chinese dishes. I looked all over the web, unfortunately there were not  many recipes which excited me. They were the usual Baby Corn Manchurian in hot chili sauce. But then I found this recipe by Lubna Karim, a fellow blogger from Yummy Food. The recipe instantly pleased me. It stood top in all three parameters. It was easy, quick and fairly healthy. These were Baby Corn Satays in Indianised avatars to suit our palettes  

BabyCornSatay_Featured4

Satays are Southeast Asian Dishes with pieces of Grilled Meat on skewers. They are some what close kin of Seekh Kebabs famous all over the world. However, this vegetarian version was totally terrific and perfect for parties.

Directions:

1.  Wash and clean Baby Corns and place them to steam in a steamer filled with water. Close the lid while the baby corns cook through for about 10-15 minutes depending on the thickness of corns. You can also microwave them for 3 minutes till they are blanched. You should be looking at baby corns which are ready to eat but still hold their crunch. 


DSC06650


DSC06651


2. In a bowl add plain Yogurt or curd, corn flour and turmeric powder.


DSC06652


DSC06653


DSC06654


3. Also add red chilli powder, carom seeds or ajwain and garam masala.


DSC06655


DSC06656


DSC06657


4. Also add salt and minced garlic and marinate the blanched baby corn in this. Let the baby corns sit in the marinade for 20 minutes or so.


DSC06658


DSC06659


DSC06660


5. After 20 minutes, pour some oil in a non stick pan.

DSC06661

6. Add the marinated baby corns to the pan along with the marinade. Toss them in the oil till the baby corns have absorbed the marinade and have attained a slight golden colour.


DSC06662


DSC06663


DSC06664


7. Insert the skewers in each piece and serve hot with Mint Chutney or simply ketchup.

Other Party Menu ideas you can try are: Baked Paneer Corn KababsHealthy Kachalu Aloo ChatTangy Mint Potatoes and Veg Shami Kabab.

BabyCornSatay_Featured3
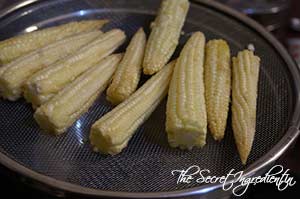
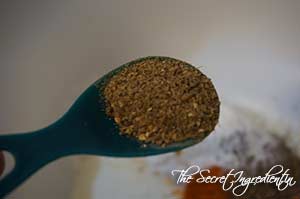
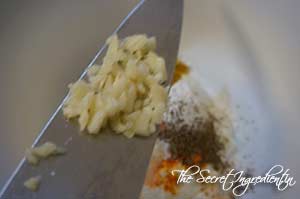
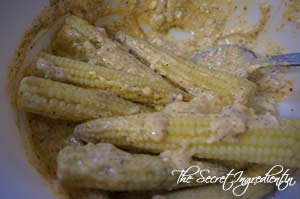
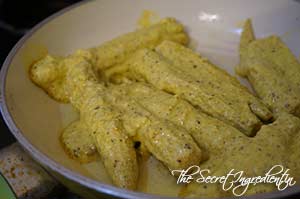
[whohit]BabyCornSatay[/whohit]

[yumprint-recipe id=’220′]