Tag

Dips n Salsas

Browsing

muhammara_featured4

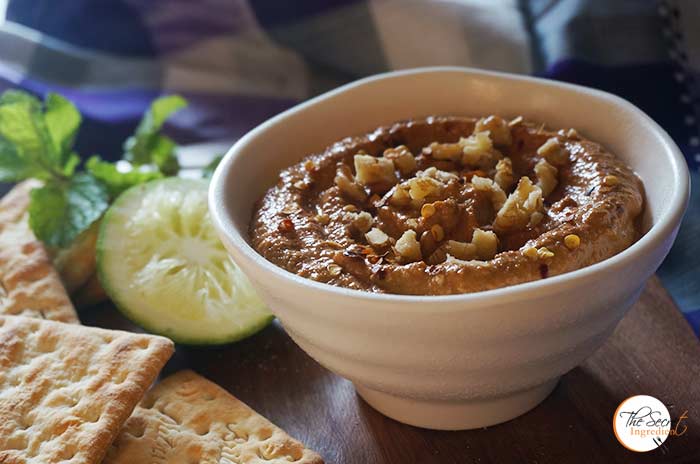
I find Bell Peppers to be the most beautiful vegetable. I have talked in length about this in my Charred Bell Pepper and Pine Nut Pasta Recipe. So I will not yap about it anymore. I had a few bell peppers in my fridge and I was looking for some interesting recipe to put them to use other than using them for pastas and stir fries. That’s when I came across this Syrian Recipe of Muhammara. This was the most interesting dip I have ever made. The addition of Pomegranate Molasses gives it that additional tangy kick which cannot be described in words. And walnuts adds magic to the dip and makes it absolutely irrepressible. 

muhammara_featured3
Specially when Diwali is right around the corner, I have planned this for my teen patti or poker parties wherein you can munch crackers or salad sticks with this  delicious dip. If you have a party in your house you shouldn’t think twice just make this and amaze your friends.

Directions:

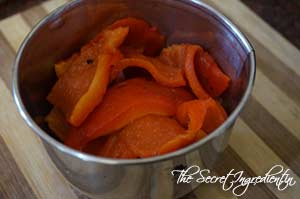
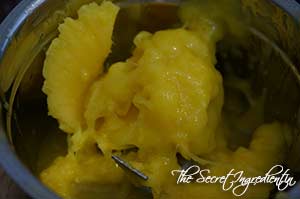
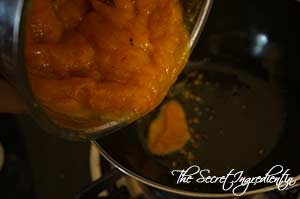
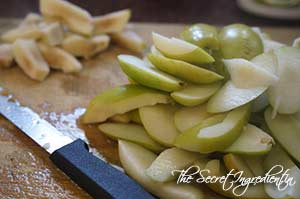
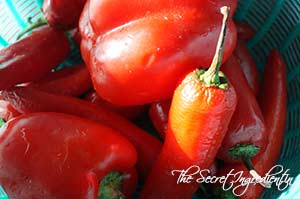
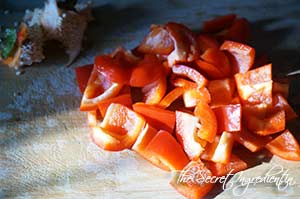
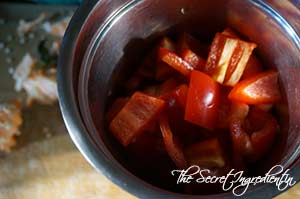
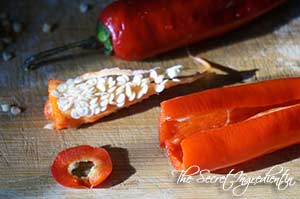
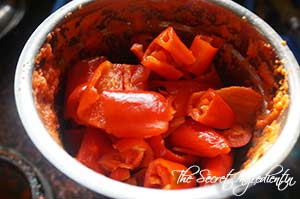
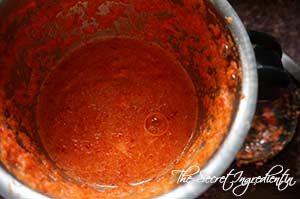
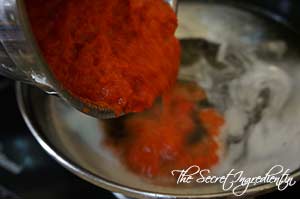
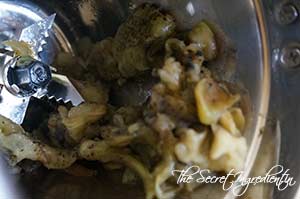
1. Take some Red Bell Peppers and roast them in an oven and remove its skin and also discard its inner membranes and seeds. Learn how to roast Bell Peppers here. Add the pulp of the pepper in a blender.

dsc08899
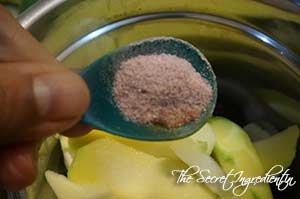
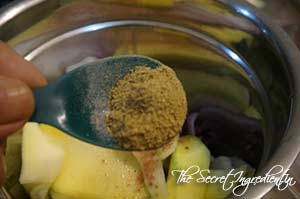
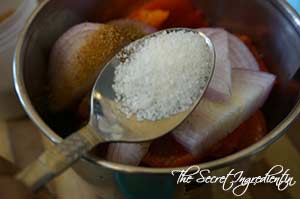
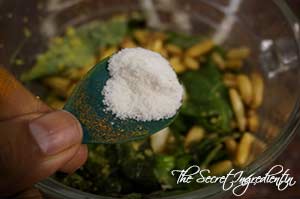
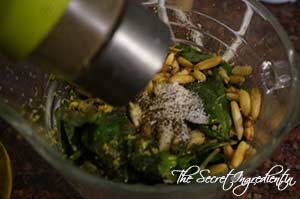
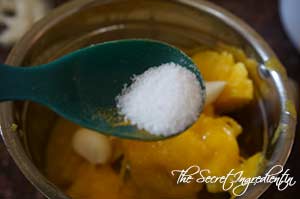
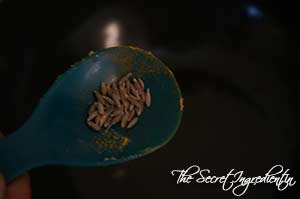
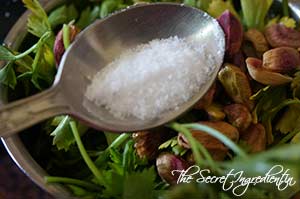
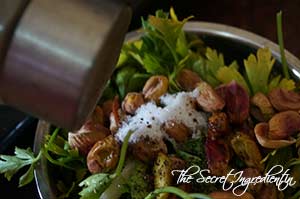
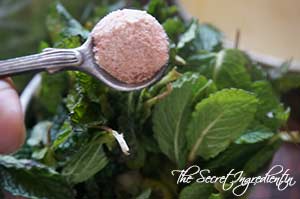
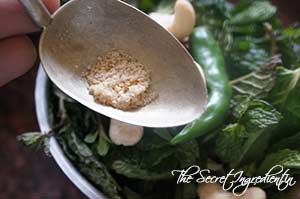
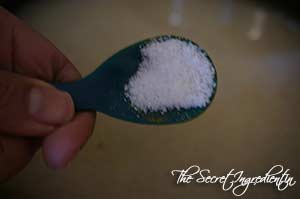
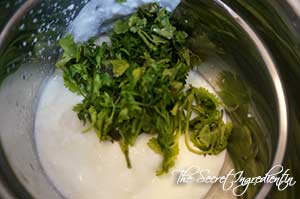
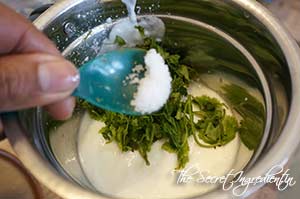
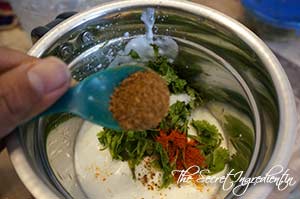
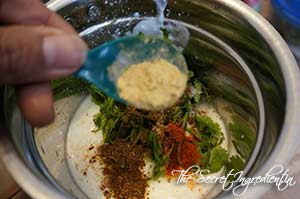
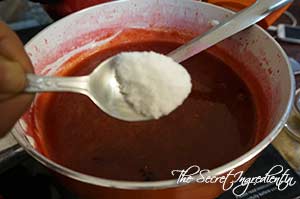
2. Add chopped Onions or scallions to what ever you find it easily. Also add cumin powder and salt.


dsc08900


dsc08901


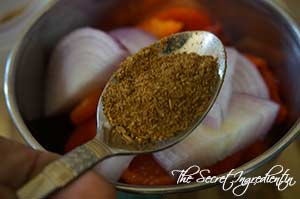
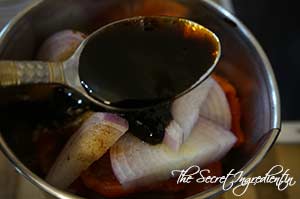
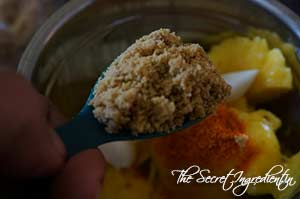
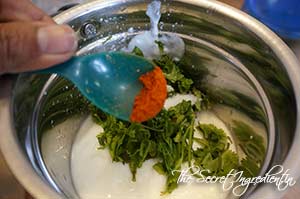
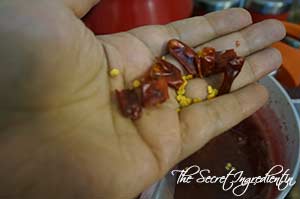
3. Add Pomegranate Molasses and red chili flakes or if can lay your hands on Aleppo Pepper.   


dsc08902


dsc08903


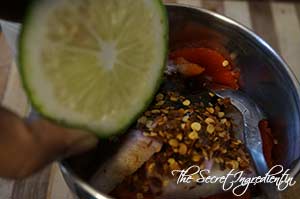
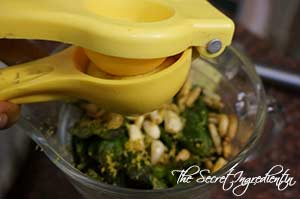
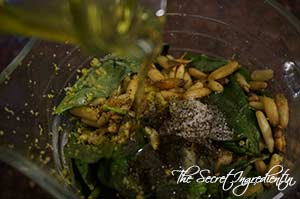
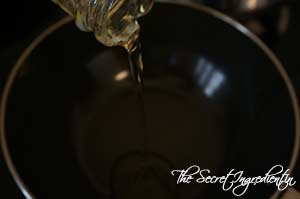
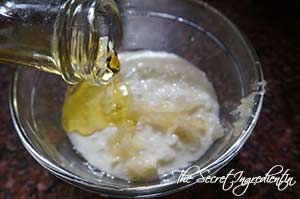
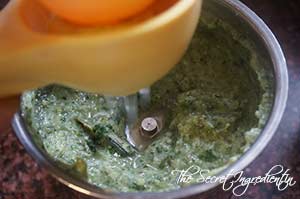
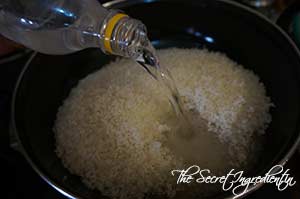
4. Add juice of lemon and a generous drizzle of Olive oil.


dsc08904


dsc08905


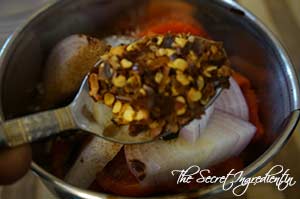
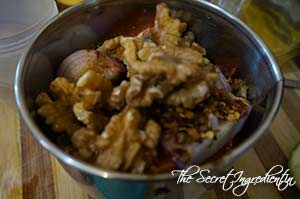
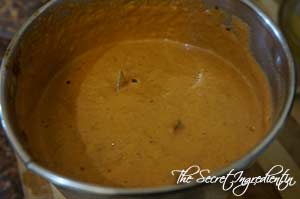
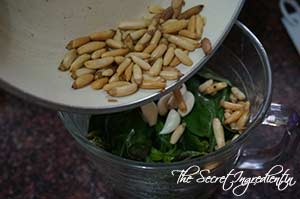
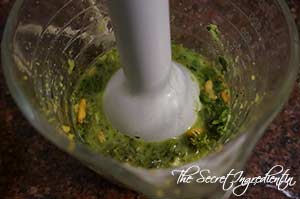
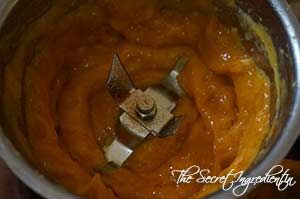
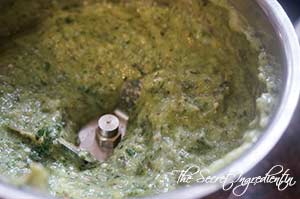
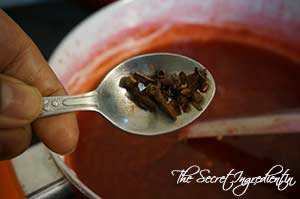
5. Add walnuts and blitz everything together,


dsc08906


dsc08907


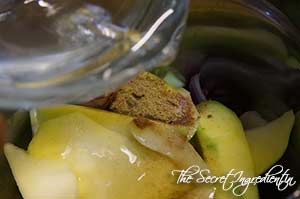
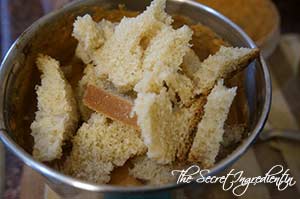
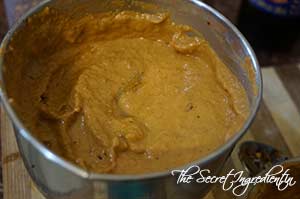
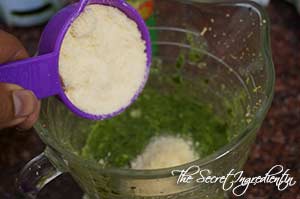
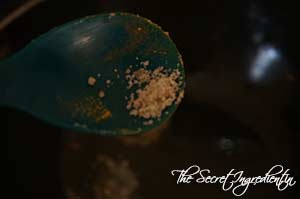
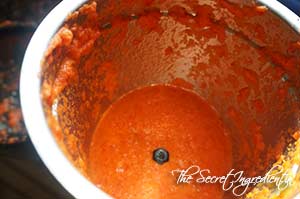
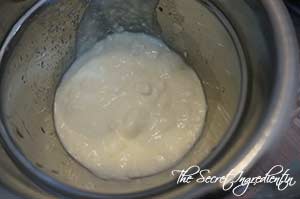
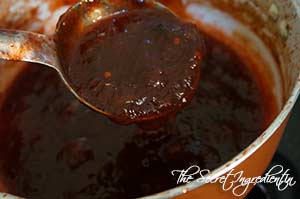
6. Now add bread crumb or u can even add panko. And blitz again in the blender till you get a smooth thick dip like consistency. Add more bread crumb and pulse if the dip is still loose. 


dsc08908


dsc08909


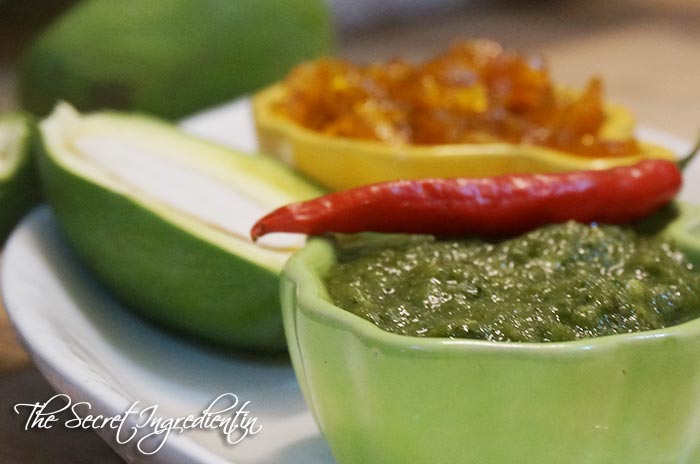
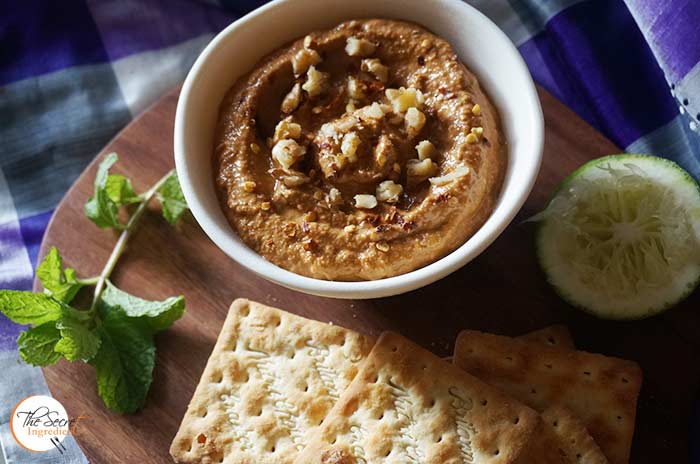
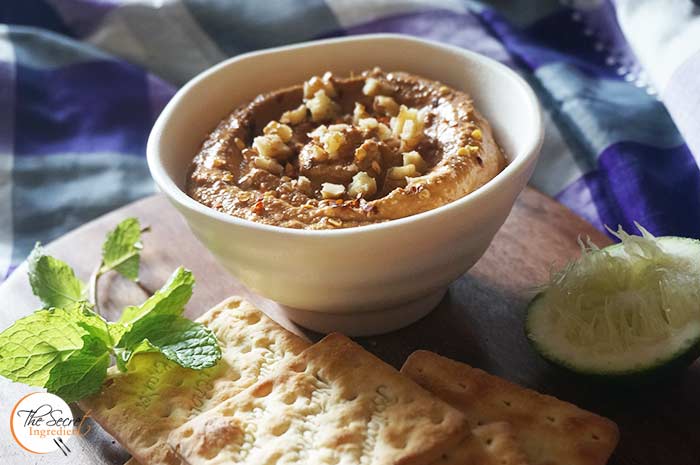
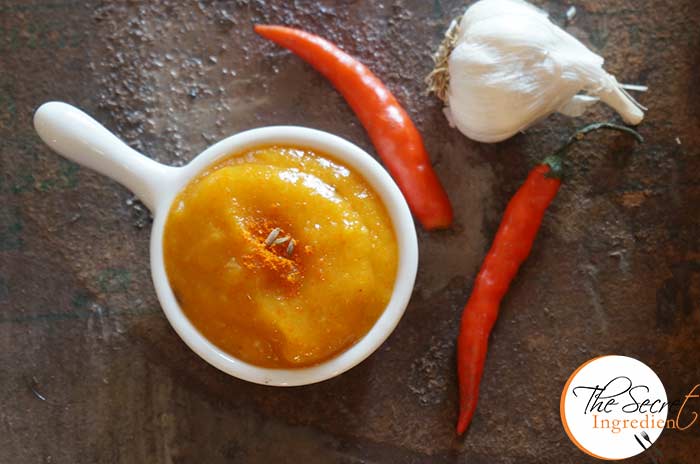
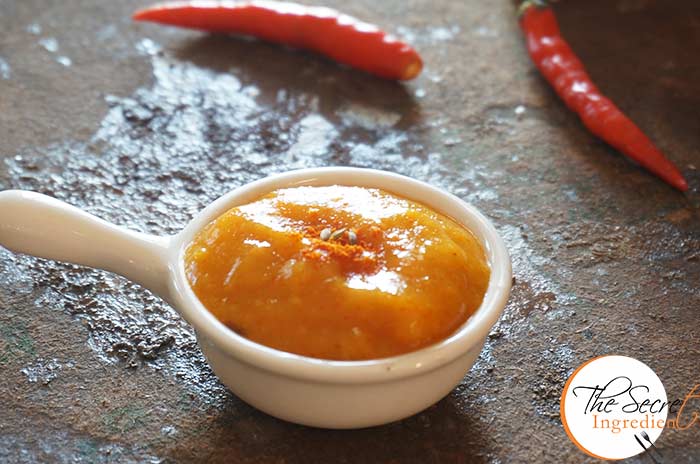
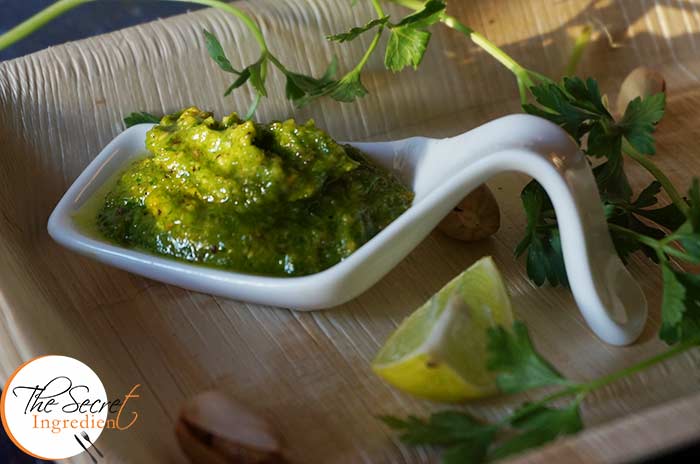
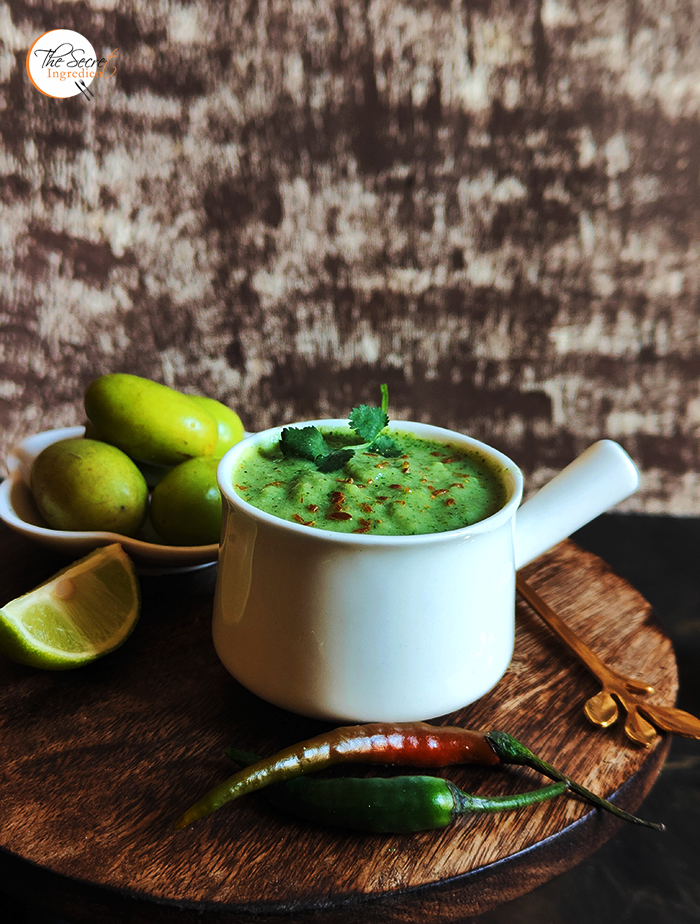
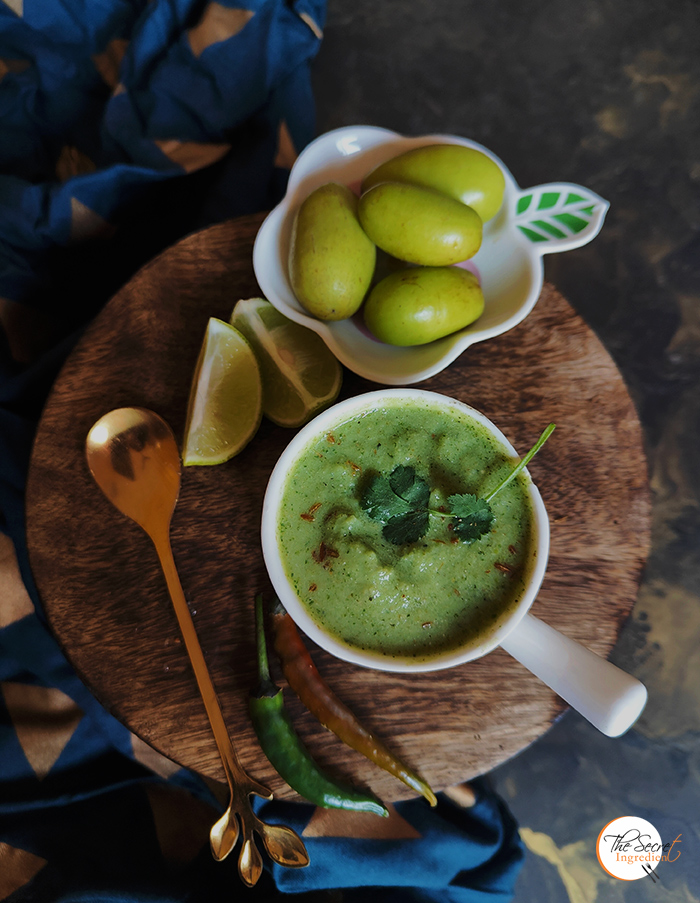
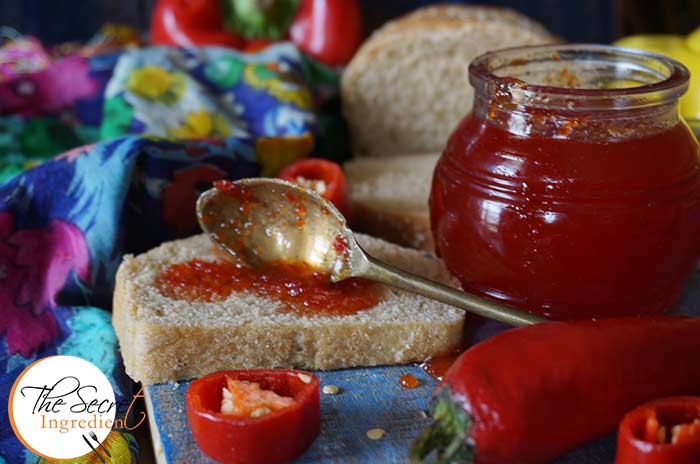
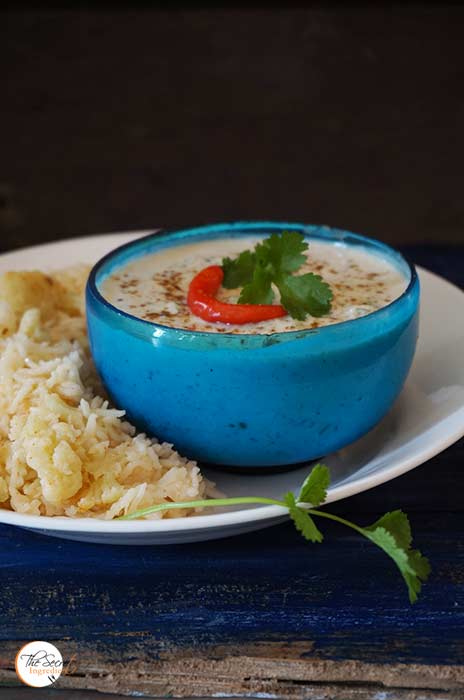
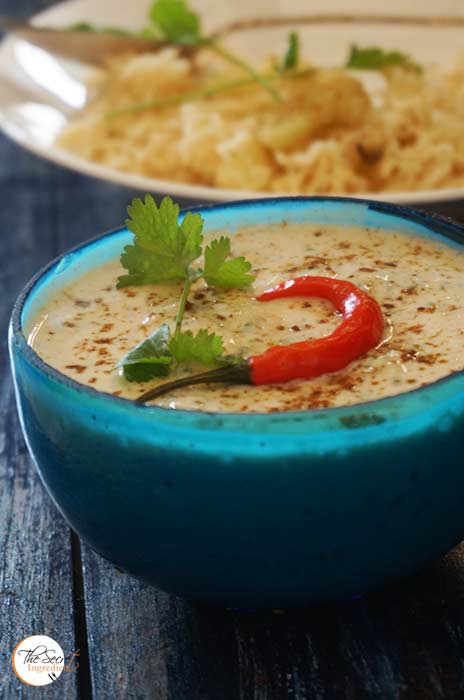
7. Transfer the dip in a serving bowl and make a swirling well in the center with the back of a spoon and add a generous drizzle of olive oil and sprinkle some crushed walnuts. Serve with crackers, cucumber sticks, lavaash, pita bread and anything else you fancy 🙂

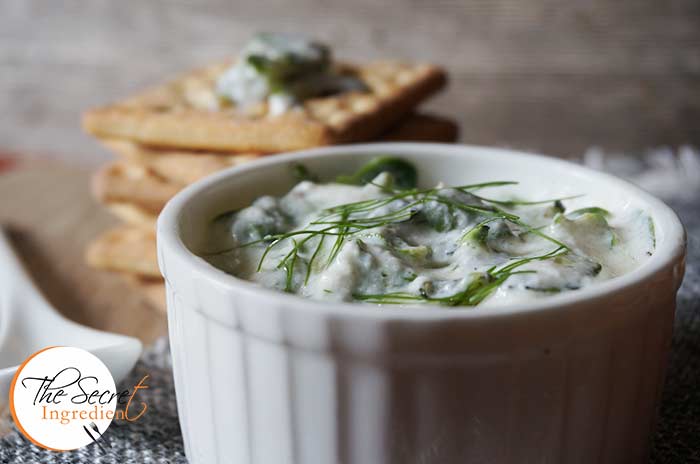
Other dips you can try are: Greek Purslane Yogurt Dip Indian Plum & Mint DipCharred Aubergine Curd DipBathua Ka Raita.

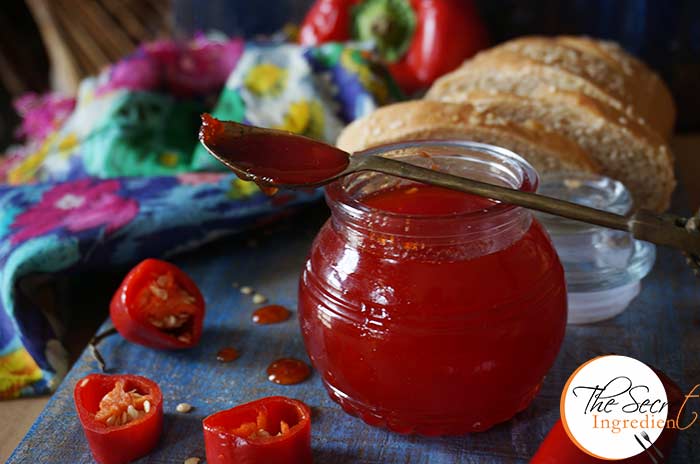
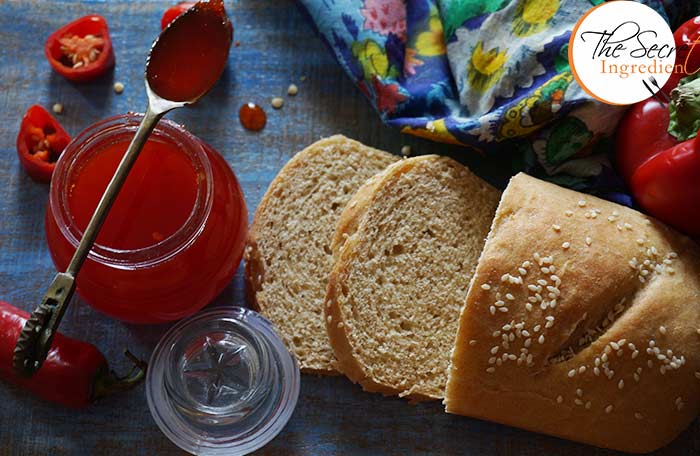
Other dishes with Red Bell Pepper you can try are: Charred Bell Pepper and Pine Nut Pasta RecipeRoasted Bell Pepper & Black Eyed Peas SaladRed Chilli & Red Bell Pepper JamMalai Bell Pepper MushroomSautéed Red Bell Pepper and Olive Pasta Salad.

muhammara_featured6[whohit]Muhammara[/whohit]

[yumprint-recipe id=’251′]


BasilPesto_Featured3

Authentic Italian Pesto needs no prelude. If you have pesto in your pantry I can assure you, you can do so many things with it. It makes fabulous pasta dishes, makes a delicious marinade for your meats, a lip smacking filling for the Bread and the list is endless. Last time I made a huge batch of pesto and it was devoured by my husband simply by smearing on bread. I saved (read hid) a little for the Chicken Pesto Pasta with Sundried Tomatoes . I shall soon be sharing its recipe.

BasilPesto_Featured1
The essential thing about the pesto is that each and every ingredient in this recipes plays a very crucial role. So please choose good quality ingredients which makes a huge difference in the taste. Other than this its not rocket science to make this salsa. Simply put the ingredients in blender and blitz.

Directions:
1. Remove the pine nuts from the shell and toast them on a pan on a medium low flame, till they become slightly golden in colour. Do not burn them. Set them aside to cool down.


DSC05205


DSC05206


2. In a chutney grinder add fresh basil leaves, thoroughly washed and separated from stems. Also add garlic cloves.

DSC05207


3. Add toasted pine nuts.

DSC05208


4. Add zest of a lemon and then cut it and squeeze in its juice.


DSC05213


DSC05214


5. Season with Salt and freshly ground Black pepper.


DSC05215


DSC05216


6. Add Extra Virgin Olive Oil and blend together into a creamy paste. If the blending gets difficult add more olive oil.


TDSC05217


DSC05218


7.  Now add grated Parmesan Cheese to the pesto blend and combine.
DSC05219

8. Your pesto is ready to be used. You can transfer it to a glass jar to store in refrigerator and top it up a little Olive oil so that the moisture stays intact and it doesn’t come in contact with air. This will increase its shelf life.

You can make Chicken Pesto Pasta with this.You can also try Parsley Pistachio Pesto for a new variation.

Other Salsas and Chutney you can try on the Secret Ingredient are: Argentine Chimichurri SalsaSweet and Sour Raw Mango ChutneyPudina ChutneyGreek Purslane Yogurt DipRaw Mango Chutney with Mint and Coriander.

BasilPesto_Featured2[whohit]BasilPesto[/whohit]

[yumprint-recipe id=’216′]

MangoGarlicChutney_Featured1

My Love for Mango is growing with my age. Its not just the ripe pulpy mangoes which makes my heart  skip a beat but also the green mangoes which are ideal for making pickles and chutneys. I have a lot of green mango recipes on my blog like the Instant Raw Mango Pickle, Sweet and Sour Raw Mango Chutney, Mint and Raw Mango Spicy Chutney, Raw Mango Rice  and the refreshing Aam Ka Panna. Looks like I am not going to stop here I will keep adding more to this inexhaustive list. The other day I saw Bijal, my facebook friend posted a recipe of Raw Mango and Garlic Chutney and since then it was haunting me to try it down. I am happy I did it for it had the most intricate flavours. The Sweetness of Mangoes, the strong flavour of Garlic and the Hotness of Chillies. It made a beautiful melody of distinct flavours.

MangoGarlicChutney_Featured3

Its fairly easy and takes no time to put it together. You can use it as a side dish for your everyday meal but at the same time use it as a dip for your nachos and even top it on your patties in a burger. It gives that kick and takes your dish to another level of deliciousness.

Directions:

1.  Peel and chop some green raw mangoes and put them in a blender or chutney grinder. I had a little ripe mangoes, they had turned pale yellow but were still quite sour.

DSC06002
2. Add few cloves of peeled garlic to the grinder.

DSC06003
3. Throw in some salt, red chilli powder and jaggery powder to balance the acidity.


DSC06004


DSC06005


DSC06006


4. Blend it together into a smooth paste.

DSC06007
5. In a pan add some oil and when it gets hot add some cumin seeds and asafoetida.


DSC06008


TDSC06009


DSC06010


6. Pour the blended mango into the pan and cook for a minute or so or until the raw smell of garlic diminishes from the chutney. 

DSC06011
7. You are ready to serve your chutney. Let it cool down and place it in a jar or bottle an refrigerate until use.

Other Chutneys you can try on The Secret Ingredient are: Spinach Coriander Salsa| Phalahari ChutneyGreen Ber Ki ChutneyCoconut Chutney Fresh Plum Spiced Chutney Coriander Chutney without Onion Garlic

MangoGarlicChutney_Featured4
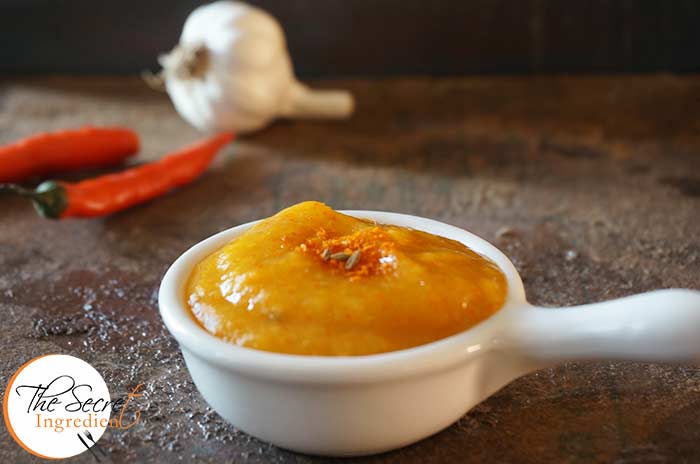
[whohit]MangoGarlicChutney[/whohit]

[yumprint-recipe id=’215′]

PurslaneDip_Featured4

I had a Turkish employer in Mexico, the Studio me and my husband worked for. He introduced us to this Purslane Dip when he invited us for dinner at his place. I looked at the leaves and exclaimed “Kulfa!” It was native to my motherland. You dont know the feeling when you find something or someone from your country. I am glad my mother had made me try this vegetable so I instantly recognised it. But unlike Indians they dont make a saag with this. Instead they eat it like a dip with breads or crackers. The idea was new for me and all I can say it was a delicious idea.  

PurslaneDip3

Last time when I visited INA Market I found Kulfa. I instantly bought it. When I reached home I decided to make this dip. Oh it was healthy and so refreshing. If yo can lay your hands on kulfa do spare a little bunch for this different yet tasty dip. You can pull this together in minutes and doesn’t require any cooking.

Directions:

1. Separate the leaves of purslane from the stems.

DSC05738
2. Run it thorughly under water and check for any grit.Coarsely chop them. Set aside.

DSC05739

3. Whisk thick creamy Yogurt in a bowl. You can use Greek yogurt or hung curd. Grate garlic into the yogurt.

DSC05740

4. Add Olive Oil.

DSC05741

5. Season it with Salt and Pepper.


DSC05742


DSC05743


6. Add washed leaves of purslane to the yogurt and combine well.

DSC05744
7. Chill it in the refrigerator and serve with Crackers or Bread of your choice.

Other Raita or yogurt based dishes you can try are : Bathua ka Raita, Aloo Anaar ka Raita, Baigan ka Raita.

PurslaneDip_Featured2
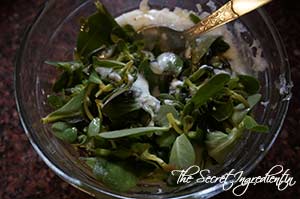
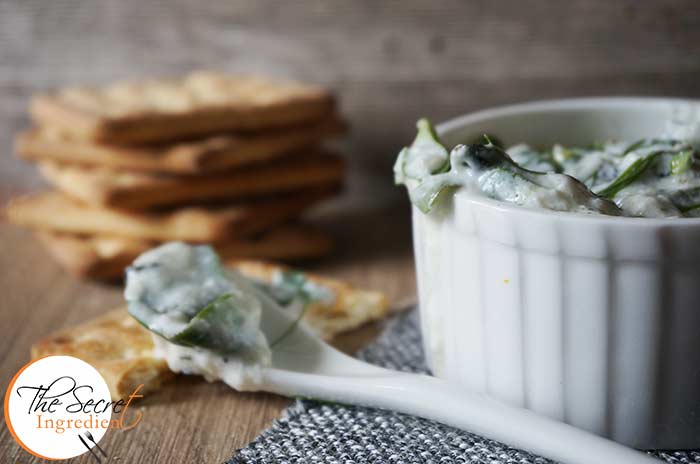
[whohit]PurslaneDip[/whohit]
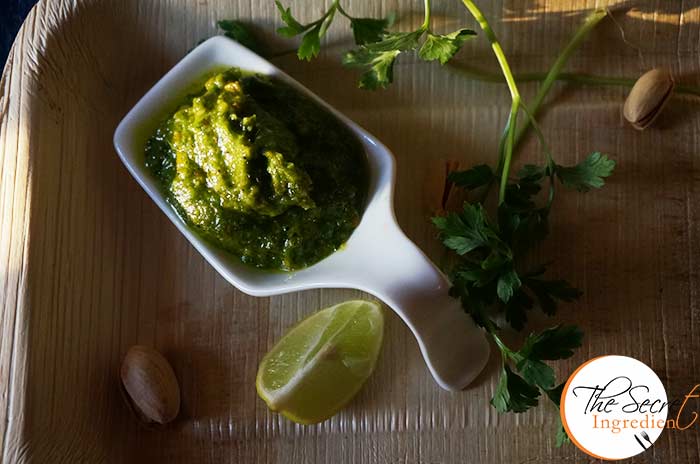
[yumprint-recipe id=’209′]

ParsleyPesto_Featured1
Last week we baked some beautiful buns and decided to make some burgers for dinner. I decided to make Broccoli Patties for the burger but then I thought I dont have any sauce to go with it. I dont like (read “hate”) ketchup. Then something struck me, I had a lot of Parsley which was on the verge of turning yellow. I decided to make a pesto with it.

ParsleyPesto_Featured4

With a handful ingredients the parsley pesto came out delicious and went very well with the Broccoli Patties Burger. You can use this as a marinade for your meat or simply as a dip for your croquettes. Its a versatile dip with a sharp flavour which you wouldn’t like to miss. Its a close kin to Argentine Chimichurri but still has its own unique flavour.

Directions:

1.  Separate the leaves of parsley from the stem and wash them thoroughly for any grit. Put them in a chutney blender.

DSC05844

 
2. Add Garlic Cloves.

DSC05845
3. Add salted Pistachios without the shell to the blender.

DSC058464. Add Olive oil.

DSC05848
5. Season with Salt and Pepper and add juice of lemon (not in pictures).


DSC05849


DSC05850


6. Blend together into a smooth paste. If you feel its not blending easily you may add a little more olive oil. Your Parsley Pesto with Pistachio is ready.

Other Salsas and Chutney you can try here are: Fresh Plum Spiced ChutneyArgentine Chimichurri SalsaCoconut ChutneyGuacamoleIndian Plum & Mint Dip Sweet and Sour Raw Mango ChutneyPudina ChutneySpinach Coriander Salsa| Phalahari ChutneyCoriander Chutney without Onion GarlicRaw Mango Chutney with Mint and CorianderSzechuan Sauce 

ParsleyPesto_Featured2
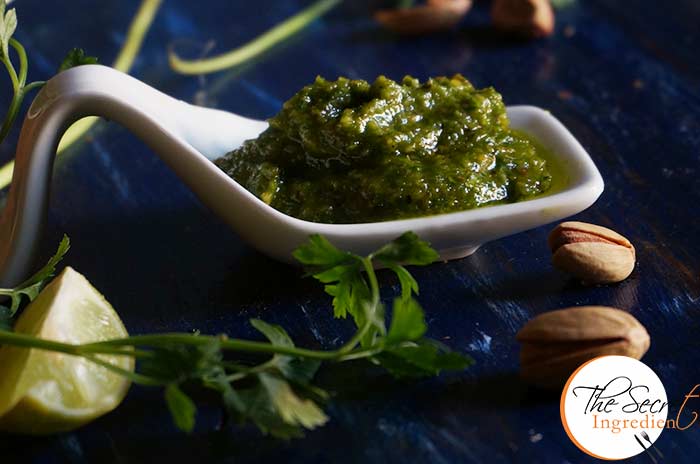
[whohit]ParsleyPesto[/whohit]

[yumprint-recipe id=’208′]


Green Ber ki Chutney I make every year because green ber is usually available at this time of the year. Yesterday was Maha Shivaratri, a Hindu festival  which is celebrated on the fourteenth day of every lunar month or the day before the new moon. It has a special significance for those who are on a spiritual path. A lot of Shaivas, devotees of Shiva observe fast on this day.  Around this time of the year the markets in India are flooded with some interesting fruits and vegetables, like the yellow ripe pumpkin, Cape gooseberry or Rasbhari in Hindi and also Ber or Indian Plum.

I have always loved eating Ber. It has a very peculiar taste not liked by everyone. This year on shivratri when I saw ber in the market I bought in abundance to munch all day long and tried to make this delicious chutney with mint. This recipe I had seen a while back and had been on my to-do list. I was a little skeptical about its taste but the end result was astonishing. Husband who doesn’t like ber also relished this chutney and asked for multiple servings with Samosa 🙂 Ha! what a happy end to ber.

Directions:
1. Wash and pit or destone the ber and  cut into pieces.

DSC05397

2. Separate the mint leaves from the stem and wash them well.

DSC05398

3. In a blender add the ber pieces along with mint leaves and Black Rock Salt and normal salt.


DSC05403


DSC05404


4. Also add sugar and roasted Cumin Seeds powder.


DSC05405


DSC05406


5. A green chilli, cashew nuts and a pinch of asafoetida


DSC05407


DSC05408


DSC05409


6. Blend them together to a smooth creamy paste.

DSC05410
7. Add Lemon juice and pulse again.

DSC05412
8. Serve with your favourite snacks and enjoy its deliciousness. You can refrigerate the chutney for later use.

Other Chutney Dips and Salsa you can try here are: Aalubukhara ChutneyArgentine Chimichurri SalsaCoconut ChutneySweet and Sour Raw Mango ChutneyPudina ChutneySpinach Coriander Salsa| Phalahari Chutney Coriander Chutney without Onion GarlicRaw Mango Chutney with Mint and Coriander


[yumprint-recipe id=’196′]

RedChiliJam_Featured5
It was a season of Red Chilies. I made about 20 kilos of Stuffed Red Chilli Pickle and was busy with its distribution all winter. I am back to my hills and I spotted more red chilies in the market. Oh man! Its my weakness. I cant resist red chillies for they are so darn pretty. Then I remembered I had once asked a dear friend of mine Kiran Padsala Amin to share this recipe of Red Chilli Jam. Its originally from Megha Vikram Singh. I must thank the girls for this lip smacking recipe.

RedChiliJam_Featured7

The jam or preserve was a hit in my family. My Mother in law who doesn’t like hot spicy food, also appreciated it and greedily ate with a parantha. Ah! what else do you want. If you ask me to describe the taste, its the taste of chillies with the sweetness of sugar. Of course, it has a hint of hotness which makes it to die for. I am not gonna add more words for I want you to try and leave back your comments below. 

Directions:
1. Wash the Red Chillies and Red Bell Pepper and pat them dry.

DSC05113

2. Deseed the Red Bell Pepper and cut them into small pieces. Add the pieces in a blender and make a coarse puree. It can be just a little chunky.


DSC05114


DSC05115


DSC05122


3. Similarly deseed the Red Chillies and Pulse them with the Red Bell Peppers to make a chunky puree.


DSC05116


DSC05123


DSC05124


4. In the meanwhile add sugar in a large heavy bottom pan. Also add White Vinegar and salt. Put the flame on on medium and let the sugar dissolve in vinegar. Do not stir the sugar, let it slowly melt. If you try to stir it, it will crystalize and you don’t want that to happen to your jam. So have patience and let it take its own sweet time.


DSC05125


DSC05126


DSC05127


5. Once you see the sugar has melted. Its time to put all the puree to the pan. If you are adding pectin* then this is the time. Add it to the sugar syrup. Give it a gentle mix and let it boil for good 20-25 minutes.


DSC05128


DSC05131


6. After 20-25 minutes you will see the mixture is syrupy but hasn’t thickened. Dont worry! Let it sit for 45 minutes or so to cool down. It will thicken as it cools.

DSC05132
7.  Transfer this to glass jars and indulge. Try it on a slice of bread or paratha or just eat barely!

You can even try Stuffed Red Chilli Pickle.

Other Accompaniments you can try here are: Spicy Chinese SaucePudina ChutneySweet and Sour Raw Mango ChutneyCoconut Chutney Argentine Chimichurri SalsaFresh Plum Spiced Chutney.

RedChiliJam_Featured2
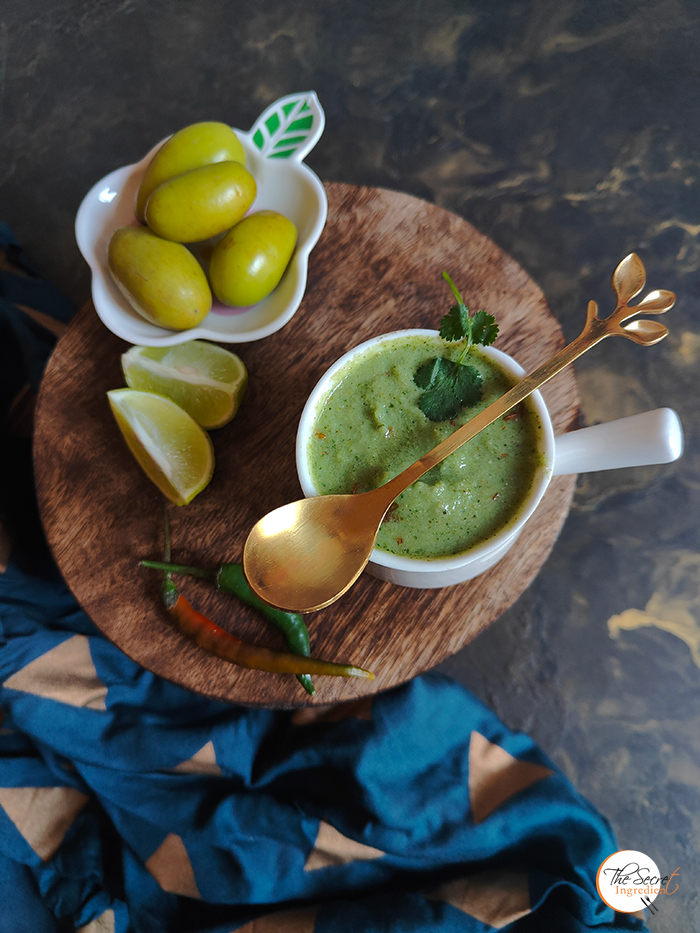
[whohit]RedChilliJam[/whohit]

[yumprint-recipe id=’192′]


baingankaraita_featured2

Baingan ka Bhartha or Charred Eggplant cooked with spices is a very popular dish from India. But other than this the Charred or stove roasted big Brinjals are used to make this incredible yogurt side dish. This dish was introduced to me by my mother and to her from her inlaws. Its native to Multan erstwhile Indian state and now in Pakistan. Since both the countries share the same culture, language and cuisine a lot of dishes are common. 

baingankaraita_featured3
Its a fairly simple dish you need to simply roast the eggplants and remove its skin. Learn how to roast a brinjal on a stove top. Once the pulp is ready, it will take minutes to put this side dish together. I love this raita and its a common side dish in my native family. Baingan or Eggplant is also known as batau in punjabi belt.

Directions:

1. Take pulp or flesh of Brinjal after being roasted. You can learn to roast them like this. Place the peeled eggplant in a blender.

DSC00188
2. Pour fresh Yogurt or curd on top. Along with Fresh Coriander leaves.


DSC00189


DSC00190


3. Add salt and red chili powder.


DSC00191


DSC00192


4. Also add roasted Cumin powder and ginger powder or saunth.


DSC00193


DSC00194


5. Close the lid of the blender and pulse for 5 -7 seconds until it combines well. Serve as a side dish with Aloo Gobhi, Aloo Methi , Tori Wadiyan and any other dry vegetable dish.

Other Raita dishes you can try on The Secret Ingredient are : Bathua ka Raita, Aloo Anaar ka Raita Purslane Yogurt Dip

You can even try Bharwan Baingan, Baingan Ka Bhartha , Baingan Bhaja and Baingan ka Salan.

baingankaraita_featured1

[whohit]BainganKaRaita[/whohit]

[yumprint-recipe id=’154′]


I
n my last post I had made Fresh Plum Smoothie with the left over plums from my pantry. I was not very sure how this chutney would turn out because the store bought plum chutney do not appeal to me in taste. So I made a small jar to try it out. 


This recipe failed all store bought plum chutneys, infact it made me fall in love with it. It was a right balance of tart, sweet and assortment of spices. I added jaggery powder to it, you can use brown sugar or even normal white sugar if you like. I have always disliked chutneys with vinegar, it tends to make them so distasteful. This recipe is without any vinegar or wine, which makes it perfect and retains the true flavour of plums. 

You can use this on your breads, rotis, dosas and even scoop and smear it on your favourite pancakes.

Directions:

1. Wash the plums thoroughly and remove their tiny stem.

DSC02002
2. Put it in a pressure pan * along with water. Close the lid and let it cook for 3 whistles or 7-8 minutes after the pressure builds up. Switch the flame off.

DSC02003
3. Open the lid after the steam has escaped and you will see all pulp and stones separated from each other.

DSC02004
4. Discard the stones and put the pulp with water in a saucepan.

DSC02005
5. Bring it to a boil.

DSC02006
6. Add jaggery powder.

DSC02007
7. Also add  crushed dry red chili.

DSC02008
8. Season it with salt and red chili powder.


DSC02010


DSC02010


9. Also add coarsely crushed cloves for that incredible aroma.

DSC02011

10. Let the sauce cook on medium low flame for some time till you see it has thickened. The bigger batch you make the more time it will take to thicken, so have patience. Keep stirring in between.

DSC02012
11. Let it cool down completely and then transfer it to an air tight jar and refrigerate. The chutney remains good for months. Smear it on your bread or pancake or lick it just like that!

You can try other Chutneys from The Secret Ingredient: Mint Chutney, Spinach Mint Chutney, Raw Mango Coriander Chutney, Coconut Chutney, Sweet and Sour Raw Mango Chutney.

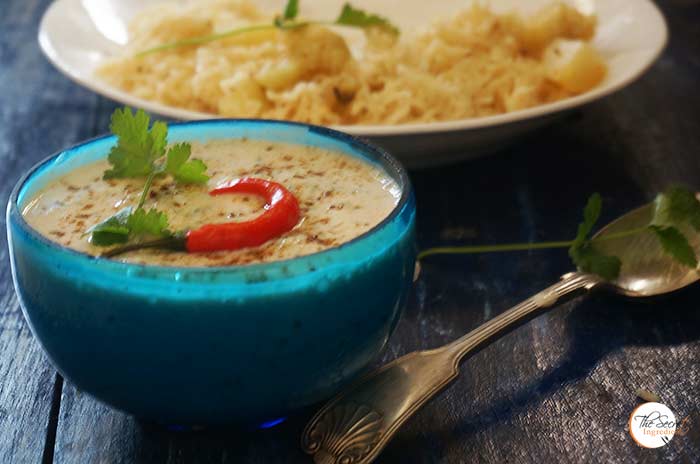
[whohit]PlumChutney[/whohit]

[yumprint-recipe id=’143′]


RawMangoChutney_Featured3
Few days back I had posted recipe of Khatti Meethi Kacchey Aam ki Chutney. I still had some raw mangoes from the 10 kg bag my parents had sent me. Ohh yess its raining Mangoes! I had already made Raw Mango Pickle South Indian Style and also the Sweet and Sour Raw Mango Chutney. My mother makes this Raw Mango Chutney with Mint and Dhaniya so tried my hands on it. It tastes great with fried snacks like Sabudana Tikki and even Arbi Ke Patton ke Pattode.

RawMangoChutney_Featured2
This Chutney can be made instantly without any hassle. When you have guests coming over, this one is a quick fix recipe. You may probably have all the ingredients handy and readily available. I specially wanted to share this recipe when Monsoons are at your doorstop and you feel the urge to make some delicious snacks!

Directions:
1. Separate Mint and Coriander Leaves from the stem and wash them rigorously. Peel a raw Mango and discard its peel.

DSC01808

2. In a grinder add Raw mango chopped, Mint and Coriander leaves, Onion, clove of garlic and green chilies.

DSC01809
3. Also add Black Rock Salt and Chat Masala.


DSC01810


DSC01811


4. Add few table spoons of water to blend into a fine paste.

DSC01812
5. Transfer to a container and keep refrigerated. Stays good for up to a week. Can be made in advance.

You can try other raw mango Recipes: Raw Mango Pickle South Indian Style, Raw Mango Sweet and Sour Chutney.

Other Chutneys you can try are Pudina Chutney, Spinach Coriander Chutney, Coconut Chutney, Coriander Chutney without Onion Garlic, Szechuan Sauce, Chimichurri

RawMangoChutney_Featured1[whohit]RawMangoChutney[/whohit]

[yumprint-recipe id=’139′]