Tag

Non Vegetarian Recipes

Browsing

stuffedchachinda_featured2
Every household has its unique eating habits. One vegetable or dish may be a regular affair for some however, unheard for many others. This depends on the culture, place and availability of resources. When I was in Mexico I explored so many local produce and included them in my daily menu and when destiny brought me to Almora, my small hilly town things were different. The Himalayas not only bring serene beauty to the place but also bestows on us bounty of nature. I love to try them out and rather I feel privileged. Some time back I made Angel Hair Pasta with Garlicky Lingda, which is Fiddlehead Fern found in the hills. I also made Sherbet with Kaafal or Bay Berries found in this particular Himalayan region.

stuffedchachinda_featured1

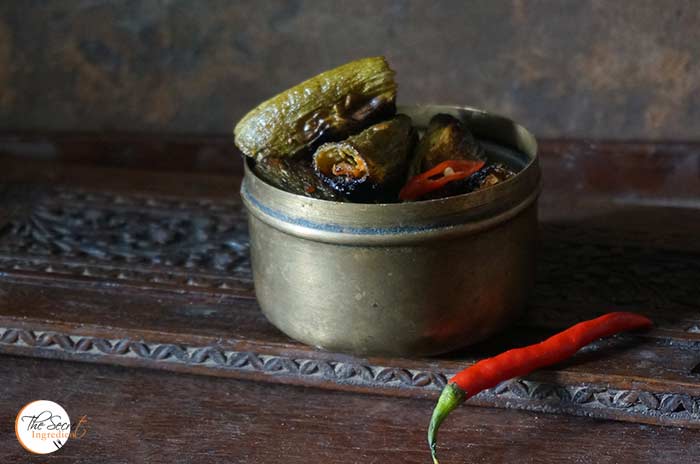
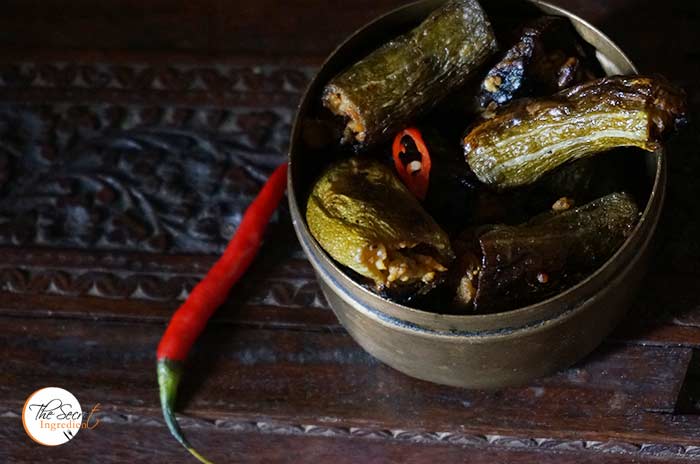
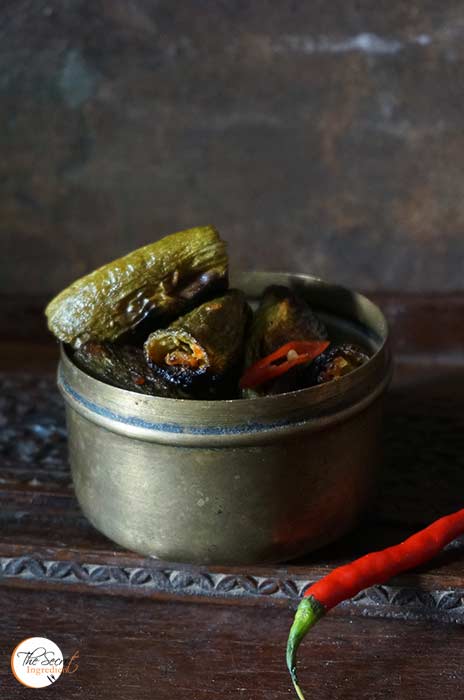
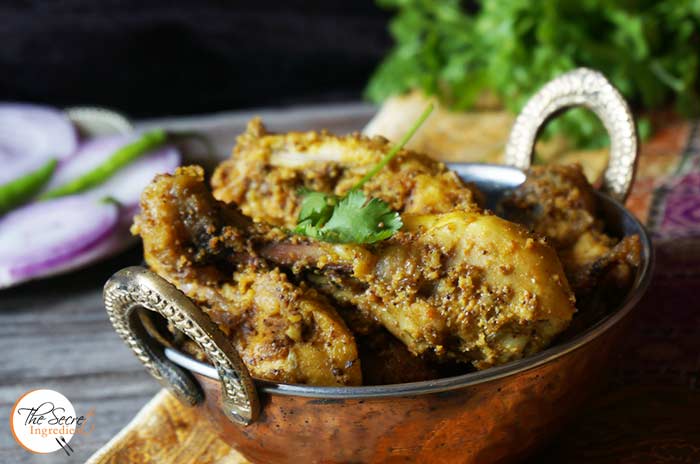
And when I saw this serpent looking vegetable in the market I was drawn to its beauty. It looked ecstatic. Its called as Chichinda or Padwal in Hindi and Snake Gourd or Serpent Gourd in English. Most of the people make it like any other gourd sabzi however, I tried to make it differently. I stuffed it with cooked Chicken Keema and then cooked the outer body with the stuffing. It took this humble vegetable to a whole new level. You can always stuff it with mashed potatoes or paneer

Directions:
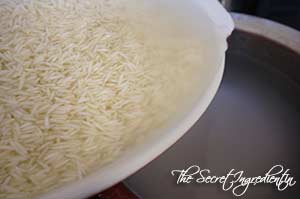
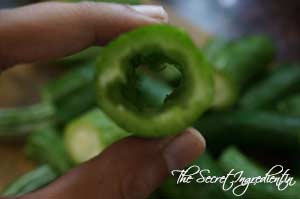
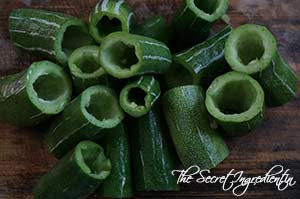
1. Wash the snake gourd thoroughly and cut them into 2 inch long pieces. Scoop out the pulpy portion by running a knife in the centre. Reserve the pulp.


dsc08817


dsc08819


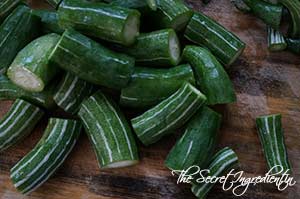
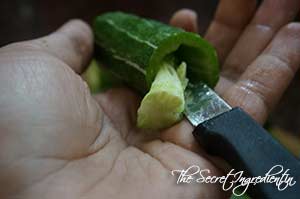
2. Repeat the same with rest of the pieces and set aside.


dsc08820


dsc08823


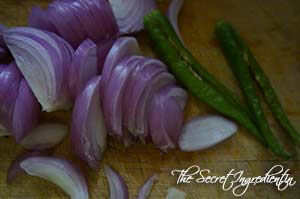
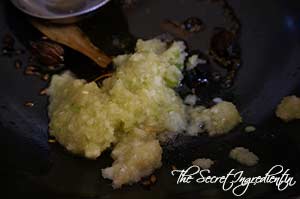
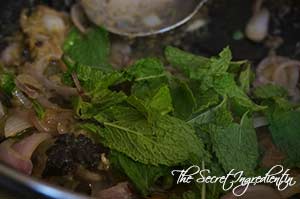
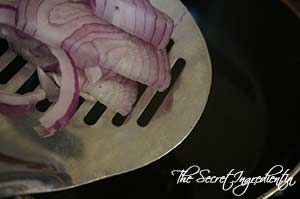
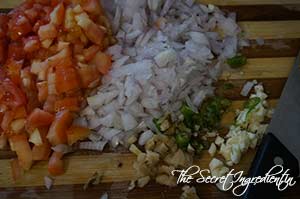
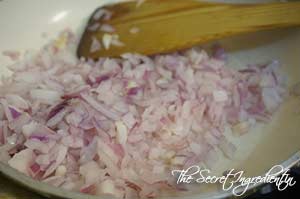
3. Chop Onions, Tomatoes, Ginger, garlic and green chillies finely and set aside.

dsc08845

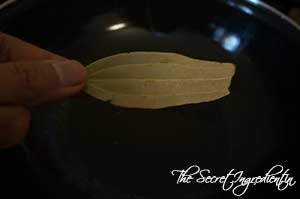
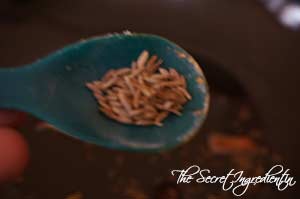
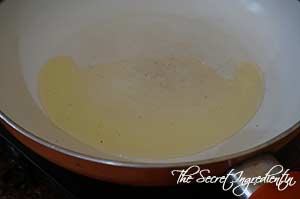
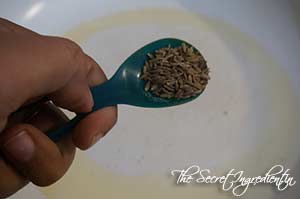
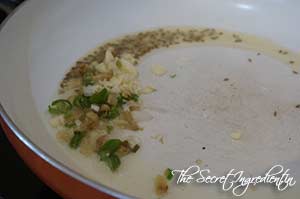
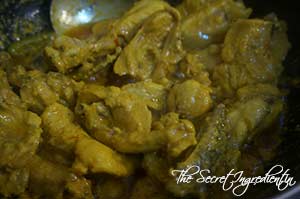
4. In a pan pour some oil and add cumin seeds. They will crackle in a few seconds.


dsc08846


dsc08847


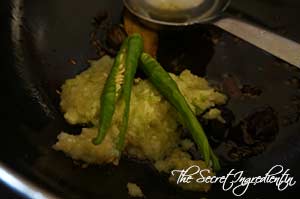
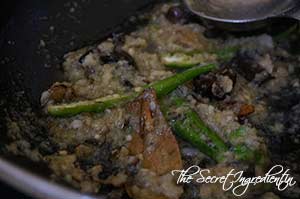
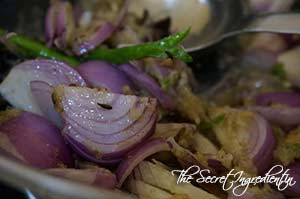
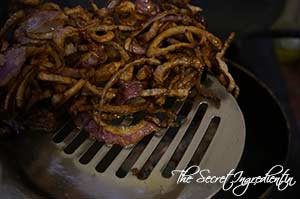
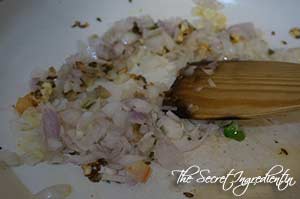
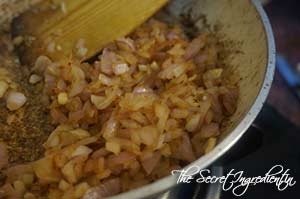
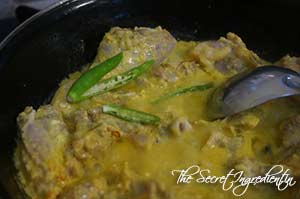
5. Add ginger garlic and green chillies and saute them till the raw smell of garlic fades away. At this stage add chopped onions and continue to cook till they are transparent and soft. 


dsc08848


dsc08850


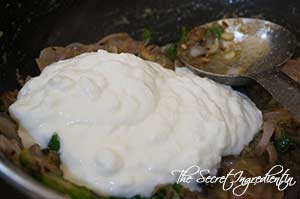
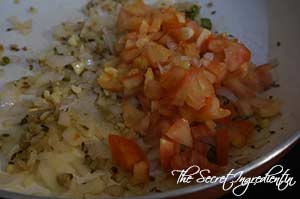
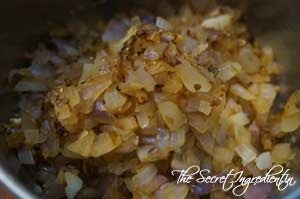
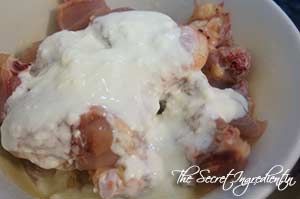
6. Add tomato sand continue to cook till they are gooey and soft.

dsc08851

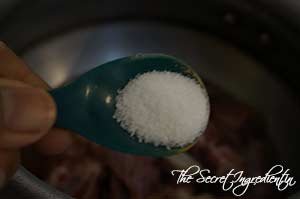
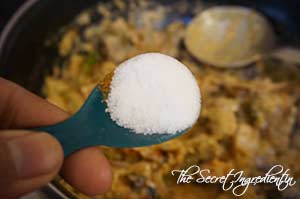
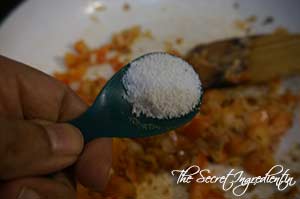
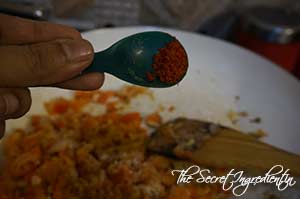
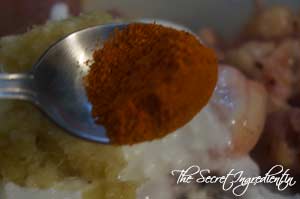
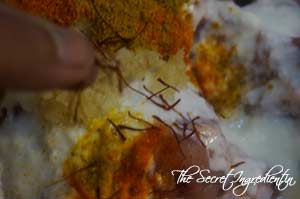
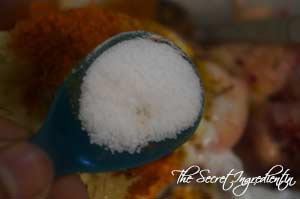
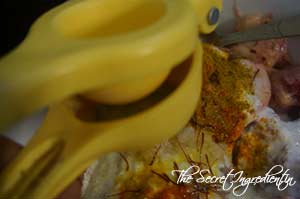
7. Season it with salt, red chilli powder and Turmeric powder. Combine  everything.


dsc08852


dsc08854


dsc08853


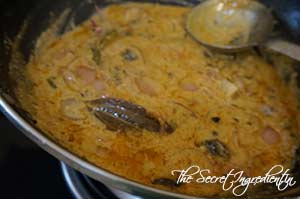
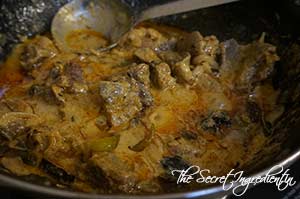
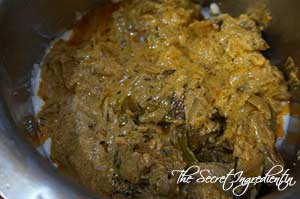
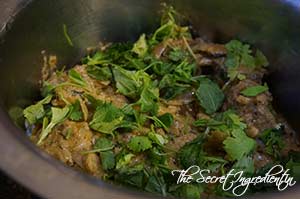
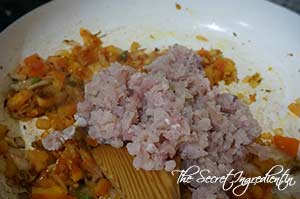
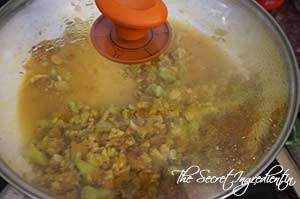
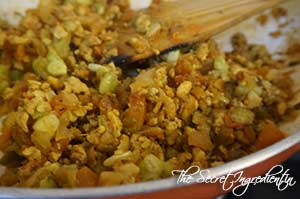
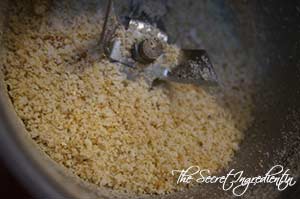
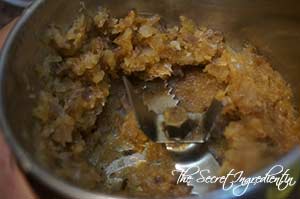
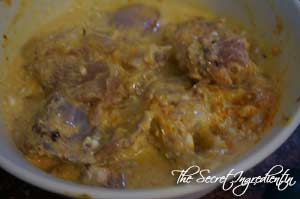
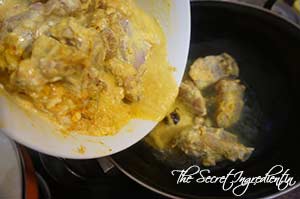
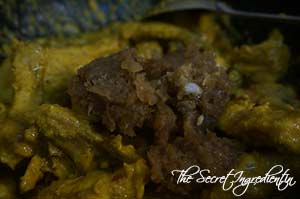
8. Add minced chicken keema and reserved pulp of gourd and toss it with the spices in the pan. Saute for a couple of minutes till chicken is cooked half way through.


dsc08855


dsc08857


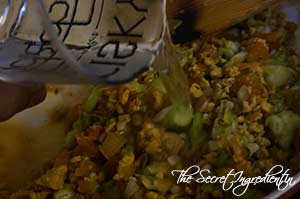
9. Add water and cover with a lid abd continue to cook further.


dsc08858


dsc08859


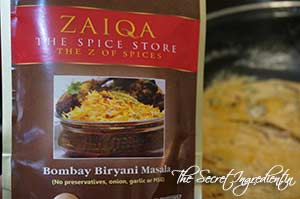
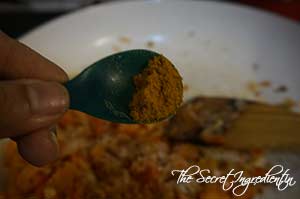
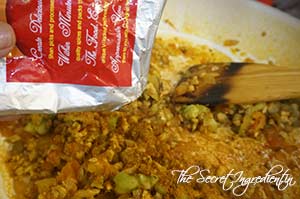
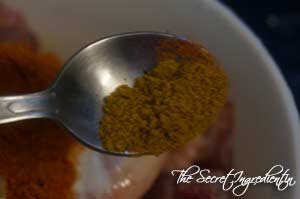
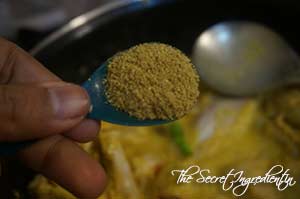
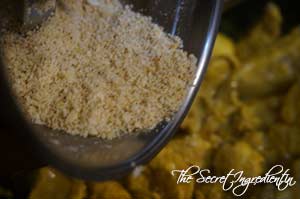
10. Add tandoori masala and combine.


dsc08860


dsc08861


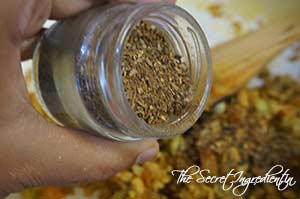
11. Add Garam masala and turn the flame off.
dsc08862

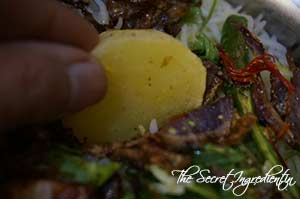
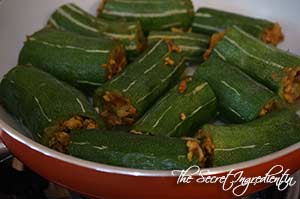
12. Fill the stuffing  inside the hollow snake gourd pieces we had reserved.

dsc08863
13. Now in a pan add some more oil and place all the stuffed snake gourd pieces.

dsc08866
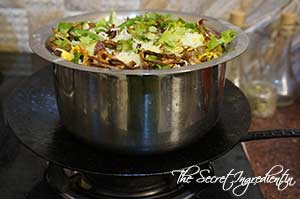
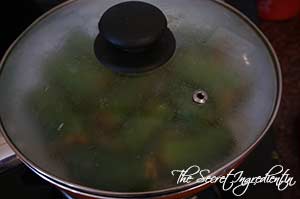
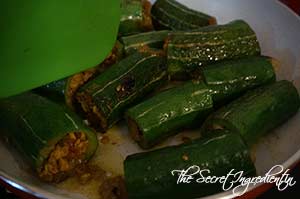
14. Cover with a lid and keep cooking it. Do not forget to change sides for even cooking after every five minutes. 


dsc08867


dsc08868


dsc08870


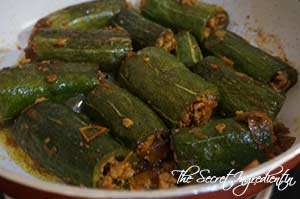
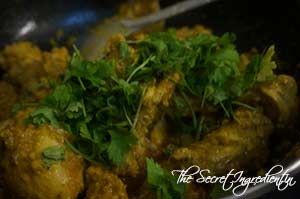
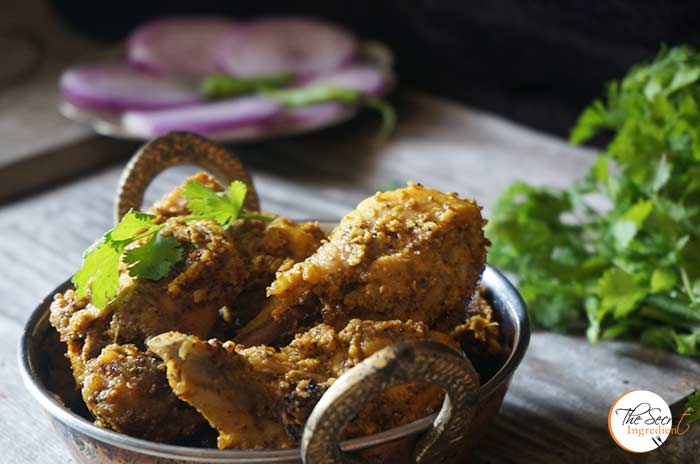
15. When the gourds have acquired a golden colour all over and are softer they are done. Turn the flame off and serve hot with Roti.

Other dishes with Chicken you can try are: Butter ChickenChettinad Pepper Chicken MasalaHyderabadi Murg KormaCheesy Chicken LasagnaGinger-Sesame Chicken with Bok Choy and MushroomsItalian Chicken Meatballs with Spaghetti.

stuffedchachinda_featured3[whohit[ChichindaWithChicken[/whohit]

[yumprint-recipe id=’254′]

ChicikenKorma_Featured3

I have started eating Non vegetarian food very late in my life and which also means I started cooking it also very late. But I never panic because my father cooks excellent chicken and by the grace of God I have friends who always come forward to share their recipes and tips to make everything fabulous. The other night I wanted to try out a new recipe of Chicken and I resorted to my bestie Shaheen’s blog Spoon Fork and Food. It has some amazing recipes from lip smacking non vegetarian dishes to delicious, divine vegetarian food.

ChicikenKorma_Featured2

The recipe was self explanatory and came out just amazing. Its a regular at our place now. Whenever we have chicken my husband insists that we must make this again. The addition of nuts and coconut enhances the texture of the chicken and makes it from ordinary to  extraordinary. If you are looking for a recipe to win your heart and stomach you must continue to read the recipe. 

Directions:

1. In a pan add Almonds and cashew nuts.


DSC06352


DSC06353


2.  Add Poppy Seeds and desiccated Coconut. Toast them on low flame till they have become crisp.


DSC06354


DSC06355


DSC06356


3. Let the mixture cool down a bit. Transfer it to a dry grinder and pulse together to make a coarse powder. Set aside.


DSC06357


DSC06359


4. Chop some onions and dry roast them in a pan till they have become brown in colour.


DSC06362


DSC06363


5. Grind them in a paste and set aside.


DSC06365


DSC06366


6. In order to marinate Chicken add yogurt in a bowl along with fresh pieces of chicken. Also add ginger garlic paste and red chili powder.


DSC06367


DSC06368


DSC06369


7. Add turmeric powder, some strands of saffron and salt


DSC06370


DSC06371


DSC06372


8. Add lemon juice combine and refrigerate at least for an hour do that the spices marinate the chicken well.


DSC06373


DSC06374


9. After marinating the chicken, add Ghee or clarified butter in a wok. Add Bay leaf and green cardamom to the ghee.


DSC06375


DSC06376


DSC06377


10. Also add Black Cardamom, Cloves and Peppercorns. 


DSC06378


DSC06379


DSC06380


11. Once the ghee is infused with whole spices add the marinated chicken along with the liquid. Add slit green chillies and let the chicken cook and juices run out. Also add coriander powder and keep cooking. 


DSC06381


DSC06382


DSC06383


12. When the entire liquid has evaporated and ghee is separated add onion paste and roasted nuts mixture and combine well. Keep stirring and let the chicken cook on low flame till done. You shouldn’t need any water as there is enough curd. But if you feel the spice is getting stuck to the bottom, add little water and keep cooking till the chicken is done. It should take 20-25 minutes for the chicken to cook. You can add more Ghee to the chicken if you feel its dry. The korma tastes better with more ghee oozing out.. as a matter of fast all dishes do 😉 But a little butter or ghee never hurts anyone 😛


DSC06384


DSC06386


DSC06385


13. Garnish with Garam Masala, Coriander and Mint Leaves.

DSC06387

14. Serve hot with Naan, Kulcha and even roti. 

Other Chicken dishes you can try are: Butter ChickenChettinad Pepper Chicken MasalaGinger-Sesame Chicken with Bok Choy and MushroomsItalian Chicken Meatballs with SpaghettiChicken Soup with RiceGrilled Chicken SaladCheesy Chicken Lasagna.

You can also try Baigan Ka Salan from Hyderabad.

ChicikenKorma_Featured5[whohit]ChickenKorma[/whohit]

[yumprint-recipe id=’233′]

BombayBiryani_Featured4
Biryani is a mixed rice dish from Indian Subcontinent. It can be made with Meat, chicken, lentils, vegetables and the list is unending. The traditional recipes of Biryani are specific to regions based on the spices, ingredients and texture of the dish. Mughlai, Awadhi, Hyderabadi, Kashmiri, Thalassery, Calcutta and many many more. Biryani means patience and a lot of work. It requires huge deal of Ingredients and slow and patient cooking which enriches the taste of Biryani and makes it so heavenly. I have always been a person who likes quick less intricate dishes. given the fact my little one needs my devoted time and attention.But when Anisa Arif, the owner of Zaiqa- The Spice Store sent me her special spices I was smitten. I had heard so much about the spice blends she creates that I decided to do the Bombay Biryani and put my laziness at bay.

BombayBiryani_Zaiqa
The next help was from Shaheen Ali,  the Food Blogger from Spoon Fork and Food. She helped me at every step with tinniest of details with making a perfect Bombay Biryani. I am naive when it comes to mutton. I have made very few recipes in the past using Mutton.  I have improvised on Shaheen’s recipe of Chicken Bombay Biryani and made this Muttom Bombay Biryani.  It was a lot of effort but at the end the results were phenomenal. The special Zaiqa Bombay Biryani Masala made a huge difference in enhancing the taste of the dish.

BombayBiryani_Featured2
On my research I found out how this Biryani is different from the others. The origin of this Biryani is from Bombay (Mumbai) as the name suggests. It has a slight sweetness to it, which comes from dried plums. The Zaiqa Bombay Biryani Masala has dried plums as one of the key ingredients. Also many claim this biryani is incomplete without fried chunks of potatoes. I have tried to incorporate both and I can say this tasted simply delicious.

Directions:
1. Wash and soak long grain rice in water for at least an hour. Set aside.

DSC06468
2. In a pressure pan add pieces of mutton along with garlic cloves and peeled ginger pieces.


DSC06459


DSC06460


3. Also add Black Cardamom, Green Cardamom, Cinnamon Stick and Cloves in the pan. Add little water and salt and pressure cook it for half an hour till its soft and cooked. The cooking time of mutton can vary on the variety, so this can take longer or even lesser. So kindly adjust. Once cooked set aside and do not drain the broth. Reserve it with the spices.


DSC06462


DSC06464


DSC06465


4. In the meanwhile add little saffron to hot milk and set aside.

DSC06467
5. Chop Onions in lengthwise slices and slit some green chillies. 

DSC06466
6. In a wok add some ghee and add bay leaf, Black Cardamom & Green Cardamom.


DSC06469


DSC06470


DSC06471


7. Also add some cloves, Cinnamon Stick and Cumin seeds.


DSC06472


DSC06473


DSC06474


8. Add nutmeg or Jaiphal powder, mace or javitri and black peppercorns.


DSC06475


DSC06476


DSC06477


9. Also add Anise star, Ginger Garlic Paste and slit chilies.


DSC06478


DSC06479


DSC06480


10. Roast the spices till everything becomes fragrant. Add Onion slices and also saute them until they have acquired slight colour. Also add some fresh torn Mint leaves. At this stage you can even add grated coconut. I dint.


DSC06481


DSC06482


DSC06483


11. Now add curd to the wok and add Zaiqa Bombay Biryani Masala. Mix everything well. Turn the flame on low for you dont want it to stick to the bottom of pan.


DSC06484


DSC06485


DSC06486


12. This is how your gravy looks.  Now add Boiled Mutton pieces to the gravy and combine.


DSC06491


DSC06492


13. Season with salt and let it cook until the ghee has separated from the masala. Your akhni or Curd based spicy Gravy is ready for the biryani. It will be brown in colour. Set aside. 


DSC06493


DSC06497


14. Add sliced onions to hot oil and fry them till they become brown and crispy. Collect them on a absorbing paper to take off excess oil. These crispy fried onions are known as Brista. Reserve them for assembling the biryani.


DSC06498


DSC06500


DSC06501


15. Wash, peel some baby potatoes and cut them into equal size half pieces. And also fry them in the oil and set aside.


DSC06499


DSC06502


DSC06505


16. For the rice add soaked rice to a vessel and add water to it along with salt & few drops of oil.


DSC06487


DSC06488


DSC06489


17. Also add juice of lemon and par boil them. Drain them in a colander 


DSC06490


DSC06494


DSC06495


18.Spread them on a plastic tray to remove moisture. Set aside.

DSC06496

19. In order to assemble the biryani spread little curd in the bottom of a thick bottomed vessel so that nothing sticks. Now spread the Mutton akhni all over on top of the curd. Sprinkle some Mint and Coriander Leaves on top of the akhni.


DSC06504


DSC06506


20. Now spread a layer of Rice on top of the Mutton. Spread Ghee all over specially the corners. Also sprinkle Kewra water.


DSC06507


DSC06508


21. Add another layer of Mint and Coriander Leaves also some green slit chillies. Top it up with Fried Onions and Fried Cashews if you like.


DSC06509


DSC06510


22. Pour on top the saffron milk we had reserved, specially around corners so that it seeps well. Insert Fried potatoes in the rice. Place the vessel on top of a tawa or skillet and place them on stove. This will save biryani from direct heat and getting burnt.


DSC06511


DSC06512


DSC06513


23. Line the lip of the vessel with dough to ensure the lid sticks to it and rice can steam cook or Dum cook. It also ensure the flavours stay intact and do not escape. Let it 


DSC06514


DSC06515


24. Cook the biryani on dum for 30-40 mins on low flame. Serve hot with Raita of your choice.

You can also try Kathal ki Biryani and Mushroom Pilaf for vegetarian versions of Biryani. Other Rice dishes you can try are: Andhra Style Mango Rice South Indian style Curd RiceSpicy Mint Rice.

You can choose from the following Raitas: Anaar Aloo ka Raita Greek Kulfa RaitaBaingan Ka Raita  Bathua Ka Raita

BombayBiryani_Featured1

[whohit]BombayBiryani[/whohit]

[yumprint-recipe id=’225′]