Tag

EveningSnacks

Browsing

BakedPaneerKababs_Featured2
I
ts raining cats and dogs as Monsoon is here in full swing. One tends to get carried away with the pleasant weather and feel like indulging in fried pakodas or tikkis or something sinful accompanied with a hot cup of tea. I am one of you , guilty of indulgence. The other day I came across this baked kebab recipe. It was worth every effort as it seemed promising, keeping all those extra calories at bay 🙂

BakedPaneerKababs_Featured3
The Kebabs were not only easy to put together but also delicious and barely brushed with oil. Finally I found a guilt free monsoon friendly snack. Try it..you will thank me 😛

Directions:
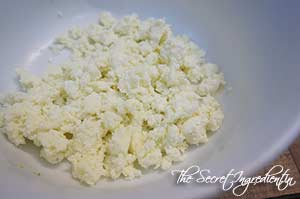
1. In a bowl add crumbled paneer and boiled sweet corn kernels. *


DSC02360


DSC02361


2. Add bread crumbs** and freshly chopped coriander leaves.


DSC02362


DSC02363


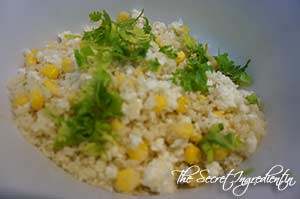
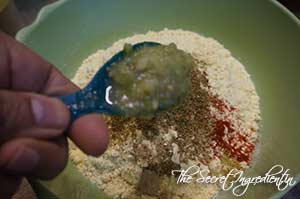
3. Add to this grated carrots and chopped green chilies. 


DSC02364


DSC02367


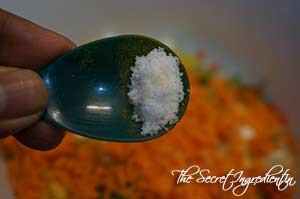
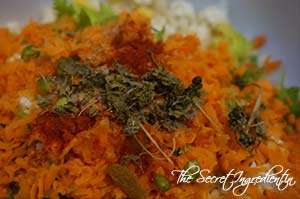
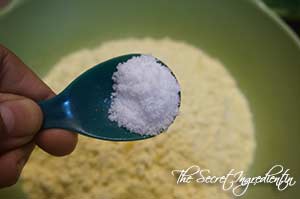
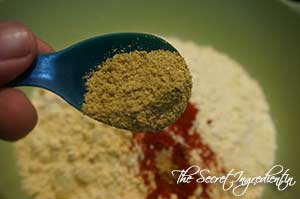
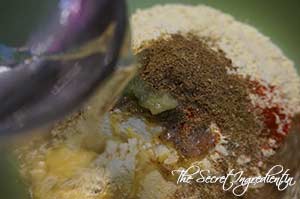
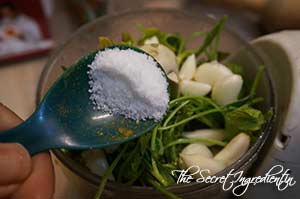
4. Mix this with a spoon and add turmeric powder and salt.


DSC02365


DSC02366


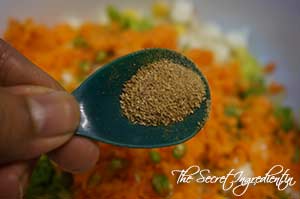
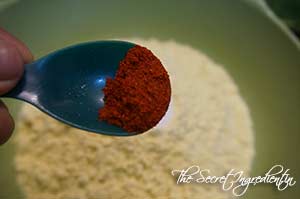
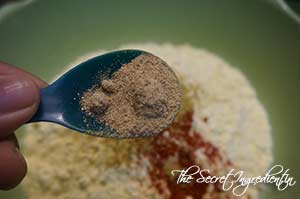
5. Also add amchur and red chili powder.


DSC02368


DSC02369


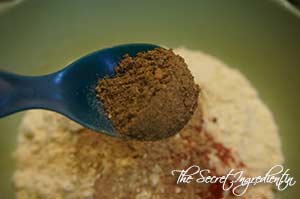
6. Also add some Kasuri Methi  and some raisins.


DSC02370


DSC02371


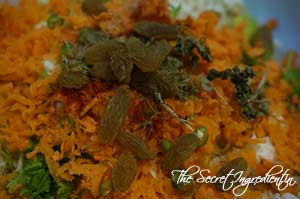
7. Combine everything well. 

DSC02372

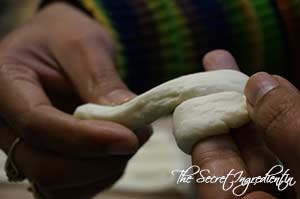
8. Take small portion in your palms and make patties with the mixture.

DSC02373
9. Place half cashew on top and press a little.

DSC02374
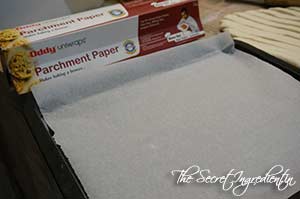
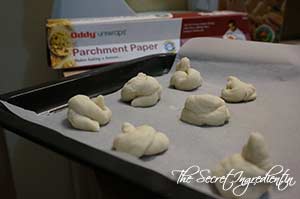
10. Place them on a baking sheet lined with parchment paper or aluminium foil. Cling wrap them and refrigerate for 25-30 mins. In the mean while preheat the oven on 180 degree for 10 minutes and brush the top of kababs with oil.

DSC02375
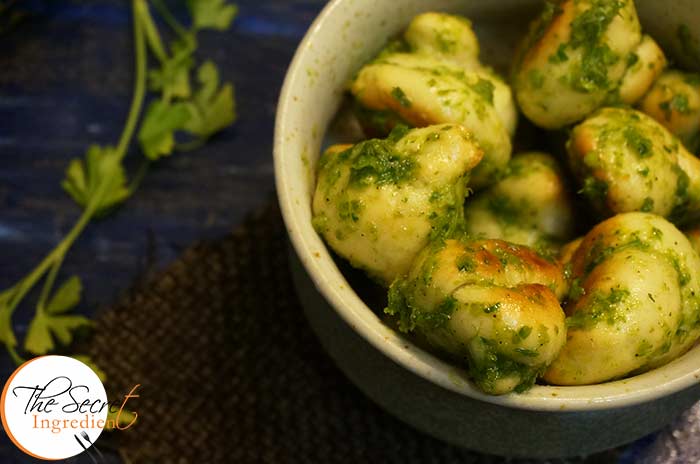
11. Bake them in centre rack for 25-30 minutes until the crust is golden brown. Serve hot with Pudina Chutney or Palak Dhaniya Chutney.

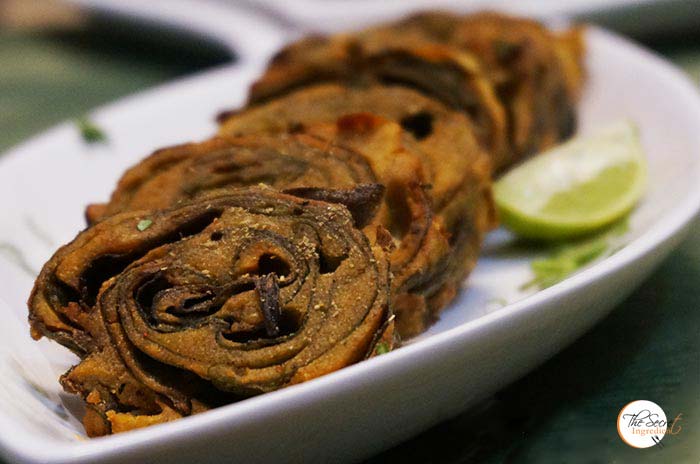
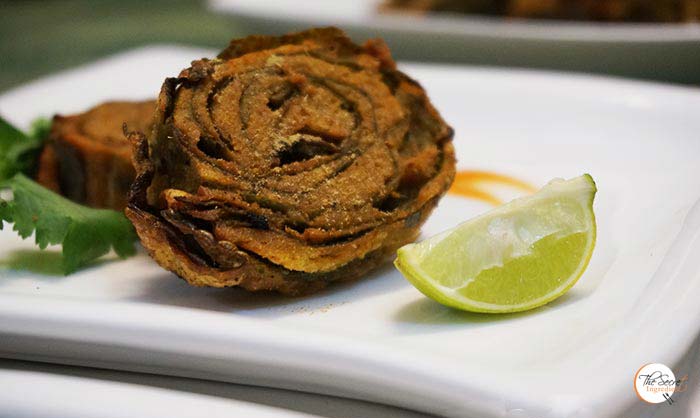
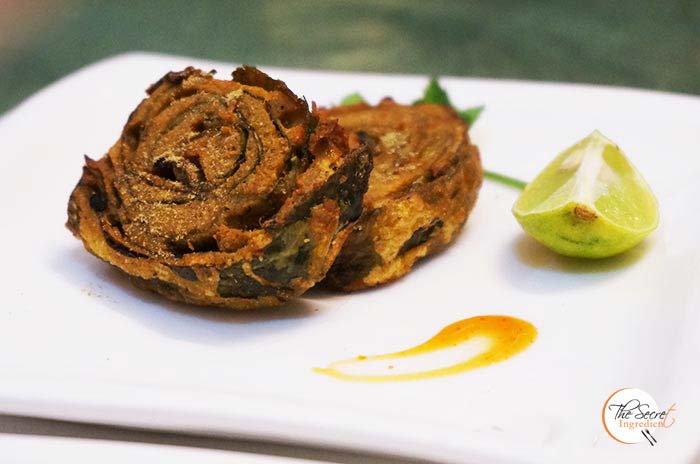
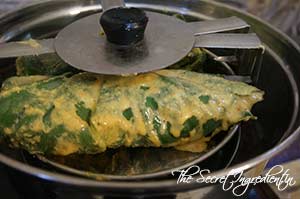
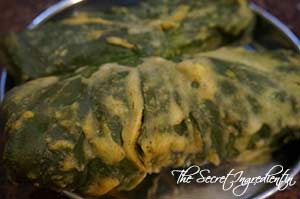
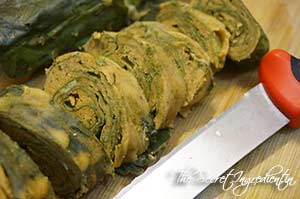
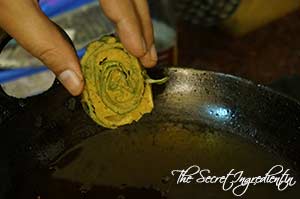
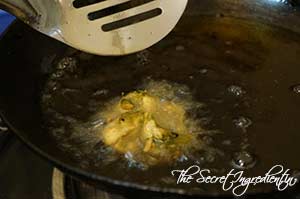
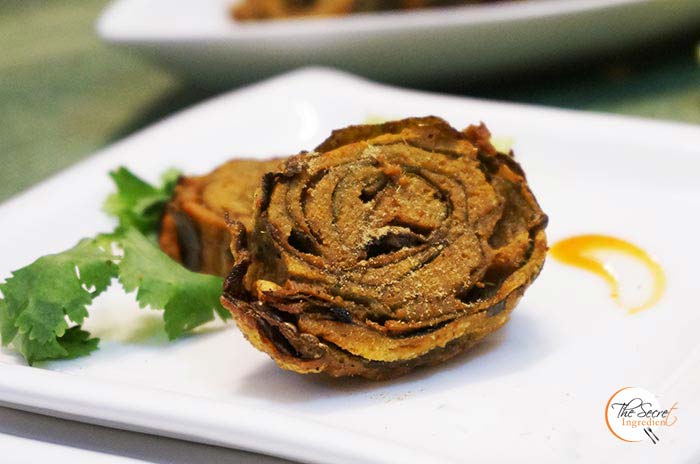
Try other Monsoon Special Snack: Arbi Ke Patton Ke Patode, Sabudana Tikki, Healthy Kachalu Chaat.

BakedPaneerKababs_Featured1

[yumprint-recipe id=’155′]


I first ate Arbi Ke Patte Ke Patode when my friend brought this in office during lunch. I relished its taste so much that the memory stayed fresh in my mind in spite of all these years. Then the other day my maid asked me if I use colocassia leaves or arbi k patte for cooking. I felt overwhelmed on hearing this and said yes yes!! She brought me some the next day from someone’s abandoned farm (my meaner self says I don’t mind ;))

I called my friend and quickly asked her the recipe. I planned to make this for evening snacks. My husband seemed not so excited and the idea sounded weird to him. Its a normal phenomena with him, things he hasn’t tried he doesn’t trust. When I finished making them he couldn’t stop eating them. Infact my little boy also ate couple of them. What a bliss it was 🙂

They are made in many ways in different part of India and known by various names. In Maharashtra its known as Alu Wadi, in Gujarat it is known as Patra, in North India it is known as Arbi Ke Patore or Patode.

Directions:

1. Select the softest and youngest leaves, they taste the best. I had no option of selecting.. you see beggars are not choosers 😛 Cut the central stem and remove the hard membranes using a knife.


DSC01473


DSC01474


DSC01487


2. Wash them thoroughly and pat dry with a kitchen towel. Set aside.

DSC01475
3. In a bowl add besan or chickpea flour. Also add salt and red chili powder.


DSC01476


DSC01477


DSC01478


4. Also add Coriander powder, Amchur and Cumin Powder.


DSC01479


DSC01480


DSC01481


5. Add Ginger Garlic paste.

DSC01482
6. Add a little water and make a paste. Do not add all water at once, add little by little and keep stirring to make a lump free batter. The batter should not be thick nor runny. Just right.

7. Place one leaf on a flat surface. The glossy and smooth part facing down. Spread the batter generously on top .

DSC01489
8. Place another leaf on top of it and keep doing this for 5-6 times. If you have large leaves you can stop after placing 4 leaves.

DSC01490
9. Fold the ends from both sides as depicted in the picture.

DSC01491
10. Now start rolling them from one end. Keep applying the batter in the inner side also.


DSC01492


DSC01493


DSC01494


11. Now repeat this with another set of leaves. And keep them ready to be steamed. Heat water in a vessel.

DSC01495

12. I placed the rolls on my dhokla stand. But you can use a wire mesh or steel plate with holes too. 

DSC01496

13. Cover with a lid and let it steam for 15 minutes on high heat.

DSC01497
14. Once steamed they will look like this with all the batter steamed and non sticky.

DSC01498
15. Let them cool down and come to room temperature. Now cut them into slices using a sharp knife. If you try cutting them while still hot they might break.

DSC01499
16. Heat oil in a wok or kadhai. and fry them for a minute on both sides till crisp and brown. The browner the crispier.


DSC01501


DSC01500


17. Remove them on a paper towel to absorb extra oil.

DSC01502
18. Sprinkle some chat masala on it and serve hot with lemon wedges and mint chutney

You can try other snacks such as Roasted Rosemary Garlic Potatoes, Sabudana Wada, Healthy Kachalu Chaat.
Other Chutneys you can club with these snacks are Pudina Chutney, Coriander Spinach Chutney, Coriander Chutney without Onion Garlic.

[whohit]ArbiKPatore[/whohit]

[yumprint-recipe id=’132′]

GarlicKnots_Featured3
On any lazy Sunday when me and my husband get time to enjoy our cup of tea and yap, this snack gives us a perfect company. Its easy and ready in no time if you have some pizza dough readily available in your freezer. Its not very high in calories also so you can enjoy this anytime you wish. Its the same standard recipe which I use for my White Sandwich Bread, 

GarlicKnots_Featured1

Directions:

1. Take out the pizza dough bag out of freezer and put it in fridge overnight to thaw. If using fresh get the recipe here.

DSC05320


2.Preheat the oven to 400 degrees (Know more about Oven temperatures and Conversion), line a baking sheet with parchment paper, I am using Oddy Uniwraps Parchment Paper because this paper doesn’t burn on baking and doesn’t let the food stick to the paper.

DSC05323

3.Place the ball of dough on a floured surface and roll it into a circle using your roller pin.

DSC05321

4. Cut the dough into 1/2 inch strips using a knife or pizza cutter.

DSC05322

5. Wrap a dough strip around your two fingers and snip the remaining dough. Turn this end inside to form a knot. You can even roll it into small balls for convenience.


DSC05324


DSC05325


DSC05326


6. Place them on the baking sheet lined with parchment paper. Bake it in the preheated oven for 15-20 minutes until golden brown. In the meanwhile make the Vinaigrette .

DSC05327

4. In a small food processor, add the garlic cloves or garlic powder, oil and parsley.


DSC05328


DSC05329


DSC05330


5. Season with salt and pepper and blend until smooth to make vinaigrette.


DSC05331


DSC05332


DSC05333


6. Immediately as the knots are out of the oven put the knots to a large bowl and pour vinaigrette on top and toss together until they are well coated in the garlic oil.


DSC05334


DSC05335


DSC05336


7. Serve hot and enjoy the deliciousness of garlic parsley oil in these crisp pizza dough knots.

Other snacks you can try here are: Baked Paneer Corn KababsPotato SmileysHealthy Kachalu Aloo ChatRagi Masala TwistersSabudana TikkiVeg Shami KababArbi Ke Patte Ke Patode.

GarlicKnots_Featured2[whohit]GarlicKnots[/whohit]


[yumprint-recipe id=’4′]


[whohit]garlic-knots[/whohit]