Tag

GarlicBread

Browsing

BigaBread_Featured1

I have spent enough time in doing regular yeast breads. It was high time I started experimenting and coming out of my comfort zone. I mustered the courage to make my own Sourdough starter and guess what after a lot of effort finally my starter is ready and I am soon gonna bake a sourdough bread with it. But  in the meanwhile I came across this monthly challenge in my bread baking group. We were asked to make Peter Reinhart’s Potato Rosemary Bread. It was to be made with biga. Now many of you must be wondering what is biga? Its a pre ferment technique used in baking breads which imparts it a slight sour taste. 

BigaBread_2

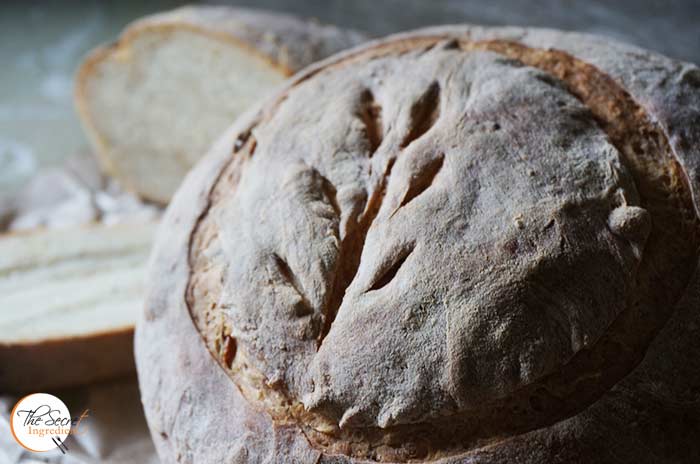
Interestingly, biga techniques were developed after the advent of baker’s yeast as bakers in Italy moved away from the use of sourdough and needed to recover some of the flavor that was given up in this move (Ref.Wikipedia). I was intrigued to try this recipe for  my favourite Rosemary and Garlic flavours were involved. How can I ever give it a pass. The bread was delightful. It had an amazing texture and taste. Do try this fabulous recipe.

Directions:

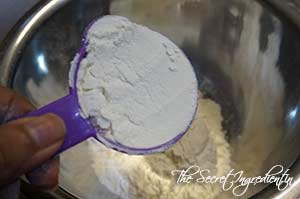
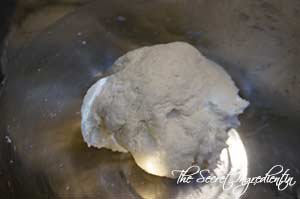
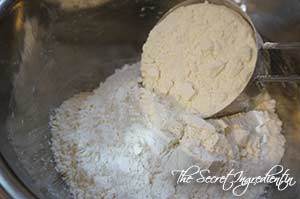
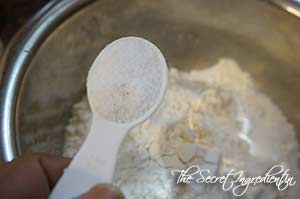
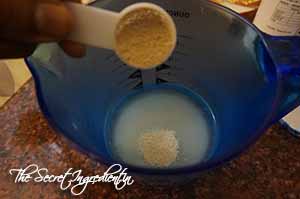
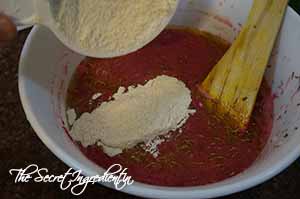
1. For biga add All purpose Flour, Instant Yeast and lukewarm water in a bowl


DSC07654


DSC07655


DSC07656


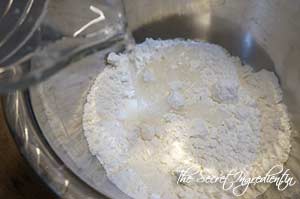
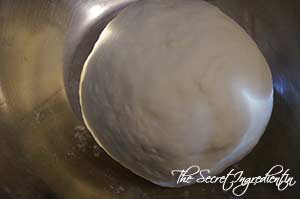
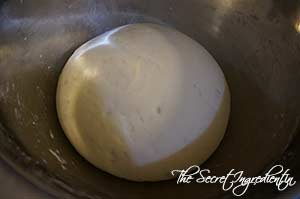
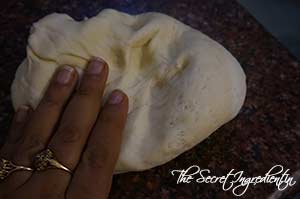
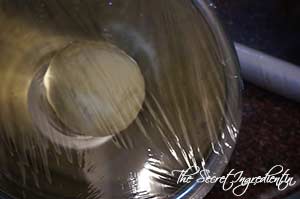
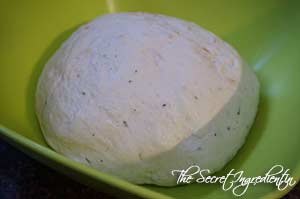
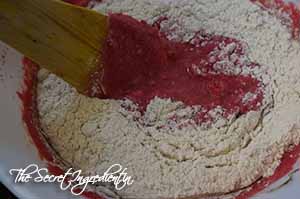
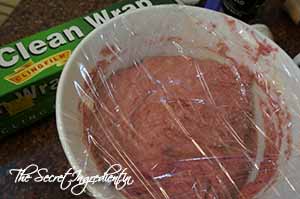
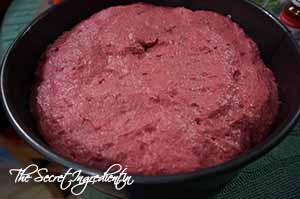
2. Mix everything together and bring it to the counter to knead it into a soft paliable dough. The dough should not be sticky so adjust the water accordingly. Make a ball of dough and place it in a greased bowl. Cover the bowl with cling wrap or lint free towel and let it rise till it doubles up. The weather plays an important role in the time required for proofing it. The hotter the environment the earlier it rises.


DSC07657


DSC07658


DSC07659


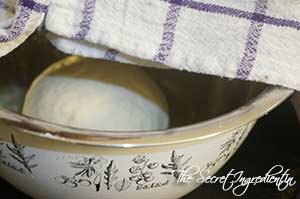
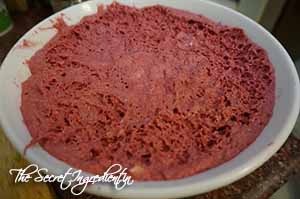
3. After it has risen degas it with your hands and place it back into the same bowl. Cover and put it in the refrigerator overnight for fermentation. You need to use this biga within 3 days or else freeze this to be used later.


DSC07660


DSC07661


DSC07662


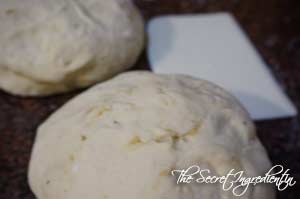
4. Take the biga out of the refrigerator and let it rest for an hour at room temperature before using it. Divide it into small pieces.

DSC07663
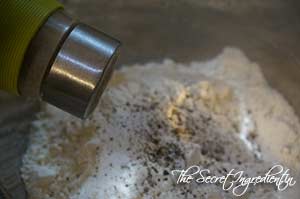
5. In a bowl add All purpose flour, salt and pepper.


DSC07664


DSC07665


DSC07666


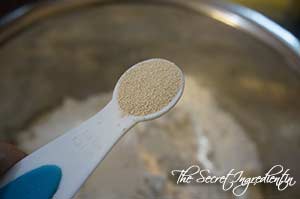
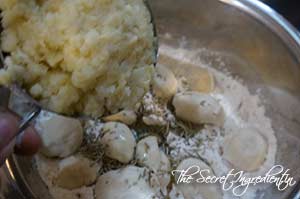
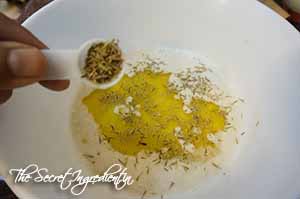
6. Also add instant yeast, rosemary and biga.


DSC07667


DSC07670


DSC07669


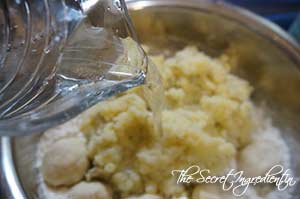
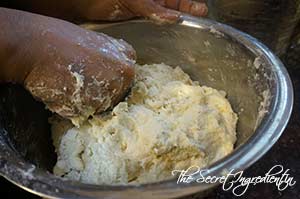
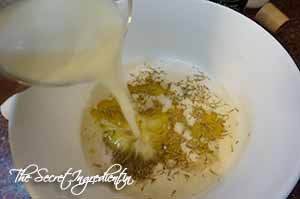
7. Add Olive oil, mashed potato and lukewarm water.


DSC07671


DSC07672


DSC07673


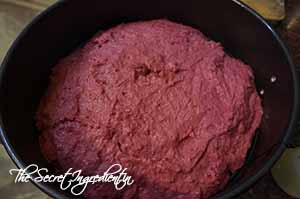
8. Mix together to bring it together. Take it to the counter and knead well for 10 minutes till it becomes soft and paliable.


DSC07674


DSC07677


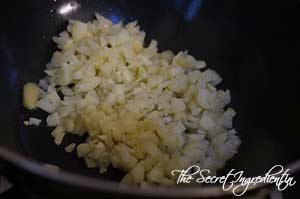
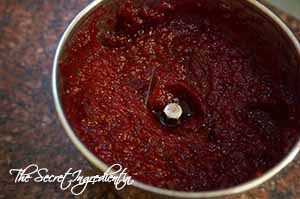
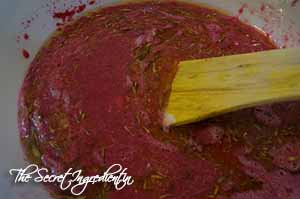
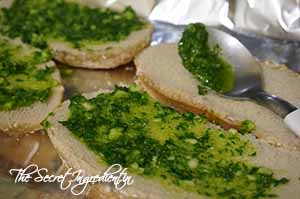
9. In a pan add some oil and saute them chopped garlic till its roasted well. You can  even roast it in your oven.


DSC07675


DSC07676


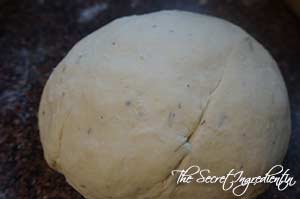
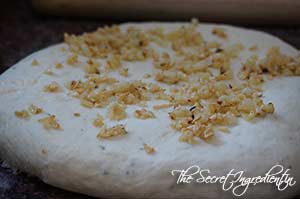
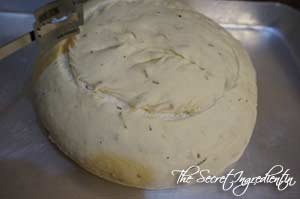
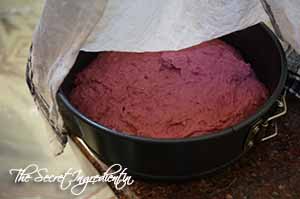
10. Roll the dough and spread the garlic all over and form a ball again. Place it in a greased bowl and cover it. Let it rise till double in size.


DSC07679


DSC07680


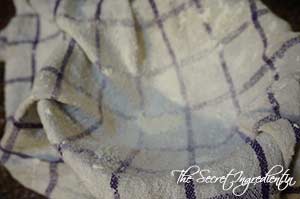
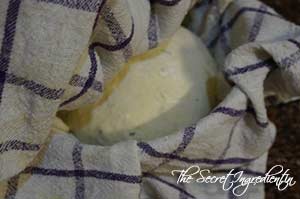
11. Remove it from the bowl and place it on the counter. Divide the dough into two and shape them into boule following the technique by Peter Reinhart. Place them in a basket lined with a kitchen towel and dusted with dry flour.


DSC07685


DSC07684


DSC07686


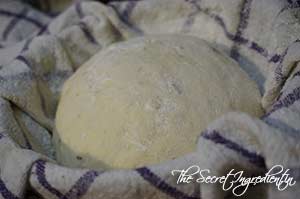
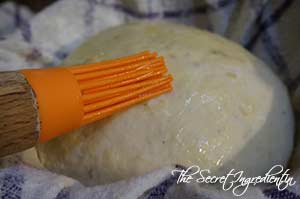
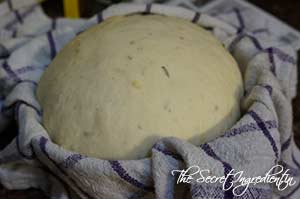
12. Brush it lightly with olive oil and cover loosely with a towel and let it rise to double.


DSC07688


DSC07687


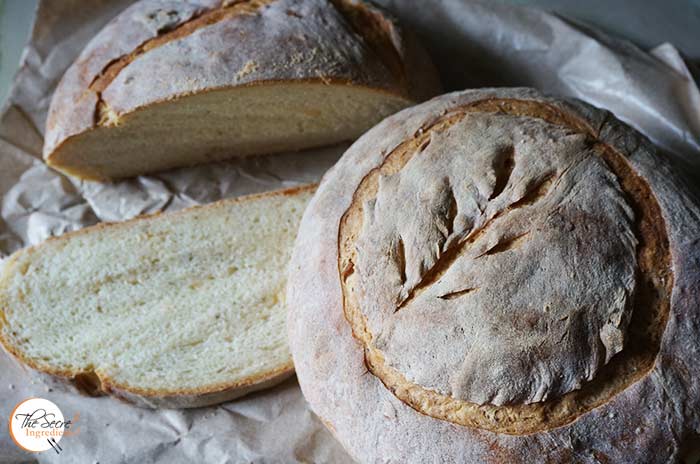
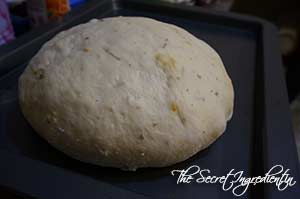
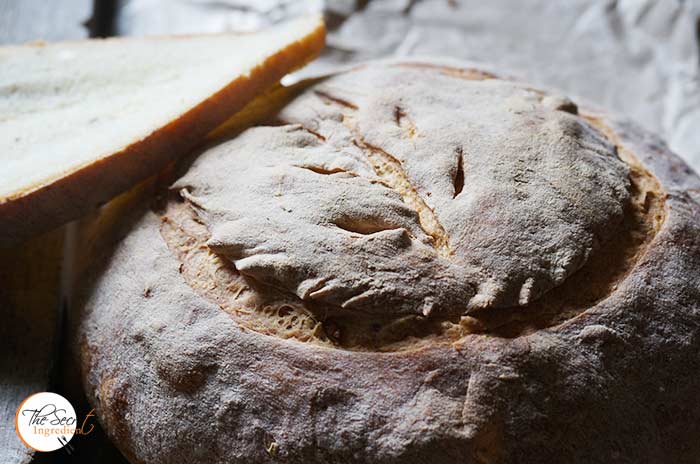
13. Once it has doubled in size. Invert the basket on a baking tray lined with parchment paper. I liked to score it on top. If you wish you can do the same or ignore.


DSC07689


DSC07690


DSC07691


14.  Bake it in a preheated oven on 200 degree Celsius for 40 minutes or until done. If the bread looks too soft  turn off the oven and let the loaf sit in the warm oven for another 5 to 10 minutes to firm up a bit. Slice it when completely cool.

Other bread recipes you can try : Vegetarian homemade PizzaRussian BubliciWhole Wheat Sandwich BreadChinese Black Sesame Steamed BunsCinnamon Raisin BreadBeetroot Bread with Garlic and ThymeHoney Oats BreadDomino’s Garlic BreadsticksGarlic Rosemary Focaccia Bread and Focaccia Bread with Fresh Cherries, Rosemary and Sea Salt.

BigaBread_Featured4[whohit]BigaPotatoRosemary[/whohit]

[yumprint-recipe id=’239′]

BeetGarlicThymeBread_Featured1
I had been meaning to make Borsch, a classic Russian soup with chukandar or beetroot for a very long time and in my pursuit to cook it I bought more beetroots than I actually needed. I had to do something with them as they were sitting in the fridge for a week now. And to my good fortune I found this recipe of Beetroot bread with Garlic and Thyme. The beautiful pink colour of the bread caught my attention and it was decided then and there as to what is going to be the fate of my beetroots.

Baking this bread was a no mess business, as it required no kneading. All you have to do is simply mix it well with a spoon and let the batter sit to rise. After I baked the bread I realised that the bread was not only beautiful but very yummy and very healthy .

Directions:

1. Wash and peel Beetroots. Cut them roughly into pieces.


BeetGarlicThymeBread1


BeetGarlicThymeBread2


2. Put the beetroot pieces in a pressure pan along with a cup of water and cook for 2 whistles or 5-7 minutes or till they become a little soft. Put the flame off and let them cook in pressure and open the lid once the pressure has released.

BeetGarlicThymeBread3

3. Let the beetroots cool down for some time. Reserve the water and put them in a mixer to make a smooth paste. Use couple of table spoons of water if needed. Set aside. I use the beetroot water to make roti dough. It brings an amazing colour to the dough and makes the rotis more nutritious.


BeetGarlicThymeBread4


BeetGarlicThymeBread5


BeetGarlicThymeBread6


4. In a container take some lukewarm water. It should neither be hot nor cold, just hot enough to comfortably put your finger into it . The right temperature of the water is very important for yeast to activate. Put yeast into it.

BeetGarlicThymeBread7

5. Add some sugar along with yeast.

BeetGarlicThymeBread8

6. Give it a gentle stir with a fork and let it stand and activate for 5-7 minutes.

BeetGarlicThymeBread9

7. Pour the activated yeast mixture in a large bowl.

BeetGarlicThymeBread11


8. Chop some garlic and put it in the bowl.


BeetGarlicThymeBread10


BeetGarlicThymeBread12


9. Put olive oil.

BeetGarlicThymeBread13

10.  Add fresh chopped thyme or dried thyme. I used dried thyme. 

BeetGarlicThymeBread14

11. Add buttermilk. Learn how to make Instant buttermilk at home.

BeetGarlicThymeBread15

12. Add the beetroot puree and salt to the mixture. Give it a gentle stir to combine everything together.


BeetGarlicThymeBread16


BeetGarlicThymeBread17


13.  Add flour and give it a stir with a spoon or spatula that everything comes together in the form of a very sticky dough. Oh did you look at that beautiful pink color! Give it a moment to admire 😛


BeetGarlicThymeBread18


BeetGarlicThymeBread19


BeetGarlicThymeBread21


14. Cover the bowl with a cling wrap and let it rest in some warm place to double up in volume. It can take somewhere 1 and a half hour to two and a half hours.

BeetGarlicThymeBread22

15. After the dough has risen and doubled in volume. Deflate it again using wet hands. I used the same spoon because my dough was very sticky. Yes I did panic but the result was spectacular.


BeetGarlicThymeBread26


BeetGarlicThymeBread27


16. Grease a baking pan and pour the mixture into it. I used a a round spring form pan 7-Inch in diameter and 3-Inch deep with 6-cup capacity


BeetGarlicThymeBread25


BeetGarlicThymeBread28


17. Cover the pan with a wet kitchen towel and let it rest again to rise and double up for another half an hour or so.


BeetGarlicThymeBread29


BeetGarlicThymeBread30


18. Bake on 180 degree Celsius for 20 to 30 minutes on a preheated oven . Learn more about Oven temperatures and Conversions. Let the bread cool down completely on a wire rack before slicing it.

You can even try our Honey Oats Bread, Garlic Rosemary Focaccia Bread or Domino’s Garlic Breadsticks.

BeetGarlicThymeBread_Featured2
[whohit]BeetrootBread[/whohit]

[yumprint-recipe id=’55’]

CheesyGarlicBread_Featured1
This cheesy Garlic Bread is simply awesome. I am not exaggerating. You have to try it at home to believe me. In any given restaurant you will pay a handsome sum for those tiny piece of breads. If you make them at home they are not just easy on your pocket but also  a delight for your taste buds. You can always be stingy or generous with the cheese topping. The best part is it gets ready in no time and is a perfect party food.

Directions:
1. Preheat the oven to 400 degrees.

2.  You need to take any deli bread, it can be Italian or the bread roll you buy for sandwich from a bakery. A commercial bread loaf/slice may not bring in the same taste and texture. If its a big loaf cut the slices in slant to get maximum surface to put toppings. And you buy a packaged deli bread like me. It comes like a bun cut in two halves. Just perfect for garlic cheese bread.

GarlicBread1

3. In a bowl put some fresh parsley leaves and garlic cloves. If you do not have access to fresh parsley leaves you can always use a teaspoon of dried parsley leaves Add a generous drizzle of olive oil and blend it with a hand blender to form vinaigrette . If you have a small blender you can use that.


GarlicBread3


GarlicBread4


GarlicBread5


4.  Spread the vinaigrette over the bread slices and keep them on a baking sheet. Put one end of bread on the other with vinaigrette in the center like a sandwich.


GarlicBread6


GarlicBread7


5. Carefully roll your bread with some aluminium foil , place it on your baking sheet and pop it in your preheated oven for 10 minutes until the vinaigrette is well absorbed by the bread.


GarlicBread8


GarlicBread9


6. After ten minutes of baking, remove the bread from oven and  unwrap the aluminium foil and spread the foil on the tray. Place the bread slices on the tray, vinaigrette side up. Top it with some mozzarella cheese. I used the chili marinated mozzarella so it looks reddish. You can use any. Season it with some salt and pepper and sprinkle generous shavings of parmesan cheese.


GarlicBread10


GarlicBread11


7. Return the baking tray with bread into the oven for another 10 to 15 minutes until you see the cheese has melted and and its bubbly.

GarlicBread12
Enjoy it as a party snack or as a side dish with food of your choice.

CheesyGarlicBread_Featured2


[yumprint-recipe id=’1′] [whohit]garlicBread[/whohit]