Tag

cakesAndMore

Browsing


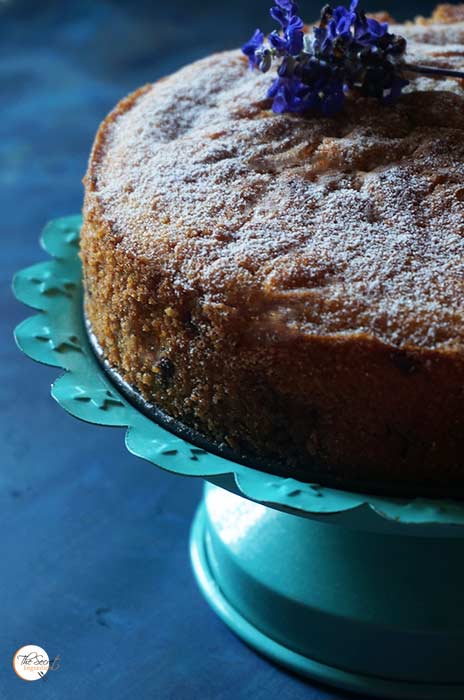
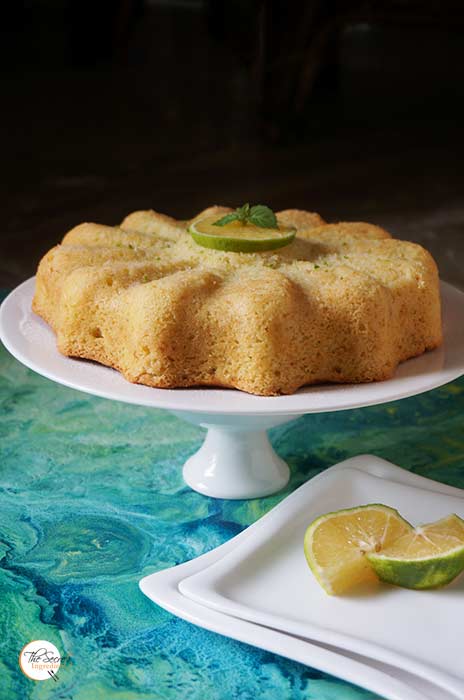
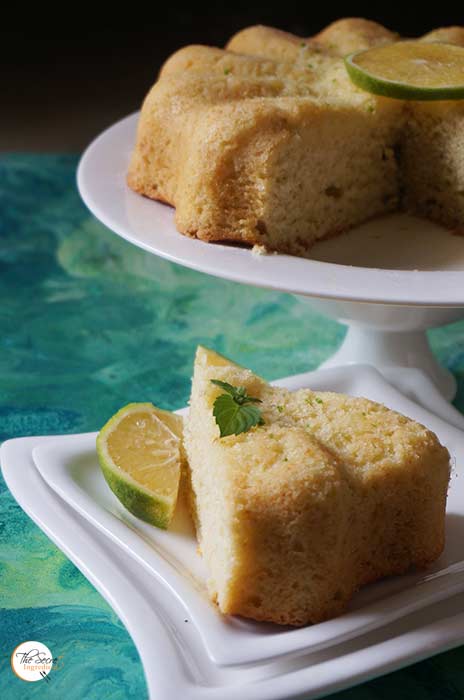
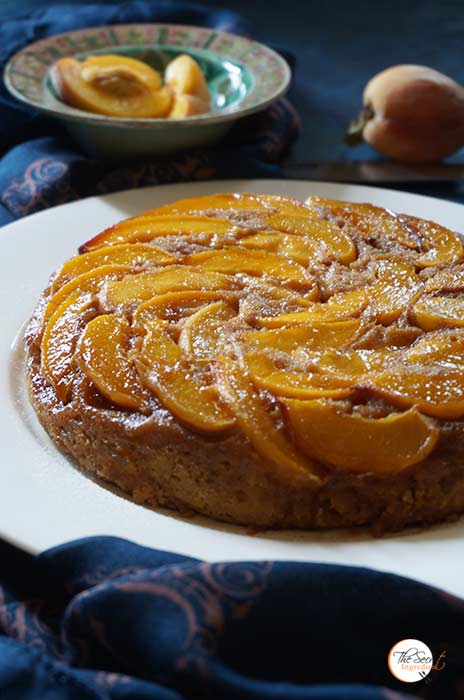
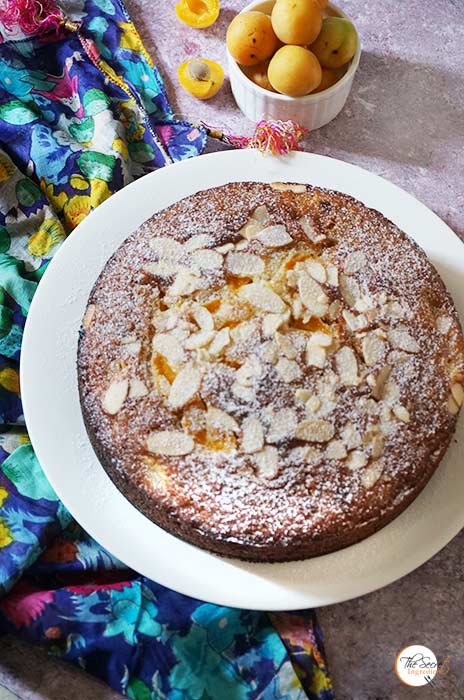
Valentine’s Day is around the corner and I am certainly not struck by a cupid πŸ˜› Thankfully! I am simply looking for a reason to bake and try out something new. This Blueberry Cream Cheese Pound Cake has been on my mind for such a long time. The original recipe was with strawberries but I had frozen blueberries in stock so when we got the new pumpkin silicon bundt mould on board in our online store The Gourmet Shop, I had  to bake first before we even sold it πŸ˜‰


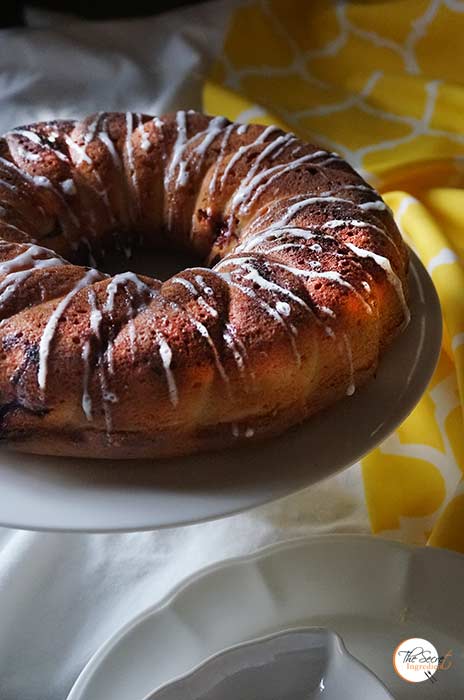
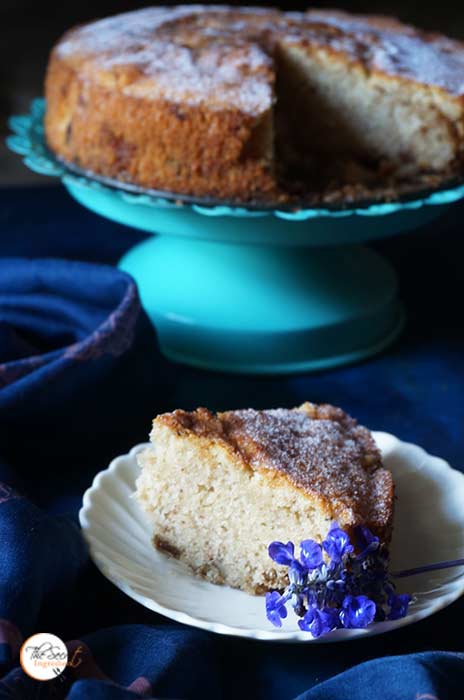
 The inside layer of blueberry compote is to die for and comes out perfect in this mould. You get a balanced taste of extremely rich pound cake with a layer of blueberries. Oh you have to try this. Words cant express how decadent was this cake. If you cant find blueberries you can try this with fresh strawberries. Let me know if you fall in love with this cake once you bake this. True love is in the cake, rest of the things in the world are temporary and immaterial πŸ˜› Therefore, fall in love but with cake, it will never break your heart. πŸ™‚

Directions:

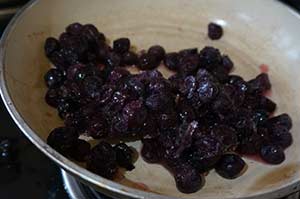
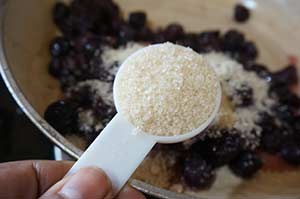
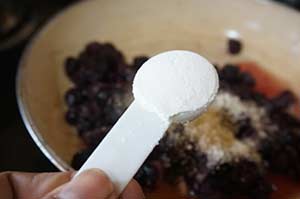
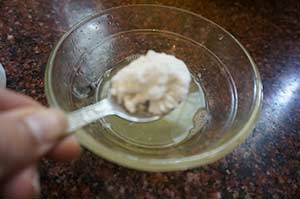
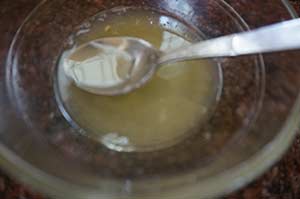
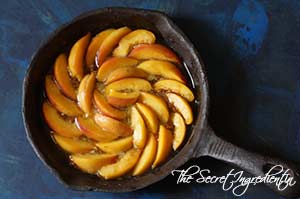
1. For the sauce, in a non stick pan add blueberries, I had frozen one in my freezer so I used them. You can use the fresh ones as well. Add sugar and turn the flame on medium.


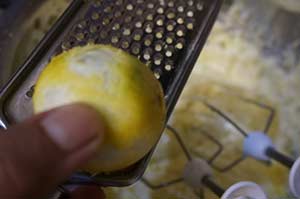
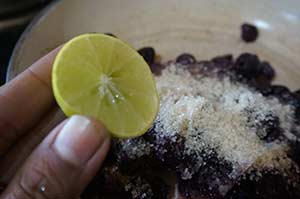
2. Add juice of a lemon and cornflour.


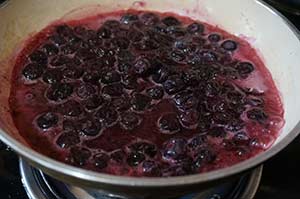
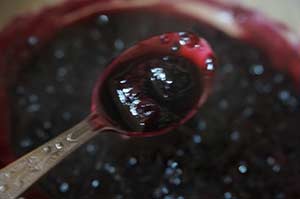
3. Keep cooking till the blueberry has released water and become thick like a thick sauce. Turn the flame off and let the sauce come to room temperature.


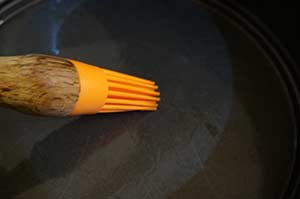
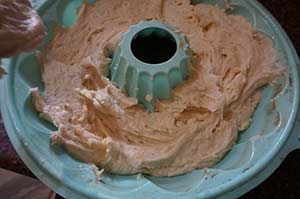
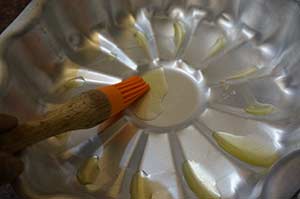
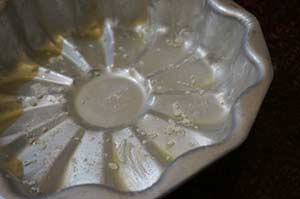
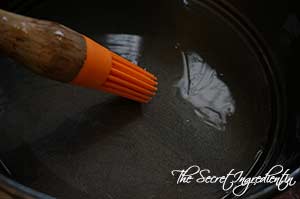
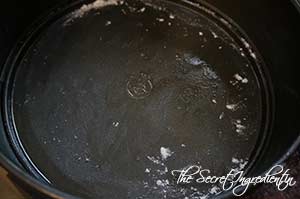
4. For the cake, preheat your oven at 170 degree Celsius (Learn more about Oven temperature and Conversion) and grease a bundt pan with butter and set aside. I have used the silicon pumpkin bundt pan which is available on my online store ‘The Gourmet Shop’. You can make it yours too just click on the link and place order.

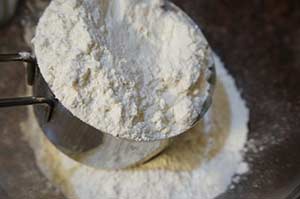
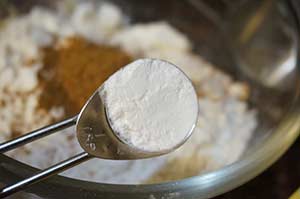
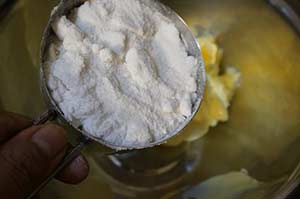
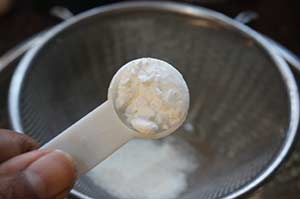
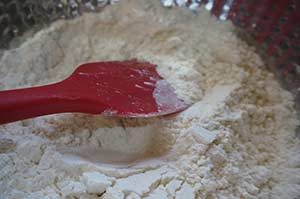
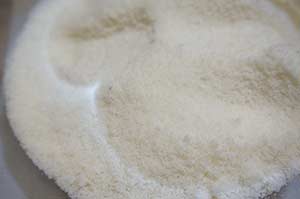
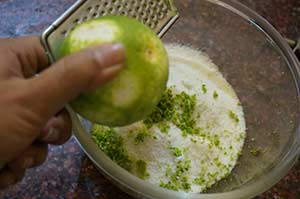
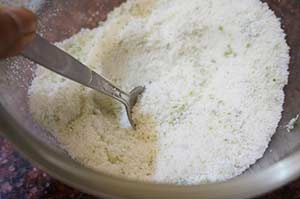
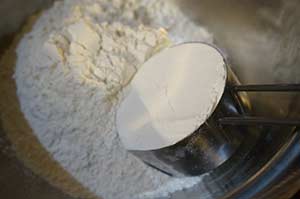
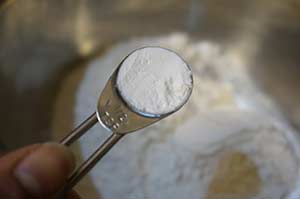
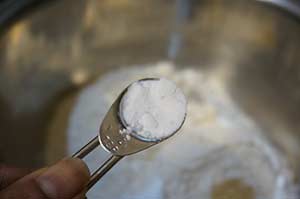
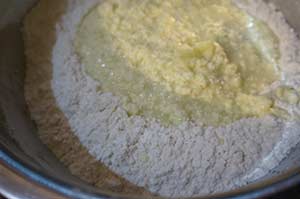
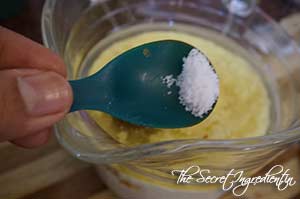
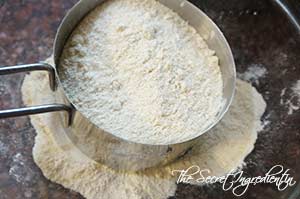
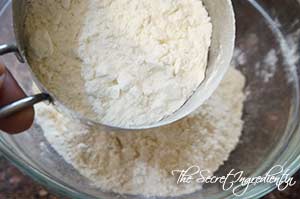
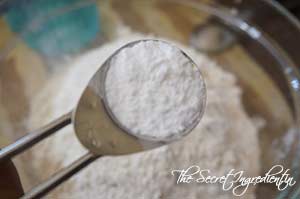
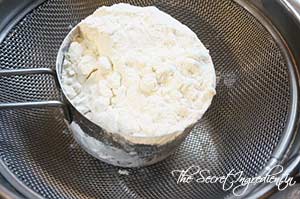
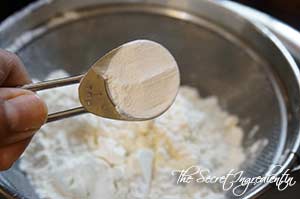
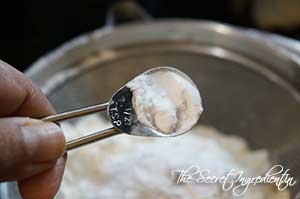
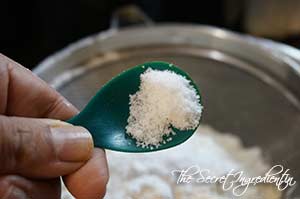
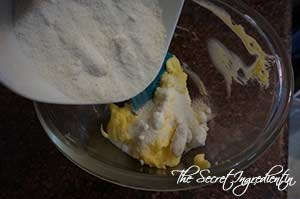
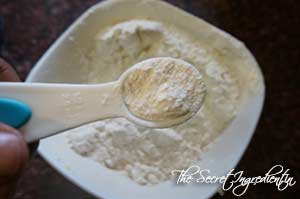
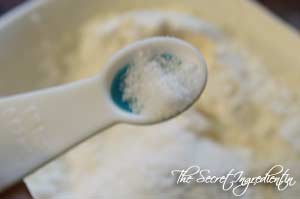
5.In a bowl add All Purpose Flour and baking powder and whisk it well and set aside.


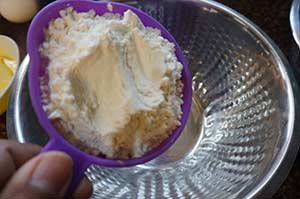
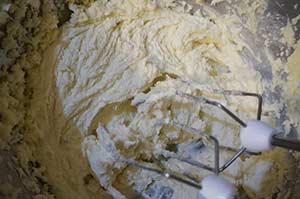
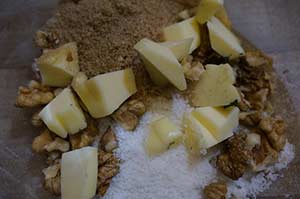
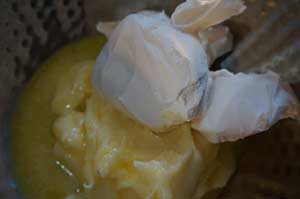
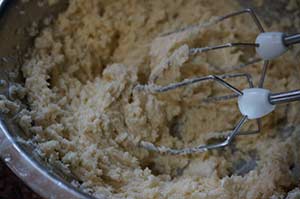
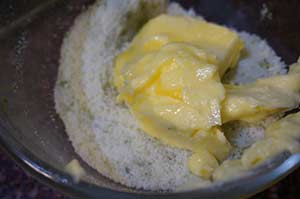
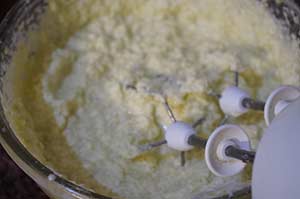
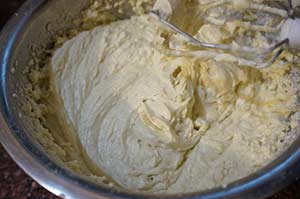
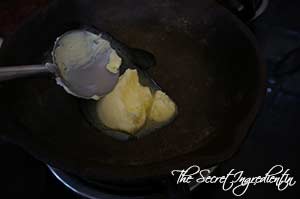
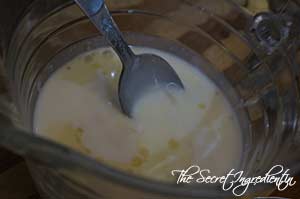
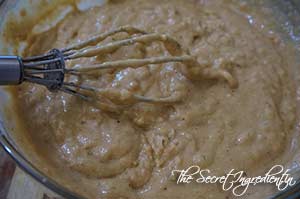
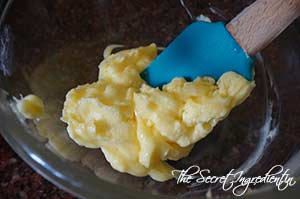
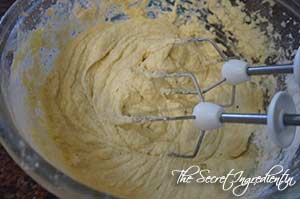
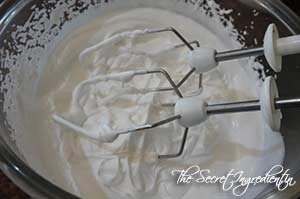
6. In another bowl add butter, at room temperature. Add cream cheese and whisk till it becomes creamy.


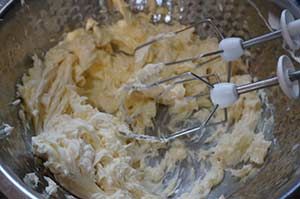
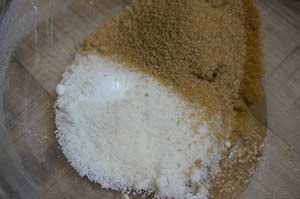
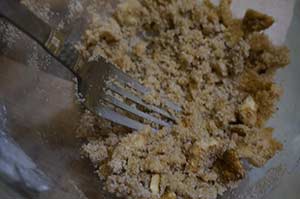
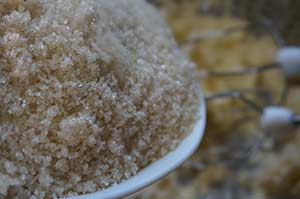
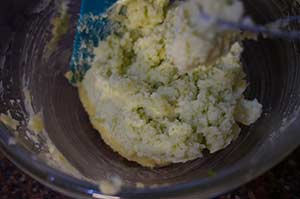
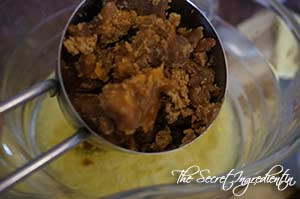
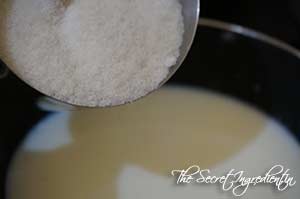
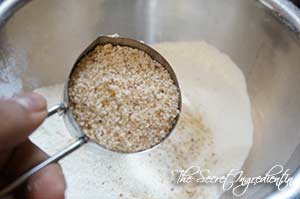
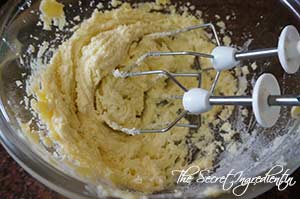
7. Add castor sugar and whisk further till sugar is mixed well and everything is creamy.


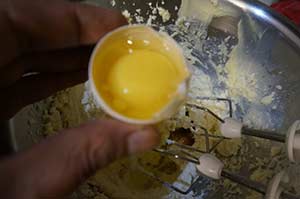
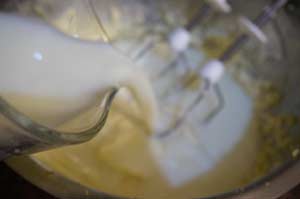
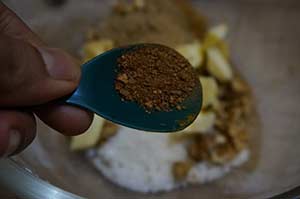
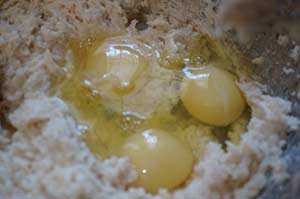
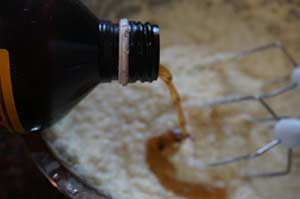
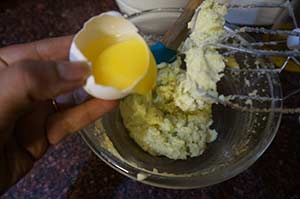
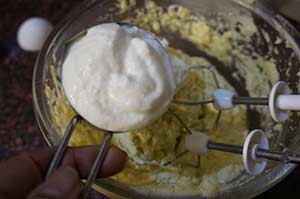
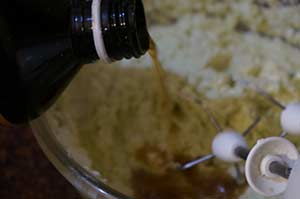
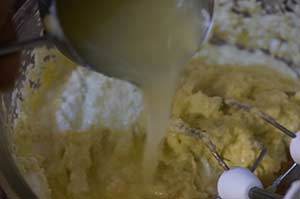
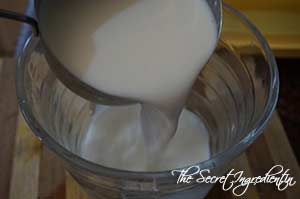
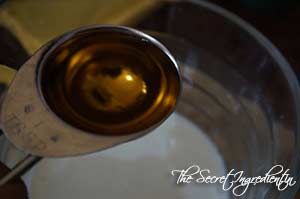
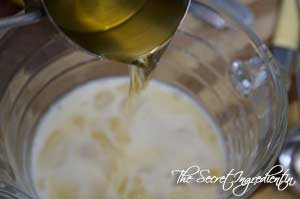
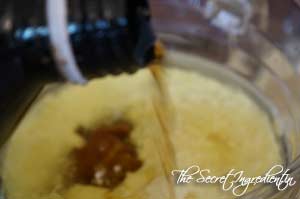
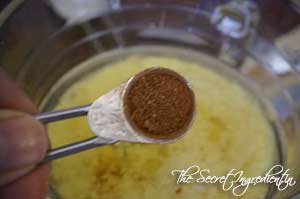
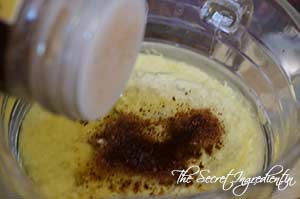
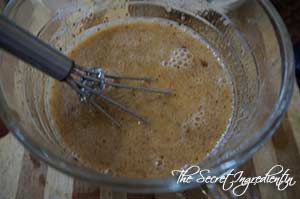
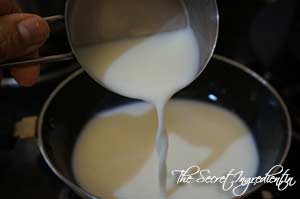
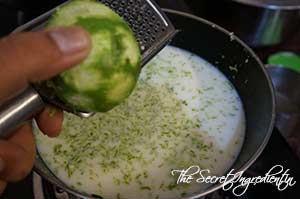
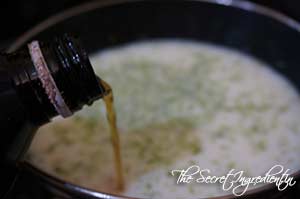
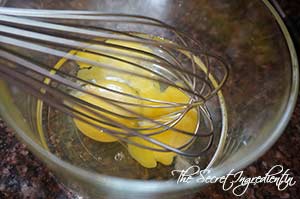
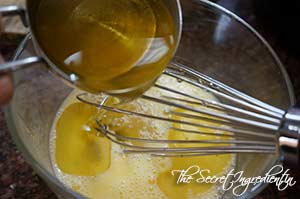
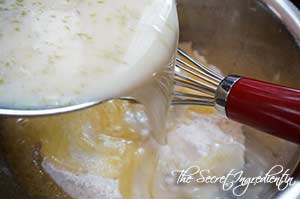
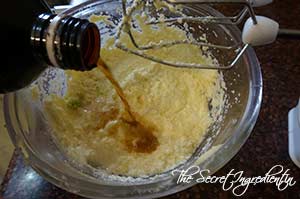
8. Add eggs and continue to whisk till the batter is airy. Add Vanilla essence and Cream and combine.


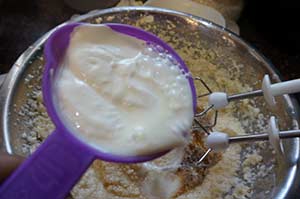
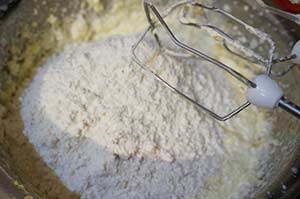
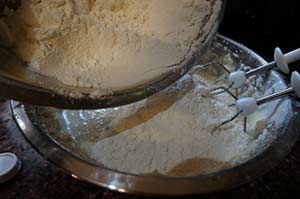
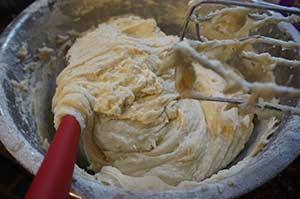
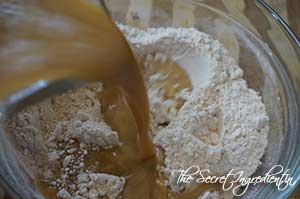
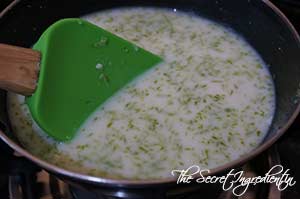
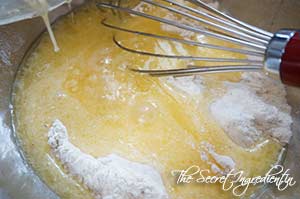
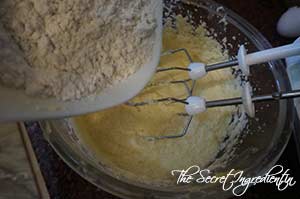
9. Add dry ingredients to the wet ingredients little by little and whisk till everything is moistened. Do not over beat.


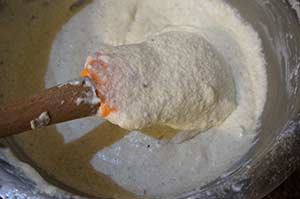
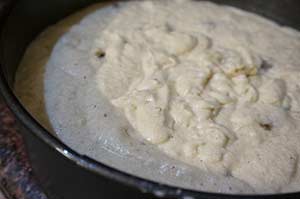
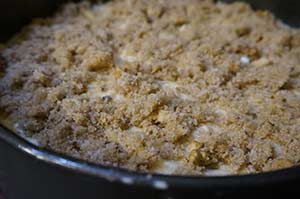
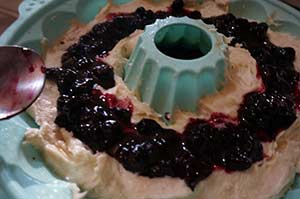
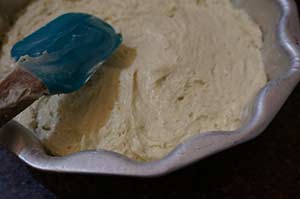
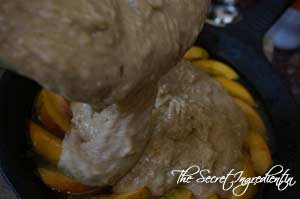
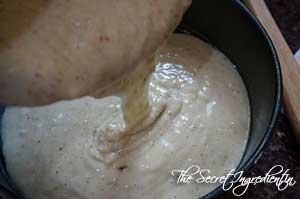
10. In the prepared bundt pan add a layer of batter, about half of it.


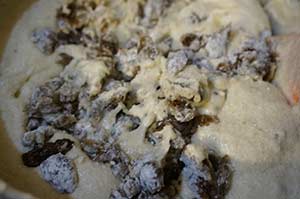
11. On top of the batter add the blueberry sauce. Ensure that the sauce doesn’t touch the mould and stays inside only. Because on baking the sauce might leak out.


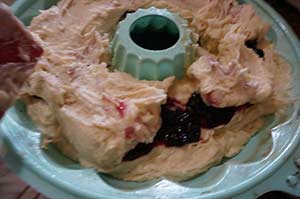
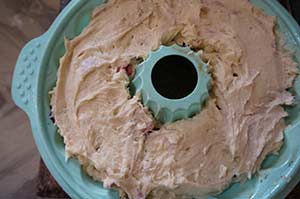
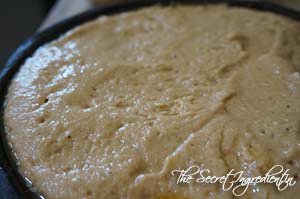
12. Pour rest of the batter on top of the sauce and cover everything. 


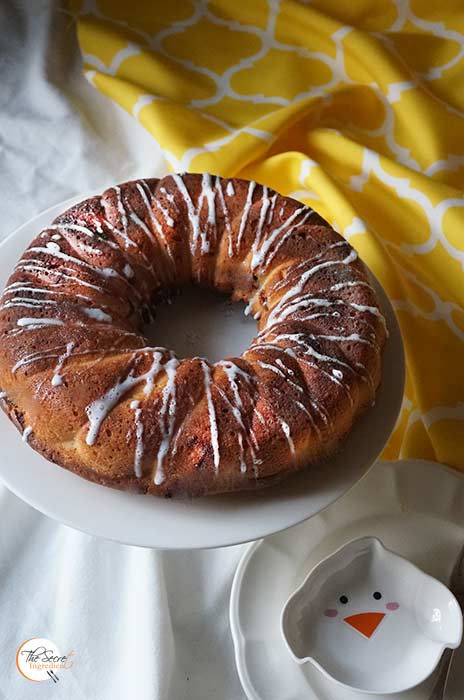
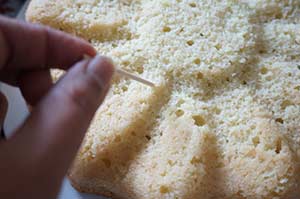
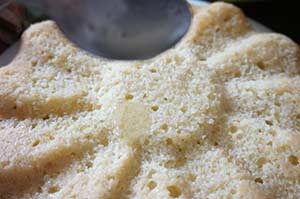
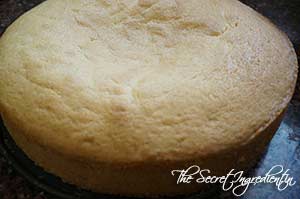
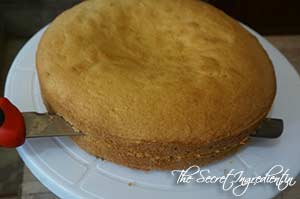
13. Bake in the preheated oven for 50-60 minutes. If at any time the cake starts looking golden from top and still raw from centre just tent it with aluminum foil and continue to bake. Bake till the tooth pick inserted comes out clean. Remove from the oven and let it be in the mould for next ten minutes. Demould the cake and let it come to room temperature on wire rack. Slice and serve with your favourite cup of coffee. 

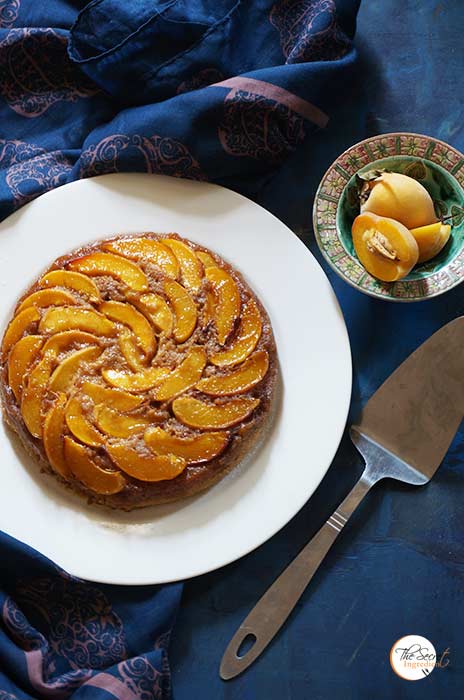
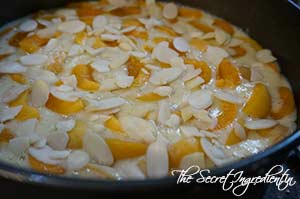
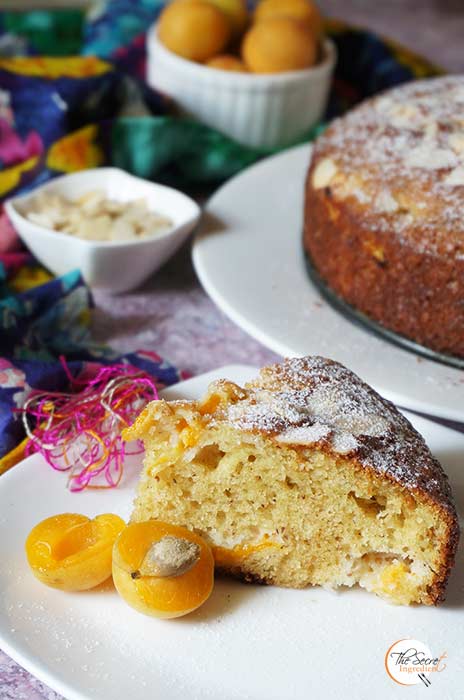
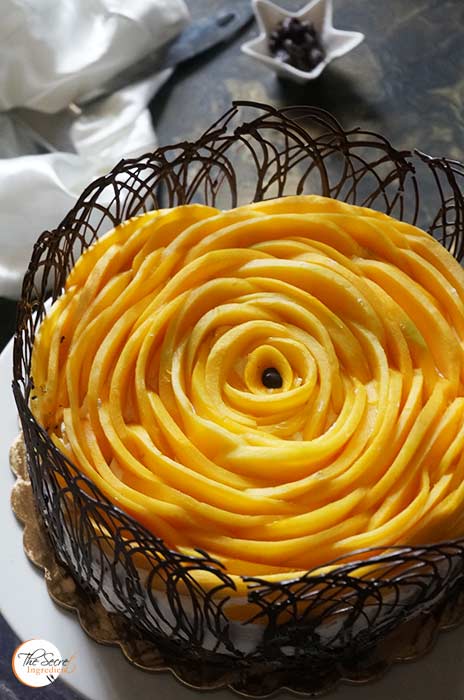
Other cakes you can enjoy on the secret Ingredient are : Persimmon Buckwheat Gluten Free CakeCitrusy Sweet Lime CakeHoney Dates SquarePeach Upside Down CakeFresh Apricot and Almond CakeMango Vanilla Cake,  Festive Orange Blueberry Pound Cake, Vanilla & Pomegranate Cake,Lemon Cake with Lemon GlazePersimmon Rum Cake and Honey Cake

[yumprint-recipe id=’309′]


When you see a new seasonal fruit in the market you get excited because you want to bake with it. eh? Does that happen to you or am I too peculiar? I have used Apricots, Cherries, Mangoes, Peaches, Plums, Apples, Papaya, Strawberries, Blueberries, Bananas, Bay berries, Kiwis, Black Grapes, Pomegranate, Orange, Melon, Lychee, Coconut, Chestnut, Persimmon , Watermelon in some recipe or the other. Anyways! I saw mosambi or Sweet Lime in the market and I jumped with anticipation. I had been eyeing this sweet lime cake for a while now. And when the results cake out I knew it was worth all that wait and craving.


It was similar to my Lemon Pound Cake just that it was a little lighter because it used yogurt instead of cream. The zest of Sweet lime added that magic potion which made it from an average to a magnificent cake recipe. The lingering flavour of sweet lime was a bliss. I would love to make this again for my family and friends. What are you thinking?

Directions:

1. Preheat your oven to 180 degree Celsius (Learn more about Oven temperatures and Conversions) and grease a large 9 inch cake pan with oil and dust with flour and set aside.


2. In a bowl add caster sugar and add zest of sweet lime. Mix it together and let the sugar get enriched with the sweet lime oils and become fragrant. Leave it for 5 minutes. You can juice the zested sweet limes and keep aside.


3. Then add butter at room temperature to the sugar and whisk everything till its all creamy and sugar has dissolved.


4.  Add eggs and whisk again for good 7-8 minutes till everything has become creamy and airy.


5. Add unsweetened yogurt or curd, vanilla essence, fresh sweet lime juice and whisk again. 


6. After whisking you will come across a airy cake mixture. Set aside.

7. In another bowl add the All purpose flour, baking powder and baking soda. Combine everything well.


8. Add the dry ingredients to the wet ingredients little by little and keep whisking till everything is moistened. Do not over mix as it will result in a bread like cake which you don’t want.


9. Pour the cake batter in the greased pan and smoothen the top with a spatula. Give it a couple of taps . This will remove any trapped air bubbles. Bake it in the oven for 50-60 minutes on 180 degree Celsius or until the tooth pick comes out clean. If any time you feel the cake is getting over browned you can tent it with an aluminium foil.

10. In the meanwhile make the syrup for the topping. In a bowl add some icing sugar and add sweet lime juice.


11. When the cake has baked remove it out of the mould after 10 minutes of removing it from the oven. Then let it rest on the wire rack till it comes to room temperature. Pole holes i n the cake with the help of a toothpick.

12. Pour the syrup with the help of a spoon all over the cake surface. It will seep down and will be absorbed by the cake.  Sprinkle more icing sugar and zest of sweet lime if you fancy.


13. Slice and serve with your favourite cup of chai or coffee. You will be in dessert heaven.

If you are looking for other Cakes and desserts with fresh fruits you can try: Peach Upside Down Cake.  Fresh Apricot and Almond CakeApple CrispMango Vanilla CakeFestive Orange Blueberry Pound CakeSorghum and Wheat Flour Persimmon Cupcakes with Cream Cheese FrostingVanilla & Pomegranate CakeVegan Chocolate Banana CakeMascarpone Cherry Compote Cheesecake GlassesEggless Orange Cake with Candied Orange Peel FillingPersimmon Rum Cake,  Mango Tart with Vanilla Pastry Cream .

[whohit]SweetLimeCake[/whohit]

[yumprint-recipe id=’291′] 

I woke up one morning to find a mail in my mailbox saying that my blog has been listed under top 100 Indian Food Blogs by Feedspot. First I dint take it seriously because the link said I shared the space with Masterchefs like Sanjeev Kapoor and knwon faces like Nishamadhulika and Manjula’s Kitchen. But then by evening the word spread to Facebook and my friends started tagging me that my blog name is actually in top 100 Indian Blog list. I was numb for a moment but then I was jumping with joy. I want to thank you my readers , my family and my friends who have encouraged me and supported me in this food journey. What would I do without your love! 


My family wanted a cake to celebrate the occasion and I though of baking this Peach upside down cake. This cake was baked in a cast iron skillet and uses no refined flour or sugar! It was moist and held the peaches so well. The flavour of jaggery gave it that earthy feel. What a healthy way to celebrate the occasion. 

Directions:

1. Thoroughly wash ripe peaches and slice them into wedges and discard the stones.


2. Place a 8-9 inches cast iron skillet* on stove and add butter. You can buy a 6 inches Cast iron skillet from our online store The Gourmet Shop . Let the butter melt and spread crumbled jaggery all over the surface. Instead of jaggery you can also add brown sugar. Let the jaggery melt and form a caramel like syrup. Turn the flame off.


3. Place peach wedges all over the skillet. Set aside. In the meanwhile preheat the oven for 10 minutes on 180 degree Celsius (Learn more about Oven temperatures and conversions)


4.  In a vessel add milk and Apple Cider Vinegar**.


5. Stir to mix and also add oil. Heat the milk oil mix in a microwave for 2 minutes.


6. Add brown sugar or jaggery powder, salt and vanilla extract.


7. Also add cinnamon powder and nutmeg powder to the wet ingredients.


8. Give everything a good mix and set aside. 

9. In another bowl add whole wheat flour and All purpose flour.


7. Also add baking powder and baking soda. Combine all the dry ingredients.


11. Add the wet ingredients to the dry ingredients and mix everything till everything is moistened. Do not over mix for you do not want a tough cake.


12. Pour this batter over the peaches in the skillet. Level up with a spatula and pop it in the oven for 30 minutes or till the tooth pick inserted comes out clean.  


13. Bring the skillet outside the oven and let it sit on the counter for 10 minutes and only after that invert it on a serving plate carefully. If you do it before ten minutes the cake will spread everywhere and if you wait too long the caramelized peaches will stick to the skillet and will refuse to move. Therefore, invert the plate right after 10 minutes. Slice and enjoy!

Other recipes with fresh peach you can try are: Peach Lemonade and Eggless Fresh Peach Cobbler.

If you are looking for other Cakes and desserts with fresh fruits you can try: Fresh Apricot and Almond CakeApple CrispMango Vanilla CakeFestive Orange Blueberry Pound CakeSorghum and Wheat Flour Persimmon Cupcakes with Cream Cheese FrostingVanilla & Pomegranate CakeVegan Chocolate Banana CakeMascarpone Cherry Compote Cheesecake GlassesEggless Orange Cake with Candied Orange Peel FillingPersimmon Rum Cake,  Mango Tart with Vanilla Pastry Cream

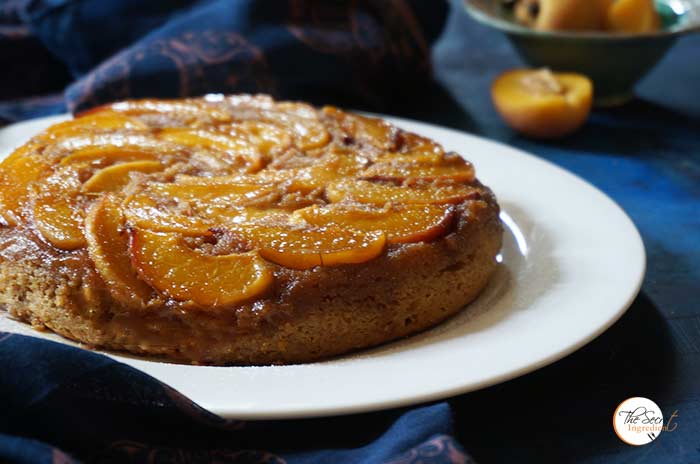
[whohit]PeachUpsideDownCake[/whohit]

[yumprint-recipe id=’282′]


The advantages of living on the hills are plenty. One of them being you get to taste the fruits first which grow around us everywhere. When I saw fresh Apricots, I bought them greedily. Yes I am a compulsive buyer. I end up buying so much produce and which all ends up in my bakes or I have to gift them to my friends. But yes I dont mind doing that because the pleasure of buying is always greater πŸ˜› I hope my husband is not reading this or else I know a big lecture is coming my way πŸ˜›


I love to play around with fruits. I find excuses to bake with them or make something fabulous with them. I feel fruits give a lot of character to the dish. It makes them special and so very fresh and vibrant. In the past I have used pomegranate, papaya, peaches, apples, black grapes, persimmons, oranges, cherries, bananas, blueberries and what not in my food and recipes. This time I knew its going to be apricots and when I looked for this recipe with Almonds and Apricots in a cake the idea kinda clicked and then there was no looking back. I was here baking a cake with these pretty little apricots. The cake was moist and very spongy I loved its dark crisp crust which was perfect for tea time.

Directions:
1. Wash some ripe apricots and deseed them and cut them into quarters and set aside.


2. In a blender add some almonds and grind them into a powder. Set aside.


3. In a saucepan add milk and sugar.


4. Also add zest of a lemon and vanilla extract. Bring everything to a simmer till sugar dissolves in milk. Do not boil. Remove from the stove and let it cool down.


5. Grease a 9 inch Springform baking tin with oil and sprinkle some flour all over. You can buy this tin at our online store, The Gourmet Shop. Preheat the oven to 180 degree Celsius (Learn more about Oven temperature and Conversion).


6. In a bowl sift All purpose flour, baking powder and baking soda.


7. Also add salt and almond meal which we had reserved before. Keep the dry ingredients aside.


8. In another bowl add some eggs and whisk them till they are light and fluffy. And add oil to them and whisk again.


9. Add the egg and oil mix to the dry ingredients. Also add the cooled sugar milk we had made before. Combine everything together till everything is moist. Do not over mix for you will end up making a chewy cake.


10. Pour this cake batter on the greased tin. And tap couple of times to remove any trapped air bubble.


11. Randomly place apricot quarters all over the surface of batter. It may not be in a designed pattern because eventually nothing will show and they will spread all over the cake. Add some almond flakes over the batter. 


12. Bake in the preheated oven for 40-50 minute or until the toothpick inserted in the center comes out clean. If at any stage you feel the cake is getting too browned tent it with an aluminium foil. Once baked remove it from the oven and let it sit on the counter for 10 minutes. Remove from the tin and keep it on the wire rack till it has come to room temperature. You can dust it with some confectioner’s sugar, slice and serve.

Other cakes you can try are: Sorghum and Wheat Flour Persimmon Cupcakes with Cream Cheese Frosting Fresh Mango Cake with Vanilla and Chocolate CollarFestive Orange Blueberry Pound CakeVanilla Cake with Pomegranate Syrup Lemony Pound Cake with Lemon FrostingEggless Orange Cake with Candied Orange Peel FillingApple Raisins Streusel BreadPersimmon Rum CakeEggless Mediterranean Semolina CakeEggless Almond Vanilla CakeEggless Black Grape Cake with Strawberry Jam GlazeVegan Chocolate Banana CakeChocolate Vanilla Marble CakeSurprise Heart Inside CakePumpkin Cake RollsWacky Vegan Chocolate Cake.

[whohit]ApricotAlmondCake[/whohit]

[yumprint-recipe id=’280′]


Yesterday Morning I woke up to a call from a friend who also is a client. I had 5 of her missed calls. It turns out she wanted to order a cake which needs to be ready in 3-4 hours. As you all know I dont do cakes on a regular basis and I live in a place where ingredients aren’t readily available. So i was in a dilemma but then I took this challenge. She left me to decide whatever I wanted to make. 


I had to quickly make a decision as to what can be made in jiffy and still looked pretty. You know when such cakes are ordered specially for wedding Anniversaries they need to have a wow factor not just in taste but also the way they look. For a second all the good looking cakes I had done in the past zapped right in front of my eyes and I had to choose one. Because this wasn’t a time for experimentation. I had made a Mango Tart a while back and it had turned out pretty and then I also had made a Vanilla Cake with pomegranate Sauce which was yummy. So I decided to fuse the two. 


And the result was this gorgeous little Mango Vanilla Cake with Chocolate Collar! Aahh I feel soo happy after looking at it. The real icing on the cake was that the Client loved it  I cant explain the social network has been going gaga over this. It was 1.4k likes on a single Facebook group and other 1k in other. Everywhere I post this its being appreciated. I am a novice cake baker but sometimes things happen like magic happens πŸ™‚ I am Thankful to Almighty and you all for this love.

Directions: 

1.In a bowl add Butter and castor Sugar. Cream them together. You can use hand held whisk or electric whisk.


DSC05591


DSC05592


DSC05593


2. Add eggs and combine till creamy and light.

DSC05594
3. Add  Vanilla Extract.

DSC05597  
4.  In a bowl add All Purpose Flour, salt and Baking Powder.


DSC05598


DSC05599


5. Slowly add this to the wet ingredients and combine until moistened.


DSC05600


DSC05601


6. Pour this batter in a  springform pan and smoothen the top with a spatula. You can buy the Springform pan with our online store,  The Gourmet Shop. We ship pan India. 


7. Bake in the preheated oven on 160 degree for 50 minutes or until the toothpick inserted comes out clean. Let it  cool down completely before removing it from the pan.


8. When the cake has cooled completely slice it horizontally into half using a sharp serrated knife. The motion of knife should be like a saw. Refrigerate for half an hour. I couldn’t because I had to finish the cake in 3 hours.


9. Add some whipped cream in a chilled bowl and whip it with an electric whisk till stiff peaks are formed.


9. Place a cake board on a rotatable Icing table and spread a little whipped cream on the board and place one slice of cake on it. This will ensure the cake doesn’t slip from the board.


10. Chop a fresh mango into small chunks and spread it on the surface of cake.

11. Spread a layer of whipped cream on top of mangoes and make it even using a palette knife. you can even use a spatula if you dont have a palette knife.


12. Place the other part of the cake on top of the whipped cream and mango mix.


13. Take some whipped cream and smear it on the sides all along its circumference and top. It has to be thin layer, doesn’t matter if its smooth or not. I am not good with smooth finish so I made this cake to hide my inadequacies πŸ™‚ How I forgot to take picture of this step! πŸ™

14. Now for the top mango garnish, take firm mangoes, peel the skin and cut it into half, removing the seed. Then further cut halves into thin slices. Set aside.


DSC06413


DSC06414


DSC06415


15. Once the cake has been iced from all sides. start from the top centre. Arrange the mango slices on top, starting in the centre and then taking it outwards to mimic flower petals. Don’t place the slices deep into the cream. The more they remain on top the neater will be the look.


16. Now the question was how to hide the sides and pretty pie it. I thought of a chocolate collar and found a tutorial which was quick and seemed easy but I had never done it before. But I had little choice. So I went ahead. You need is a bar of chocolate or chocolate chips. Place them in a microwaveable bowl and heat it till it melts. You need to stir it every 30 seconds so that it doesn’t burn. You can also use a double boiler to melt, whichever you think is faster.


17. Pour the melted chocolate in a pipping bag or ziploc without any nozzle and tighten the keep. 


18. Now you have to measure the height of the cake, I used a ruler. It was 4 inches for my cake. Tear a sheet of parchment paper which covers the cake around completely and further trim its height matching to the height of your cake or a little taller, it was 4.5 inches in case of my cake. Oh look you have the view to my not so clean icing on the sides of the cake. yippy!


19. See it fits around the cake perfectly and also has the height i wanted.


20. Remove this parchment paper and place it on a smooth surface. You pipping bag with melted chocolate is ready, snip the end with scissors and make a small hole. Now spread the chocolate in circular motion, starting from one end and finishing the other, say left to right. Now repeat the same from right to left . You can make it as intricate as you want. The more layers you give it the more sturdy will be your chocolate collar. 


21. Let it be like that for a few seconds till the chocolate sets partially. Now remove the strip of  parchment paper carefully with both your hands. If you leave it for a longer time and it sets fully you will not be able to mould it around the circular cake. So eyeball the timing.


22. Place it around the cake with chocolate side inside, pushing it inside the cake carefully.


23. Once the chocolate collar has been placed around the cake, remove the parchment paper slowly without damaging the lace and breaking it.


24. Guess what the cake is ready. You can add anything more to prettify it. I think I was happy with the results and gladly my client also liked it. 

Other Cake recipes you can try are: Eggless Black Grapes Cake,  Chocolate Vanilla Marble Cake , Eggless Almond Vanilla Cake,  Eggless Orange Cake with Candied Orange Peel FillingLemon Cake with Lemon GlazePersimmon Rum CakePumpkin Cake RollsSurprise Heart Inside CakeVegan Chocolate Banana CakeVanilla & Pomegranate CakeWacky Vegan Chocolate CakeFestive Orange Blueberry Pound Cake Mediterranean Eggless Semolina Cake

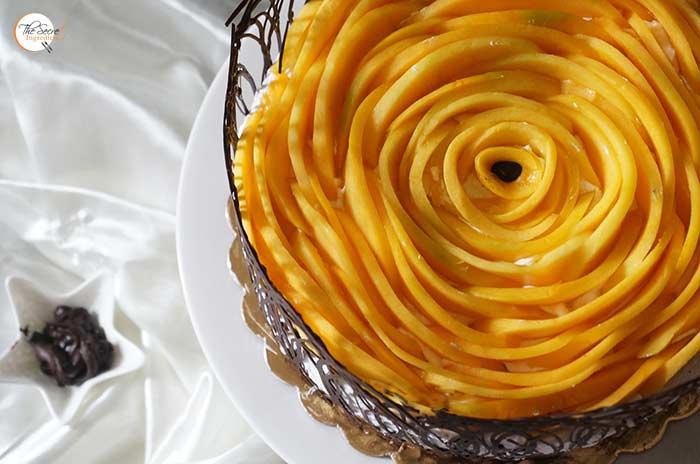
[whohit]MangoVanillaCake[/whohit]

[yumprint-recipe id=’273′]

Spiced Raisin Coffee Cake

I always say baking is so therapeutic . I love to bake whenever I am low or I am happy or I have nothing else to do. I always wanted to learn baking but there was no one in my family who had prior experience in baking. So I started searching internet and after a lot of hit and trials I can say I can bake a perfect cake once in a while πŸ˜› Sharing this recipe of Spiced Raisin Coffee Cake with you which surprisingly came out so well.

Spiced Raisin Coffee Cake
Update: Last I had made this Spiced Raisin Coffee cake when I had just started blogging. I hadn’t posted step by step pictures of the recipe but since then the taste of the cake and this thought had been haunting me. Yesterday when I had some family people visiting us I took the opportunity to bake this for dessert. It certainly was loved. The flavour of Pumpkin Pie Spice, lemon zest and vanilla made everything very aromatic and divine. The texture of the cake was absolutely gorgeous and the credit goes to inclusion of organic eggs from Eggee. They are the best quality eggs I have come across. If you like in Delhi, NCR get yourself a pack and try them out!

Directions :

1. Preheat your oven to 350 degrees, (Know more about Oven Temperature and Conversions) grease a 8 inches Springform with non stick cooking spray. You can buy this spring foam pan from our online store The Gourmet Shop.

2. In a large bowl, add All Purpose Flour, Baking Powder and Pumpkin Pie Spice. You can make your own pumpkin pie spice. Get the recipe here. Mix everything and set aside.


3. In a small bowl, mix raisins with about Β½ cup of the dry ingredients and toss well until all the raisins are covered in the flour mixture, set aside.

4. In a large bowl, cream together the butter and sugar for about 1 minute. 


5. Whisk in eggs, vanilla and lemon zest 


6.Add milk and buttermilk and mix everything until it’s a nice smooth batter. You can make Buttermilk at home. Just follow this simple recipe.

7. Add the dry ingredients and mix until all the dry ingredients are moistened but not over mixed.


8. Fold the raisins mixture in the batter, pour batter into the prepared pan making sure to smoothen out the top.


9.In a small bowl, mix add castor sugar and brown sugar.  Add chopped walnut and cinnamon powder . 


10. Also add cold butter cubes and mix it with your fingers or a fork until its has sand like texture.


11. Spread it evenly over the cake and bake for 30 to 35 minutes or until a toothpick inserted in the center comes out clean.

12.Let cool for about 15 minutes before slicing and serving.

Other Naked Coffee Cakes you can try are: Eggless Black Grape Cake with Strawberry Jam GlazeFestive Orange Blueberry Pound Cake Peach Upside Down CakeVanilla & Pomegranate CakeVegan Chocolate Banana Cake , Lemon Cake with Lemon Glaze ,Chocolate Vanilla Marble Cake,  Eggless Orange Cake with Candied Orange Peel Filling Surprise Heart Inside Cake, Eggless Almond Vanilla Cake.

Spiced Raisin Coffee Cake

[yumprint-recipe id=’3′]