Tag

ChristmasSweets

Browsing


It’s been 15 days since my dad left us. He left behind a vaccum, some wonderful memories and his absence. I still can’t come to terms that he is no more with us. But life goes on.. and I know he would have wanted us to be happy and get on with our lives.  This post is dedicated to my loving father. The void he has left behind can never be filled. I can never match to his benevolence but all I can say he will live in my heart always. 

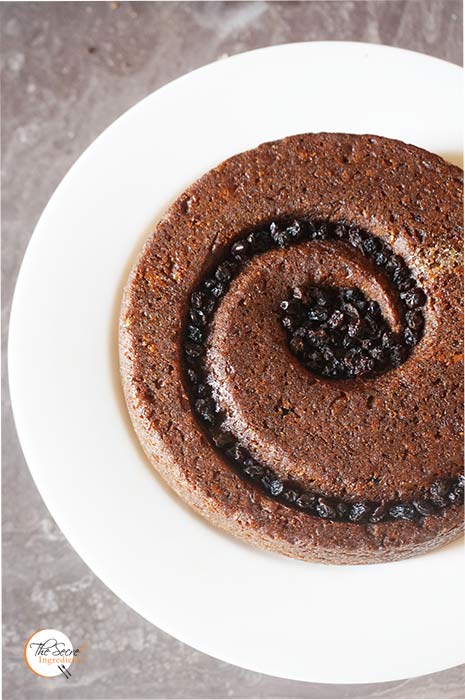
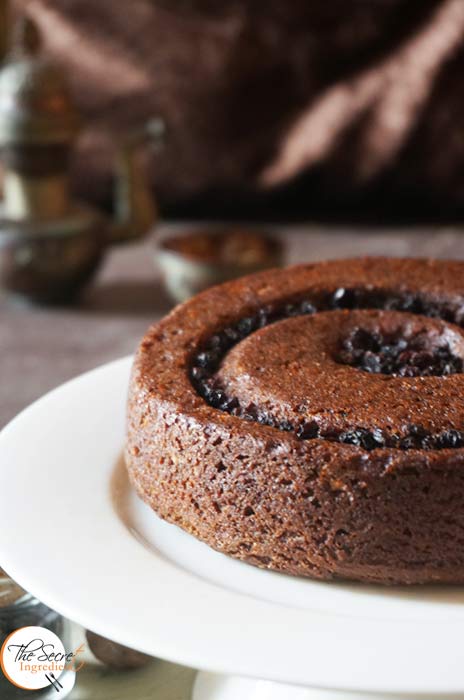
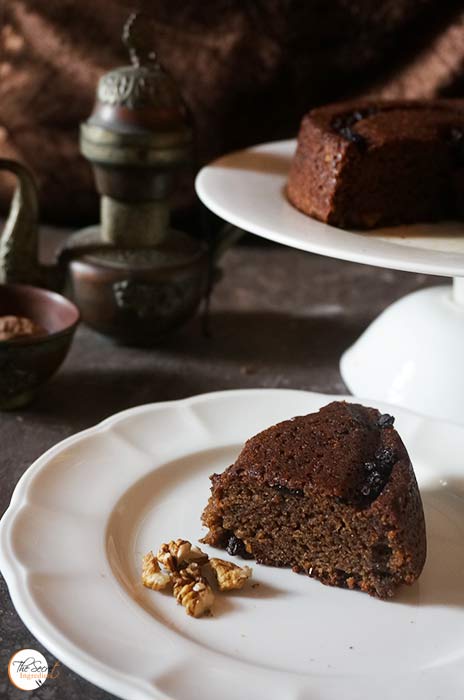
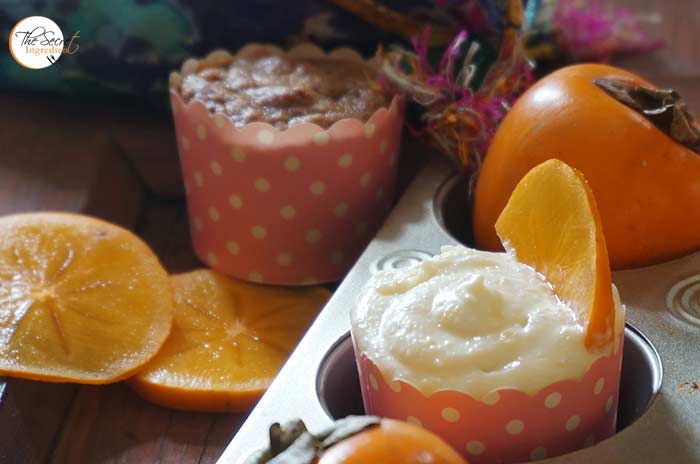
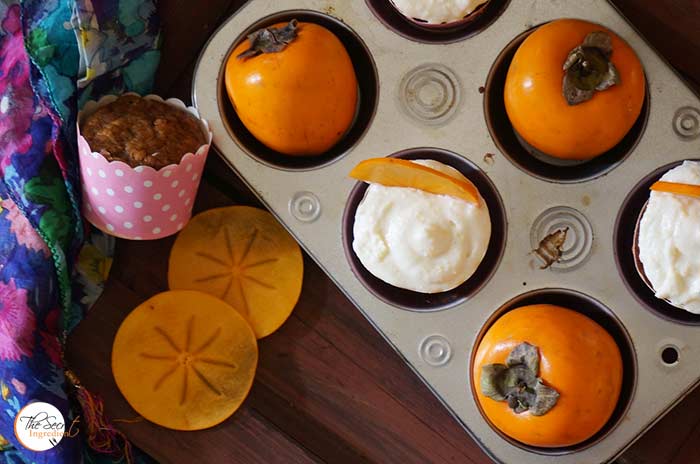
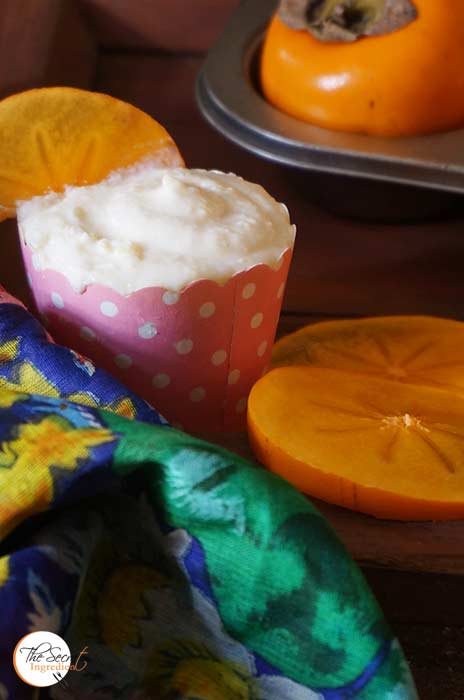
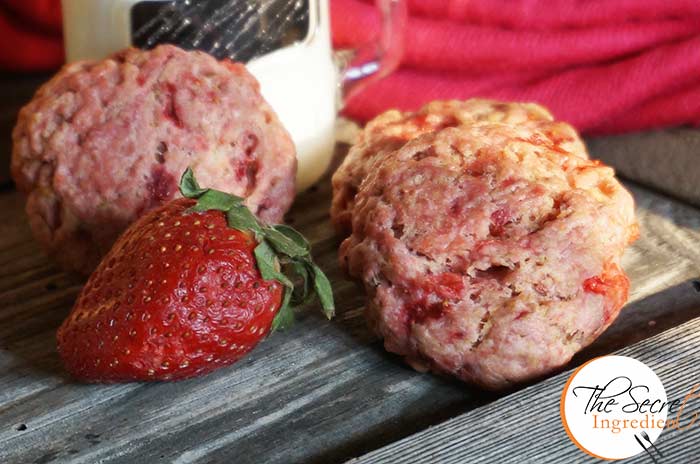
This Persimmon Buckwheat Cake with walnuts and currants is made using SOS Organics Himalayan Buckwheat Flour and Brown Rice. It is 100% gluten free and ideal for people with celiac diseases or those who want to avoid gluten.

Directions:

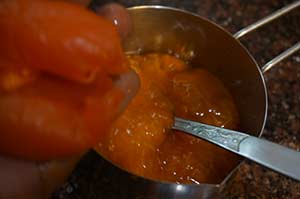
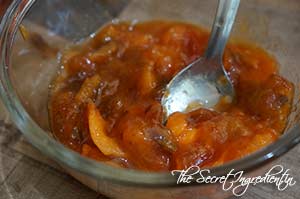
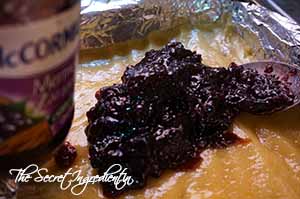
1. Scoop out the pulp of squishy persimmons with the help of  a spoon. Discard the peels and the seeds, if any. Preheat the oven on 180 degrees for 10 minutes. (Learn more about Oven Temperatures and Conversions).


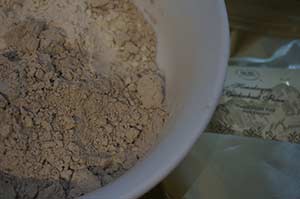
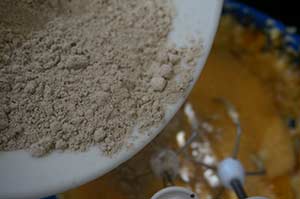
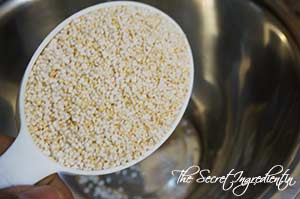
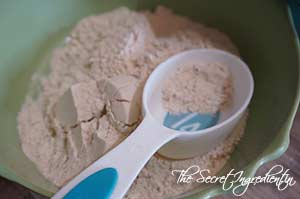
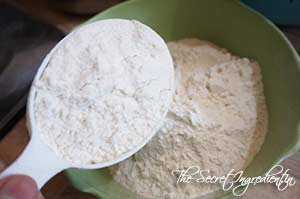
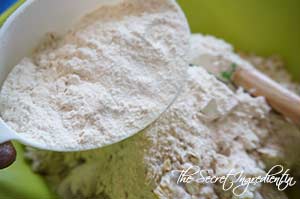
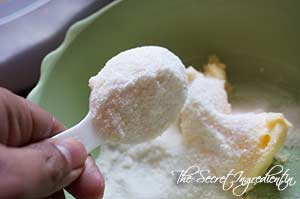
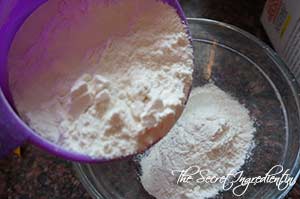
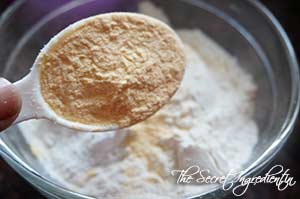
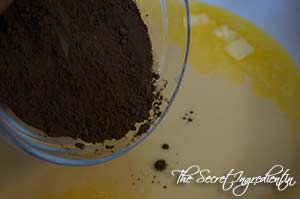
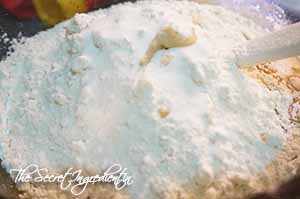
2. In another bowl add brown Rice Flour and Buckwheat flour and combine together.


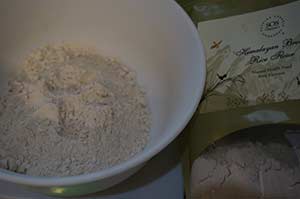
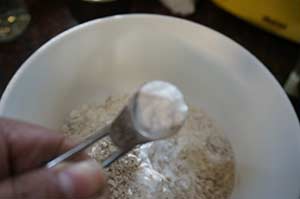
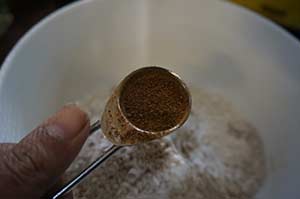
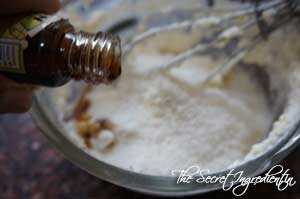
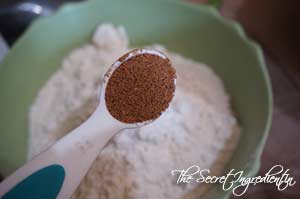
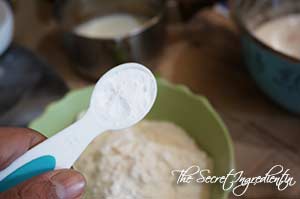
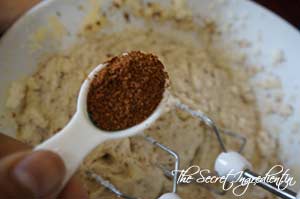
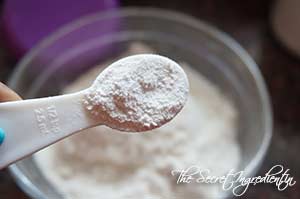
3. Also add Baking soda and nutmeg powder to the dry ingredients and combine.


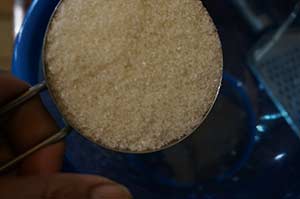
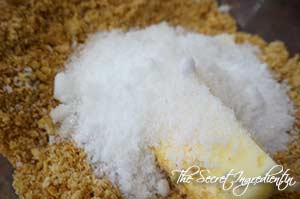
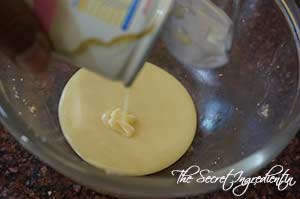
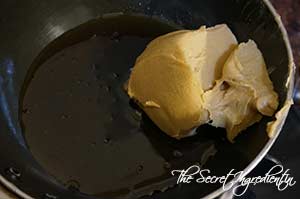
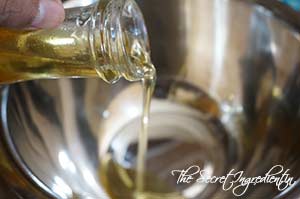
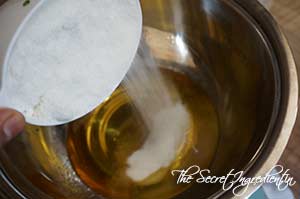
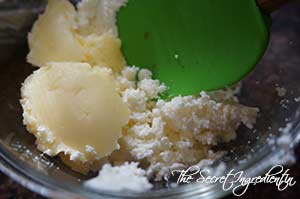
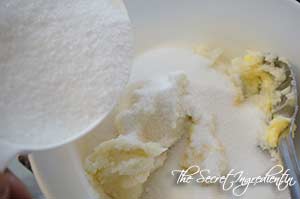
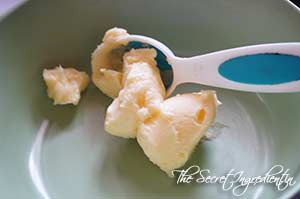
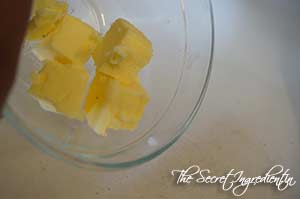
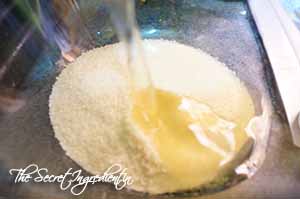
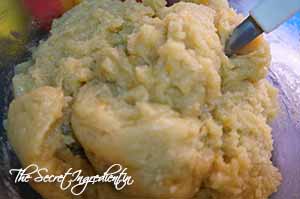
4. In another bowl add butter at room temperature and sugar.


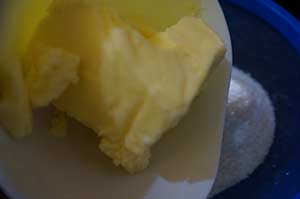
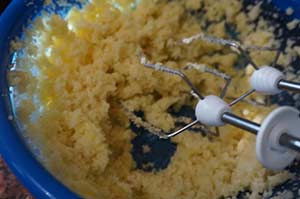
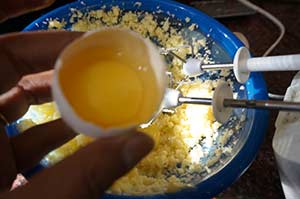
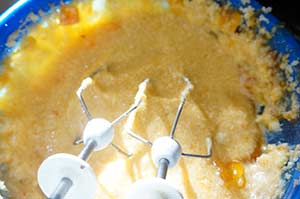
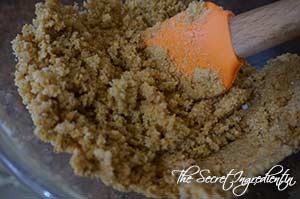
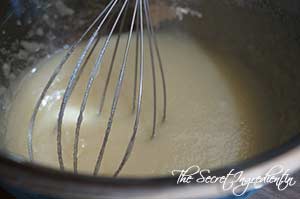
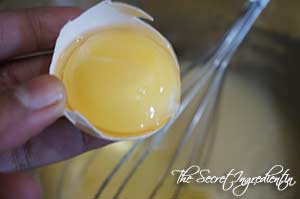
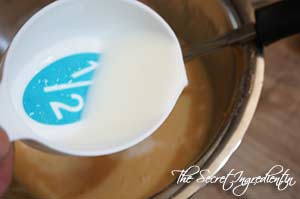
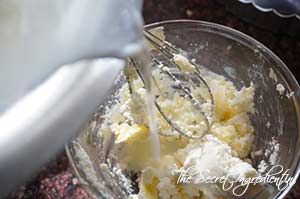
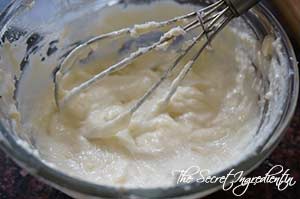
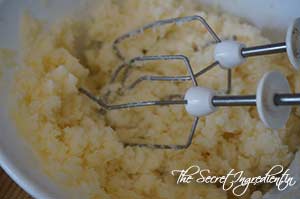
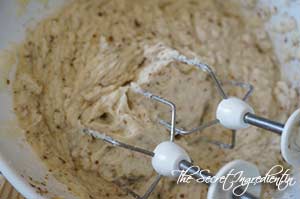
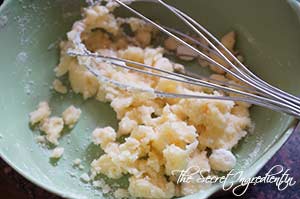
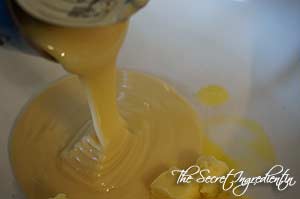
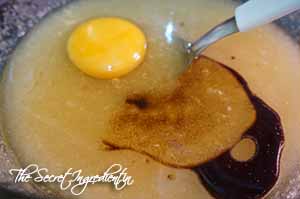
5. Cream together butter and sugar with a whisk and add eggs.


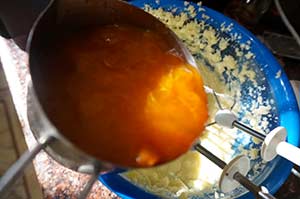
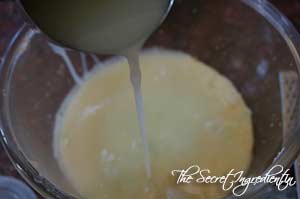
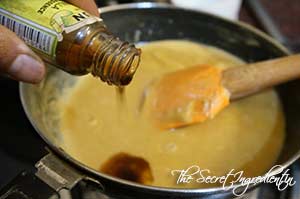
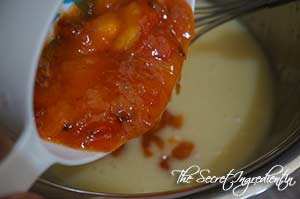
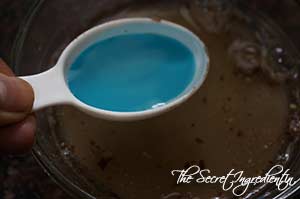
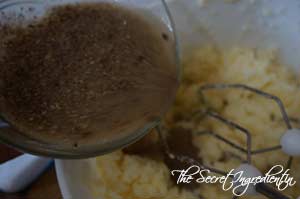
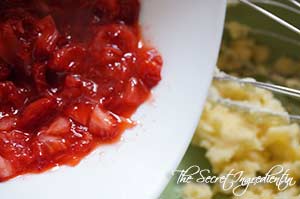
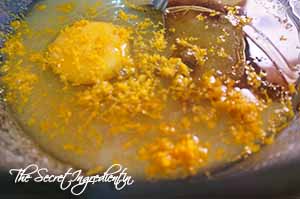
6. Add persimmon puree and whisk everything well.


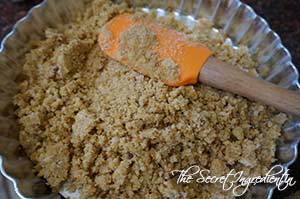
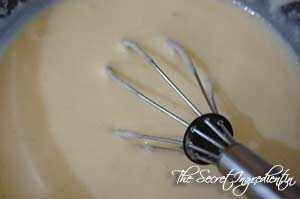
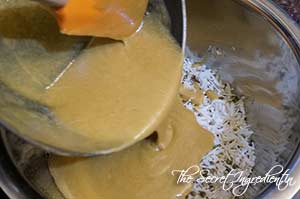
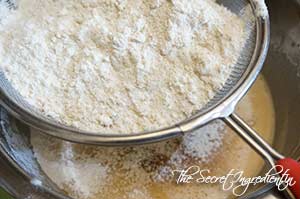
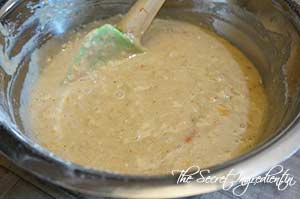
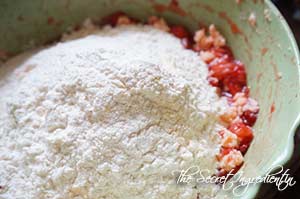
7. Add the dry ingredients and whisk together the wet and the dry ingredients.


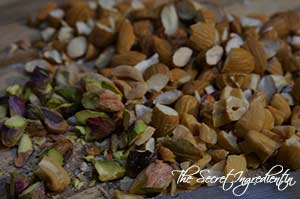
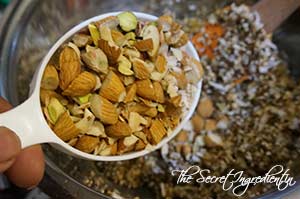
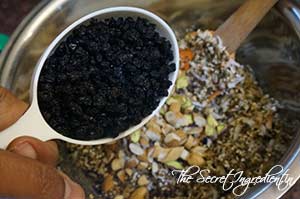
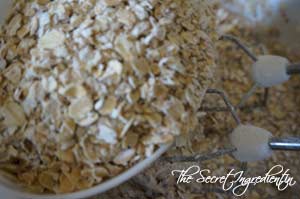
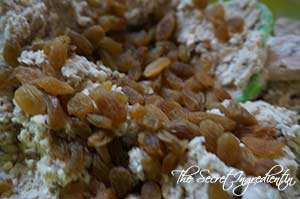
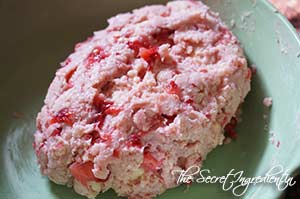
8. Fold in chopped walnuts and dried currants.


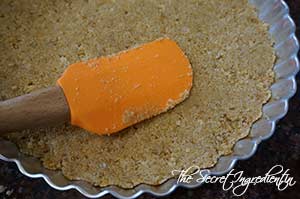
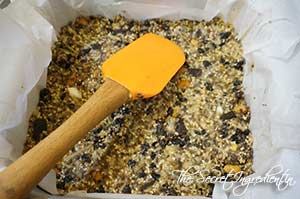
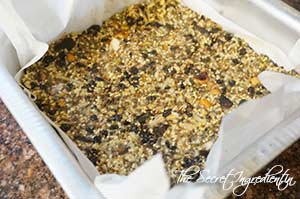
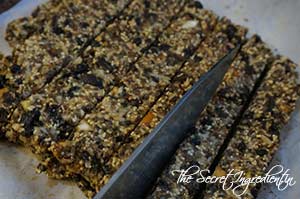
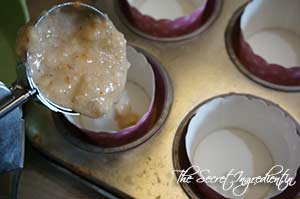
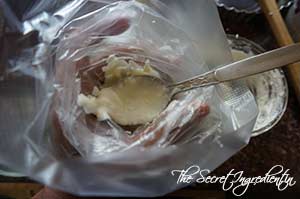
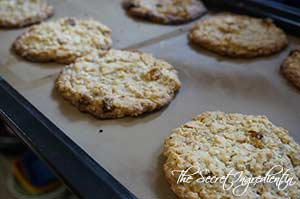
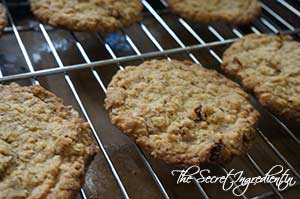
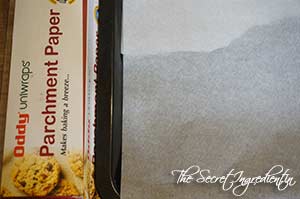
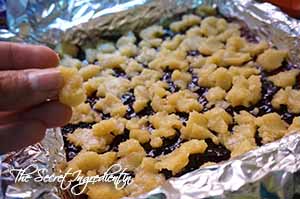
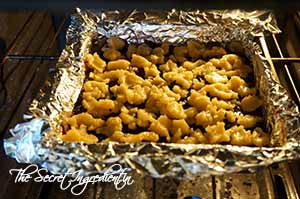
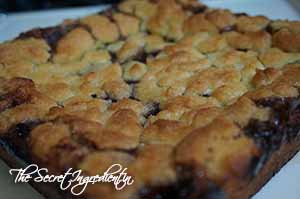
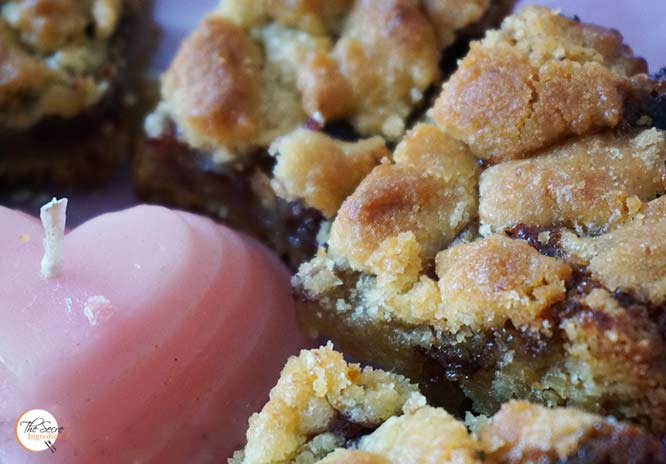
9. Pour the batter in a greased pan and bake for 35-40 minutes till the toothpick comes out clean. Place the cake on the wire rack and unmould after 2 hours. Slice and serve with your favourite cup of coffee.

If you are looking for other Cakes and desserts with fresh fruits you can try: Peach Upside Down Cake.  Fresh Apricot and Almond CakeApple CrispMango Vanilla CakeFestive Orange Blueberry Pound CakeSorghum and Wheat Flour Persimmon Cupcakes with Cream Cheese FrostingVanilla & Pomegranate CakeVegan Chocolate Banana CakeMascarpone Cherry Compote Cheesecake GlassesEggless Orange Cake with Candied Orange Peel FillingPersimmon Rum Cake,  Mango Tart with Vanilla Pastry Cream . Mosambi Cake.

[whohit]PersimmonBuckwheatCake[/whohit]

[yumprint-recipe id=’296′]

Some friends from my hometown were visiting us in the hills. My parents asked them to carry a few lemons from their yard. Last time when I had the lemons in abundance I made the Lemon Pound Cake with Lemon Glaze and this time I wanted to make Laura Vitale’s Key Lime Pie. My husband was leaving for a shoot to mumbai and I had one hour in hand. I decided to make this dessert for him so that he leaves with some sweet memories. ha! I am such an adorable, dotting and caring wife 😛 (No pun intended)


So this was an easy peasy recipe and required no baking just a little chill time. The weather was already freezing so it needed half of the time to set and it was soo soo good. I loved the three layered tart, crumbly and sweet culmination. If you like lemony tart desserts you sure will be on cloud 9. Please ensure that you add ample whipping cream as suggested in the recipe. I know the lessor will have less calories but it will be quite lemony for the taste buds. 

Directions:

1. Take Graham Crackers or even digestive biscuits will work great. I have used the later. Add them to a bowl and crush them to make crumble. I have used a pestle for this. 


2. Add butter at room tempertaure to the crumble. Also add powdered sugar.


3. Mix everything together and dump the crumble mix on a pie pan with removable bottom. You can buy one like this on The Gourmet Shop at reasonable prices. Press the crumble into the base evenly using the force of a spatula or even a small bowl. Set the pie pan aside.


4. In another bowl add the condensed milk and add a zest of a lemon. 


5. Squeeze out juice of lemons and mix that to the condensed milk and combine using a whisk.


6. Pour that condesnsed milk mixture on top of the tart pan over tha layer of biscuits. Let it sit in the refrigerator and set for a cuple of hours. 

7. In the meanwhile take out thawed whipping cream from the fridge and whisk it with electric whisk till stiff peaks are formed. 


8. Place a pipping nozzle of your choice in a pipping bag and fill the bag with whipped cream. Tightly close the bag and cut the tip with a pair of scissors.


9. Pipe the top of the lemony pie with whipped cream all over. You can even spreead the cream with a spatula, pipping is not mandatory. You can beautify it further by adding additional lemon zest.


10. Put it inside the fridge for whipped cream to settle. Slice and serve. 

Other Pie, Tarts and Desserts you can try from our my blog are: Mango Tart with Vanilla Pastry CreamApple Cider Spiced Doughnuts ,  Blueberry Bars,  Eggless Orange Cake with Candied Orange Peel FillingLemon Cake with Lemon GlazeSorghum and Wheat Flour Persimmon Cupcakes with Cream Cheese Frosting.

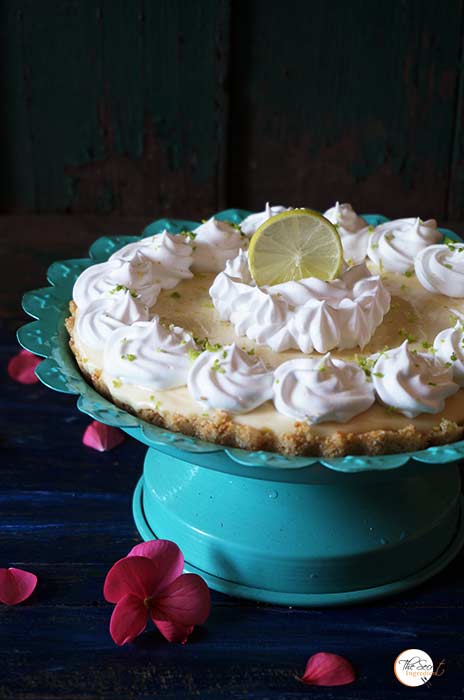
[whohit]KeyLimePie[/whohit]


amaranthgranolabars_featured1

Christmas is around the corner and I am looking like a Santa Claus today, for I am wrapping energy bars for my cyclist husband. Since he started cycling on the mountain trails he has been obsessed with it. I am jealous that he spends more time with his cycle now than me 😛 But I am also glad that he has found his true calling and enjoys this activity to the hilt. I have been making energy bars for him which are healthier and much more delicious than what you get packed from the stores.

amaranthgranolabars_featured2

When his last batch finished I made him a fresh one and thought to share this on my blog for all of you. What can be a better way to rejoice the holiday season by making healthy choices. These no bake granola bars are loaded with puffed amaranth, dry fruits, black currant, chia seeds, hemp seeds and peanut butter. I have used Organic Puffed Amaranth or Ramdana or Rajgira from SOS Organics. Amaranth is a good source of calcium, protein and amino acids and is rich in iron, magnesium and Vitamin A, B and C too. You can always buy it from our – The Gourmet Shop. If you have your own un puffed amaranth you can puff it yourself. Take a cast iron skillet or wok. Heat it so that it gets hot enough. Take 1 tsp of amaranth seeds and place it in the wok and let it sit for 5 seconds. Then cover it with a lid and toss it around. You should be able to get puffed amaranth. Don’t keep it for too long for they can burn very easily. It requires a bit of practice. Once you get a hang of it you can increase it to 1 tbsp at a time.

amaranthgranolabars_featured7

Most the recipes of energy bar go haywire because of the proportions. If you choose to substitute any one ingredient with another, for example you dont have hemp seeds, you can substitute it with pumpkin seeds or melon seeds but the quantity has to be the same. This is a foolproof recipe, just follow it to the ‘T’ and you will never ever indulge in store bought bars.  These are so delicious that my kiddo wants to eat them whole day long and I have no reasons to say no. 

Directions:

1.  In a bowl add puffed amaranth , dessicated unsweetened coconut and hemp seeds.


dsc00087


dsc00088


dsc00089


2. Also add sesame seeds and chia seeds.


dsc00090


dsc00091


3. In the same bowl add fresh zest of a lemon. Yes yes trust me! Its the most magical ingredient in this recipe.

dsc00092

4. Roughly chop Almonds, Pistachios, Cashews and Jother nuts you would like to add to the bar.  Also chop dark chocolate bar into chunks. Ignore if you are using chocolate nibbles. Set aside.


dsc00085


dsc00086


5. Grease a 8×8 inch baking tray with good quality parchment paper . Leave handles on the side to make it easy to remove from the pan. You can buy it here if you like.

dsc00101
6. In a saucepan add some honey and peanut butter. Just heat it up to make it loose and runny.


dsc00093


dsc00095


7. Once the honey and butter is melted turn the flame off and add vanilla essence to it and combine.

dsc00096
 
8. Add the melted honey and butter to the amaranth seed mix and combine using a spatula.

dsc00097
9. Add chopped nuts and black currants. Combine.


dsc00098


dsc00099


10. Lastly, add chopped chocolate and mix. You will get a tough mixture to work with but that’s how it should be.

dsc00100
11. Transfer the entire mixture the baking tray lines with parchment paper and even it out by pressing down with the help of a spatula. Let it sit in the refrigerator for a couple of hours to set.


dsc00105


dsc00106


12. Cut into desired shapes using a long knife.

dsc00107
13. Wrap them into individual packing using a food wrapping paper and store it in a cool place. This stays good for couple of weeks.

Other easy desserts you can try here are: Blueberry Jam BarsMediterranean Eggless Semolina CakeCoconut MacaroonsKhajoor Til Ke Laddoo

amaranthgranolabars_featured8

[whohit]AmaranthBars[/whohit]


[yumprint-recipe id=’264′]

persimmoncupcakes_featured2

Last year when I saw Kaku or Ramphal or as it is called as Persimmon in english in my local market I was thrilled to try them. We get Hachiya variety of Persimmons in our hills which is a sweeter variety but tannic and astringent in taste if you eat them unripe. By ripe I mean they should be almost squishy and the pulp should almost run out of the fruit. Surprisingly the locals dont like the taste of the fruit. But the Persimmon Rum Cake I made last year was amazing. This year I wanted to take my experiments to a next level. I tried to make a healthy bake by adding Organic Sorghum Flour and Whole Wheat Flour. I made these gorgeous and delicious cupcakes with these enriching flours. I picked up Sorghum Flour or Jowar ka Atta from Conscious Food. Their products are absolutely top notch. We are proud to have partnered with them and now you can buy them on our online store The Gourmet Shop

persimmoncupcakes_featured1

I sent this recipe for the 2nd Anniversary Ovenderful Mom Bakers Community Annual Contest . With the grace of God my recipe got a consolation prize as one of the healthy bakes. So if you have persimmons on hand and healthy cupcakes is on your mind this is a winning recipe, well literally 🙂 

Directions:
1. You need to peel the skin of Persimmons and spoon out its pulp. If you are using the Hachiya variety make sure its squishy ripe. Remove seeds if any. With the help of a potato masher mash the pulp and set aside.

dsc09296

2. In an another bowl add vegetable oil and sugar. 


dsc09297


dsc09298


3. Whisk the sugar and oil till sugar is dissolved. Slowly whisk in eggs and make the mixture cremier.


dsc09299


dsc09300


4. Add the persimmon pulp and combine. Also add milk , vanilla extract and whisk well.


dsc09303


dsc09304


dsc09346


5. In another bowl add Wheat Flour and Conscious Food Sorghum Flour and combine them.


dsc09305


dsc09306


6. Add pumpkin pie spice and Baking soda to the flour and combine. 


dsc09308


dsc09307


 7. Sieve the dry ingredients to the wet ingredients and combine till everything is moistened. Do not over mix.


dsc09333


dsc09334


8. Preheat your oven to 180 degree C (Learn more about Oven temperatures and Conversions) and if you are using muffin liners, line your muffin tray with the liners. I am using stand alone bakeable cups. You can buy them at The Gourmet Shop. Pour the batter in the cups and fill only 3/4 of the cup. Bake in the preheated oven for 20-25 minutes until the top is golden in colour and the tooth pick inserted comes out clean. 

dsc09335
9. While these are baking make the cream cheese icing by whisking Cream cheese and butter in a bowl. Add a little milk to make the icing a little loose.


dsc09342


dsc09343


10. Once the icing is whisked add powdered sugar or icing sugar and continue to whisk.


dsc09344


dsc09345


11. Once the sugar has mixed well set the icing aside. Line a pipping bag with a pipping nozzle of your choice. and cut the top edge with a pair of scissor. 


dsc09347


dsc09348


dsc09349


12. Place the bag in a glass and pour the icing in it. Squeeze it to go further down. Now fold the top of the bag to avoid icing from flowing back.
dsc09350

14. Ice your cupcakes after they have cooled down completely. If you like you can top the icing with a half slice of persimmon. Enjoy.

You can even try Persimmon Rum Cake.

Other Cupcakes and Muffins you can try : Papaya Chocolate Muffins and Vegan Eggless Chocolate Muffins 

persimmoncupcakes_featured4[whohit]PersimmonCupcakes[/whohit]

[yumprint-recipe id=’262′]

My husband and me are Subway Lovers. That is our favourite Sandwich place in the whole wide world. Every place I have been outside India I have had sandwiches from Subway. If we have subway in our city we tend to eat three to four times in a week there.  At the end of every meal I grab an Oatmeal Cookie for myself and eat it greedily. They are soo very addictive. I guess that is one reason for me to make a frequent visit there.

The other day I was craving for the Subway Oatmeal Cookie (we dont have a subway in hills bohooo :'( ) So I decided to hunt on the web for a recipe which is as close to Subway’s Oatmeal Cookies. After a few hit and trials and trying a few recipes, I think I hit a jackpot. This recipe from Aarthi’s blog was almost near to what I was looking for. I tweaked it a little to make it just PERFECT. You have to try it but dont blame me later that I dint warn you for they are soo addictive.

Directions:

1. In a bowl add Flax Meal (Learn how to make Flax meal or Flax seed powder at home) and 3 tablespoon water. Let it sit for 5-7 minutes till it becomes gelatinous. You can always replace flax meal with an egg if you are okay with it.


DSC06717


DSC06718


2. In a bowl add Butter (at room temperature) and caster Sugar. Whisk them together until creamy. 


DSC06719


DSC06721


3. Add the gelatinous flax meal and combine.


DSC06722


DSC06723


4. Add Cinnamon Powder, Quick Cooking Oatmeal and baking soda.


DSC06724


DSC06725


DSC06726


5. Also add Whole wheat Flour or atta and Raisins. Combine everything into a dough.


DSC06727


DSC06728


6. Line a baking sheet with Parchment Paper or Silicon Mat. I use Silicon Mat because it can be used again and again and nothing sticks on it. You can order your own silicone cookie mat from our online store, The Gourmet Shop. Scoop out the cookie dough with an ice cream scooper or you can even use a normal spoon and place them on the tray. Ensure to keep 2 inch space between them, as they will spread on baking. 


DSC06729


DSC06730


7. Press each cookie ball with your palm and put them for baking in a preheated oven for 17-18 minutes  on 180 degree Celsius (Learn more about Oven Temperatures and Conversions) until you see them slightly golden. 

DSC06731
8. Take them out of the oven and let them sit on wire rack for ten minutes before indulging. They will crisp up as they come to room temperature.


DSC06732


DSC06733


9. Put them in an airtight cannister and they will stay good for more than a week, if only you can resist not eating them. Enjoy them with a cup of hot coffee or a glass of milk. You know for sure they are better than subway 🙂

Other Cookies you can try here are: Besan & Corn Flakes CookiesWhite Chocolate Chip Cookies , Ragi & Whole Wheat Biscuits, Coconut Chocolate CookiesPeanut Butter Cookies with Chocolate ChipsMelomakarona: Greek Traditional Christmas Cookies and Italian Almond Biscotti.

[whohit]OatmealRaisinCookie[/whohit]


[yumprint-recipe id=’224′]


StrawberryCookies_Featured2

On my last trip to Delhi I gathered a lot of strawberries for my experiments. Ha! I sound as if I am a mad scientist..well almost 😛 When I made the Strawberry Preserve for my family they went gaga over it and it was finished in a few days. I never have had so much jam in my entire life. Well I am left with is an empty jar and sweet memories on my tongue. The next on my mind was to use them for some cookies. I know it sounded weird but when I did my google I saw there were many weirdos like me. I zeroed down to Harini’s Recipe and it was huh! Heavenly!

StrawberryCookies_Featured1

The colour of cookies was so enticing that my little sunshine picked up one, and then two and finished three of these with milk in his favourite short mason jars. You know baker mommies they just love this and that’s how their heart melts. I am simply going to repeat doing this whenever I have strawberries next. In the meanwhile you try and indulge.

Directions:

1. Wash and hull strawberries and cut into slices. With the help of your finger tips coarsely mash them. A blender will make it a puree, but we just want them coarsely mashed. So stick to your hands.


DSC05147


DSC05158


DSC05159


2. In a bowl add butter and sugar. Cream them together.


DSC05160


DSC05161


DSC05162


3. Add coarsely mashed strawberries and combine.


DSC05163


DSC05164


4. Add Vanilla extract and combine.

DSC05165
5. In a separate bowl sift and combine All Purpose flour Baking Powder and Custard Powder.


DSC05166


DSC05167


DSC05168


6. Add the flour to the wet ingredients and mix together to form a sticky dough. Refrigerate the dough for 30 minutes so that it becomes easier to work with. 


DSC05170


DSC05171


7. Line a baking sheet with Oddy Uniwrap Parchment Paper and preheat the oven to 180 degree Celsius. 

DSC05175


8. Divide and roll the dough into golf size balls and place them on the baking sheet. Press them slightly with your palm. 


DSC05176


DSC05177


9. Bake them in oven for 12-15 minutes. Remove them from oven. Let them cool down completely before indulging into it.

Other Cookie recipe you can try here are: Coconut Chocolate CookiesItalian Almond BiscottiGreek Traditional Christmas Cookies , Ragi & Whole Wheat BiscuitsWhite Chocolate Chip CookiesPeanut Butter Cookies with Chocolate Chips.

StrawberryCookies_Featured5[whohit]StrawberryCookies[/whohit]

[yumprint-recipe id=’197′]Sending this to: Uniwraps.com


Often there is an urge to eat something sweet, chocolaty which simply melts in your mouth. These cravings go berserk if you try to suppress them. And the only solution is to feed them with what they want. One super duper quick recipe is Brazilian Brigadeiros . These are simple chocolate fudge balls which involves minimal cooking and excellent results. Roll them in Chocolate Sprinklers and you get this amazing dessert.

I made this for my mother in law who is fond of chocolates and sweets. She was to do a road trip and I thought to make this for her so that she can enjoy her trip. And when I gave her a box of these she was like “wooowww did you make these they look just like store bought chocolate truffles”. And that made me a happy chirpy soul 🙂 Try them for your kids, specially when they are appearing for their exams. They would love to get pampered this way 😉

Directions:

1. In a pan melt Butter.
DSC05227
2. Empty a can of Condensed Milk.

DSC05229

3. Also add Cocoa powder and mix well. 

DSC05230

4. Keep cooking chocolate on medium flame until you see it bubbling. Make sure the chocolate doesn’t burn from the bottom so you need to keep stirring. If your chocolate is undercooked you wont be able to roll them into balls  and if its overcooked it wouldn’t taste good. So it has to be perfectly cooked. Draw a line in the centre with the spatula if the line remains  as it is , then its a sign your chocolate is done.

DSC05232
5. Line a plate with Parchment Paper, I have used Oddy Uniwraps Parchment Paper because it doesn’t stick to the food and you need not grease it. Spread the chocolate on the plate and let it refrigerate in fridge for 2 hours.


DSC05233


DSC05234


6. Grease your hands with oil and take a little portion of your chocolate and roll into a ball. If your chocolate is rightly cooked it will form the shape without a problem, if not you need to cook it further.


DSC05235


DSC05236


7. Roll the balls in chocolate sprinklers.

DSC05237
8. You can place them on a muffin cup liner to avoid sticking to the plate. Serve and enjoy the sweetness.

Other quick recipe you can try here are : Coconut Macaroons,Coconut Milk Mango PuddingApple Lapsi .

[whohit]Brigadeiros[/whohit]

[yumprint-recipe id=’195′]


Its Valentine’s Day, the day of love. Love doesn’t just mean loving your partner but it has a wider definition, it includes your parents, your kids, your friends and any one who means to you. This has been a hectic month for me for I am shifting my base from Mexico to India. I have been utterly busy doing packing with less than ten days left for my departure. Probably this is my last post from Mexico. Well coming back to the topic. Since, I had little time I wanted to make something easy and also utilise things I have on hand. Trust me this came out sinfully delicious.You can use any jam you have on hand and make these heavenly bars and tell your loved ones how much you love them.

Directions:

1. Preheat the oven at 375 degrees (Learn more about Oven temperature and Conversions) and line a 9×9 inch baking pan with parchment paper and spray it lightly with non stick spray, set aside. Since I was running out of parchment paper I lined the tray pan with aluminium foil and sprayed it with cooking oil.

BlueberryBars6
2. Mix together the flour, salt and baking soda and keep aside.

3.  In a bowl cream together butter and sugar. I used vegetable oil because as I said I had to utilise the things I had. The bars still  tasted incredible.

BlueberryBars1

4. After the butter or oil has been creamed with sugar add an egg and some vanilla extract. Also add orange zest. It brings in some contrasting flavour. Give the mixture a good whisk.


BlueberryBars2


BlueberryBars3


5. Add the dry ingredients and combine well with the wet ingredients.


BlueberryBars4


BlueberryBars5


6. In the lined baking pan transfer 2/3 of the crumbled dough and rest keep aside for topping. With the help of hands spread the crumbled dough evenly in the pan.


BlueberryBars7


BlueberryBars8


7. Now heat the jam in a bowl in the microwave  for 5-8 seconds so that it becomes loose and easy to spread. With the help of a spoon spread the jam over the dough.


BlueberryBars9


BlueberryBars10


8. Now distribute the remaining  dough in pieces all over the jam.

BlueberryBars12

9. Keep the baking pan in preheated oven for 25-30 minutes or till the bars start getting golden colour.

BlueberryBars13

10. Take it out of the oven and let it cool completely for couple of hours. If you cut it while it is still hot it can run out and become messy. Cut it into bar sized chunks.


BlueberryBars14


BlueberryBars15


Spread your love.


[yumprint-recipe id=’11’] [whohit]BlueberryBars[/whohit]