Tag

FestiveSweets

Browsing

persimmoncupcakes_featured2

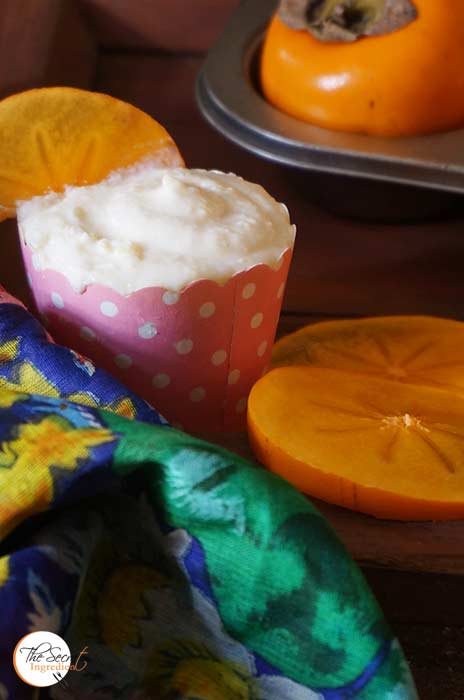
Last year when I saw Kaku or Ramphal or as it is called as Persimmon in english in my local market I was thrilled to try them. We get Hachiya variety of Persimmons in our hills which is a sweeter variety but tannic and astringent in taste if you eat them unripe. By ripe I mean they should be almost squishy and the pulp should almost run out of the fruit. Surprisingly the locals dont like the taste of the fruit. But the Persimmon Rum Cake I made last year was amazing. This year I wanted to take my experiments to a next level. I tried to make a healthy bake by adding Organic Sorghum Flour and Whole Wheat Flour. I made these gorgeous and delicious cupcakes with these enriching flours. I picked up Sorghum Flour or Jowar ka Atta from Conscious Food. Their products are absolutely top notch. We are proud to have partnered with them and now you can buy them on our online store The Gourmet Shop

persimmoncupcakes_featured1

I sent this recipe for the 2nd Anniversary Ovenderful Mom Bakers Community Annual Contest . With the grace of God my recipe got a consolation prize as one of the healthy bakes. So if you have persimmons on hand and healthy cupcakes is on your mind this is a winning recipe, well literally 🙂 

Directions:
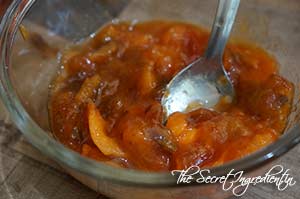
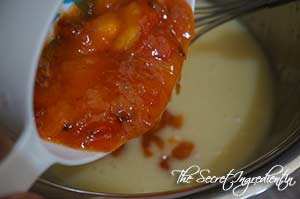
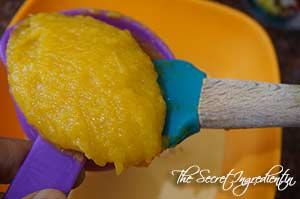
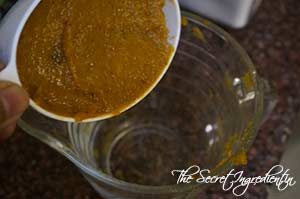
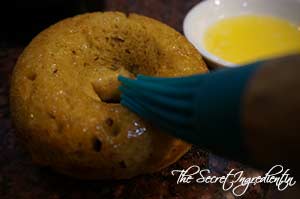
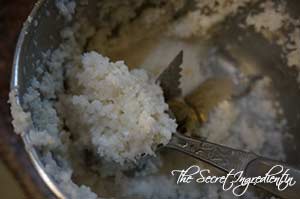
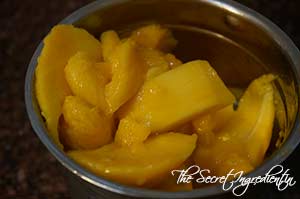
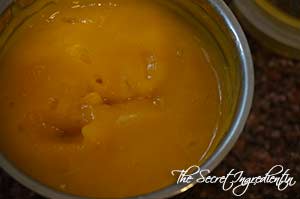
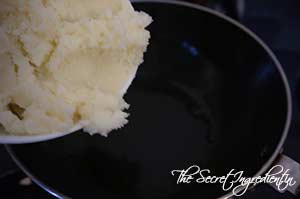
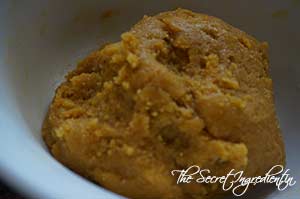
1. You need to peel the skin of Persimmons and spoon out its pulp. If you are using the Hachiya variety make sure its squishy ripe. Remove seeds if any. With the help of a potato masher mash the pulp and set aside.

dsc09296

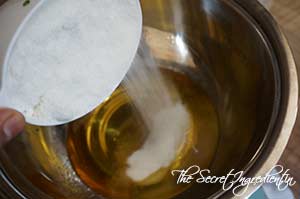
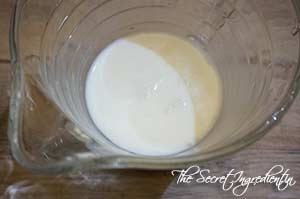
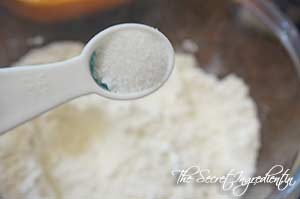
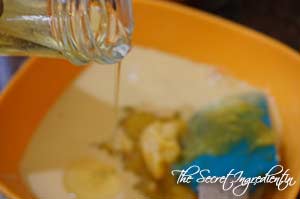
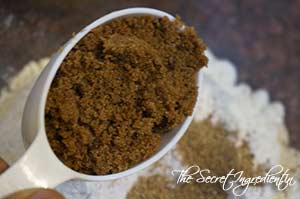
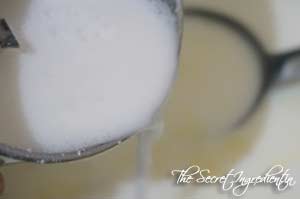
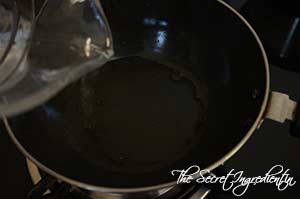
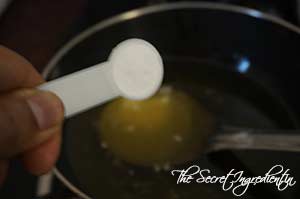
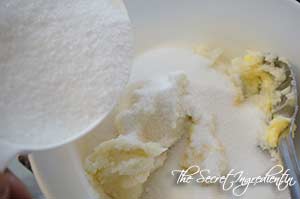
2. In an another bowl add vegetable oil and sugar. 


dsc09297


dsc09298


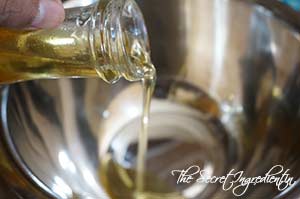
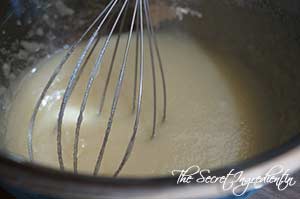
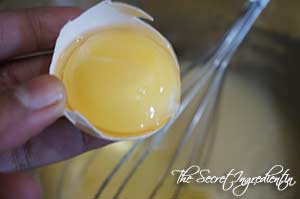
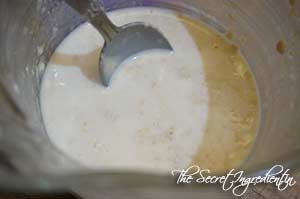
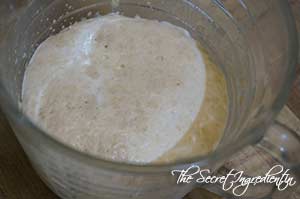
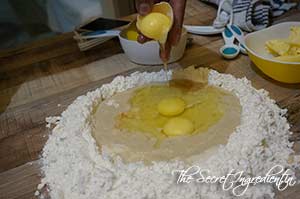
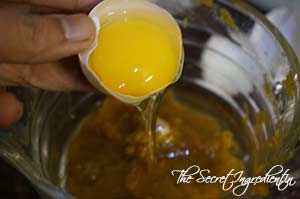
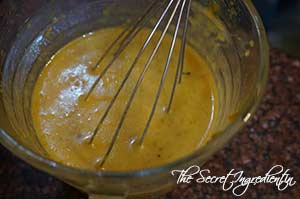
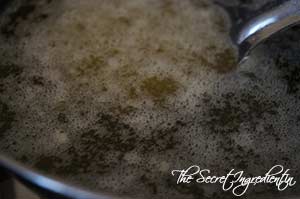
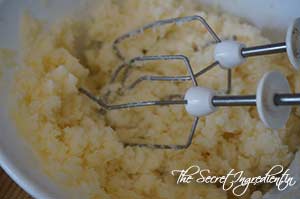
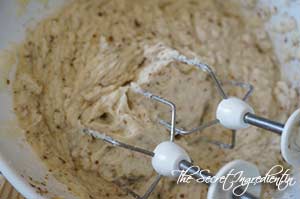
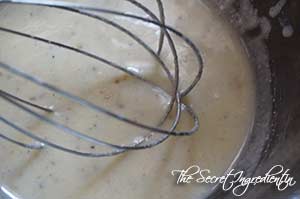
3. Whisk the sugar and oil till sugar is dissolved. Slowly whisk in eggs and make the mixture cremier.


dsc09299


dsc09300


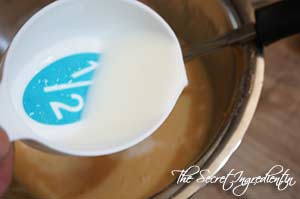
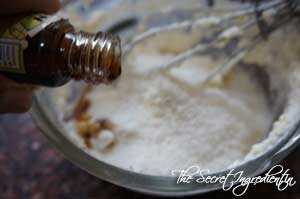
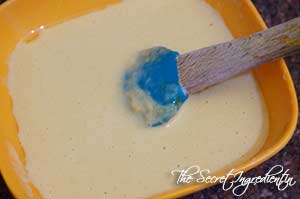
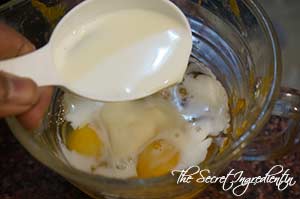
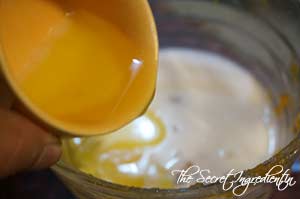
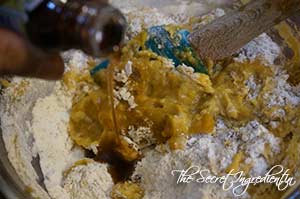
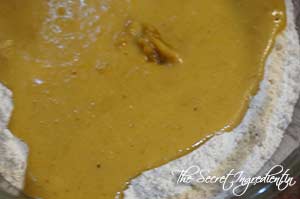
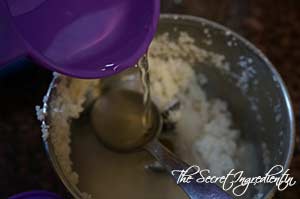
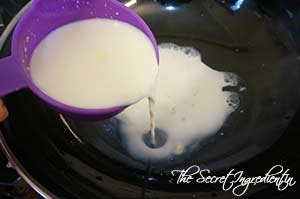
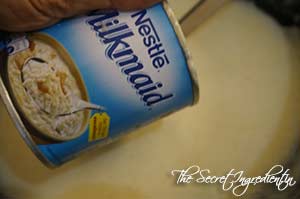
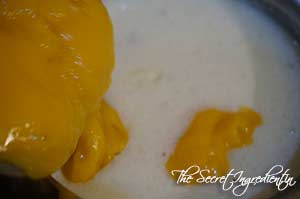
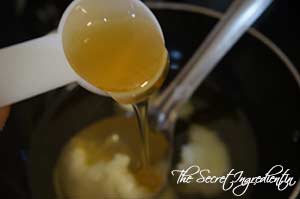
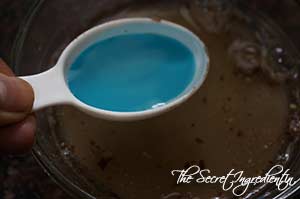
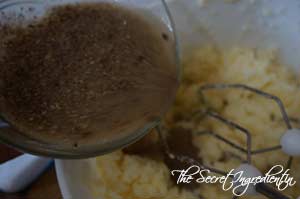
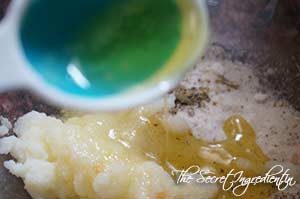
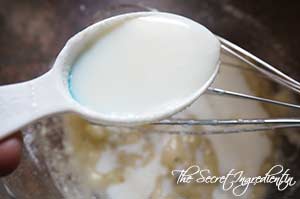
4. Add the persimmon pulp and combine. Also add milk , vanilla extract and whisk well.


dsc09303


dsc09304


dsc09346


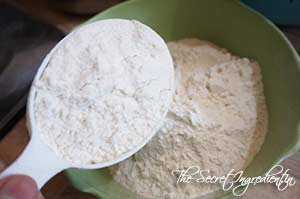
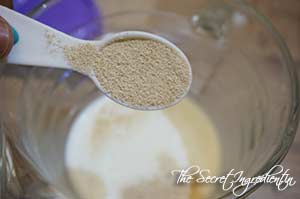
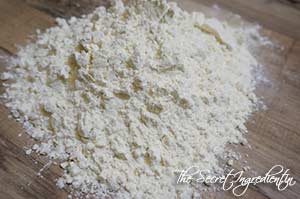
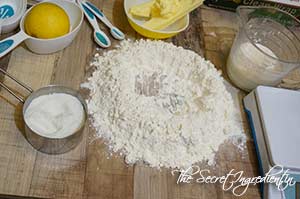
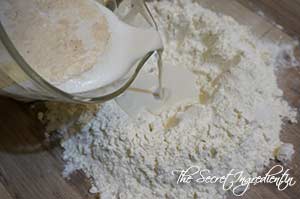
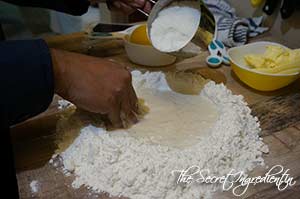
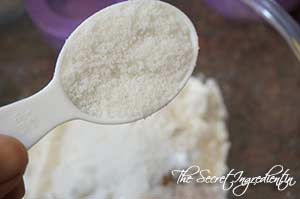
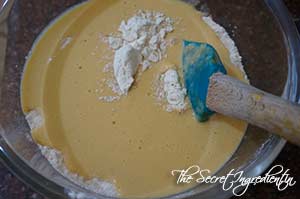
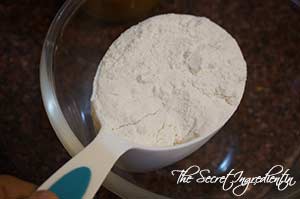
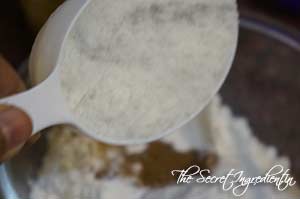
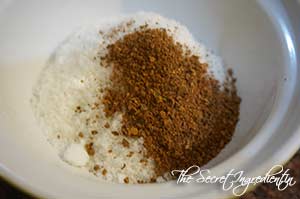
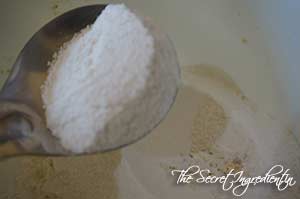
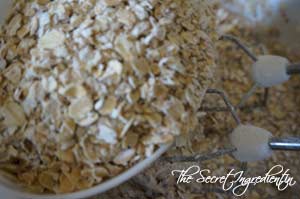
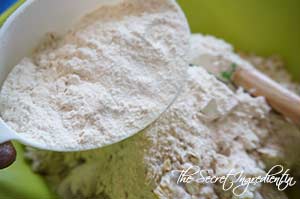
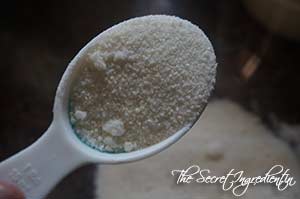
5. In another bowl add Wheat Flour and Conscious Food Sorghum Flour and combine them.


dsc09305


dsc09306


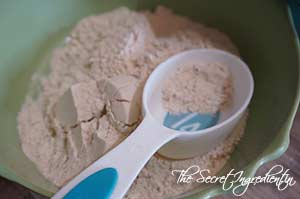
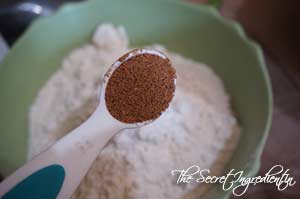
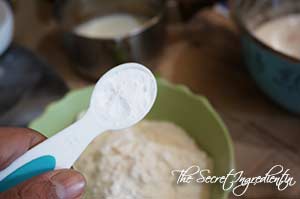
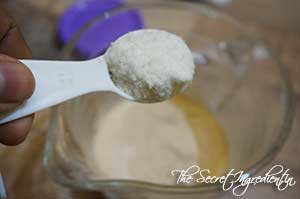
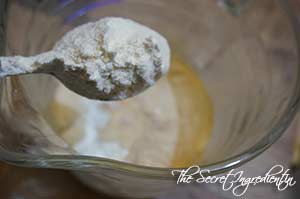
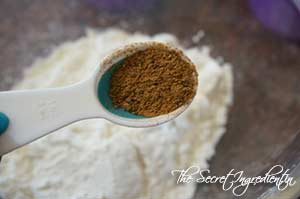
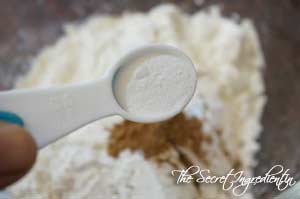
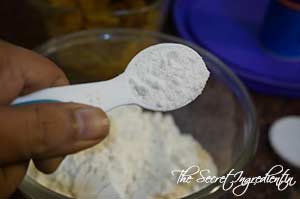
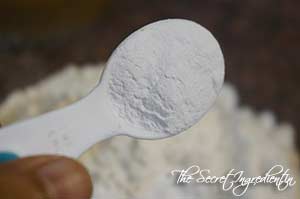
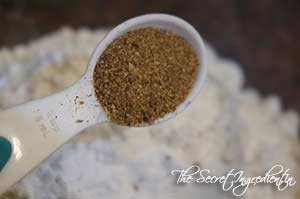
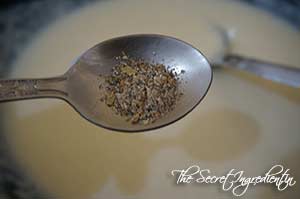
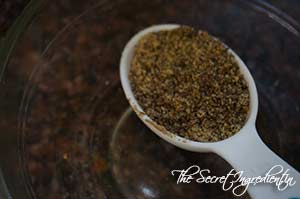
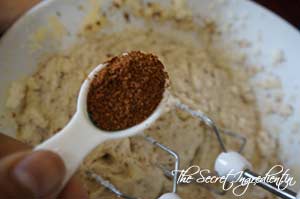
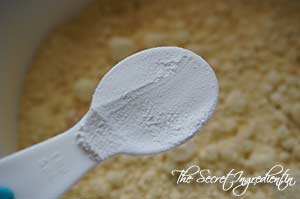
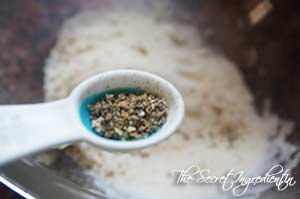
6. Add pumpkin pie spice and Baking soda to the flour and combine. 


dsc09308


dsc09307


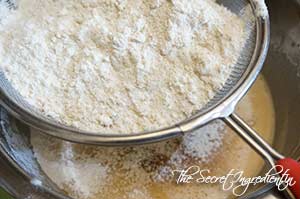
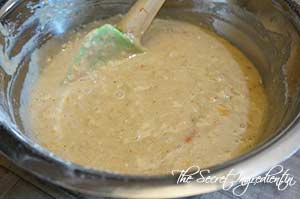
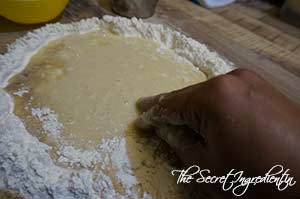
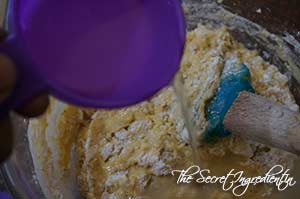
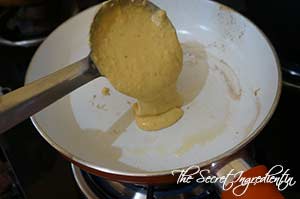
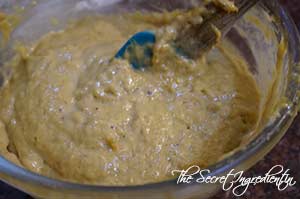
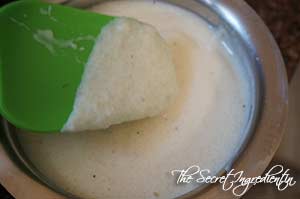
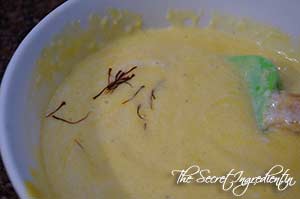
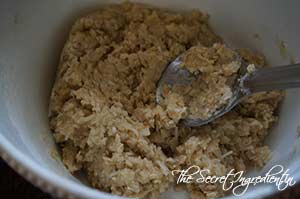
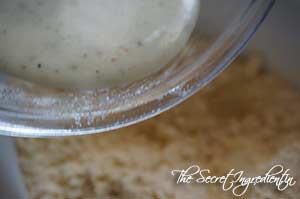
 7. Sieve the dry ingredients to the wet ingredients and combine till everything is moistened. Do not over mix.


dsc09333


dsc09334


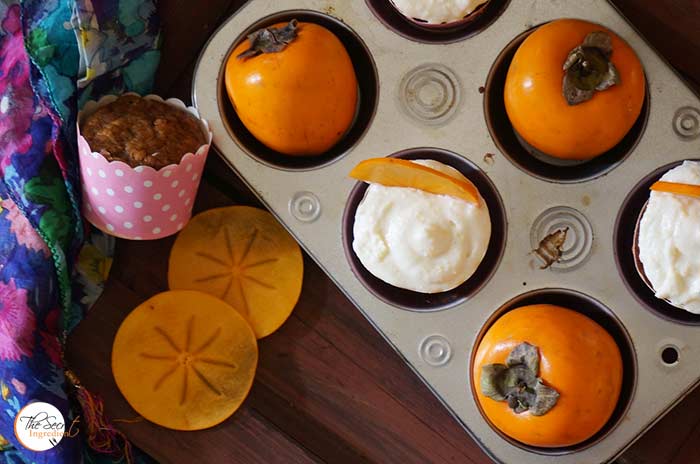
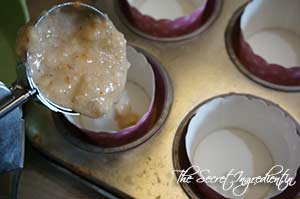
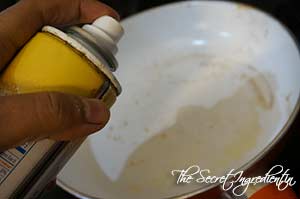
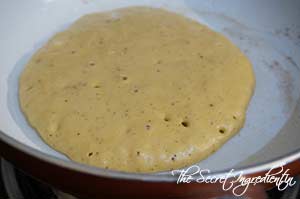
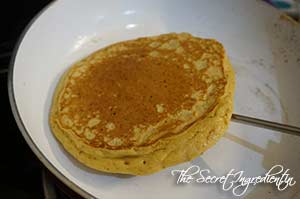
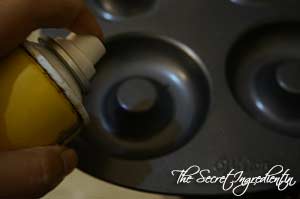
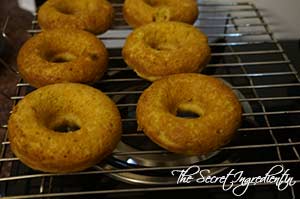
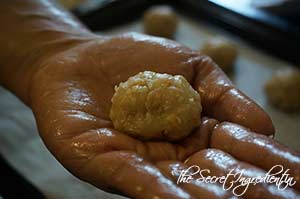
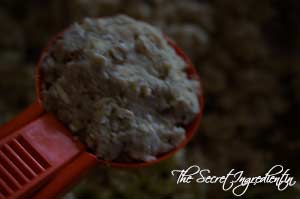
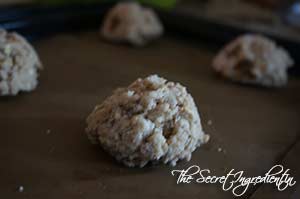
8. Preheat your oven to 180 degree C (Learn more about Oven temperatures and Conversions) and if you are using muffin liners, line your muffin tray with the liners. I am using stand alone bakeable cups. You can buy them at The Gourmet Shop. Pour the batter in the cups and fill only 3/4 of the cup. Bake in the preheated oven for 20-25 minutes until the top is golden in colour and the tooth pick inserted comes out clean. 

dsc09335
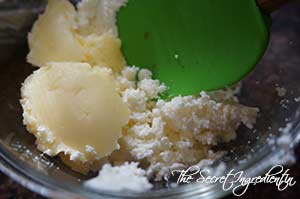
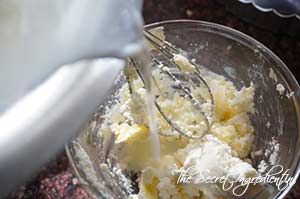
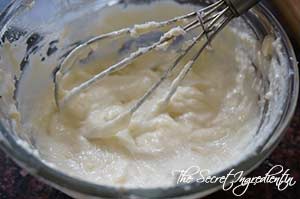
9. While these are baking make the cream cheese icing by whisking Cream cheese and butter in a bowl. Add a little milk to make the icing a little loose.


dsc09342


dsc09343


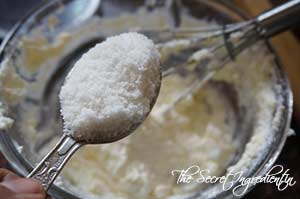
10. Once the icing is whisked add powdered sugar or icing sugar and continue to whisk.


dsc09344


dsc09345


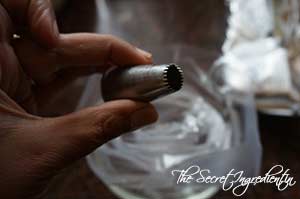
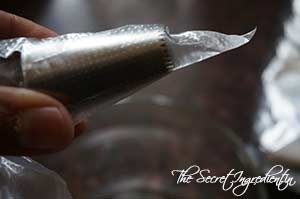
11. Once the sugar has mixed well set the icing aside. Line a pipping bag with a pipping nozzle of your choice. and cut the top edge with a pair of scissor. 


dsc09347


dsc09348


dsc09349


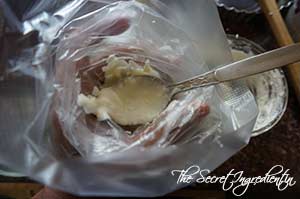
12. Place the bag in a glass and pour the icing in it. Squeeze it to go further down. Now fold the top of the bag to avoid icing from flowing back.
dsc09350

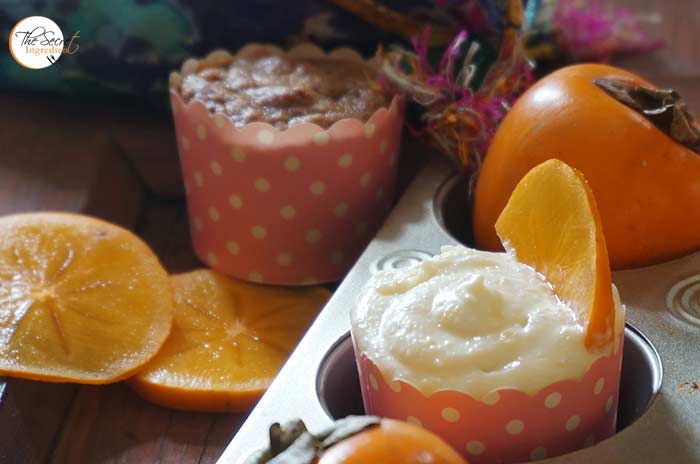
14. Ice your cupcakes after they have cooled down completely. If you like you can top the icing with a half slice of persimmon. Enjoy.

You can even try Persimmon Rum Cake.

Other Cupcakes and Muffins you can try : Papaya Chocolate Muffins and Vegan Eggless Chocolate Muffins 

persimmoncupcakes_featured4[whohit]PersimmonCupcakes[/whohit]

[yumprint-recipe id=’262′]

pandemuerto_featured4
Being a mother of a Mexican boy, I hold the burden to keep his Mexican traditions alive. October 31st – November 2nd is observed as Dia de Muertos or Day of the Dead in Mexico. Its an ancient Aztec Festival where the deceased are fondly remembered. Its very similar to Sharaad in India. Each household decorates an Altar called ofrendas, honoring the deceased using sugar skulls, marigolds, and the favorite foods and beverages of the departed, and visiting graves with these as gifts. 

pandemuerto_featured5
One such food being offered is Pan de Muerto which means ‘Bread of the dead’. It’s a delicious sweet bread with flavours of Orange or Anise or even cinnamon. The bun shaped bread is decorated with bone shaped phalanges. The bones represent the deceased and there is a ball on top of the bread which is  like a  teardrop  representing Aztec goddess Chimalma’s tears for the living. The bones are represented in a circle to portray the circle of life. When we were in Mexico we used to relish. A person from our office would collect money from everyone and get each one of us a loaf of this bread around the festivity. Those memories are so fresh in my mind and make me nostalgic. 

pandemuerto_featured7

And this year when Dia de Muerto returned I so wanted to eat it. So I decided to make it at home. After reading many recipes in Spanish I managed to make this gorgeous loaf . It tasted just the way we found in Mexico. I just cannot contain my excitement. This is dedicated to all my friends in Mexico who gave us so much love. You must try this delicious bread and become a part of the tradition.

Directions:
1. In a jar add some lukewarm milk and add instant yeast.


dsc09402


dsc09403


2. Also add some sugar and a spoonful of flour.


dsc09404


dsc09405


3. Combine everything using a spoon and let there be no lumps. Let the mixture proof for 5-10 minutes. There will be bubbles and froth all over the top. 


dsc09406


dsc09409


4. On a counter place the All Purpose Flour and make a well in the centre. 


dsc09407


dsc09408


5. Add the proofed yeast liquid in the centre of the well.


dsc09410


dsc09411


6. Now using your hand start taking little flour from the side and keep mixing with the water. Don’t do everything in one go. Little by little is the key. Add sugar in the well and combine till the sugar has mixed.


dsc09412


dsc09413


7. Add eggs in the well and continue to add little flour little by little. Also add vanilla essence.


dsc09414


dsc09415


8. Keep mixing flour and then knead everything together. The dough will be very very sticky. Do not panic! That’s how it should be.


dsc09416


dsc09418


8. You can use a bread scraper to scrap out sticky dough. Spread it like a disc and add butter at room temperature.


dsc09419


dsc09420


dsc09421


9. Also add  zest of an orange and and continue to knead. The dough will still be sticky but you just have to keep kneading for good ten minutes. 


dsc09422


dsc09423


10. At this stage add just a little flour to make it less sticky and keep kneading til you get a pliable dough. Do not add a lot of flour. Add a few spoons first then knead and see if you need more. 


dsc09424


dsc09425


11. Place it in a greased bowl which has room for rising. Cover with a cling wrap and let it rise for an hour or so or until it has doubled in size. The time will vary on how hot or cold is your kitchen.


dsc09426


dsc09427


12. After 1 and a half hours the dough looks doubled. You need to place it on the counter and deflate it and knead it for a few minutes.


dsc09428


dsc09429


13. Separate 1/4th section of the dough and keep it aside for making bones and tear.

dsc09430
14. Divide rest of the dough into more or less six equal parts for shaping them in a bun. Place the rolled buns on a baking tray lined with parchment paper leaving gap between each of them for second rise.


dsc09431


dsc09432


15. Make small six balls which represent tears with very little dough from the reserved dough and we will utilize the rest of it to make bones. Cover these balls with a kitchen towel till we use them.

dsc09433

16. Divide rest of the dough into more or less 12 equal parts, you need two bones per bun. Start making thin cigars shapes with your palms with each one of them.


dsc09434


dsc09435


17. Using your three fingers as in the picture make indents in the cigar shaped dough to represent a bone. 


dsc09436


dsc09437


18. Place this bone shaped dough over a bun and another one across making it a cross.


dsc09438


dsc09439


19. Press the cross section just a little and place the ball on top.


dsc09440


dsc09441


20. Repeat the same with rest of the buns. Cover the baking tray with a lint free kitchen towel for second rise. This should again take about 45 minutes to one hour depending on the environment.


dsc09442


dsc09443


21. After they have doubled in size preheat the oven  for 10 minutes to 180 degree Celsius (Learn more about Oven temperatures and Conversions). Bake them in oven for 20 minutes or until you see them turned golden brown.


dsc09444


dsc09445


22. Let them come to room temperature and now brush each one of them with melted butter and ghee roughly sprinkle on them castor sugar.


dsc09446


dsc09447


23. Pan de Muerto is ready to be served. You can use them for the offering if you are following the tradition or just eat it like a pan dulce or sweet bread. Goes best with a hot cup of Coffee. Thats exactly I remember eating it in Mexico.

Other Mexican dishes you can try are: Chilies en NogadaFresh Mexican Black Bean and Mango SaladHuevos en CazuelaSopa De Frijol

If you are looking for more bread recipes you can try: Vegetarian homemade PizzaRussian BubliciWhole Wheat Sandwich BreadChinese Black Sesame Steamed BunsCinnamon Raisin BreadBeetroot Bread with Garlic and ThymeHoney Oats BreadDomino’s Garlic BreadsticksGarlic Rosemary Focaccia Bread and Focaccia Bread with Fresh Cherries, Rosemary and Sea Salt.

pandemuerto_featured6[whohit]PanDeMuerto[/whohit]


[yumprint-recipe id=’258′]

pumpkinpureepancakes_featured2

Pancakes are my favourite breakfast as they bring out the child in me. I love the fluffy, cakey texture and then you get to decorate it with chocolate, maple syrup, honey… fresh fruits… chocolate chips and every sugary thing on earth!! Its time for Halloween and I have roasted a huge pumpkin and made fresh Pumpkin Puree. Today I made these fluffy pancakes with pumpkin puree which were to die for.

pumpkinpureepancakes_featured3

I plan to make a lot of other things in the days to come. Adding Pumpkin to recipes is not only delicious but pulls up the nutritional quotient of the dish. If you wanna hide pumpkin in your kids food try these pancakes. I am sure they will love it.

Directions

1. In a bowl add All purpose flour, Pumpkin Pie Spice and Baking Soda. You can make it at home very easily. Follow this recipe.


dsc09161


dsc09162


dsc09163


2. Also add salt and sugar. Combine everything well and set aside.


dsc09164


dsc09167


3. In another bowl add evaporated milk, Pumpkin Puree (Oh you can also make this at home. Learn to make it how).


dsc09165


dsc09166


4. Add egg and oil and combine everything well.


dsc09168


dsc09169


5. Add wet ingredients to the dry ingredients and combine till everything is moist. Add a little water and make the consistency pourable.


dsc09170


dsc09171


6. Heat a pan or griddle and brush it with butter or spray with some oil. Pour a ladle full of batter in the centre.  


dsc09172


dsc09173


7. When you see some bubbles emerging on the cake batter that’s when you must flip it to cook on the other side. Cook the other side for a few minutes or till the top is golden in colour.


dsc09175


dsc09177


8. Stack a few pancakes on top of each other and generously drizzle with some maple syrup and even a cube of butter. Indulge in the festivity with style, taste and nutrition.

Other Pan cake recipes you can try are : Blueberry Buttermilk Pan Cakes Eggless Walnut Pan Cakes , Apple & Cinnamon Pan Cakes.

Other recipes with Pumpkin Puree you can make:  Pumpkin Puree Bread BunsHalloween Special Baked Pumpkin DoughnutsPumpkin Cake Rolls

pumpkinpureepancakes_featured1

[whohit]PumpkinPancakes[/whohit]

[yumprint-recipe id=’253′] 

pumpkindoughnuts_featured1

Halloween is celebrated in the western countries with pomp and show. While I was in Mexico they celebrated this day by the name Dia de Muerto which means Day of the dead. On this day all departed souls are fondly remembered. However this has become more fashionable now and losing its correct relevance. But Yellow Pumpkin is something which symbolizes Halloween. They make Jack O lanterns and even make dishes with Pumpkin. I get into a festive mode when I see yellow pumpkin. 

pumpkindoughnuts_featured2
Last year I made Pumpkin Buns using Pumpkin Puree and last to last year I made Pumpkin Cake Rolls for the halloween. This year I  was looking for healthier recipes which uses Whole wheat flour and of course my homemade Pumpkin Puree. Nothing was better than to make these baked Pumpkin Doughnuts.These Doughnuts were full of flavour and icing on the cake was the cinnamon sugar topping. They simply melted in the mouth. This was the best doughnut recipe ever. What are you making for Halloween? 

Directions: 

1.  In a bowl add All purpose Flour or Whole wheat Flour. Add Baking Soda and Baking powder.


dsc09056


dsc09058


dsc09059


3. Also add Pumpkin Pie Spice. You can make your own pumpkin pie spice at home, find out the recipe here. Also add Brown sugar and castor sugar and combine. Set aside the dry ingredients.


dsc09060


dsc09061


dsc09062


4. In another bowl add pumpkin puree. You can make your own pumpkin puree at home. Find out the recipe here. Also add an egg and whisk everything together*.


dsc09064


dsc09065


5. Add milk, melted butter and vanilla essence. 


dsc09066


dsc09067


dsc09070


6. Whisk everything together and add the wet ingredients into dry ingredients and combine. Do not over mix. Just mix till everything is moist. If you feel the batter doesn’t have a pourable consistency add a little more milk and combine.


dsc09068


dsc09069


dsc09071


7. Spray a donut mould with oil and preheat your oven to 180 degree Celsius. (Learn more about Oven temperatures and Conversion).

dsc09072

8. Fill 3/4th of the cavity with batter. You can use spoon or transfer the batter in a pipping bag and squeeze out the batter in the mould. Bake it in a preheated oven for 10 minutes. When it comes down to room temperature remove them doughnuts from the mould using the back of a knife. 


dsc09073


dsc09074


9. For the Cinnamon sugar topping you need to add castor sugar in a bowl and add ground cinnamon to it. Mix them together. Brush the top of the donut with some melted butter and dunk the buttered face in the cinnamon sugar. 


dsc09075


dsc09076


10. Serve them with your favourite cup of Coffee and enjoy the deliciousness.

You can even try Baked Apple Cider Doughnuts. You can even make Pumpkin Cake Rolls and Pumpkin Buns using the same Pumpkin Puree.

pumpkindoughnuts_featured4

[whohit]PumpkinDonuts[/whohit]

[yumprint-recipe id=’252′]

MangoPhirni_Featured1

Mangoes are an integral part of every Indian. With the wide variety of blissful mangoes available all across the nation, we are almost under its spell throughout the season. You can make desserts, chutneys, main courses, drinks or devour them as it is. My father is a die hard fan of Mangoes and his diabetes hasn’t made any difference to his love for mangoes. He has his meals only for the reason that he can enjoy mango after that 😉 . 

MangoPhirni_Featured2

This season I played a lot with fresh and ripe mangoes. I made Mango Tart, Spiced Mango Lassi, Mango and Bean Salad, Coconut Milk Mango Pudding and A Mango Chamomile Iced Tea, which I am yet to post. But making this mango phirni was the most delicious thing I have done the entire season. It was a delight with everyone who got to taste this. You must not wait longer to try this, for mangoes are about to bid us goodbye for the season.

Directions:

1. In a bowl add some rice and soak it in water for half and hour.


DSC07052


DSC07053


2. Drain the water and add rice to the blender and make a coarse paste.


DSC07056


DSC07057


3. Add one fourth cup water to the rice paste to dilute and set aside.

DSC07058

4. In a thick bottom vessel add milk and bring it to a boil. 

DSC07060

5. Once the milk has boiled slowly add the rice paste and keep stirring so that no lump is formed. This is very crucial step so whisking is highly recommended. Combine with milk and let it simmer till everything has thickened and reduced.

DSC07061

6. The milk will acquire porridge like consistency.

DSC07063

7. At this stage add condensed milk and cardamom powder. Cook a few minutes more and blend everything well. Turn the flame off and let it come to room temperature. Refrigerate for at least an hour.


DSC07064


DSC07065


DSC07066


8. Scoop out the pulp of ripe mangoes and blend them into a smooth puree.


DSC07055


DSC07059


9. Add this Mango puree to the milk custard and combine well.

DSC07067

10. Add saffron strands and slithered almonds and pistachios and combine well. 


DSC07068


DSC07069


11. You can transfer them to individual serving bowls or clay pots and refrigerate further till chill. Serve with additional saffron strands and pistachios.

Other Mango Recipes you can try are: Spiced Mango LassiRaw Mango Garlic Spicy ChutneyMango Tart with Vanilla Pastry Cream Fresh Turmeric Pickle with Green MangoesRaw Mango RiceFresh Mexican Black Bean & Mango SaladPlum Mango PunchAam Ka PannaRaw Mango Chutney with Mint and CorianderKhatti Meethi Kacchey Aam Ki ChutneyKacchey Aam Ka AchaarCoconut Milk Mango Pudding.

Other traditional Indian Desserts you can try:  Apple LapsiKadda Prashad, Paneer Ki KheerGram Flour Semolina BallsKaddu Ka HalwaGajar Ka HalwaKesari SeviyanMakhane Ki KheerSooji Halwa , Swang Ke Chawal Ka HalwaSwang Ke Chawal Ki Phirni.

MangoPhirni_Featured3

[whohit]MangoPhirni[/whohit]

[yumprint-recipe id=’232′]

AppleCrisp_Featured1

American Independence day falls on 4th of July and is a national Holiday. Americans love to celebrate this day with pomp and show. They love to host barbeque parties and often enjoy the day in picnics with friends and family. With 4th of July just in a couple of days I wanted to make something American. And when I got a chance to visit a hotel resort right in the middle of an Apple Orchard I knew what I had to bake with those gorgeous fresh apples hanging on the trees.  I am doing a food consult for them and this was an ideal recipe to be brought on the menu.

AppleCrisp_Featured3

Apple Crisp is what they call it in America and Canada and its known as Apple Crumble in Britain. But as they say what’s in a name and the proof of the pudding is in the eating. The cinnamony taste of baked apples along with the crispiness of Oats makes it an incredible dessert specially if you have to feed a crowd. You can make it like a casserole dish and serve the entire battalion with pride. This recipe is ideal for people  with gluten allergies as it is flourless and must more healthier than other recipes around.

Directions:

1. Preheat your oven to 375 degree Fahrenheit (Learn more about Oven temperatures and Conversions).Wash, peel and core the apples. Cut them into slices. 

DSC07320


2. Put the apples in a bowl and add lemon juice and little vanilla essence and toss them to coat evenly.


DSC07322


DSC07323


3. Place apple slices in a baking tray in one single layer.

DSC07324

4. In a bowl add quick cooking oats, brown sugar and cinnamon powder.


DSC07325


DSC07326


DSC07327


5. Add butter at room temperature but still not melted. Mix this together with your fingers to make a crumbly mixture.


DSC07328


DSC07329


6. Spread this crumbly mixture on top of the Apple layer and pop it in the preheated oven or 45 minutes or until the topping looks crunchy and the apples have turned tender.

DSC07330

7. Take the baking tray out of the oven and let it come down to room temperature. Serve warm with a scoop of Vanilla Ice Cream or Whipped cream. You can make this in advance and warm it up little before serving.

Other desserts you can make for festivities are: Peach CobblerBasbousaBrigadeirosCoconut MacaroonsCoconut Milk Mango PuddingMascarpone Cherry Compote Cheesecake GlassesTapioca Milk PuddingTapioca Coconut Milk Pudding with Strawberry Preserve, Mango Tart.

AppleCrisp_Featured2[whohit]AppleCrisp[/whohit]

[yumprint-recipe id=’230′]

AnzacCookies_Featured6

As a foodie I feel life is so short and there are so many cookies, cakes and dishes in this world. One has to really keep trying as many new things as possible. With this thought in mind I often like to try out new cookies whenever I get a chance. My blog is already over flowing with cookies and biscuits of a wide variety. 

My baker friend Jayshree Nischal from The Baking Sutra is super talented and her bakes are an inspiration, I tried her Anzac Cookies and these were one of the bestest cookies I have made so far. I have been eyeing these special cookies for a while now and when Jayu posted them one day I could not control my temptation.

AnzacCookies_Featured4

A brief background check on Anzac Cookies or Biscuits, these are traditional biscuits from Australia and New Zealand and are suppose to be eaten on the Anzac (Australia New Zealand Army Corps) Day. This day is celebrated on 25th April every year in honour of soldiers who have lost their lives in the wars, especially World War I. During the war times, these biscuits were sent overseas on ship to locations where the soldiers were stationed. The biscuits were nutritious and had a good shelf life and even survived the long ship journey. Also they were pretty solid and wouldn’t break easily. They were also known as “Anzac Tiles” or “Anzac Wafers”. However, the new modern recipe of Anzac makes them soft unlike the traditional ones.  I wouldn’t keep you busy in history anymore. Here goes the recipe.

Directions:

1. Preheat your oven to 160 degree Celsius (Learn more about Oven Temperature and Conversions). Line a baking sheet with Parchment Paper or Silicon Mat (You can order this silicon mat online from The Gourmet Shop, our online Gourmet e store). In a bowl add Flour and Rolled Oats. I have used Whole Wheat Flour you can also use All Purpose Flour or Maida.


DSC06895


DSC06896


2. Add dessicated Coconut to the the bowl along with castor sugar. You can even use Brown sugar powder also. Combine them and keep aside.


DSC06897


DSC06898


3. In a sauce pan add water and butter. Turn the heat on, on medium and let the butter melt.


DSC06899


DSC06900


4. Add honey and combine. Then add baking soda. The mixture will become all frothy. Turn the flame off .


DSC06901


DSC06902


DSC06903


5. Add this liquid to the dry ingredients and combine till everything comes together.


DSC06904


DSC06905


6. Take a spoonful of this mixture in your palm and roll it into golf size ball. Place them on a baking sheet and press them slightly to flatten them. There should be at least 3 inches gap between each cookie as they spread a lot on baking.


DSC06908


DSC06909


7. Bake them for 15 minutes on 160 degree Celsius on the centre rack. When you see them they are light golden remove them from oven and let them rest for ten minutes on wire wrack. It will help them crisp up further. Dunk them in a glass of cold milk and you will be straight in heaven 🙂

Other Cookies and Biscuits you can try are: Chickpea Flour & Corn Flakes Eggless Cookies,Coconut Chocolate CookiesGingerbread Man CookiesPeanut Butter Cookies with Chocolate ChipsItalian Almond BiscottiGreek Traditional Christmas Cookies , Ragi & Whole Wheat BiscuitsSubway Copycat Oatmeal Raisin CookiesWhite Chocolate Chip Cookies .

AnzacCookies_Featured1[whohit]AnzacCookies[/whohit]

[yumprint-recipe id=’228′]

My husband and me are Subway Lovers. That is our favourite Sandwich place in the whole wide world. Every place I have been outside India I have had sandwiches from Subway. If we have subway in our city we tend to eat three to four times in a week there.  At the end of every meal I grab an Oatmeal Cookie for myself and eat it greedily. They are soo very addictive. I guess that is one reason for me to make a frequent visit there.

The other day I was craving for the Subway Oatmeal Cookie (we dont have a subway in hills bohooo :'( ) So I decided to hunt on the web for a recipe which is as close to Subway’s Oatmeal Cookies. After a few hit and trials and trying a few recipes, I think I hit a jackpot. This recipe from Aarthi’s blog was almost near to what I was looking for. I tweaked it a little to make it just PERFECT. You have to try it but dont blame me later that I dint warn you for they are soo addictive.

Directions:

1. In a bowl add Flax Meal (Learn how to make Flax meal or Flax seed powder at home) and 3 tablespoon water. Let it sit for 5-7 minutes till it becomes gelatinous. You can always replace flax meal with an egg if you are okay with it.


DSC06717


DSC06718


2. In a bowl add Butter (at room temperature) and caster Sugar. Whisk them together until creamy. 


DSC06719


DSC06721


3. Add the gelatinous flax meal and combine.


DSC06722


DSC06723


4. Add Cinnamon Powder, Quick Cooking Oatmeal and baking soda.


DSC06724


DSC06725


DSC06726


5. Also add Whole wheat Flour or atta and Raisins. Combine everything into a dough.


DSC06727


DSC06728


6. Line a baking sheet with Parchment Paper or Silicon Mat. I use Silicon Mat because it can be used again and again and nothing sticks on it. You can order your own silicone cookie mat from our online store, The Gourmet Shop. Scoop out the cookie dough with an ice cream scooper or you can even use a normal spoon and place them on the tray. Ensure to keep 2 inch space between them, as they will spread on baking. 


DSC06729


DSC06730


7. Press each cookie ball with your palm and put them for baking in a preheated oven for 17-18 minutes  on 180 degree Celsius (Learn more about Oven Temperatures and Conversions) until you see them slightly golden. 

DSC06731
8. Take them out of the oven and let them sit on wire rack for ten minutes before indulging. They will crisp up as they come to room temperature.


DSC06732


DSC06733


9. Put them in an airtight cannister and they will stay good for more than a week, if only you can resist not eating them. Enjoy them with a cup of hot coffee or a glass of milk. You know for sure they are better than subway 🙂

Other Cookies you can try here are: Besan & Corn Flakes CookiesWhite Chocolate Chip Cookies , Ragi & Whole Wheat Biscuits, Coconut Chocolate CookiesPeanut Butter Cookies with Chocolate ChipsMelomakarona: Greek Traditional Christmas Cookies and Italian Almond Biscotti.

[whohit]OatmealRaisinCookie[/whohit]


[yumprint-recipe id=’224′]


BesanCornFlakesCookies_Featured1

I am not a huge fan of Corn flakes, I prefer wheat flakes over Corn. So is the case with my family. I had a packet of Corn flakes feeling abandoned. And when I saw a post of Besan Cornflakes Cookies by Ravneet it triggered a spark and compelled me to try these. It was a rescue mission for the poor corn flakes but later I realised I have to get another packet of corn flakes as the cookies cake out quiet nice. My husband and son ate them all in no time. 

BesanCornFlakesCookies_Featured4

The another fascinating thing about this recipe is that its gluten free. For those who are avoiding gluten for any specific reason can safely indulge in this. I love the way cardamom goes with chickpea flour. It fondly reminds me of Besan Ke Laddoo 🙂 Yum!

Directions:
1. In a blender add corn flakes and grind them into a coarse powder. You can even crush them using a rolling pin, but if you leave big flakes they will fall out and cause trouble in shaping the cookies.


DSC06622


DSC06623


2.  Mix the corn flakes power and besan or chickpea flour in a bowl. Add Baking powder and give a gentle mix to the dry ingredients and set aside.


DSC06624


DSC06625


DSC06633


3. In another bowl add castor sugar and add cardamom powder.


DSC06626


DSC06627


4. Add Ghee or clarified butter to it along with some Olive Oil.


DSC06628


DSC06630


5. Add milk and give the wet ingredients a good whisk until everything is well incorporated.


DSC06631


DSC06632


6. Add wet ingredients to the dry ingredients and knead everything into a paliable dough. If you think you need more milk to get it together you may add a few teaspoons. 


DSC06635


DSC06636


7. Divide the dough and roll into small balls of equal size and place them on a cookie tray lined with Parchment Paper or Silicon Mat. Preheat your oven to 180 degree Celsius for ten minutes.


DSC06637


DSC06638


8. Flatten the dough balls with your palm and place slithered almonds on top of your cookie and press slightly. I used almond flakes.


DSC06639


DSC06640


9. Bake in the middle rack of your oven on 180 degrees (Learn more about Oven temperatures and Conversion) for 12-15 minutes or until you see them slight golden. Remove them from oven and place on a wire rack to cool down for about ten minutes and then dont wait just grab a cookie and indulge 🙂

Other Cookies you can try are: White Chocolate Chip Cookies , Ragi & Whole Wheat Biscuits, Coconut Chocolate CookiesPeanut Butter Cookies with Chocolate Chips Melomakarona: Greek Traditional Christmas Cookies and Italian Almond Biscotti.

BesanCornFlakesCookies_Featured3

[yumprint-recipe id=’219′]

TapiocaCoconutMilkPudding_Featured1

Time for Navratras, the nine days of fasting and feasting. I personally feel I end up hogging more during this week. The variety of food available is simply lip smacking, so eventually you end up eating more. I have earlier posted many recipes made from Sago, both sweet and savoury, like Sabudana Tikki, Sabudana Kheer, Sabudana Khichdi. You can also use tapioca if you don’t find Sago.

TapiocaCoconutMilkPudding_Featured3

But this time I wanted to try something out of the ordinary. I had plenty of Sabudana lying so I looked for some pudding options. I found a couple of thai recipes of Tapioca with Coconut Milk. Unfortunately that called for addition of eggs which defeats the entire purpose of Navratras. I took the challenge and proceeded to try without eggs. To my food fortune the pudding came out amazing. Never felt it needed eggs. I tried to club it up with my Strawberry Preserve I had made a week back. The combination was simply fabulous. You got to try it to believe me. My husband took three helpings and still he was asking for more. He has all the fun in Navratras without fasting. Hunh!

Directions:

1. Wash and Soak some Sago/ sabudana or Tapioca in water for an hour till the time you see it has swelled up. 

DSC06116

2. In a saucepan add some Coconut Milk. I have used canned you can use fresh home made if you like. Bring it to a simmer. Do not boil for it will split.

DSC06115

3. Add sago pearls to the coconut milk and continue to cook on low flame.

DSC06117

4. Add Vanilla Essence and Sugar. Continue to cook till it has thickened to desired consistency, It will not take long so keep an eye for you don’t want the pudding to become like a wallpaper paste and worse stick to the bottom of the pan.


DSC06118


DSC06119


5. Spoon the serving bowl’s bottom with the home made Strawberry Preserve , you can use any flavour. I used this because I know it doesn’t have any pectine nor anything else which I cant consumer during fasting.

DSC06120

6. Top it up with the pudding. Make sure its not very hot. You can splurge with an additional spoon of preserve on top and garnish with a mint leaf. 

Other Tapioca Recipes for Fasting you can try here are: Sabudana Tikki, Sabudana Kheer, Sabudana Khichdi

If you are looking for other Strawberry Recipes you may try: Strawberry Preserve, Italian Focaccia Bread with Strawberries and Rosemary, Strawberry Cookies.

Other Navratri Recipes which may interest you:  Swang ke Chawal ki Khichdi Khajoor Til Ke LaddooArbi Masala CurryGajar Ka HalwaMakhane Ki KheerRasgullaSwang Ke Chawal Ka HalwaSwang Ke Chawal Ki PhirniAnaar Aloo ka RaitaPalak Dhaniya ChutneyCoriander Chutney without Onion Garlic.

TapiocaCoconutMilkPudding_Featured4
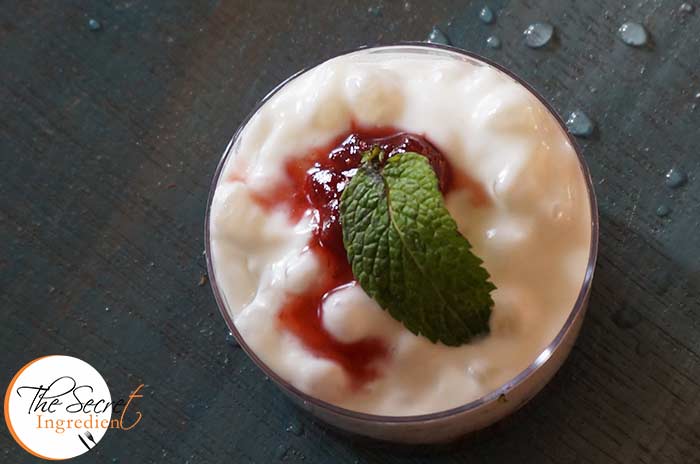
[whohit]TapiocaPuddingwithCoconutMilk[/whohit]

[yumprint-recipe id=’203′]