Tag

SweetTooth

Browsing

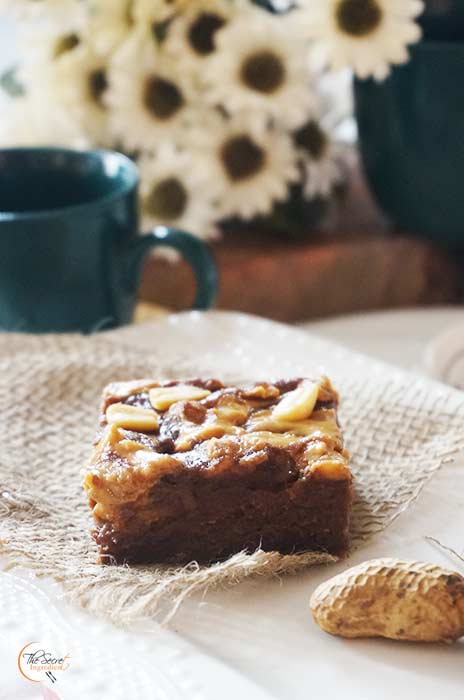
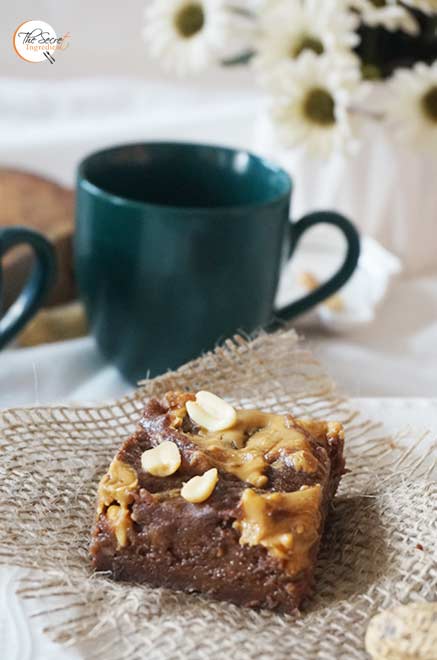
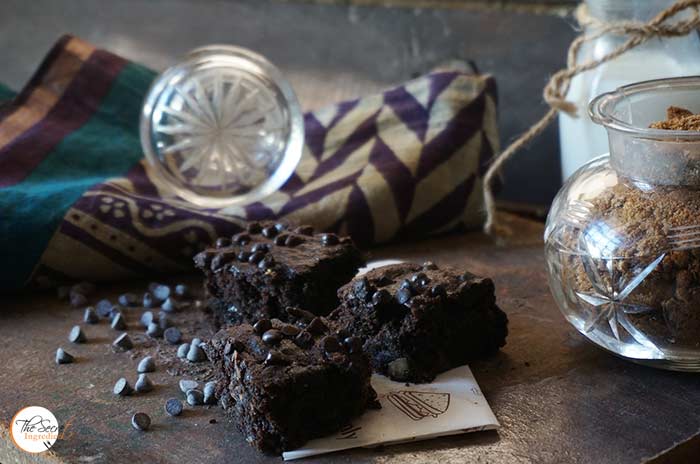
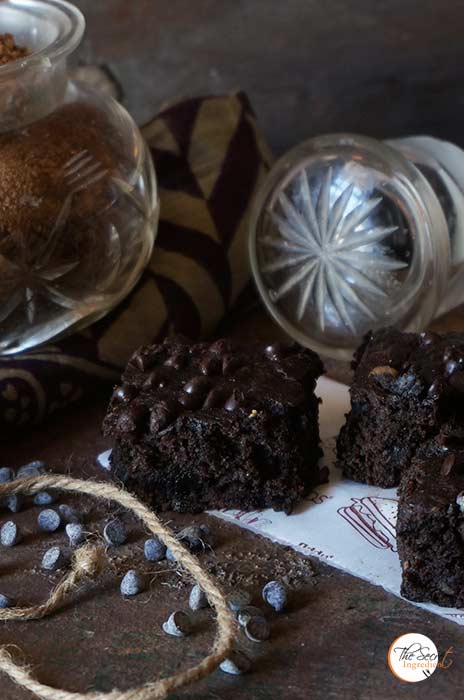
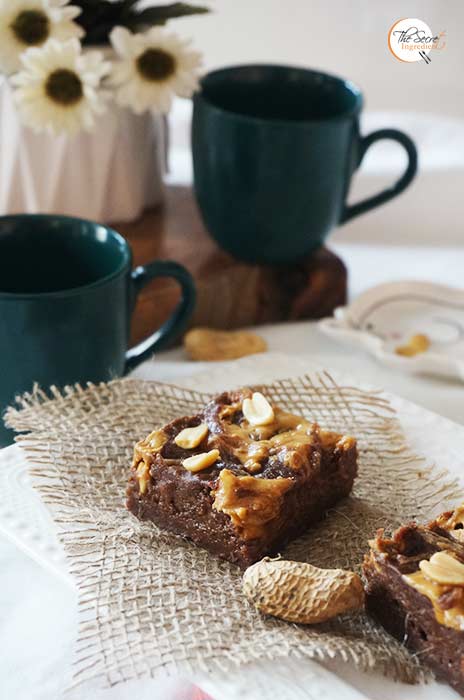
You have old, dying ,neglected bananas? You dont know what to do with them? Don’t worry! I am here to salvage you from this situation. I just realised I am sounding like a Superman or may be Superwoman :B Well last week my husband was going for a treacherous Himalayan Trek and demanded (ohk! politely asked) if I could make him some energy bars and something healthy which he can take along and munch on his way and remain energized. My baker mind went in all directions. I of course could have made him my super yummy Amaranth Granola Bars or Oats and Almonds Energy Bars but then I saw an opportunity to make something new which can be put on the blog. I saw some decaying bananas and I had a huge pack of Peanut Butter and there it was – uber delicious Whole Wheat Banana Peanut Butter Brownies!!


I spent 3 hours thinking what to make for him and 20 minutes to get everything ready. These gooey brownies were so decadent loaded with flavour of chocolate and peanut butter that I made a double batch. Saved half for myself and rest went for trek. These brownies used no eggs and still were sinfully indulgent. My jinx is still intact. I still have a reputation for making healthiest brownies on this planet. If you dont know I have on my blog Whole Wheat Oats & Chocolate Brownies,  Gluten Free Chocolate Ragi Brownies ,Vegan Avocado Chocolate Brownies, Vegan Yellow Zucchini Chocolate Brownies and now these Whole wheat Banana Peanut Butter brownies. I hope someday I can make some unhealthy brownies 😉 But if you ever try these indulgent brownies let me know your feedback. Till next time!

Directions:

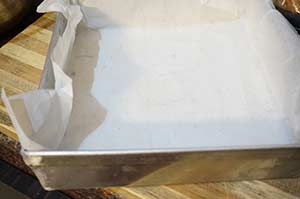
1.  Line a 9×9 inch baking pan with some parchment paper and preheat your oven to 180 degree Celsius (Learn more about Oven temperatures and Conversions). 


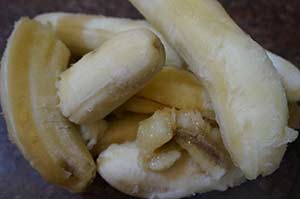
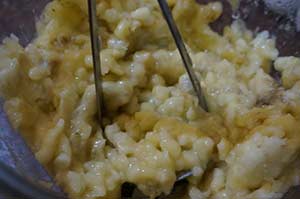
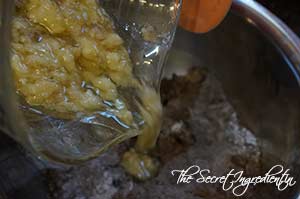
2. In a bowl add over ripe bananas and mash them well. You can leave them chunky or make them smooth.


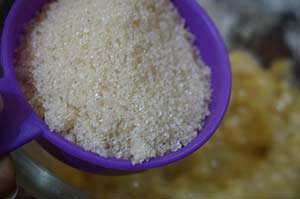
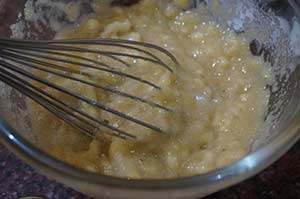
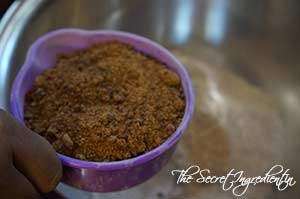
2. Add sugar. I have used SOS Organics Khandsari Sugar which is unrefined and makes these brownies more delicious. Whisk well till the sugar is combined with the bananas. 


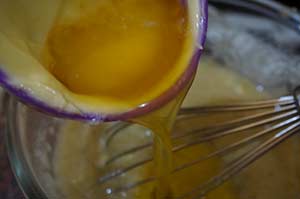
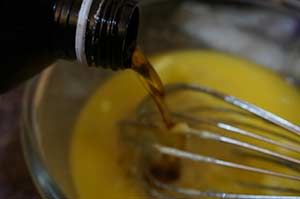
3.  Add melted butter and vanilla extract. Mix well.


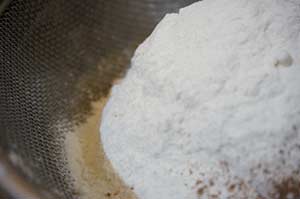
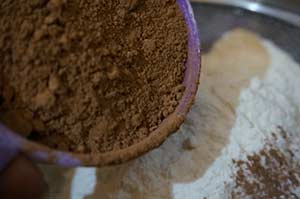
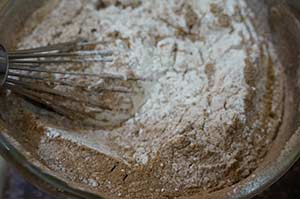
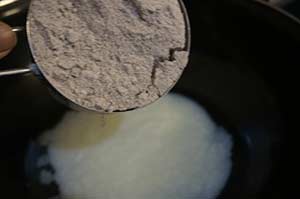
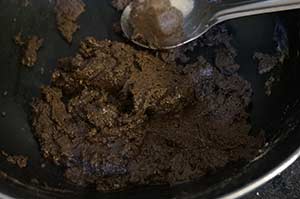
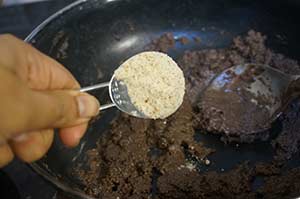
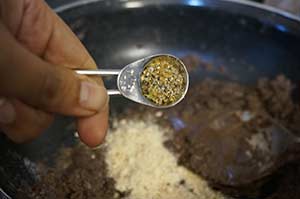
4. Add sifted whole wheat flour to the wet ingredients along with unsweetened cocoa powder.


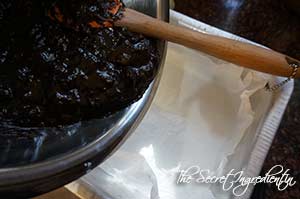
5. Mix everything well till you get an even textured batter.


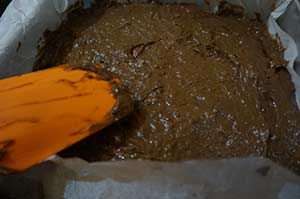
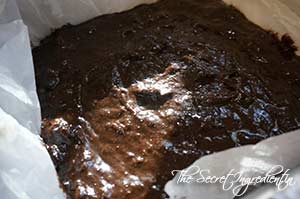
6. Pour the brownie batter in the prepared pan and even the top with the help of a spatula.


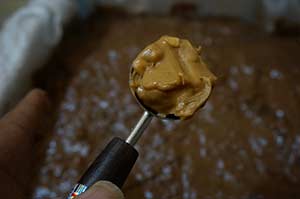
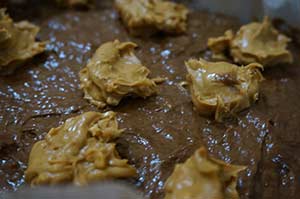
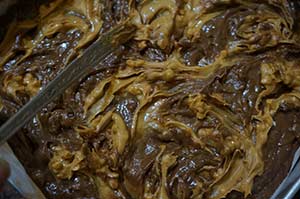
7. Take small scoops of peanut butter and place them all over the brownie batter.


8. Take a toothpick and randomly make swirls so that the peanut butter spreads all over and mixes with the brownie batter and creates a wonderful pattern.


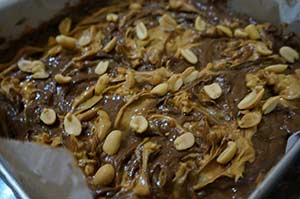
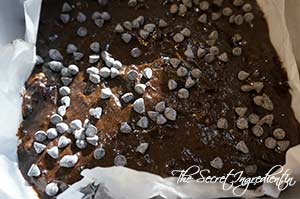
9. Top it with roasted Salted peanuts and bake them in the oven for 20-25 minutes or until a skewer inserted in the centre comes out clean.


10. Remove from the pan and let it come to room temperature . Slice it into squares and serve.

Other healthy brownies you can try on my blog are: Whole Wheat Oats & Chocolate Brownies,  Gluten Free Chocolate Ragi Brownies ,Vegan Avocado Chocolate Brownies, Vegan Yellow Zucchini Chocolate Brownies

[yumprint-recipe id=’305′]

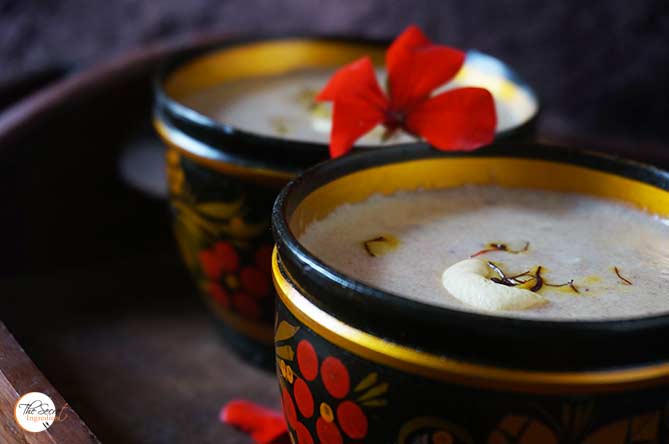
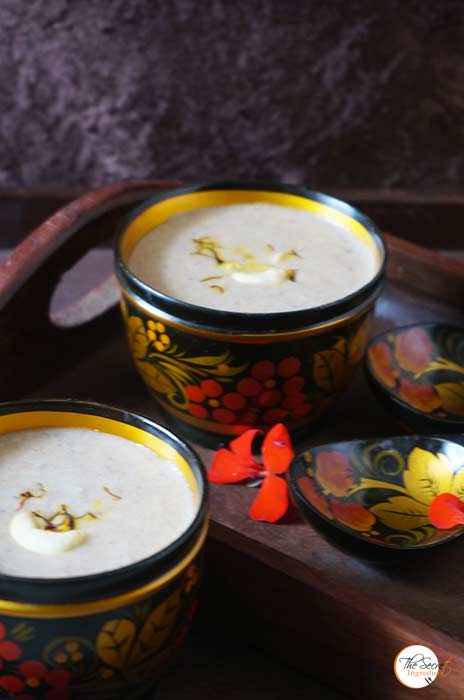
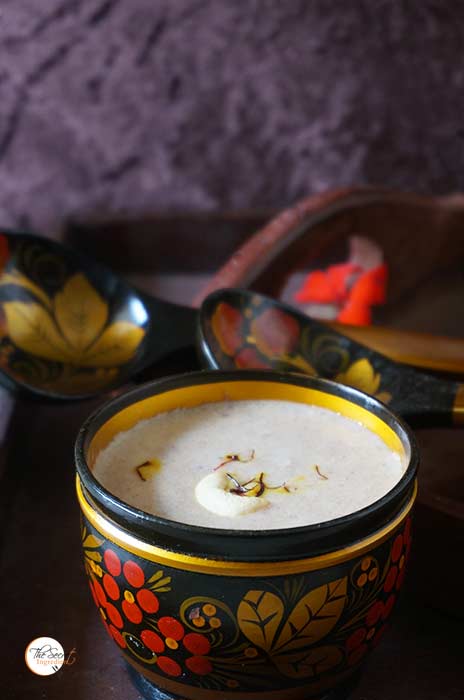
Festivals are a time of togetherness when you cherish spending quality time with your family and loved ones. In India the list of festivities is endless. If someone tries to maintain a countrywide list of festivals , every day of the year will be some rejoiced occasion or the other. More festivals means more food and desserts. And when you say more food I am sold out. I thing good food sparks up the festival. This Rakshabandhan I am making Dates Milk Pudding for my family. Its creamy, rich and decadent. 

Directions:
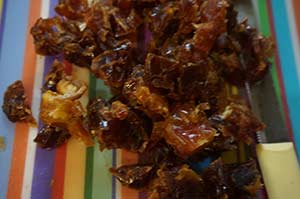
1. Take some dates and remove their stones. Chop them into small pieces and set aside.


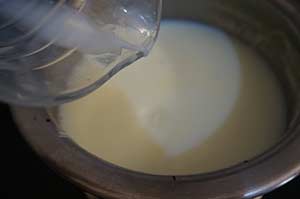
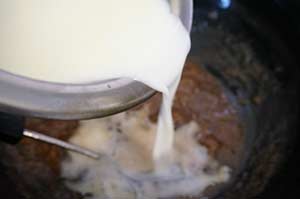
2. In a thick bottom vessel add milk and bring it to a boil. Once it has come to a boil turn it on simmer and let it reduce to half. Keep stirring occasionally.


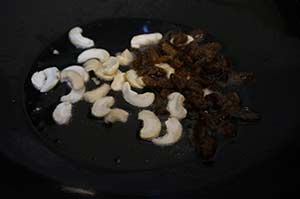
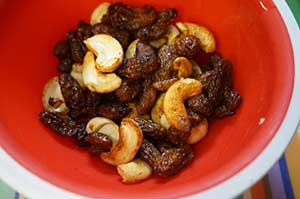
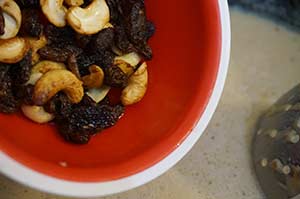
3, In the meanwhile in a wok add some ghee and add halved cashews and raisins.Saute them till they are lighted roasted in ghee. Set aside.


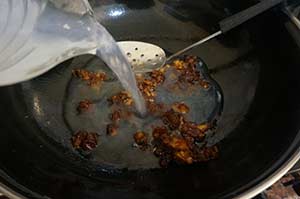
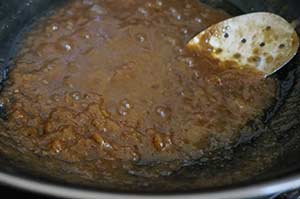
4. In the same wok add chopped dates and water.  Cook them on medium low flame for 8-10 minutes till they have become mush and soft.


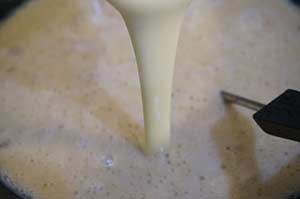
5. Add reduced milk and bring everything to a boil. Also add little condensed milk to make  everything a bit more creamy.


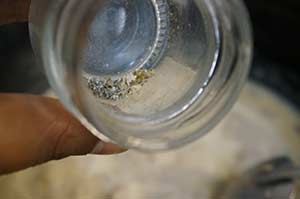
6. Add roasted cashews and raisins and cardamom powder. Reserve a few cashews for garnish.


7. Garnish with saffron and more roasted cashews.

Other Desserts you can try are: Makhaney ki Kheer , Ragi and Khus Khus Ladoo, Besan Rava Ladoo, Sewiyan Kesari, Rasgulla,  Til ke Laddoo , Tilkoot, Mango Saffron Phirni, Paneer Ki Kheer

[whohit]DatesPayasam[/whohit]

[yumprint-recipe id=’290′]


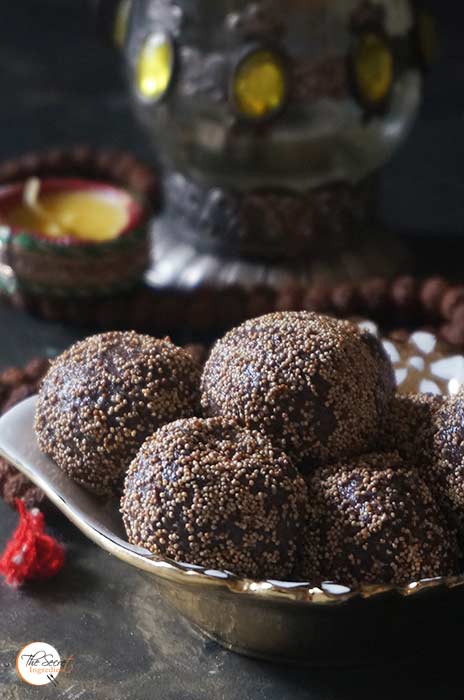
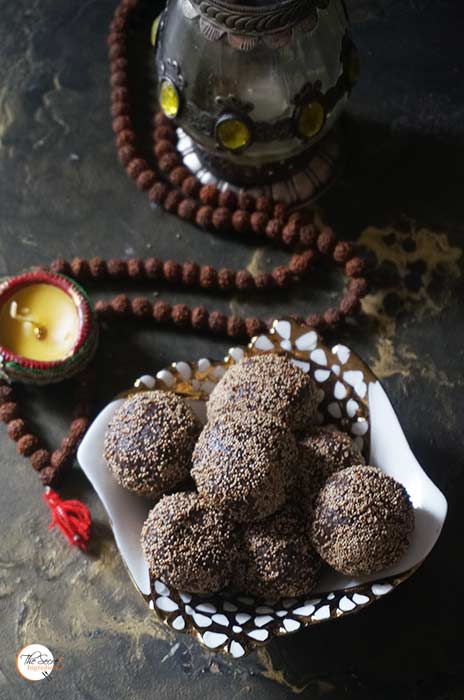
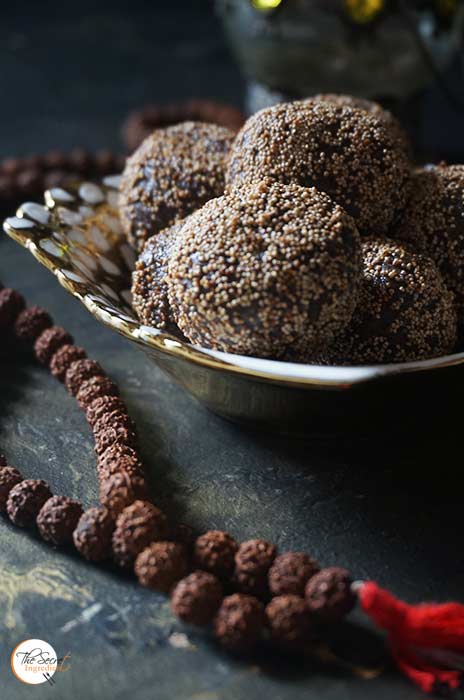
Rakshabandhan is right around the corner and traditional sweets are a quintessential part of every Indian festivity. This year I wanted to make something which is healthy but still festive. I tried my hands on Ragi Laddoos. These are gluten free and so easy to put together and taste is absolutely top notch. When I was taking pictures my kiddo asked me if these were chocolate balls and I said yes 😉 He gobbled down two instantly and gave me a thumbs up. Isn’t it how you call a recipe successful. These are perfect for people who are watching their weight, for people with celiac diseases, for little babies and even for pregnant woman.


Make for your beloved brother or dear sister these Ragi Khus Khus Laddoos. They are incredible and taste divine. I am sure they will make this festival more joyous! You can even try Besan Rava Laddoos is you want to stick to the traditional recipes.

 
Directions:
1. In a wok add ghee and melt it. Add Ragi flour, I have used SOS Organics himalayan ragi flour and keep sauteing it till the aroma of roasted flour is felt. You will notice the mixture has separated from ghee. This should take good 10-12 minutes. Keep the flame low and keep stirring it.


2. Add almond meal or ground almonds and also powdered green cardamom powder. Mix well with the ragi slurry and continue to cook for a minute more.


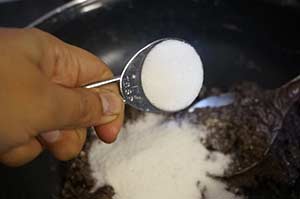
3. Turn the flame off and add castor sugar or powdered sugar and mix well.

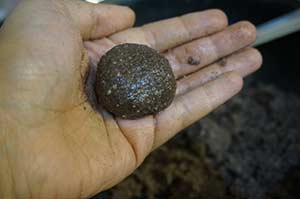
4.Let the mixture cool down little bit. Cool enough to make laddoos or round balls with it. 


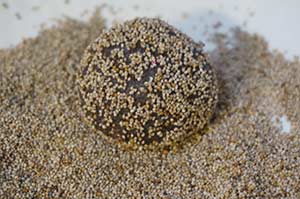
5. Roll the laddoos in roasted poppy seeds and set them aside to set and firm. 


6. They also taste great when soft and warm. They stay good for about 20 days if kept at room temperature in an airtight jar.

Other Ragi of Finger Millet Recipes you can try are: Gluten Free Chocolate Ragi BrowniesRagi Masala TwistersRagi & Whole Wheat BiscuitsInstant Ragi Dosa. 

Other Traditional Indian Festive Food you can try are: Attey Ka Halwa Gurudwara StyleSwang Ke Chawal Ka HalwaApple LapsiKaddu ka HalwaSooji HalwaGajar Ka HalwaMango Saffron PhirniPaneer Ki KheerSabudana KheerMakhane Ki KheerGram Flour Semolina BallsGurr Gajar Ke Meethey ChawalKesari SeviyanRasgulla

You can order Organic Ragi or Finger Millets from SOS Organics from here.

[whohit]RagiKhusKhusLaddoos[/whohit]

[yumprint-recipe id=’289′]

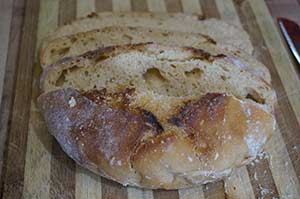
I have to make an honest confession, last few months I have been addicted to Sourdough Breads. I have baked them almost every week and some time twice a week and the satisfaction which I get after baking them cannot be expressed in words. If you follow my instagram handle you will know how many sour dough boules I keep posting.  I have almost neglected making breads with commercial yeast 🙁 which of course was my first love. This gradual shift is all thanks to my baker friend, my sourdough guru Samrudhhi Nayak. Ever since she has shared her passion and knowledge with me I seem to be on an endless journey of baking these beautiful sourdough breads. Thankyou Sam for kindling that fire in me. Love you to the moon and back :*


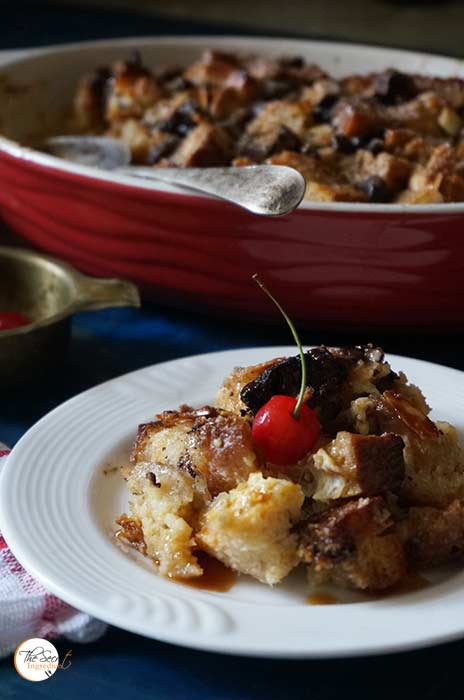
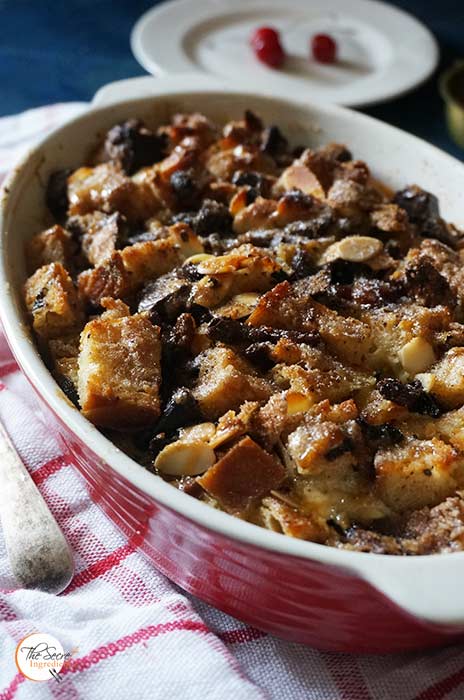
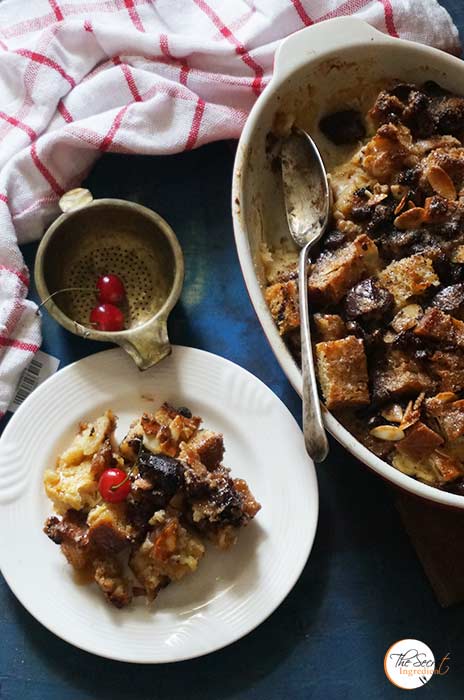
This week I baked two 500gms boule of Sourdough Breads, which were a lot for the two of us to consume. I decided to use half of one bread for making this delicious Bread Pudding with Chocolate. This pudding can also be made with normal crusty bread. I like this recipe because it requires minimal effort and can be made in a big quantity in a casserole and tastes amazing. If you are looking forward to tomorrow’s 4th of July celebration then you must include this in your menu. You sure will make it again and again without hunting for an occasion.

Directions:
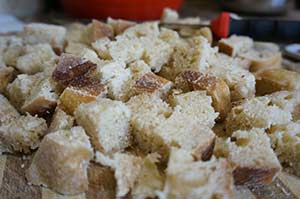
1. Slice a stale Sourdough Bread into 1 inch cube and set aside.


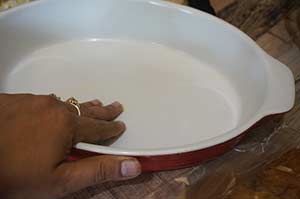
2. Grease a large baking pan or oven friendly casserole with butter.


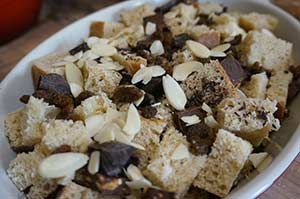
3. Simply transfer the bread cubes to the baking pan and also put chopped chunks of chocolate along with raisins and almond flakes.  You can add any combination of nuts you fancy.


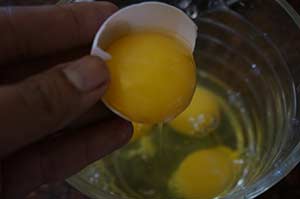
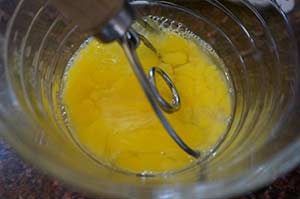
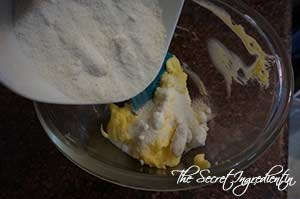
3. In a jar or bowl whisk the eggs and mix them thoroughly with castor sugar till it is dissolved.


4. Add milk, cinnamon powder and butter. Mix everything well.


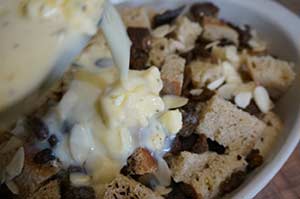
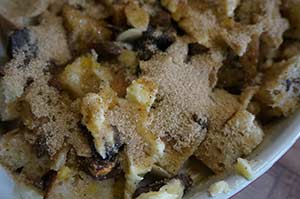
5. Pour this milk mixture over the bread. Sprinkle brown sugar on top of the bread. Let it sit for at least an hour for bread to absorb milk. After an hour preheat the oven to 180 degree Celsius (Learn more about Oven Temperature and Conversions).


6. Bake in the oven for about 50-60 minutes. Remove from the oven and let it become easy to tough. Scoop out a serving and if you like you can drizzle with a caramel sauce and serve. You will love the crunchy flavour of the bread and nuts with melted chunks of chocolate. Its heaven!

Other Bread Recipes you can try : Peter Reinhart’s Potato Rosemary BreadStuffed Mushroom Cheesy Crack BreadStuffed Mushroom and Spinach Braided BreadWhite Sandwich BreadCherry Rosemary & Sea Salt Focaccia Bread,  Whole Wheat Sandwich Bread Recipe

[whohit]SDPuddingwithChocolate[/whohit]

[yumprint-recipe id=’285′] 


Yesterday Morning I woke up to a call from a friend who also is a client. I had 5 of her missed calls. It turns out she wanted to order a cake which needs to be ready in 3-4 hours. As you all know I dont do cakes on a regular basis and I live in a place where ingredients aren’t readily available. So i was in a dilemma but then I took this challenge. She left me to decide whatever I wanted to make. 

I had to quickly make a decision as to what can be made in jiffy and still looked pretty. You know when such cakes are ordered specially for wedding Anniversaries they need to have a wow factor not just in taste but also the way they look. For a second all the good looking cakes I had done in the past zapped right in front of my eyes and I had to choose one. Because this wasn’t a time for experimentation. I had made a Mango Tart a while back and it had turned out pretty and then I also had made a Vanilla Cake with pomegranate Sauce which was yummy. So I decided to fuse the two. 
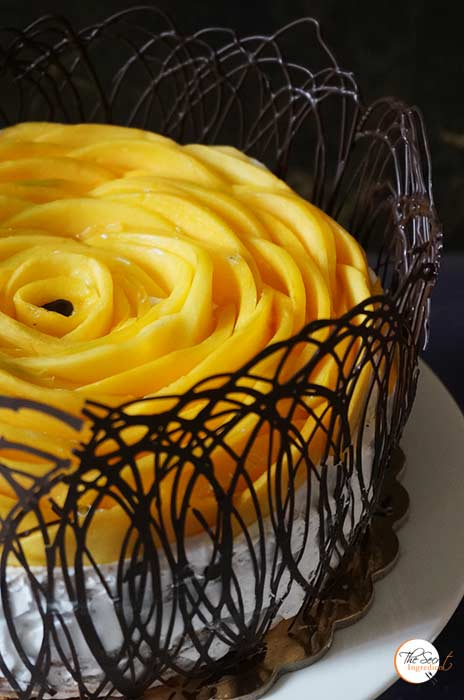

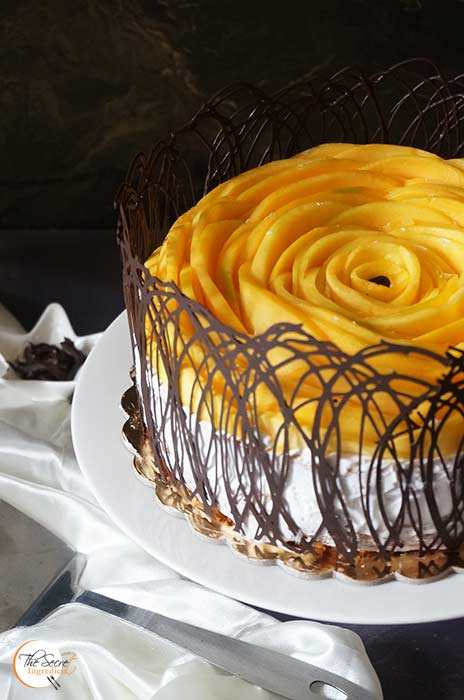
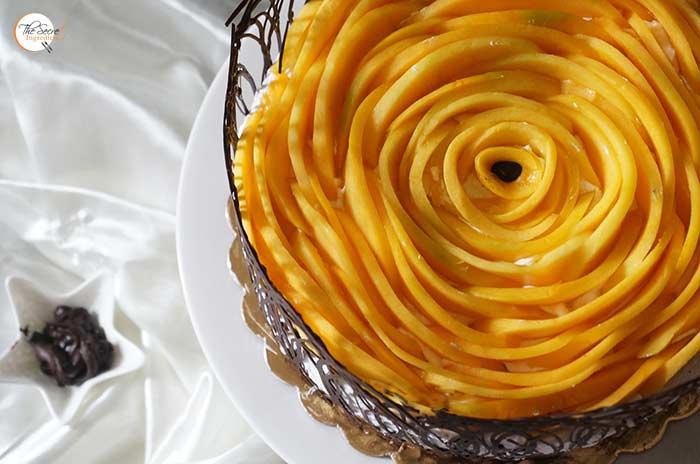
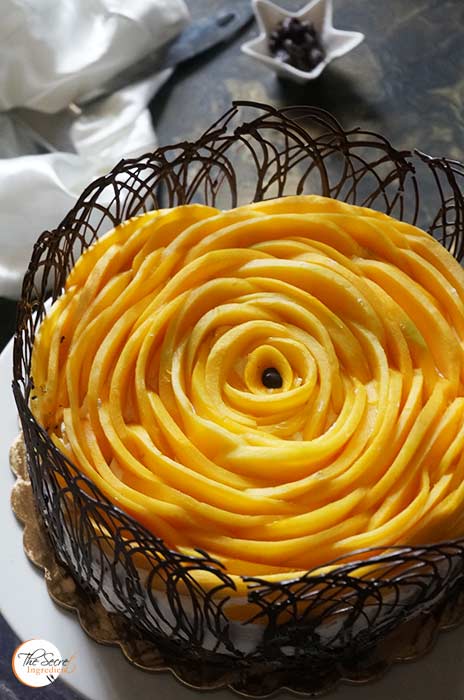
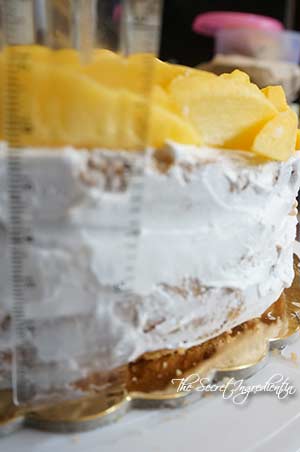
And the result was this gorgeous little Mango Vanilla Cake with Chocolate Collar! Aahh I feel soo happy after looking at it. The real icing on the cake was that the Client loved it  I cant explain the social network has been going gaga over this. It was 1.4k likes on a single Facebook group and other 1k in other. Everywhere I post this its being appreciated. I am a novice cake baker but sometimes things happen like magic happens 🙂 I am Thankful to Almighty and you all for this love.

Directions: 

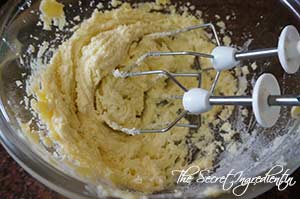
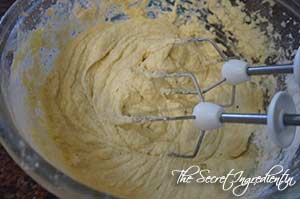
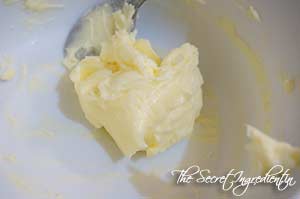
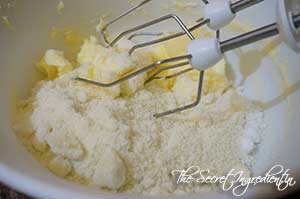
1.In a bowl add Butter and castor Sugar. Cream them together. You can use hand held whisk or electric whisk.


DSC05591


DSC05592


DSC05593


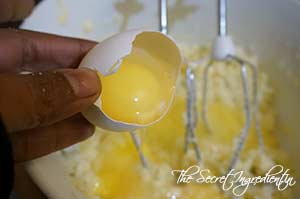
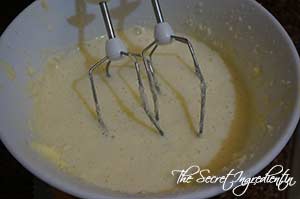
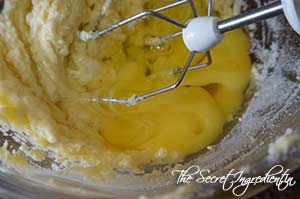
2. Add eggs and combine till creamy and light.
DSC05594
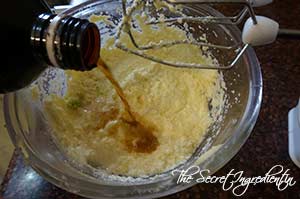
3. Add  Vanilla Extract.

DSC05597  
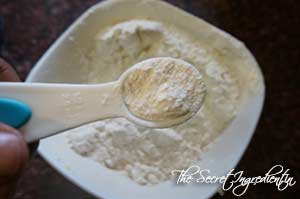
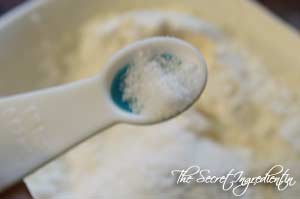
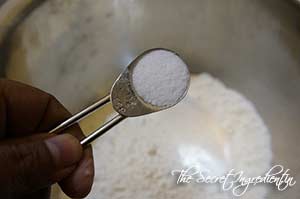
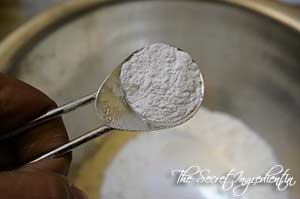
4.  In a bowl add All Purpose Flour, salt and Baking Powder.


DSC05598


DSC05599


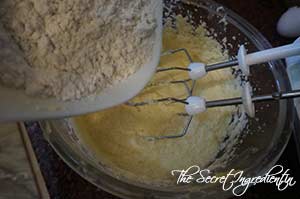
5. Slowly add this to the wet ingredients and combine until moistened.


DSC05600


DSC05601


6. Pour this batter in a  springform pan and smoothen the top with a spatula. You can buy the Springform pan with our online store,  The Gourmet Shop. We ship pan India. 
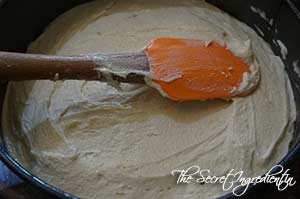

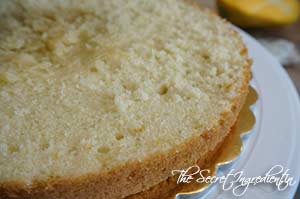
7. Bake in the preheated oven on 160 degree for 50 minutes or until the toothpick inserted comes out clean. Let it  cool down completely before removing it from the pan.
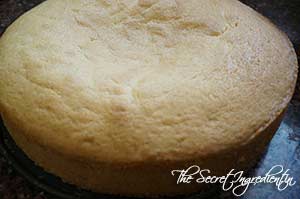

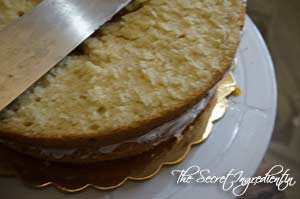
8. When the cake has cooled completely slice it horizontally into half using a sharp serrated knife. The motion of knife should be like a saw. Refrigerate for half an hour. I couldn’t because I had to finish the cake in 3 hours.


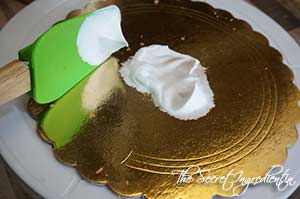
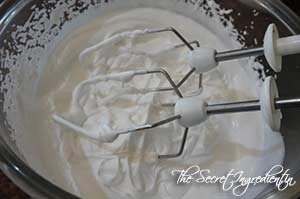
9. Add some whipped cream in a chilled bowl and whip it with an electric whisk till stiff peaks are formed.

9. Place a cake board on a rotatable Icing table and spread a little whipped cream on the board and place one slice of cake on it. This will ensure the cake doesn’t slip from the board.


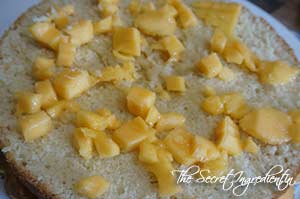
10. Chop a fresh mango into small chunks and spread it on the surface of cake.
11. Spread a layer of whipped cream on top of mangoes and make it even using a palette knife. you can even use a spatula if you dont have a palette knife.


12. Place the other part of the cake on top of the whipped cream and mango mix.

13. Take some whipped cream and smear it on the sides all along its circumference and top. It has to be thin layer, doesn’t matter if its smooth or not. I am not good with smooth finish so I made this cake to hide my inadequacies 🙂 How I forgot to take picture of this step! 🙁

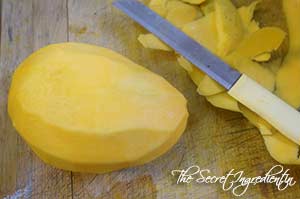
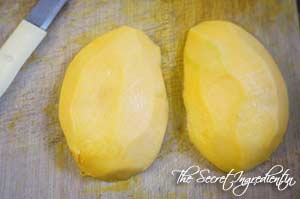
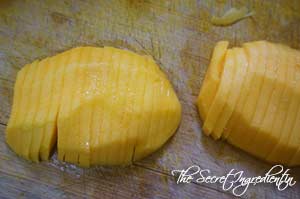
14. Now for the top mango garnish, take firm mangoes, peel the skin and cut it into half, removing the seed. Then further cut halves into thin slices. Set aside.


DSC06413


DSC06414


DSC06415


15. Once the cake has been iced from all sides. start from the top centre. Arrange the mango slices on top, starting in the centre and then taking it outwards to mimic flower petals. Don’t place the slices deep into the cream. The more they remain on top the neater will be the look.


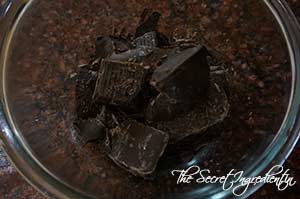
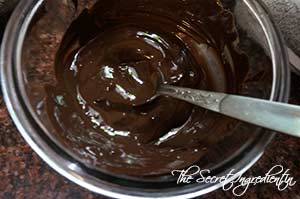
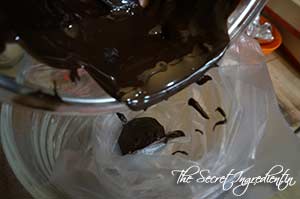
16. Now the question was how to hide the sides and pretty pie it. I thought of a chocolate collar and found a tutorial which was quick and seemed easy but I had never done it before. But I had little choice. So I went ahead. You need is a bar of chocolate or chocolate chips. Place them in a microwaveable bowl and heat it till it melts. You need to stir it every 30 seconds so that it doesn’t burn. You can also use a double boiler to melt, whichever you think is faster.


17. Pour the melted chocolate in a pipping bag or ziploc without any nozzle and tighten the keep. 


18. Now you have to measure the height of the cake, I used a ruler. It was 4 inches for my cake. Tear a sheet of parchment paper which covers the cake around completely and further trim its height matching to the height of your cake or a little taller, it was 4.5 inches in case of my cake. Oh look you have the view to my not so clean icing on the sides of the cake. yippy!


19. See it fits around the cake perfectly and also has the height i wanted.
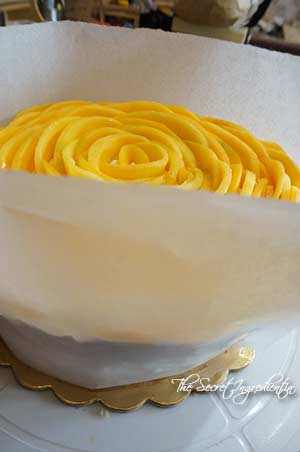

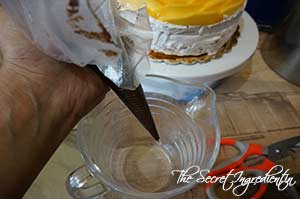
20. Remove this parchment paper and place it on a smooth surface. You pipping bag with melted chocolate is ready, snip the end with scissors and make a small hole. Now spread the chocolate in circular motion, starting from one end and finishing the other, say left to right. Now repeat the same from right to left . You can make it as intricate as you want. The more layers you give it the more sturdy will be your chocolate collar. 


21. Let it be like that for a few seconds till the chocolate sets partially. Now remove the strip of  parchment paper carefully with both your hands. If you leave it for a longer time and it sets fully you will not be able to mould it around the circular cake. So eyeball the timing.
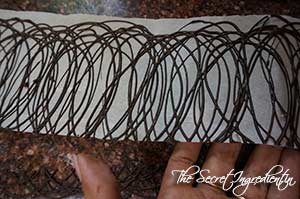

22. Place it around the cake with chocolate side inside, pushing it inside the cake carefully.


23. Once the chocolate collar has been placed around the cake, remove the parchment paper slowly without damaging the lace and breaking it.


24. Guess what the cake is ready. You can add anything more to prettify it. I think I was happy with the results and gladly my client also liked it. 

Other Cake recipes you can try are: Eggless Black Grapes Cake,  Chocolate Vanilla Marble Cake , Eggless Almond Vanilla Cake,  Eggless Orange Cake with Candied Orange Peel FillingLemon Cake with Lemon GlazePersimmon Rum CakePumpkin Cake RollsSurprise Heart Inside CakeVegan Chocolate Banana CakeVanilla & Pomegranate CakeWacky Vegan Chocolate CakeFestive Orange Blueberry Pound Cake Mediterranean Eggless Semolina Cake

[whohit]MangoVanillaCake[/whohit]

[yumprint-recipe id=’273′]
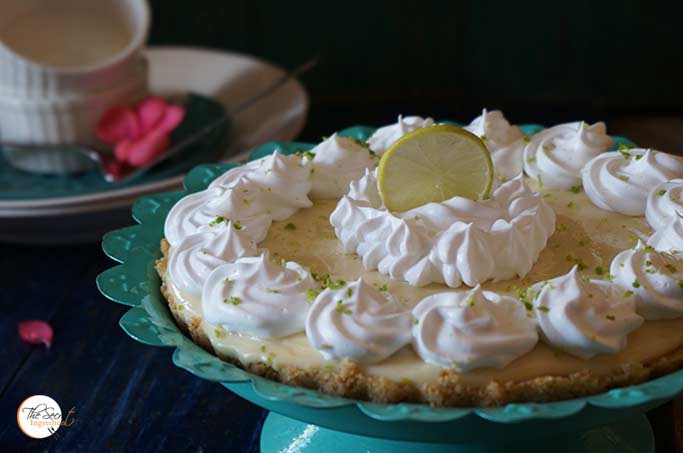
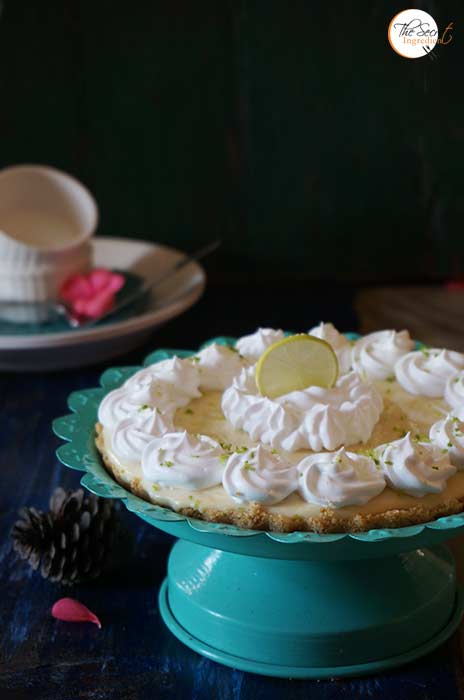
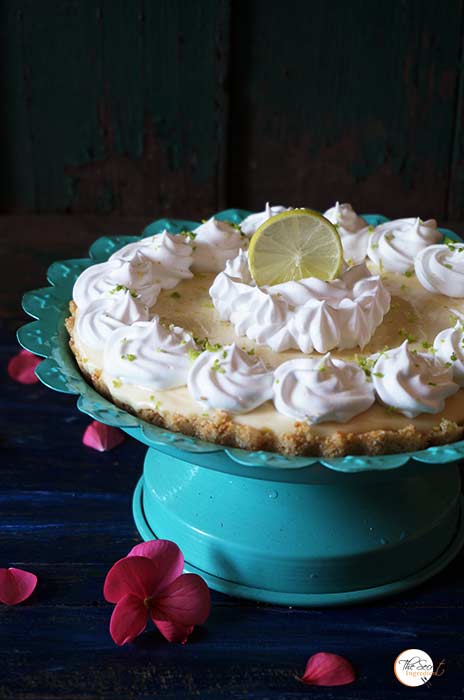
Some friends from my hometown were visiting us in the hills. My parents asked them to carry a few lemons from their yard. Last time when I had the lemons in abundance I made the Lemon Pound Cake with Lemon Glaze and this time I wanted to make Laura Vitale’s Key Lime Pie. My husband was leaving for a shoot to mumbai and I had one hour in hand. I decided to make this dessert for him so that he leaves with some sweet memories. ha! I am such an adorable, dotting and caring wife 😛 (No pun intended)


So this was an easy peasy recipe and required no baking just a little chill time. The weather was already freezing so it needed half of the time to set and it was soo soo good. I loved the three layered tart, crumbly and sweet culmination. If you like lemony tart desserts you sure will be on cloud 9. Please ensure that you add ample whipping cream as suggested in the recipe. I know the lessor will have less calories but it will be quite lemony for the taste buds. 

Directions:

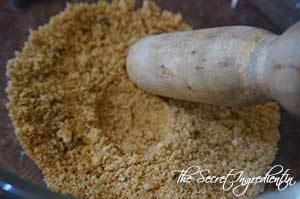
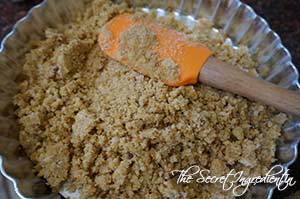
1. Take Graham Crackers or even digestive biscuits will work great. I have used the later. Add them to a bowl and crush them to make crumble. I have used a pestle for this. 


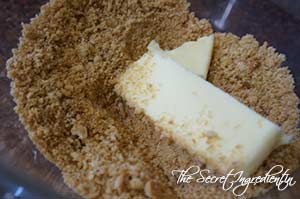
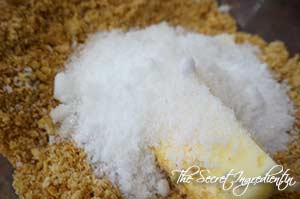
2. Add butter at room tempertaure to the crumble. Also add powdered sugar.


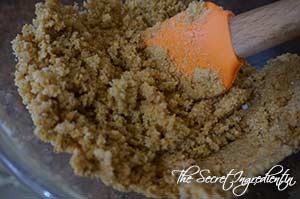
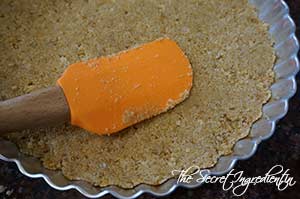
3. Mix everything together and dump the crumble mix on a pie pan with removable bottom. You can buy one like this on The Gourmet Shop at reasonable prices. Press the crumble into the base evenly using the force of a spatula or even a small bowl. Set the pie pan aside.


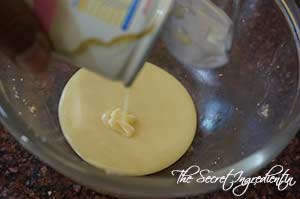
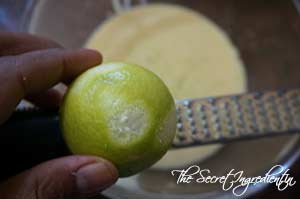
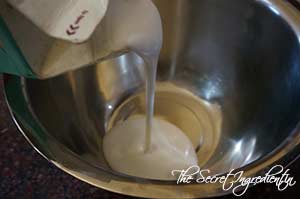
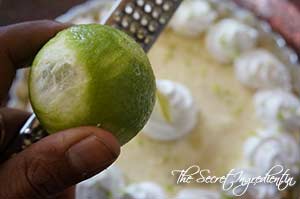
4. In another bowl add the condensed milk and add a zest of a lemon. 


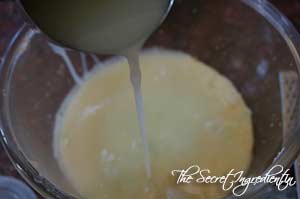
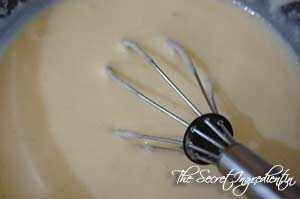
5. Squeeze out juice of lemons and mix that to the condensed milk and combine using a whisk.


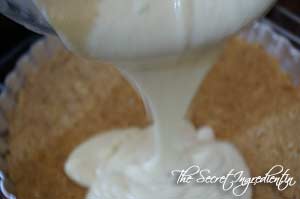
6. Pour that condesnsed milk mixture on top of the tart pan over tha layer of biscuits. Let it sit in the refrigerator and set for a cuple of hours. 

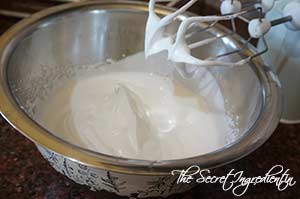
7. In the meanwhile take out thawed whipping cream from the fridge and whisk it with electric whisk till stiff peaks are formed. 


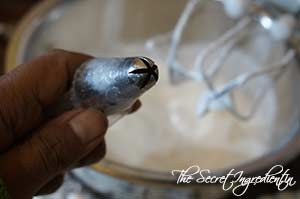
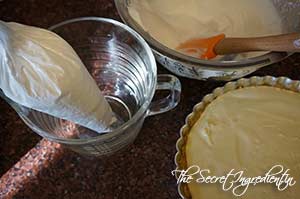
8. Place a pipping nozzle of your choice in a pipping bag and fill the bag with whipped cream. Tightly close the bag and cut the tip with a pair of scissors.


9. Pipe the top of the lemony pie with whipped cream all over. You can even spreead the cream with a spatula, pipping is not mandatory. You can beautify it further by adding additional lemon zest.


10. Put it inside the fridge for whipped cream to settle. Slice and serve. 

Other Pie, Tarts and Desserts you can try from our my blog are: Mango Tart with Vanilla Pastry CreamApple Cider Spiced Doughnuts ,  Blueberry Bars,  Eggless Orange Cake with Candied Orange Peel FillingLemon Cake with Lemon GlazeSorghum and Wheat Flour Persimmon Cupcakes with Cream Cheese Frosting.

[whohit]KeyLimePie[/whohit]
 

GurrGajarChawal_Featured3

I know I have been showing up after a while. When I am home with my family I dont get time to blog. Life is all busy with socializing, shopping, yapping, some baking workshop and lazying around. Last week I spent on the beaches of Goa and when I returned to Delhi it was freezing cold. The next day was Makar Sankranti which is the First Day of Hindu Calender. This day is widely celebrated in India with different names in different parts of the country like Pongal, Lohri, Bihu etc. Its believed to be the coldest day of winters when the cold is at its peak. Therefore, foods which keep your body warm are eaten and distributed with friends and family which included, sesame seeds, dates, jaggery, ground nuts and other dry fruits. 

GurrGajarChawal_Featured2
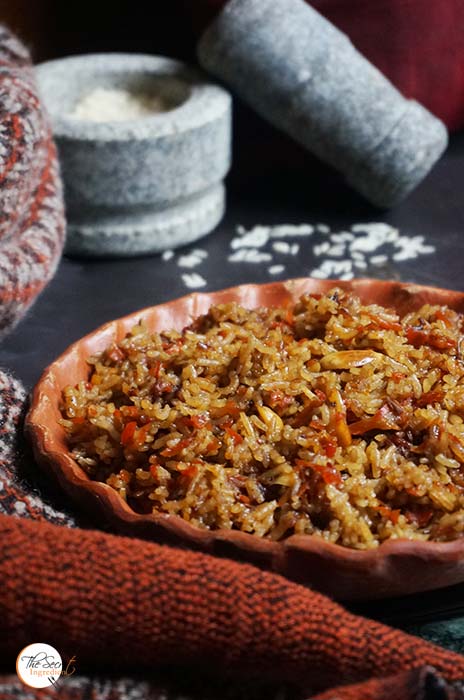
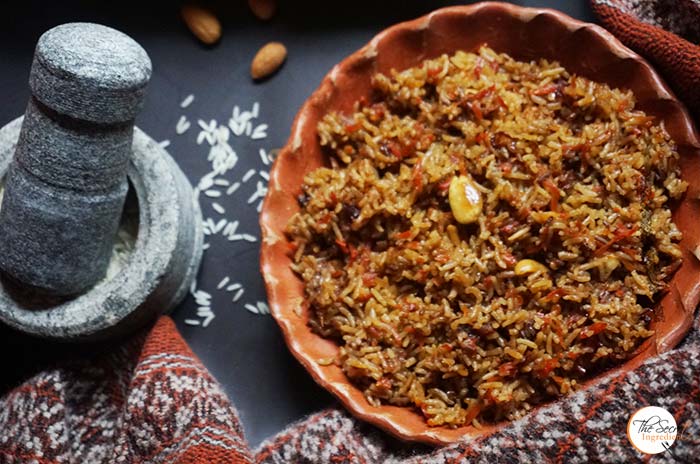
I was home after many days and I was itchy to make something festive. So I decided to make this rice pudding with Jaggery, Dates and Carrots. Its my mother’s recipe and I have grown old on this. This is a keeper for winters. Its a wholesome meal  I had also made Tilkoot which is Pounded Sesame Seeds and Jaggery Balls couple of years back . Its a traditional recipe from Uttar Pradesh.


Directions:

1. Soak Rice in Water for an hour or so.

DSC00310
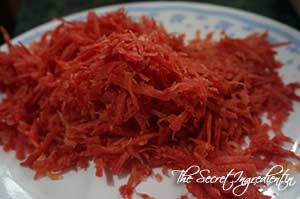
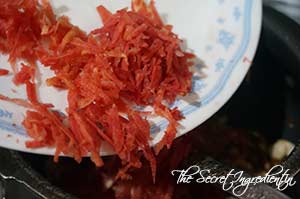
2. Wash and Grate Carrots and keep aside.

DSC00311
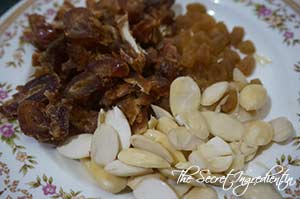
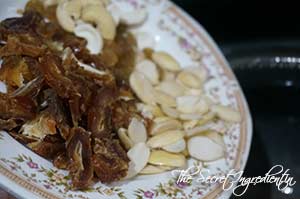
3.Blanch Almonds and remove their skin and cut them into halves. Also deseed and chop some dates. You can also add raisins and cashews if you like.

DSC00320
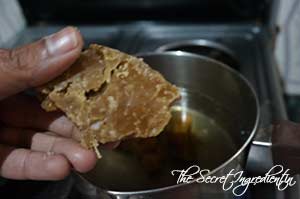
4. For the syrup, in a pan heat water and when it comes to a boil add jaggery. Keep stirring and let the jaggery melt in water.


DSC00313


DSC00316


4. Add a spoonful of milk and a scum will form on top. Spoon out the scum and throw it away. That’s the impurity in jaggery which we don’t want to add to the rice. Turn the flame off and keep the syrup aside.


DSC00317


DSC00318


DSC00319


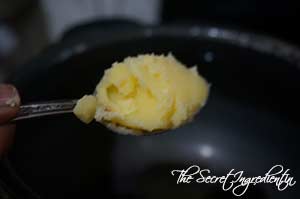
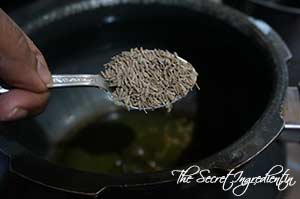
5. In a pressure pan add ghee and when ghee melts add cumin seeds. 


DSC00322


DSC00323


6.Let them crackle that is when you add grated carrots to the pan and saute in ghee for a minute.

DSC00325
7. Add the dried nuts which we had chopped earlier.

DSC00324
8. Add Soaked rice without the water.

DSC00326
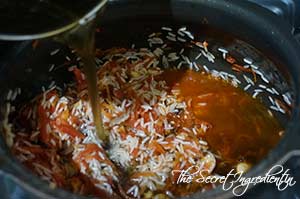
9. Lastly add the jaggery syrup and close with the lid. Pressure cook for 3-4 whistles or until the rice is cooked.

DSC00327
10. When the steam escapes fluff up with a fork and serve hot. Enjoy the winter bounty. 

You can even try Tilkoot for Makar Sankranti.

Other Rice recipes you can try are: Rice Pudding with Mango & SaffronMushroom BiryaniRaw Mango RiceSpicy Mint RiceItalian Arborio Rice with MushroomsKathal Ki BiryaniSouth Indian style Curd RiceBombay Biryani

GurrGajarChawal_Featured1[whohit]GurrGajarRice[/whohit]

[yumprint-recipe id=’267′]

ragibrownies_featured4

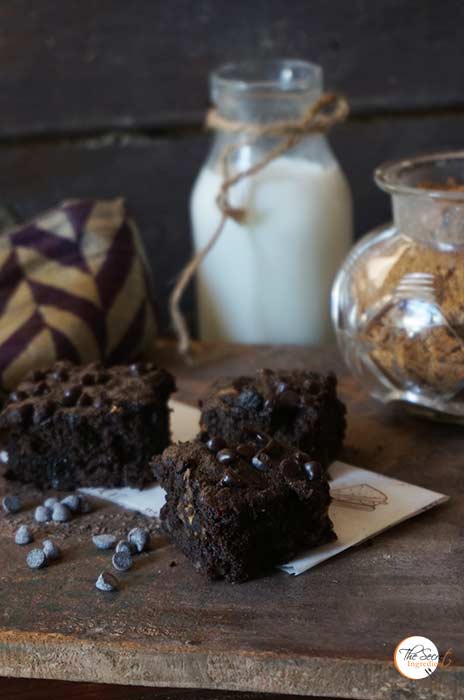
Its funny how I have never posted a non healthy recipe of Chocolate Brownies on my blog. Last two times the chocolate brownies on my page were Vegan Yellow Zucchini Chocolate Brownies and Whole Wheat Oats & Chocolate Brownies. And this time I had decided to post a traditional indulging, rich brownie loaded with chocolate, butter and refined flour. But then there was a change in heart and I ended up baking these Ragi Gluten Free and Vegan Chocolate Brownies. Not that I regret doing this but this makes me ponder have I really become that health conscious? I think I have to say yes! To me my family’s health is out of utmost priority. I simply cannot settle for things which have lesser nutritional content.

ragibrownies_featured2
May be someday I will bake those brownies, may be for the cheat day. For now to celebrate third Anniversary of my baby blog we must enjoy these delicious, decadent, healthy and gooey brownies. I posted the pictures of these on the 1st day of the year celebrating my blogs and my own birthday. It was loved by you all and everyone wanted the recipe. Unfortunately I was occupied and could not blog. So here I am burning the midnight oil and writing the recipe for you guys!I hope you will like it. I wish you all a happy and healthy New year 2017.

Directions:
1. In a bowl add Ragi flour and brown cane sugar.


dsc09837


dsc09838


2. Also add baking powder, Cocoa Powder and Salt.


dsc09839


dsc09840


dsc09841


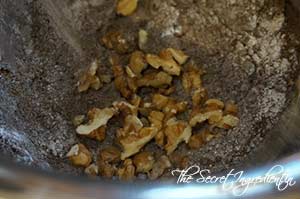
3. Add chopped toasted walnuts to it and set aside.

dsc09842
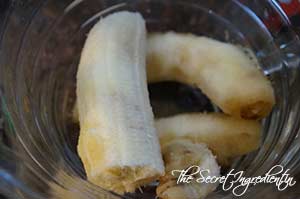
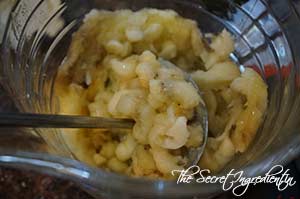
4. In another bowl take some ripe bananas and mash them well.


dsc09843


dsc09844


5. Add oil, peanut butter and vanilla essence and combine.


dsc09845


dsc09851


dsc09846


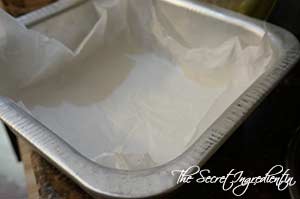
6. Preheat your oven to 180 degree Celsius (Learn more about your oven temperatures and conversion) and line a square 8×8 baking pan with Parchment Paper. Set aside.

dsc09847
7. Add wet ingredients to the dry ingredients and also add water.


dsc09849


dsc09850


8. Mix everything thoroughly and ensure no lumps remain. Pour the batter into the baking pan.


dsc09852


dsc09853


9. Add Choco Chips on top and spread evenly. I used the vegan non dairy chips.

dsc09854
10. Bake in the preheated oven for 25-30 minutes until the top becomes non glossy and toothpick inserted comes out clean.

dsc09855
11. Let it cool down completely and then cut into squares. Serve with a drizzle of Chocolate Sauce or Ice cream.

Other Chocolate Brownies you can try here are: Vegan Yellow Zucchini Chocolate Brownies and Whole Wheat Oats & Chocolate Brownies.

If you are looking for more chocolate desserts here is what you should try: Vegan Chocolate Banana CakeWhite Chocolate Chip Cookies Vegan Eggless Chocolate MuffinsPeanut Butter Cookies with Chocolate ChipsPapaya Chocolate MuffinsCoconut Chocolate CookiesChocolate Vanilla Marble CakeBrigadeirosWacky Vegan Chocolate Cake.

ragibrownies_featured5
[whohit]RagiBrowniesGF[/whohit]

[yumprint-recipe id=’266′]

orangeblueberrycake_featured1

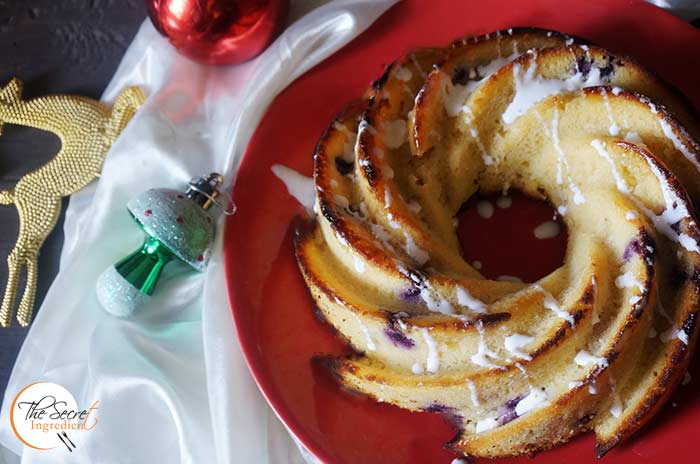
Its almost Christmas and time for us to move our base from the hills to the plains till the winter break is over. This is the time of the year when our school shuts down for almost two months and we get a good time to spend with our family and loved ones. My bags are packed and I am about to empty my pantry. Last few days I am baking with whatever fruit is left in the fridge. Therefore, the productivity of Oven is at its peak. When I saw oranges and blueberry in my freezer compartment I knew I have make this cake which has been on my to do list for such a long time. I wanted a simple Orange Pound cake which makes everything just right.

orangeblueberrycake_featured4

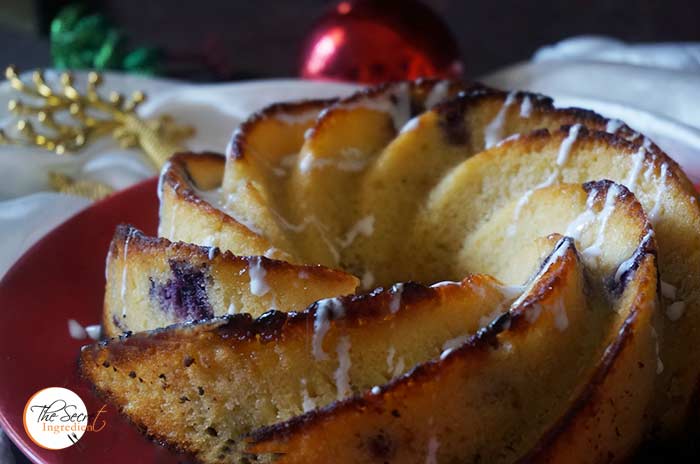
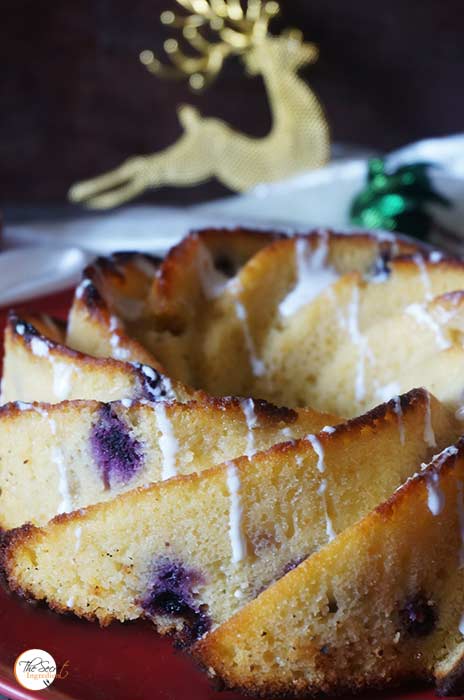
And when the cake came out of the oven it was simply to die for. So moist, flavourful with orange zest and the cake was screaming eat me up! So that’s what I did 😉 If you are planning to do something for this holiday season its highly recommended that you include this in your bake list. You will surely thank me 🙂 Until next time…

Directions:

1. In a bowl add All purpose Flour, salt and Baking Powder and combine. Set aside.


dsc00146


dsc00147


2. Take zest of two oranges and juice them. Set aside the zest and fresh orange juice aside.

dsc00145

3. In another bowl add add butter at room temperature. Also add sugar and whisk it till everything is creamy.


dsc00148


dsc00149


4. Add eggs and continue to whisk till everything is light and fluffy.


dsc00150


dsc00151


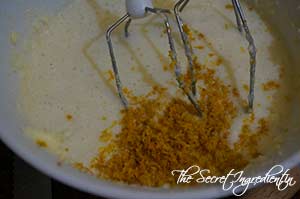
5. Add Orange Zest and combine.

dsc00152

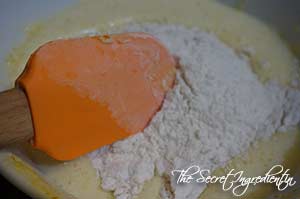
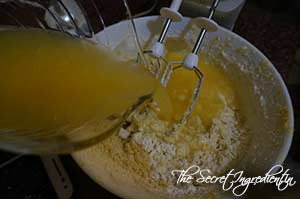
6. Now add dry ingredients to the wet and also add orange juice. Combine everything.


dsc00153


dsc00154


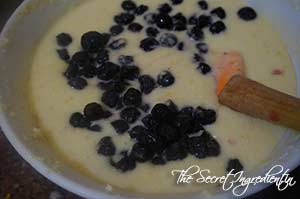
7. Add blueberries and fold inside the batter.

dsc00155

8. Grease a bundt pan or any pan you fancy. Dust it with dry flour. Preheat the oven to 180 degree Celsius for ten minutes. 

dsc00156

9. Pour the batter in the baking pan, remember to fill only 3/4th of it. Because you need to give it room to rise. Bake in the oven for 45- 50 minutes or until the toothpick comes out clean. If the cake is getting brown too fast tent it with aluminium foil and continue to bake at the same temperature.

dsc00157
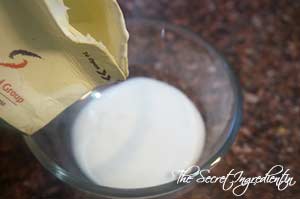
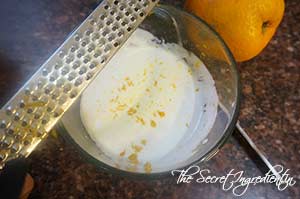
10. While its baking in the oven you can prepare a glaze to pour. Add whipping cream in the bowl lightly whisk it add icing sugar, if its not sweet already and  add some orange zest. Combine together.


dsc00158


dsc00160


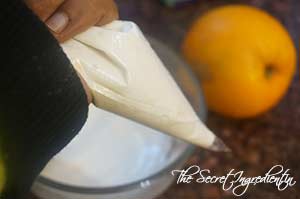
11. Add the glaze in a piping bag and make a very small cut in the tip. You dont need a nozzle for this.

dsc00163
12. When the cake has baked take it out of the oven and let it cool down completely before taking it out of the pan. When it’s at room temperature drizzle some glaze on top and serve.

Other festive things you can try: Gingerbread Man CookiesGreek Traditional Christmas Cookies , Chocolate Vanilla Marble CakePersimmon Rum CakeSorghum and Wheat Flour Persimmon Cupcakes with Cream Cheese Frosting.

orangeblueberrycake_featured2
[whohit]OrangeBluebberyCake[/whohit]

[yumprint-recipe id=’265′]