Tag

ArtOfBaking

Browsing

RagiBiscuits_Featured2

I live in the hills where Ragi or Manduwa is very popular. Kumaoni food has a special place for Mandua ki Roti or Ragi Flour Flat bread. Its considered very nutritional, specially in winters as it has the ability to keep body warm against fierce winters in this belt. I tried making crisp Instant Ragi Dosas with the flour and my family loved it. It has found a permanent place in my household. 

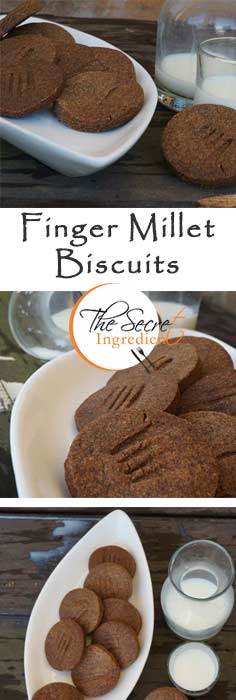
Recently, I opened my small bakery by the name The Secret Oven, for homemade breads and other baked items. A local shopkeeper asked me to supply sample for Ragi biscuits. I had never made them before but then it seemed an an appropriate opportunity to give it a try. I made these crisp delicious discs strictly following Padhu’s recipe from her blog Padhu’s Kitchen.

RagiBiscuits_Featured1
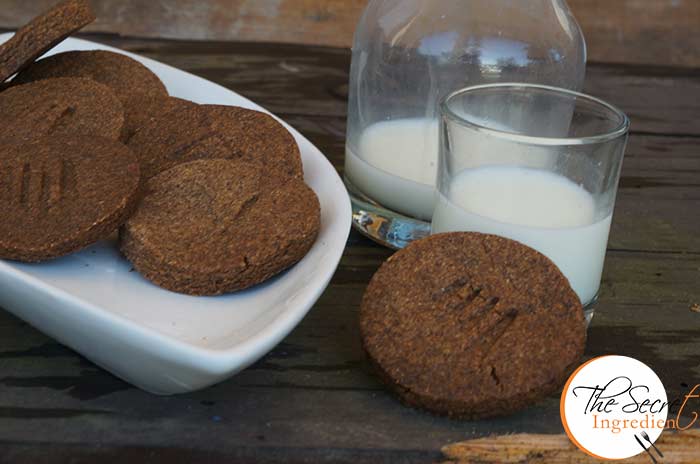
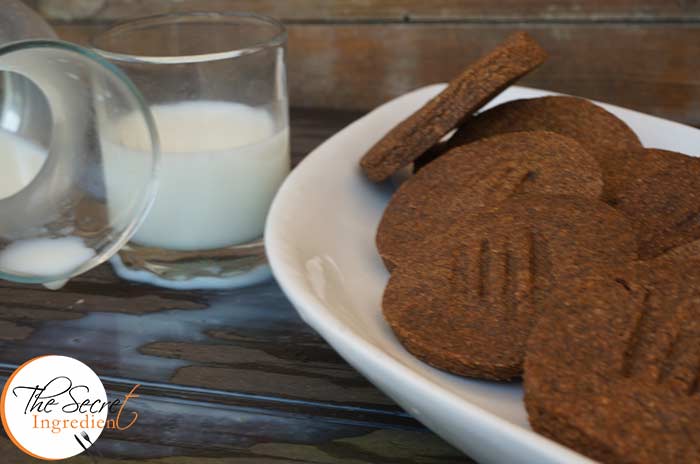
The recipe was foolproof and the biscuits came out so beautiful. Fortunately, my sample was liked and i got a 10 kg Ragi biscuit order 🙂 This would not have been possible without this perfect recipe. The biscuits are healthy and team up very well with a glass of cold milk. My boys (my son and husband) gorge on these. It is difficult to stop them from stealing biscuits from my order.

Directions:

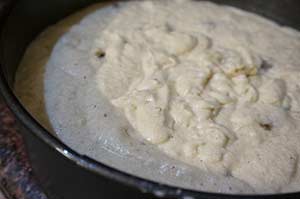
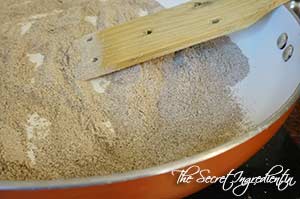
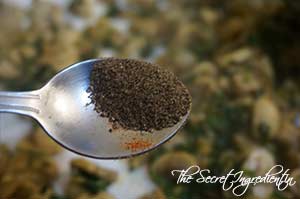
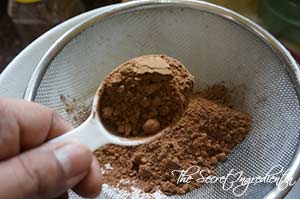
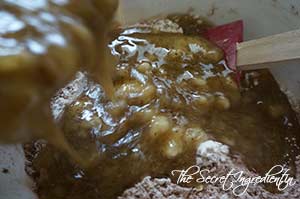
1. Roast Manduwa or Ragi Flour in a pan on a medium low flame. Keep tossing for a few minutes until the aroma of roasted flour fills the air.


DSC03686


DSC03687


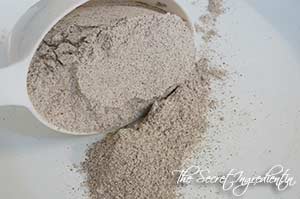
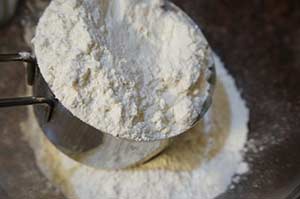
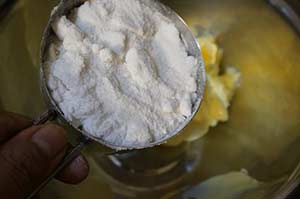
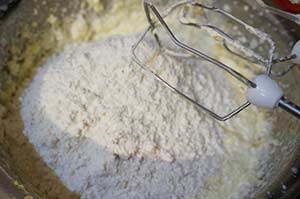
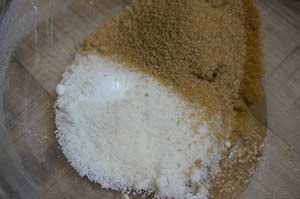
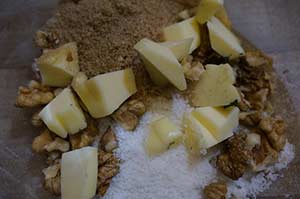
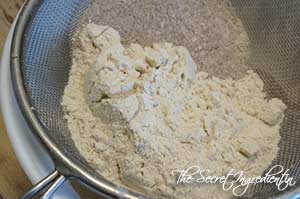
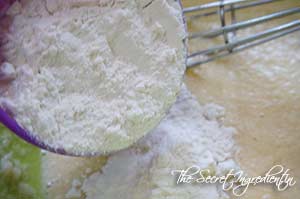
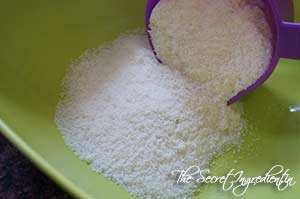
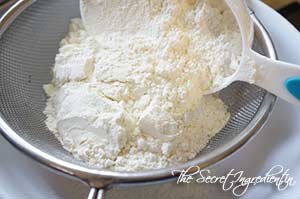
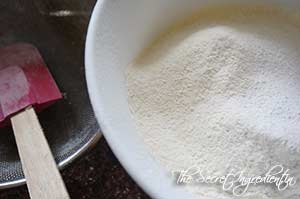
2. In a bowl add sifted Whole Wheat Flour and Roasted Ragi Flour.

DSC03688

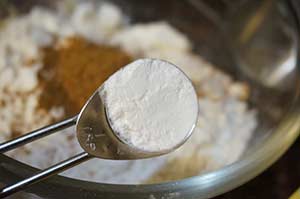
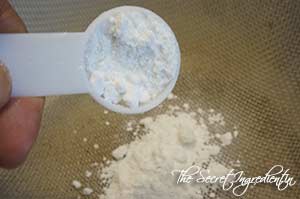
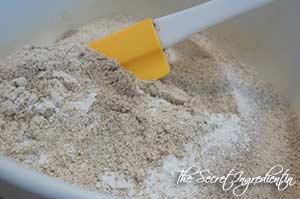
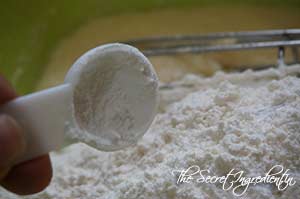
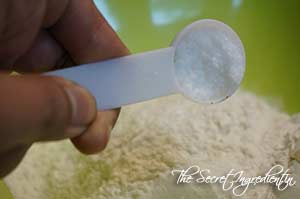
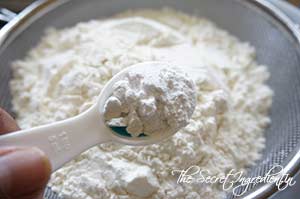
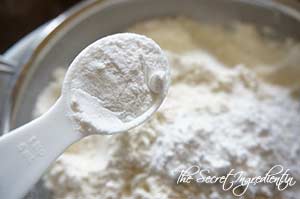
3. Also add sifted Baking Powder to the flour and give it a gently mix.


DSC03689


DSC03690


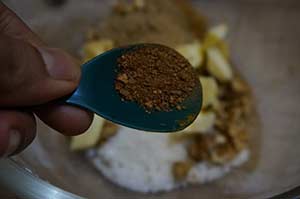
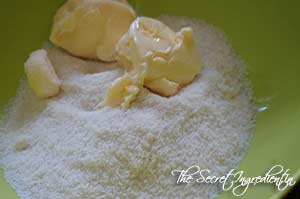
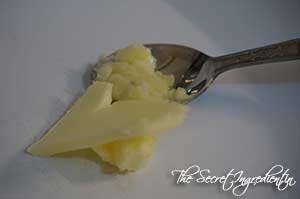
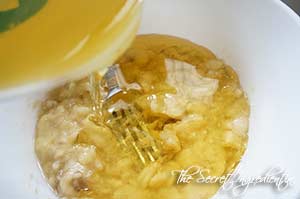
4. Refrigerate butter for 20 minutes and cut it into cubes. Add these butter cubes to the flour mix. 

DSC03691
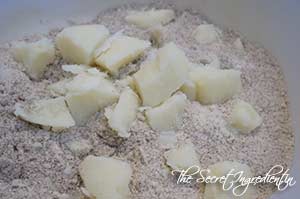
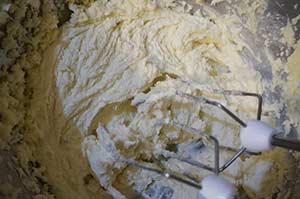
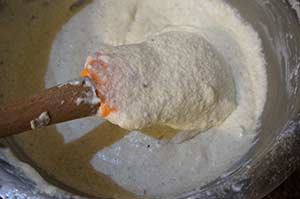
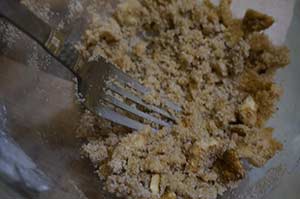
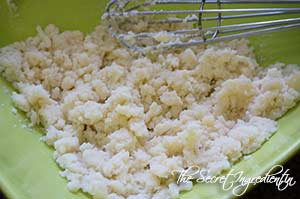
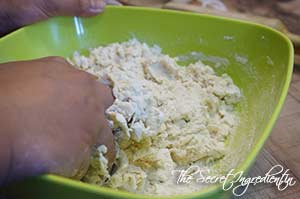
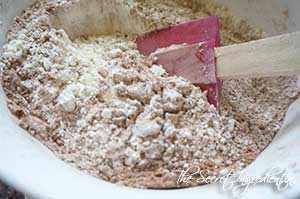
5. Mix the flour with the butter with your finger tips till you get a coarse mixture.

DSC03693 
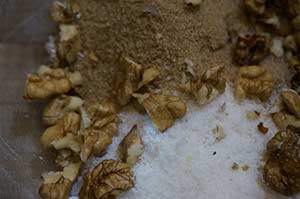
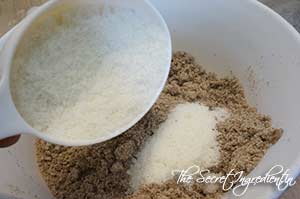
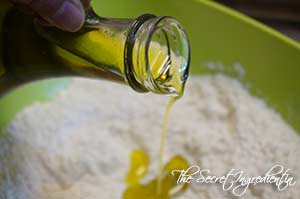
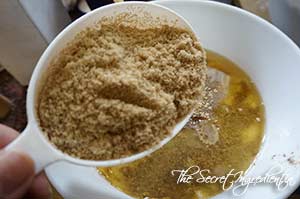
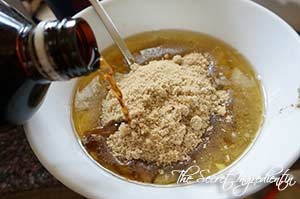
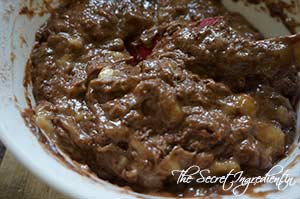
6. Add powdered sugar and mix.

DSC03694 
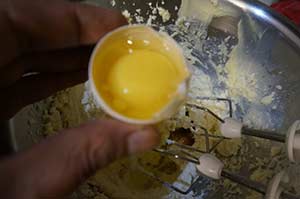
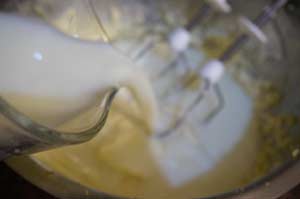
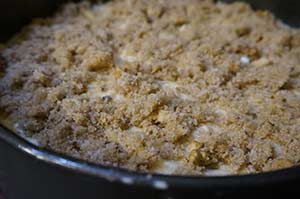
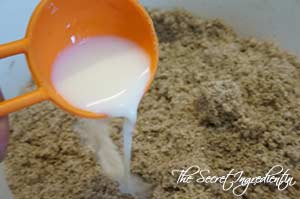
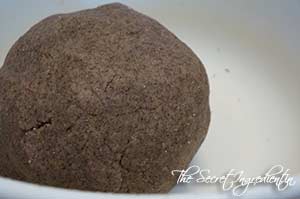
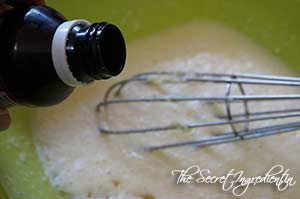
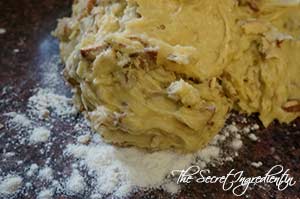
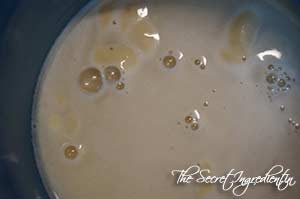
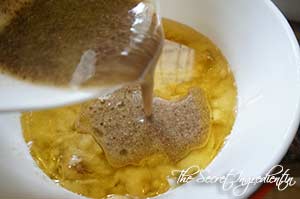
7. Add milk 1 tablespoon at a time and bring the mixture together like a dough. If you add too much liquid or too less liquid it will not hold the shape and will crumble.


DSC03695


DSC03696


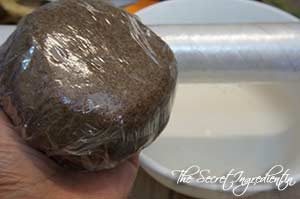
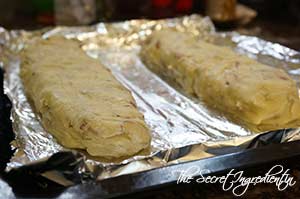
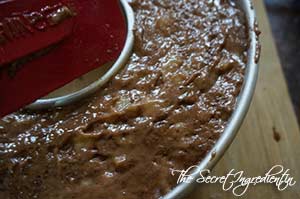
8. Cover it with a cling wrap and refrigerate for 15-20 minutes.

DSC03697
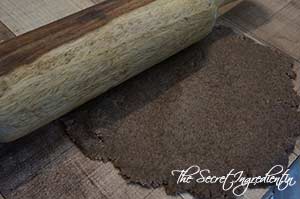
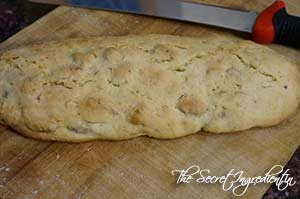
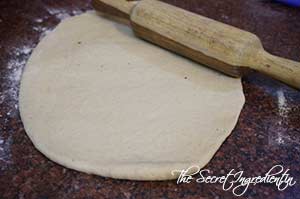
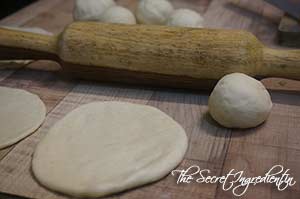
9. Roll the dough on a flat counter using a roller pin. You may dust a little with wheat flour to prevent it from sticking. The rolled dough should not be very thin nor very thick, just right 🙂 

DSC03698

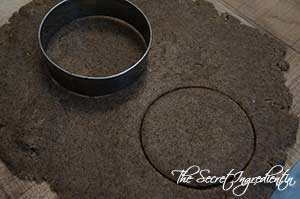
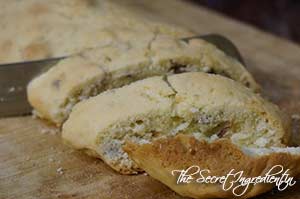
10. Cut it into desired shapes. I am using a circular biscuit cutter, you can use cookie cutters or even lids.

DSC03699

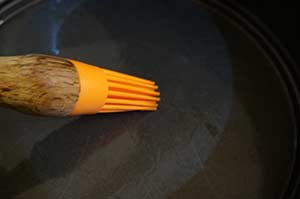
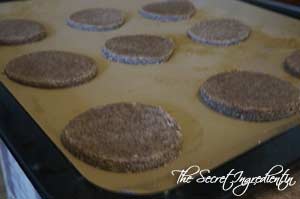
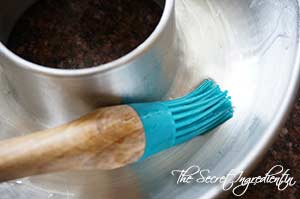
11. Place the biscuits on a greased baking sheet. You can use a sharp knife or spatula to lift it up. You can line the baking sheet with parchment paper. I am using a silicon mat to prevent sticking to the bottom. 


DSC03700


DSC03701


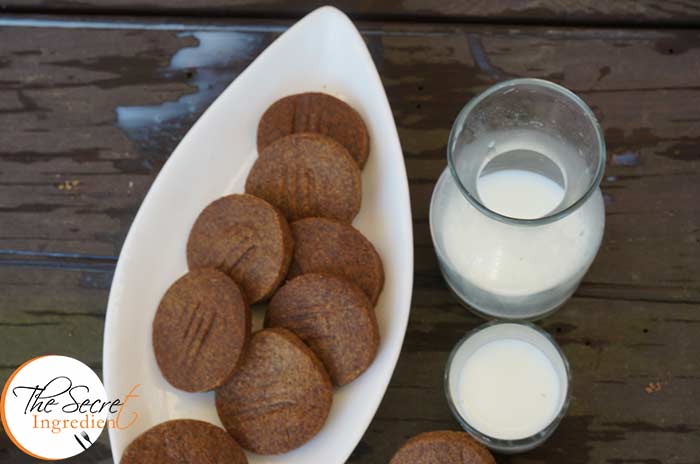
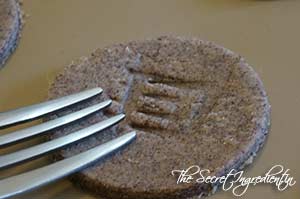
12. You can make striped design with a fork and bake it in a preheated oven on 180 degree C (Learn more about Oven temperatures and Conversions) for 15-18 minutes in the middle rack until they acquire a slight brown colour. 

DSC03703
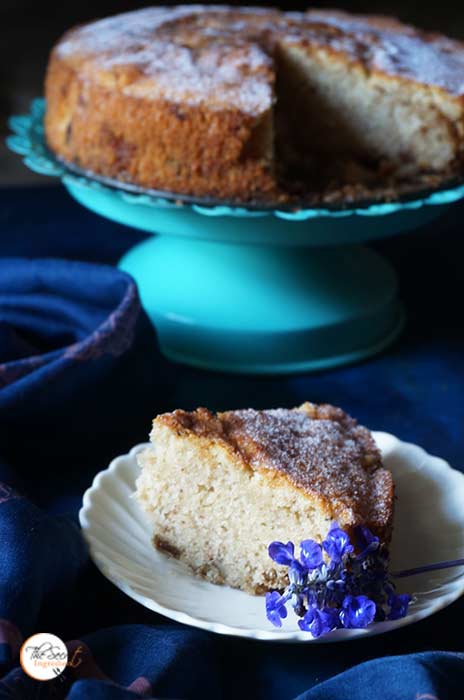
13. The biscuits will still me soft as you remove them from the oven. Let the cool down on a wire rack until they become crisp and delicious! You can enjoy them anytime with or without a glass of cold milk or a fresh cup of hot chai.

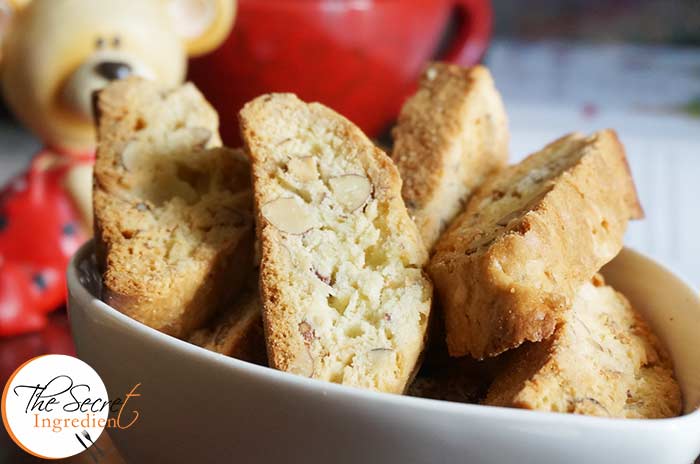
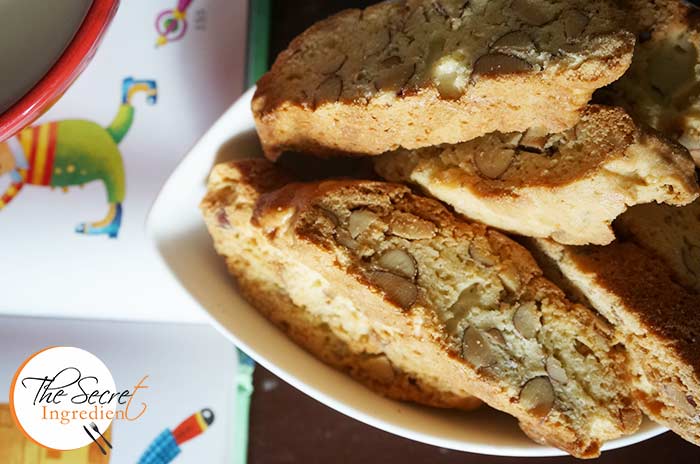
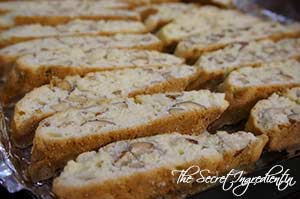
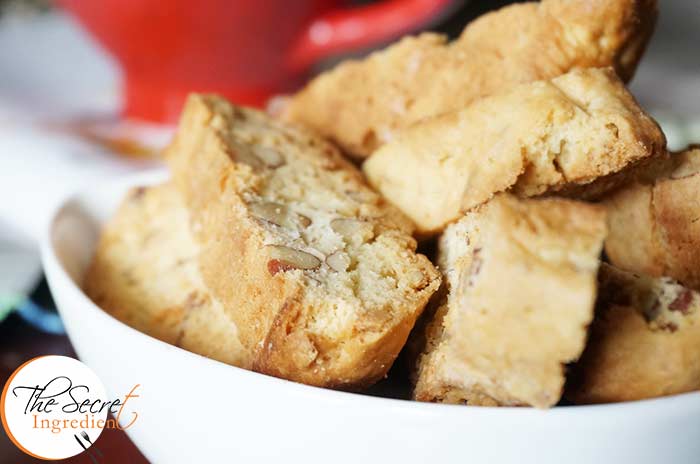
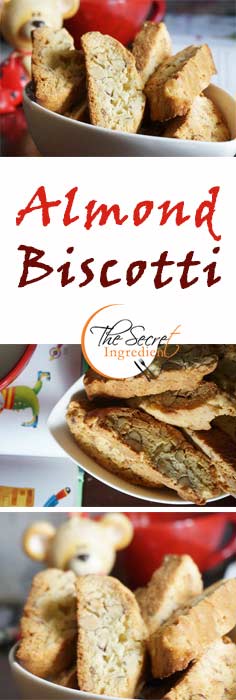
Other cookies and biscuits you can try are: Italian Almond Biscotti, Choco Coconut Cookies, White Chocolate Chip Cookies, Chocolate Peanut Butter Cookies.

RagiBiscuits_Featured4

[whohit]RagiBiscuits[/whohit]

[yumprint-recipe id=’172′] 

RagiBiscuits_Pinetrest


AlmondBiscotti_Featured2
I remember first time I baked them I was in Mexico and we were making a trip to the State of Michoacan to the Butterfly Sanctuary to witness a spectacular Event. There are millions of Monarch Butterflies. You can see them flying around and almost obscuring the sky. You will hear the fascinating sound of their wings flapping. Its indeed the 8th wonder on Earth. Every fall, huge numbers of Monarch Butterflies gather in southern Canada to migrate. Some Monarch Butterflies travel over 3,100 kilometers to Mexico to reproduce and and then die.

Michocan_1
The trip was a beautiful comfortable journey. These cookies kept our spirits high and energy boosted. Whenever I bake these I remember this memorable trip. Coming back to cookies, they are crunchy and so very almondy. The roasted almonds gives it an incredible texture and taste. You can dunk them in your coffee or chai and take a short trip to heaven. 🙂

AlmondBiscotti_Featured1
Directions:

1. Preheat the oven for 10 minutes on 180 degree Celsius (Learn more about Oven temperatures and Conversion). In a baking tray spread the almonds in a single layer and toast them for 10 minutes. They will give out a golden colour and will crunch up.

DSC02886
2. Let them cool down a bit and roughly chop them using a sharp knife.

DSC02888
3. In a bowl combine All purpose flour, salt and baking powder. Set aside.


DSC02890


DSC02892


4. In a different bowl whisk Sugar and butter (Learn how to bring eggs and butter at room temperature) until it turns creamy.


DSC02880


DSC02881


DSC02882


5. Add in eggs and Vanilla Extract. Continue to whisk until its very creamy. Also add Almond Extract.


DSC02885


DSC02883


DSC02889


6. Add in the flour and mix thoroughly. It should resemble a sticky dough. Do not over mix, just till the flour is moistened.

DSC02893
7. Add in chopped toasted almonds and simply fold in using a spatula.


DSC02894


DSC02895


8. Sprinkle some flour on the counter slab and put the sticky dough on it.

DSC02896
9. Divide and shape the dough into four logs about 6 inches Long and 2 inches wide. Flatten the logs with your finger tips. You will need a lot of extra flour to do this. Place them on a baking sheet lined with aluminium foil or parchment paper. Ensure there is 4 inch space between each logs as they will expand on baking. I baked two logs at a time. 

DSC02897

10. Bake it in a peheated oven for 35-40 minutes on 190 degree C until they acquire a slight golden colour.

DSC02899
11. Let them cool down a bit, cool enough to handle. Place it on a chopping board. Slice it diagonally using a serrated knife and further cut them into 3/4 inch pieces.

DSC02900
12. Arrange these pieces on a lined baking sheet and return them to the oven. Bake them for 7 minutes on one side and then flip the side. Bake the other side also for 7 minutes.

DSC02902
13. Let them cool down for 5 minutes on the baking tray and then transfer them to a wire rack to cool down completely. The cookies will crisp up only after coming at room temperature. Dunk them in your coffee and enjoy these delicious twice baked Italian Biscotti.

Other Cookies you can try here : White Chocolate Chip Cookies, Peanut Butter Chocolate Chip Cookies, Coconut Chocolate Cookies

AlmondBiscotti_Featured4[whohit]Almond Biscotti[/whohit]

[yumprint-recipe id=’166′]


AlmondBiscotti_Pinitrest1

Braided Bread
Ever since I have perfected the art of baking a simple sandwich bread I like to experiment with my bread dough. I love to braid it, stuff it and do all sorts of crazy things with it. It is not just fun but the experience is both pleasing and delicious . I had been eyeing this braided bread – Stromboli for a long time but the last time I had mushroom and spinach on hand I simply went ahead and baked this beauty.


As I said you can do anything with your bread so you can choose any stuffing of your choice. You can braid it or shape it like a Bread Loaf with inside layering, just as I did it with Cinnamon Raisins Bread. Its your Bread you are the master. Simply give it a pinch of love and loads of patience and you will have a beautiful bread making experience.


For this recipe I have used the bread dough for White Sandwich Bread. Its extremely light and has a beautiful texture. If you like you can substitute Half all purpose flour with whole wheat flour to make it more healthy.

Directions:

1. For the dough,  take some lukewarm water in a vessel. It should neither be hot nor cold, just hot enough to comfortably put your finger into it . The right temperature of the water is very important for yeast to activate. Put yeast into it.

DSC02540
2. Along with yeast add some sugar.

DSC02541
3. Give it a gentle stir with a fork and let the mixture sit and activate for 10 minutes or until you see some bubbles on top and mixture has become frothy and milky.

DSC02548

4. Take all purpose flour in a bowl and add salt and olive oil.


DSC02549


DSC02551


5. Add the proofed yeast to the flour little by little and mix till it comes together.

DSC02553
6. Bring the dough to a flat counter or your kitchen platform and knead for good 10 minutes till it becomes soft and supple. Read more about Bread baking techniques in “Basic Steps to Bake a Perfect Bread

DSC02554
7. Transfer the dough to a greased bowl. And cover with a kitchen towel or cling wrap. Let it sit for an hour or so to double up in size.


DSC02560


DSC02562


8. Punch it down and deflate the dough. Knead for another 5-7 minutes.

DSC02563

9. Chop some spring onions along with their greens and Garlic and set aside.

DSC00783
10. In a pan heat some butter and olive oil.


DSC00785


DSC00786


11. Add garlic and onions and saute them till they are soft and translucent.


DSC00787


DSC00789


12. Add Red chili Flakes and saute.

DSC00788
13. Add sliced Mushrooms and chopped spinach. Saute the mushrooms till it releases its water and cooks.


DSC00790


DSC00791


14. Season it will salt, freshly ground black pepper and dried oregano.


DSC00792


DSC00793


DSC00794


15. Add whisked cream cheese to the mushroom spinach mixture and combine. Turn the flame off and let the mixture come on room temperature.


DSC00795


DSC00796


16. Divide the dough into two equal parts. Work on each dough one by one.

DSC00797
17. Roll the dough with a roller pin into a rectangular circle. Place the rolled dough in a baking tray lined with aluminium paper or parchment paper. I did it after braiding and it was difficult to transfer at that stage. Don’t commit the mistake I did 🙂

DSC00798
18. Place half of the mushroom cheese filling in the centre. Leave out place to braid the bread. Take a sharp knife and make inclined cuts about 1 inch wide on either sides of the filling. Ensure there are equal number of cuts on both sides.


DSC00799


DSC00800


19. In order to braid the bread, take one strip and cross it over the filling and press it on the other side. Alternatively take the adjacent  strip and cross it over the previous one and press on the other side.  Keep doing this until your full bread is braided. Cover the bread with a lint free towel and let it rest for 20 minutes or so on room temperature. It will rise the bread.


DSC00801


DSC00803


20. Brush the braided bread with Egg wash or Milk. Sprinkle the top with poppy seeds or sesame seeds or you can completely leave it out.


DSC00805


DSC00806


21. Bake it in a preheated oven on 180 degree Celcius for 25 minutes or until the crust is golden. Let the bread cool down completely on a wire rack and then slice and serve. 

Other Bread recipe you can try on The Secret Ingredient: White Sandwich BreadRussian BubliciWhole Wheat Sandwich BreadChinese Black Sesame Steamed BunsCherry Focaccia Bread with Rosemary and Sea SaltRosemary Garlic Focaccia Bread, Cinnamon Raisin BreadBeetroot Bread with Garlic and ThymeHoney Oats BreadDomino’s Garlic Breadsticks, No Knead Light Wheat Bread.

[yumprint-recipe id=’163′]Sending this Bread to YeastSpotting

Vegan Chocolate Banana Cake


Who doesn’t like chocolate. And when this incredible flavour is infused with banana it becomes a divine combination. It doesn’t just end here..what if this combination is guilt free and vegan? Here’s new newest recipe of Chocolate Banana Cake which is eggless, butterless and also dairy free. I have used Flax seeds to make it rise and become fluffy. I had done another Eggless Whole Wheat Banana Bread with Melon Seeds earlier. But this recipe takes this bread to a new level of craziness.

Vegan Chocolate Banana Cake

 
The most enticing part of this bread was its texture. It was soft and gooey and almost melted in my mouth in its very first bite. The ripe unforgotten bananas were put to right use. My little one who is a picky eater devoured this greedily and barely allowed me to take photographs 🙂

Directions:

1. Soak Flax seed Powder in water and set aside (Learn here how to make Flax seed powder). The mixture should become like a gel in some time.


DSC02032


DSC02033


2. Grease a baking pan and set aside. I am using a medium size bundt pan for this. Preheat the oven on 180 degree Celcius for 10 minutes.

DSC02037

3. In another bowl sift All Purpose Flour, Baking Powder and Baking Soda. Do you see the lumps in the baking powder? That is why we are sifting everything for a lump free airy flour.


DSC02035


DSC02036


DSC02038


4. This is how it looks after sieving.

DSC02039
5. Also sieve and add cocoa powder to the flour and gently combine. Set aside.


DSC02040


DSC02041


6. Mash overripe bananas with a fork and place in a mixing bowl. Add vegetable oil and combine. 


DSC02034


DSC02042


7. Add the flax powder gel to the bananas.

DSC02043
8. Add brown sugar or jaggery powder and vanilla extract. Give everything a good mix.


DSC02044


DSC02045


9. Add the wet ingredients to the dry ingredients and gently mix with the spatula. Do not over mix simple moisten the flour.


DSC02046


DSC02047


10. Pour this in the greased pan and bake on a preheated oven for 20-25 minutes on 180 degree celcius (Learn more about Oven temperatures and Conversions). The test of doneness is that the toothpick inserted will come out clean.

DSC02048
11. Let the cake cool down a little before taking it out of the pan. Invert the pan on a serving plate and gently tap to remove the cake. Slice and serve with your favourite cup of coffee or tea.

Related post: How to make Flax Seed Powder or meal?

Other cake and bread recipes you can try here : Apple Raisin Streusel Bread, Persimmon Rum Cake, Surprise Heart Inside Cake, Pumpkin Cake Rolls, Lemon Cake with Lemon Glaze, Eggless Orange cake with candied Orange Peel Filling, Wacky Vegan Chocolate Cake, Eggless Almond Vanilla Cake, Chocolate Vanilla Marble Cakecak.

Vegan Chocolate Banana Cake


[yumprint-recipe id=’160′]


Usually when I bake my weekly bread at home I make two loafs. Its raining these days and the home made bread survives only 3 days so we have to ensure that we consume it within that time before it gets mouldy. Therefore, I bake one medium size loaf with half the dough and utilize the half to make different savouries and snacks for evening time tea. I make either pizzas or plain buns or sausage flower buns and cheese stuffed buns with the same dough.


My husband loves these paneer stuffed buns and so does my father. Last when we went for picnic I baked these for my father and he greedily ate them. It was a sheer pleasure to watch my father relishing something in spite of the fact he is a picky eater.


Directions:

1. In a container take some lukewarm water. It should neither be hot nor cold, just hot enough to comfortably put your finger into it . The right temperature of the water is very important for yeast to activate. Put yeast into it.

DSC02540
2. Along with yeast add some sugar.

DSC02541
3. Give it a gentle stir with a fork and let the mixture sit and activate for 10 minutes or until you see some bubbles on top and mixture has become frothy and milky.

DSC02548
4. Take all purpose flour in a bowl and add salt and olive oil.


DSC02549


DSC02551


5. Add the proofed yeast to the flour little by little and mix till it comes together.

DSC02553
6. Bring the dough to a flat counter or your kitchen platform and knead for good 10 minutes till it becomes soft and supple. Read more about Bread baking techniques in “Basic Steps to Bake a Perfect Bread

DSC02554
7. Transfer the dough to a greased bowl. And cover with a kitchen towel or cling wrap. Let it sit for an hour or so to double up in size.


DSC02560


DSC02562


8. Punch it down and deflate the dough. Knead for another 5-7 minutes.

DSC02563


9. For the filling chop some onions, green chilies and fresh coriander leaves.

DSC02634
10. In a pan add some oil.

DSC02635
11. Add onions, green chilies and saute them till onions become soft and translucent.


DSC02636


DSC02637


12. Add crumbled paneer and mix with onions.

DSC02638
13. Add Salt, Red Chili Powder and Garam Masala.


DSC02639


DSC02640


DSC02641


14. Garnish with chopped green coriander leaves and turn the flame off. Let the filling cool down.

DSC02642
15. Divide the dough into 10 parts (I used half dough to make White Sandwich Bread). You can make the size bigger but its your choice. Roll them into small balls.

DSC02643
16. Roll each dough into small rotis using a roller pin. You can use dry flour to ease rolling.

DSC02644
17. Place one table spoon Paneer mix in the centre of the rolled dough.

DSC02646
18. Pick the dough from the sides and close together to make a bag. Seal the edges and place on a greased baking sheet seam side down. Ensure there is ample distance between the buns, as they will expand on proofing and then on baking.


DSC02647


DSC02648


19. Cover the dough balls loosely with a kitchen towel and let them proof or expand for half an hour or so. Preheat your oven on 180 degree Celsius for 10 minutes. (Learn more about Oven temperatures and Conversions

DSC02649

20. Brush them with milk and sprinkle some sesame seeds on top.


DSC02650


DSC02651


21. Bake it in the preheated oven for 20-25 minutes till the top gets slight golden colour. Do not bake beyond this time for your buns can get hard crust. As soon as they are out of Oven brush them with butter for that incredible shine and taste.

Few recipes you can try here are which uses yeast:
White Sandwich BreadVegetarian homemade PizzaRussian BubliciWhole Wheat Sandwich BreadChinese Black Sesame Steamed BunsCherry Focaccia Bread with Rosemary and Sea SaltRosemary Garlic Focaccia Bread, Cinnamon Raisin BreadBeetroot Bread with Garlic and ThymeHoney Oats BreadDomino’s Garlic Breadsticks.

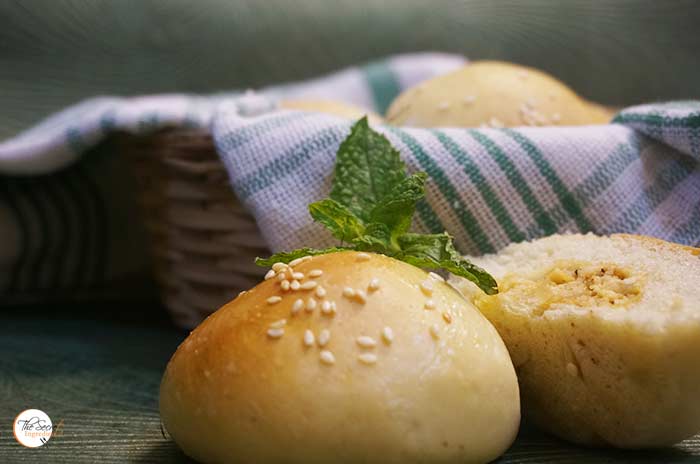
[whohit]CheeseBuns[/whohit]

[yumprint-recipe id=’153′]

Spiced Raisin Coffee Cake

I always say baking is so therapeutic . I love to bake whenever I am low or I am happy or I have nothing else to do. I always wanted to learn baking but there was no one in my family who had prior experience in baking. So I started searching internet and after a lot of hit and trials I can say I can bake a perfect cake once in a while 😛 Sharing this recipe of Spiced Raisin Coffee Cake with you which surprisingly came out so well.

Spiced Raisin Coffee Cake
Update: Last I had made this Spiced Raisin Coffee cake when I had just started blogging. I hadn’t posted step by step pictures of the recipe but since then the taste of the cake and this thought had been haunting me. Yesterday when I had some family people visiting us I took the opportunity to bake this for dessert. It certainly was loved. The flavour of Pumpkin Pie Spice, lemon zest and vanilla made everything very aromatic and divine. The texture of the cake was absolutely gorgeous and the credit goes to inclusion of organic eggs from Eggee. They are the best quality eggs I have come across. If you like in Delhi, NCR get yourself a pack and try them out!

Directions :

1. Preheat your oven to 350 degrees, (Know more about Oven Temperature and Conversions) grease a 8 inches Springform with non stick cooking spray. You can buy this spring foam pan from our online store The Gourmet Shop.

2. In a large bowl, add All Purpose Flour, Baking Powder and Pumpkin Pie Spice. You can make your own pumpkin pie spice. Get the recipe here. Mix everything and set aside.


3. In a small bowl, mix raisins with about ½ cup of the dry ingredients and toss well until all the raisins are covered in the flour mixture, set aside.

4. In a large bowl, cream together the butter and sugar for about 1 minute. 


5. Whisk in eggs, vanilla and lemon zest 


6.Add milk and buttermilk and mix everything until it’s a nice smooth batter. You can make Buttermilk at home. Just follow this simple recipe.

7. Add the dry ingredients and mix until all the dry ingredients are moistened but not over mixed.


8. Fold the raisins mixture in the batter, pour batter into the prepared pan making sure to smoothen out the top.


9.In a small bowl, mix add castor sugar and brown sugar.  Add chopped walnut and cinnamon powder . 


10. Also add cold butter cubes and mix it with your fingers or a fork until its has sand like texture.


11. Spread it evenly over the cake and bake for 30 to 35 minutes or until a toothpick inserted in the center comes out clean.

12.Let cool for about 15 minutes before slicing and serving.

Other Naked Coffee Cakes you can try are: Eggless Black Grape Cake with Strawberry Jam GlazeFestive Orange Blueberry Pound Cake Peach Upside Down CakeVanilla & Pomegranate CakeVegan Chocolate Banana Cake , Lemon Cake with Lemon Glaze ,Chocolate Vanilla Marble Cake,  Eggless Orange Cake with Candied Orange Peel Filling Surprise Heart Inside Cake, Eggless Almond Vanilla Cake.

Spiced Raisin Coffee Cake

[yumprint-recipe id=’3′]