Tag

Baker’sDelight

Browsing


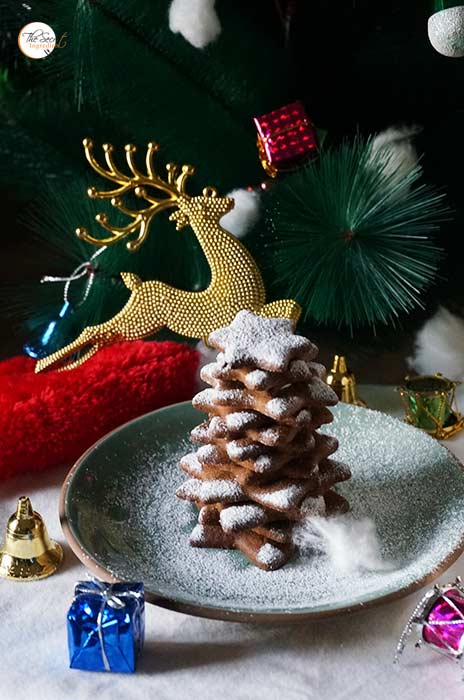
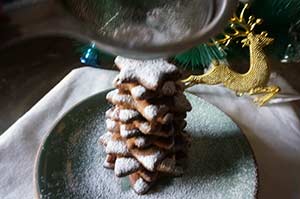
Its time for Christmas and my son is head over heels about the festivity. He wanted to erect a Christmas Tree and was so excited to decorate with his favourite ornaments. I was so thrilled to see him like this. So I decided I will make for him another Christmas tree but this time made up of cookies. I made deliciously crisp and spiced gingersnap cookies and arranged to make a christmas tree. He helped me bake them and also helped in making the tree. It was such a fun loving DIY. He totally liked the idea of dusting it with confectioner’s sugar which represented snow. I guess sometimes you want to become a child with kids. 


I rolled the cookie dough and cut them into star shapes in different sizes. This 5 star cookie cutter set can be found on my online store The Gourmet Shop. If you like this idea and wish to make it with your little ones you can always buy this cookie cutter set from here. You can use any cutout cookie/biscuit recipe for this. I simply love the Ginger Snaps. They are so appropriate for the Holiday season. If you still haven’t tried my Gingerbread man Cookies you must do it now and also this recipe.

Directions:

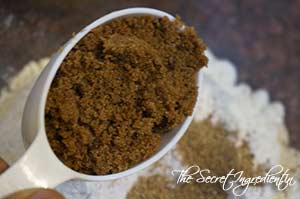
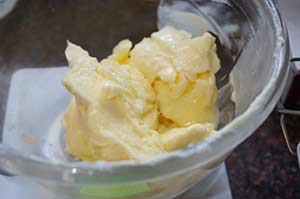
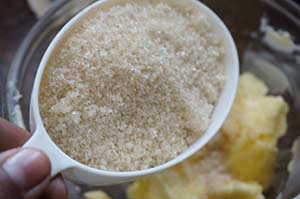
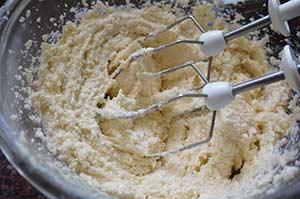
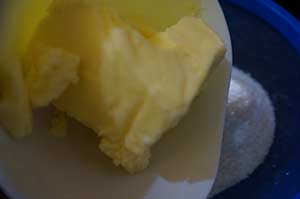
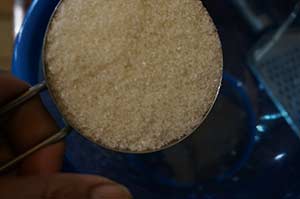
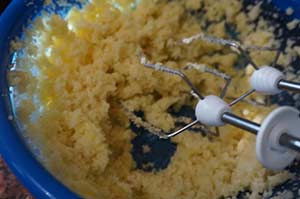
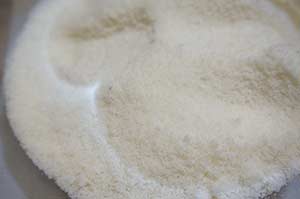
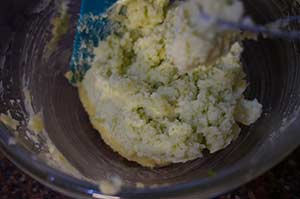
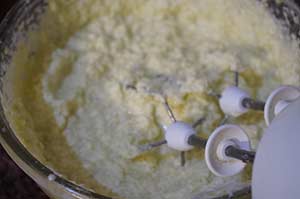
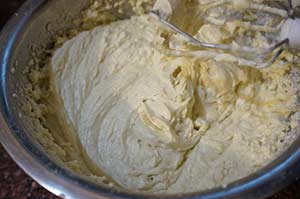
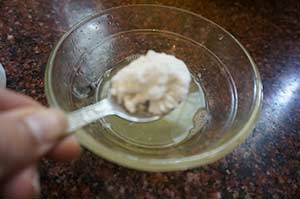
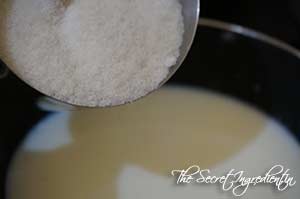
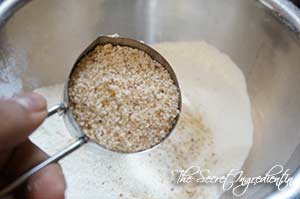
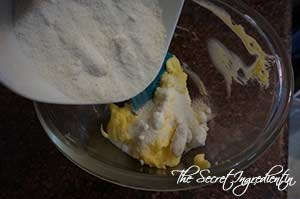
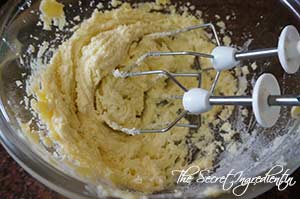
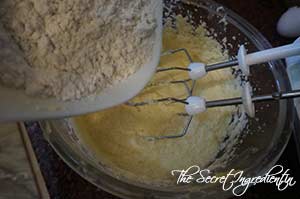
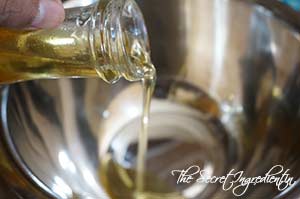
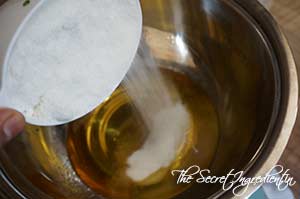
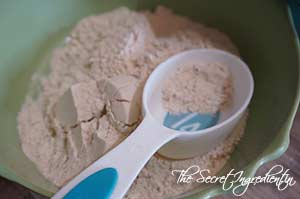
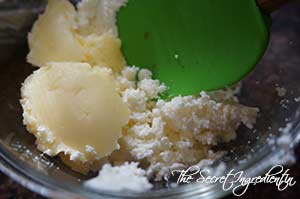
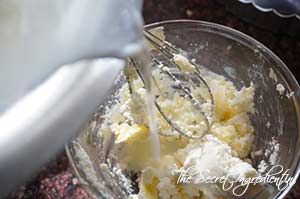
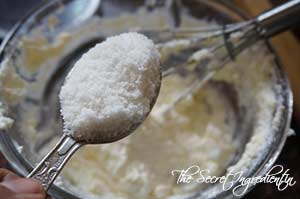
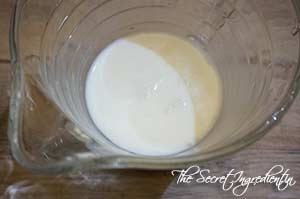
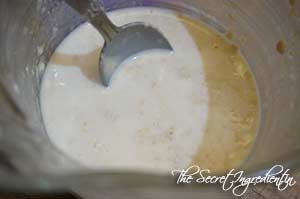
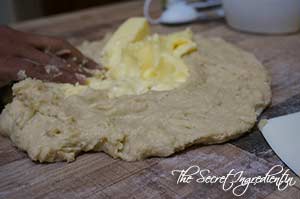
1. In a bowl add butter at room temperature. Add sugar to it and whisk well till everything becomes creamy and smooth. I have used SOS Organics Khandsari Sugar which is raw and unrefined.


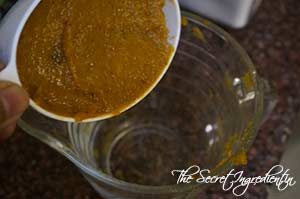
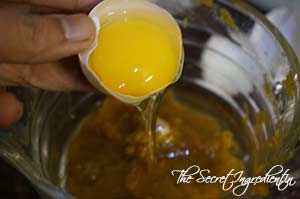
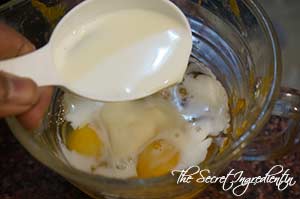
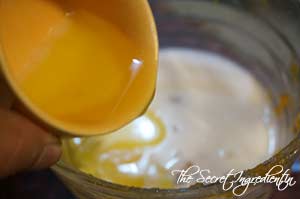
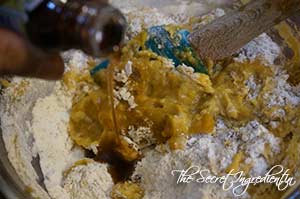
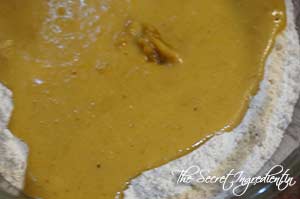
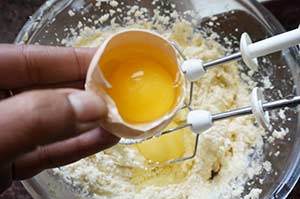
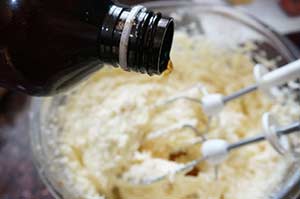
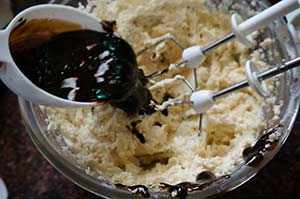
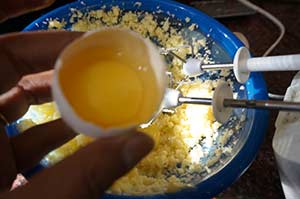
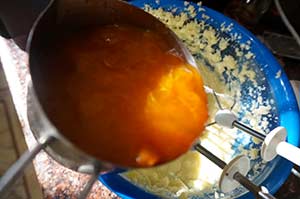
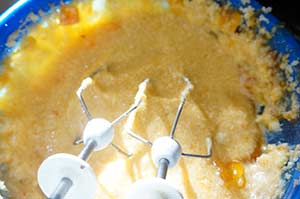
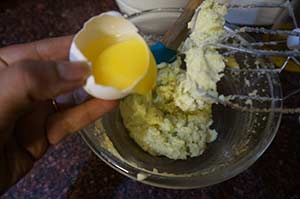
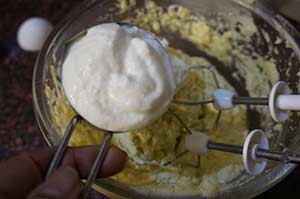
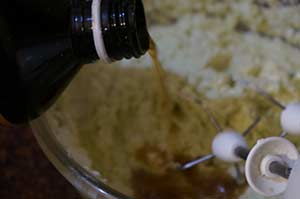
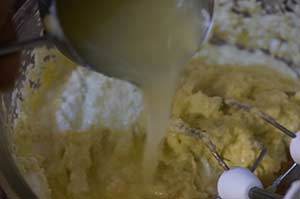
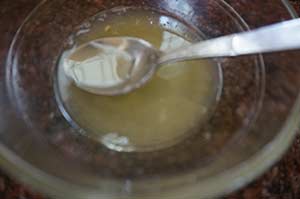
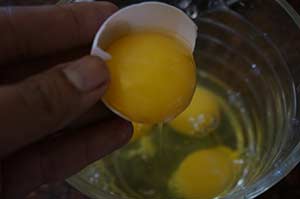
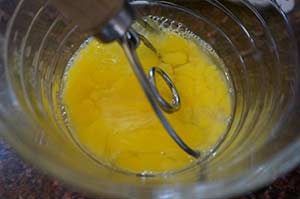
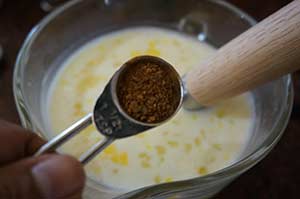
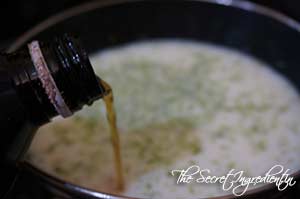
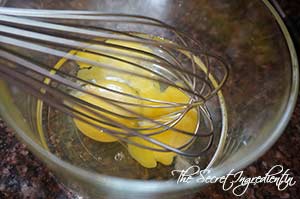
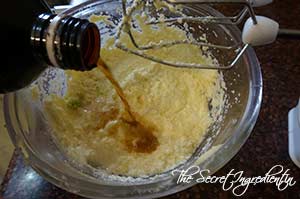
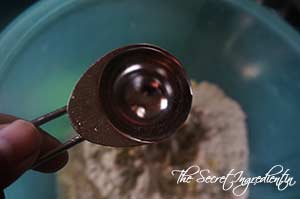
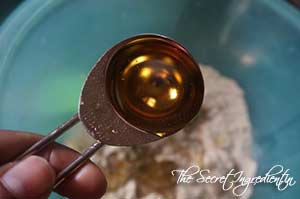
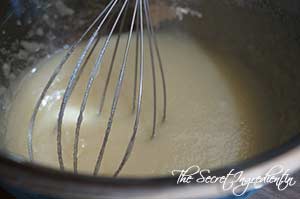
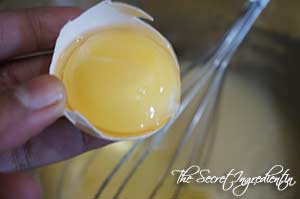
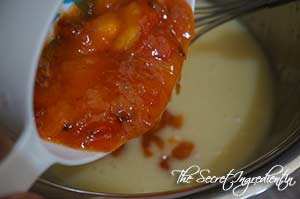
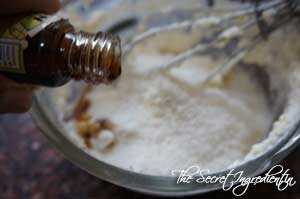
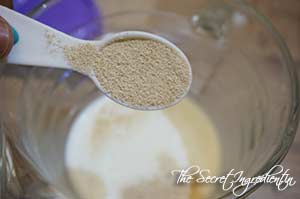
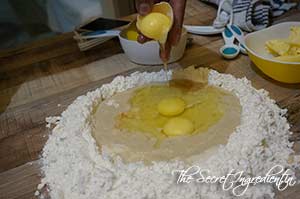
2. Add eggs, Vanilla extract and Molasses and again whisk well.


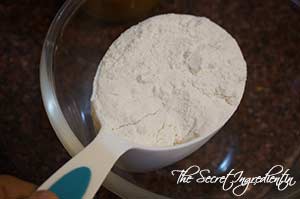
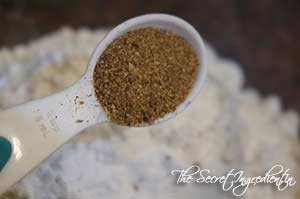
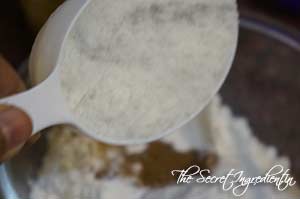
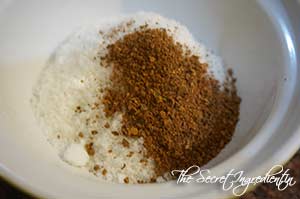
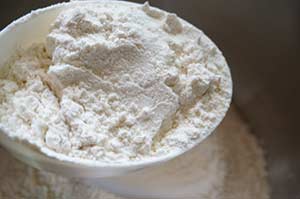
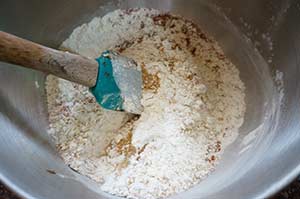
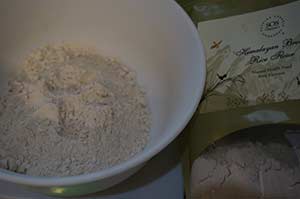
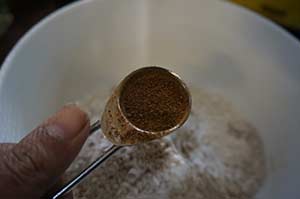
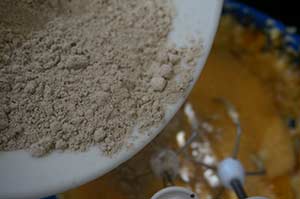
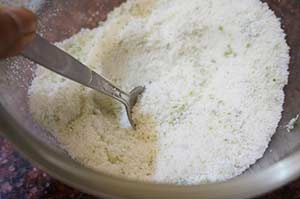
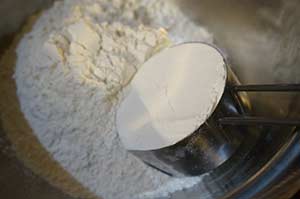
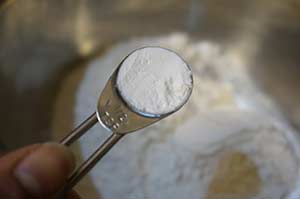
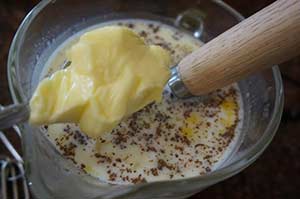
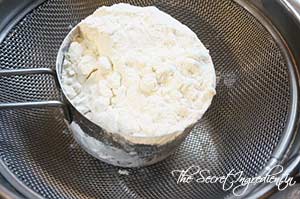
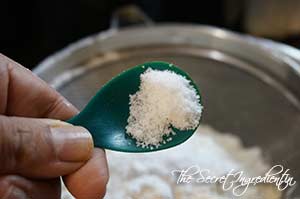
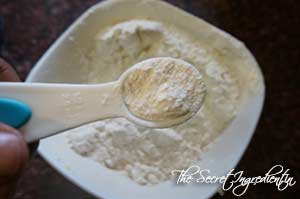
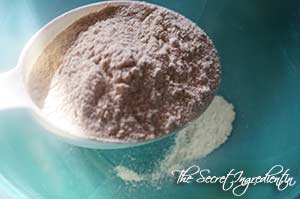
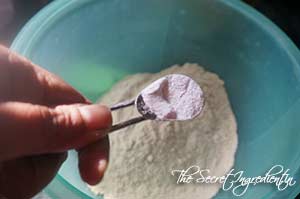
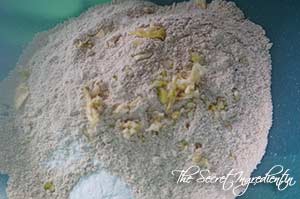
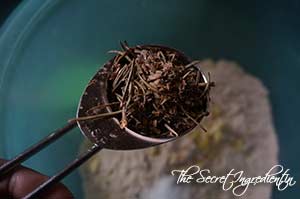
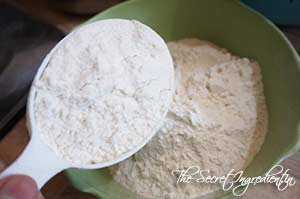
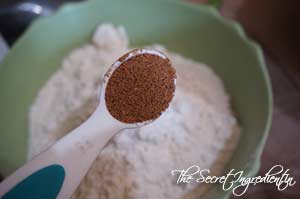
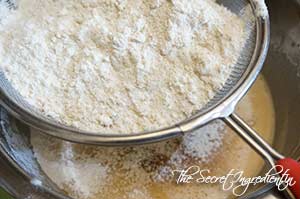
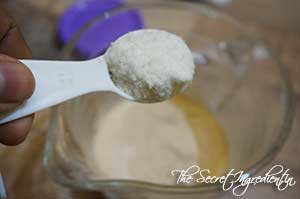
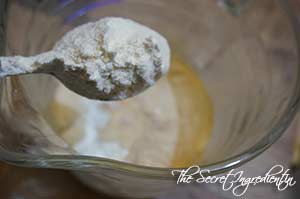
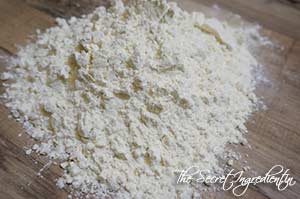
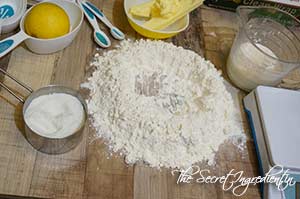
3. In another bowl add All Purpose Flour,  Nutmeg powder and Cinnamon Powder.


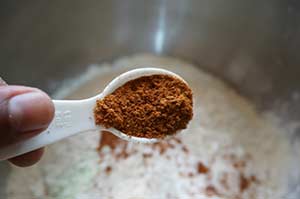
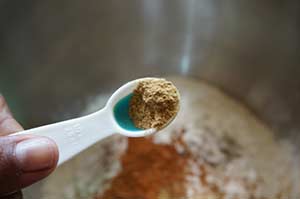
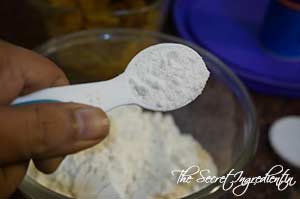
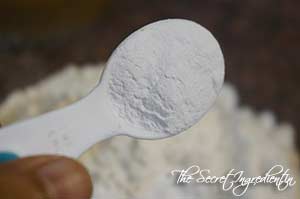
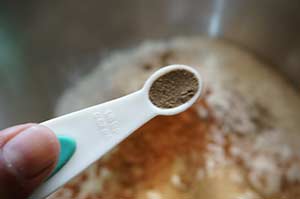
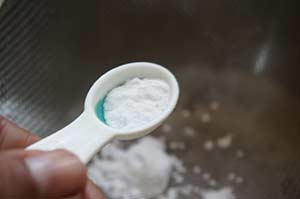
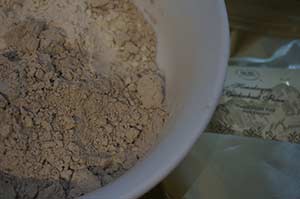
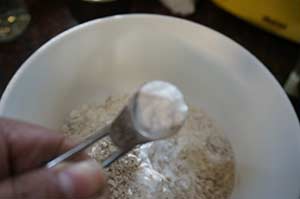
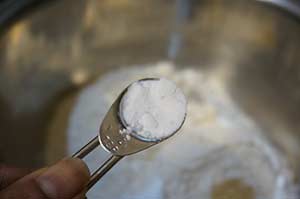
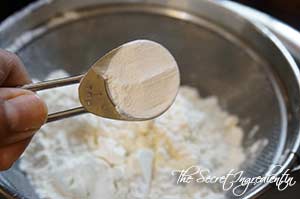
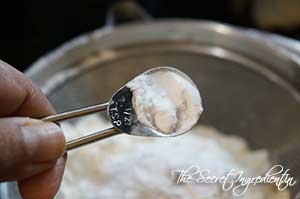
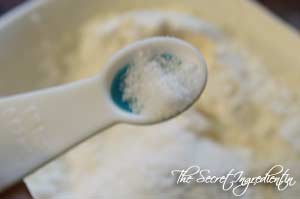
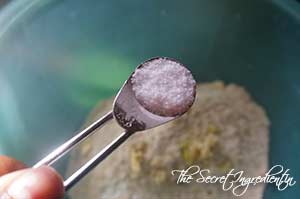
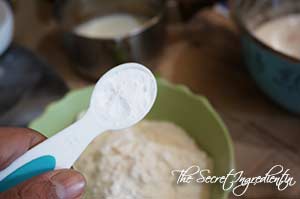
4. Also add ground Black pepper and Baking Soda. Combine everything with a spatula.


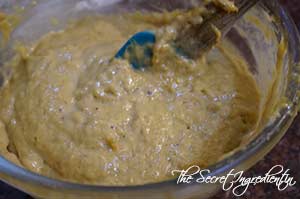
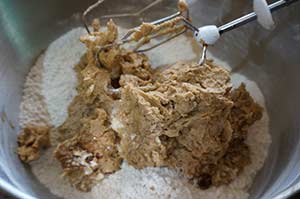
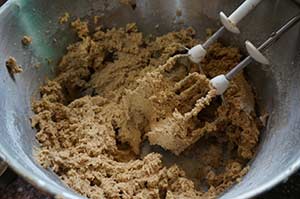
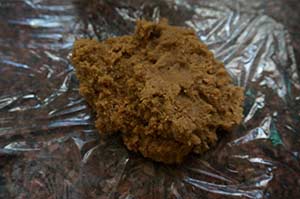
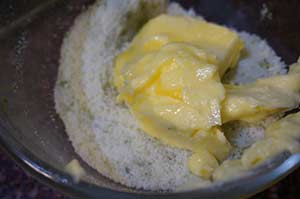
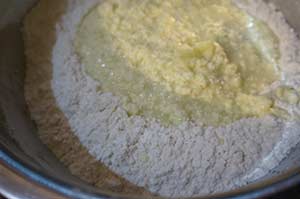
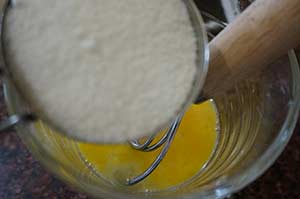
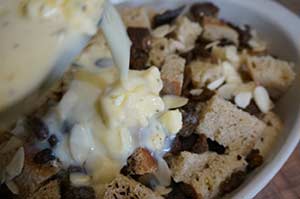
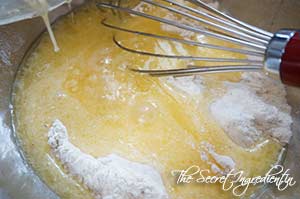
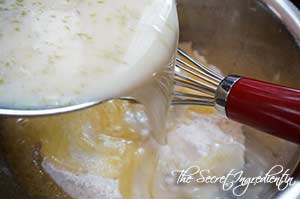
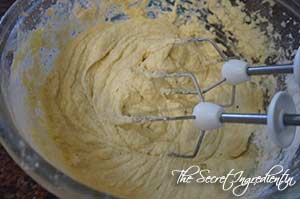
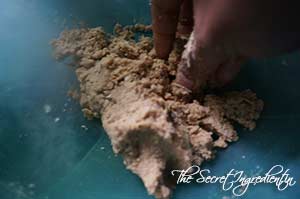
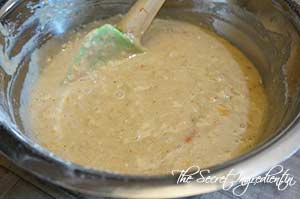
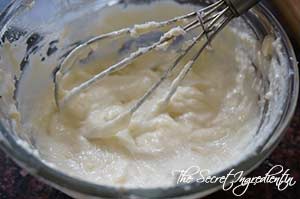
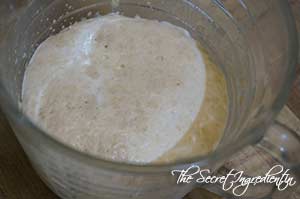
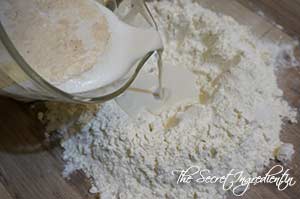
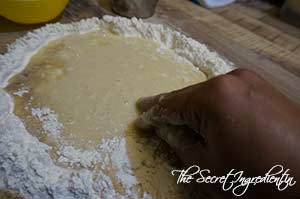
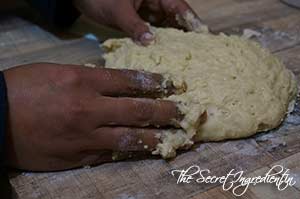
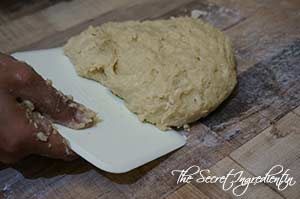
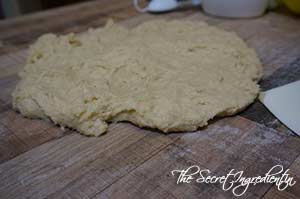
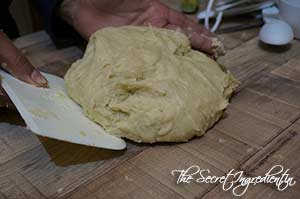
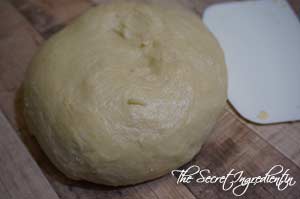
5. Now combine wet and the dry ingredients and whisk well till you get a sticky dough.


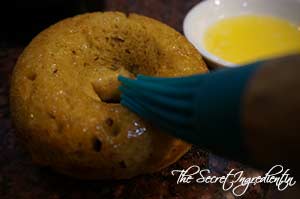
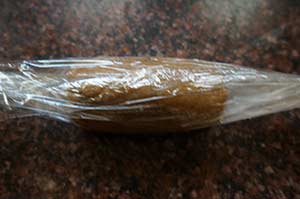
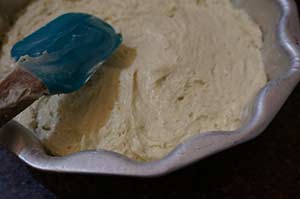
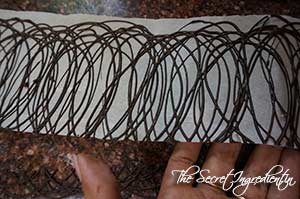
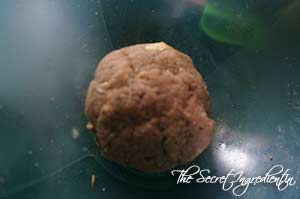
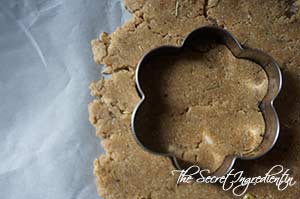
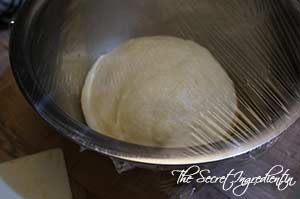
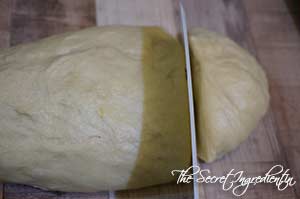
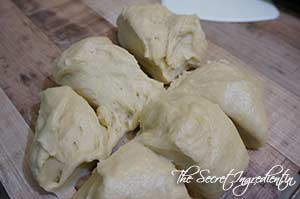
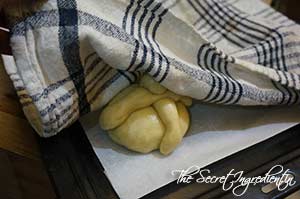
6. Place a sheet of cling wrap and grease it with melted butter and place the dough on it.


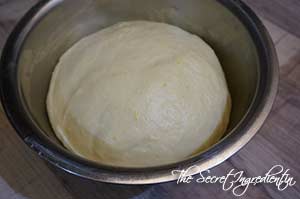
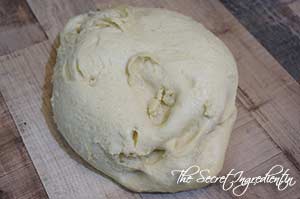
7. Close the cling wrap and place the cookie dough in the refrigerator for at least overnight. 


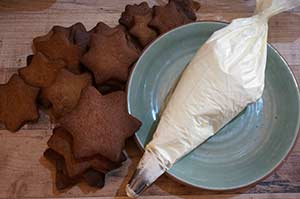
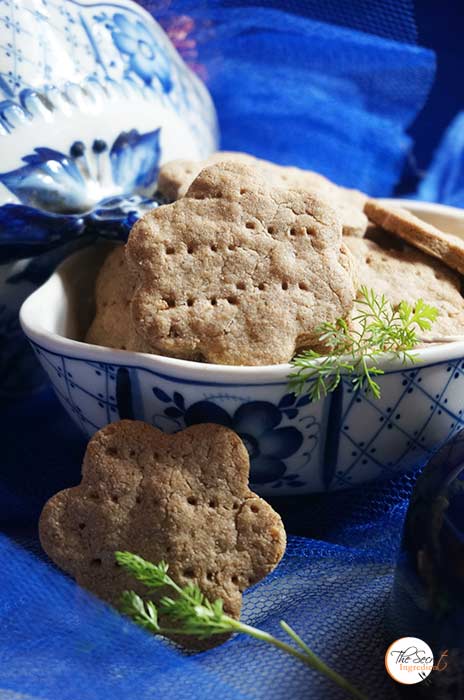
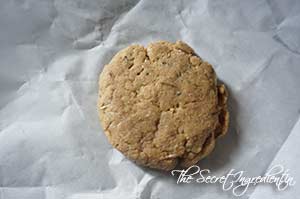
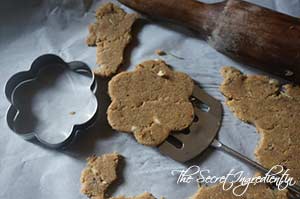
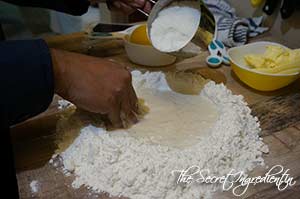
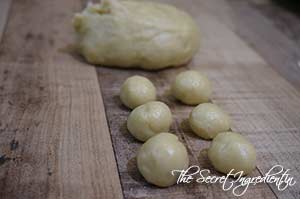
8. After the cookie dough has rested, sprinkle some flour on the silicon mat or parchment paper and roll the dough into 1/8 inch circle. Cut them into star shape in 5 sizes. Each size should atleast have 2 pieces. 


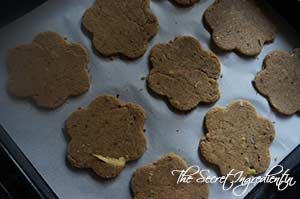
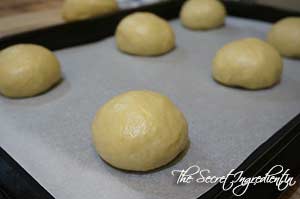
9. Preheat your oven on 150 degree Celsius (Learn more about Oven Temperature and conversions). Place the cut of cookie on a baking sheet lined with Silicon Mat. It ensures noting sticks to the baking sheet.


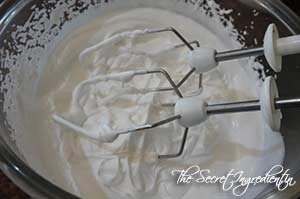
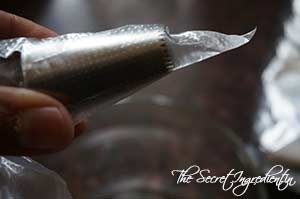
10. Bake in the preheated oven for 10-12 minutes till it becomes dark in colour. Keep an eye that it should not over bake for it will become black and will taste awful. Let it rest on the cooling rack for 15 minutes only then start arranging it. For arranging a  cookie tree you need whipped cream or royal icing. I had whipped cream on hand so I used that. In case you want to make royal icing you can learn from here .

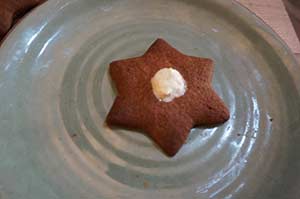
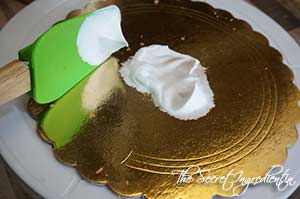
11. Take a serving plate or board. Put a little whipped cream in the center and place the biggest Star cookie on top of it.


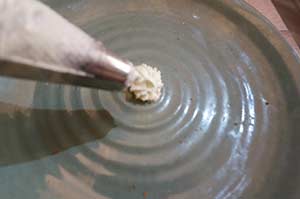
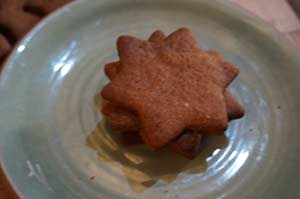
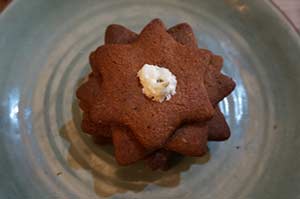
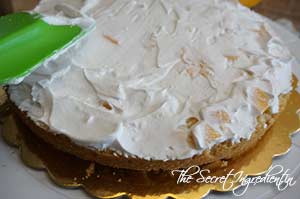
12. Again put little whipped cream on top of the cookie and keep placing 2 more cookies of the same size as shown in the pictures.


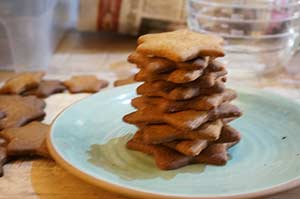
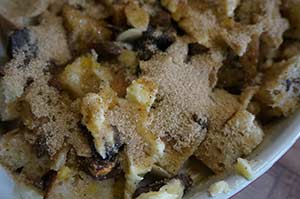
13. Now repeat the same process with descending size of cookies. When you feel desired height has been achieved dust the top with some Confectioners Sugar. It will make everything so pretty.


14. You can serve this at your Christmas party and impress your guests. You can make various trees with these cookies, if you are over enthusiastic. 😉

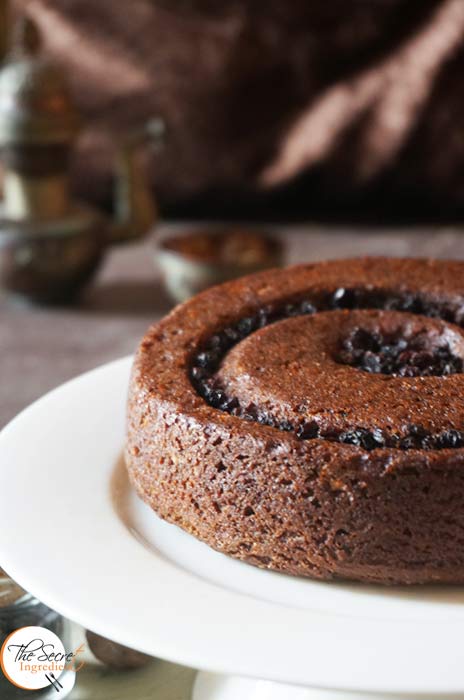
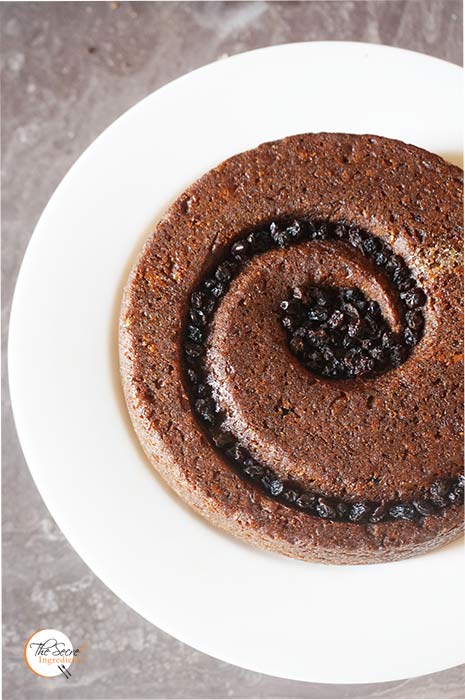
Other festive recipes you can try are Gingerbread Man cookies, Festive Orange Pound Cake with Blueberries, Japanese Sweet Condensed Milk Bread, Greek Melomakarona Cookies.

[yumprint-recipe id=’308′]


It’s been 15 days since my dad left us. He left behind a vaccum, some wonderful memories and his absence. I still can’t come to terms that he is no more with us. But life goes on.. and I know he would have wanted us to be happy and get on with our lives.  This post is dedicated to my loving father. The void he has left behind can never be filled. I can never match to his benevolence but all I can say he will live in my heart always. 

This Persimmon Buckwheat Cake with walnuts and currants is made using SOS Organics Himalayan Buckwheat Flour and Brown Rice. It is 100% gluten free and ideal for people with celiac diseases or those who want to avoid gluten.

Directions:

1. Scoop out the pulp of squishy persimmons with the help of  a spoon. Discard the peels and the seeds, if any. Preheat the oven on 180 degrees for 10 minutes. (Learn more about Oven Temperatures and Conversions).


2. In another bowl add brown Rice Flour and Buckwheat flour and combine together.


3. Also add Baking soda and nutmeg powder to the dry ingredients and combine.


4. In another bowl add butter at room temperature and sugar.


5. Cream together butter and sugar with a whisk and add eggs.


6. Add persimmon puree and whisk everything well.


7. Add the dry ingredients and whisk together the wet and the dry ingredients.


8. Fold in chopped walnuts and dried currants.


9. Pour the batter in a greased pan and bake for 35-40 minutes till the toothpick comes out clean. Place the cake on the wire rack and unmould after 2 hours. Slice and serve with your favourite cup of coffee.

If you are looking for other Cakes and desserts with fresh fruits you can try: Peach Upside Down Cake.  Fresh Apricot and Almond CakeApple CrispMango Vanilla CakeFestive Orange Blueberry Pound CakeSorghum and Wheat Flour Persimmon Cupcakes with Cream Cheese FrostingVanilla & Pomegranate CakeVegan Chocolate Banana CakeMascarpone Cherry Compote Cheesecake GlassesEggless Orange Cake with Candied Orange Peel FillingPersimmon Rum Cake,  Mango Tart with Vanilla Pastry Cream . Mosambi Cake.

[whohit]PersimmonBuckwheatCake[/whohit]

[yumprint-recipe id=’296′]


When you see a new seasonal fruit in the market you get excited because you want to bake with it. eh? Does that happen to you or am I too peculiar? I have used Apricots, Cherries, Mangoes, Peaches, Plums, Apples, Papaya, Strawberries, Blueberries, Bananas, Bay berries, Kiwis, Black Grapes, Pomegranate, Orange, Melon, Lychee, Coconut, Chestnut, Persimmon , Watermelon in some recipe or the other. Anyways! I saw mosambi or Sweet Lime in the market and I jumped with anticipation. I had been eyeing this sweet lime cake for a while now. And when the results cake out I knew it was worth all that wait and craving.


It was similar to my Lemon Pound Cake just that it was a little lighter because it used yogurt instead of cream. The zest of Sweet lime added that magic potion which made it from an average to a magnificent cake recipe. The lingering flavour of sweet lime was a bliss. I would love to make this again for my family and friends. What are you thinking?

Directions:

1. Preheat your oven to 180 degree Celsius (Learn more about Oven temperatures and Conversions) and grease a large 9 inch cake pan with oil and dust with flour and set aside.


2. In a bowl add caster sugar and add zest of sweet lime. Mix it together and let the sugar get enriched with the sweet lime oils and become fragrant. Leave it for 5 minutes. You can juice the zested sweet limes and keep aside.


3. Then add butter at room temperature to the sugar and whisk everything till its all creamy and sugar has dissolved.


4.  Add eggs and whisk again for good 7-8 minutes till everything has become creamy and airy.


5. Add unsweetened yogurt or curd, vanilla essence, fresh sweet lime juice and whisk again. 


6. After whisking you will come across a airy cake mixture. Set aside.

7. In another bowl add the All purpose flour, baking powder and baking soda. Combine everything well.


8. Add the dry ingredients to the wet ingredients little by little and keep whisking till everything is moistened. Do not over mix as it will result in a bread like cake which you don’t want.


9. Pour the cake batter in the greased pan and smoothen the top with a spatula. Give it a couple of taps . This will remove any trapped air bubbles. Bake it in the oven for 50-60 minutes on 180 degree Celsius or until the tooth pick comes out clean. If any time you feel the cake is getting over browned you can tent it with an aluminium foil.

10. In the meanwhile make the syrup for the topping. In a bowl add some icing sugar and add sweet lime juice.


11. When the cake has baked remove it out of the mould after 10 minutes of removing it from the oven. Then let it rest on the wire rack till it comes to room temperature. Pole holes i n the cake with the help of a toothpick.

12. Pour the syrup with the help of a spoon all over the cake surface. It will seep down and will be absorbed by the cake.  Sprinkle more icing sugar and zest of sweet lime if you fancy.


13. Slice and serve with your favourite cup of chai or coffee. You will be in dessert heaven.

If you are looking for other Cakes and desserts with fresh fruits you can try: Peach Upside Down Cake.  Fresh Apricot and Almond CakeApple CrispMango Vanilla CakeFestive Orange Blueberry Pound CakeSorghum and Wheat Flour Persimmon Cupcakes with Cream Cheese FrostingVanilla & Pomegranate CakeVegan Chocolate Banana CakeMascarpone Cherry Compote Cheesecake GlassesEggless Orange Cake with Candied Orange Peel FillingPersimmon Rum Cake,  Mango Tart with Vanilla Pastry Cream .

[whohit]SweetLimeCake[/whohit]

[yumprint-recipe id=’291′] 

I have to make an honest confession, last few months I have been addicted to Sourdough Breads. I have baked them almost every week and some time twice a week and the satisfaction which I get after baking them cannot be expressed in words. If you follow my instagram handle you will know how many sour dough boules I keep posting.  I have almost neglected making breads with commercial yeast 🙁 which of course was my first love. This gradual shift is all thanks to my baker friend, my sourdough guru Samrudhhi Nayak. Ever since she has shared her passion and knowledge with me I seem to be on an endless journey of baking these beautiful sourdough breads. Thankyou Sam for kindling that fire in me. Love you to the moon and back :*


This week I baked two 500gms boule of Sourdough Breads, which were a lot for the two of us to consume. I decided to use half of one bread for making this delicious Bread Pudding with Chocolate. This pudding can also be made with normal crusty bread. I like this recipe because it requires minimal effort and can be made in a big quantity in a casserole and tastes amazing. If you are looking forward to tomorrow’s 4th of July celebration then you must include this in your menu. You sure will make it again and again without hunting for an occasion.

Directions:
1. Slice a stale Sourdough Bread into 1 inch cube and set aside.


2. Grease a large baking pan or oven friendly casserole with butter.


3. Simply transfer the bread cubes to the baking pan and also put chopped chunks of chocolate along with raisins and almond flakes.  You can add any combination of nuts you fancy.


3. In a jar or bowl whisk the eggs and mix them thoroughly with castor sugar till it is dissolved.


4. Add milk, cinnamon powder and butter. Mix everything well.


5. Pour this milk mixture over the bread. Sprinkle brown sugar on top of the bread. Let it sit for at least an hour for bread to absorb milk. After an hour preheat the oven to 180 degree Celsius (Learn more about Oven Temperature and Conversions).


6. Bake in the oven for about 50-60 minutes. Remove from the oven and let it become easy to tough. Scoop out a serving and if you like you can drizzle with a caramel sauce and serve. You will love the crunchy flavour of the bread and nuts with melted chunks of chocolate. Its heaven!

Other Bread Recipes you can try : Peter Reinhart’s Potato Rosemary BreadStuffed Mushroom Cheesy Crack BreadStuffed Mushroom and Spinach Braided BreadWhite Sandwich BreadCherry Rosemary & Sea Salt Focaccia Bread,  Whole Wheat Sandwich Bread Recipe

[whohit]SDPuddingwithChocolate[/whohit]

[yumprint-recipe id=’285′] 


The advantages of living on the hills are plenty. One of them being you get to taste the fruits first which grow around us everywhere. When I saw fresh Apricots, I bought them greedily. Yes I am a compulsive buyer. I end up buying so much produce and which all ends up in my bakes or I have to gift them to my friends. But yes I dont mind doing that because the pleasure of buying is always greater 😛 I hope my husband is not reading this or else I know a big lecture is coming my way 😛


I love to play around with fruits. I find excuses to bake with them or make something fabulous with them. I feel fruits give a lot of character to the dish. It makes them special and so very fresh and vibrant. In the past I have used pomegranate, papaya, peaches, apples, black grapes, persimmons, oranges, cherries, bananas, blueberries and what not in my food and recipes. This time I knew its going to be apricots and when I looked for this recipe with Almonds and Apricots in a cake the idea kinda clicked and then there was no looking back. I was here baking a cake with these pretty little apricots. The cake was moist and very spongy I loved its dark crisp crust which was perfect for tea time.

Directions:
1. Wash some ripe apricots and deseed them and cut them into quarters and set aside.


2. In a blender add some almonds and grind them into a powder. Set aside.


3. In a saucepan add milk and sugar.


4. Also add zest of a lemon and vanilla extract. Bring everything to a simmer till sugar dissolves in milk. Do not boil. Remove from the stove and let it cool down.


5. Grease a 9 inch Springform baking tin with oil and sprinkle some flour all over. You can buy this tin at our online store, The Gourmet Shop. Preheat the oven to 180 degree Celsius (Learn more about Oven temperature and Conversion).


6. In a bowl sift All purpose flour, baking powder and baking soda.


7. Also add salt and almond meal which we had reserved before. Keep the dry ingredients aside.


8. In another bowl add some eggs and whisk them till they are light and fluffy. And add oil to them and whisk again.


9. Add the egg and oil mix to the dry ingredients. Also add the cooled sugar milk we had made before. Combine everything together till everything is moist. Do not over mix for you will end up making a chewy cake.


10. Pour this cake batter on the greased tin. And tap couple of times to remove any trapped air bubble.


11. Randomly place apricot quarters all over the surface of batter. It may not be in a designed pattern because eventually nothing will show and they will spread all over the cake. Add some almond flakes over the batter. 


12. Bake in the preheated oven for 40-50 minute or until the toothpick inserted in the center comes out clean. If at any stage you feel the cake is getting too browned tent it with an aluminium foil. Once baked remove it from the oven and let it sit on the counter for 10 minutes. Remove from the tin and keep it on the wire rack till it has come to room temperature. You can dust it with some confectioner’s sugar, slice and serve.

Other cakes you can try are: Sorghum and Wheat Flour Persimmon Cupcakes with Cream Cheese Frosting Fresh Mango Cake with Vanilla and Chocolate CollarFestive Orange Blueberry Pound CakeVanilla Cake with Pomegranate Syrup Lemony Pound Cake with Lemon FrostingEggless Orange Cake with Candied Orange Peel FillingApple Raisins Streusel BreadPersimmon Rum CakeEggless Mediterranean Semolina CakeEggless Almond Vanilla CakeEggless Black Grape Cake with Strawberry Jam GlazeVegan Chocolate Banana CakeChocolate Vanilla Marble CakeSurprise Heart Inside CakePumpkin Cake RollsWacky Vegan Chocolate Cake.

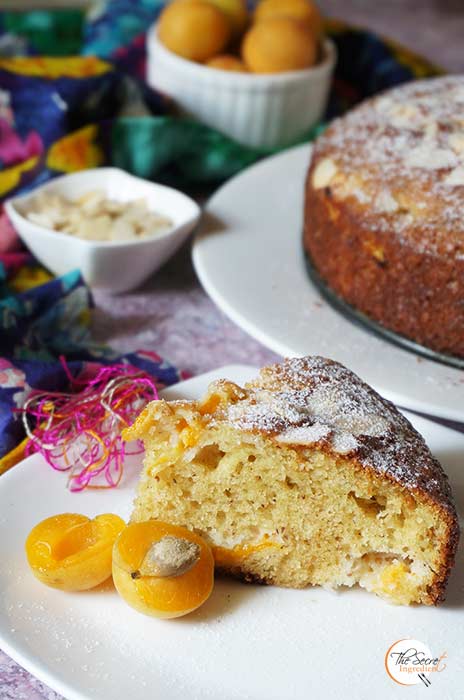
[whohit]ApricotAlmondCake[/whohit]

[yumprint-recipe id=’280′]


Yesterday Morning I woke up to a call from a friend who also is a client. I had 5 of her missed calls. It turns out she wanted to order a cake which needs to be ready in 3-4 hours. As you all know I dont do cakes on a regular basis and I live in a place where ingredients aren’t readily available. So i was in a dilemma but then I took this challenge. She left me to decide whatever I wanted to make. 


I had to quickly make a decision as to what can be made in jiffy and still looked pretty. You know when such cakes are ordered specially for wedding Anniversaries they need to have a wow factor not just in taste but also the way they look. For a second all the good looking cakes I had done in the past zapped right in front of my eyes and I had to choose one. Because this wasn’t a time for experimentation. I had made a Mango Tart a while back and it had turned out pretty and then I also had made a Vanilla Cake with pomegranate Sauce which was yummy. So I decided to fuse the two. 


And the result was this gorgeous little Mango Vanilla Cake with Chocolate Collar! Aahh I feel soo happy after looking at it. The real icing on the cake was that the Client loved it  I cant explain the social network has been going gaga over this. It was 1.4k likes on a single Facebook group and other 1k in other. Everywhere I post this its being appreciated. I am a novice cake baker but sometimes things happen like magic happens 🙂 I am Thankful to Almighty and you all for this love.

Directions: 

1.In a bowl add Butter and castor Sugar. Cream them together. You can use hand held whisk or electric whisk.


DSC05591


DSC05592


DSC05593


2. Add eggs and combine till creamy and light.

DSC05594
3. Add  Vanilla Extract.

DSC05597  
4.  In a bowl add All Purpose Flour, salt and Baking Powder.


DSC05598


DSC05599


5. Slowly add this to the wet ingredients and combine until moistened.


DSC05600


DSC05601


6. Pour this batter in a  springform pan and smoothen the top with a spatula. You can buy the Springform pan with our online store,  The Gourmet Shop. We ship pan India. 


7. Bake in the preheated oven on 160 degree for 50 minutes or until the toothpick inserted comes out clean. Let it  cool down completely before removing it from the pan.


8. When the cake has cooled completely slice it horizontally into half using a sharp serrated knife. The motion of knife should be like a saw. Refrigerate for half an hour. I couldn’t because I had to finish the cake in 3 hours.


9. Add some whipped cream in a chilled bowl and whip it with an electric whisk till stiff peaks are formed.


9. Place a cake board on a rotatable Icing table and spread a little whipped cream on the board and place one slice of cake on it. This will ensure the cake doesn’t slip from the board.


10. Chop a fresh mango into small chunks and spread it on the surface of cake.

11. Spread a layer of whipped cream on top of mangoes and make it even using a palette knife. you can even use a spatula if you dont have a palette knife.


12. Place the other part of the cake on top of the whipped cream and mango mix.


13. Take some whipped cream and smear it on the sides all along its circumference and top. It has to be thin layer, doesn’t matter if its smooth or not. I am not good with smooth finish so I made this cake to hide my inadequacies 🙂 How I forgot to take picture of this step! 🙁

14. Now for the top mango garnish, take firm mangoes, peel the skin and cut it into half, removing the seed. Then further cut halves into thin slices. Set aside.


DSC06413


DSC06414


DSC06415


15. Once the cake has been iced from all sides. start from the top centre. Arrange the mango slices on top, starting in the centre and then taking it outwards to mimic flower petals. Don’t place the slices deep into the cream. The more they remain on top the neater will be the look.


16. Now the question was how to hide the sides and pretty pie it. I thought of a chocolate collar and found a tutorial which was quick and seemed easy but I had never done it before. But I had little choice. So I went ahead. You need is a bar of chocolate or chocolate chips. Place them in a microwaveable bowl and heat it till it melts. You need to stir it every 30 seconds so that it doesn’t burn. You can also use a double boiler to melt, whichever you think is faster.


17. Pour the melted chocolate in a pipping bag or ziploc without any nozzle and tighten the keep. 


18. Now you have to measure the height of the cake, I used a ruler. It was 4 inches for my cake. Tear a sheet of parchment paper which covers the cake around completely and further trim its height matching to the height of your cake or a little taller, it was 4.5 inches in case of my cake. Oh look you have the view to my not so clean icing on the sides of the cake. yippy!


19. See it fits around the cake perfectly and also has the height i wanted.


20. Remove this parchment paper and place it on a smooth surface. You pipping bag with melted chocolate is ready, snip the end with scissors and make a small hole. Now spread the chocolate in circular motion, starting from one end and finishing the other, say left to right. Now repeat the same from right to left . You can make it as intricate as you want. The more layers you give it the more sturdy will be your chocolate collar. 


21. Let it be like that for a few seconds till the chocolate sets partially. Now remove the strip of  parchment paper carefully with both your hands. If you leave it for a longer time and it sets fully you will not be able to mould it around the circular cake. So eyeball the timing.


22. Place it around the cake with chocolate side inside, pushing it inside the cake carefully.


23. Once the chocolate collar has been placed around the cake, remove the parchment paper slowly without damaging the lace and breaking it.


24. Guess what the cake is ready. You can add anything more to prettify it. I think I was happy with the results and gladly my client also liked it. 

Other Cake recipes you can try are: Eggless Black Grapes Cake,  Chocolate Vanilla Marble Cake , Eggless Almond Vanilla Cake,  Eggless Orange Cake with Candied Orange Peel FillingLemon Cake with Lemon GlazePersimmon Rum CakePumpkin Cake RollsSurprise Heart Inside CakeVegan Chocolate Banana CakeVanilla & Pomegranate CakeWacky Vegan Chocolate CakeFestive Orange Blueberry Pound Cake Mediterranean Eggless Semolina Cake

[whohit]MangoVanillaCake[/whohit]

[yumprint-recipe id=’273′]

I have been receiving numerous requests from friends, followers to post more Gluten Free Recipes on my blog. Some of them have celiac issues and some want to include gluten free flours in their diet.. Earlier I had posted recipe of Gluten Free Brownies with Ragi FlourNo Bake Amaranth Granola Bars which received great reviews from you all. If you try any of my recipes, please send me the feedback with a picture. I would love to showcase them on my facebook page. Such feedbacks keep me motivated.

This time when I had organic Amaranth Flour from SOS organics I knew I will be trying out something different with it. The Amaranth Flour has a slight nutty flavour. And then I came across this recipe which was not only Gluten Free but also Vegan and Diabetic Friendly. These Savoury Herbed Crackers  are loaded with herbs and has a subtle flavour of garlic. They are so easy to put together and loved by all. You must try them at least once.

Directions:
1. Preheat the oven to 180 degree Celsius (Learn more about Oven Temperatures and Conversions). In a bowl add the Amaranth Flour and Baking Powder.


2. Also add chopped garlic and salt to the flour.


3. Add dried or fresh herbs to the bowl and combine. You can use any herb or combination of herbs to your liking.


4. Add water and Olive oil.


5. Combine everything using your hands or you can do the same in a food processor. Mix this till everything comes together like a dough. Don’t add more water or oil. Its a gluten free flour so it will take some time for it to come together.


6. Place the dough on a sheet of Parchment Paper and roll it thin using a roller pin. It should be about 1/5th of an inch in thickness.


7. Use a cookie cutter and cut them into desired shapes. Place them on a baking sheet lined with Parchment Paper. You can use a spatula to lift the cracker dough for it is very fragile.


8. Use a fork to prick the crackers all over. Bake the crackers in preheated oven for 12-13 minutes. Keep a close eye not to over bake them. Let them crisp up a little before biting into them.

Other cookies and crackers you can try here are: Traditional Australian – New Zealand Anzac BiscuitsSubway Copycat Oatmeal Raisin Cookies Chickpea Flour & Corn Flakes Eggless CookiesChyawanprash CookiesStrawberry CookiesGingerbread Man CookiesGreek Traditional Christmas CookiesItalian Almond BiscottiPeanut Butter Cookies with Chocolate ChipsChocolate Coconut CookiesWhite Chocolate Chip CookiesRagi & Whole Wheat Biscuits.


[whohit]AmaranthCrackers[/whohit]


persimmoncupcakes_featured2

Last year when I saw Kaku or Ramphal or as it is called as Persimmon in english in my local market I was thrilled to try them. We get Hachiya variety of Persimmons in our hills which is a sweeter variety but tannic and astringent in taste if you eat them unripe. By ripe I mean they should be almost squishy and the pulp should almost run out of the fruit. Surprisingly the locals dont like the taste of the fruit. But the Persimmon Rum Cake I made last year was amazing. This year I wanted to take my experiments to a next level. I tried to make a healthy bake by adding Organic Sorghum Flour and Whole Wheat Flour. I made these gorgeous and delicious cupcakes with these enriching flours. I picked up Sorghum Flour or Jowar ka Atta from Conscious Food. Their products are absolutely top notch. We are proud to have partnered with them and now you can buy them on our online store The Gourmet Shop

persimmoncupcakes_featured1

I sent this recipe for the 2nd Anniversary Ovenderful Mom Bakers Community Annual Contest . With the grace of God my recipe got a consolation prize as one of the healthy bakes. So if you have persimmons on hand and healthy cupcakes is on your mind this is a winning recipe, well literally 🙂 

Directions:
1. You need to peel the skin of Persimmons and spoon out its pulp. If you are using the Hachiya variety make sure its squishy ripe. Remove seeds if any. With the help of a potato masher mash the pulp and set aside.

dsc09296

2. In an another bowl add vegetable oil and sugar. 


dsc09297


dsc09298


3. Whisk the sugar and oil till sugar is dissolved. Slowly whisk in eggs and make the mixture cremier.


dsc09299


dsc09300


4. Add the persimmon pulp and combine. Also add milk , vanilla extract and whisk well.


dsc09303


dsc09304


dsc09346


5. In another bowl add Wheat Flour and Conscious Food Sorghum Flour and combine them.


dsc09305


dsc09306


6. Add pumpkin pie spice and Baking soda to the flour and combine. 


dsc09308


dsc09307


 7. Sieve the dry ingredients to the wet ingredients and combine till everything is moistened. Do not over mix.


dsc09333


dsc09334


8. Preheat your oven to 180 degree C (Learn more about Oven temperatures and Conversions) and if you are using muffin liners, line your muffin tray with the liners. I am using stand alone bakeable cups. You can buy them at The Gourmet Shop. Pour the batter in the cups and fill only 3/4 of the cup. Bake in the preheated oven for 20-25 minutes until the top is golden in colour and the tooth pick inserted comes out clean. 

dsc09335
9. While these are baking make the cream cheese icing by whisking Cream cheese and butter in a bowl. Add a little milk to make the icing a little loose.


dsc09342


dsc09343


10. Once the icing is whisked add powdered sugar or icing sugar and continue to whisk.


dsc09344


dsc09345


11. Once the sugar has mixed well set the icing aside. Line a pipping bag with a pipping nozzle of your choice. and cut the top edge with a pair of scissor. 


dsc09347


dsc09348


dsc09349


12. Place the bag in a glass and pour the icing in it. Squeeze it to go further down. Now fold the top of the bag to avoid icing from flowing back.
dsc09350

14. Ice your cupcakes after they have cooled down completely. If you like you can top the icing with a half slice of persimmon. Enjoy.

You can even try Persimmon Rum Cake.

Other Cupcakes and Muffins you can try : Papaya Chocolate Muffins and Vegan Eggless Chocolate Muffins 

persimmoncupcakes_featured4[whohit]PersimmonCupcakes[/whohit]

[yumprint-recipe id=’262′]

pandemuerto_featured4
Being a mother of a Mexican boy, I hold the burden to keep his Mexican traditions alive. October 31st – November 2nd is observed as Dia de Muertos or Day of the Dead in Mexico. Its an ancient Aztec Festival where the deceased are fondly remembered. Its very similar to Sharaad in India. Each household decorates an Altar called ofrendas, honoring the deceased using sugar skulls, marigolds, and the favorite foods and beverages of the departed, and visiting graves with these as gifts. 

pandemuerto_featured5
One such food being offered is Pan de Muerto which means ‘Bread of the dead’. It’s a delicious sweet bread with flavours of Orange or Anise or even cinnamon. The bun shaped bread is decorated with bone shaped phalanges. The bones represent the deceased and there is a ball on top of the bread which is  like a  teardrop  representing Aztec goddess Chimalma’s tears for the living. The bones are represented in a circle to portray the circle of life. When we were in Mexico we used to relish. A person from our office would collect money from everyone and get each one of us a loaf of this bread around the festivity. Those memories are so fresh in my mind and make me nostalgic. 

pandemuerto_featured7

And this year when Dia de Muerto returned I so wanted to eat it. So I decided to make it at home. After reading many recipes in Spanish I managed to make this gorgeous loaf . It tasted just the way we found in Mexico. I just cannot contain my excitement. This is dedicated to all my friends in Mexico who gave us so much love. You must try this delicious bread and become a part of the tradition.

Directions:
1. In a jar add some lukewarm milk and add instant yeast.


dsc09402


dsc09403


2. Also add some sugar and a spoonful of flour.


dsc09404


dsc09405


3. Combine everything using a spoon and let there be no lumps. Let the mixture proof for 5-10 minutes. There will be bubbles and froth all over the top. 


dsc09406


dsc09409


4. On a counter place the All Purpose Flour and make a well in the centre. 


dsc09407


dsc09408


5. Add the proofed yeast liquid in the centre of the well.


dsc09410


dsc09411


6. Now using your hand start taking little flour from the side and keep mixing with the water. Don’t do everything in one go. Little by little is the key. Add sugar in the well and combine till the sugar has mixed.


dsc09412


dsc09413


7. Add eggs in the well and continue to add little flour little by little. Also add vanilla essence.


dsc09414


dsc09415


8. Keep mixing flour and then knead everything together. The dough will be very very sticky. Do not panic! That’s how it should be.


dsc09416


dsc09418


8. You can use a bread scraper to scrap out sticky dough. Spread it like a disc and add butter at room temperature.


dsc09419


dsc09420


dsc09421


9. Also add  zest of an orange and and continue to knead. The dough will still be sticky but you just have to keep kneading for good ten minutes. 


dsc09422


dsc09423


10. At this stage add just a little flour to make it less sticky and keep kneading til you get a pliable dough. Do not add a lot of flour. Add a few spoons first then knead and see if you need more. 


dsc09424


dsc09425


11. Place it in a greased bowl which has room for rising. Cover with a cling wrap and let it rise for an hour or so or until it has doubled in size. The time will vary on how hot or cold is your kitchen.


dsc09426


dsc09427


12. After 1 and a half hours the dough looks doubled. You need to place it on the counter and deflate it and knead it for a few minutes.


dsc09428


dsc09429


13. Separate 1/4th section of the dough and keep it aside for making bones and tear.

dsc09430
14. Divide rest of the dough into more or less six equal parts for shaping them in a bun. Place the rolled buns on a baking tray lined with parchment paper leaving gap between each of them for second rise.


dsc09431


dsc09432


15. Make small six balls which represent tears with very little dough from the reserved dough and we will utilize the rest of it to make bones. Cover these balls with a kitchen towel till we use them.

dsc09433

16. Divide rest of the dough into more or less 12 equal parts, you need two bones per bun. Start making thin cigars shapes with your palms with each one of them.


dsc09434


dsc09435


17. Using your three fingers as in the picture make indents in the cigar shaped dough to represent a bone. 


dsc09436


dsc09437


18. Place this bone shaped dough over a bun and another one across making it a cross.


dsc09438


dsc09439


19. Press the cross section just a little and place the ball on top.


dsc09440


dsc09441


20. Repeat the same with rest of the buns. Cover the baking tray with a lint free kitchen towel for second rise. This should again take about 45 minutes to one hour depending on the environment.


dsc09442


dsc09443


21. After they have doubled in size preheat the oven  for 10 minutes to 180 degree Celsius (Learn more about Oven temperatures and Conversions). Bake them in oven for 20 minutes or until you see them turned golden brown.


dsc09444


dsc09445


22. Let them come to room temperature and now brush each one of them with melted butter and ghee roughly sprinkle on them castor sugar.


dsc09446


dsc09447


23. Pan de Muerto is ready to be served. You can use them for the offering if you are following the tradition or just eat it like a pan dulce or sweet bread. Goes best with a hot cup of Coffee. Thats exactly I remember eating it in Mexico.

Other Mexican dishes you can try are: Chilies en NogadaFresh Mexican Black Bean and Mango SaladHuevos en CazuelaSopa De Frijol

If you are looking for more bread recipes you can try: Vegetarian homemade PizzaRussian BubliciWhole Wheat Sandwich BreadChinese Black Sesame Steamed BunsCinnamon Raisin BreadBeetroot Bread with Garlic and ThymeHoney Oats BreadDomino’s Garlic BreadsticksGarlic Rosemary Focaccia Bread and Focaccia Bread with Fresh Cherries, Rosemary and Sea Salt.

pandemuerto_featured6[whohit]PanDeMuerto[/whohit]


[yumprint-recipe id=’258′]

pumpkindoughnuts_featured1

Halloween is celebrated in the western countries with pomp and show. While I was in Mexico they celebrated this day by the name Dia de Muerto which means Day of the dead. On this day all departed souls are fondly remembered. However this has become more fashionable now and losing its correct relevance. But Yellow Pumpkin is something which symbolizes Halloween. They make Jack O lanterns and even make dishes with Pumpkin. I get into a festive mode when I see yellow pumpkin. 

pumpkindoughnuts_featured2
Last year I made Pumpkin Buns using Pumpkin Puree and last to last year I made Pumpkin Cake Rolls for the halloween. This year I  was looking for healthier recipes which uses Whole wheat flour and of course my homemade Pumpkin Puree. Nothing was better than to make these baked Pumpkin Doughnuts.These Doughnuts were full of flavour and icing on the cake was the cinnamon sugar topping. They simply melted in the mouth. This was the best doughnut recipe ever. What are you making for Halloween? 

Directions: 

1.  In a bowl add All purpose Flour or Whole wheat Flour. Add Baking Soda and Baking powder.


dsc09056


dsc09058


dsc09059


3. Also add Pumpkin Pie Spice. You can make your own pumpkin pie spice at home, find out the recipe here. Also add Brown sugar and castor sugar and combine. Set aside the dry ingredients.


dsc09060


dsc09061


dsc09062


4. In another bowl add pumpkin puree. You can make your own pumpkin puree at home. Find out the recipe here. Also add an egg and whisk everything together*.


dsc09064


dsc09065


5. Add milk, melted butter and vanilla essence. 


dsc09066


dsc09067


dsc09070


6. Whisk everything together and add the wet ingredients into dry ingredients and combine. Do not over mix. Just mix till everything is moist. If you feel the batter doesn’t have a pourable consistency add a little more milk and combine.


dsc09068


dsc09069


dsc09071


7. Spray a donut mould with oil and preheat your oven to 180 degree Celsius. (Learn more about Oven temperatures and Conversion).

dsc09072

8. Fill 3/4th of the cavity with batter. You can use spoon or transfer the batter in a pipping bag and squeeze out the batter in the mould. Bake it in a preheated oven for 10 minutes. When it comes down to room temperature remove them doughnuts from the mould using the back of a knife. 


dsc09073


dsc09074


9. For the Cinnamon sugar topping you need to add castor sugar in a bowl and add ground cinnamon to it. Mix them together. Brush the top of the donut with some melted butter and dunk the buttered face in the cinnamon sugar. 


dsc09075


dsc09076


10. Serve them with your favourite cup of Coffee and enjoy the deliciousness.

You can even try Baked Apple Cider Doughnuts. You can even make Pumpkin Cake Rolls and Pumpkin Buns using the same Pumpkin Puree.

pumpkindoughnuts_featured4

[whohit]PumpkinDonuts[/whohit]

[yumprint-recipe id=’252′]