Tag

Dessert

Browsing


Hot Cross buns are symbolic to Easter and may go back to 12th Century. The relic goes that a Monk baked buns and made a cross on them in honour of Good Friday. Gradually, they became popular world over and were associated with Easter. Interestingly, there are a few superstitions and tales linked to baking these sweet hot cross buns on Good Friday. If you are interested you can read them at The kitchn.

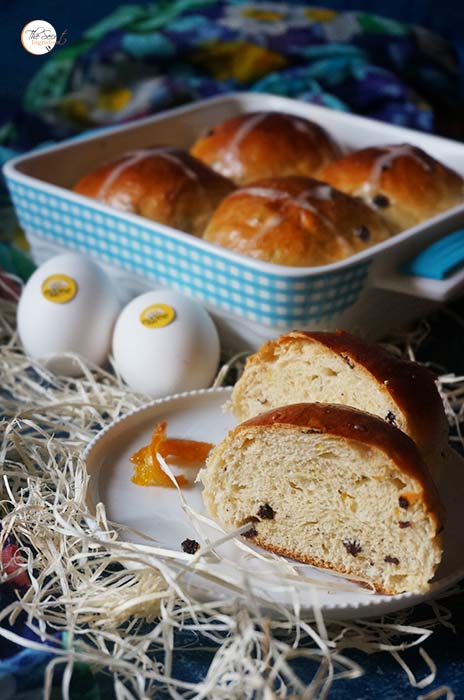
This is about the origin of recipe but what exactly are Hot cross buns? Well they are mildly spiced, sweet buns which are loaded with black currants or raisins. On top of these buns a cross is marked, which can be either done with icing sugar or its etched in the dough at the time of baking. As a kid we relished eating these buns and loved to sing Hot cross buns, Hot cross buns, One a penny, Two a penny, Hot cross buns. This ignites nostalgia and takes me back memory lane.
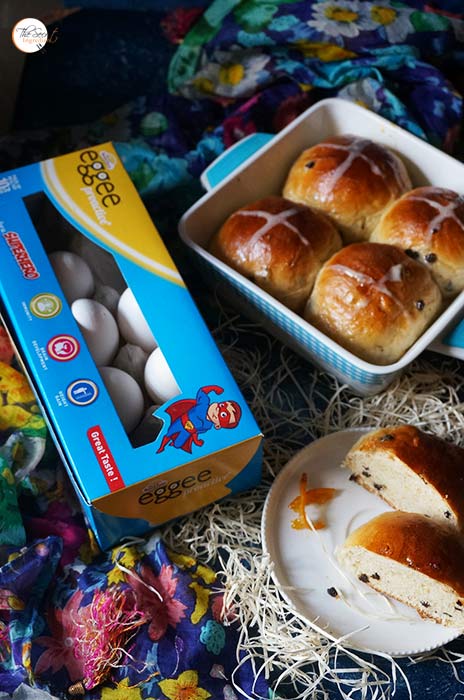
On the occasion of Easter, I collaborated with Eggee, the best organic high protein eggs, to curate this recipe for my readers. The addition of fresh eggs in the bun dough took this recipe to a whole new level. If you can find these organic eggs around you, give it a try. You sure would know the difference in taste and freshness. I have used home made Pumpkin Pie Spice and Candied Orange Peel in the recipe. You can make it yourself from scratch.
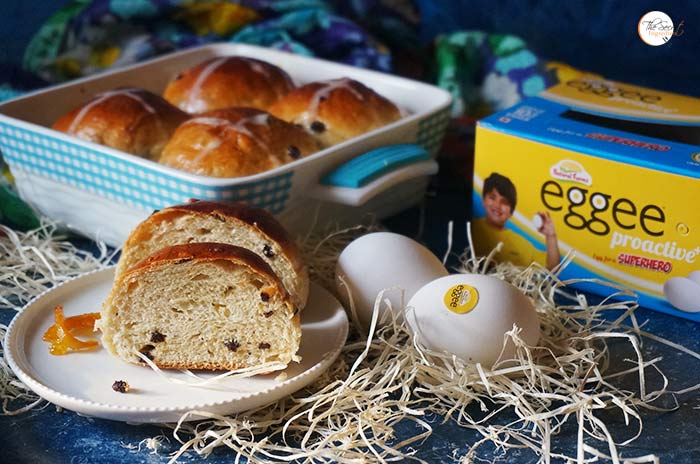

I am jumping to the recipe right away without wasting much time. Easter is just an excuse to bake these but honestly I can eat them all year round. If you try this recipe share your feedback with me and tag me on facebook or instagram.

Directions:

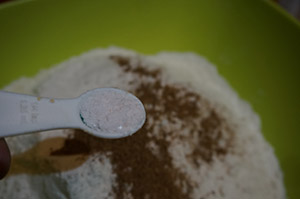
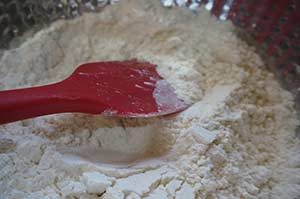
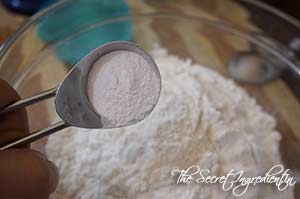
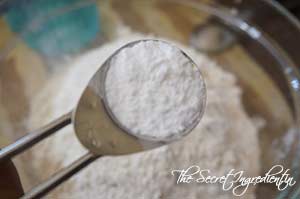
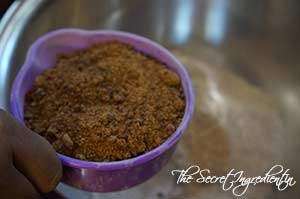
1. In a large bowl add all purpose flour, pumpkin pie spice and salt.


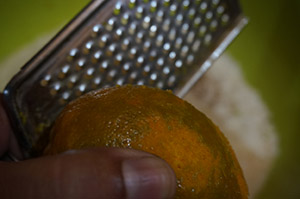
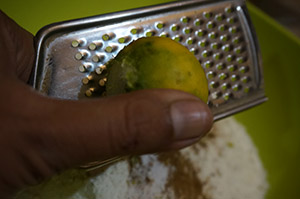
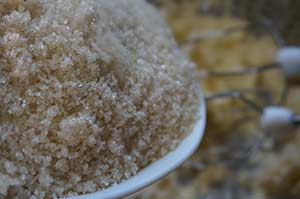
2. Also add to the bowl sugar and zest of orange and lemon. Mix well and set aside.


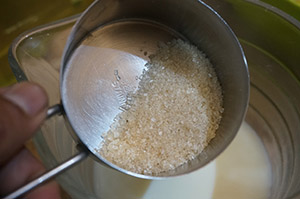
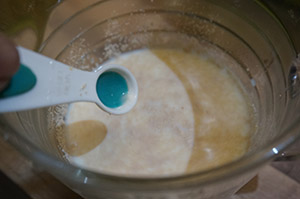
3. In another bowl or jar take some lukewarm milk. It should not be hot just lukewarm. Add some sugar to the milk.


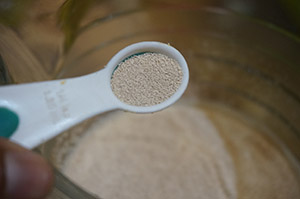
4. Sprinkle yeast on top and give it a gentle stir. Let the mixture stand and wait for yeast to bloom. I have used yeast from out online store The Gourmet Shop.


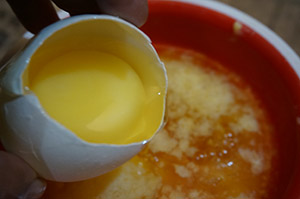
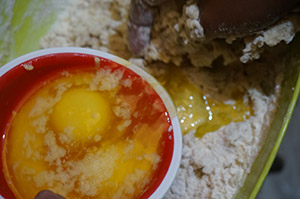
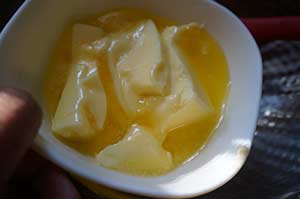
5. In another small bowl add melted butter and whisk in some eggs.


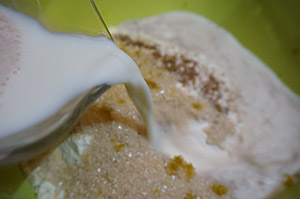
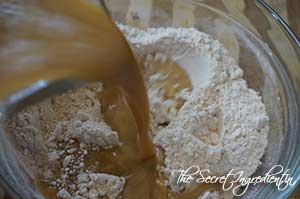
6. Once the yeast has proofed or bloomed and has become frothy, add this to the dry ingredients along with egg and butter mixture.


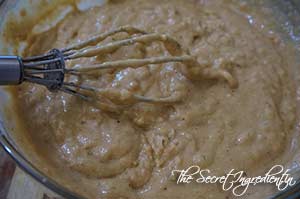
7. Mix them well till everything comes together into a sticky dough. Knead well for 6-8 minutes till the dough is smooth and supple.

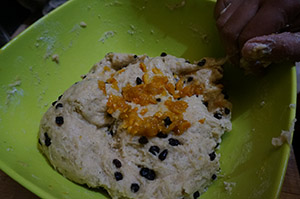
8. Add black currants and candied orange peel and mix well into the dough.


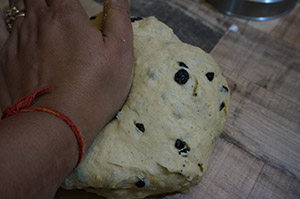
9. Dust your counter with some flour and dump the dough on it and knead well will your dough has developed gluten and is elastic and pliable.


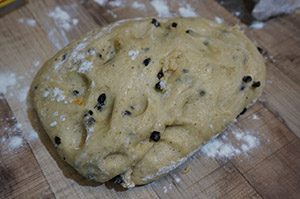
10. You can slightly poke your finger in the dough to test if its kneaded well or not. If the dough bounces back its ready and if it doesn’t you need to knead a few more minutes.


11. Grease a big bowl and place your dough in it to rise until it has doubled in size. This depends on the temperature of your kitchen. The warmer the kitchen the sooner the dough proofs.


12. Once the dough has proofed. Again dust your counter with some flour and punch dough the dough to deflate it.


13. Divide the dough into equal 16 parts with the help of a bench press or metal scraper.


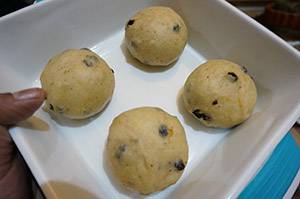
14. Roll each portion into a round ball with a smooth top.


15. Grease a baking tray with butter and place these rolled dough in the tray. Each bun dough should be placed at some distance from each other.


16. Cover them with a kitchen towel and let them rise till they have doubled up in size.


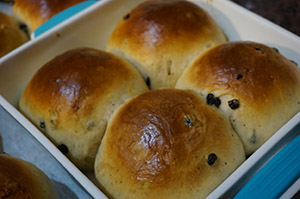
17. Give them an egg wash and preheat your oven to 180 degrees C for ten minutes. Once preheated place your buns in the oven for 20-25 minutes on 180 degree Celsius until the top is golden brown. 


18. Place them on a wire rack to cool down. While they are cooling make royal icing. Learn to make Royal Icing here.


19. Pour this royal icing in a pipping bag and snip the end just enough for it come out. Pipe X on top of each bun and enjoy.

20. Enjoy these hot cross buns with a cup of coffee or tea. My kiddo gobbled two of these while they just got crossed. So tea or no tea you will love them as it is. 

Happy Easter Friends!

Other Bread Recipe you can try are: Italian Focaccia Bread with Strawberries Rosemary Garlic Focaccia BreadGarlic Cheesy BreadDominos Style Garlic Bread SticksHoney Oats BreadCinnamon Raisins BreadWhole Wheat Sandwich BreadBeetroot Bread. Georgian Kachapuri

Easter Hot Cross Buns
 
Recipe Type: Festive
Cuisine: European
Author: Anshu Wadhwa
Prep time:
Cook time:
Total time:
Serves: 16buns
Hot Cross Buns are a traditional mildly spiced sweet bread buns, bearing a cross on top, made specially on Easter, the Good Friday.
Ingredients
  • For the Buns:
  • 2 and 1/4 tsp Instant Yeast
  • 1 cup Lukewarm Milk
  • 3 and 3/4 cup All Purpose Flour
  • ½ cup Granulated Sugar
  • 2 tsp Pumpkin Pie Spice
  • 2/3 cup Currants or raisins
  • 3 Tbsp Candied Orange Peel
  • 1 tsp Salt
  • 1 tsp Lemon Zest
  • 1 Tsp Orange Zest
  • ¼ cup Unsalted Butter, melted
  • 2 Eggs
  • Egg wash, one egg beaten with some milk or water.
  • For the icing:
  • 1 ½ cups of Powdered Sugar
  • 1 Egg White
  • Some Whole Milk, if needed
Instructions
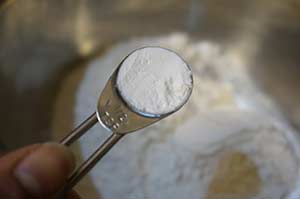
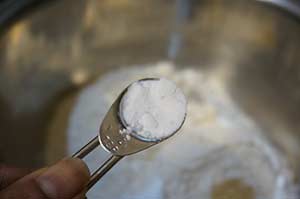
  1. In a large bowl add all purpose flour, pumpkin pie spice and salt.
  2. Also add to the bowl sugar and zest of orange and lemon. Mix well and set aside.
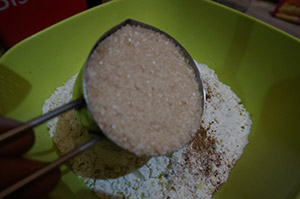
  3. In another bowl or jar take some lukewarm milk. It should not be hot just lukewarm. Add some sugar to the milk.
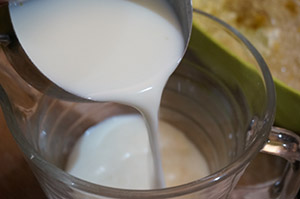
  4. Sprinkle yeast on top and give it a gentle stir. Let the mixture stand and wait for yeast to bloom.
  5. In another small bowl add melted butter and whisk in some eggs.
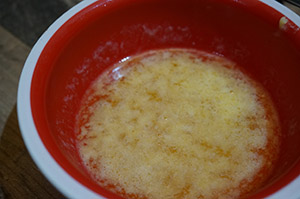
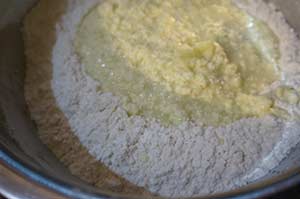
  6. Once the yeast has proofed or bloomed and has become frothy, add this to the dry ingredients along with egg and butter mixture.
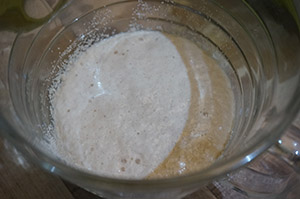
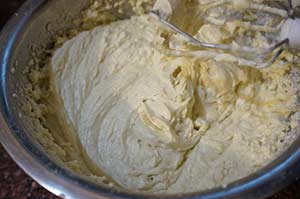
  7. Mix them well till everything comes together into a sticky dough. Knead well for 6-8 minutes till the dough is smooth and supple.
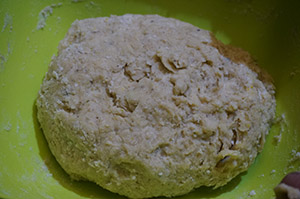
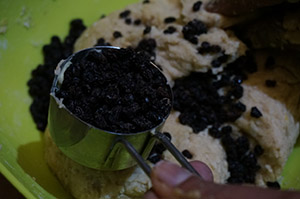
  8. Add black currants and candied orange peel and mix well into the dough.
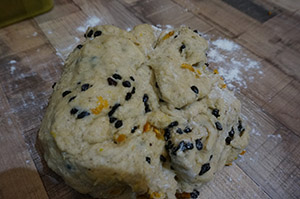
  9. Dust your counter with some flour and dump the dough on it and knead well will your dough has developed gluten and is elastic and pliable.
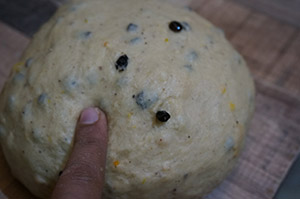
  10. You can slightly poke your finger in the dough to test if its kneaded well or not. If the dough bounces back its ready and if it doesn’t you need to knead a few more minutes.
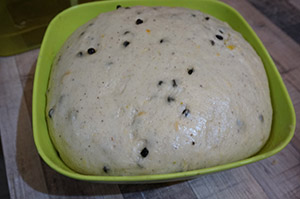
  11. Grease a big bowl and place your dough in it to rise until it has doubled in size. This depends on the temperature of your kitchen. The warmer the kitchen the sooner the dough proofs.
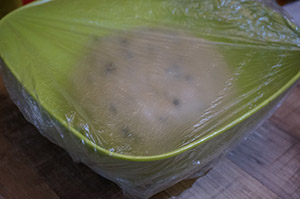
  12. Once the dough has proofed. Again dust your counter with some flour and punch dough the dough to deflate it.
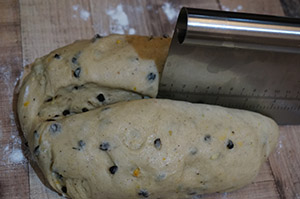
  13. Divide the dough into equal 16 parts with the help of a bench press or metal scraper.
  14. Roll each portion into a round ball with a smooth top.
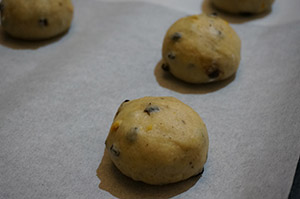
  15. Grease a baking tray with butter and place these rolled dough in the tray. Each bun dough should be placed at some distance from each other.
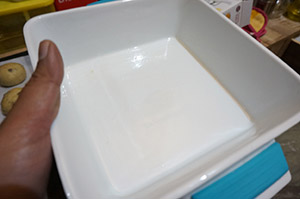
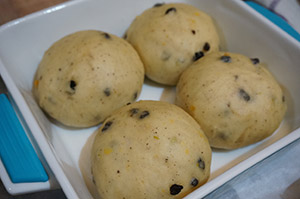
  16. Cover them with a kitchen towel and let them rise till they have doubled up in size.
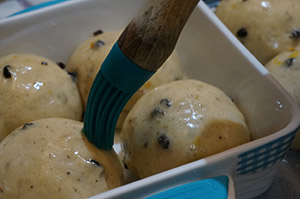
  17. Give them an egg wash and preheat your oven to 180 degrees C for ten minutes. Once preheated place your buns in the oven for 20-25 minutes on 180 degree Celsius until the top is golden brown.
  18. Place them on a wire rack to cool down. While they are cooling make royal icing.
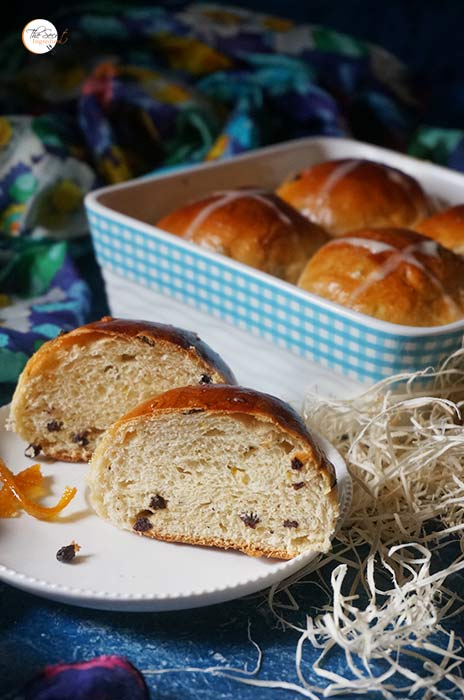
  19. Pour this royal icing in a pipping bag and snip the end just enough for it come out. Pipe X on top of each bun and enjoy.

  20. Enjoy these hot cross buns with a cup of coffee or tea. My kiddo gobbled two of these while they just got crossed. So tea or no tea you will love them as it is.
 
Notes
Recipe adapted from Laura In the Kitchen. https://www.laurainthekitchen.com/recipes/hot-cross-buns/


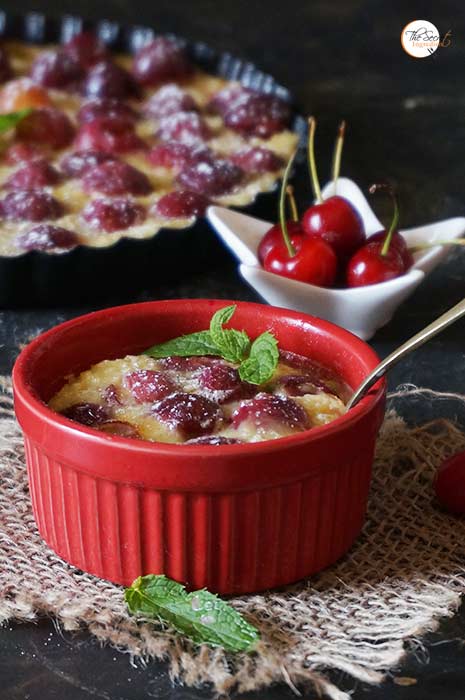
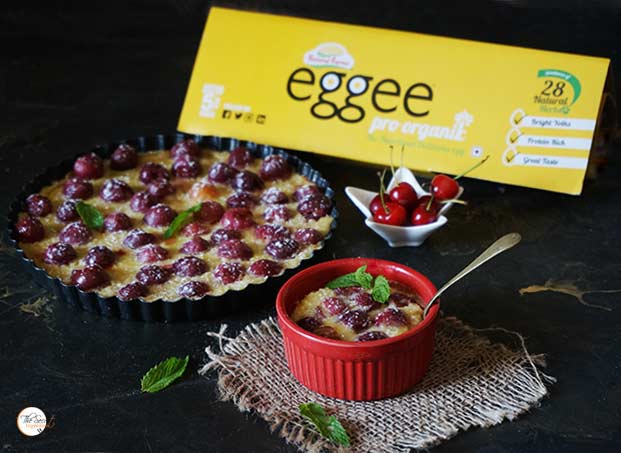
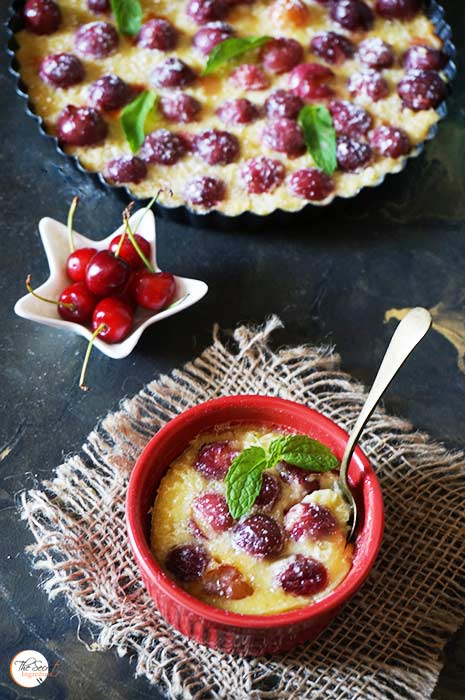
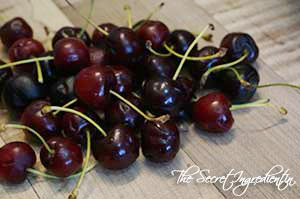
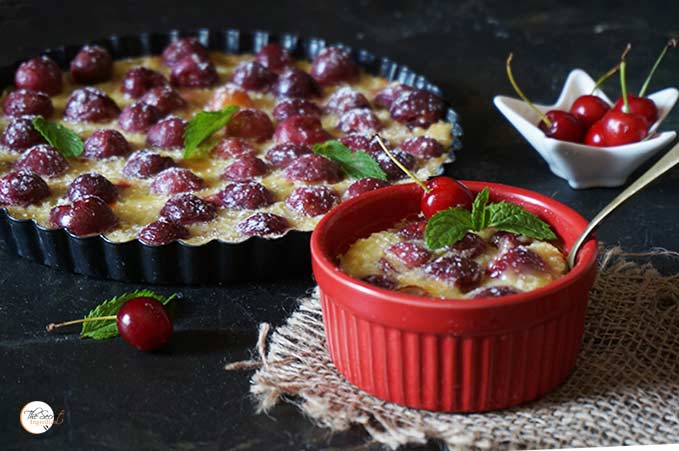
I think my obsession with red fruits and vegetables is growing with growing age. Be it red bell peppers or himalayan bay berries, strawberries or cherries. I like the way they brighten my life. Specially when I see cherries it takes me back in time. My father knew how much I love cherries and at the outset of season he would get for me cartons of cherries. That love is imprinted in my heart and I can never forget that. So whenever I see cheries I go berserk. I always find ways to make something with them. In the past I have made Cherry Focaccia Bread, Cherry & Lychee Ice Cream, Mascarpone Cherry Compote Cheesecake Glasses. And this season I knew I had to make  this Cherry Clafoutis, the popular French flan.


If you have made a flan before you know it is made with a rich custard. The key ingredient in any flan is eggs. If they are fresh ,it has a direct impact on the overall quality and taste of any dish. So my first choice was to use Eggee, which are high protein, organic eggs. They are my family favourite. 


And oh boy! I was right the clafoutis came out so rich and perfect. Its an easy peasy recipe and you should try it out before the cherries disappear for the season. I still have a box of cherries, if you have any interesting recipe where I can utilize cherries please share it below in the comment box.

Directions:
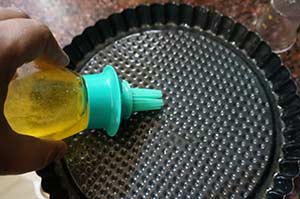
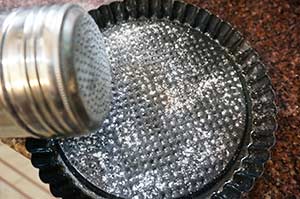
1. Grease a 9 inch pie tart pan or cast iron skillet or baking dish with oil or butter. And dust the surface with Confectioner’s Sugar.


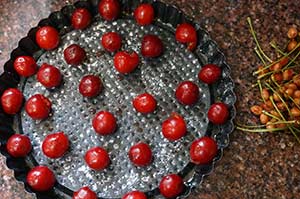
2. Pit the stones out of the cherries. There is an easier way to remove stones from the cherry. Try this method. Place the pitted cherries on the pie pan and spread evenly. Set aside. Preheat your oven on 180 degree Celsius for 10 minutes.


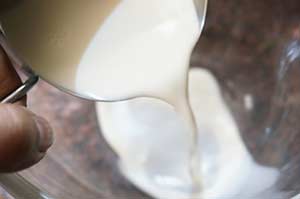
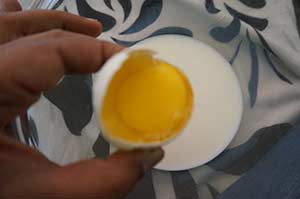
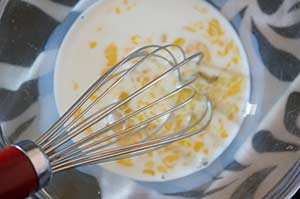
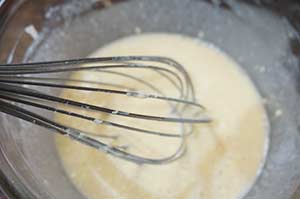
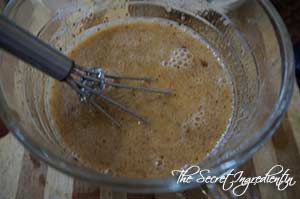
3. In a bowl whisk milk and eggs. I have used organic eggs by Eggee. I find these eggs to be most amazing in nutrition and taste. That yellow yolk is so beautiful. 


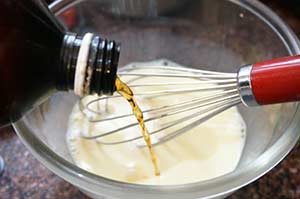
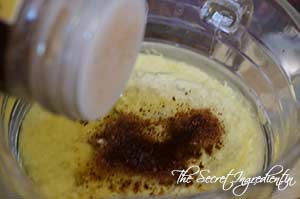
4. Add Vanilla essence and mix.

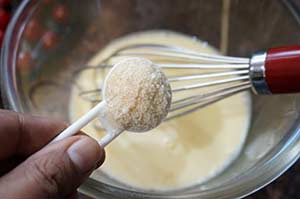
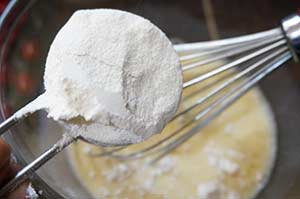
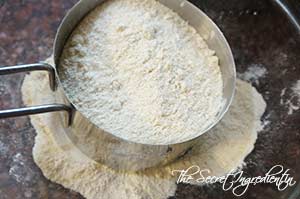
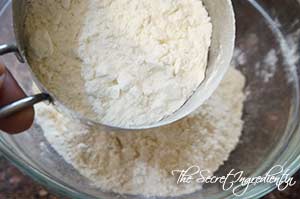
5.Add sugar, salt and all purpose flour.


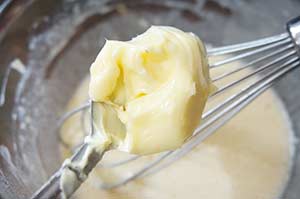
6. Whisk everything together and now add melted butter and whisk again.


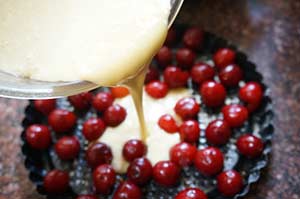
7.Pour this custard in the pie pan over the cherries.


8.Bake it in the pre heated oven on 180 degree Celsius for 40-45 min or until the custard just sets.You can insert a knife in the centre to check if it comes out clean. Slice and serve warm or cold as you like. I like it warm and still jiggly. You can make these in ramekins also which makes individual servings, so perfect for parties.

Other recipes you can try with summer fruits are: Strawberry Walnut Babka, Italian Focaccia Bread with Strawberries, Apple Crisp, Banana Bread Baked Oatmeal with Toasted Walnuts, Eggless Black Grape Cake with Strawberry Jam Glaze, Classic No Bake Key Lime Pie, Coconut Milk Mango Pudding, Eggless Fresh Peach Cobbler.

[yumprint-recipe id=’312′] 


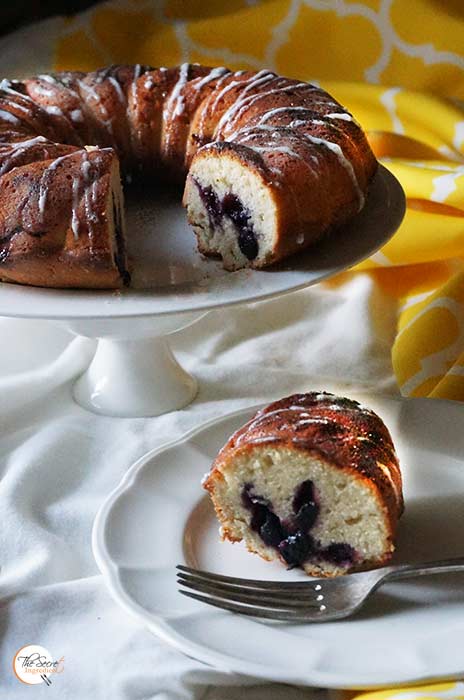
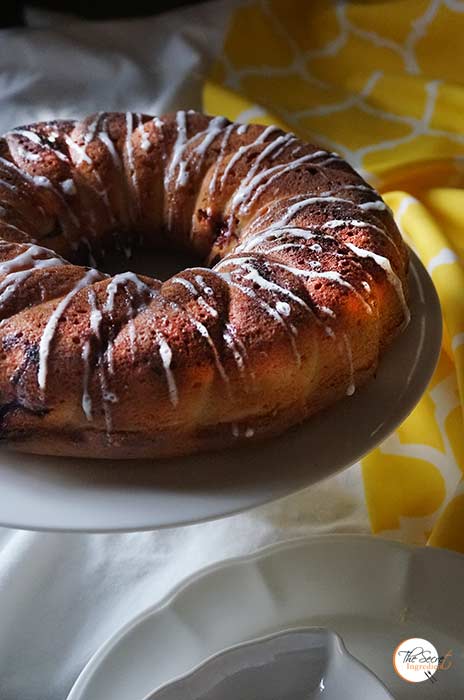
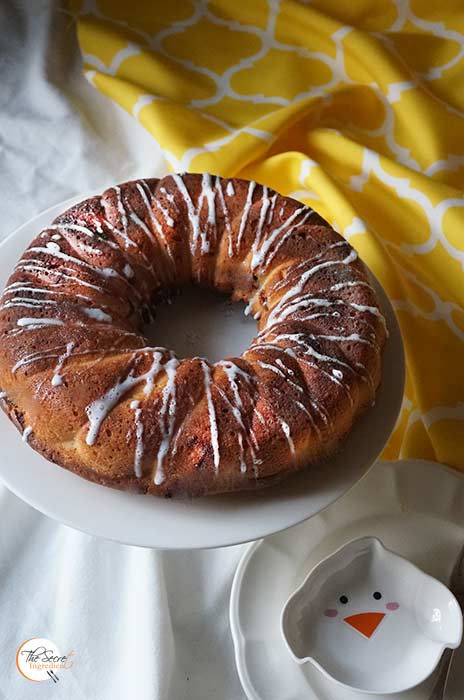
Valentine’s Day is around the corner and I am certainly not struck by a cupid 😛 Thankfully! I am simply looking for a reason to bake and try out something new. This Blueberry Cream Cheese Pound Cake has been on my mind for such a long time. The original recipe was with strawberries but I had frozen blueberries in stock so when we got the new pumpkin silicon bundt mould on board in our online store The Gourmet Shop, I had  to bake first before we even sold it 😉


 The inside layer of blueberry compote is to die for and comes out perfect in this mould. You get a balanced taste of extremely rich pound cake with a layer of blueberries. Oh you have to try this. Words cant express how decadent was this cake. If you cant find blueberries you can try this with fresh strawberries. Let me know if you fall in love with this cake once you bake this. True love is in the cake, rest of the things in the world are temporary and immaterial 😛 Therefore, fall in love but with cake, it will never break your heart. 🙂

Directions:

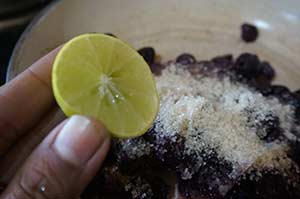
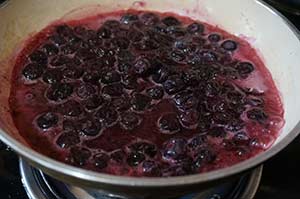
1. For the sauce, in a non stick pan add blueberries, I had frozen one in my freezer so I used them. You can use the fresh ones as well. Add sugar and turn the flame on medium.


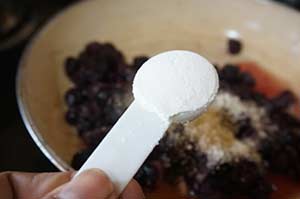
2. Add juice of a lemon and cornflour.


3. Keep cooking till the blueberry has released water and become thick like a thick sauce. Turn the flame off and let the sauce come to room temperature.


4. For the cake, preheat your oven at 170 degree Celsius (Learn more about Oven temperature and Conversion) and grease a bundt pan with butter and set aside. I have used the silicon pumpkin bundt pan which is available on my online store ‘The Gourmet Shop’. You can make it yours too just click on the link and place order.

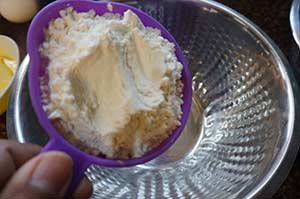
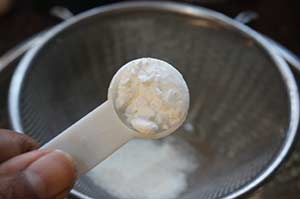
5.In a bowl add All Purpose Flour and baking powder and whisk it well and set aside.


6. In another bowl add butter, at room temperature. Add cream cheese and whisk till it becomes creamy.


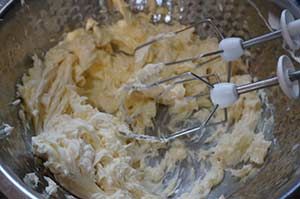
7. Add castor sugar and whisk further till sugar is mixed well and everything is creamy.


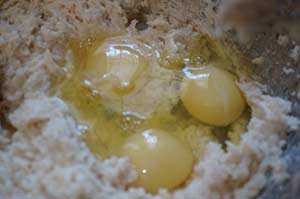
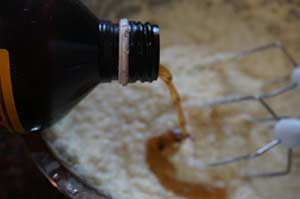
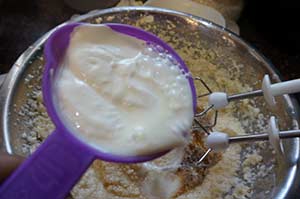
8. Add eggs and continue to whisk till the batter is airy. Add Vanilla essence and Cream and combine.


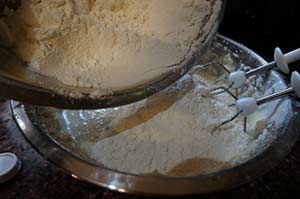
9. Add dry ingredients to the wet ingredients little by little and whisk till everything is moistened. Do not over beat.


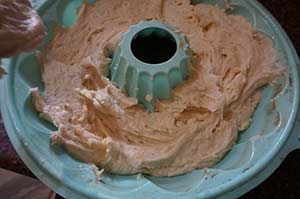
10. In the prepared bundt pan add a layer of batter, about half of it.


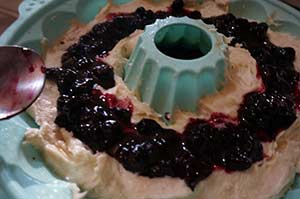
11. On top of the batter add the blueberry sauce. Ensure that the sauce doesn’t touch the mould and stays inside only. Because on baking the sauce might leak out.


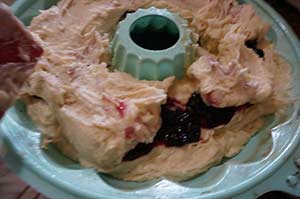
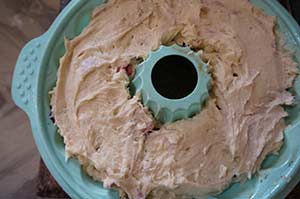
12. Pour rest of the batter on top of the sauce and cover everything. 


13. Bake in the preheated oven for 50-60 minutes. If at any time the cake starts looking golden from top and still raw from centre just tent it with aluminum foil and continue to bake. Bake till the tooth pick inserted comes out clean. Remove from the oven and let it be in the mould for next ten minutes. Demould the cake and let it come to room temperature on wire rack. Slice and serve with your favourite cup of coffee. 

Other cakes you can enjoy on the secret Ingredient are : Persimmon Buckwheat Gluten Free CakeCitrusy Sweet Lime CakeHoney Dates SquarePeach Upside Down CakeFresh Apricot and Almond CakeMango Vanilla Cake,  Festive Orange Blueberry Pound Cake, Vanilla & Pomegranate Cake,Lemon Cake with Lemon GlazePersimmon Rum Cake and Honey Cake

[yumprint-recipe id=’309′]


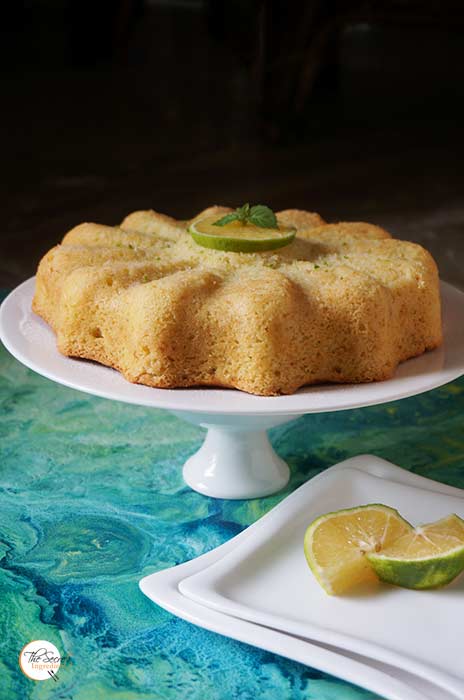
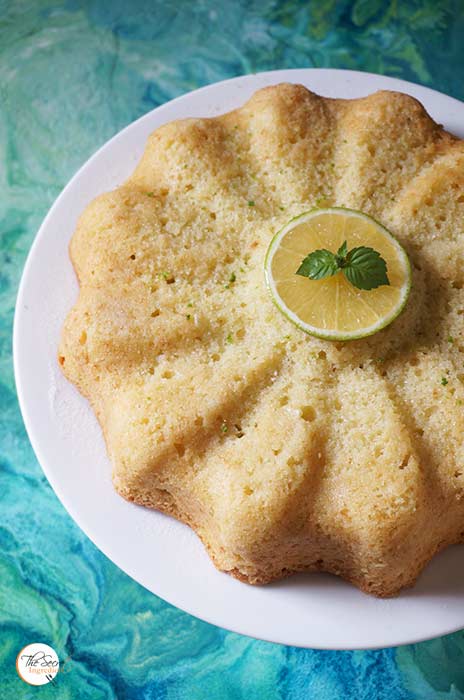
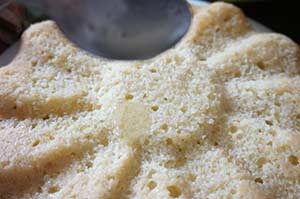
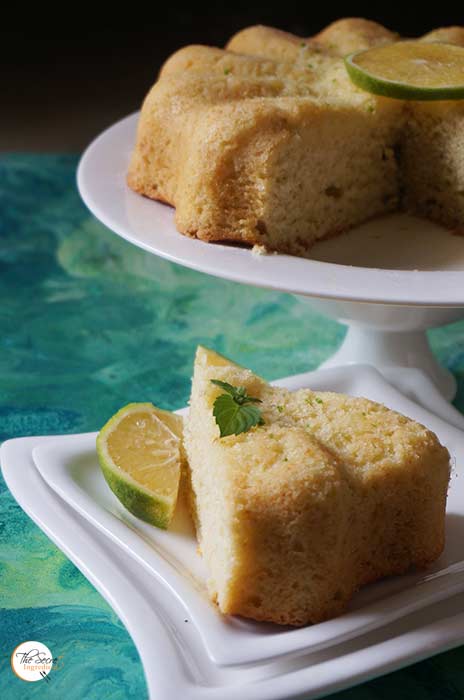
When you see a new seasonal fruit in the market you get excited because you want to bake with it. eh? Does that happen to you or am I too peculiar? I have used Apricots, Cherries, Mangoes, Peaches, Plums, Apples, Papaya, Strawberries, Blueberries, Bananas, Bay berries, Kiwis, Black Grapes, Pomegranate, Orange, Melon, Lychee, Coconut, Chestnut, Persimmon , Watermelon in some recipe or the other. Anyways! I saw mosambi or Sweet Lime in the market and I jumped with anticipation. I had been eyeing this sweet lime cake for a while now. And when the results cake out I knew it was worth all that wait and craving.


It was similar to my Lemon Pound Cake just that it was a little lighter because it used yogurt instead of cream. The zest of Sweet lime added that magic potion which made it from an average to a magnificent cake recipe. The lingering flavour of sweet lime was a bliss. I would love to make this again for my family and friends. What are you thinking?

Directions:

1. Preheat your oven to 180 degree Celsius (Learn more about Oven temperatures and Conversions) and grease a large 9 inch cake pan with oil and dust with flour and set aside.


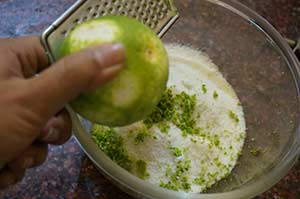
2. In a bowl add caster sugar and add zest of sweet lime. Mix it together and let the sugar get enriched with the sweet lime oils and become fragrant. Leave it for 5 minutes. You can juice the zested sweet limes and keep aside.


3. Then add butter at room temperature to the sugar and whisk everything till its all creamy and sugar has dissolved.


4.  Add eggs and whisk again for good 7-8 minutes till everything has become creamy and airy.


5. Add unsweetened yogurt or curd, vanilla essence, fresh sweet lime juice and whisk again. 


6. After whisking you will come across a airy cake mixture. Set aside.

7. In another bowl add the All purpose flour, baking powder and baking soda. Combine everything well.


8. Add the dry ingredients to the wet ingredients little by little and keep whisking till everything is moistened. Do not over mix as it will result in a bread like cake which you don’t want.


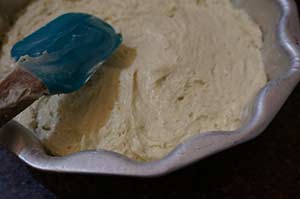
9. Pour the cake batter in the greased pan and smoothen the top with a spatula. Give it a couple of taps . This will remove any trapped air bubbles. Bake it in the oven for 50-60 minutes on 180 degree Celsius or until the tooth pick comes out clean. If any time you feel the cake is getting over browned you can tent it with an aluminium foil.

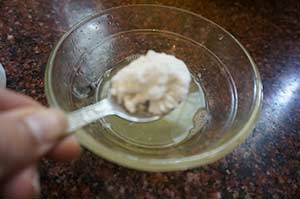
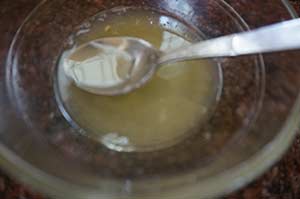
10. In the meanwhile make the syrup for the topping. In a bowl add some icing sugar and add sweet lime juice.


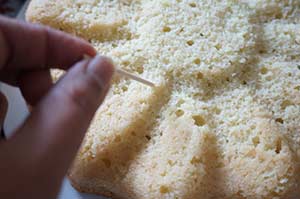
11. When the cake has baked remove it out of the mould after 10 minutes of removing it from the oven. Then let it rest on the wire rack till it comes to room temperature. Pole holes i n the cake with the help of a toothpick.

12. Pour the syrup with the help of a spoon all over the cake surface. It will seep down and will be absorbed by the cake.  Sprinkle more icing sugar and zest of sweet lime if you fancy.


13. Slice and serve with your favourite cup of chai or coffee. You will be in dessert heaven.

If you are looking for other Cakes and desserts with fresh fruits you can try: Peach Upside Down Cake.  Fresh Apricot and Almond CakeApple CrispMango Vanilla CakeFestive Orange Blueberry Pound CakeSorghum and Wheat Flour Persimmon Cupcakes with Cream Cheese FrostingVanilla & Pomegranate CakeVegan Chocolate Banana CakeMascarpone Cherry Compote Cheesecake GlassesEggless Orange Cake with Candied Orange Peel FillingPersimmon Rum Cake,  Mango Tart with Vanilla Pastry Cream .

[whohit]SweetLimeCake[/whohit]

[yumprint-recipe id=’291′] 

I woke up one morning to find a mail in my mailbox saying that my blog has been listed under top 100 Indian Food Blogs by Feedspot. First I dint take it seriously because the link said I shared the space with Masterchefs like Sanjeev Kapoor and knwon faces like Nishamadhulika and Manjula’s Kitchen. But then by evening the word spread to Facebook and my friends started tagging me that my blog name is actually in top 100 Indian Blog list. I was numb for a moment but then I was jumping with joy. I want to thank you my readers , my family and my friends who have encouraged me and supported me in this food journey. What would I do without your love! 


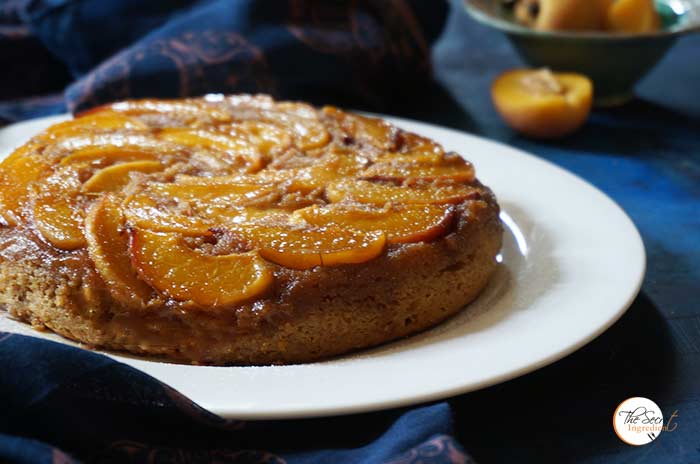
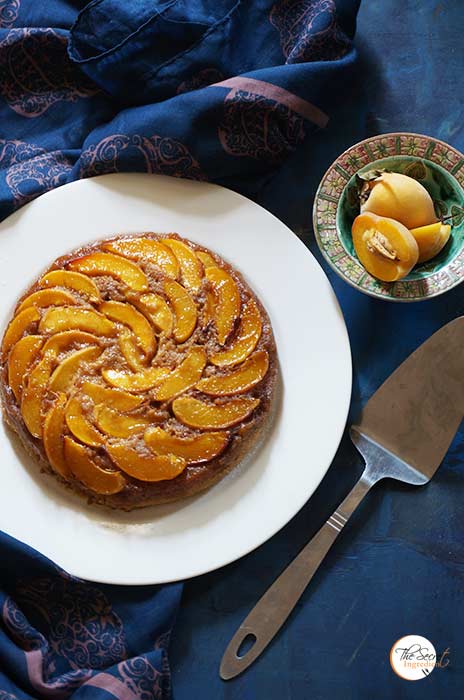
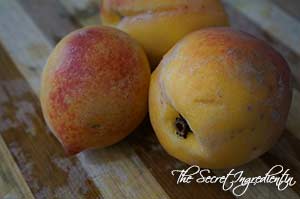
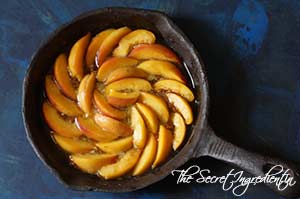
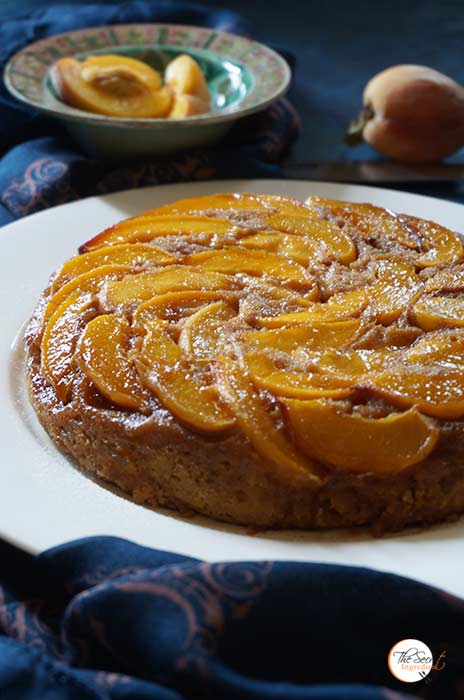
My family wanted a cake to celebrate the occasion and I though of baking this Peach upside down cake. This cake was baked in a cast iron skillet and uses no refined flour or sugar! It was moist and held the peaches so well. The flavour of jaggery gave it that earthy feel. What a healthy way to celebrate the occasion. 

Directions:

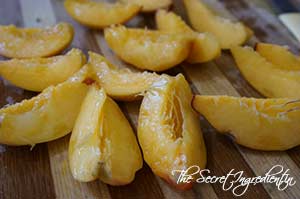
1. Thoroughly wash ripe peaches and slice them into wedges and discard the stones.


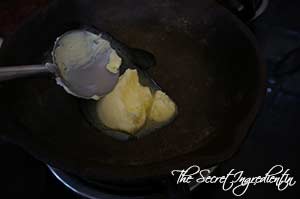
2. Place a 8-9 inches cast iron skillet* on stove and add butter. You can buy a 6 inches Cast iron skillet from our online store The Gourmet Shop . Let the butter melt and spread crumbled jaggery all over the surface. Instead of jaggery you can also add brown sugar. Let the jaggery melt and form a caramel like syrup. Turn the flame off.


3. Place peach wedges all over the skillet. Set aside. In the meanwhile preheat the oven for 10 minutes on 180 degree Celsius (Learn more about Oven temperatures and conversions)


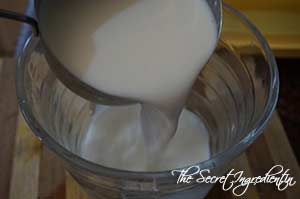
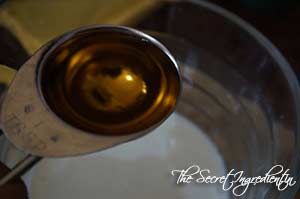
4.  In a vessel add milk and Apple Cider Vinegar**.


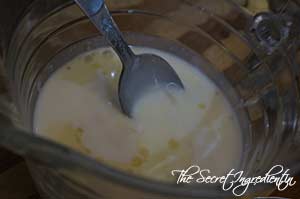
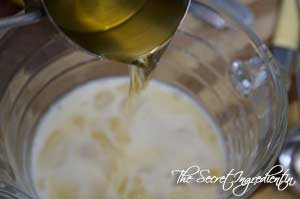
5. Stir to mix and also add oil. Heat the milk oil mix in a microwave for 2 minutes.


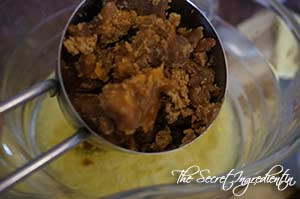
6. Add brown sugar or jaggery powder, salt and vanilla extract.


7. Also add cinnamon powder and nutmeg powder to the wet ingredients.


8. Give everything a good mix and set aside. 

9. In another bowl add whole wheat flour and All purpose flour.


7. Also add baking powder and baking soda. Combine all the dry ingredients.


11. Add the wet ingredients to the dry ingredients and mix everything till everything is moistened. Do not over mix for you do not want a tough cake.


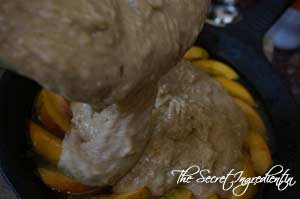
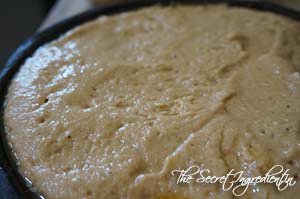
12. Pour this batter over the peaches in the skillet. Level up with a spatula and pop it in the oven for 30 minutes or till the tooth pick inserted comes out clean.  


13. Bring the skillet outside the oven and let it sit on the counter for 10 minutes and only after that invert it on a serving plate carefully. If you do it before ten minutes the cake will spread everywhere and if you wait too long the caramelized peaches will stick to the skillet and will refuse to move. Therefore, invert the plate right after 10 minutes. Slice and enjoy!

Other recipes with fresh peach you can try are: Peach Lemonade and Eggless Fresh Peach Cobbler.

If you are looking for other Cakes and desserts with fresh fruits you can try: Fresh Apricot and Almond CakeApple CrispMango Vanilla CakeFestive Orange Blueberry Pound CakeSorghum and Wheat Flour Persimmon Cupcakes with Cream Cheese FrostingVanilla & Pomegranate CakeVegan Chocolate Banana CakeMascarpone Cherry Compote Cheesecake GlassesEggless Orange Cake with Candied Orange Peel FillingPersimmon Rum Cake,  Mango Tart with Vanilla Pastry Cream

[whohit]PeachUpsideDownCake[/whohit]

[yumprint-recipe id=’282′]

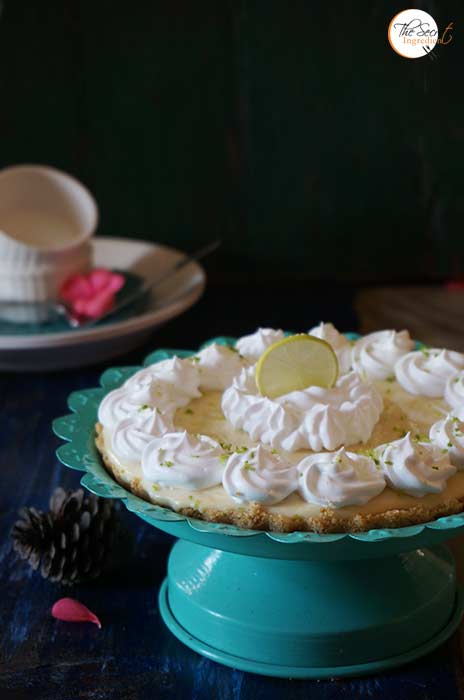
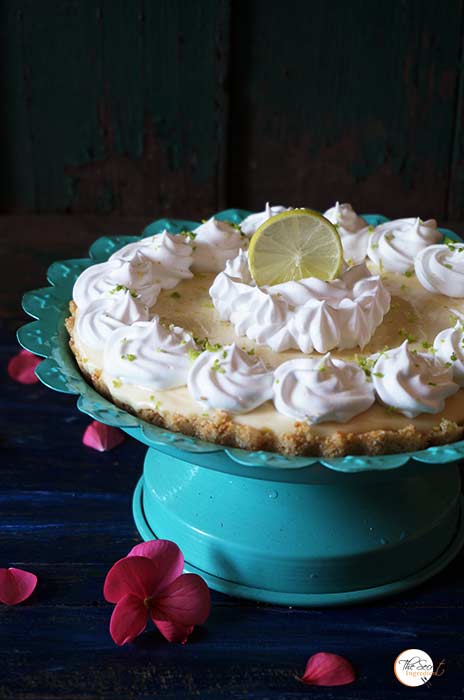
Some friends from my hometown were visiting us in the hills. My parents asked them to carry a few lemons from their yard. Last time when I had the lemons in abundance I made the Lemon Pound Cake with Lemon Glaze and this time I wanted to make Laura Vitale’s Key Lime Pie. My husband was leaving for a shoot to mumbai and I had one hour in hand. I decided to make this dessert for him so that he leaves with some sweet memories. ha! I am such an adorable, dotting and caring wife 😛 (No pun intended)


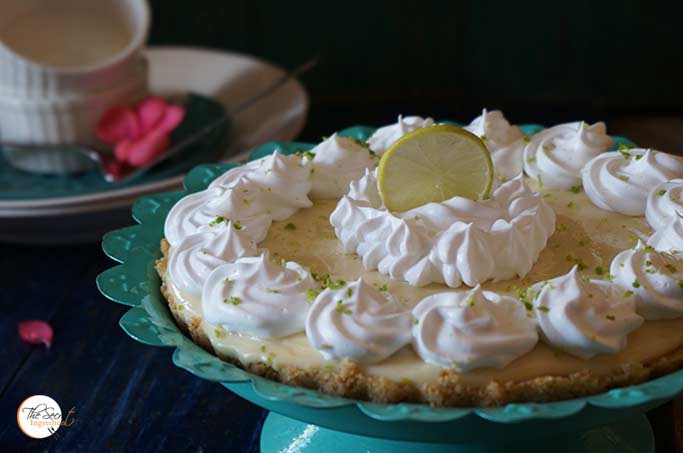
So this was an easy peasy recipe and required no baking just a little chill time. The weather was already freezing so it needed half of the time to set and it was soo soo good. I loved the three layered tart, crumbly and sweet culmination. If you like lemony tart desserts you sure will be on cloud 9. Please ensure that you add ample whipping cream as suggested in the recipe. I know the lessor will have less calories but it will be quite lemony for the taste buds. 

Directions:

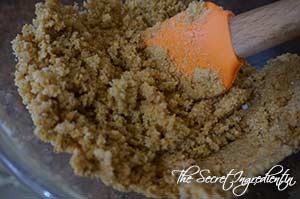
1. Take Graham Crackers or even digestive biscuits will work great. I have used the later. Add them to a bowl and crush them to make crumble. I have used a pestle for this. 


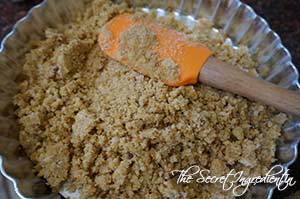
2. Add butter at room tempertaure to the crumble. Also add powdered sugar.


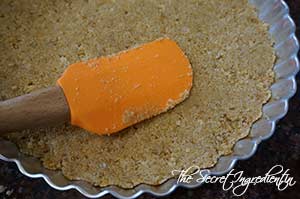
3. Mix everything together and dump the crumble mix on a pie pan with removable bottom. You can buy one like this on The Gourmet Shop at reasonable prices. Press the crumble into the base evenly using the force of a spatula or even a small bowl. Set the pie pan aside.


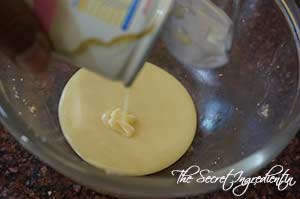
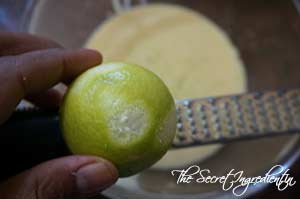
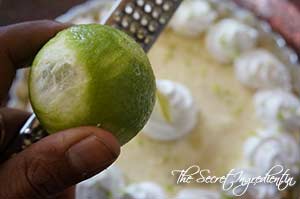
4. In another bowl add the condensed milk and add a zest of a lemon. 


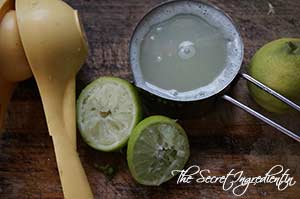
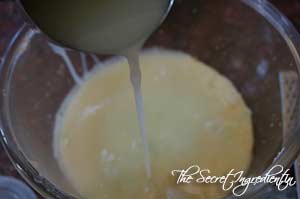
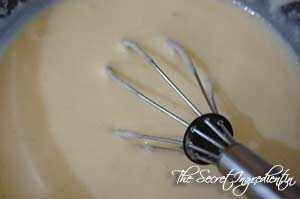
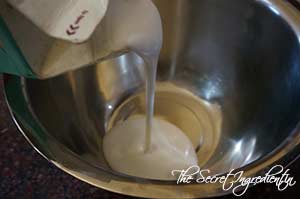
5. Squeeze out juice of lemons and mix that to the condensed milk and combine using a whisk.


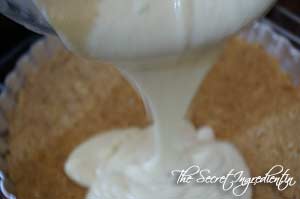
6. Pour that condesnsed milk mixture on top of the tart pan over tha layer of biscuits. Let it sit in the refrigerator and set for a cuple of hours. 

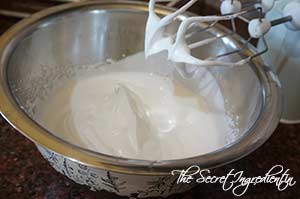
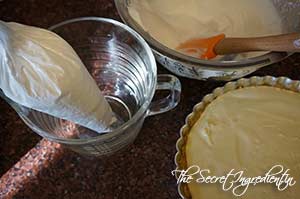
7. In the meanwhile take out thawed whipping cream from the fridge and whisk it with electric whisk till stiff peaks are formed. 


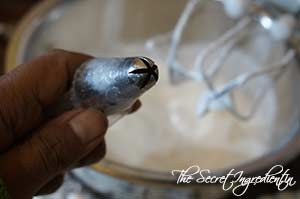
8. Place a pipping nozzle of your choice in a pipping bag and fill the bag with whipped cream. Tightly close the bag and cut the tip with a pair of scissors.


9. Pipe the top of the lemony pie with whipped cream all over. You can even spreead the cream with a spatula, pipping is not mandatory. You can beautify it further by adding additional lemon zest.


10. Put it inside the fridge for whipped cream to settle. Slice and serve. 

Other Pie, Tarts and Desserts you can try from our my blog are: Mango Tart with Vanilla Pastry CreamApple Cider Spiced Doughnuts ,  Blueberry Bars,  Eggless Orange Cake with Candied Orange Peel FillingLemon Cake with Lemon GlazeSorghum and Wheat Flour Persimmon Cupcakes with Cream Cheese Frosting.

[whohit]KeyLimePie[/whohit]


GurrGajarChawal_Featured3

I know I have been showing up after a while. When I am home with my family I dont get time to blog. Life is all busy with socializing, shopping, yapping, some baking workshop and lazying around. Last week I spent on the beaches of Goa and when I returned to Delhi it was freezing cold. The next day was Makar Sankranti which is the First Day of Hindu Calender. This day is widely celebrated in India with different names in different parts of the country like Pongal, Lohri, Bihu etc. Its believed to be the coldest day of winters when the cold is at its peak. Therefore, foods which keep your body warm are eaten and distributed with friends and family which included, sesame seeds, dates, jaggery, ground nuts and other dry fruits. 

GurrGajarChawal_Featured2
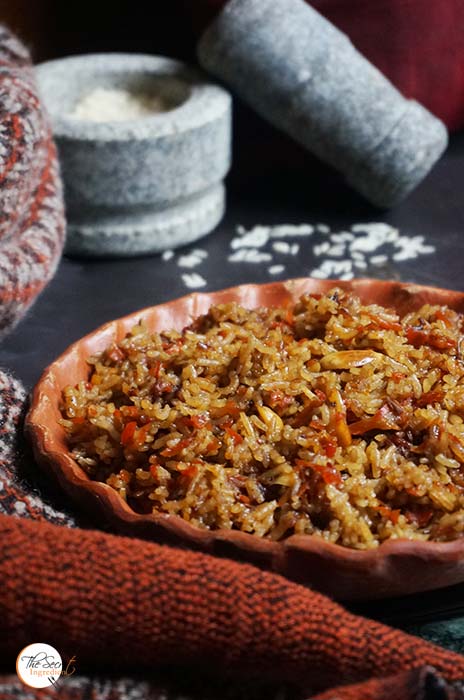
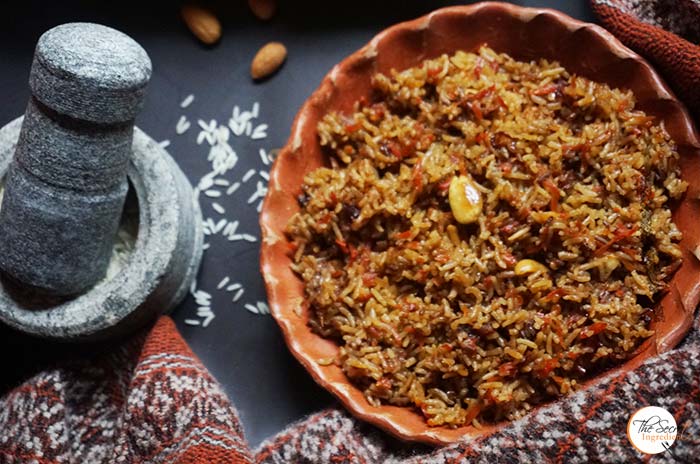
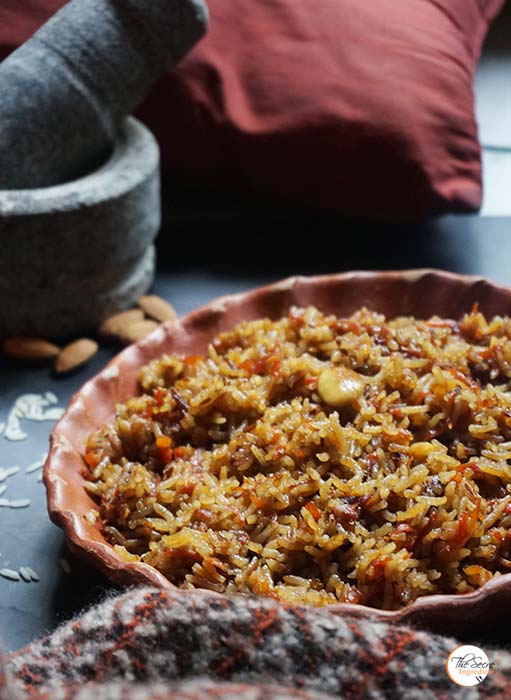
I was home after many days and I was itchy to make something festive. So I decided to make this rice pudding with Jaggery, Dates and Carrots. Its my mother’s recipe and I have grown old on this. This is a keeper for winters. Its a wholesome meal  I had also made Tilkoot which is Pounded Sesame Seeds and Jaggery Balls couple of years back . Its a traditional recipe from Uttar Pradesh.


Directions:

1. Soak Rice in Water for an hour or so.

DSC00310
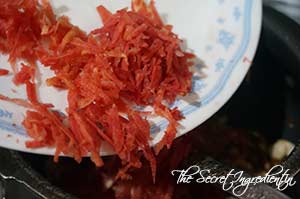
2. Wash and Grate Carrots and keep aside.

DSC00311
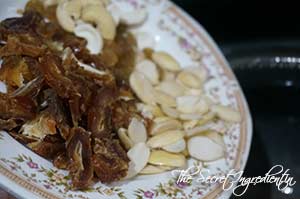
3.Blanch Almonds and remove their skin and cut them into halves. Also deseed and chop some dates. You can also add raisins and cashews if you like.

DSC00320
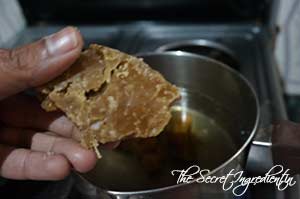
4. For the syrup, in a pan heat water and when it comes to a boil add jaggery. Keep stirring and let the jaggery melt in water.


DSC00313


DSC00316


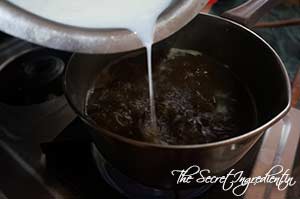
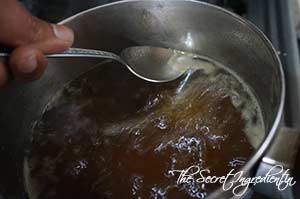
4. Add a spoonful of milk and a scum will form on top. Spoon out the scum and throw it away. That’s the impurity in jaggery which we don’t want to add to the rice. Turn the flame off and keep the syrup aside.


DSC00317


DSC00318


DSC00319


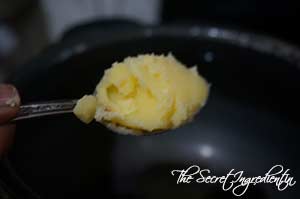
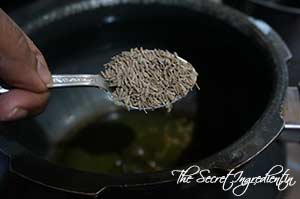
5. In a pressure pan add ghee and when ghee melts add cumin seeds. 


DSC00322


DSC00323


6.Let them crackle that is when you add grated carrots to the pan and saute in ghee for a minute.

DSC00325
7. Add the dried nuts which we had chopped earlier.

DSC00324
8. Add Soaked rice without the water.

DSC00326
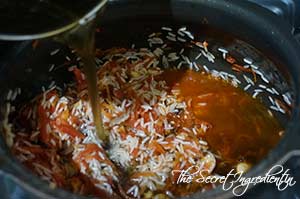
9. Lastly add the jaggery syrup and close with the lid. Pressure cook for 3-4 whistles or until the rice is cooked.

DSC00327
10. When the steam escapes fluff up with a fork and serve hot. Enjoy the winter bounty. 

You can even try Tilkoot for Makar Sankranti.

Other Rice recipes you can try are: Rice Pudding with Mango & SaffronMushroom BiryaniRaw Mango RiceSpicy Mint RiceItalian Arborio Rice with MushroomsKathal Ki BiryaniSouth Indian style Curd RiceBombay Biryani

GurrGajarChawal_Featured1[whohit]GurrGajarRice[/whohit]

[yumprint-recipe id=’267′]

ragibrownies_featured4

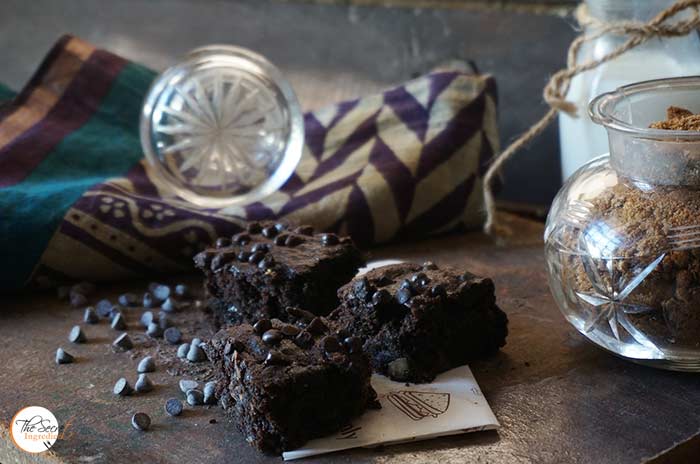
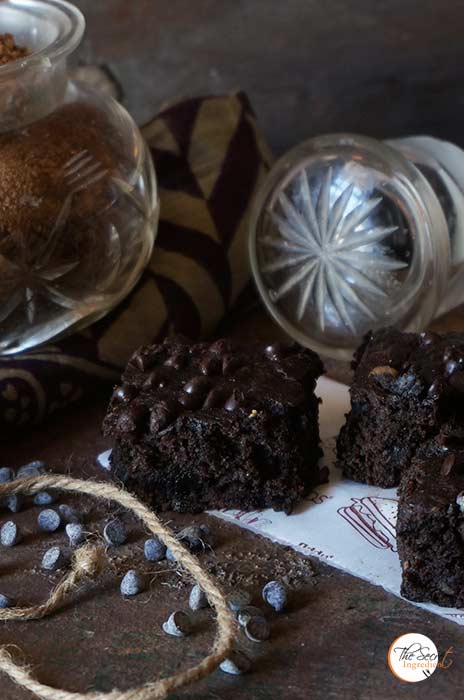
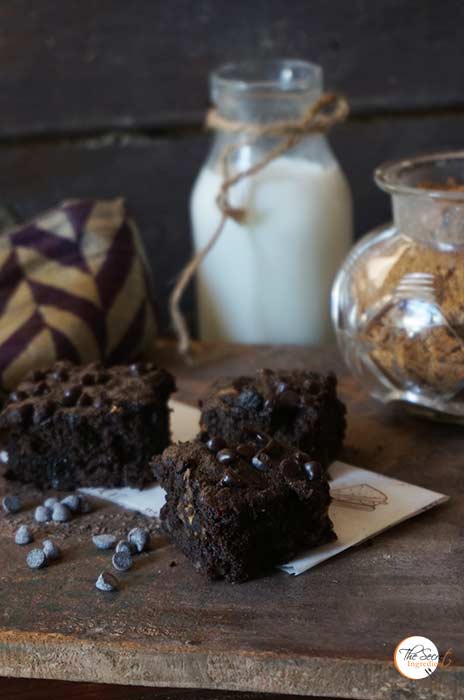
Its funny how I have never posted a non healthy recipe of Chocolate Brownies on my blog. Last two times the chocolate brownies on my page were Vegan Yellow Zucchini Chocolate Brownies and Whole Wheat Oats & Chocolate Brownies. And this time I had decided to post a traditional indulging, rich brownie loaded with chocolate, butter and refined flour. But then there was a change in heart and I ended up baking these Ragi Gluten Free and Vegan Chocolate Brownies. Not that I regret doing this but this makes me ponder have I really become that health conscious? I think I have to say yes! To me my family’s health is out of utmost priority. I simply cannot settle for things which have lesser nutritional content.

ragibrownies_featured2
May be someday I will bake those brownies, may be for the cheat day. For now to celebrate third Anniversary of my baby blog we must enjoy these delicious, decadent, healthy and gooey brownies. I posted the pictures of these on the 1st day of the year celebrating my blogs and my own birthday. It was loved by you all and everyone wanted the recipe. Unfortunately I was occupied and could not blog. So here I am burning the midnight oil and writing the recipe for you guys!I hope you will like it. I wish you all a happy and healthy New year 2017.

Directions:
1. In a bowl add Ragi flour and brown cane sugar.


dsc09837


dsc09838


2. Also add baking powder, Cocoa Powder and Salt.


dsc09839


dsc09840


dsc09841


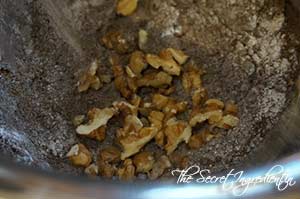
3. Add chopped toasted walnuts to it and set aside.

dsc09842
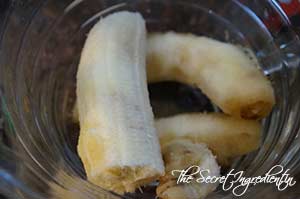
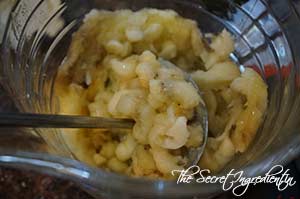
4. In another bowl take some ripe bananas and mash them well.


dsc09843


dsc09844


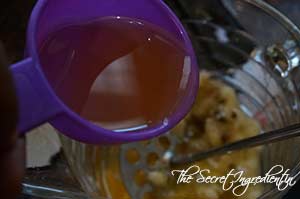
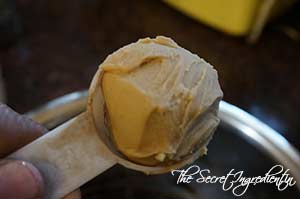
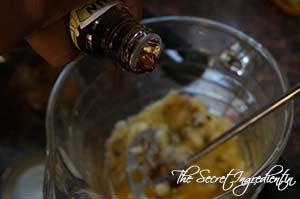
5. Add oil, peanut butter and vanilla essence and combine.


dsc09845


dsc09851


dsc09846


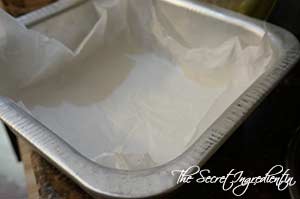
6. Preheat your oven to 180 degree Celsius (Learn more about your oven temperatures and conversion) and line a square 8×8 baking pan with Parchment Paper. Set aside.

dsc09847
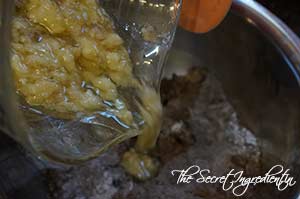
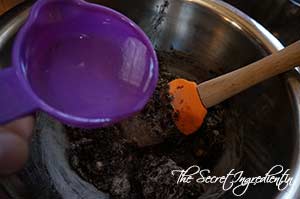
7. Add wet ingredients to the dry ingredients and also add water.


dsc09849


dsc09850


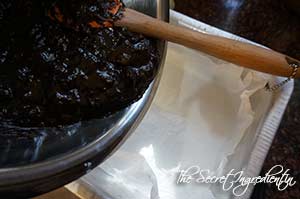
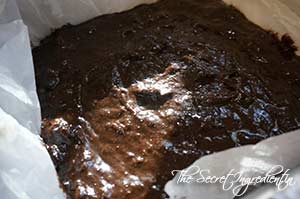
8. Mix everything thoroughly and ensure no lumps remain. Pour the batter into the baking pan.


dsc09852


dsc09853


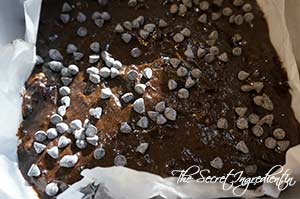
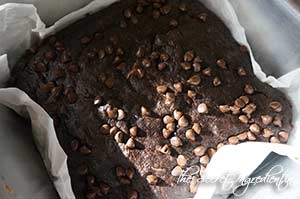
9. Add Choco Chips on top and spread evenly. I used the vegan non dairy chips.

dsc09854
10. Bake in the preheated oven for 25-30 minutes until the top becomes non glossy and toothpick inserted comes out clean.

dsc09855
11. Let it cool down completely and then cut into squares. Serve with a drizzle of Chocolate Sauce or Ice cream.

Other Chocolate Brownies you can try here are: Vegan Yellow Zucchini Chocolate Brownies and Whole Wheat Oats & Chocolate Brownies.

If you are looking for more chocolate desserts here is what you should try: Vegan Chocolate Banana CakeWhite Chocolate Chip Cookies Vegan Eggless Chocolate MuffinsPeanut Butter Cookies with Chocolate ChipsPapaya Chocolate MuffinsCoconut Chocolate CookiesChocolate Vanilla Marble CakeBrigadeirosWacky Vegan Chocolate Cake.

ragibrownies_featured5
[whohit]RagiBrowniesGF[/whohit]

[yumprint-recipe id=’266′]

MangoPhirni_Featured1

Mangoes are an integral part of every Indian. With the wide variety of blissful mangoes available all across the nation, we are almost under its spell throughout the season. You can make desserts, chutneys, main courses, drinks or devour them as it is. My father is a die hard fan of Mangoes and his diabetes hasn’t made any difference to his love for mangoes. He has his meals only for the reason that he can enjoy mango after that 😉 . 
MangoPhirni_Featured2

This season I played a lot with fresh and ripe mangoes. I made Mango Tart, Spiced Mango Lassi, Mango and Bean Salad, Coconut Milk Mango Pudding and A Mango Chamomile Iced Tea, which I am yet to post. But making this mango phirni was the most delicious thing I have done the entire season. It was a delight with everyone who got to taste this. You must not wait longer to try this, for mangoes are about to bid us goodbye for the season.
Directions:

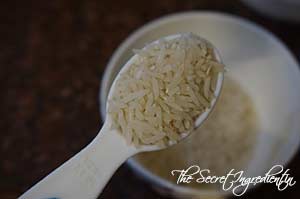
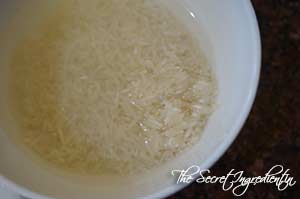
1. In a bowl add some rice and soak it in water for half and hour.


DSC07052


DSC07053


2. Drain the water and add rice to the blender and make a coarse paste.


DSC07056


DSC07057


3. Add one fourth cup water to the rice paste to dilute and set aside.

DSC07058

4. In a thick bottom vessel add milk and bring it to a boil. 

DSC07060

5. Once the milk has boiled slowly add the rice paste and keep stirring so that no lump is formed. This is very crucial step so whisking is highly recommended. Combine with milk and let it simmer till everything has thickened and reduced.

DSC07061

6. The milk will acquire porridge like consistency.

DSC07063

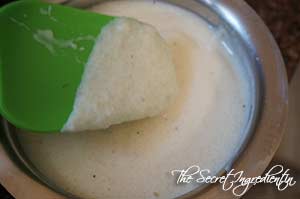
7. At this stage add condensed milk and cardamom powder. Cook a few minutes more and blend everything well. Turn the flame off and let it come to room temperature. Refrigerate for at least an hour.


DSC07064


DSC07065


DSC07066


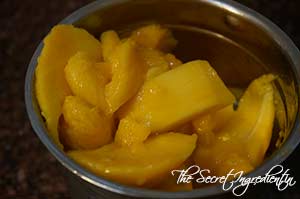
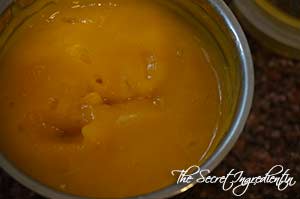
8. Scoop out the pulp of ripe mangoes and blend them into a smooth puree.


DSC07055


DSC07059


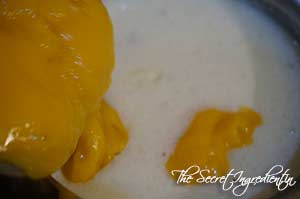
9. Add this Mango puree to the milk custard and combine well.

DSC07067

10. Add saffron strands and slithered almonds and pistachios and combine well. 


DSC07068


DSC07069


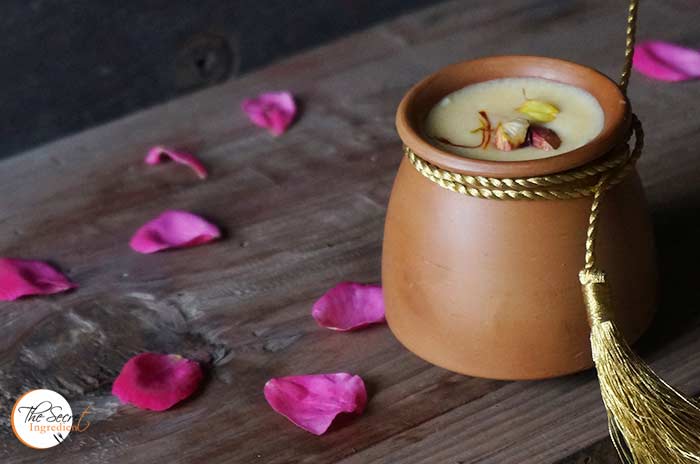
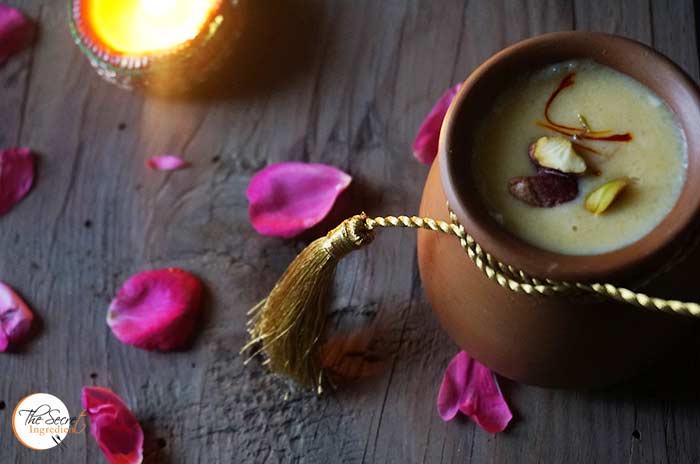
11. You can transfer them to individual serving bowls or clay pots and refrigerate further till chill. Serve with additional saffron strands and pistachios.
Other Mango Recipes you can try are: Spiced Mango LassiRaw Mango Garlic Spicy ChutneyMango Tart with Vanilla Pastry Cream Fresh Turmeric Pickle with Green MangoesRaw Mango RiceFresh Mexican Black Bean & Mango SaladPlum Mango PunchAam Ka PannaRaw Mango Chutney with Mint and CorianderKhatti Meethi Kacchey Aam Ki ChutneyKacchey Aam Ka AchaarCoconut Milk Mango Pudding.
Other traditional Indian Desserts you can try:  Apple LapsiKadda Prashad, Paneer Ki KheerGram Flour Semolina BallsKaddu Ka HalwaGajar Ka HalwaKesari SeviyanMakhane Ki KheerSooji Halwa , Swang Ke Chawal Ka HalwaSwang Ke Chawal Ki Phirni.

MangoPhirni_Featured3

[whohit]MangoPhirni[/whohit]
[yumprint-recipe id=’232′]