Tag

GlutenFree

Browsing

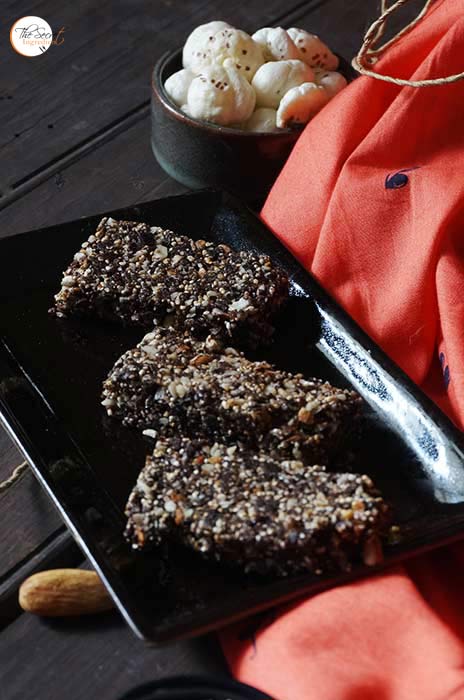
Ladies and Gentleman I am back and I am back with a lot to share. This Corona lock down has made me write all over again on my blog. The reason for disappearance was pure laziness (proud to be a lazy bum :P). Although I had been baking and cooking and posting on my Instagram handle. I hope you are following my feed. I bring you today my go to recipe of No Bake Foxnut and Puffed amaranth granola bars. The reason I chose this recipe  is because we all are home these days. The situation is bad and scary out there. But at the end of the day precaution can save us which means staying home without cribbing,finding reasons to cook together, enjoy with your loved ones. Rather than sulking we can transform this worry into hope. Just keep your mind and body occupied constructively.
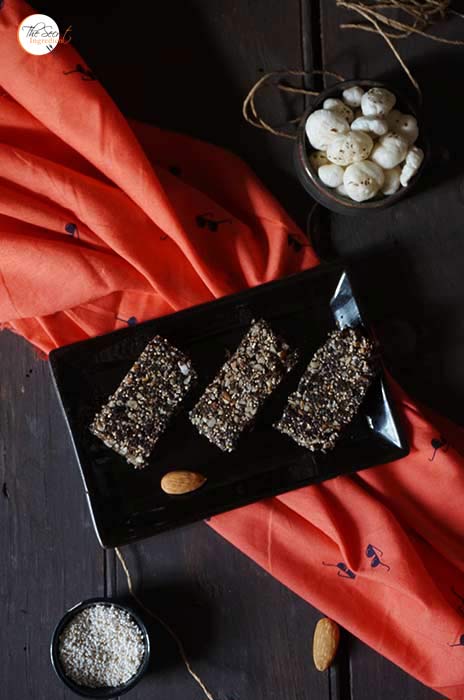

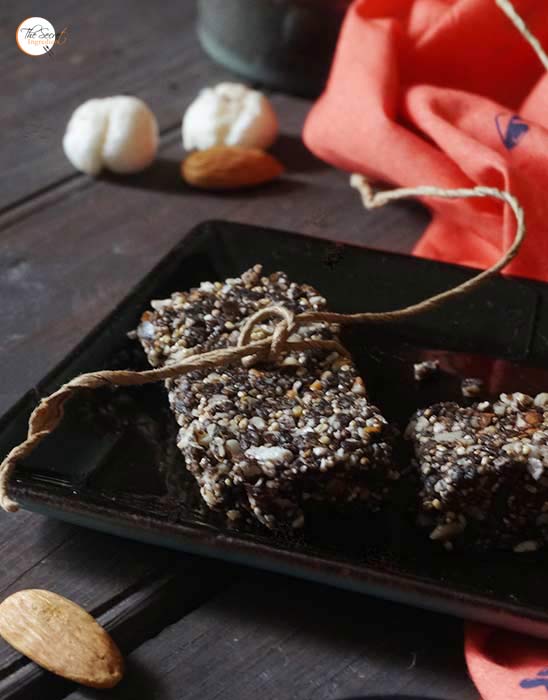
These granola bars are so easy to make. You can engage your kids to make this like a DIY project and you can supervise. It requires no baking and no major cooking. It has goodness of foxnuts or makhana , amaranth and almonds and taste nutty and chocolaty. Requires handful of ingredients and little of your time. I wont yap more and will jump directly to the recipe. Do write to me how are you dealing with lockdown and this scare. Sometime venting helps. It may not solve your problem but lightens your burden. If you wish to check out more energy bar recipes you can try Oats & Almond Energy Bars and No Bake Amaranth Granola Bars.

Directions:

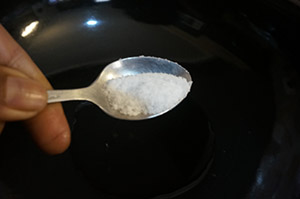
1. In a wok add some oil and salt 


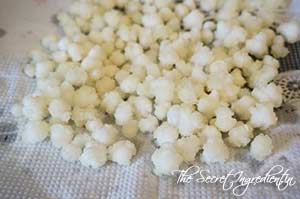
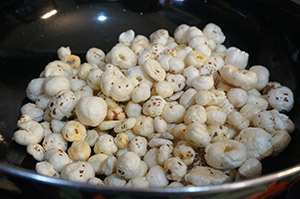
2. Add foxnuts. Roast them on a medium heat till they become crunchy and acquire some colour. This should take less than five minutes. Keep tossing the nuts constantly. You don’t want them to burn down. Remove on a plate and set aside.
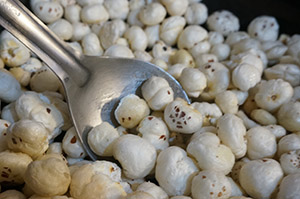


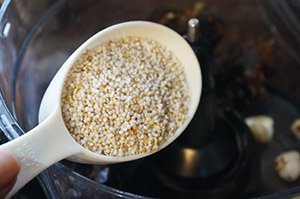
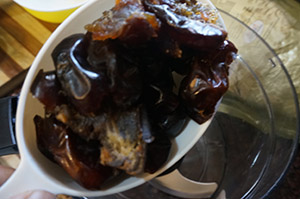
3. In a food processor add seedless dates, roasted foxnuts and puffed amaranth.


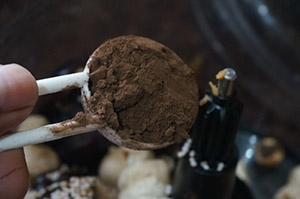
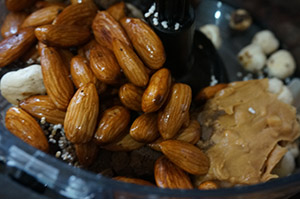
4. Also add peanut butter, cocoa powder and almonds.


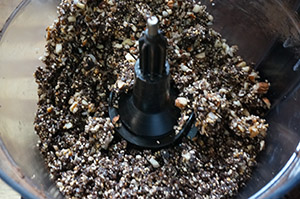
5. Blitz everything till you get a sand like mixture.


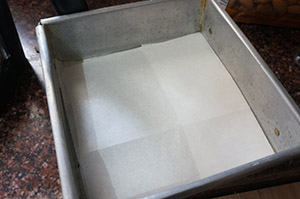
6. Line a baking pan with 90 degree angles with parchment paper, so that nothing sticks. I have used 8 x 5.5 inch pan.

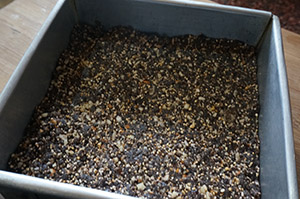
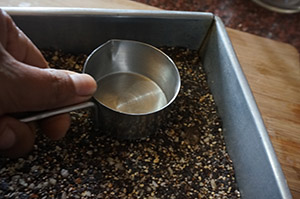
7. Dump the mixture into the baking pan and try to spread evenly and press with the help of a flat bowl so that everything gets settled and sticks together, If you do not use force you may come up with a crumbly bar.


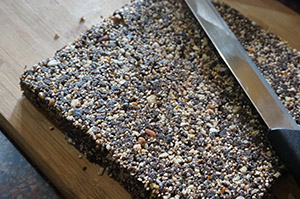
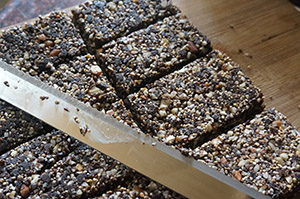
8. Refrigerate for at least an hour to set properly. Flip it upside down on a chopping board and cut into desired bars with a sharp knife.


9. You can cover them individually in food wrapping paper and refrigerate. It has a good shelf life. Lasts upto two weeks or so.

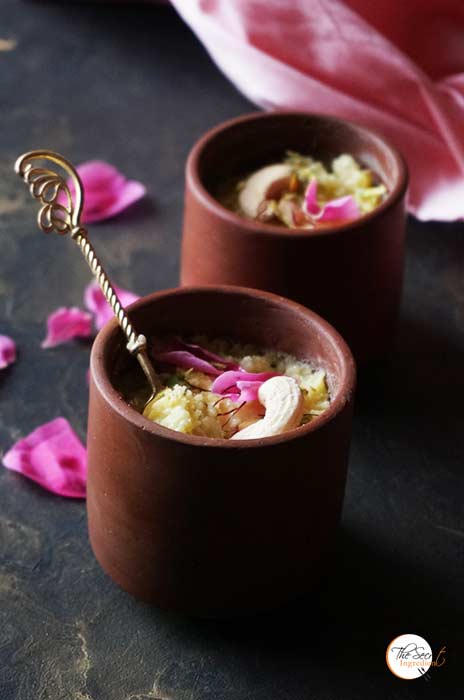
Other gluten Free recipes you can try are: Foxnut Milk pudding, Persimmon Buckwheat Gluten Free Cake, Vintage Honey Figs and Date Cake Squares Recipe with Gluten Free Flour,Amaranth Herbed Crackers,Gluten Free Chocolate Ragi Brownies,Besan & Corn Flakes Cookies,No Bake Amaranth Granola Bars, Apple Crisp

No Bake Foxnut and Puffed Amaranth Granola Bar
 
Recipe Type: SNACK
Cuisine: CONTINENTAL
Author: Anshu Wadhwa
Prep time:
Cook time:
Total time:
Serves: 12 bars
No Bake Fox nut and Puffed Amaranth Granola Bars are healthy and delicious energy food with goodness of fox nuts, amaranth and almonds.Its a gluten free treat.
Ingredients
  • 3 cup Pitted dates
  • 1 cup roasted Almonds
  • 3/4 cup fox nuts
  • 3/4 cup peanut butter
  • 3 tbsp cocoa powder
  • 3/4 cup puffed amaranth
Instructions
  1. In a wok add some oil and salt.
  2. Add foxnuts. Roast them on a medium heat till they become crunchy and acquire some colour.This should take less than five minutes. Keep tossing the nuts constantly. You don’t want them to burn down. Remove on a plate and set aside.
  3. In a food processor add seedless dates, roasted foxnuts and puffed amaranth.
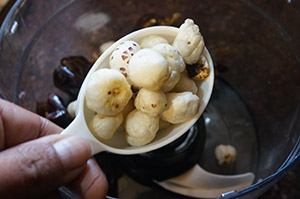
  4. Also add peanut butter, cocoa powder and almonds.
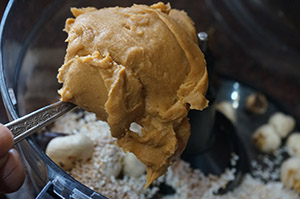
  5. Blitz everything till you get a sand like mixture.
  6. Line a baking pan with 90 degree angles with parchment paper, so that nothing sticks. I have used 8 x 5.5 inch pan.
  7. Dump the mixture into the baking pan and try to spread evenly and press with the help of a flat bowl so that everything gets settled and sticks together, If you do not use force you may come up with a crumbly bar.
  8. Refrigerate for at least an hour to set properly. Flip it upside down on a chopping board and cut into desired bars with a sharp knife.
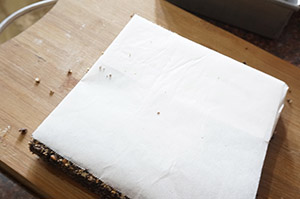
  9. You can cover them individually in food wrapping paper and refrigerate. It has a good shelf life. Lasts upto two weeks or so.


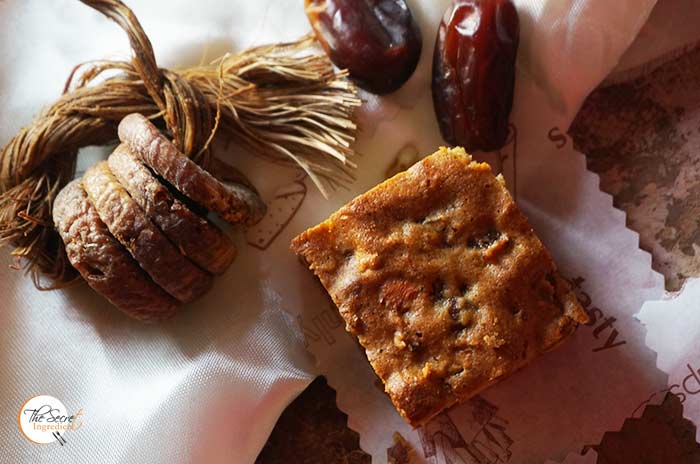
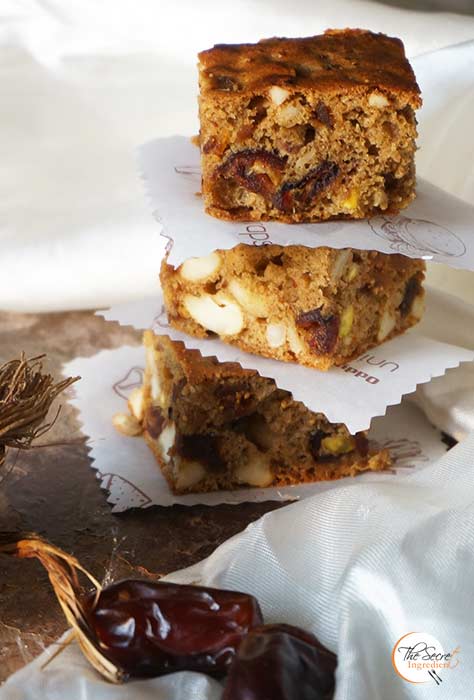
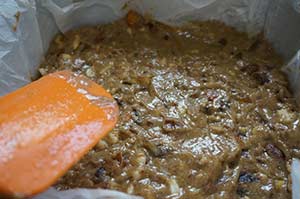
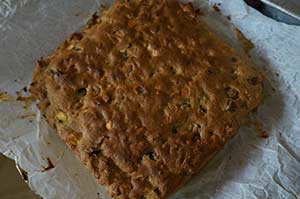
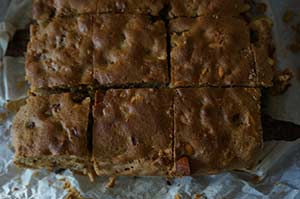
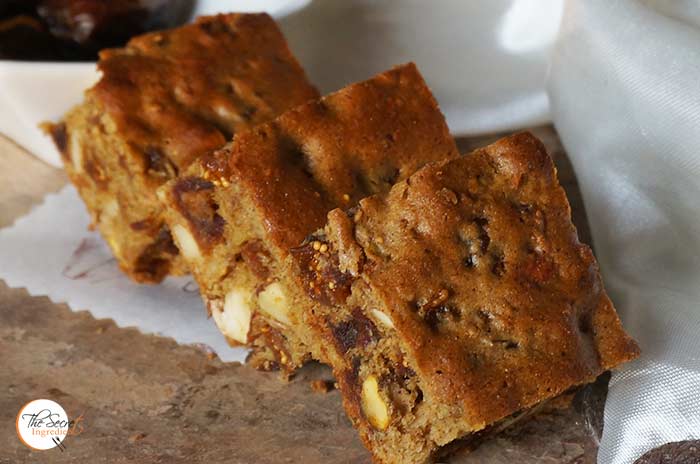
I have been a social science student and history has always fascinated me. I am good with dates and events which have occurred in the past. I always like to know how our society has evolved and what events have led to certain changes in it. The other day I was looking for Honey and Dates Cake recipe and by chance I stumbled on this recipe of Honey Dates Square, which said its a historic Recipe from 1940’s – the world War era when sugar was scarce and use of honey and maple syrup was the only thing used in bakes. There is a special charm to Historical Recipes. They not only make you understand the conditions and emotions of people but also invoke nostalgia. Therefore I was intrigued to try this recipe. More for the historic reason and less for the real recipe 🙂 


This recipe is oil free and butter free. Now in the current scenario it has become a fashion or rather health awareness to go oil free and avoid using refined sugar.. This is a perfect tea time cake which can be made in 30 minutes. The result was spectacular with minimal efforts. Would you like to try this piece of history?

Directions:
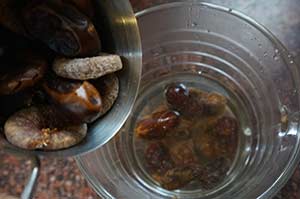
1. Soak figs and dates in warm water for an hour and set aside till they become soft.


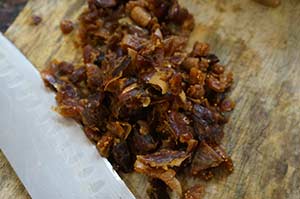
2. Deseed the dates and chop figs and dates into small bites.


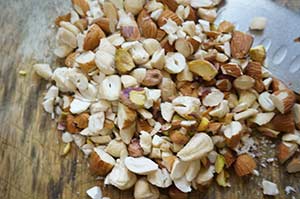
3. Also chop a mix of nuts, I have used almonds, cashews and pistachios and set aside.


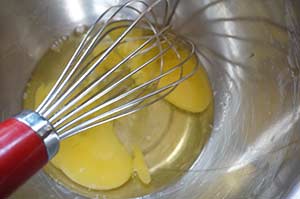
4. Lightly whisk eggs. You dont have to form stiff peaks. Look how beautiful and fresh is that yolk. I have used organic eggs from Eggee.


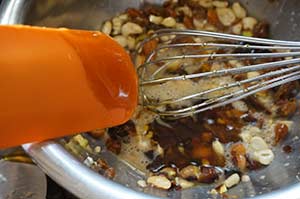
5. Add chopped nuts, figs, dates and honey and mix with the eggs.


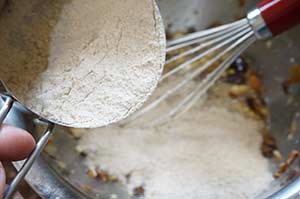
5. Stir in Gluten Free flour, you can even use Whole Wheat Flour All purpose flour if you like. I have used SOS organics Gluten Free Flour which you can order at our online store, The Gourmet Shop.


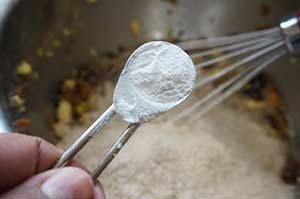
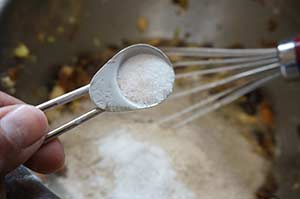
6. Also add Baking Powder and Salt and mix. Do not over mix just till everything is moist.


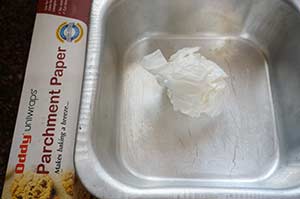
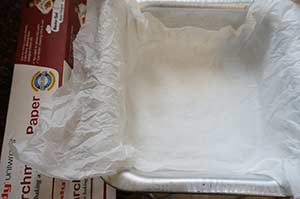
7. Line a 9×9 baking tin with some parchment paper that nothing sticks to the bottom of the pan. I have crushed the parchment paper and then opened and placed it, this trick will help it sit better. Isn’t it genius 😛 You can buy Parchment Paper at our online store, The Gourmet Shop. Also preheat the oven to 180 degree Celsius (Learn more about Oven Temperature and Conversion)


8. Pour the batter in the baking tin and smoothen the top with spatula.


9. Bake in the preheated oven for 30-35 minutes till the tooth pick inserted comes out clean.


10. Remove it from the tin along with parchment paper. When the cake cools down slice it into squares.


11. Serve with your favourite Cup of Coffee or Tea.

Other recipe with some history behind it were Anzac Cookies . If you are also tuned on by history you must read this post.

Other Gluten Free Recipes you can try : Amaranth Herbed CrackersGluten Free Chocolate Ragi BrowniesNo Bake Amaranth Granola BarsApple CrispBesan & Corn Flakes CookiesInstant Ragi Dosa

If you are looking for other Cakes and desserts with fresh fruits you can try: Peach Upside Down Cake.  Fresh Apricot and Almond CakeApple CrispMango Vanilla CakeFestive Orange Blueberry Pound CakeSorghum and Wheat Flour Persimmon Cupcakes with Cream Cheese FrostingVanilla & Pomegranate CakeVegan Chocolate Banana CakeMascarpone Cherry Compote Cheesecake GlassesEggless Orange Cake with Candied Orange Peel FillingPersimmon Rum Cake,  Mango Tart with Vanilla Pastry Cream .

[yumprint-recipe id=’283′]

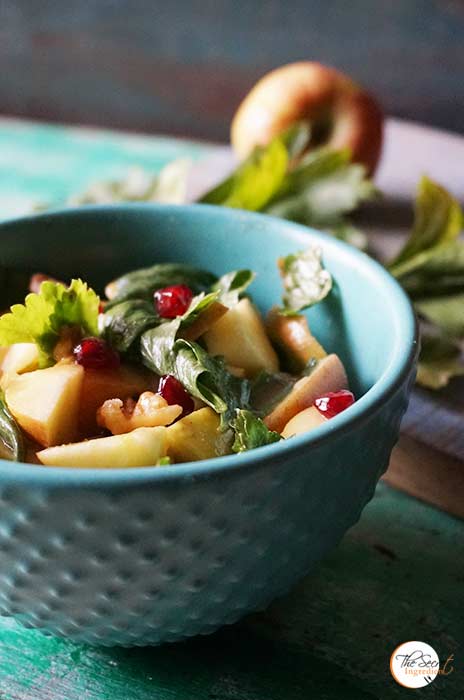
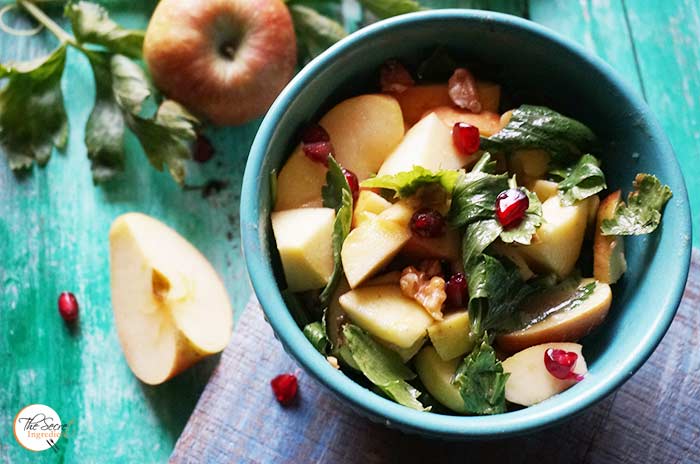
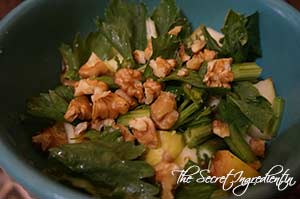
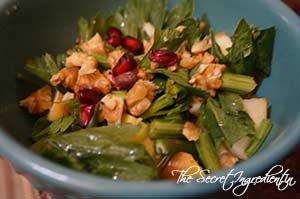
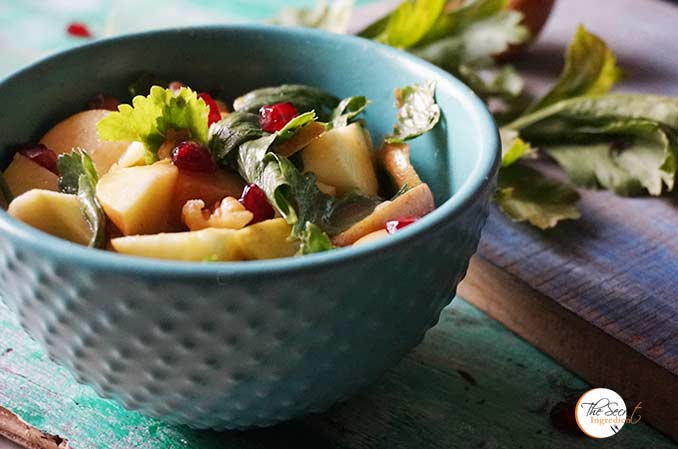
Last week I had posted my Watermelon and Feta Cheese Summer Salad Recipe which was appreciated by a lot of you. Many had requested me to share more such fresh salad recipes to beat the heat. It’s practically impossible for me to eat anything greasy and rich during summers. I can simply live on fresh salads. They not only soothe my soul but are a great detox. I can have one meal of just salads. This apple celery salad is very simple and requires no spadework and can be made in a jiffy. The dressing of Mustard Vinaigrette pairs so well with the sweetness and crunch of apples and the zing of celery.

Every salad needs that nutty flavour which balances the acidity and the crispness of vegetables. The toasted walnuts and pomegranate actually perform this role and trust me they are good. I will be posting more such salad recipes so keep watching the space and subscribe to my social media handles on Facebook, Instagram and Pinterest.

Directions:

1. Core and chop some fresh apples and place them in a salad bowl. Also add celery leaves and its tender stems.


2. Add chopped and toasted walnuts to the bowl along with pomegranate arils.


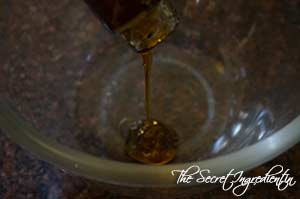
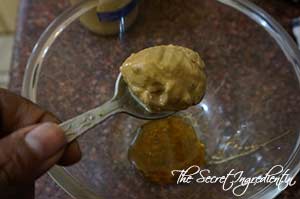
3. For the dressing add honey in a separate bowl and to this add dijon mustard sauce.


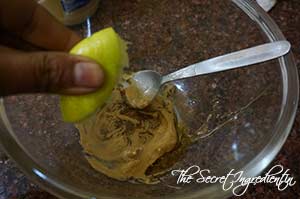
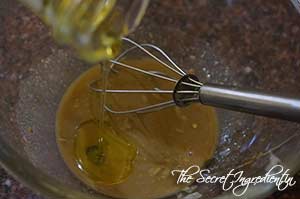
3. Squeeze in a juice of lemon and also add olive oil. Whisk everything together.


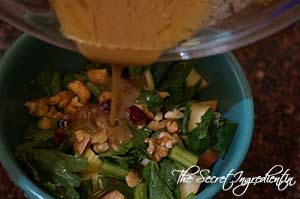
4. When you are ready to serve pour this dressing over the apple celery mix and toss everything well. 

5. Serve as it is.

Other Salad recipes you can try are:Watermelon and Feta Cheese SaladThai Green Papaya Salad RecipeCharred Peppers Salad with Anchovy White BeansCouscous Salad with Chickpeas in Lemon Olive Oil VinaigretteFresh Mexican Black Bean & Mango SaladSautéed Red Bell Pepper and Olive Pasta SaladSundried Tomatoes Pasta SaladGrilled Chicken SaladIndonesian Style Patni Red Rice Salad With Boiled Eggs in Pomegranate Molasses Sauce , Apple Spinach & Cranberry Salad.


[whohit]AppleCelerySalad[/whohit]

[yumprint-recipe id=’277′] 


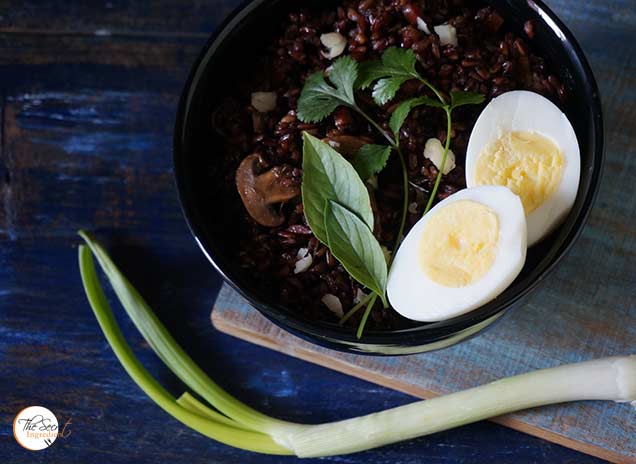
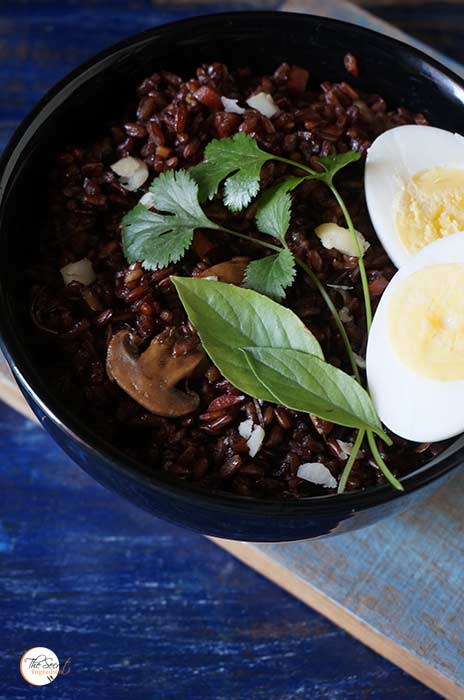
I always wanted to try the Red variety of Rice locally known as ‘Patni Rice’. Its all referred to as “Weedy Rice” or “Bhutanese red”. The Rice has beautiful red colour and even red husk. It is often eaten semi hulled and has an enchanting nutty flavour. The grains are short and thick so it doesn’t get mush on cooking and is quite chewy which makes it perfect for salad dishes. The nutritional quotient of this rice is much higher than other varieties of rice because it is unpolished and is eaten with germ intact. You can read the health benefits of Red Rice here in an article. This is grown in the North Himalayan, coastal Central and Western parts of India.

So when I saw packet of Patni Rice by Conscious Foods  in the supermarket I knew I am making a wonderful decision by buying it. Not only are their products amazing but also organic. Last time I had made Sorghum and Whole Wheat Persimmon Cupcakes with Organic Sorghum Flour from the list of amazing products that these guys have launched in the market. If you like to place order for any conscious food products you can order with our online store The Gourmet Shop.

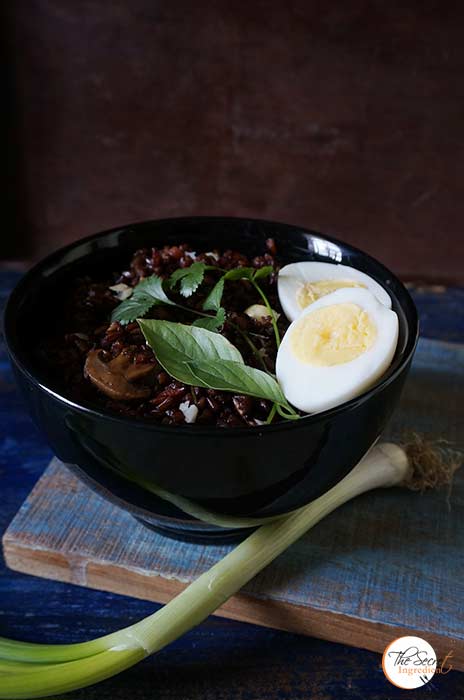
Since the texture of the rice is chewy and the taste is nutty I made an Indonesian Style Red Rice Salad with some veggies and tossed some Macadamia Nuts and serve it with boiled eggs. Oh what a wholesome meal it was. This is to be informed that its not a quick fix, toss and mix kind of salad recipe. It requires cooking and a bit of your time. But trust me the end result will really impress you.

Directions:
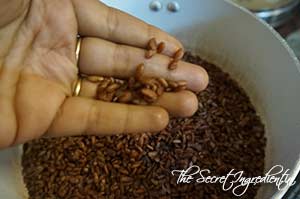
1. In a pot boil some water. Wash the red rice thoroughly and drain its water. Add the washed rice to the pot of boiling water. Add a clove for an incredible aroma and let it boil with the rice. This is purely optional.


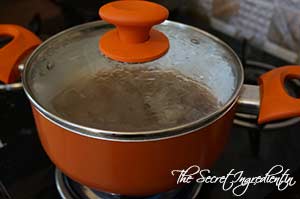
2. Let the rice come to a boil and then turn the flame on low and let it cook on simmer with lid on.


3. After 45 minutes on simmer or when you see the water has evaporated, the rice will be cooked al dente . Set aside.


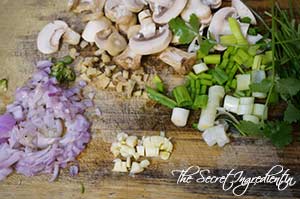
4. Chop vegetables like spring onions,green chilly, red Onions, garlic, ginger, slice mushrooms, red bell pepper, coriander leaves. You can add any vegetable you like.

 
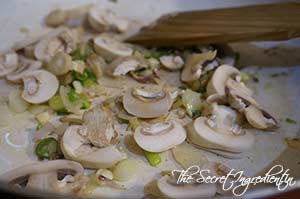
5. In a pan pour some oil and add chopped onions,green chillies, ginger and garlic. Saute them till the onions have been soft and raw smell of garlic and ginger has faded.


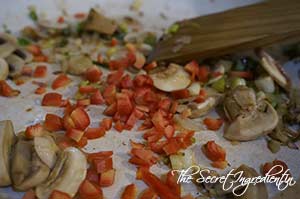
6. Add sliced  mushrooms and toss them in oil till they are semi cooked. Add red bell pepper and continue to cook.


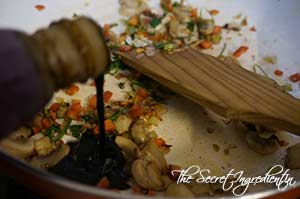
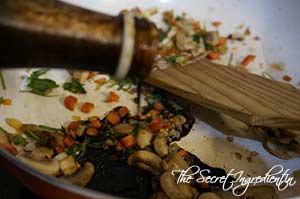
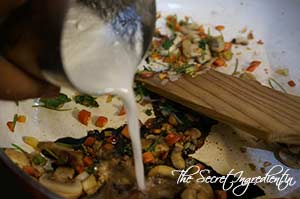
7. Add soy sauce, pomegranate molasses and Coconut milk.


8. Season with salt and pepper.


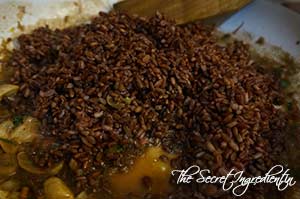
9. Add cooked rice and combine. Let it cook for another 5 -7 minutes till the flavours are absorbed by rice.


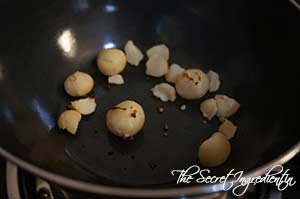
10. Dry toast some macadamia nuts in a pan. 


11. Transfer the rice to a serving bowl and toss in some toasted macadamia nuts and serve with Boiled eggs. This cant get better than this. 

Other Salad recipes you can try are: Thai Green Papaya Salad RecipeCharred Peppers Salad with Anchovy White BeansCouscous Salad with Chickpeas in Lemon Olive Oil VinaigretteFresh Mexican Black Bean & Mango SaladSautéed Red Bell Pepper and Olive Pasta SaladSundried Tomatoes Pasta SaladGrilled Chicken Salad

[whohit]RedRiceSalad[/whohit]

[yumprint-recipe id=’270′]

sabudananamkeen_featured1
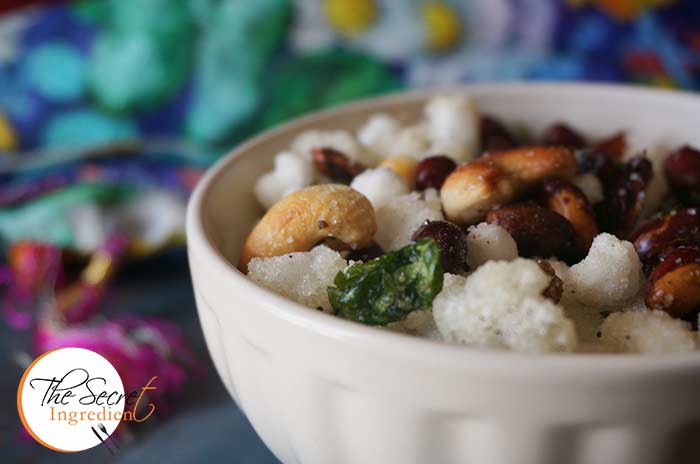
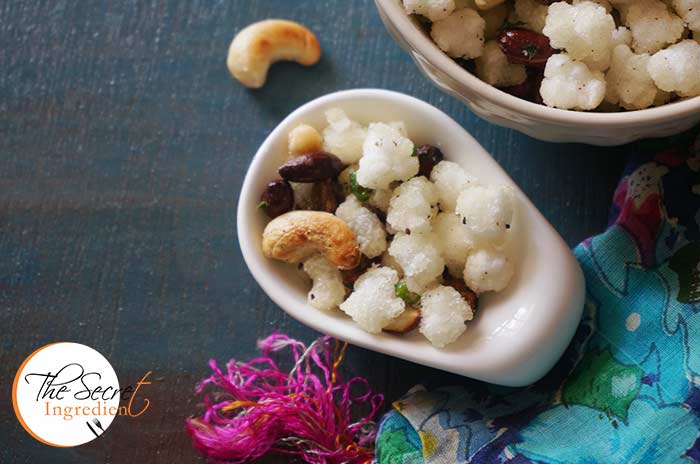
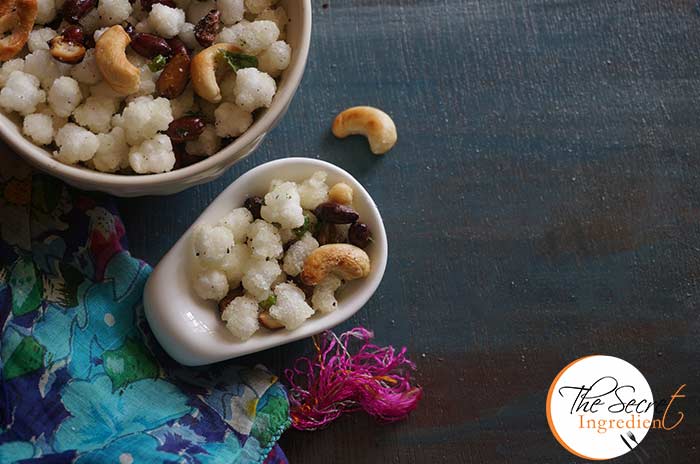
We all need something to munch and snack on in between our meals. And when you are fasting for Navratri, those hunger pangs can really lower your energy. So instead of buying Namkeens or other snacks from market you can make them at home. They are easy to put together , fresh and hygienic. These can also be enjoyed by those who are not fasting. A word of caution, this Namkeen can be very addictive. Once you start eating this you cannot stop eating it. I loaded this one with dried fruits as I am expecting some guests in the days to come. You can please your guests with such home made snacks and even make it in advance and store for the upcoming festival season.

sabudananamkeen_featured2

I always have loved its khatta meetha flavour with a hint of Kaddi Patta. I have used Nylon Sabudana for this recipe which are bigger in size than the normal tapioca pearls. They puff up on frying and have an incredible crunch. But you can always use the normal sized sabudana for this.

Directions:

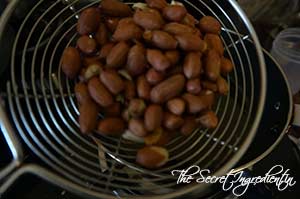
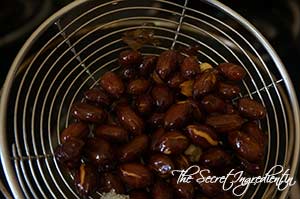
1. In a wok heat some vegetable oil. Drop one pearl of sabudana in hot oil to test if its heated optimally. If it rises instantly on the surface you know your oil is ready for frying. Add Sabudana to oil and let them fry and puff up for a couple of minutes without changing colour. Remove them on a plate lined with paper towel to absorb extra oil.


dsc06186


dsc06189


dsc06190


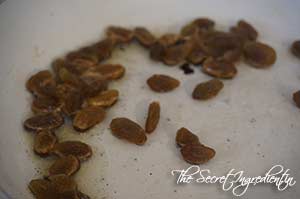
2. In the similar way fry the peanuts. Be careful not to over fry them for they will taste bitter.


dsc06192


dsc06193


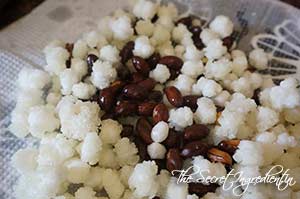
3. Also remove them on the plate lined with paper towel along with sabudana.

dsc06194

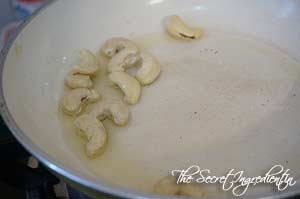
4. Now in a shallow pan add very little oil and shallow fry Cashews till golden brown. Add them to the peanut sabudana plate.


dsc06195


dsc06196


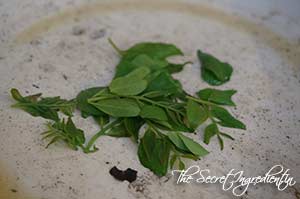
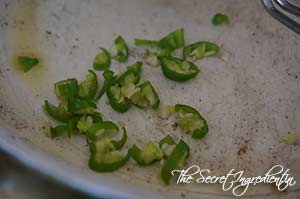
5. Then add raisins to the same pan and toss it in oil till they puff up. Remove them and them saute, washed and dried Kaddi Patta and chopped green chillies.


dsc06197


dsc06198


dsc06202


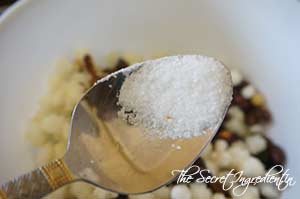
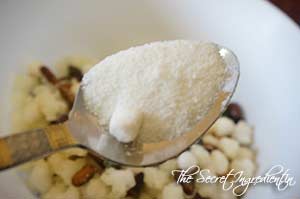
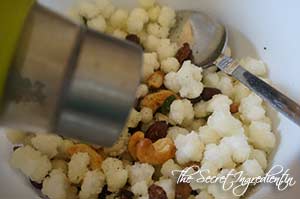
6. Transfer everything to a bowl add powdered sugar and salt and ground black pepper. 


dsc06200


dsc06201


dsc06203


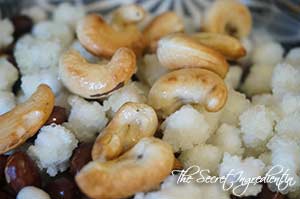
7. Toss everything together and transfer to an airtight container on coming to room temperature. Enjoy whenever hunger kicks in. It tastes incredible as a evening snack with your favourite cup of chai or coffee.

Other Fast recipes you can try are: Kuttu Singhara Sama Ke Atta Ki ThalipeethVrat Wale Dahi-Paneer KebabsSabudana KheerSabudada KhichdiSabudana TikkiTapioca Coconut Milk Pudding with Strawberry PreserveKaddu Ka HalwaPaneer Ki KheerRasgullaSwang Ke Chawal Ka HalwaSwang Ke Chawal Ki PhirniSwang ke Chawal ki Khichdi .

sabudananamkeen_featured3[whohit]Sabudana Namkeen[/whohit]

[yumprint-recipe id=’244′]

AppleCrisp_Featured1

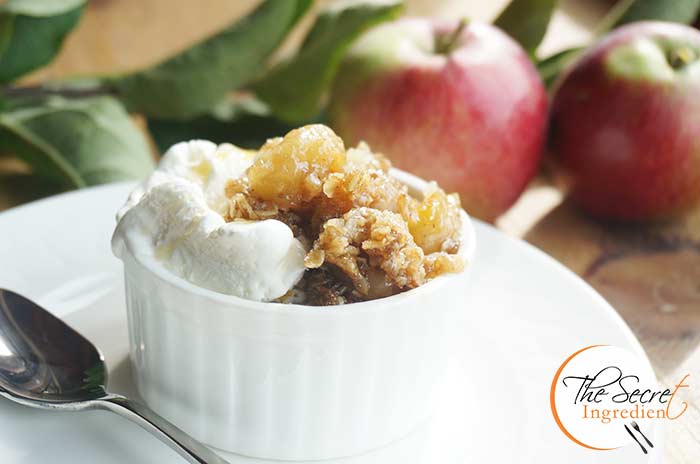
American Independence day falls on 4th of July and is a national Holiday. Americans love to celebrate this day with pomp and show. They love to host barbeque parties and often enjoy the day in picnics with friends and family. With 4th of July just in a couple of days I wanted to make something American. And when I got a chance to visit a hotel resort right in the middle of an Apple Orchard I knew what I had to bake with those gorgeous fresh apples hanging on the trees.  I am doing a food consult for them and this was an ideal recipe to be brought on the menu.

AppleCrisp_Featured3

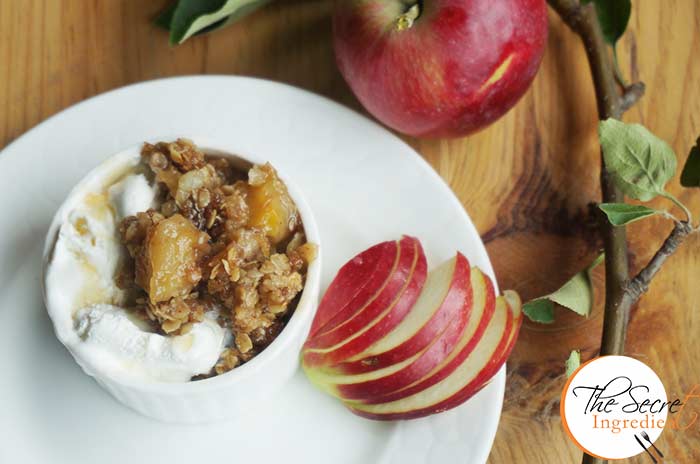
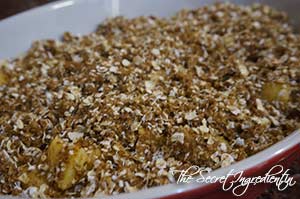
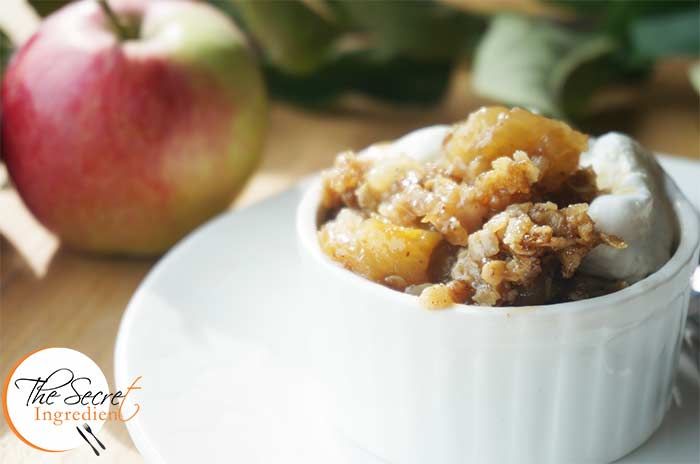
Apple Crisp is what they call it in America and Canada and its known as Apple Crumble in Britain. But as they say what’s in a name and the proof of the pudding is in the eating. The cinnamony taste of baked apples along with the crispiness of Oats makes it an incredible dessert specially if you have to feed a crowd. You can make it like a casserole dish and serve the entire battalion with pride. This recipe is ideal for people  with gluten allergies as it is flourless and must more healthier than other recipes around.

Directions:

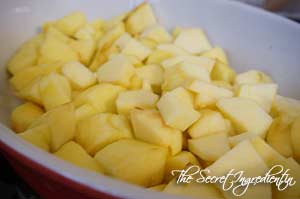
1. Preheat your oven to 375 degree Fahrenheit (Learn more about Oven temperatures and Conversions).Wash, peel and core the apples. Cut them into slices. 

DSC07320


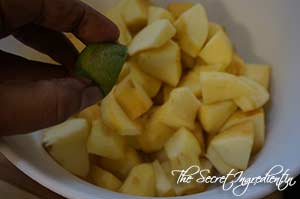
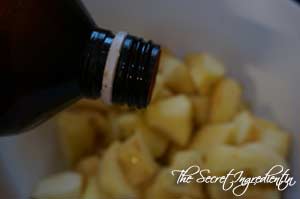
2. Put the apples in a bowl and add lemon juice and little vanilla essence and toss them to coat evenly.


DSC07322


DSC07323


3. Place apple slices in a baking tray in one single layer.

DSC07324

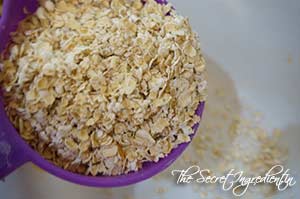
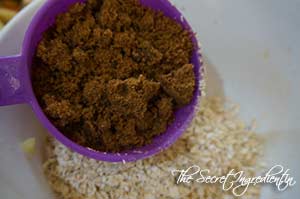
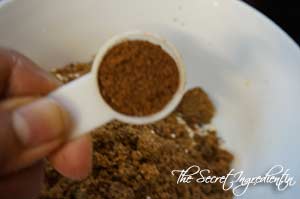
4. In a bowl add quick cooking oats, brown sugar and cinnamon powder.


DSC07325


DSC07326


DSC07327


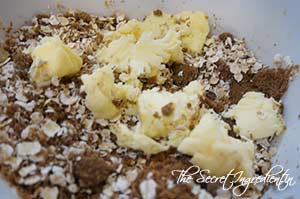
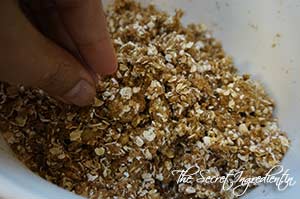
5. Add butter at room temperature but still not melted. Mix this together with your fingers to make a crumbly mixture.


DSC07328


DSC07329


6. Spread this crumbly mixture on top of the Apple layer and pop it in the preheated oven or 45 minutes or until the topping looks crunchy and the apples have turned tender.

DSC07330

7. Take the baking tray out of the oven and let it come down to room temperature. Serve warm with a scoop of Vanilla Ice Cream or Whipped cream. You can make this in advance and warm it up little before serving.

Other desserts you can make for festivities are: Peach CobblerBasbousaBrigadeirosCoconut MacaroonsCoconut Milk Mango PuddingMascarpone Cherry Compote Cheesecake GlassesTapioca Milk PuddingTapioca Coconut Milk Pudding with Strawberry Preserve, Mango Tart.

AppleCrisp_Featured2[whohit]AppleCrisp[/whohit]

[yumprint-recipe id=’230′]

BesanCornFlakesCookies_Featured1

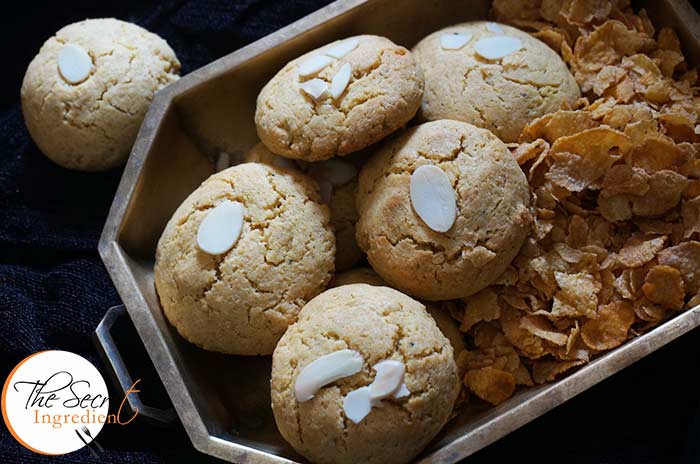
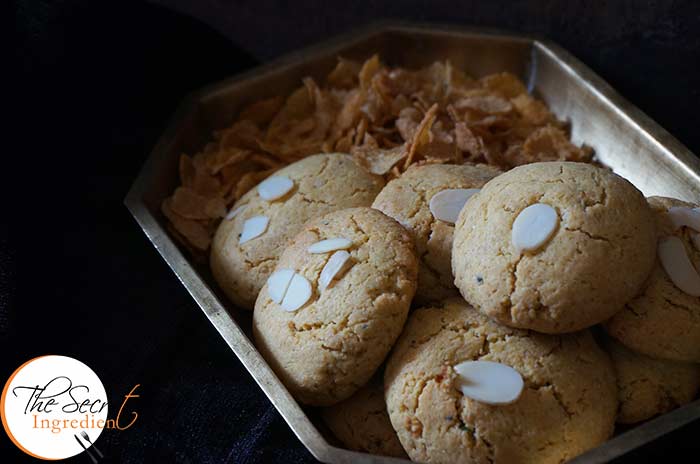
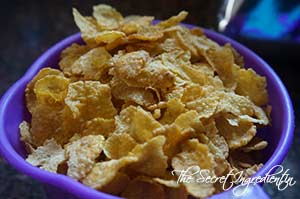
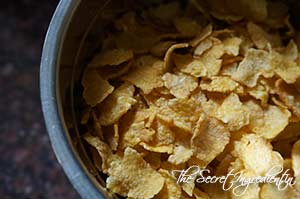
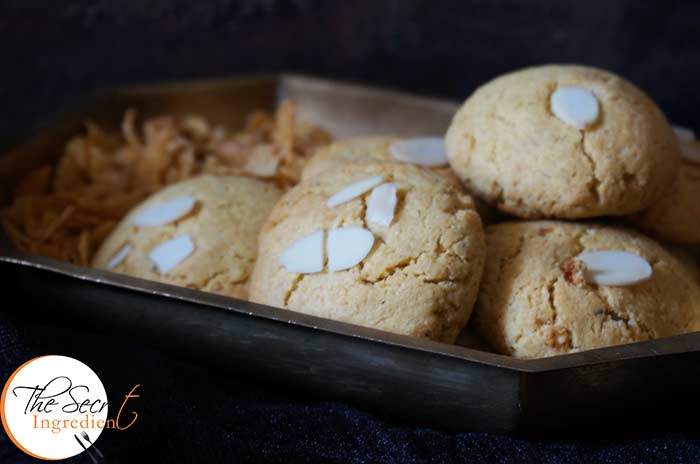
I am not a huge fan of Corn flakes, I prefer wheat flakes over Corn. So is the case with my family. I had a packet of Corn flakes feeling abandoned. And when I saw a post of Besan Cornflakes Cookies by Ravneet it triggered a spark and compelled me to try these. It was a rescue mission for the poor corn flakes but later I realised I have to get another packet of corn flakes as the cookies cake out quiet nice. My husband and son ate them all in no time. 

BesanCornFlakesCookies_Featured4

The another fascinating thing about this recipe is that its gluten free. For those who are avoiding gluten for any specific reason can safely indulge in this. I love the way cardamom goes with chickpea flour. It fondly reminds me of Besan Ke Laddoo 🙂 Yum!

Directions:
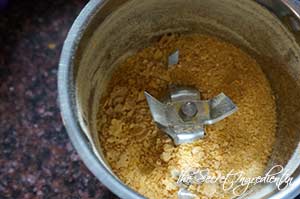
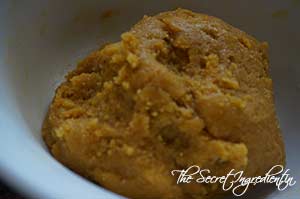
1. In a blender add corn flakes and grind them into a coarse powder. You can even crush them using a rolling pin, but if you leave big flakes they will fall out and cause trouble in shaping the cookies.


DSC06622


DSC06623


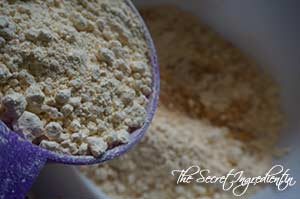
2.  Mix the corn flakes power and besan or chickpea flour in a bowl. Add Baking powder and give a gentle mix to the dry ingredients and set aside.


DSC06624


DSC06625


DSC06633


3. In another bowl add castor sugar and add cardamom powder.


DSC06626


DSC06627


4. Add Ghee or clarified butter to it along with some Olive Oil.


DSC06628


DSC06630


5. Add milk and give the wet ingredients a good whisk until everything is well incorporated.


DSC06631


DSC06632


6. Add wet ingredients to the dry ingredients and knead everything into a paliable dough. If you think you need more milk to get it together you may add a few teaspoons. 


DSC06635


DSC06636


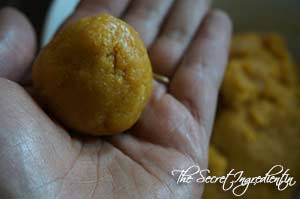
7. Divide the dough and roll into small balls of equal size and place them on a cookie tray lined with Parchment Paper or Silicon Mat. Preheat your oven to 180 degree Celsius for ten minutes.


DSC06637


DSC06638


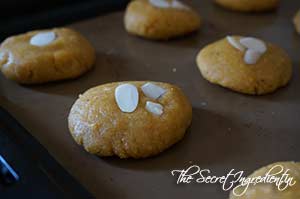
8. Flatten the dough balls with your palm and place slithered almonds on top of your cookie and press slightly. I used almond flakes.


DSC06639


DSC06640


9. Bake in the middle rack of your oven on 180 degrees (Learn more about Oven temperatures and Conversion) for 12-15 minutes or until you see them slight golden. Remove them from oven and place on a wire rack to cool down for about ten minutes and then dont wait just grab a cookie and indulge 🙂

Other Cookies you can try are: White Chocolate Chip Cookies , Ragi & Whole Wheat Biscuits, Coconut Chocolate CookiesPeanut Butter Cookies with Chocolate Chips Melomakarona: Greek Traditional Christmas Cookies and Italian Almond Biscotti.

BesanCornFlakesCookies_Featured3

[yumprint-recipe id=’219′]

VratWaleDahiKebab_Featured1
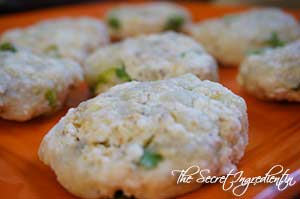
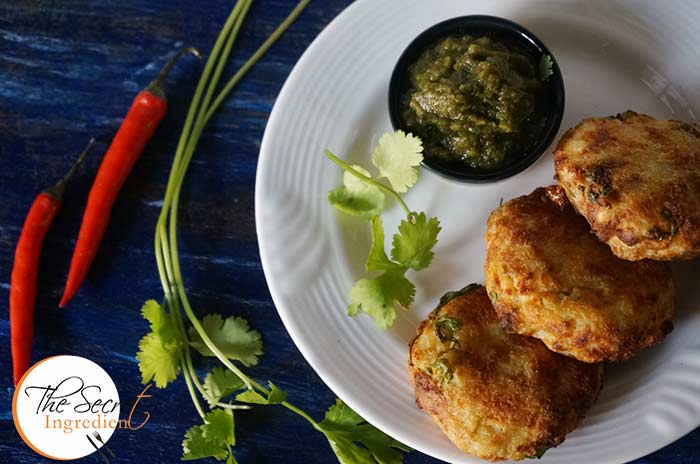
Ever since my husband gifted me this Air fryer I cant stop trying recipes which I had earlier put in abeyance for I never wanted to eat fried food. This Navratri I was very excited because a lot of fasting food is fried and I gotta a chance to try variety of dishes in air fryer. Yesterday when I noticed my facebook friend Geeta di had posted the Dahi Paneer Kebabs for Vrat or Fasting, I could not control myself and made these in a jiffy. They were so delicious that my boys (Fully grown as well as my little kid) ate them tastefully.

VratWaleDahiKebab_Featured2
The taste was enhanced by the fact that they were healthy. I used half a teaspoon of oil for 9 kebabs, which isn’t bad at all. Ishall be posting more of my trial in my new Airfyer <3 Oh man! I am loving this.. 

Directions:

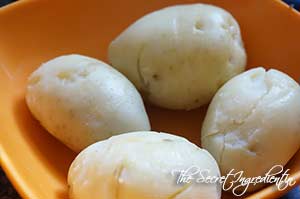
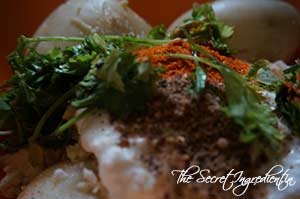
1. Wash and Boil some potatoes and peel off their skin. Place them in a mixing bowl.

DSC06153
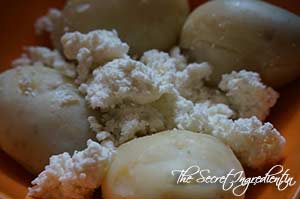
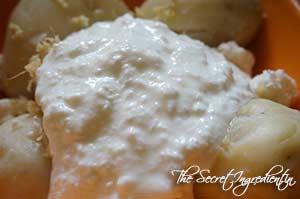
2. Add crumbled paneer or Cottage Cheese to it.

DSC06154
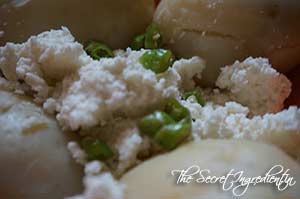
3. Add Chopped Green Chillies and Grated Ginger.


DSC06155


DSC06156


4. Add Plain Thick Yogurt. You can even use hung curd. I had a creamy thick curd which wasnt runny, so I used that.

DSC06157
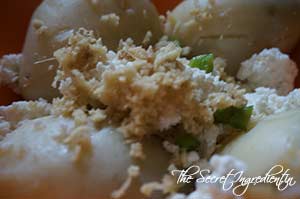
5. Add salt, red Chilli Powder and Garam Masala.


DSC06158


DSC06159


DSC06160


6. Add chopped Coriander leaves.

DSC06161
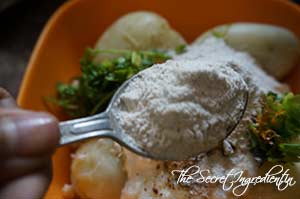
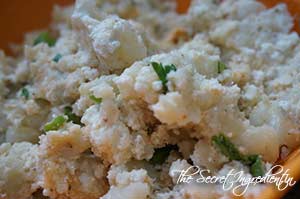
7. Add Singhara flour or also known as Water Chestnut Flour and combine everything well.


DSC06162


DSC06163


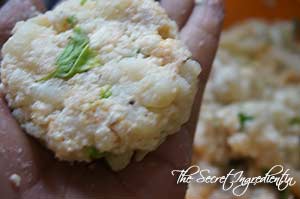
8. Take small portions and shape them into patties and place them all on a plate.


DSC06164


DSC06166


9. In the meanwhile preheat your Air Fryer to 180 degrees for 10 minutes.

DSC06165
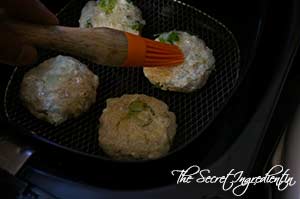
10. Place the kebabs into the basket of air fryer and brush them with little oil on top.

DSC06167
11. Air fry them for 15-18 minutes till you get a golden colour on top. If you wish you can brush them with more oil in half time. I did not. Serve them hot with Phalahari Chutney

Other Navratri recipes you can try are:  Sabudada KhichdiSwang ke Chawal ki KhichdiSabudana Tikki Khajoor Til Ke LaddooArbi Masala CurryGajar Ka HalwaMakhane Ki KheerRasgullaSwang Ke Chawal Ka HalwaSwang Ke Chawal Ki PhirniAnaar Aloo ka RaitaPalak Dhaniya ChutneyCoriander Chutney without Onion Garlic, Vrat Ki Roti.

VratWaleDahiKebab_Featured3[whohit]DahiKebabForVrat][/whohit]

[yumprint-recipe id=’207′]

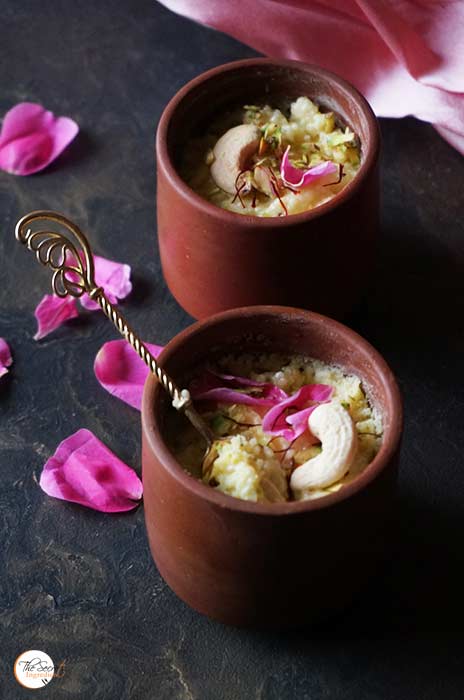
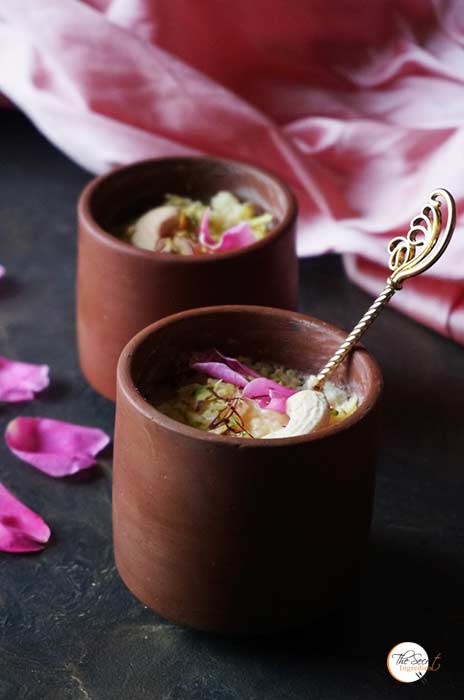
My fasts are on and I barely want to cook specially for myself. I guess the joy of cooking comes when you have a company. My husband knows my habit and he often volunteers to eat whatever I cook for myself during Navratras. So I have a company and I wanted to make this phirni with Swang Ke Chawal. Barnyard Millet Saffron Milk Pudding will be a more better of knowing this.

Swang ke chawal is not rice but belongs to millet family. It is know by various names like, Samvat, Sama, Vari, Varai, Samwa, Jhangora, Samo, Morio, Mario, Moraiaya, Bhagar & Kuthirai Vaali. This cereal is gluten free and is usually cultivated on marginal lands where rice doesn’t grow. Making this phirni is super simple all you need is little patience . I have experimented so much with barnyard millet that I call myself a pro 😉 . I have made with this Swang ke chawal ki khichdi and Swang ke chawal ka halwa .

Directions:

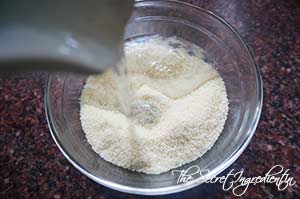
1. Soak the millets in water for at least an hour or so.
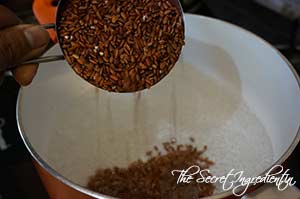
DSC08042


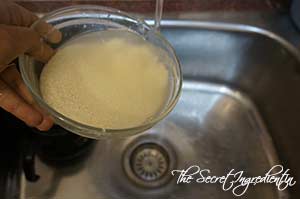
2. Drain the water and wash the millets till you get clear water.
DSC08046

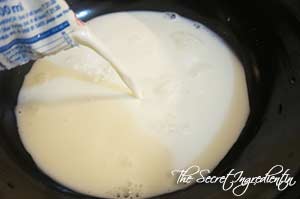
3. Add Milk in the wok or Heavy bottom Pan. Bring it to a boil and keep simmering it on low till reduced to half. Keep stirring in between.

DSC08047

4. Once the milk is reduced to half add the soaked Millets into the milk.

DSC08049

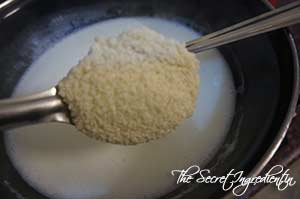
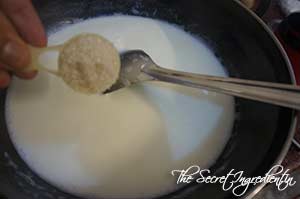
5. Add Sugar and combine.

DSC08050

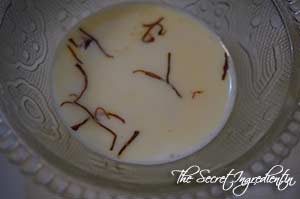
6. Heat little milk and saffron strands in it and let it rest for some time.

DSC08051

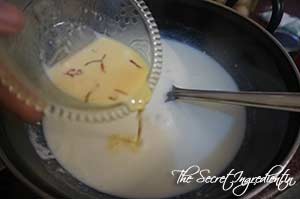
 7. Mix this saffron milk to the millets in the pan.

DSC08052


8. Add crushed cardamom to the milk.

DSC08053

10. Chop some Cahews or any nuts of your choice and add to the simmering milk.


DSC08054


DSC08055


11. Keep simmering till the milk reaches thick consistency. It should take 3-4 minutes,

DSC08056

12. After the phirni has cooled down a bit, transfer to serving bowls and refrigerate for 2-3 hours before serving. I  like to garnish it with some fresh rose petals, saffron strands, crushed pistachio and love.

Other recipes for fasting you can try are: Healthy Kachalu Aloo ChatTangy Mint PotatoesKhajoor Til Ke LaddooVrat Wale Dahi-Paneer KebabsSwang Ke Chawal Ka HalwaSwang Ke Chawal Ki PhirniTapioca Coconut Milk Pudding with Strawberry PreservePaneer Ki KheerSabudana KheerKaddu Ka Halwa,  Sabudana Khichdi .

[yumprint-recipe id=’110′]