Tag

IndianCurries

Browsing


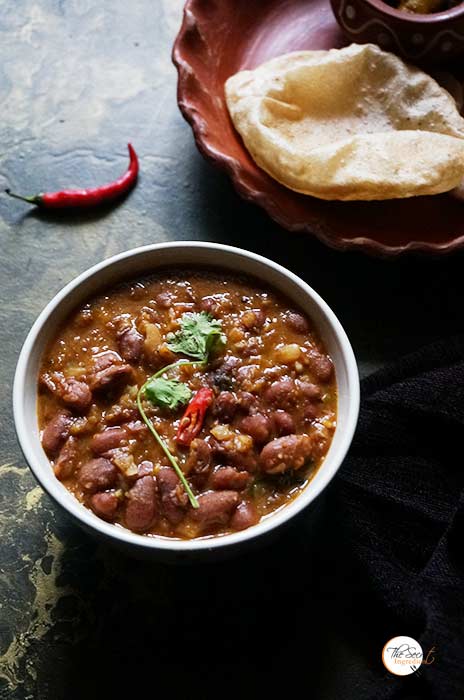
Being a Punjabi, I have a strong bond with food. We punjabis live, fight and die for food in all sense. There are special dishes which have a deep connection with us, like Kaddhi Chawal, Butter Chicken, Dal Makhni, Langar wali daal, Rajma Chawal and the list goes on and on.  In some households its a ritual to make Rajma or Red Kidney beans every sunday. This rajma chawal is a very home style dish which I am yet to post on my blog .. I hope the lazy me posts it soon. However, in restaurants they serve Rajma Masala which is Rajma in thick gravy. It is best eaten with Laccha Parantha or Naan. It has an incredible taste which is a bit different than our regular style Rajma.


Since I have made this my husband has started demanding me to make this way more often. He loves its gravy and distinct texture and taste. If you are fond of restaurant style food then you must try this out. You will fall in love with this instantly. I have used Munshiyari Rajma for this but you can use any Rajma which boils rather quickly.

Directions:
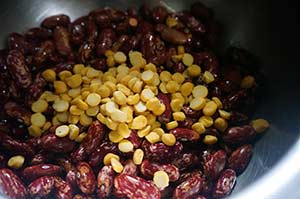
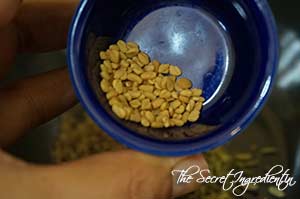
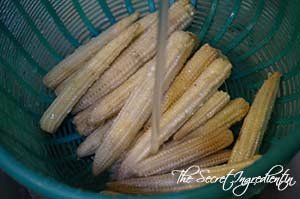
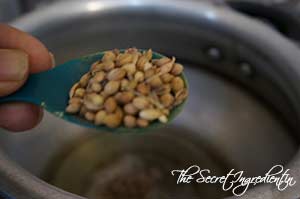
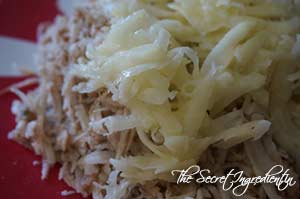
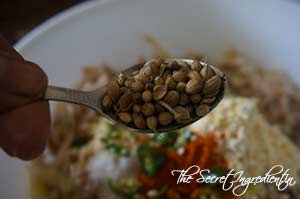
1. In a bowl add Rajma or red kidney beans and also add Channa Dal also known as Split Bengal Gram.


T


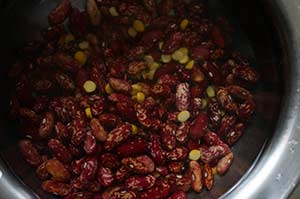
2. Wash them thoroughly and soak them in water for 6-8 hours or overnight is best.


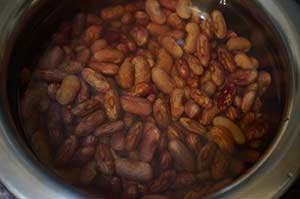
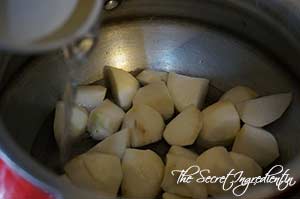
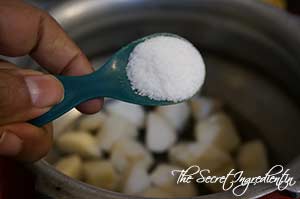
3. After soaking the beans and lentils add them to a pressure pan along with 3 cups water and salt. Close the pan with a lid and turn the flame on. Cook on high flame till the pressure has reached optimum or first whistle and then turn the flame on low and continue to cook for 20-25 minutes. Let it sit in its own pressure till steam releases. Then open the lid.


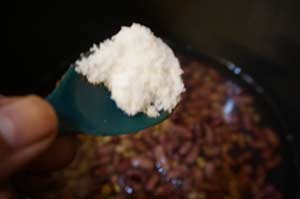
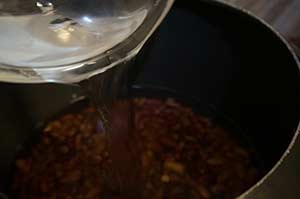
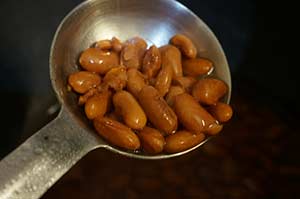
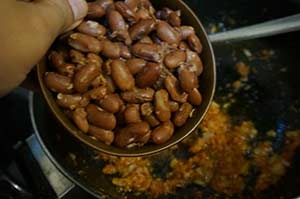
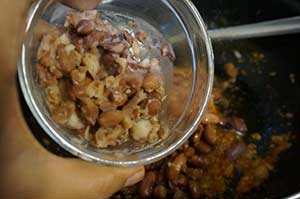
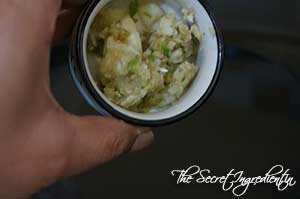
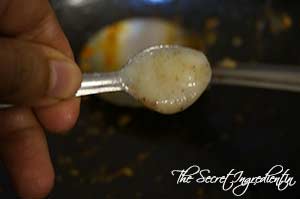
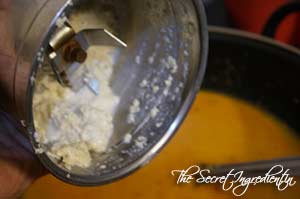
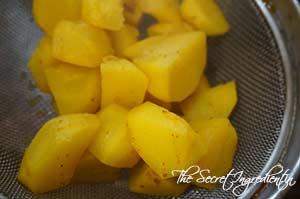
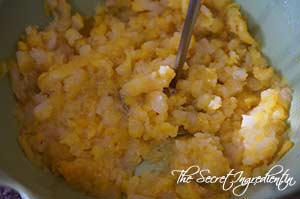
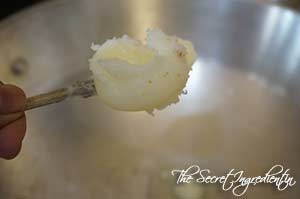
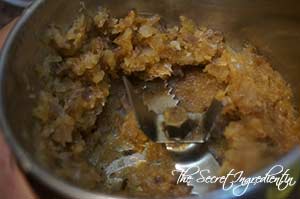
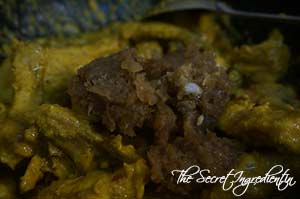
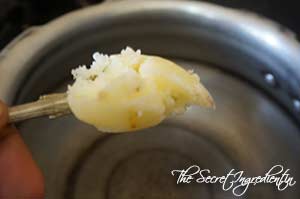
4. Check with finger, the beans should have a mashable consistency on smashing.  Take 1/4 cup of Beans and lentils and mash it and set aside. Reserve the liquid from the boiled rajma to be used later.

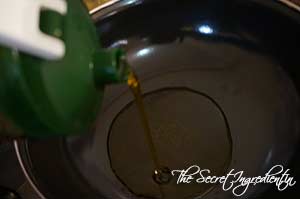
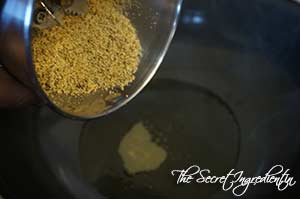
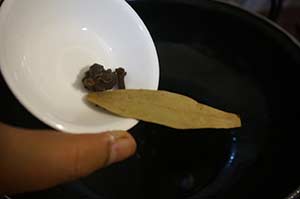
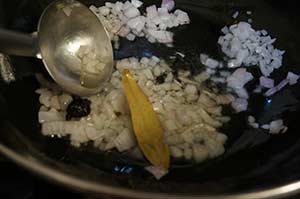
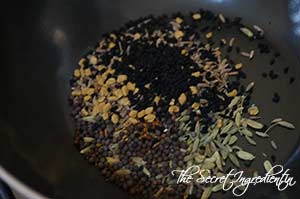
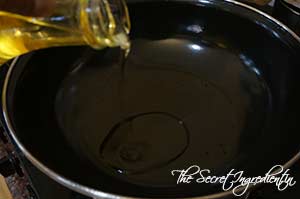
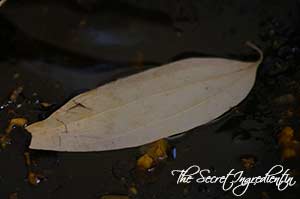
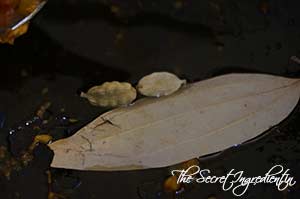
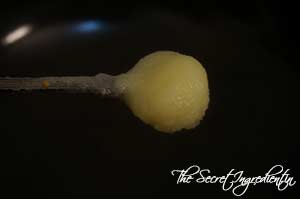
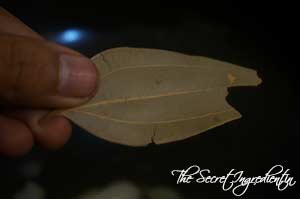
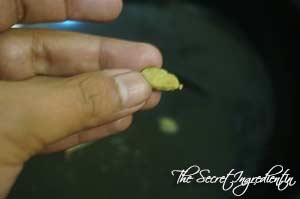
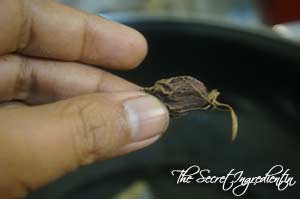
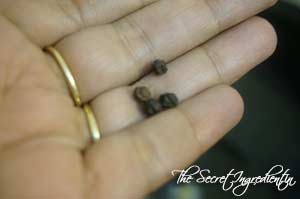
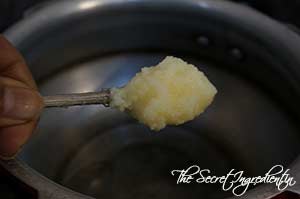
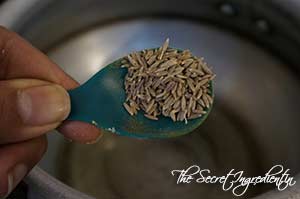
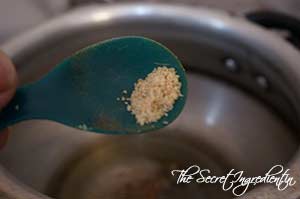
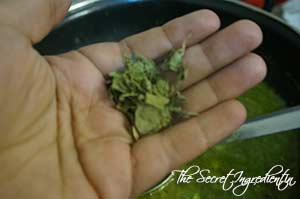
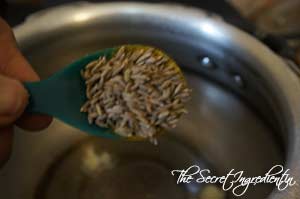
5. Place a wok on the stovetop and turn the flame on. Add oil or ghee and then add bay leaf, black cardamom and cloves. Let the the oil get infused with spices.


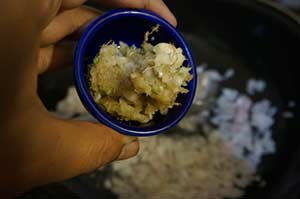
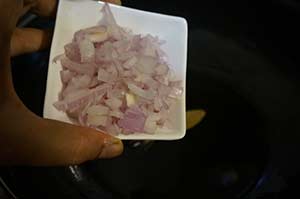
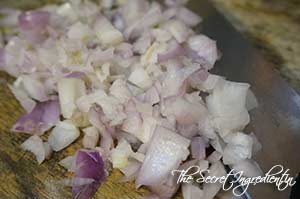
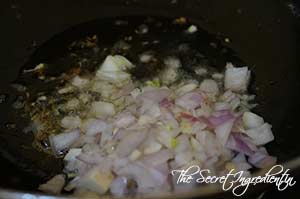
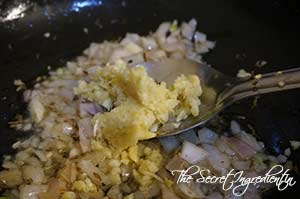
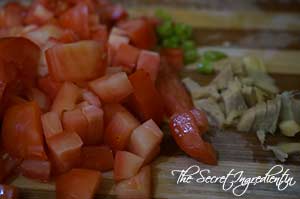
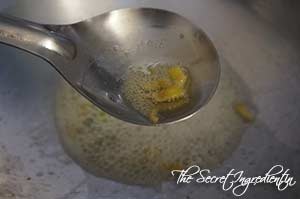
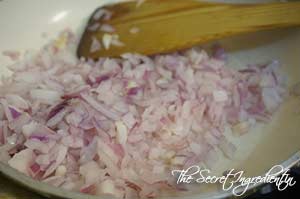
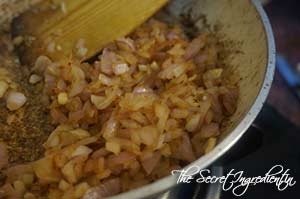
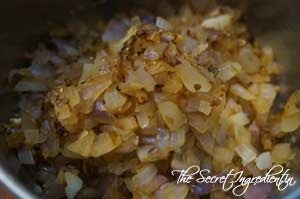
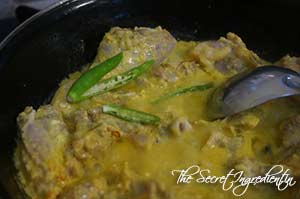
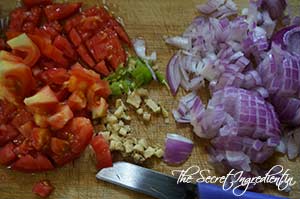
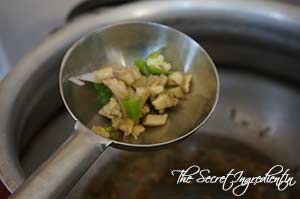
6. Add ginger garlic paste and saute on medium flame till the raw smell of garlic disappears. Then add chopped green chillies and onions. Saute the onions till they are soft and translucent.


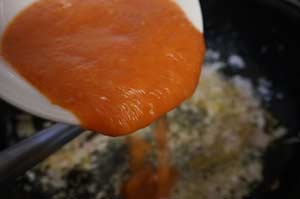
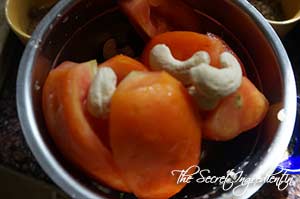
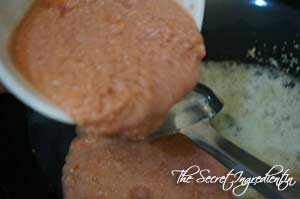
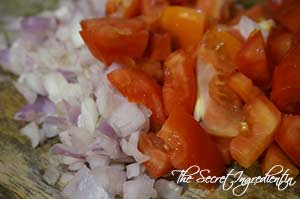
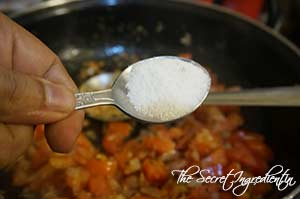
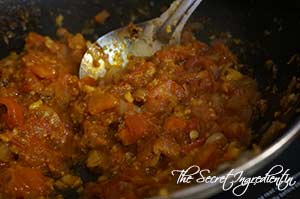
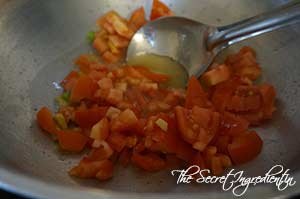
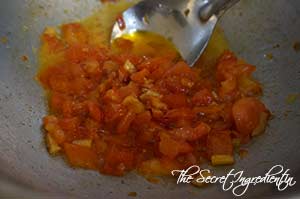
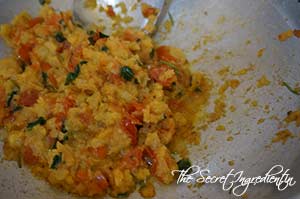
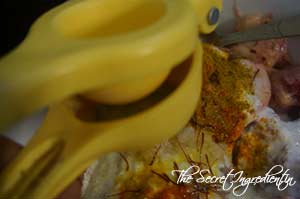
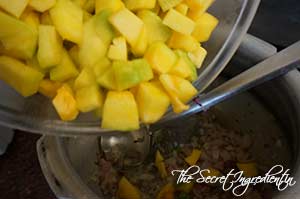
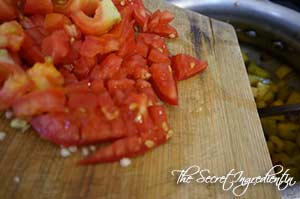
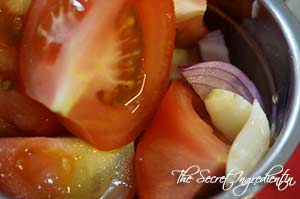
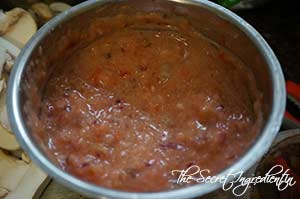
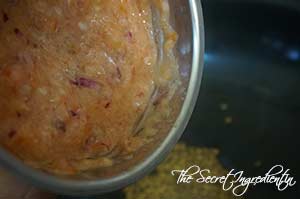
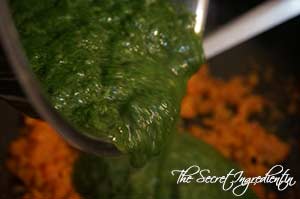
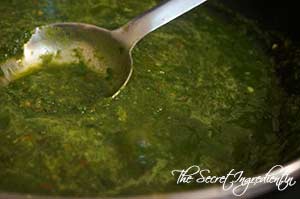
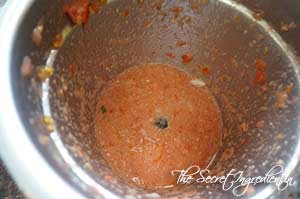
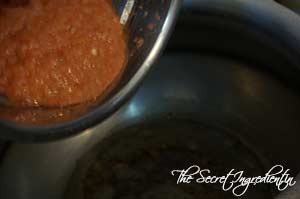
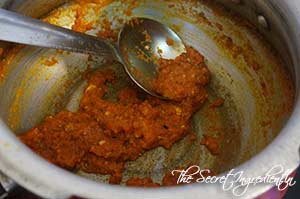
7. Add tomato puree and cook for 2 minutes.

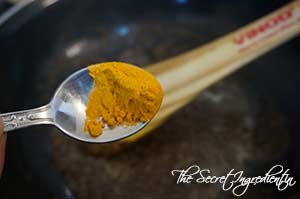
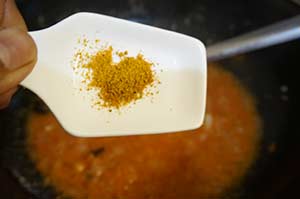
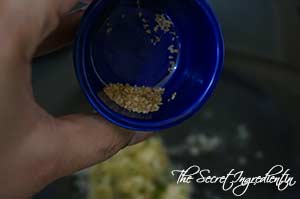
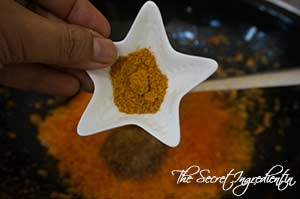
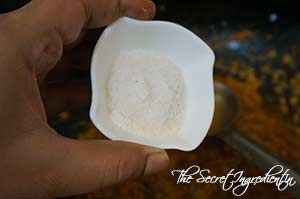
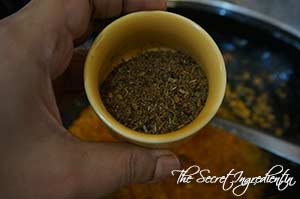
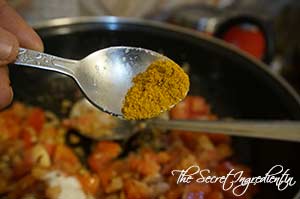
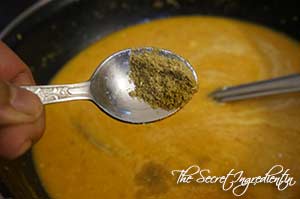
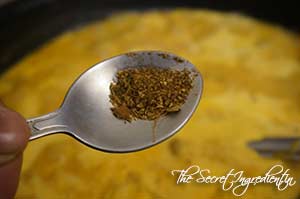
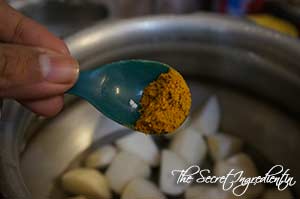
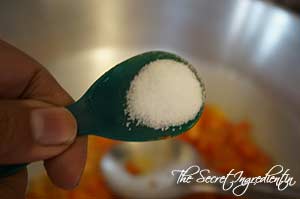
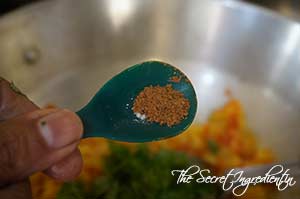
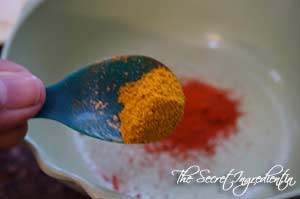
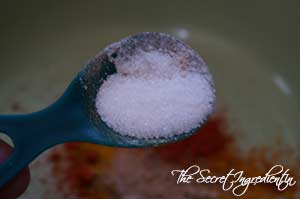
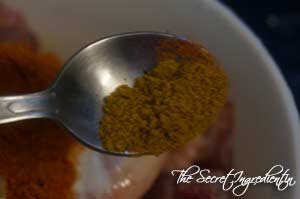
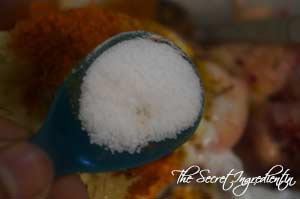
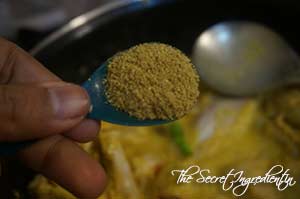
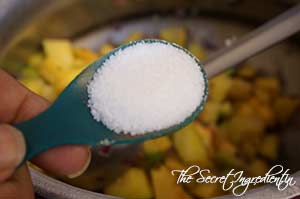
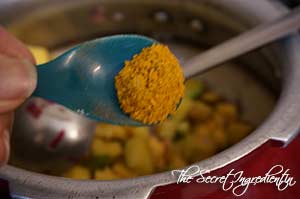
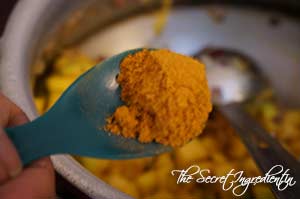
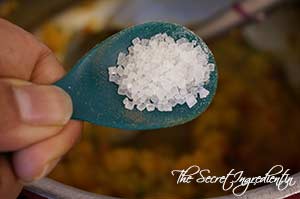
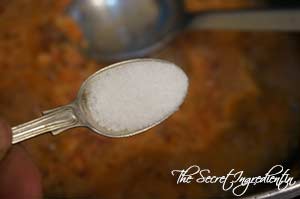
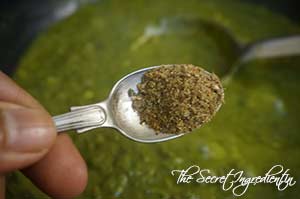
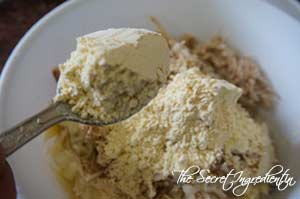
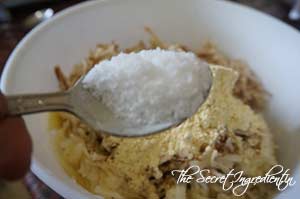
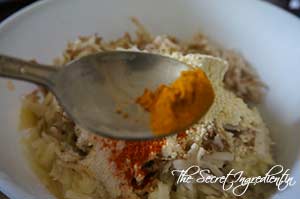
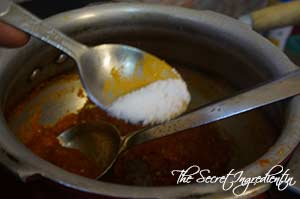
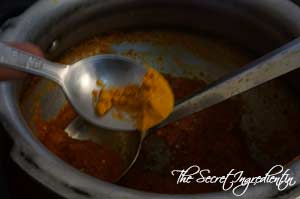
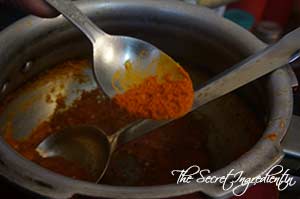
8. At this stage add, salt, turmeric powder and cumin powder.


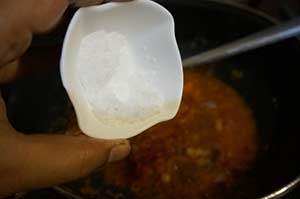
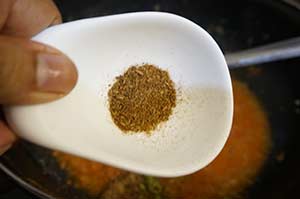
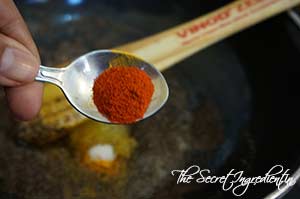
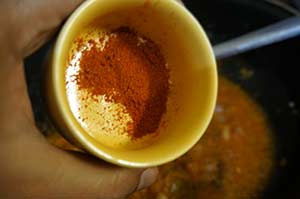
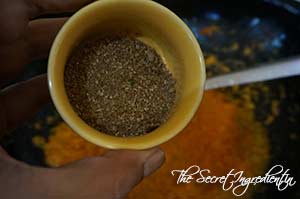
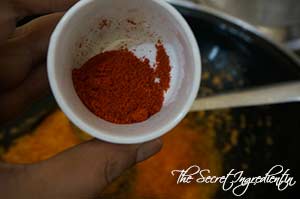
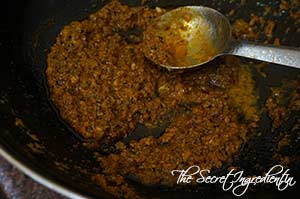
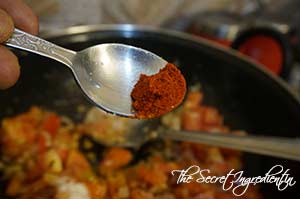
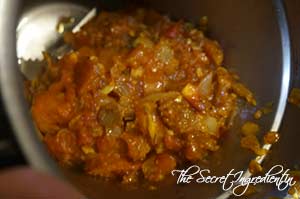
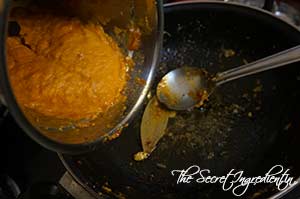
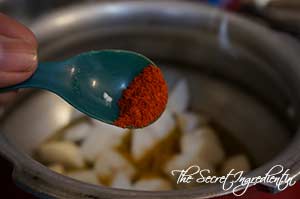
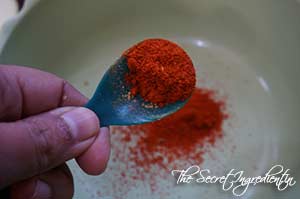
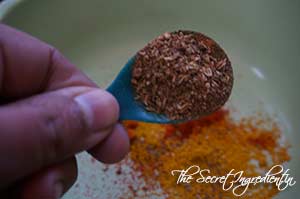
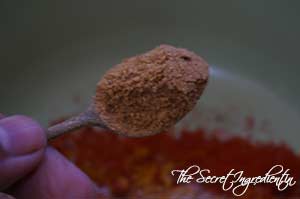
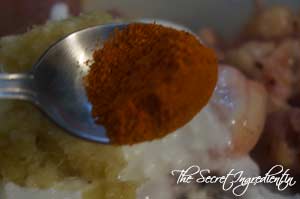
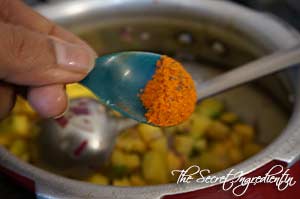
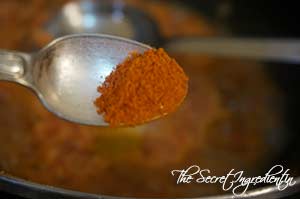
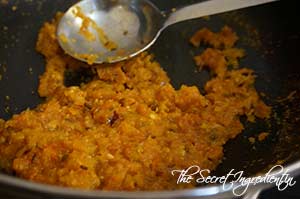
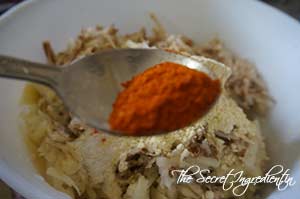
9. Also add coriander powder and kashmiri red chili powder and mix everything well. Keep cooking and stirring till the masala leaves the oil.


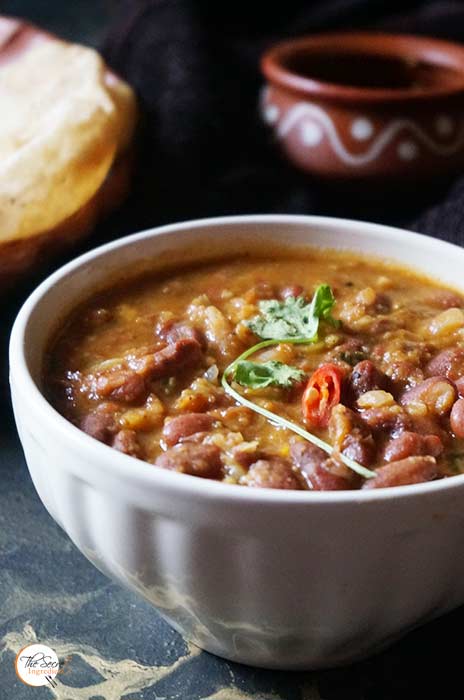
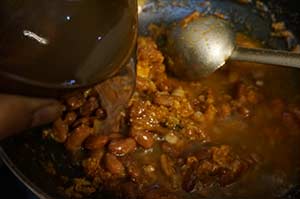
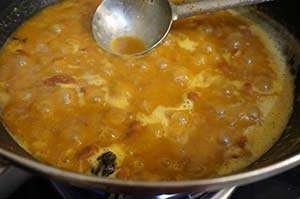
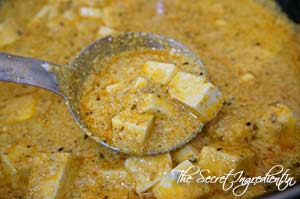
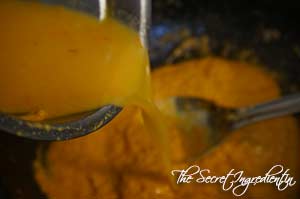
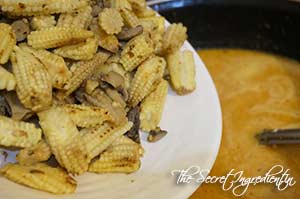
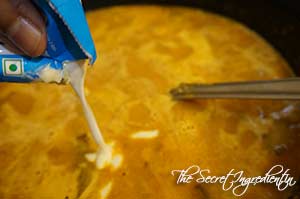
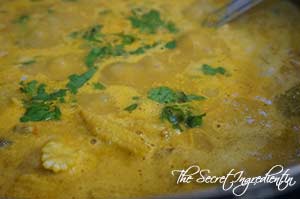
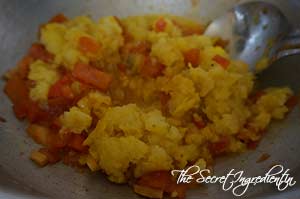
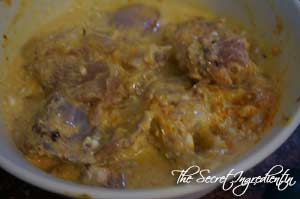
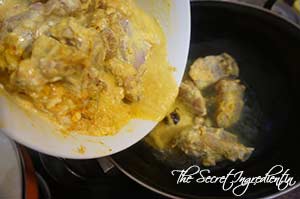
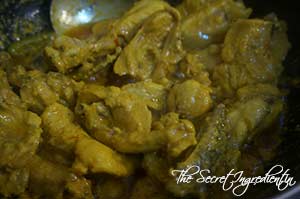
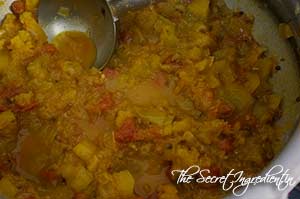
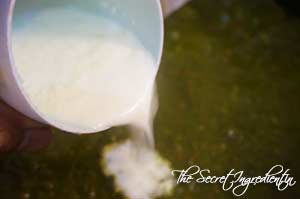
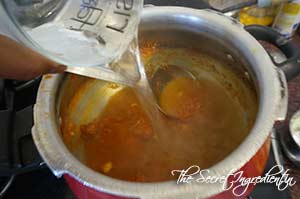
10. Add Rajma and mashed rajma to the masala and mix everything well. Add reserved water from rajma and combine. Let the rajma come to a simmer. Cook it for 2-3 minutes till right consistency is reached. It should become slightly thickened gravy.


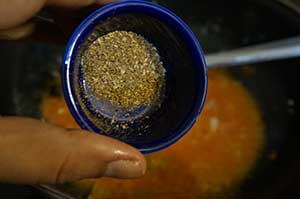
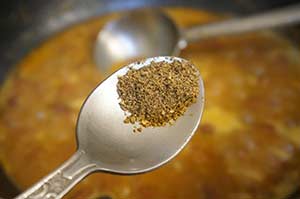
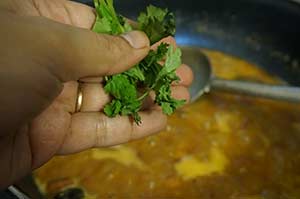
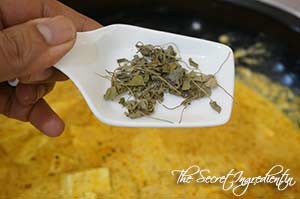
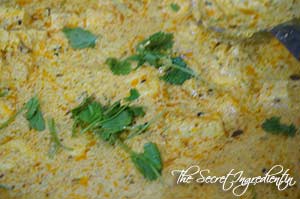
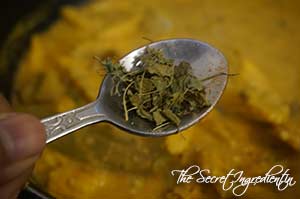
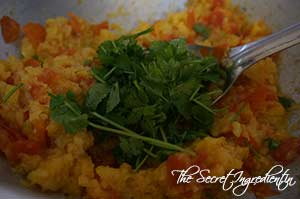
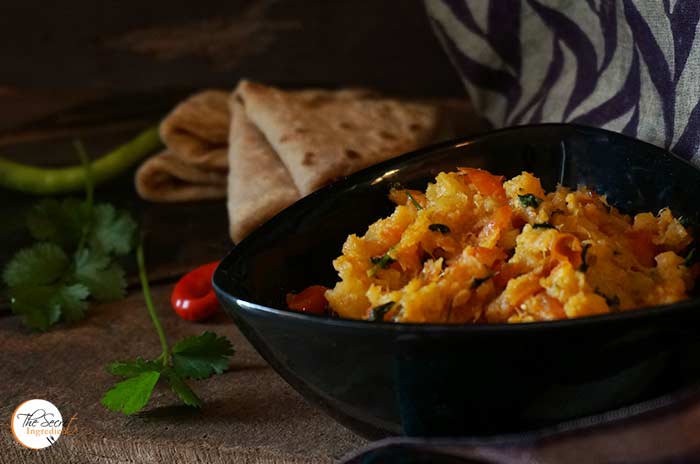
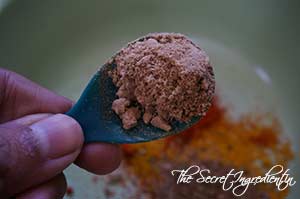
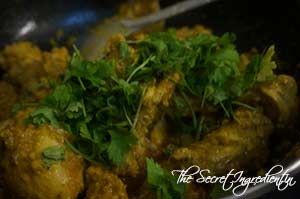
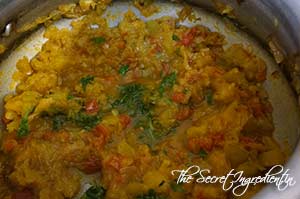
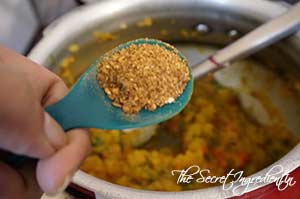
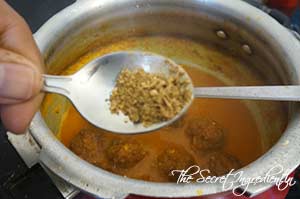
11. Add garam masala and garnish with coriander leaves.


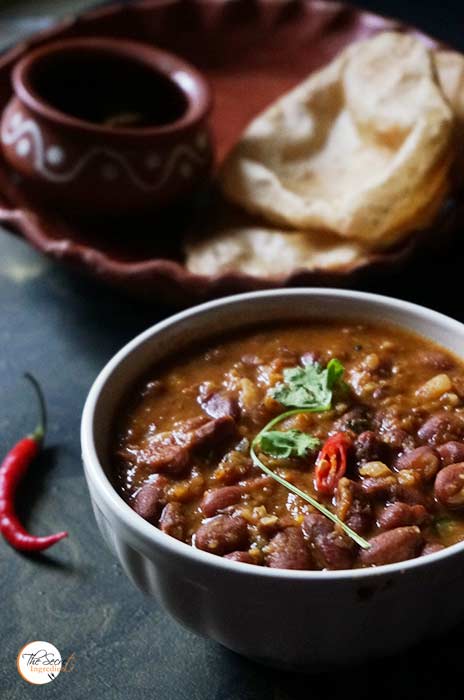
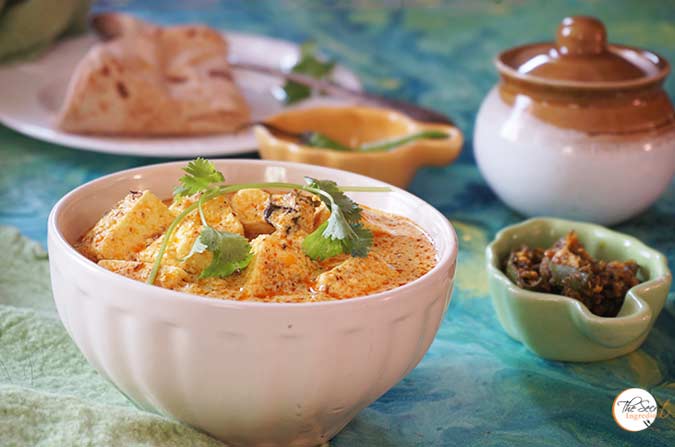
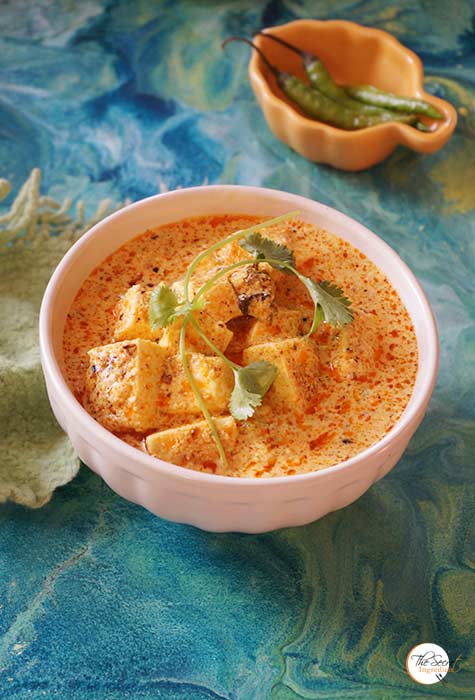
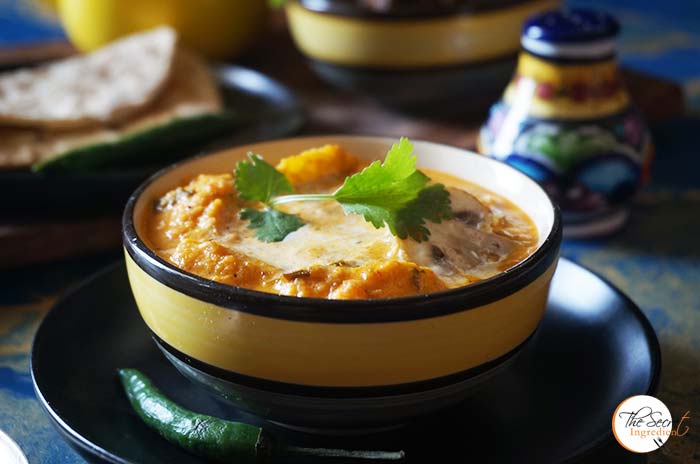
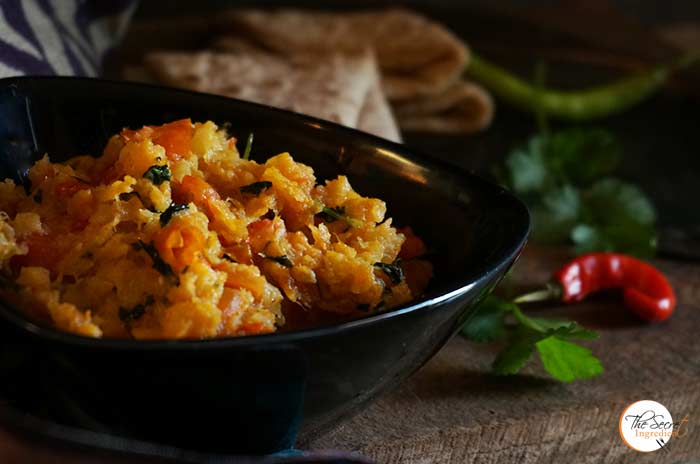
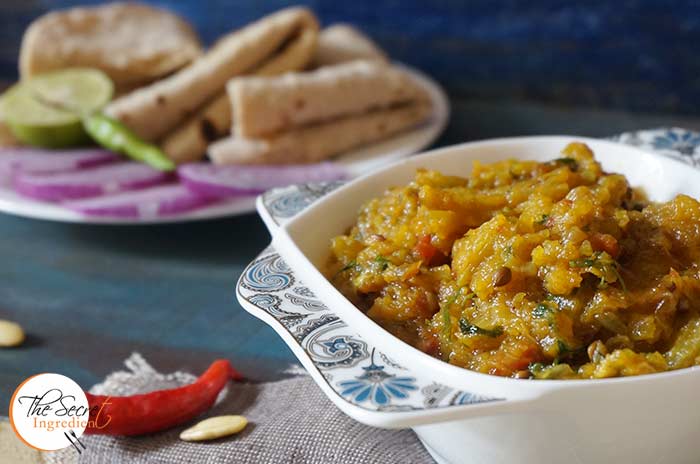
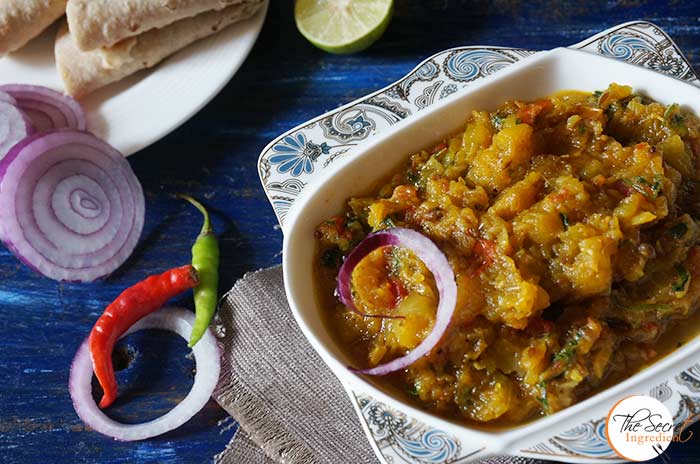
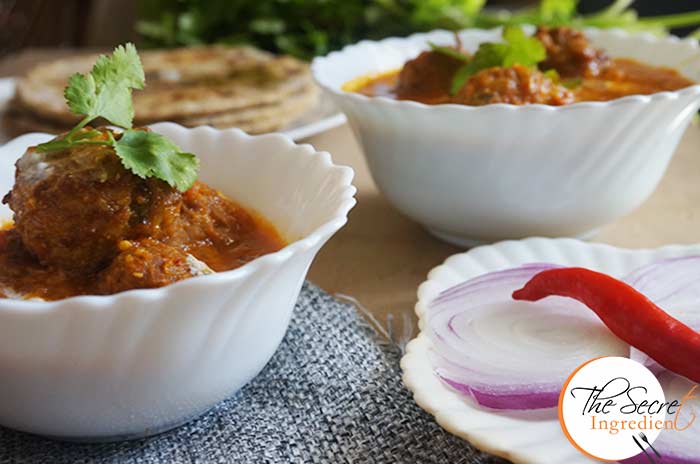
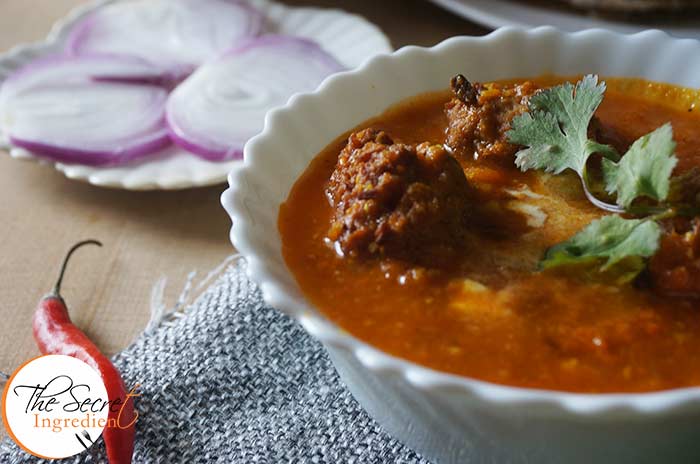
12. Transfer it to a serving bowl and serve hot with Kulcha, Puri or Parantha.

If you are Rajma or Kidney Beans you can try Mexican Soup of Rajma or as they say it Sopa de Frijol in Spanish.

You can try other Restaurant Style Dishes: Restaurant Style Mughlai Shahi PaneerRestaurant Style Malai Kofta in Air FryerCrispy Honey Chili Potatoes with Sesame SeedsKadhai MushroomButter ChickenMushroom Do PyaazaShahi Paneer, Dal Makhni.

[whohit]Rajmamasala[/whohit]

[yumprint-recipe id=’292′]


I have been making a lot of pickles lately! Why not after all its summers and its the best time of the year when you can pickle your fruits and veggies and let them soak sume sun. I have just finished making Punjabi Aam ka Achar , you can see it in the pictures. I will post the recipe soon. But nevertheless those pickle flavours have reached by main dishes and started making my gravies spicy, tantalizing and and utterly delicious. I am talking about this Achari Paneer.


This gravy is made with spices which are generic to all Indian Pickles. It makes the gravy spicy , tantalizing and utterly delicious. My little man is a picky eater and refuses to eat vegetables and curries in school. The other day he came back with an empty lunch box and tells me I love this cheese sabji. This surely made my day with a double assurance that I made something delicious which was liked by my sonny boy.


Directions:

1. Slice Paneer into cubes and set aside.

2. In a blender add tomato pieces and cashews and make a puree.


3. For the achari masala. In a small pan add mustard seeds, kalonji or nigella seeds.


4. Also add Cumin seeds, Fennel Seeds or saunf and Fenugreek Seeds or methi dana.


5. Dry roast them on a pan for a minute of so. Do not burn them. 


6. Grind them in a hand grinder or in a mixie jar and set aside.


7.  Heat oil in a kadai or deep sauce pan on medium flame for 2-3 minutes. Now, add ginger garlic and chili paste in the oil and let it become light brown in color. 


8. Add Asafoetida and mix it with the ginger garlic paste. You should add the tomato puree to the kadai .


9. Add Coriander powder, Turmeric powder to the wok.


10. Also add Red chili powder, salt and the achari masala we had made earlier.


11. Mix everything thoroughly and sauté till oil separates the masala. 

12. Now lower the flame to sim and add curd and continue whisking otherwise the curd will curdle.


13.  Add cubed Paneer to the curd gravy and mix well so that paneer is coated with the gravy.


14.  To this add Cream and combine well.


15.  Finish the dish with Kasuri Methi and Fresh  Coriander Leaves.


16. Serve hot with Roti or Rice. It makes the most amazing Indian Paneer dish ever.

Other Dishes with Paneer or cottage cheese you can try are: Vrat Wale Dahi-Paneer KebabsPaneer Ki KheerBaked Paneer Corn KababsStuffed Buns with Spicy PaneerPalak PaneerShahi Paneer

[whohit]AchariPaneer[/whohit]


We all are aware about the current financial crisis in India as a result of demonetization. I am sure this is a rough patch for all of us and I pray that soon it shall pass. In the meanwhile sit tight and control your expenses. Try to eat at home most of the time and do not panic. That’s the most prudent way we can survive through these tough times. 

The other day we were yearning for some restaurant style food and we never wanted to go out. So I told my husband to give me half an hour and I’ll put an end to his cravings. I tried this baby corn and Mushroom masala and it did its trick. This was rich, creamy, delicious and not to mention easy on our pocket. 

We ate this with Tawa Naan and some Mint Chutney to go along. What a fabulous meal it was and that too at the comfort of our home.  If you decide to put a little effort expenses can be curtailed and at the same time you are not missing much 🙂

Directions:

1.Select soft and tender baby corns and wash them under running water. Cut them into small pieces on an angle about 1 inch long. If you have baby corns which aren’t tender you can blanch them or steam them for ten minutes to make them a little soft.


dsc08979


dsc08980


2. Chop Onions and Tomatoes and set aside.


dsc08981


dsc08983


3. Soak some cashews for an hour and set aside.

dsc08982
4. In a wok add some ghee and add baby corns and saute them till they get a slight golden colour. 


dsc08984


dsc08985


5. Also add mushrooms and keep sauteing them till they have released water and become dark in colour. Remove them on a plate till we use them further.


dsc08986


dsc08987


6. In the same add more ghee or clarified butter and add cumin seeds. Let them crackle for a few seconds.


dsc08988


dsc08989


7. Add chopped onions along with ginger garlic paste.


dsc08990


dsc08991


8. When the onions have browned and raw smell of ginger garlic has faded, add tomatoes. 

dsc08992

9. Add salt, red chilli powder and turmeric powder.


dsc08993


dsc08995


dsc08994


10. Cook till the tomatoes have turned soft and gooey. Turn the flame off and let the mixture cool down a little bit. Add it to a grinder and make a smooth paste.


dsc08996


dsc08997


dsc08998


11. Now again for the third and last time put ghee in the wok and add a bay leaf along with two green cardamoms. Toss them in ghee for a few seconds to make the ghee fragrant.


dsc08999


dsc09000


dsc09001


12.  Add the pureed masala to the wok and also add some water. I added water to the grinding jar first to take out every hidden puree from the jar. Don’t wanna waste anything. Bring everything to a boil.


dsc09002


dsc09003


13. Make a puree with the cashews we had soaked earlier and add it to the masala. Also add coriander powder. Let the gravy become thick, so keep simmering for a couple of minutes. 


dsc09004


dsc09005


14. Add the sauteed mushrooms and baby corns to the gravy. Let it simmer. Add cream to the gravy and make it rich and yummy 🙂


dsc09006


dsc09007


15. Add garam masala and coriander leaves. 


dsc09008


dsc09009


16. Finish off with Kasuri methi  for the restaurant style flavour.

dsc09010

17. Serve hot with Roti or Kulcha or Tawa Naan and enjoy the rich restaurant style gravy.

Other Mushroom recipes you can try here: Mushroom LasagnaItalian Frittata with Mushrooms and Spinach, Indo Chinese style Chili Mushrooms. Kadahi Mushroom, Mushroom Biryani, Mushroom Matar, Palak Mushroom and Mushroom Dou Pyaaza.

Other Restaurant style food you can try: Restaurant Style Malai Kofta in Air FryerButter Chicken, Dal Makhani, Shahi Paneer, Palak Paneer.

[whohit]BabyCornMushroomMasala[/whohit]

[yumprint-recipe id=’260′] 


shalgamkasaag_featured1

Turnips are one of the most hated vegetables on the planet, this is a brutal and honest fact. This root vegetable is known as Shalgam in Hindi , à¦¶à¦²à¦—ম Shalgom in Bengali,  Kalamohare, Sherasa in Marathi, An-tam in Mizo,  Nalla avalu in Telegu, and has many other names worldover like  swede, neeps, rapes, rapa. Irrespective of its repute this vegetable is loved in my family. We not only eat it raw in our salads but also make its curry, which I will share soon and also its pickle, which is a must for the winters. As a kid my mother ensured I eat all types of vegetables which making faces. As I am writing this, a thought comes to my mind. My mother made all these despised vegetables so delicious that I never learnt to make faces. I guess that explains why I always encourage people to try out recipes from my mother if they ever hate any vegetable. You will find plenty on my space. 

shalgamkasaag_featured3
My husband was one of those kids who always hated this sabji. So when my mother in law challenged me that I should make his son try this vegetable I was most happy to successfully convert him into a shalgam acceptor (I am not writing lover because you know old fears die hard :P). This vegetable is full of fibre and nutrition and you must try it out.

Directions:
1. Remove the leaves of the turnips. Dont discard them, the fresh ones can be added to salads. Wash the turnips.

dsc09482
2. Remove the top thick skin and cut each into four pieces.


dsc09483


dsc09485


3. In a pressure pan keep a rack in the bottom and place the turnip on it. Add little water.

dsc09486
4. Also add salt, turmeric powder and red chili powder.


dsc09487


dsc09488


dsc09489


5. Close the lid of the pan and cook on high till first whistle or when it has reached its optimum pressure, then turn the flame on low and keep it simmering for another 10 minutes. It should be soft on poking.

dsc09490

6. Drain the water and place the boiled turnips in a bowl. Mash them using a potato masher,


dsc09491


dsc09492


7. Chop tomatoes, ginger and green chillies.

dsc09493

8. Add ghee or clarified butter in a wok. This recipe requires a good quantity of ghee as it is a key ingredient for the deliciousness of the dish. Do not cut short.  Also add chopped ginger and saute for a minute then add chopped tomatoes and green chilli and keep sauteing it till the tomatoes turn soft and gooey.


dsc09494


dsc09495


dsc09496


9. Season with salt this helps to soften the tomatoes faster.


dsc09497


dsc09498


10. Add mashed turnips and mix well with the tomatoes. 

dsc09499
11. Add chopped green Coriander and garam masala. Check again for salt or red chilli. If you find it less you can adjust at this stage.


dsc09500


dsc09502


12. Keep the turnips on a medium  flame and stirring till you see the ghee has started to ooze out and it has just about to start sticking to the base. That’s when you must turn the flame off. 

dsc09504
13. Transfer it to a serving bowl and enjoy this delicious dish with hot rotis. This will make you fall in love with its flavour. 

Other punjabi recipes you can try are: Dal Ghiya with Punjabi VadiyaPunjabi Pethey Ki SabziPunjabi Style Bharwan TindaPunjabi Style Gobhi DanthalLangar Wali DalPunjabi Style Dum AlooPunjabi Dal MakhaniPunjabi Style Aloo MethiPunjabi Pindi CholeyPunjabi Style Kaddi Chawal.

shalgamkasaag_featured2
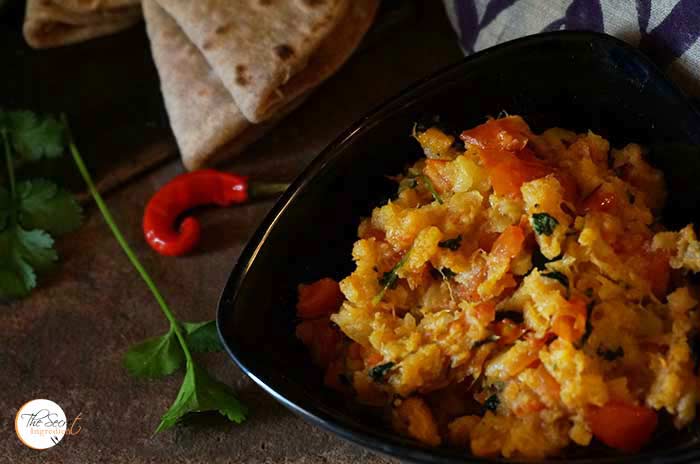
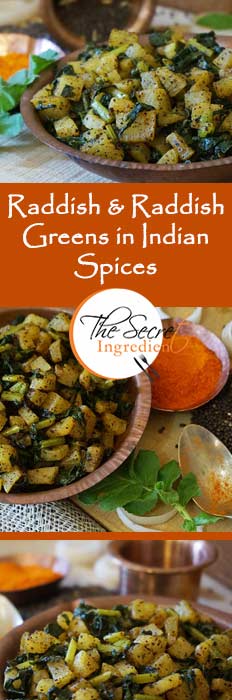
[whohit]ShalgamKaSaag[/whohit]

[yumprint-recipe id=’259′]

baigan-bhaja

Since the starting of the year when I got my air fryer I have been trying recipes giving them a new healthy avatar. I made Malai KoftaKamal Kakdi Kay Koftay Plantain & Potato Kebabs and many other things in this amazing gadget. It has changed the way we eat. The things I avoided because they were fried and greasy have come back in our life but now with a healthy makeover. Making this decisions not only keeps our weight in control but also gives us the pleasure of eating everything (almost) without feeling guilty. 

baigan-bhaja

Recently, I was thinking about making Begun Bhaja which are deliciously crispy Aubergine Slices which are marinated in spices and then deep fried. This recipe hails from Bengal which is known for its cuisine and culture. I love traditional recipes and dont wanna twist and turn them much. I followed the same recipe however I changed the way you cook it, I air fried them to make them guilt free. They were still crispy and delicious. If you are thinking to change your lifestyle do invest in an airfryer and make healthy choices, because you are what you eat 🙂

Directions:
1. Take a big sized Aubergine or Eggplant. The bigger the size the bigger will be the slices. Wash it and pat dry.

dsc09125
2. Cut it into thin slices about 1 cm thick and soak them in salted water for about 20-25 minutes. We soak the eggplant slices because sometimes the eggplants can be bitter and this will ensure they loose their bitterness. 


dsc09126


dsc09132


3. In the meanwhile in a bowl add Red Chili Powder and turmeric powder.


dsc09127


dsc09128


4. Also add garam masala, amchur powder.


dsc09129


dsc09130


5. Also season it with salt and add chana masala. yes that does the trick!


dsc09133


dsc09134


6. Pat dry the soaked pieces of eggplants and rub the dry spice mix on them on both the sides.


dsc09135


dsc09136


7. Place them in the bowl and sprinkle some lemon juice on them. Let them marinate for 10 minutes. 

dsc09137
8. Preheat your airfryer for 10 minutes on 180 degrees.

dsc09140
9. In a flat plate take some chickpea flour or besan and coat the marinated eggplant with flour on both sides. You can dust the extra.


dsc09141


dsc09142


10. Once the air fryer is preheated add a few slices on the wire rack of the basket and brush with some mustard oil. Let it air fry for 15-18 minutes. Flip it half way and brush the other side also with oil and continue to cook till you see them golden brown and crisp. Follow the same with rest of the slices.

dsc09145
11. Serve hot with dal and roti or you can just eat it like a snack with your drinks 🙂 

Other Eggplant recipes you can try are: Baingan Ka Bhartha Bharwan BainganBaingan Ka RaitaBaigan Ka Salan

baiganbhaja_featured3[whohit]BainganBhaja[/whohit]

[yumprint-recipe id=’255′] 

ChicikenKorma_Featured3

I have started eating Non vegetarian food very late in my life and which also means I started cooking it also very late. But I never panic because my father cooks excellent chicken and by the grace of God I have friends who always come forward to share their recipes and tips to make everything fabulous. The other night I wanted to try out a new recipe of Chicken and I resorted to my bestie Shaheen’s blog Spoon Fork and Food. It has some amazing recipes from lip smacking non vegetarian dishes to delicious, divine vegetarian food.

ChicikenKorma_Featured2

The recipe was self explanatory and came out just amazing. Its a regular at our place now. Whenever we have chicken my husband insists that we must make this again. The addition of nuts and coconut enhances the texture of the chicken and makes it from ordinary to  extraordinary. If you are looking for a recipe to win your heart and stomach you must continue to read the recipe. 

Directions:

1. In a pan add Almonds and cashew nuts.


DSC06352


DSC06353


2.  Add Poppy Seeds and desiccated Coconut. Toast them on low flame till they have become crisp.


DSC06354


DSC06355


DSC06356


3. Let the mixture cool down a bit. Transfer it to a dry grinder and pulse together to make a coarse powder. Set aside.


DSC06357


DSC06359


4. Chop some onions and dry roast them in a pan till they have become brown in colour.


DSC06362


DSC06363


5. Grind them in a paste and set aside.


DSC06365


DSC06366


6. In order to marinate Chicken add yogurt in a bowl along with fresh pieces of chicken. Also add ginger garlic paste and red chili powder.


DSC06367


DSC06368


DSC06369


7. Add turmeric powder, some strands of saffron and salt


DSC06370


DSC06371


DSC06372


8. Add lemon juice combine and refrigerate at least for an hour do that the spices marinate the chicken well.


DSC06373


DSC06374


9. After marinating the chicken, add Ghee or clarified butter in a wok. Add Bay leaf and green cardamom to the ghee.


DSC06375


DSC06376


DSC06377


10. Also add Black Cardamom, Cloves and Peppercorns. 


DSC06378


DSC06379


DSC06380


11. Once the ghee is infused with whole spices add the marinated chicken along with the liquid. Add slit green chillies and let the chicken cook and juices run out. Also add coriander powder and keep cooking. 


DSC06381


DSC06382


DSC06383


12. When the entire liquid has evaporated and ghee is separated add onion paste and roasted nuts mixture and combine well. Keep stirring and let the chicken cook on low flame till done. You shouldn’t need any water as there is enough curd. But if you feel the spice is getting stuck to the bottom, add little water and keep cooking till the chicken is done. It should take 20-25 minutes for the chicken to cook. You can add more Ghee to the chicken if you feel its dry. The korma tastes better with more ghee oozing out.. as a matter of fast all dishes do 😉 But a little butter or ghee never hurts anyone 😛


DSC06384


DSC06386


DSC06385


13. Garnish with Garam Masala, Coriander and Mint Leaves.

DSC06387

14. Serve hot with Naan, Kulcha and even roti. 

Other Chicken dishes you can try are: Butter ChickenChettinad Pepper Chicken MasalaGinger-Sesame Chicken with Bok Choy and MushroomsItalian Chicken Meatballs with SpaghettiChicken Soup with RiceGrilled Chicken SaladCheesy Chicken Lasagna.

You can also try Baigan Ka Salan from Hyderabad.

ChicikenKorma_Featured5[whohit]ChickenKorma[/whohit]

[yumprint-recipe id=’233′]

 PetheyKiSabzi_Featured4

Everyone has his/her own comfort food. After eating it all you can think about is love, deliciousness and indulgence. It may not be fancy schmancy but the simplicity of that dish connects you to the higher self. My Soul food is my mother’s Pethey ki Sabzi or Punjabi style Pumpkin. This recipe makes this humble vegetable the most desired one. 

PetheyKiSabzi_Featured5

Back when I was a little girl I never liked any of these vegetables . By ‘these’ I mean any of these from the gourd and squashes family. As I grew up and was married away I realised that this is the kind of food I have grown on and is an integral part of my life. I started longing for pethey ki sabzi, bharwan karela, bharwan tinda, kaddhi chawal and more. This ignited the spark in me to learn these recipes from my mommy. I am glad my mommy taught me all of these and I can play  the role of perfect mommy for my sonny boy. For me growing on these dishes is a sign of perfect childhood 😉

Directions:
1. You will need a round pumpkin with green skin and yellow inside. remove the seeds and membranes and peel off its skin. Chop it into very small pieces. Set aside.


DSC06787


DSC06788


2. Also chop finely some onions, ginger root, green chilies and tomatoes.

DSC06789

3. In a pressure pan add ghee or clarified butter.* As it melts add cumin seeds till it crackles. 


DSC06790


DSC06791


4. Add crushed coriander seeds, asafoetida and fenugreek seeds. Toss them in ghee.


DSC06792


DSC06793


DSC06794


5. Add chopped ginger along with green chilies. Saute them for a few minutes and then add onions to saute.


DSC06795


DSC06796


6. When the onions have caremalized add chopped pumpkin. Add salt and combine.


DSC06797


DSC06798


7. Also add, turmeric, red chilli powder and sambhar masala. Yes you read that right. Sambhar masala makes a huge change in taste which you wouldnt like to skip. Coat the spices with pumpkin.


DSC06799


DSC06800


DSC06801


8. Add chopped tomatoes and mix.Close the lid and cook the pumpkin on high flame for one whistle or till when the pressure has reached its maximum. Turn the flame on low and let it cook for another 15 minutes.After that turn the flame off and let it cook in the steam. Do not open the lid. 

DSC06802 

9. After the steam has escaped you will see there will be water in the base of pan. Again turn the flame on let the water evaporate. Slightly mash the pumpkin with the back of spoon.

DSC06803

10. Add Freshly chopped coriander.


DSC06804


DSC06805


11. Also add garam masala and a little sugar to balance the flavours.


DSC06806


DSC06807


12. Serve hot with Roti or puris. Do not forget to team your meal with raw red onion slices.

Other Punjabi dishes you can try are:Aloo Methi Punjabi Style, Bharwan Tinda, Stuffed Karela, Kadhi Chawal, Touri VadiPunjabi Dal MakhaniPunjabi Style Dum Aloo

PetheyKiSabzi_Featured1

[whohit]PetheyKiSabzi[/whohit]

[yumprint-recipe id=’231′]

PalakMushroom_Featured1
My husband loves Palak Paneer and there is nothing else which he fancies more. Whenever we get Spinach he doesn’t let me make anything else. This time when he was away at work and the milk wasn’t sufficient to make Paneer, I tricked him by adding Mushrooms. The combination clicked and he kinda liked it. Infact he said we should do this often. ha! You know sometimes in life you have to take extreme steps to change some people 😛 I guess I took mine… hahahah (evil laugh)

PalakMushroom_Featured3

On a serious note this dish was a pleasant change over the conventional paneer dish. If you are a mushroom lover this will really suit your palette. Infact this inspires me to trick my husband more often now 😉 which promises you more Spinach dishes on my blog soon.

Directions:

1. Separate the spinach stems from the leaves and reserve the leaves in a colander. If you are using the packaged spinach in a bag they come without stems, so you can skip this step.

DSC00838

2. Insert the colander with leaves under the water tap and wash rigorously ensure that there is no dirt. Ensure you wash each leaf, it is a tedious process but by this you will eliminate all the dirt which will effect the taste of your dish.

DSC00878

3.Put the washed leaves in a pot and blanch them for ten minutes with lid on top. If you are using the packaged spinach you will need to put half cup of water to blanch the spinach. Once you see the spinach leaves are no longer firm you must turn the flame off. Keep them aside to cool down a little.


DSC00879


DSC00881


4. After it’s cooled put it in a blender along with garlic, ginger and chillies. Make a smooth paste of it . Keep aside.


DSC06213


DSC06214


5. In a blender add Tomatoes, Ginger, garlic and Onions and make a smooth puree. Set aside.


DSC06215


DSC06216


6. Wash and Chop some Mushrooms.


DSC06210


DSC06211


7. In a wok add some ghee or clarified butter and add the mushroom slices. Saute them till they have shrunk and have acquired little colour. Take them out of the wok and put them in a plate to be used later.


DSC06217


DSC06218


DSC06222


 6. Add a little more ghee to the same wok and add cumin seeds. Wait for them to crackle.


DSC06219


DSC06220


7. Add the tomato puree and combine.

DSC06221
8. Add salt, turmeric powder and red chili powder. 


DSC06223


DSC06224


DSC06225


9. Let the masala be on the medium low flame till the ghee separates out.

DSC06226
10. Add the Spinach Puree and combine. Let it simmer for five eight minutes till it thicken a little bit.


DSC06227


DSC06228


11. Add cream or you can use malai . It helps it give that creamy texture and takes away the bitterness of spinach.

DSC06229
12. Add Kasuri Methi for that restaurant like taste. Garnish with Garam Masala.


DSC06230


DSC06231


12. Add sauteed Mushrooms to the curry and combine. 

DSC06232
13. Serve hot with Roti, Kulcha or Naan.

You can even try the classic Palak Paneer and Palak Dhaniya Chutney.

Other dishes from North India you can try are: Punjabi Dal Makhani, Kadhai Mushroom ,  Langar Wali DalMethi Matar MalaiMushroom Do PyaazaPunjabi Style Dum Aloo.

PalakMushroom_Featured2[whohit]PalakMushroom[/whohit]

[yumprint-recipe id=’223′]

BhainKofta_Featured2
Lotus Stem is edible and is used in Cuisines of China Japan and even India. In Hindi we call it Kamal Kakdi and even Bhein. It is not a very Popular vegetable but I have been eating this since a little kid as my mother make sit very often. But on the other hand my in laws have no taste for this. My mother makes this with Potatoes as a curry and also makes small dumplings by grating them and mixing with chickpea flours. Those dumpling are then deep friend and added to the gravy. 

BhainKofta_Featured6
As a little girl I used to eat those dumplings as soon as she finished them frying. Such glorious days they were when you never had to worry about those calories. But you know what I still popped a few dumplings in my mouth when I made them for this post. Fortunately this time they were air fried and I wasn’t feeling guilty about it.

Directions:
1.  Foremost thing, selecting the right lotus stem requires bit of a skill. Firstly, they should be fresh and tender and the colour should be as whitish as possible, the stale ones turn black. Secondly, the stems should be closed from both the ends. If you find them open on one end or broken or bruised from centre, it might be holding a lot of grit and cleaning it will be crazy. Wash and scrape off the skin of lotus stem and cut the ends. Wash again after cutting the sides. You can even use the frozen ones you get at Asian markets. Thaw them before use.


DSC05643


DSC05644


DSC05645


2. Grate the lotus stem in a bowl. Also grate two potatoes with it.


DSC05646


DSC05647


3. Add to the grated vegetables some chickpea flour and  salt.


DSC05648


DSC05649


4. Also add red chili powder, turmeric powder and Anardana or dry Pomegranate powder (not in pictures).


DSC05650


DSC05651


5.  Add chopped green chilies and Coriander seeds.


DSC05652


DSC05654


6. Mix everything with your hands so that it starts to stick together You are looking for a thick batter like consistency. You can add a tsp of besan to make the batter thicker. You don’t need water as the lotus stem and potatoes will have enough water to bind it together.

DSC05655

7. Make small balls, smaller than golf sized balls. Place them on a tray.


DSC05656


DSC05659


8. Preheat your Air Fryer on 200 degree celsius for 10 minutes. Or you can heat oil in wok if you want them oil fried.

DSC05657
8. Place them in the bucket of the Air fryer and brush with oil from top.  Air fry them for 18-20 minutes or till golden brown. You can change sides in half time. You can always deep fry them in oil if you dont care about the calories, I will not judge you 😛 I tried doing both to see the difference in taste. They both were fabulous.


DSC05660


DSC05662


9. Place them on a tray lined with absorbent Paper which will absorb all the extra oil from the koftas and make them more crispier.

DSC05665
10. For the gravy place tomatoes, ginger garlic and red chilies in a blender and make a smooth puree.


DSC05671


DSC05674


11. In a wok or pressure pan add Ghee or clarified butter. Add Cumin seeds and let them crackle.


DSC05672


DSC05673


12.  Add tomato puree and salt.


DSC05675


DSC05677


13. Add turmeric powder and red chilli powder and let it reduce till you see ghee separating the masala.


DSC05676


DSC05678


DSC05679


14. Soak Cashews in water for an hour and grind them into smooth paste. Add the paste to the masala and combine.


DSC05681


DSC05682


15. Add little water and let it simmer for 5 minutes till the gravy is thickened. 

DSC05680

16. Add koftas and continue to simmer or another 5 minutes or till the koftas have absorbed some of the gravy.

DSC05683

17. Finish with Garam Masala, Fresh Cream and Fresh Coriander Leaves.

DSC05685

18. Serve hot with Roti, Naan or Parantha.

Other recipes from my Mother’s kitchen you can try are: Aloo Methi Punjabi Style, Bharwan Tinda, Stuffed Karela, Kadhi Chawal, Touri Vadi.

BhainKofta_Featured1
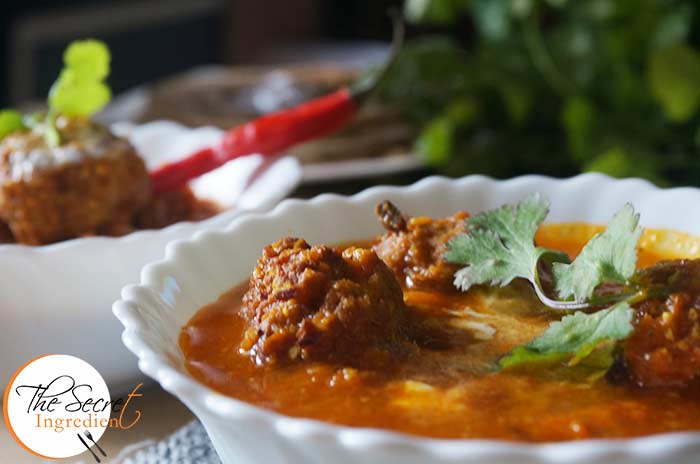
[whohit]KamalKakdiKKoftey[/whohit]

[yumprint-recipe id=’214′]

Mooli aur Mooli Ke Patton Ki Sabzi is a winter delicacy. Winters are here in full swing and the most inviting winter produce we get in India are white long radishes. In mexico I have seen red colour variation of these. But nonetheless both are delicious in their own ways 🙂 The radish which are sold now often come with the leaves on. If you are lucky to visit the market in the morning you might find the fresh radish with their greens on. That what you must pick for this recipe. The tender the leaves the more delicious they will be. This is an interesting way to cook radish than to have it just as a salad or stuffed in a parantha.

It is my maternal aunt Neena’s recipe which she often makes with ground poppy seeds and mustard seeds. I tried this first time fearing my fussy husband wouldn’t like it. He simply detests radish and its close kin turnip. But I was hellbent to impress him. The dish came out delicious and it was proved without doubt when my husband took a second helping 🙂

Its not only delicious but very nutritious. The fresh greens and radish are a rich source of roughage and helps to regulate blood pressure. It fights constipation and is extremely good for asthmatic patients. Who doesn’t wanna like this humble vegetable with such health benefits.

Directions:
1. Take some firm radish with fresh tender leaves. Wash the radishes. Cut the neck of the radish and separate the leaves. Do not throw them away. Peel the radish. 


DSC04129


DSC04130


DSC04131


2. Cut the radish into small cubes and separate the tender leaves.


DSC04132


DSC04133


3. Wash these leaves well so that no grit remains. Chop them finely, set aside.


DSC04134


DSC04147


4. In a dry grinder or coffee grinder add poppy and mustard seeds and grind them to a powder. Set aside.


DSC04135


DSC04136


DSC04137


5. In a wok or kadhai add mustard oil and smoke it. Add the mustard, poppy seeds powder and saute for a minute.


DSC04139


DSC04140


6. Add turmeric powder, salt and red chili powder.


DSC04141


DSC04142


DSC04143


7. Add chopped raddish and mix well with the spices. Cover with a lid and cook on medium low heat for 7-8 minutes or until your see its partially cooked.


DSC04144


DSC04145


DSC04146


8. Add the chopped radish greens to the wok and mix well. Cover it and further cook for another 5 minutes.


DSC04149


DSC04150


9. Serve hot with Roti and with some Bathua raita on the side.

For more everyday recipes you can try: Gobhi Danthal ki Sabji, Aloo Methi Punjabi Style, Swanjhane ki Sabji, Methi Matar Malai.


[yumprint-recipe id=’183′] 

MooliKiSabji_Pintrest