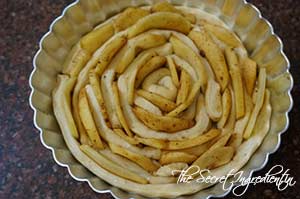
Yesterday Morning I woke up to a call from a friend who also is a client. I had 5 of her missed calls. It turns out she wanted to order a cake which needs to be ready in 3-4 hours. As you all know I dont do cakes on a regular basis and I live in a place where ingredients aren’t readily available. So i was in a dilemma but then I took this challenge. She left me to decide whatever I wanted to make.
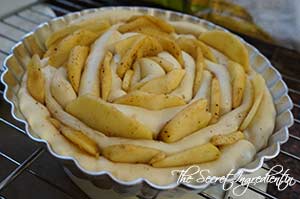
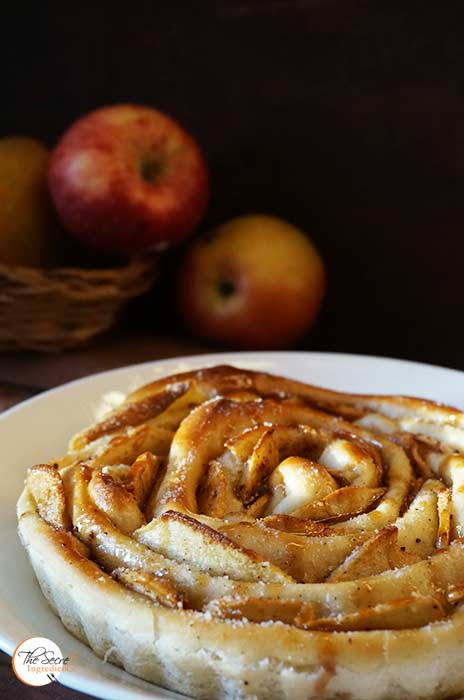
I had to quickly make a decision as to what can be made in jiffy and still looked pretty. You know when such cakes are ordered specially for wedding Anniversaries they need to have a wow factor not just in taste but also the way they look. For a second all the good looking cakes I had done in the past zapped right in front of my eyes and I had to choose one. Because this wasn’t a time for experimentation. I had made a Mango Tart a while back and it had turned out pretty and then I also had made a Vanilla Cake with pomegranate Sauce which was yummy. So I decided to fuse the two.
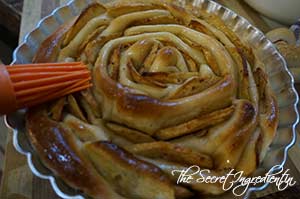
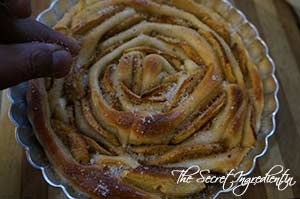
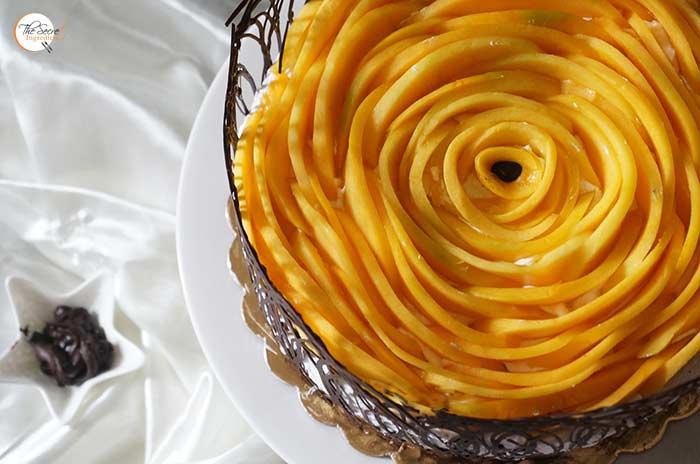
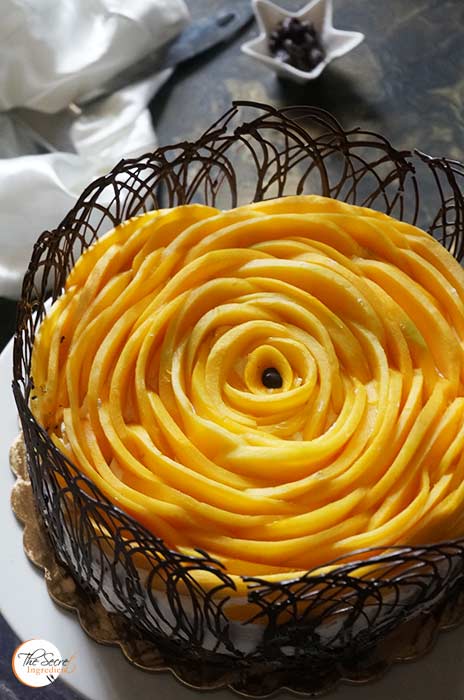
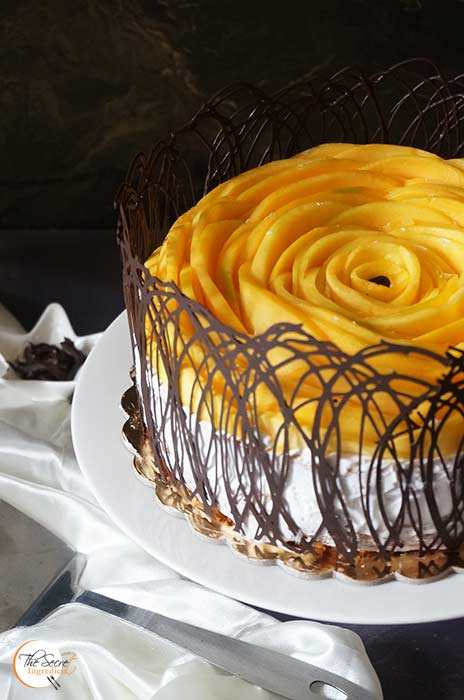
And the result was this gorgeous little Mango Vanilla Cake with Chocolate Collar! Aahh I feel soo happy after looking at it. The real icing on the cake was that the Client loved it  I cant explain the social network has been going gaga over this. It was 1.4k likes on a single Facebook group and other 1k in other. Everywhere I post this its being appreciated. I am a novice cake baker but sometimes things happen like magic happens 🙂 I am Thankful to Almighty and you all for this love.
Directions:
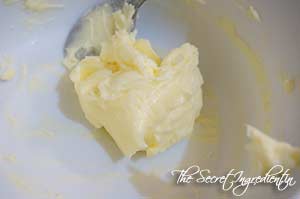
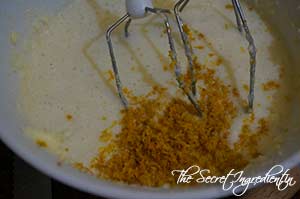
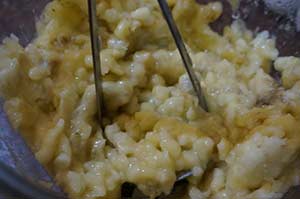
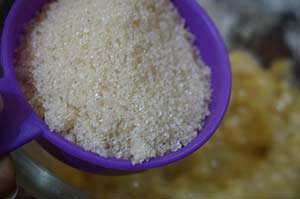
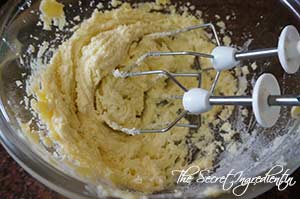
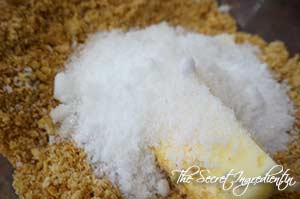
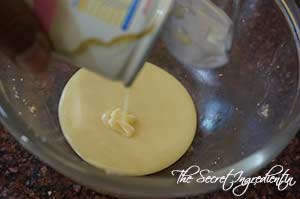
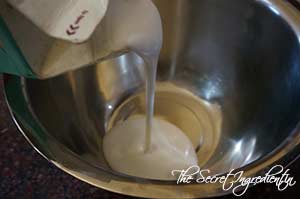
1.In a bowl add Butter and castor Sugar. Cream them together. You can use hand held whisk or electric whisk.
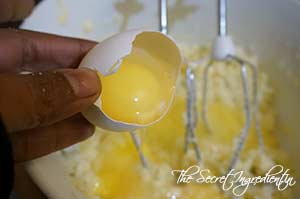
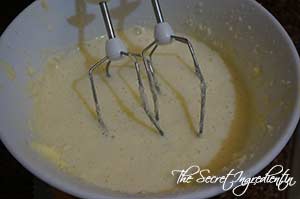
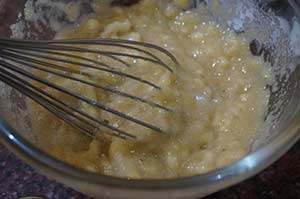
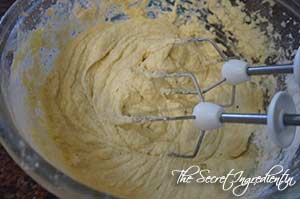
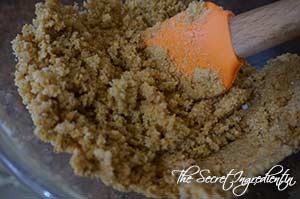
2. Add eggs and combine till creamy and light.

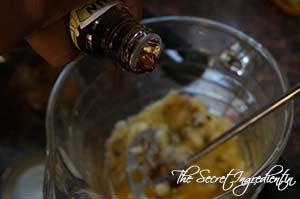
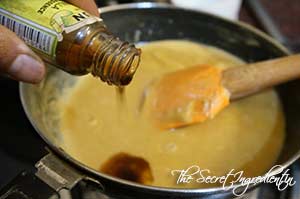
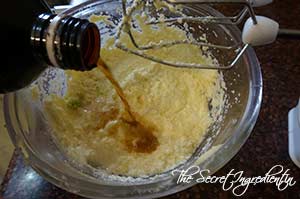
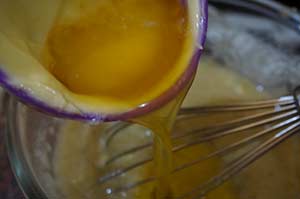
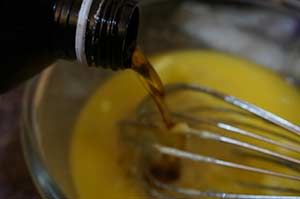
3. Add Vanilla Extract.
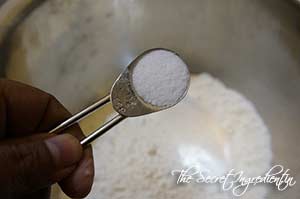
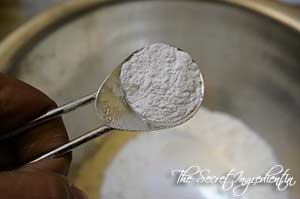
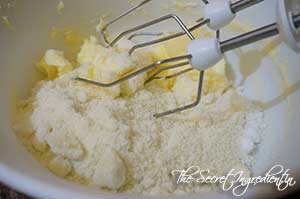
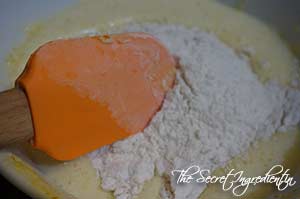
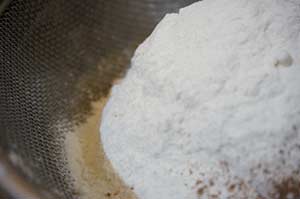
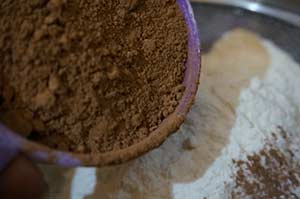
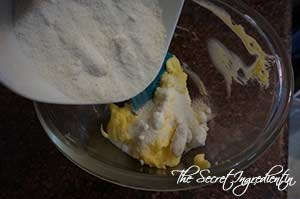
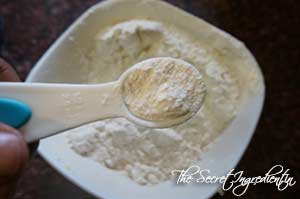
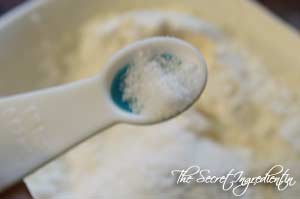
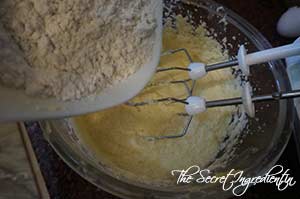
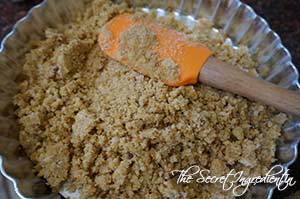
4. In a bowl add All Purpose Flour, salt and Baking Powder.
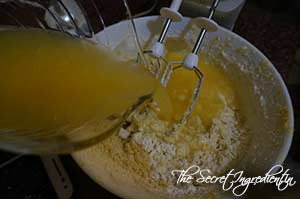
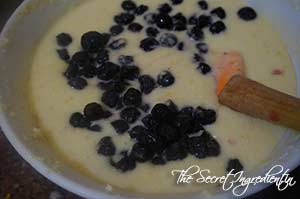
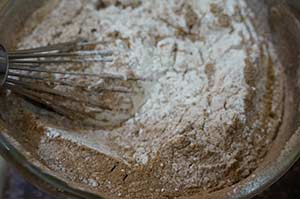
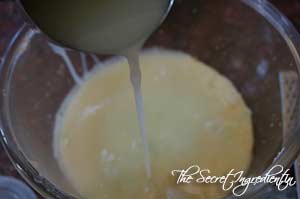
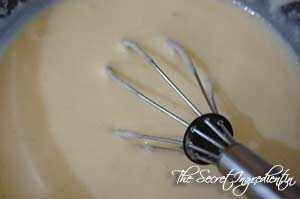
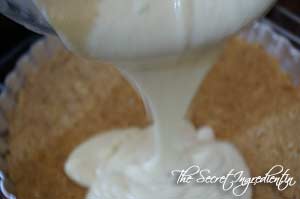
5. Slowly add this to the wet ingredients and combine until moistened.
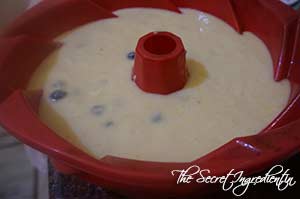
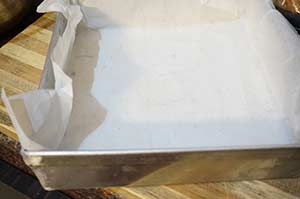
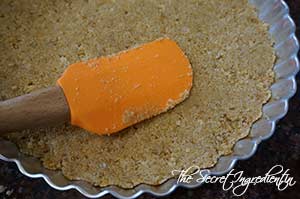
6. Pour this batter in a springform pan and smoothen the top with a spatula. You can buy the Springform pan with our online store, The Gourmet Shop. We ship pan India.

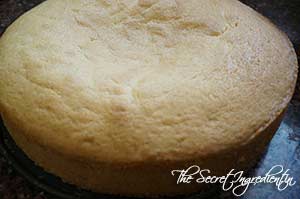
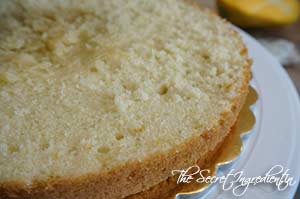
7. Bake in the preheated oven on 160 degree for 50 minutes or until the toothpick inserted comes out clean. Let it cool down completely before removing it from the pan.
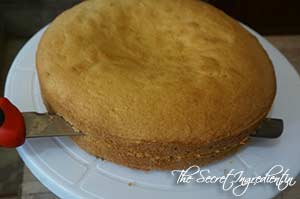
8. When the cake has cooled completely slice it horizontally into half using a sharp serrated knife. The motion of knife should be like a saw. Refrigerate for half an hour. I couldn’t because I had to finish the cake in 3 hours.
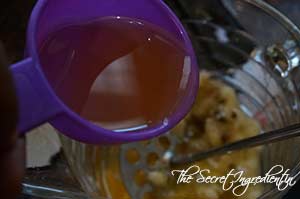
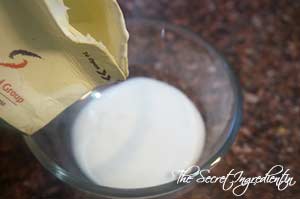
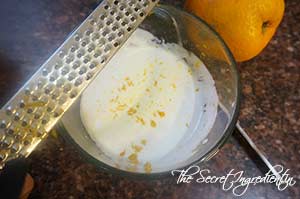
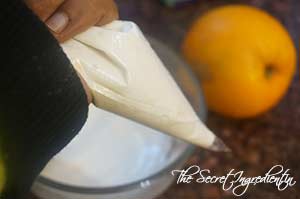
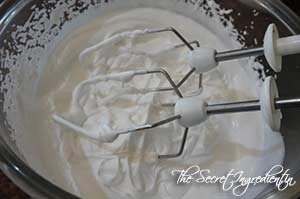
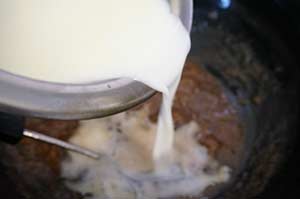
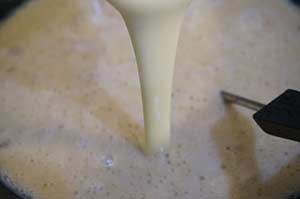
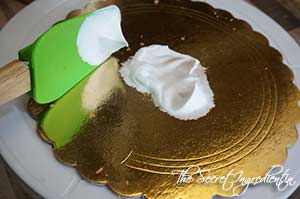
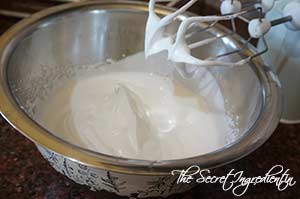
9. Add some whipped cream in a chilled bowl and whip it with an electric whisk till stiff peaks are formed.
9. Place a cake board on a rotatable Icing table and spread a little whipped cream on the board and place one slice of cake on it. This will ensure the cake doesn’t slip from the board.
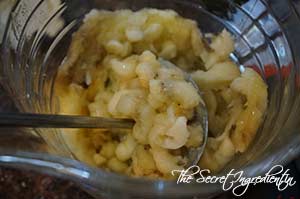
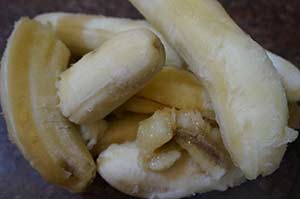
10. Chop a fresh mango into small chunks and spread it on the surface of cake.
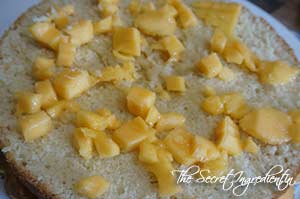
11. Spread a layer of whipped cream on top of mangoes and make it even using a palette knife. you can even use a spatula if you dont have a palette knife.
12. Place the other part of the cake on top of the whipped cream and mango mix.

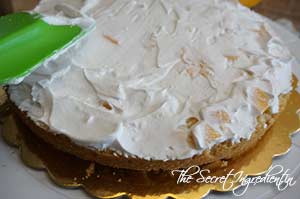
13. Take some whipped cream and smear it on the sides all along its circumference and top. It has to be thin layer, doesn’t matter if its smooth or not. I am not good with smooth finish so I made this cake to hide my inadequacies 🙂 How I forgot to take picture of this step! 🙁
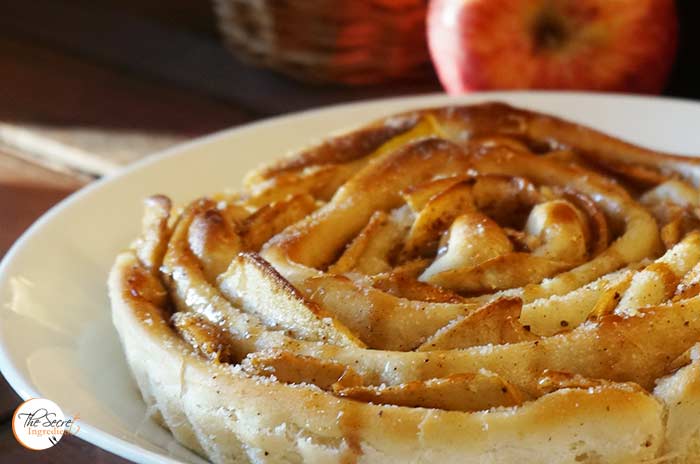
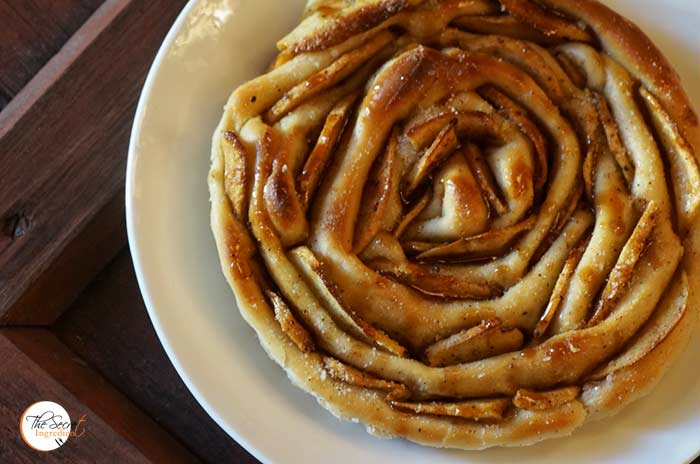
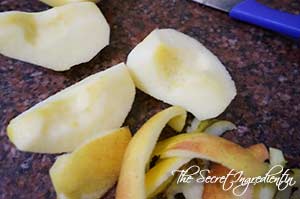
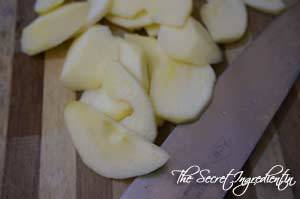
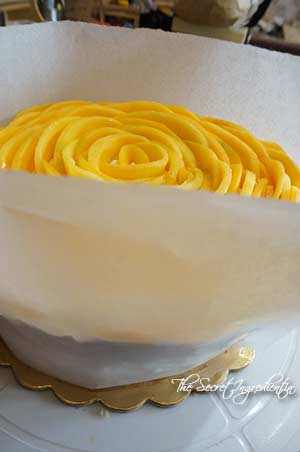
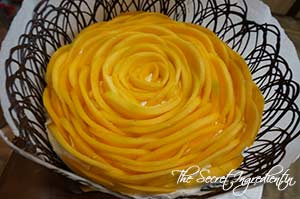
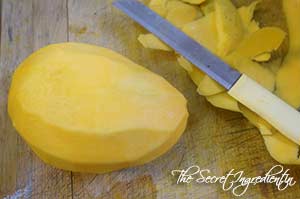
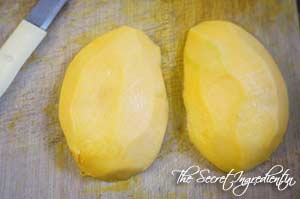
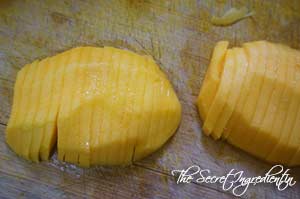
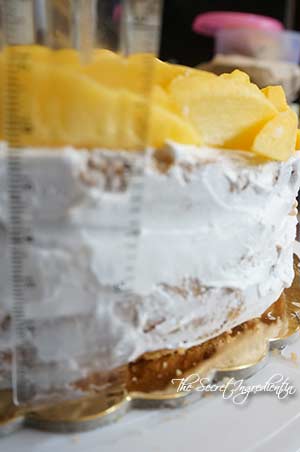
14. Now for the top mango garnish, take firm mangoes, peel the skin and cut it into half, removing the seed. Then further cut halves into thin slices. Set aside.
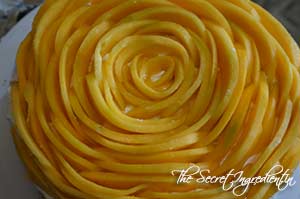
15. Once the cake has been iced from all sides. start from the top centre. Arrange the mango slices on top, starting in the centre and then taking it outwards to mimic flower petals. Don’t place the slices deep into the cream. The more they remain on top the neater will be the look.
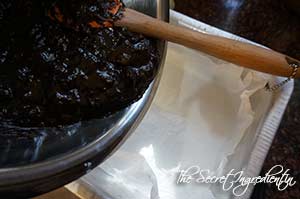
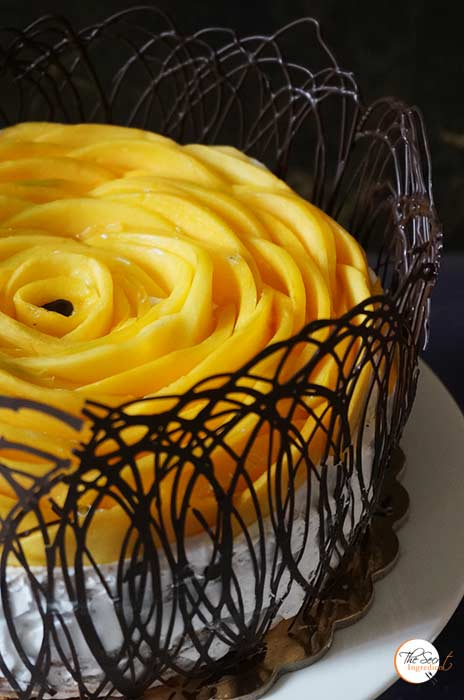
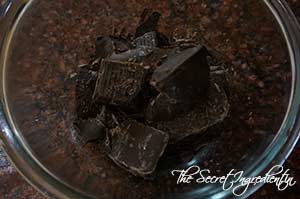
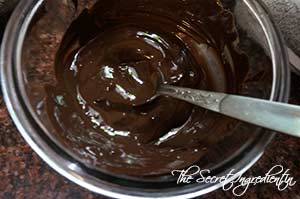
16. Now the question was how to hide the sides and pretty pie it. I thought of a chocolate collar and found a tutorial which was quick and seemed easy but I had never done it before. But I had little choice. So I went ahead. You need is a bar of chocolate or chocolate chips. Place them in a microwaveable bowl and heat it till it melts. You need to stir it every 30 seconds so that it doesn’t burn. You can also use a double boiler to melt, whichever you think is faster.
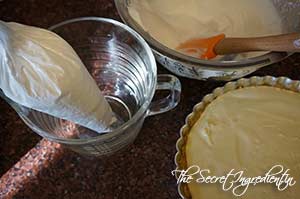
17. Pour the melted chocolate in a pipping bag or ziploc without any nozzle and tighten the keep.
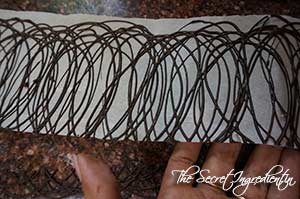
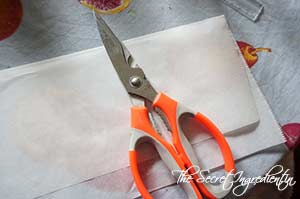
18. Now you have to measure the height of the cake, I used a ruler. It was 4 inches for my cake. Tear a sheet of parchment paper which covers the cake around completely and further trim its height matching to the height of your cake or a little taller, it was 4.5 inches in case of my cake. Oh look you have the view to my not so clean icing on the sides of the cake. yippy!
19. See it fits around the cake perfectly and also has the height i wanted.
20. Remove this parchment paper and place it on a smooth surface. You pipping bag with melted chocolate is ready, snip the end with scissors and make a small hole. Now spread the chocolate in circular motion, starting from one end and finishing the other, say left to right. Now repeat the same from right to left . You can make it as intricate as you want. The more layers you give it the more sturdy will be your chocolate collar.
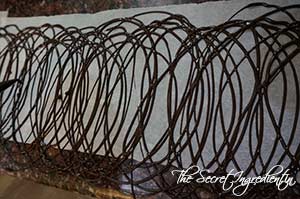
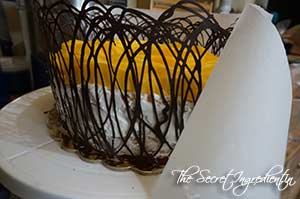
21. Let it be like that for a few seconds till the chocolate sets partially. Now remove the strip of parchment paper carefully with both your hands. If you leave it for a longer time and it sets fully you will not be able to mould it around the circular cake. So eyeball the timing.
22. Place it around the cake with chocolate side inside, pushing it inside the cake carefully.
23. Once the chocolate collar has been placed around the cake, remove the parchment paper slowly without damaging the lace and breaking it.
24. Guess what the cake is ready. You can add anything more to prettify it. I think I was happy with the results and gladly my client also liked it.
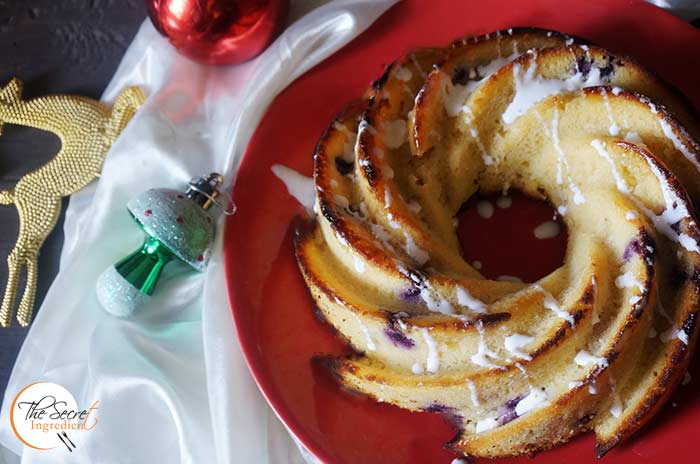
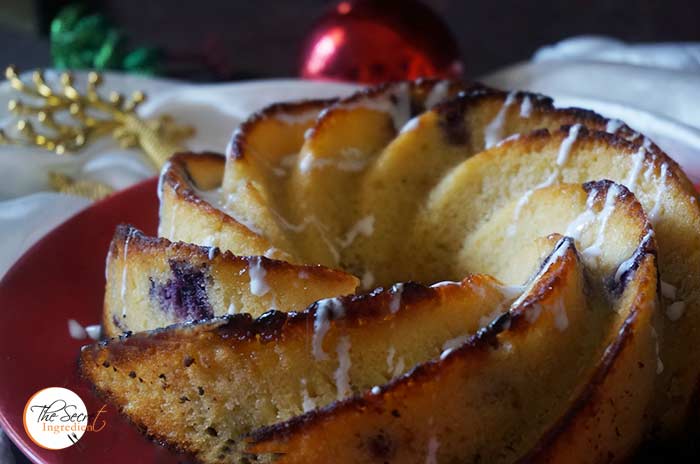
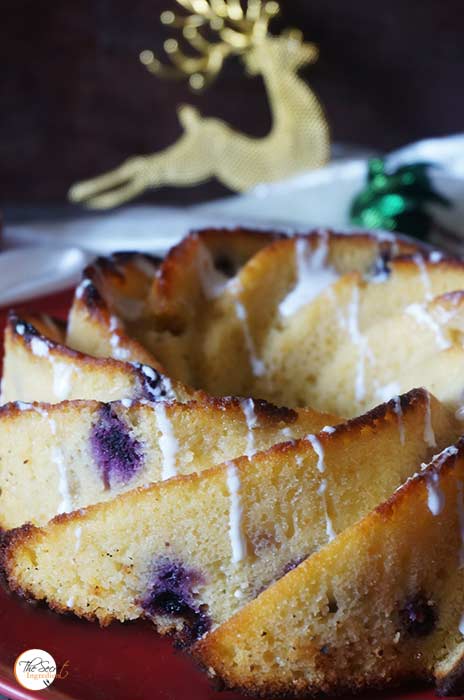
Other Cake recipes you can try are: Eggless Black Grapes Cake, Chocolate Vanilla Marble Cake , Eggless Almond Vanilla Cake, Eggless Orange Cake with Candied Orange Peel Filling, Lemon Cake with Lemon Glaze, Persimmon Rum Cake, Pumpkin Cake Rolls, Surprise Heart Inside Cake, Vegan Chocolate Banana Cake, Vanilla & Pomegranate Cake, Wacky Vegan Chocolate Cake, Festive Orange Blueberry Pound Cake, Mediterranean Eggless Semolina Cake
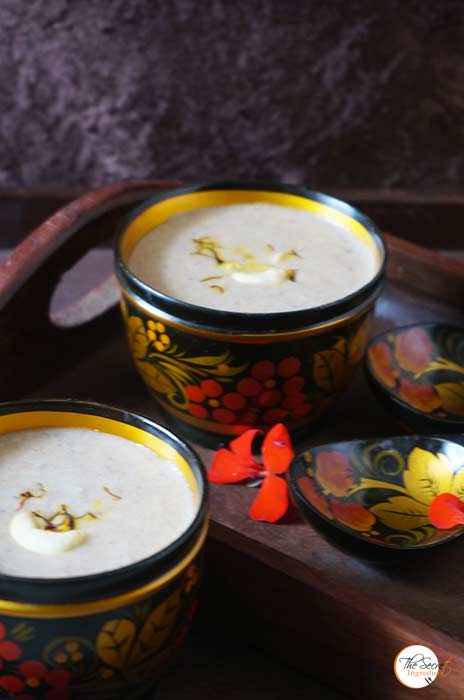
 [whohit]MangoVanillaCake[/whohit]
[yumprint-recipe id=’273′]


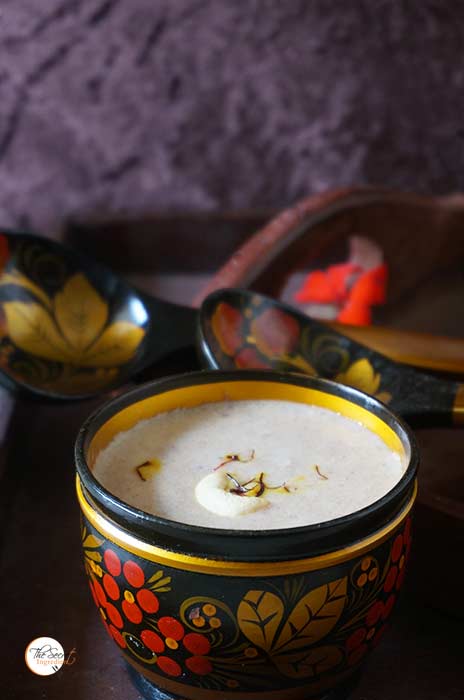 [whohit]DatesPayasam[/whohit]
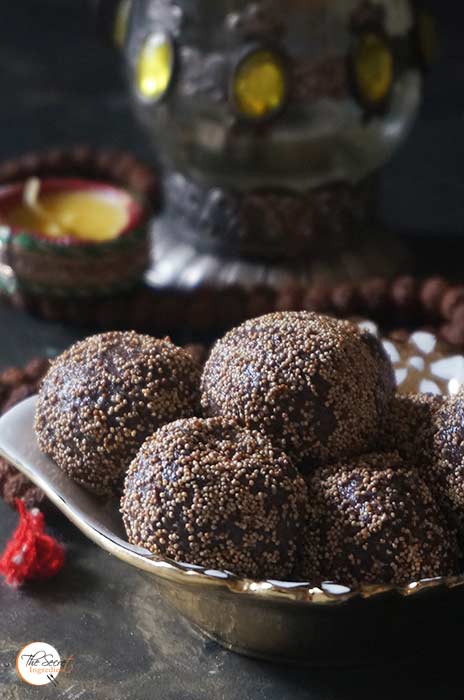
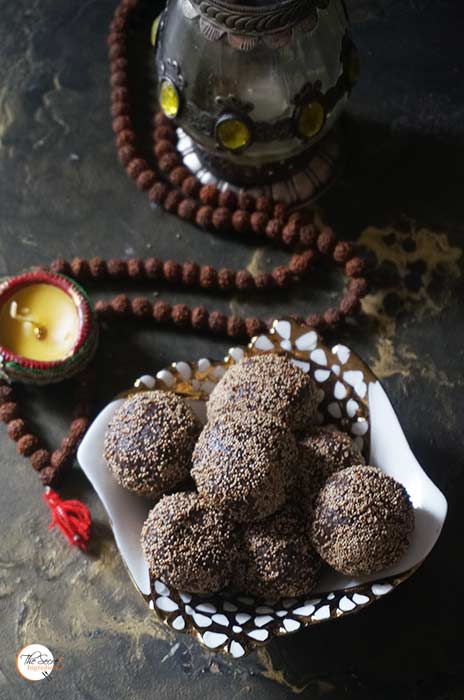

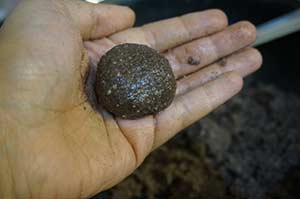
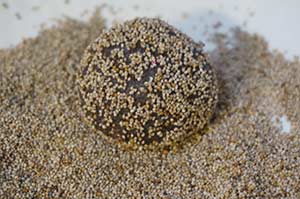
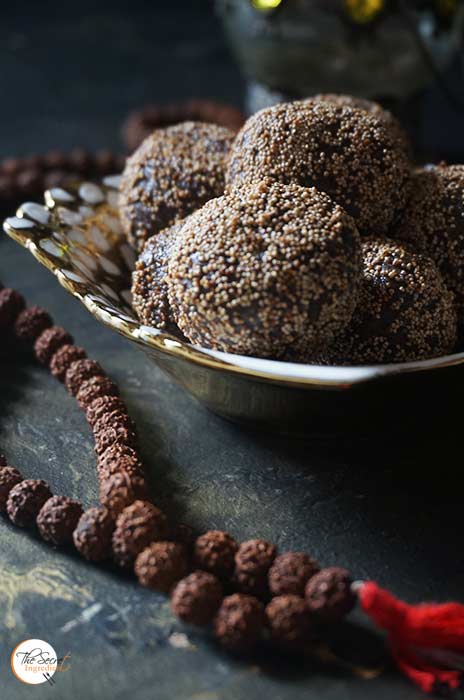 [whohit]RagiKhusKhusLaddoos[/whohit]
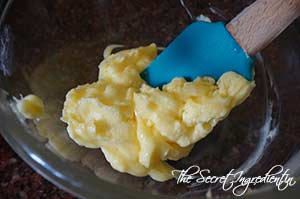


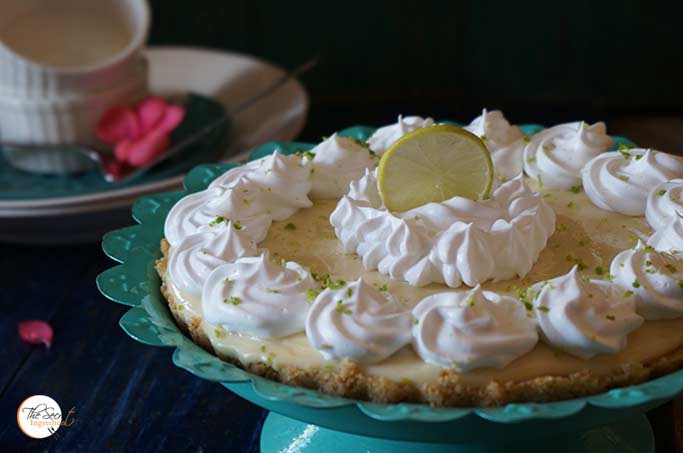
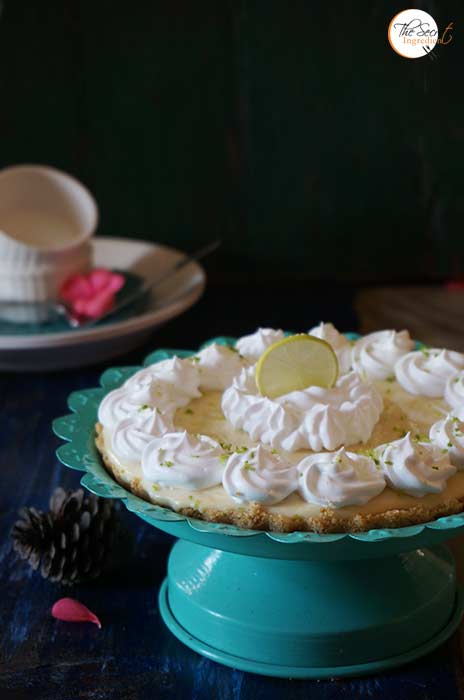


 [whohit]KeyLimePie[/whohit]