Tag

Vegetarian

Browsing

roastedbellpepperpasta_featured5

Sometimes you have a special attraction towards a particular type of ingredient. You may be fascinated by its taste or simply its appearance. I have such a fetish towards bell peppers, the red ones, the yellow ones and oh the orange ones. When I find them displayed in the supermarket I wanna hoard them. I love the way they make every dish look and taste special. The most interesting thing is that when you roast them they become sweeter and have such an amazing smokey taste. 

roastedbellpepperpasta_featured3

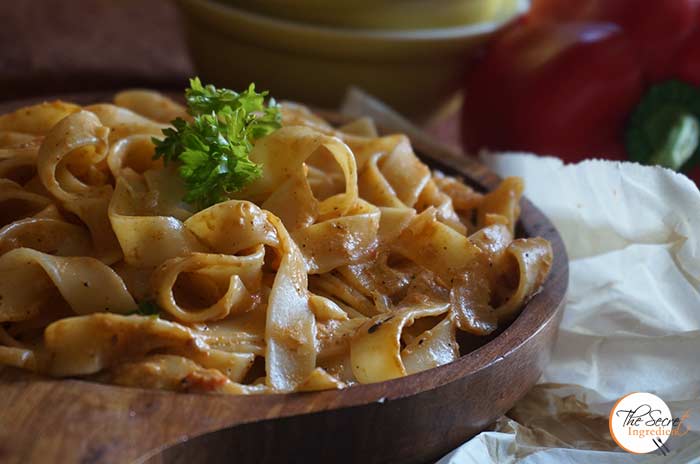
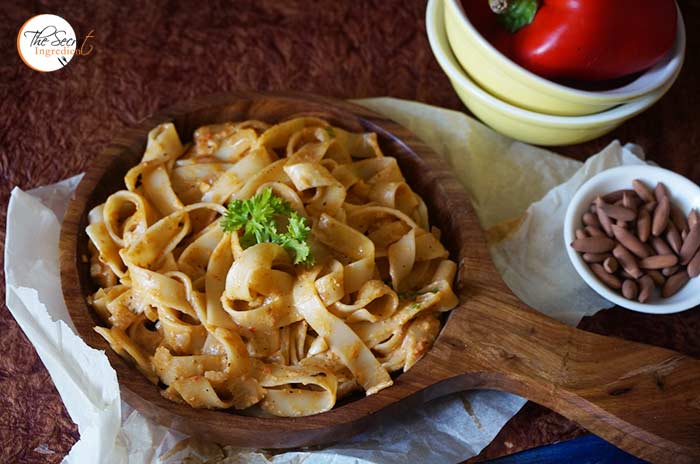
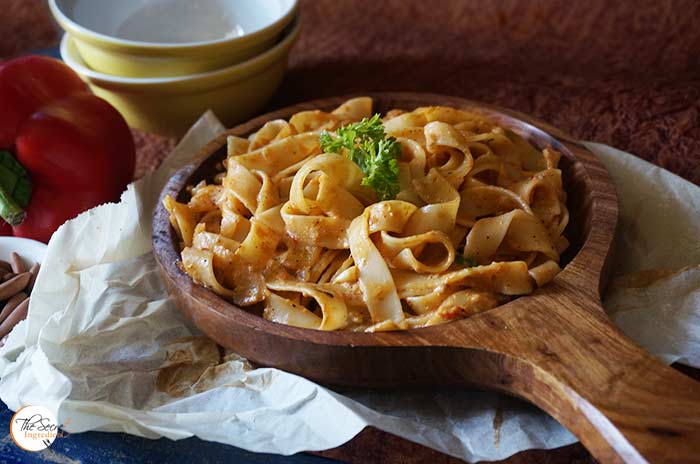
Last time when I found these I made charred Bell Pepper and Black eyed Peas Salad. Oh that was a hit in my house. The charred flavours of bell peppers lingers on in your mouth and want you to have them more and more. If you wanna know how to roast bell peppers in oven you can click here. For the sheer love of roasted bell peppers I tried pasta with charred bell pepper and pine nuts sauce. It came out so well and delicious that my husband wants this every now and then. Its a perfect under 30 minute dinner idea. Try it to believe it.

 Directions:

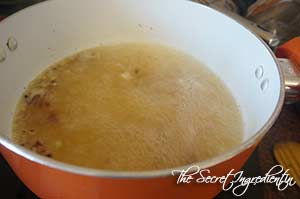
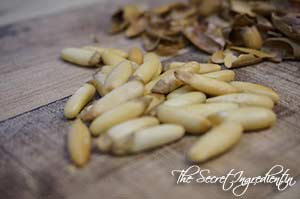
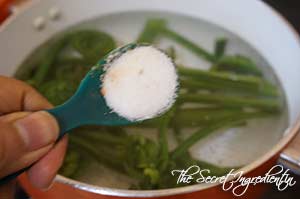
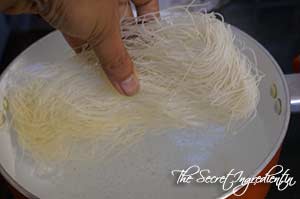
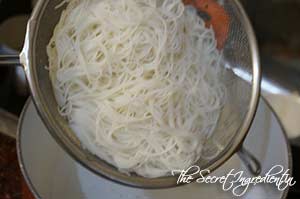
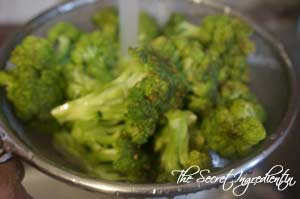
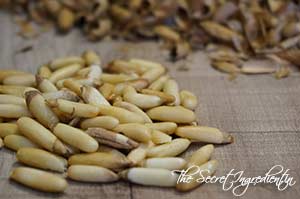
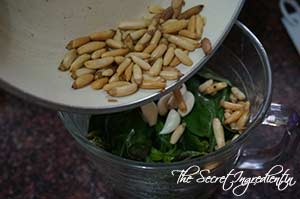
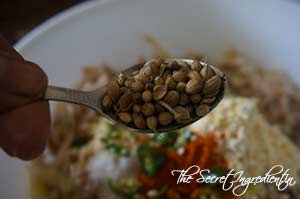
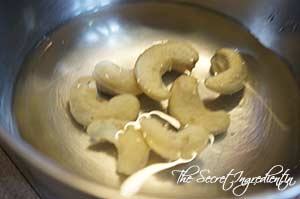
1. Boil pasta of your choice till al dente. Learn how to boil pasta perfectly. Strain and keep aside. In the meanwhile take some fresh pine nut and remove them from its shell. 

dsc00204

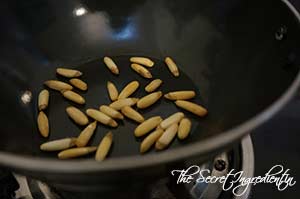
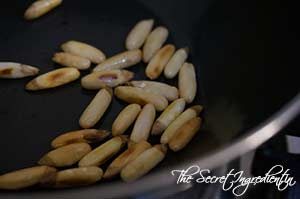
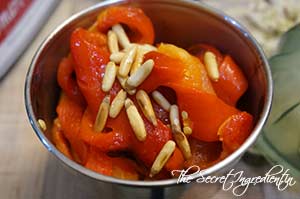
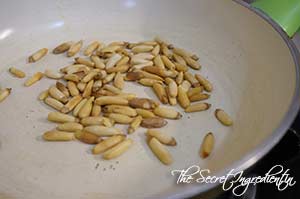
2. Toss the pine nuts in a pan on medium high heat for a couple of minutes just to get a bit of colour on them. Do not burn them! Remove them on a plate and set aside.


dsc00205


dsc00206


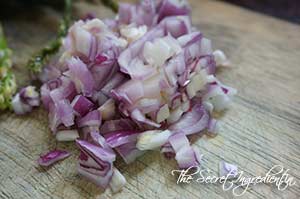
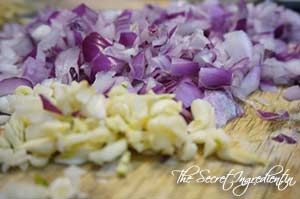
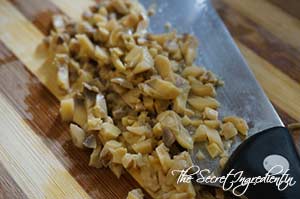
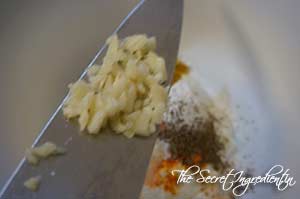
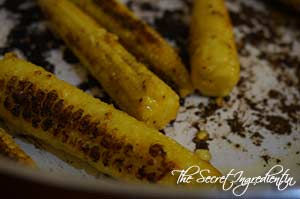
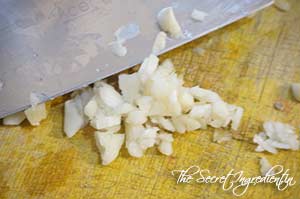
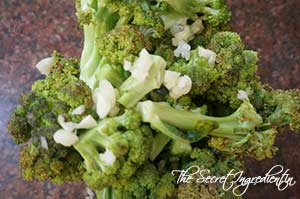
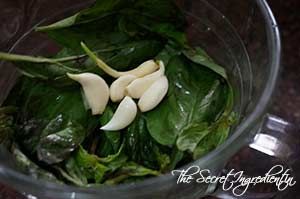
3. Chop Onion and Garlic finely and set aside. Also roast bell peppers and remove its skin, seeds and membranes. Learn how to roast your bell pepper in your oven.

dsc00200

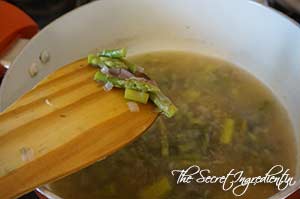
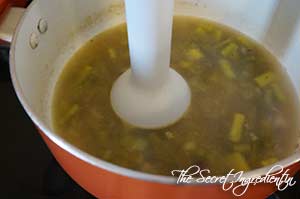
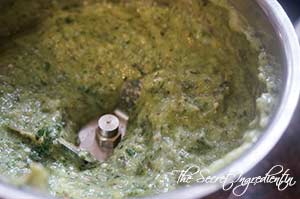
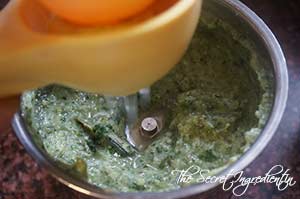
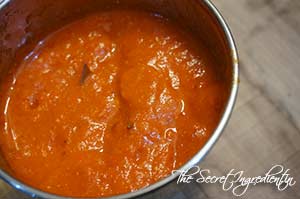
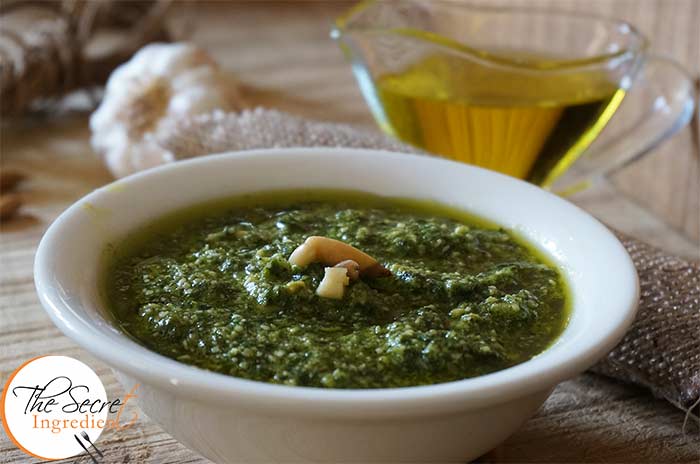
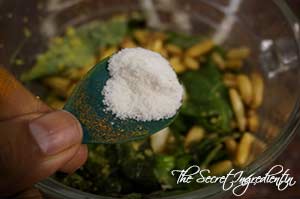
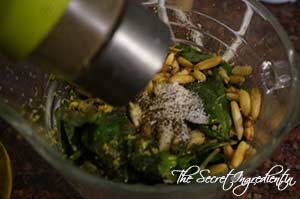
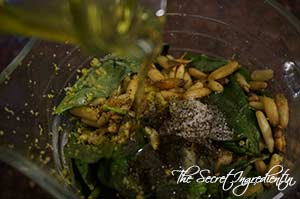
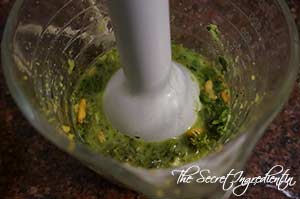
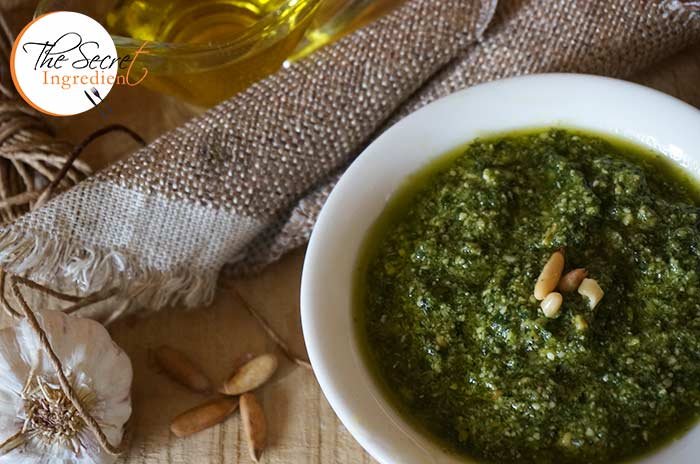
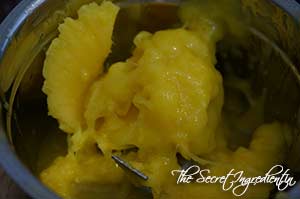
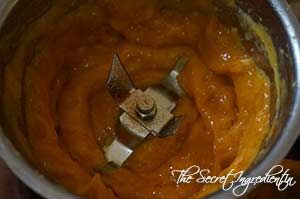
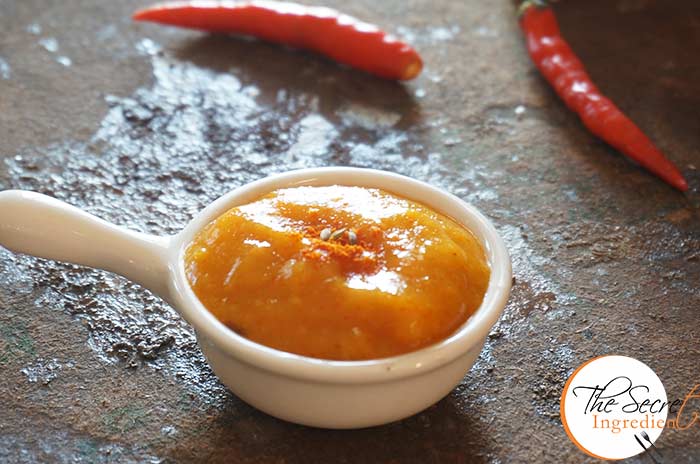
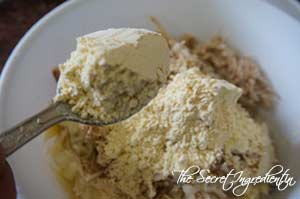
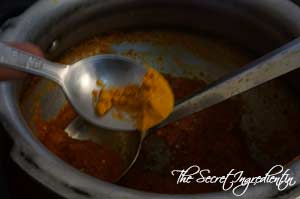
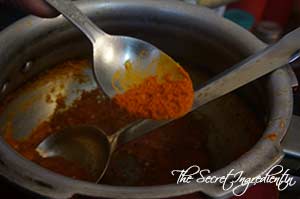
4. In a grinder add your roasted bell peppers and toasted pine nuts and make a smooth puree.


dsc00211


dsc00233


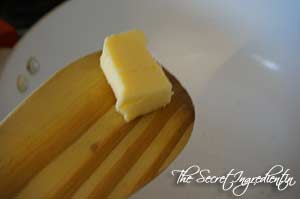
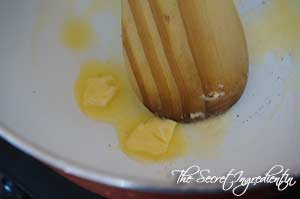
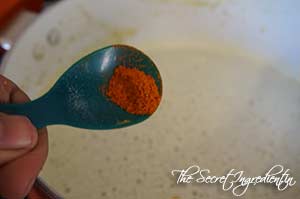
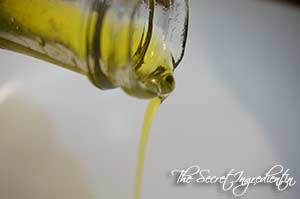
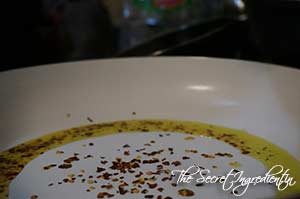
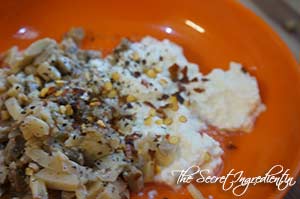
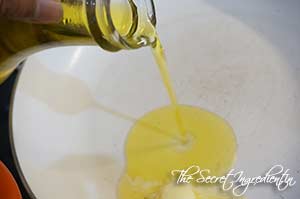
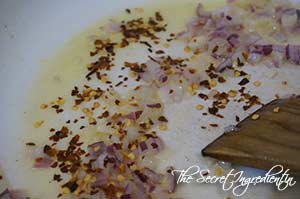
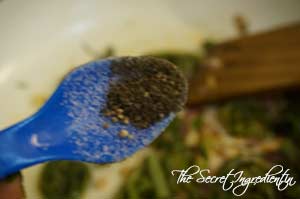
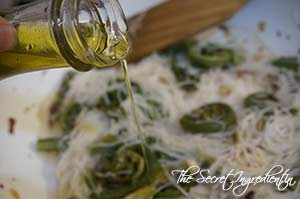
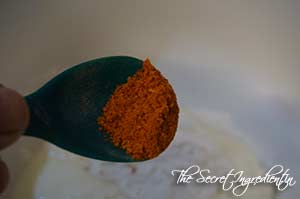
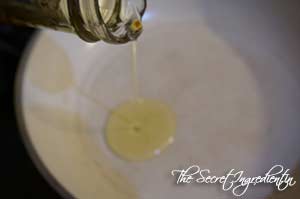
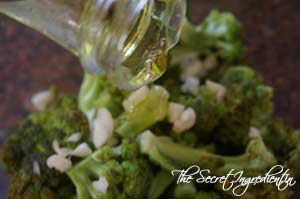
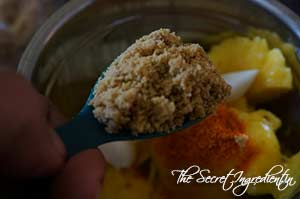
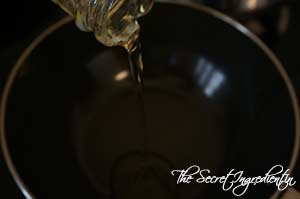
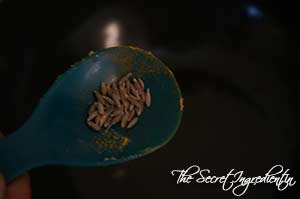
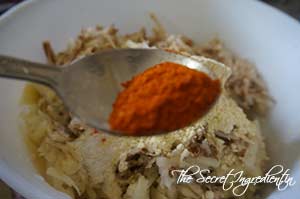
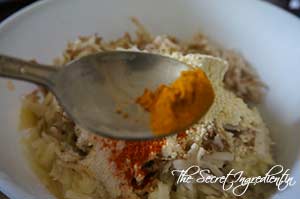
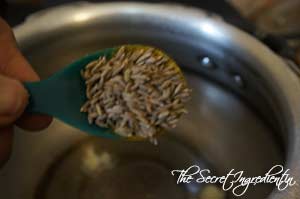
5. In a pan add some olive oil and add Red Chilli Flakes. We are infusing the oil with the taste of chili. But if you dont like chili you can always ignore this step.


dsc00212


dsc00221


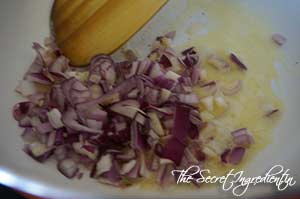
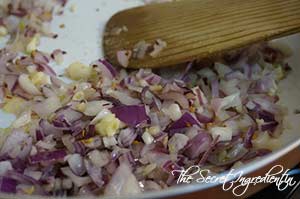
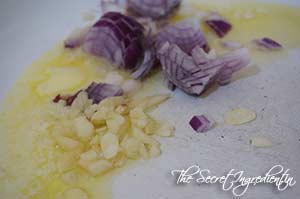
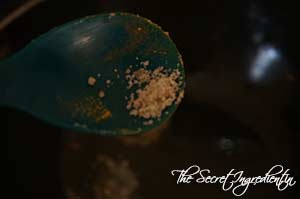
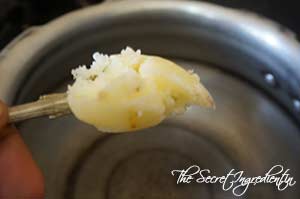
6. Add chopped Onions and garlic and saute them till they have acquired a light golden colour.

dsc00232

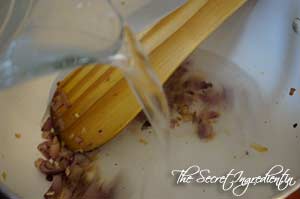
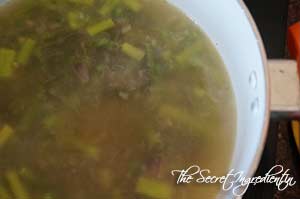
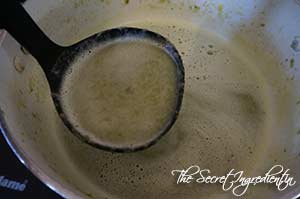
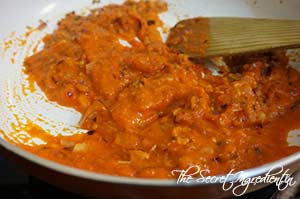
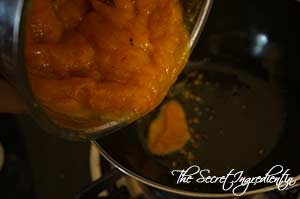
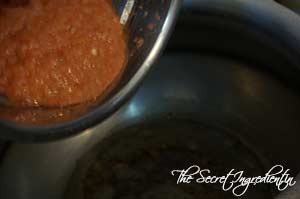
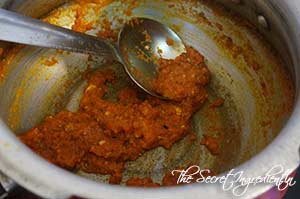
7. Add the puree and combine together with onions and garlic. Let it simmer on low medium heat for 5-7 minutes till it starts to bubble up.


dsc00234


dsc00235


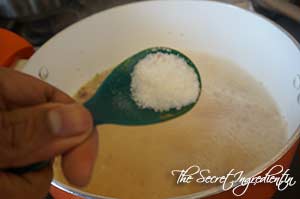
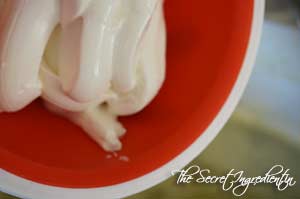
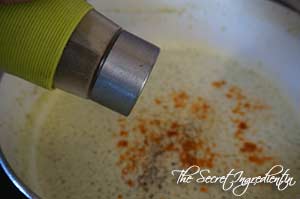
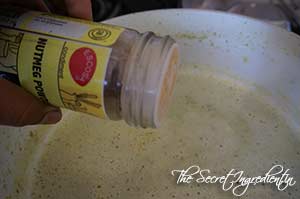
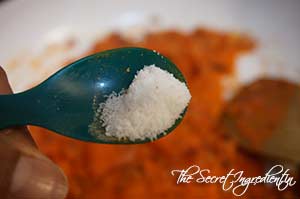
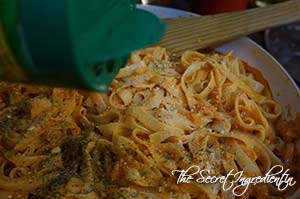
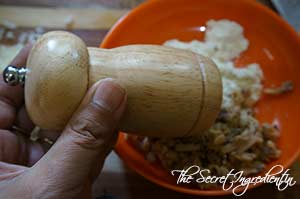
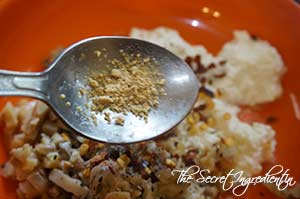
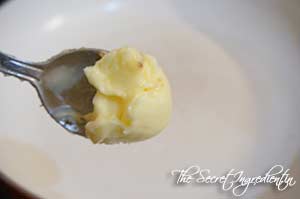
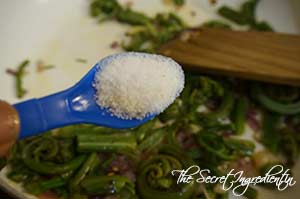
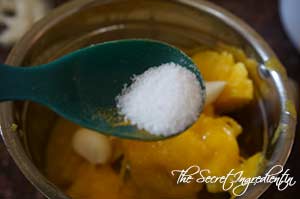
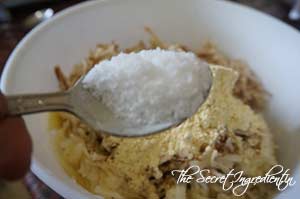
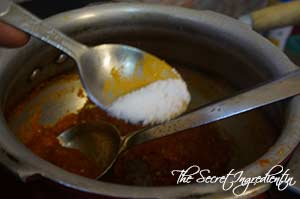
8. Season with salt and to make it more velvety add cream to it.


dsc00236


dsc00237


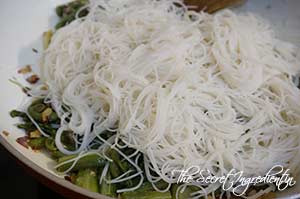
9. Add the boiled pasta and toss it with the sauce.

dsc00238
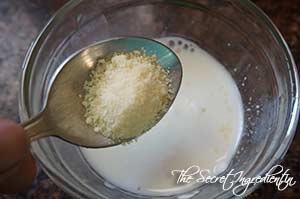
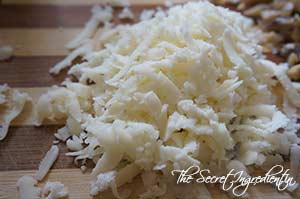
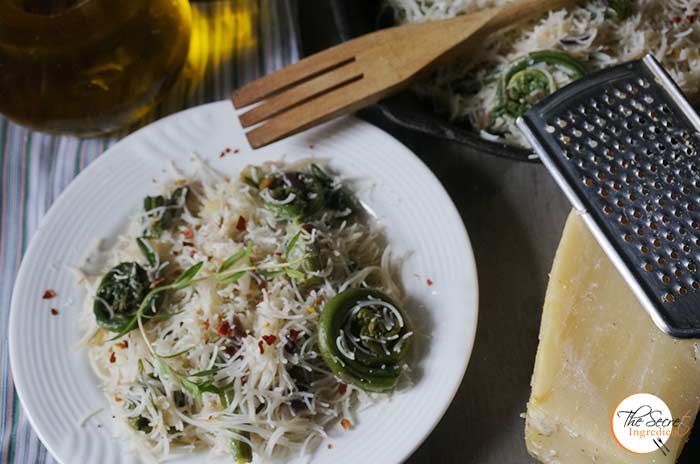
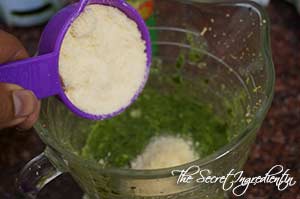
10. Add Parsley, I used dried because that is what I had on hand. You can use fresh and it will make it more delicious! Also add Parmesan Cheese and combine everything together.


dsc00239


dsc00240


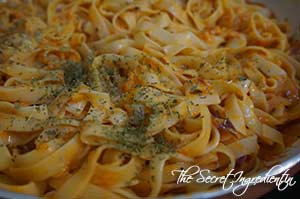
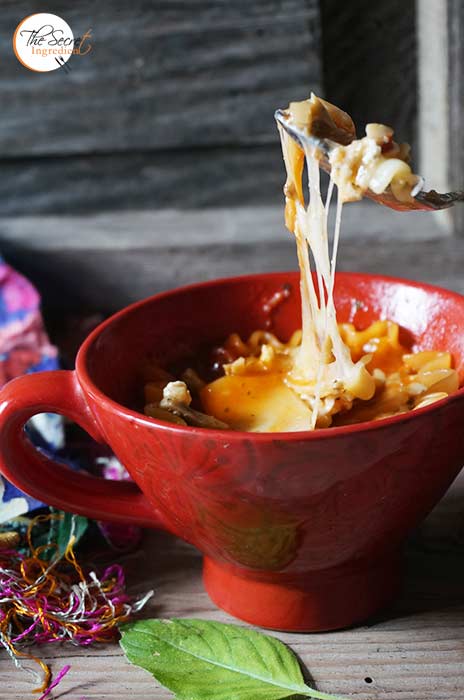
7. Serve hot and enjoy the incredible taste of Roasted Pell Pepper and Pine nut Sauce Pasta. All I need is a glass of wine to make my day 🙂

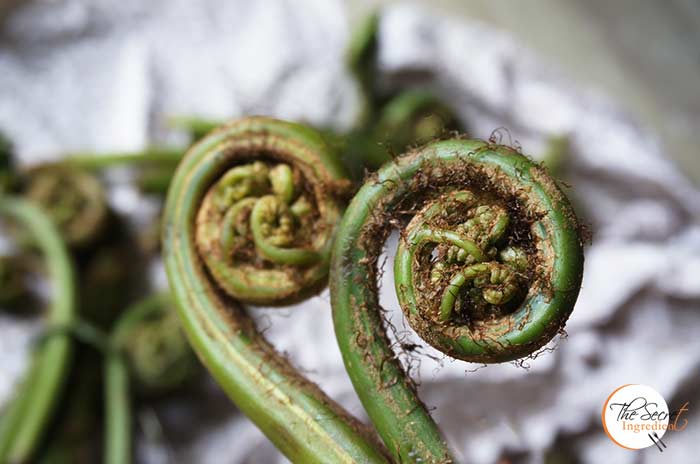
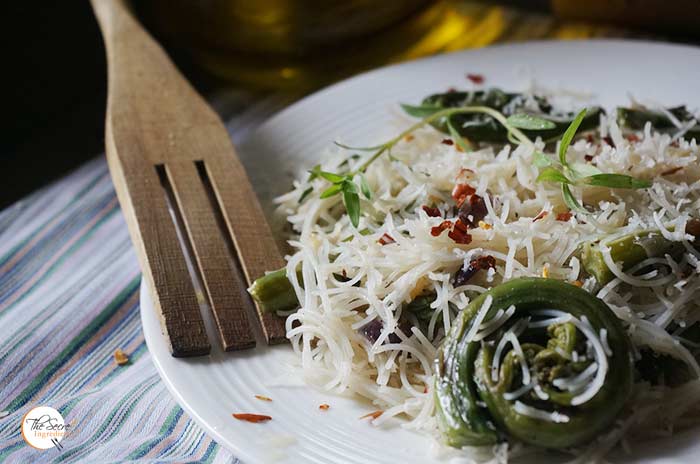
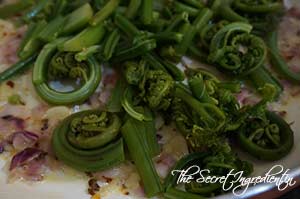
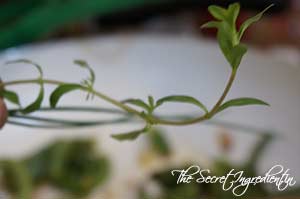
Other pasta recipes  Avocado Parsley PastaHealthy Broccoli PastaPasta Alla VodkaSautéed Red Bell Pepper and Olive Pasta SaladSpaghetti Vegetable PastaSundried Tomato Pasta SaladWild Fiddlehead Fern & Angel Hair Pasta

roastedbellpepperpasta_featured1[whohit]RoastedBellPepperPinenutPasta[/whohit]

[yumprint-recipe id=’245′]

MicrowaveMugLasagna_Featured2

I am an extremely lazy person and when that laziness assimilates in me I look for all possible ways to cut short my work, be it cooking, exercise or anything else. Such times see emergence of use of microwave in my kitchen. I hate microwaves and use it only for reheating. I detest baking in it but this lasagna recipe made me change my opinion about microwaves. This single serving lasagna in a mug is like your best buddy and can be made by anyone. Bachelors will love some quick fix dishes and so will people who are lazy like me.

MicrowaveMugLasagna_Featured3

This no cook pasta sauce has been a boon in disguise. I love it for my pizzas and for everything which requires red sauce. Gets ready in a jiffy without any hassle. The ricotta cheese can also be made in no time. Its just paneer with a little salt which is not set and has a crumbly texture. All you need is to curdle milk, drain the whey and its ready to use. Check out a detailed step wise step recipe to make Ricotta Cheese at home.

Directions:
1.  In a glass microwave friendly bowl add water and Lasagna sheet and microwave for 3 minutes. Cut it into small squares and set aside.


DSC07535


DSC07536


DSC07545


2. Chop Mushrooms and Shred Mozzarella Cheese, set aside.


DSC07539


DSC07540


3. In a bowl add Chopped mushroom, Ricotta Cheese, ground black pepper, granulated garlic,red chili flakes, chopped basil leaves and salt. Set mixture aside.


DSC07541


DSC07542


DSC07543


4. Prepare the sauce by mixing all the ingredients under No Cook Red Pasta Sauce. Set aside for assembly.

DSC07549

5. Pour 2 tablespoons of pasta sauce at the bottom of the mug. Top with a piece of softened pasta sheet. Add some mushroom mixture, 2 tablespoons of mozzarella, and a pasta sheet. Continue building the lasagna, ending with a layer of pasta sheet at the top. Sprinkle mozzarella over the pasta.


DSC07556


DSC07557


DSC07558


6. Microwave everything for 1 minute 30 seconds or until Mozzarella Cheese melts. Serve hot.

Other Lasagna recipes you can try: Vegetarian Mushroom Lasagna in Creamy White SauceCheesy Chicken Lasagna .

Other Pasta dishes you can try: Healthy Broccoli PastaPasta Alla VodkaSautéed Red Bell Pepper and Olive Pasta Salad , Sundried Tomato Pasta SaladWild Fiddlehead Fern & Angel Hair Pasta  Avocado Parsley Pasta.

MicrowaveMugLasagna_Featured1[whohit]LasagnaMug[whohit]

[yumprint-recipe id=’238′] 

I am always curious to try new food, especially which are localised. When monsoons engulfed the hills we were blessed with some interesting looking vegetables. They caught my attention and I decided to bring them home. They looked curvy coiling and simply gorgeous! I enquired the locals about its name and to share its recipe. It is known by many names Lingda, Lingadh, Lingude, Lingru, Loongru, LungduLiyon, Languda, Kutelda, Kasrod, Nuri, Neuri, Nigro, Niyuro, Dhekia Xaak.

FiddleHead_1

Interestingly it is found in spring season on hilly terrain near marshy areas. In the Indian subcontinent, it is found in the Himalayan North and North Eastern states of India. Also these are found in Canada, Alaska, France and East Asian Countries.

I asked my readers to suggest recipes from their regions and I am elated I have a few I would like to try. In the meanwhile I experimented and decided to cook it with Angel hair pasta. To my surprise it was beautifully delicious. The ferns which are thin and tender are best suitable for cooking and you can cook them directly without steaming or boiling. But if you end up finding ferns which are thicker simply boil them and the thicker outer skin will come out easily. This will help you save time on peeling.

Directions:

1.  Wash the entire fern under running water and specially the centre are which can have a lot of insects, after all its a wild plant. Once you wash them out. Run a kitchen towel it will clean out all the brown membranes , hair like structure and cut the ends.


DSC07504


DSC07500


2. In a pot boil some water and add the ferns to blanch for good 8-10 minutes, in case they are thick and if you see they are tender about 2-3 minutes will do the trick. Do add salt and drain them once done.


DSC07501


DSC07502


DSC07503


3. After draining them you will be able to peel out the top thick skin easily even with your hands, or else use a knife. Discard the skin and reserve the tender portion. Cut the tender portion into bite size pieces. I liked the coil shape of the fern so dint cut the circle. 


DSC07505


DSC07506


4. In another pot add some water and boil some angel hair pasta or rice noodles. Cook them for 5-8 minutes and drain the water. Run them under cold water and reserve.


DSC07509


DSC07518


5. In a pan add some butter and olive oil.


DSC07510


DSC07511


6. Add chopped onions and garlic and saute them over low flame. Add chilli flakes to bring up the heat.


DSC07512


DSC07513


7. Add boiled and peeled Ferns and saute them till they become slight brown in colour. Add some fresh herbs, I used fresh thyme and chives from my kitchen garden. If you do not have fresh herbs add a combination of dried herbs.


DSC07514


DSC07515


8. Season with salt and ground black pepper.


DSC07516


DSC07517


9. Add the drained pasta and toss iot around carefully. Add a drizzle of olive oil to unite them.


DSC07519


DSC07520


10. Divide the portions into individual serving plates and grate some parmesan cheese. Serve hot.

Other Pasta dishes you may like to try here:  Avocado Parsley PastaCheesy Chicken LasagnaHealthy Broccoli PastaPasta Alla VodkaSautéed Red Bell Pepper and Olive Pasta SaladSundried Tomato Pasta SaladVegetarian Mushroom Lasagna in Creamy White Sauce.


[whohit]FiddleheadFernPasta[/whohit]

[yumprint-recipe id=’236′]

BabyCornSatay_Featured1

Last week when I had plenty of Baby corns lying in my refrigerator I wanted to use them differently. Not just adding them to any Thai or Chinese dishes. I looked all over the web, unfortunately there were not  many recipes which excited me. They were the usual Baby Corn Manchurian in hot chili sauce. But then I found this recipe by Lubna Karim, a fellow blogger from Yummy Food. The recipe instantly pleased me. It stood top in all three parameters. It was easy, quick and fairly healthy. These were Baby Corn Satays in Indianised avatars to suit our palettes  

BabyCornSatay_Featured4

Satays are Southeast Asian Dishes with pieces of Grilled Meat on skewers. They are some what close kin of Seekh Kebabs famous all over the world. However, this vegetarian version was totally terrific and perfect for parties.

Directions:

1.  Wash and clean Baby Corns and place them to steam in a steamer filled with water. Close the lid while the baby corns cook through for about 10-15 minutes depending on the thickness of corns. You can also microwave them for 3 minutes till they are blanched. You should be looking at baby corns which are ready to eat but still hold their crunch. 


DSC06650


DSC06651


2. In a bowl add plain Yogurt or curd, corn flour and turmeric powder.


DSC06652


DSC06653


DSC06654


3. Also add red chilli powder, carom seeds or ajwain and garam masala.


DSC06655


DSC06656


DSC06657


4. Also add salt and minced garlic and marinate the blanched baby corn in this. Let the baby corns sit in the marinade for 20 minutes or so.


DSC06658


DSC06659


DSC06660


5. After 20 minutes, pour some oil in a non stick pan.

DSC06661

6. Add the marinated baby corns to the pan along with the marinade. Toss them in the oil till the baby corns have absorbed the marinade and have attained a slight golden colour.


DSC06662


DSC06663


DSC06664


7. Insert the skewers in each piece and serve hot with Mint Chutney or simply ketchup.

Other Party Menu ideas you can try are: Baked Paneer Corn KababsHealthy Kachalu Aloo ChatTangy Mint Potatoes and Veg Shami Kabab.

BabyCornSatay_Featured3
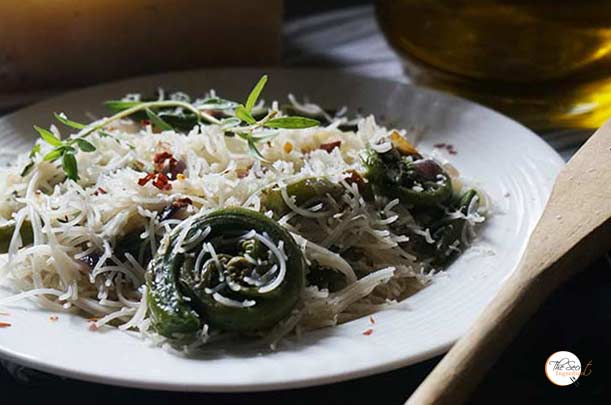
[whohit]BabyCornSatay[/whohit]

[yumprint-recipe id=’220′]


RoastedBroccoli_Featured2
After months of consistent exercise regime and healthy eating I am ten kilos down. The irony of a Food Blogger is that you have to cook fancy schmancy food which is not always healthy. At the end of the day that ends up in your butt. But the only way to escape is to compensate all those calories with equal amount of exercise. In the past few months I also ended up cooking and baking healthy recipes which makes eating a guilt free experience. Addition of soups and salads in my diet has uplifted by energy level. 

RoastedBroccoli_Featured3

Boiling Vegetables is so underrated and cruel. Roasting them gives them that crisp coat and enhances its flavour. I love to roast vegetables and doing it with my favourite Broccoli makes it top notch delicious. The addition of Garlic to this makes it a lethal combination. You must try it to believe me. If you like a little spicy, pep it up with some red chilli flakes.

Directions:
1. Preheat your Oven to 200 degree Celsius (Learn more about Oven temperatures and Conversion). Cut a Broccoli head into small sized florets. Place them in a colander and wash them thoroughly under running water for any grit. 


DSC06441


DSC06442


2. Chop some cloves of garlic finely and toss them with the broccoli florets.


DSC06444


DSC06445


3. Add a drizzle of Olive oil.

DSC06446
4. Season with Salt & Black Pepper. 


DSC06447


DSC06448


5. Transfer the broccoli in a baking dish and place in a single layer. Sprinkle some Red Chilli Flakes.


DSC06449


DSC06450


10. Bake in the oven for 20-25 minutes until the broccoli is tender. Toss in lemon juice, parmesan cheese, and 1 tablespoon olive oil; serve immediately.

Other Broccoli recipe you can try here are: Healthy Broccoli PastaCream of Broccoli Soup with ChivesBaked Broccoli Cheese Patties.

You can even try Roasted Potatoes with Garlic and Rosemary.

RoastedBroccoli_Featured1

[yumprint-recipe id=’218′] 


BasilPesto_Featured3

Authentic Italian Pesto needs no prelude. If you have pesto in your pantry I can assure you, you can do so many things with it. It makes fabulous pasta dishes, makes a delicious marinade for your meats, a lip smacking filling for the Bread and the list is endless. Last time I made a huge batch of pesto and it was devoured by my husband simply by smearing on bread. I saved (read hid) a little for the Chicken Pesto Pasta with Sundried Tomatoes . I shall soon be sharing its recipe.

BasilPesto_Featured1
The essential thing about the pesto is that each and every ingredient in this recipes plays a very crucial role. So please choose good quality ingredients which makes a huge difference in the taste. Other than this its not rocket science to make this salsa. Simply put the ingredients in blender and blitz.

Directions:
1. Remove the pine nuts from the shell and toast them on a pan on a medium low flame, till they become slightly golden in colour. Do not burn them. Set them aside to cool down.


DSC05205


DSC05206


2. In a chutney grinder add fresh basil leaves, thoroughly washed and separated from stems. Also add garlic cloves.

DSC05207


3. Add toasted pine nuts.

DSC05208


4. Add zest of a lemon and then cut it and squeeze in its juice.


DSC05213


DSC05214


5. Season with Salt and freshly ground Black pepper.


DSC05215


DSC05216


6. Add Extra Virgin Olive Oil and blend together into a creamy paste. If the blending gets difficult add more olive oil.


TDSC05217


DSC05218


7.  Now add grated Parmesan Cheese to the pesto blend and combine.
DSC05219

8. Your pesto is ready to be used. You can transfer it to a glass jar to store in refrigerator and top it up a little Olive oil so that the moisture stays intact and it doesn’t come in contact with air. This will increase its shelf life.

You can make Chicken Pesto Pasta with this.You can also try Parsley Pistachio Pesto for a new variation.

Other Salsas and Chutney you can try on the Secret Ingredient are: Argentine Chimichurri SalsaSweet and Sour Raw Mango ChutneyPudina ChutneyGreek Purslane Yogurt DipRaw Mango Chutney with Mint and Coriander.

BasilPesto_Featured2[whohit]BasilPesto[/whohit]

[yumprint-recipe id=’216′]

MangoGarlicChutney_Featured1

My Love for Mango is growing with my age. Its not just the ripe pulpy mangoes which makes my heart  skip a beat but also the green mangoes which are ideal for making pickles and chutneys. I have a lot of green mango recipes on my blog like the Instant Raw Mango Pickle, Sweet and Sour Raw Mango Chutney, Mint and Raw Mango Spicy Chutney, Raw Mango Rice  and the refreshing Aam Ka Panna. Looks like I am not going to stop here I will keep adding more to this inexhaustive list. The other day I saw Bijal, my facebook friend posted a recipe of Raw Mango and Garlic Chutney and since then it was haunting me to try it down. I am happy I did it for it had the most intricate flavours. The Sweetness of Mangoes, the strong flavour of Garlic and the Hotness of Chillies. It made a beautiful melody of distinct flavours.

MangoGarlicChutney_Featured3

Its fairly easy and takes no time to put it together. You can use it as a side dish for your everyday meal but at the same time use it as a dip for your nachos and even top it on your patties in a burger. It gives that kick and takes your dish to another level of deliciousness.

Directions:

1.  Peel and chop some green raw mangoes and put them in a blender or chutney grinder. I had a little ripe mangoes, they had turned pale yellow but were still quite sour.

DSC06002
2. Add few cloves of peeled garlic to the grinder.

DSC06003
3. Throw in some salt, red chilli powder and jaggery powder to balance the acidity.


DSC06004


DSC06005


DSC06006


4. Blend it together into a smooth paste.

DSC06007
5. In a pan add some oil and when it gets hot add some cumin seeds and asafoetida.


DSC06008


TDSC06009


DSC06010


6. Pour the blended mango into the pan and cook for a minute or so or until the raw smell of garlic diminishes from the chutney. 

DSC06011
7. You are ready to serve your chutney. Let it cool down and place it in a jar or bottle an refrigerate until use.

Other Chutneys you can try on The Secret Ingredient are: Spinach Coriander Salsa| Phalahari ChutneyGreen Ber Ki ChutneyCoconut Chutney Fresh Plum Spiced Chutney Coriander Chutney without Onion Garlic

MangoGarlicChutney_Featured4[whohit]MangoGarlicChutney[/whohit]

[yumprint-recipe id=’215′]

BhainKofta_Featured2
Lotus Stem is edible and is used in Cuisines of China Japan and even India. In Hindi we call it Kamal Kakdi and even Bhein. It is not a very Popular vegetable but I have been eating this since a little kid as my mother make sit very often. But on the other hand my in laws have no taste for this. My mother makes this with Potatoes as a curry and also makes small dumplings by grating them and mixing with chickpea flours. Those dumpling are then deep friend and added to the gravy. 

BhainKofta_Featured6
As a little girl I used to eat those dumplings as soon as she finished them frying. Such glorious days they were when you never had to worry about those calories. But you know what I still popped a few dumplings in my mouth when I made them for this post. Fortunately this time they were air fried and I wasn’t feeling guilty about it.

Directions:
1.  Foremost thing, selecting the right lotus stem requires bit of a skill. Firstly, they should be fresh and tender and the colour should be as whitish as possible, the stale ones turn black. Secondly, the stems should be closed from both the ends. If you find them open on one end or broken or bruised from centre, it might be holding a lot of grit and cleaning it will be crazy. Wash and scrape off the skin of lotus stem and cut the ends. Wash again after cutting the sides. You can even use the frozen ones you get at Asian markets. Thaw them before use.


DSC05643


DSC05644


DSC05645


2. Grate the lotus stem in a bowl. Also grate two potatoes with it.


DSC05646


DSC05647


3. Add to the grated vegetables some chickpea flour and  salt.


DSC05648


DSC05649


4. Also add red chili powder, turmeric powder and Anardana or dry Pomegranate powder (not in pictures).


DSC05650


DSC05651


5.  Add chopped green chilies and Coriander seeds.


DSC05652


DSC05654


6. Mix everything with your hands so that it starts to stick together You are looking for a thick batter like consistency. You can add a tsp of besan to make the batter thicker. You don’t need water as the lotus stem and potatoes will have enough water to bind it together.

DSC05655

7. Make small balls, smaller than golf sized balls. Place them on a tray.


DSC05656


DSC05659


8. Preheat your Air Fryer on 200 degree celsius for 10 minutes. Or you can heat oil in wok if you want them oil fried.

DSC05657
8. Place them in the bucket of the Air fryer and brush with oil from top.  Air fry them for 18-20 minutes or till golden brown. You can change sides in half time. You can always deep fry them in oil if you dont care about the calories, I will not judge you 😛 I tried doing both to see the difference in taste. They both were fabulous.


DSC05660


DSC05662


9. Place them on a tray lined with absorbent Paper which will absorb all the extra oil from the koftas and make them more crispier.

DSC05665
10. For the gravy place tomatoes, ginger garlic and red chilies in a blender and make a smooth puree.


DSC05671


DSC05674


11. In a wok or pressure pan add Ghee or clarified butter. Add Cumin seeds and let them crackle.


DSC05672


DSC05673


12.  Add tomato puree and salt.


DSC05675


DSC05677


13. Add turmeric powder and red chilli powder and let it reduce till you see ghee separating the masala.


DSC05676


DSC05678


DSC05679


14. Soak Cashews in water for an hour and grind them into smooth paste. Add the paste to the masala and combine.


DSC05681


DSC05682


15. Add little water and let it simmer for 5 minutes till the gravy is thickened. 

DSC05680

16. Add koftas and continue to simmer or another 5 minutes or till the koftas have absorbed some of the gravy.

DSC05683

17. Finish with Garam Masala, Fresh Cream and Fresh Coriander Leaves.

DSC05685

18. Serve hot with Roti, Naan or Parantha.

Other recipes from my Mother’s kitchen you can try are: Aloo Methi Punjabi Style, Bharwan Tinda, Stuffed Karela, Kadhi Chawal, Touri Vadi.

BhainKofta_Featured1[whohit]KamalKakdiKKoftey[/whohit]

[yumprint-recipe id=’214′]

AparagusSoup_Featured1

On my last trip to Delhi I got these Asparagus. I remembered how I gorged on these while I was in Mexico. I loved the Roasted Asparagus with Parmesan Cheese. Oh the flavour still lingers in my head. I wish to do that recipe for you next time I get Asparagus. This time I wanted to share with The Asparagus Soup which is relatively healthy if you control the cream part. Its a favourite in my family. Just team it up with a good hearty sandwich or pasta for that matter and your meal is complete. 

AparagusSoup_Featured2

The original Recipe from Chef John added zesty Lemony Cream on top. I did the same along with some Chilli Oil for that extra kick! Both the versions are delish. 


Directions:
1. Chop some Onions and set aside. You can use white Onions but all I had was the red ones.

DSC05522

2. Wash a bunch of asparagus and chop it into small pieces, leaving out the woody ends.


DSC05523


DSC05524


3. In a pot melt some butter.


DSC05525


DSC05526


4. Add the chopped onions to the melted butter and keep sauteing it till it has become translucent. The longer you do that on low flame the more sweeter will be your soup from the onions.

DSC05527

5. Add vegetable broth or you can use water and broth cube,


DSC05528


DSC05529


6. Let the broth simmer for a while and then add salt to it.


DSC05531


DSC05532


7. Add chopped asparagus and let it cook uncovered till you see they have become slight soft. You don’t want them mush as it takes away the beautiful green colour and makes it look pale.


DSC05533


DSC05535


DSC05536


8. Turn the flame off and blend it into a smooth puree. You can pass this soup through wire mesh or strainer to remove the fibre. I chose not to. You can do whatever you prefer. Add some cream to the soup and combine.


DSC05537


DSC05538


DSC05539


9. Add little cayenne pepper or you can even use red chilli powder, some ground black pepper and nutmeg powder.


DSC05540


DSC05541


DSC05542


10. In a bowl add cream and parmesan cheese  and zest of a lemon. Whisk everything together using a whisk.


DSC05543


DSC05544


11. Top the soup with a spoonful of this zesty cream and a few drops of Chili Oil.

Other soups you can try here are: Chicken Soup with RiceRussian Beetroot & Vegetable SoupClassic French Potato Leek Soup Sopa De FrijolTomato SoupZucchini Garlic Soup with Yak Cheese Shreddings. Cream of Brocolli, Peas and Mushroom Spicy Soup with Indian Flavours

AparagusSoup_Featured3

[whohit]CreamOfAsparagus[/whohit]


[yumprint-recipe id=’201′]


Green Ber ki Chutney I make every year because green ber is usually available at this time of the year. Yesterday was Maha Shivaratri, a Hindu festival  which is celebrated on the fourteenth day of every lunar month or the day before the new moon. It has a special significance for those who are on a spiritual path. A lot of Shaivas, devotees of Shiva observe fast on this day.  Around this time of the year the markets in India are flooded with some interesting fruits and vegetables, like the yellow ripe pumpkin, Cape gooseberry or Rasbhari in Hindi and also Ber or Indian Plum.

I have always loved eating Ber. It has a very peculiar taste not liked by everyone. This year on shivratri when I saw ber in the market I bought in abundance to munch all day long and tried to make this delicious chutney with mint. This recipe I had seen a while back and had been on my to-do list. I was a little skeptical about its taste but the end result was astonishing. Husband who doesn’t like ber also relished this chutney and asked for multiple servings with Samosa 🙂 Ha! what a happy end to ber.

Directions:
1. Wash and pit or destone the ber and  cut into pieces.

DSC05397

2. Separate the mint leaves from the stem and wash them well.

DSC05398

3. In a blender add the ber pieces along with mint leaves and Black Rock Salt and normal salt.


DSC05403


DSC05404


4. Also add sugar and roasted Cumin Seeds powder.


DSC05405


DSC05406


5. A green chilli, cashew nuts and a pinch of asafoetida


DSC05407


DSC05408


DSC05409


6. Blend them together to a smooth creamy paste.

DSC05410
7. Add Lemon juice and pulse again.

DSC05412
8. Serve with your favourite snacks and enjoy its deliciousness. You can refrigerate the chutney for later use.

Other Chutney Dips and Salsa you can try here are: Aalubukhara ChutneyArgentine Chimichurri SalsaCoconut ChutneySweet and Sour Raw Mango ChutneyPudina ChutneySpinach Coriander Salsa| Phalahari Chutney Coriander Chutney without Onion GarlicRaw Mango Chutney with Mint and Coriander


[yumprint-recipe id=’196′]