Author

anshu

Browsing


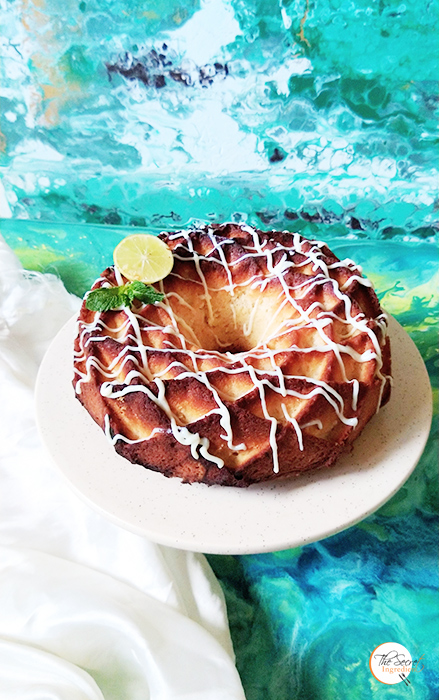
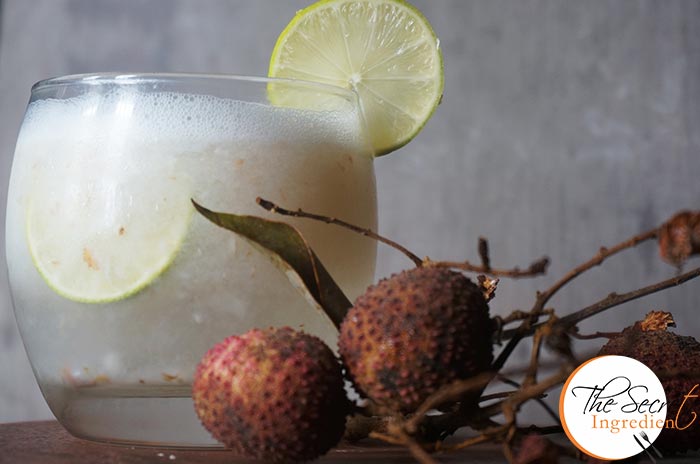
The story of this Lemon Cake with Lemon Glaze begins here. My parents in law brought for us lemons from our lemon tree back in Faridabad. The tree is a special variety which bears seedless lemons and the fragrance of fresh lemons is to die for. They were in abundance and then the search began to put them to right use. Easy way would have been to make lemon pickle out of it. However, I had a lot pickle lying in the house sent by my mom earlier this year. I never wanted to hoard pickle while no one eats it. So I decided to this amazing cake which was on my to-do list for a very long time. 


The Cake has an interesting lemony flavour (what else you expect!! Silly me :p). If you have a hang of lemon cakes and have tasted lemon tarts and muffins then decide to do this cake. This could be a little overpowering for those who are expecting this to be an ordinary cake with a spec of lemon here and there.. umm no! It has a distinct tartness which I love!! 

Directions:

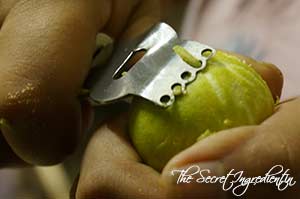
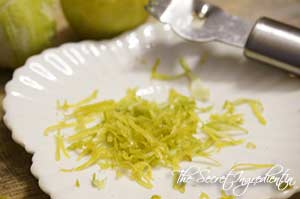
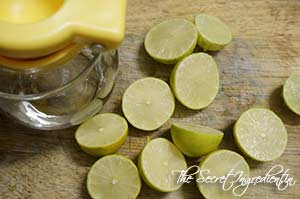
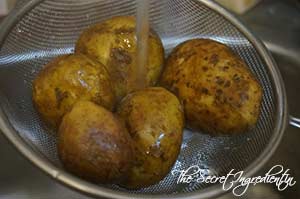
1. Wash your lemons and pat them dry. Now remove the  green skin from the lemons known as zest. You can use a zester or simply grater for lemons. Do not use the yellow skin inside for that is known as rind and can be bitter in taste. Do not throw the zested lemons away.


DSC02777


DSC02778


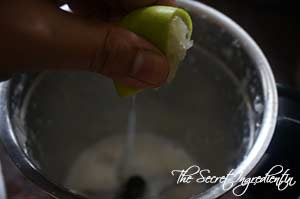
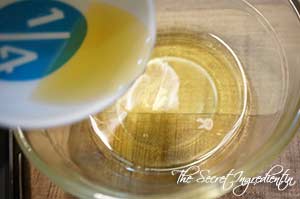
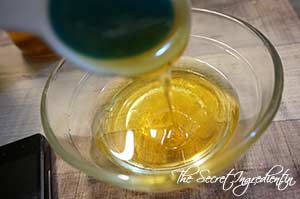
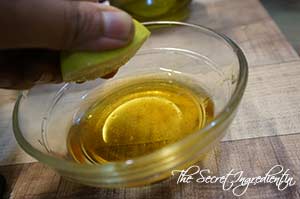
2. Cut the lemons into half and squeeze out its juice. 

DSC02779
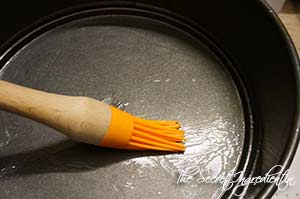
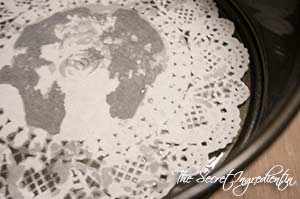
3. Grease or  Butter, or spray with a non stick cooking spray, a 9 inch (23 cm) spring form pan and then line the bottom of the pan with parchment or wax paper.


DSC02780


DSC02781


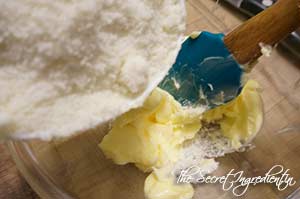
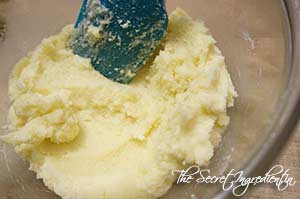
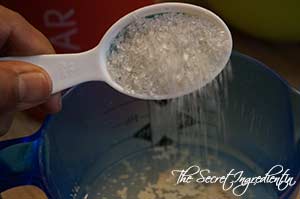
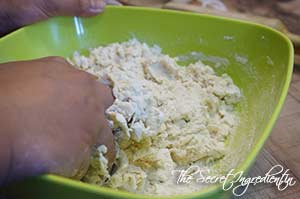
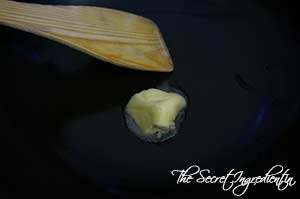
4. In a bowl add butter, at room temperature and add castor sugar. Cream them together till sugar and butter become creamy.


DSC02782


DSC02783


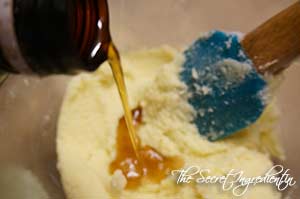
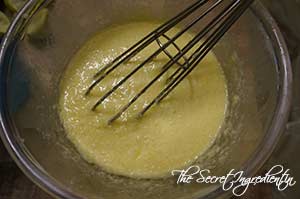
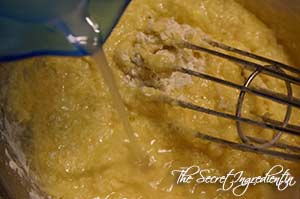
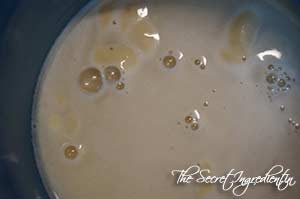
5. Add Vanilla extract and crack in some eggs* (for eggless see tip below in notes). Whisk them together using a strong hand or electric whisk until it become frothy.


DSC02784


DSC02785


DSC02786


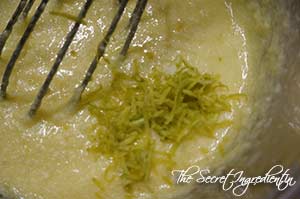
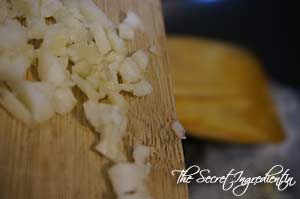
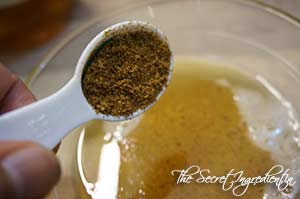
6. Add the lemon zest and combine. Set aside.

DSC02787
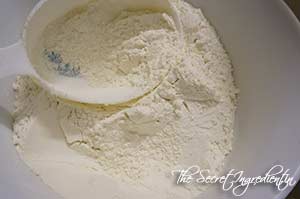
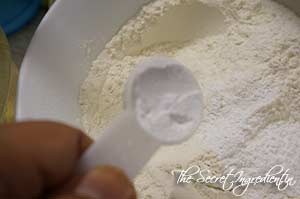
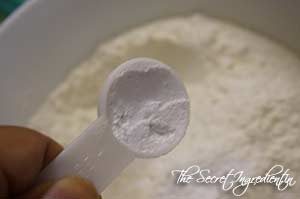
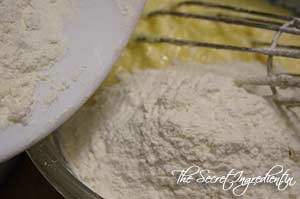
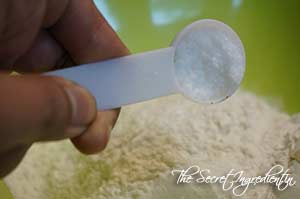
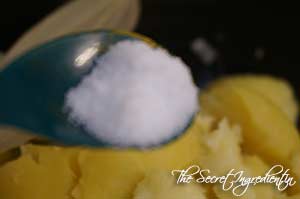
7. In a separate bowl add the All purpose Flour, salt and Baking powder.


DSC02788


DSC02791


DSC02792


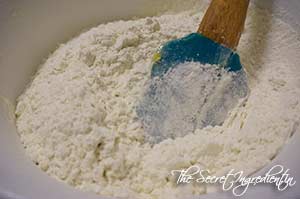
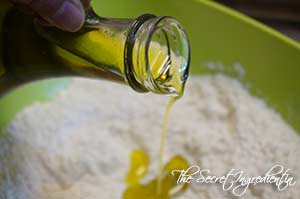
8. Give them all a gentle mix and add little by little to the wet ingredients and mix.


DSC02793


DSC02794


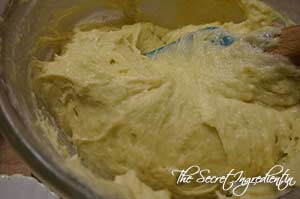
9. Add lemon juice and combine. Do not over mix, just enough to moisten the dry ingredients.


DSC02795


DSC02796


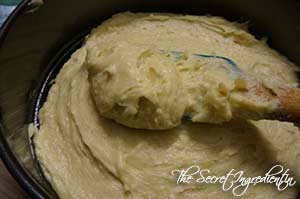
10. Pour the batter in the greased baking pan and slightly flatten the top surface with a spatula.

DSC02797
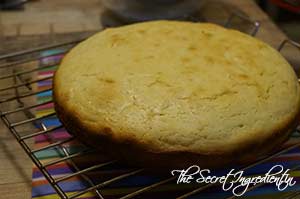
11. Bake it in a preheated oven for 40-50 minute on 180 degree celsius or until the toothpick inserted comes out clean. Let it cool down for 15 minutes on a wire rack then remove it from the pan.

DSC02799

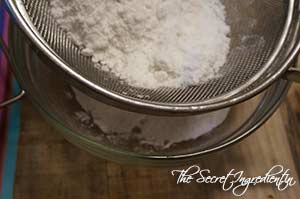
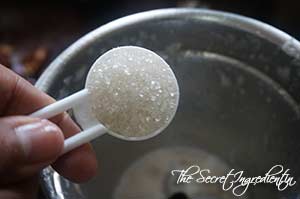
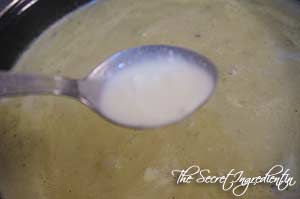
12. In the meanwhile sieve icing sugar or confectioner’s sugar in a bowl.

DSC02798
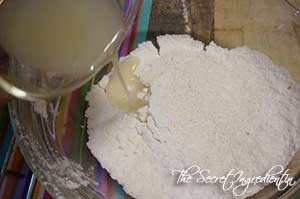
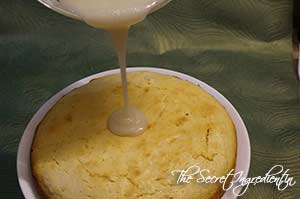
12. Add lemon juice to it until it has reached pourable consistency.


DSC02800


DSC02801


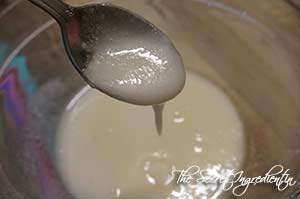
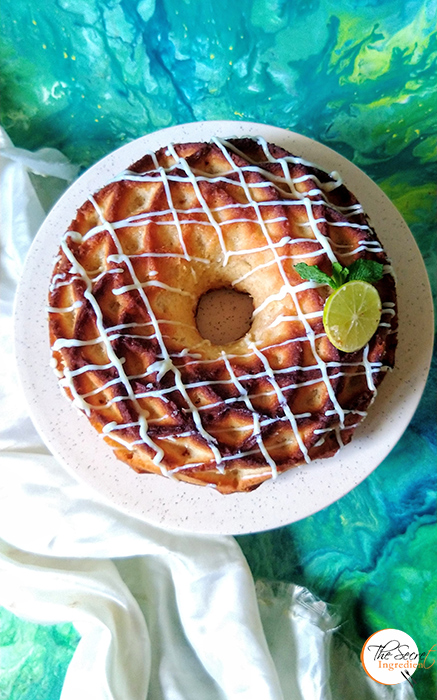
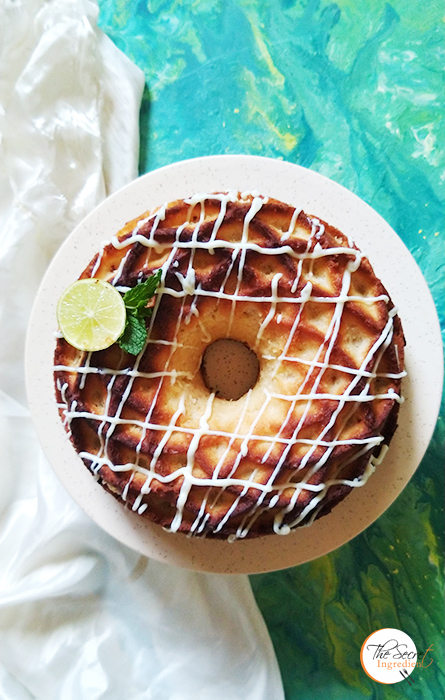
13. Let the cake cool down completely Pour the frosting over the top of the cake, allowing it to drip down the sides. 

DSC02803

14. Let the frosting dry before covering and storing. This cake will keep for several days in an airtight container.

You can try other cakes Wacky Vegan Chocolate Cake, Persimmon Rum CakeApple Raisin Streusel Bread, Pumpkin Cake Rolls, Surprise Heart Inside Cake, Chocolate Vanilla Marble Cake.


BakedPaneerKababs_Featured2
I
ts raining cats and dogs as Monsoon is here in full swing. One tends to get carried away with the pleasant weather and feel like indulging in fried pakodas or tikkis or something sinful accompanied with a hot cup of tea. I am one of you , guilty of indulgence. The other day I came across this baked kebab recipe. It was worth every effort as it seemed promising, keeping all those extra calories at bay ๐Ÿ™‚

BakedPaneerKababs_Featured3
The Kebabs were not only easy to put together but also delicious and barely brushed with oil. Finally I found a guilt free monsoon friendly snack. Try it..you will thank me ๐Ÿ˜›

Directions:
1. In a bowl add crumbled paneer and boiled sweet corn kernels. *


DSC02360


DSC02361


2. Add bread crumbs** and freshly chopped coriander leaves.


DSC02362


DSC02363


3. Add to this grated carrots and chopped green chilies. 


DSC02364


DSC02367


4. Mix this with a spoon and add turmeric powder and salt.


DSC02365


DSC02366


5. Also add amchur and red chili powder.


DSC02368


DSC02369


6. Also add some Kasuri Methi  and some raisins.


DSC02370


DSC02371


7. Combine everything well. 

DSC02372

8. Take small portion in your palms and make patties with the mixture.

DSC02373
9. Place half cashew on top and press a little.

DSC02374
10. Place them on a baking sheet lined with parchment paper or aluminium foil. Cling wrap them and refrigerate for 25-30 mins. In the mean while preheat the oven on 180 degree for 10 minutes and brush the top of kababs with oil.

DSC02375
11. Bake them in centre rack for 25-30 minutes until the crust is golden brown. Serve hot with Pudina Chutney or Palak Dhaniya Chutney.

Try other Monsoon Special Snack: Arbi Ke Patton Ke Patode, Sabudana Tikki, Healthy Kachalu Chaat.

BakedPaneerKababs_Featured1

[yumprint-recipe id=’155′]


baingankaraita_featured2

Baingan ka Bhartha or Charred Eggplant cooked with spices is a very popular dish from India. But other than this the Charred or stove roasted big Brinjals are used to make this incredible yogurt side dish. This dish was introduced to me by my mother and to her from her inlaws. Its native to Multan erstwhile Indian state and now in Pakistan. Since both the countries share the same culture, language and cuisine a lot of dishes are common. 

baingankaraita_featured3
Its a fairly simple dish you need to simply roast the eggplants and remove its skin. Learn how to roast a brinjal on a stove top. Once the pulp is ready, it will take minutes to put this side dish together. I love this raita and its a common side dish in my native family. Baingan or Eggplant is also known as batau in punjabi belt.

Directions:

1. Take pulp or flesh of Brinjal after being roasted. You can learn to roast them like this. Place the peeled eggplant in a blender.

DSC00188
2. Pour fresh Yogurt or curd on top. Along with Fresh Coriander leaves.


DSC00189


DSC00190


3. Add salt and red chili powder.


DSC00191


DSC00192


4. Also add roasted Cumin powder and ginger powder or saunth.


DSC00193


DSC00194


5. Close the lid of the blender and pulse for 5 -7 seconds until it combines well. Serve as a side dish with Aloo Gobhi, Aloo Methi , Tori Wadiyan and any other dry vegetable dish.

Other Raita dishes you can try on The Secret Ingredient are : Bathua ka Raita, Aloo Anaar ka Raita Purslane Yogurt Dip

You can even try Bharwan Baingan, Baingan Ka Bhartha , Baingan Bhaja and Baingan ka Salan.

baingankaraita_featured1

[whohit]BainganKaRaita[/whohit]

[yumprint-recipe id=’154′]


Usually when I bake my weekly bread at home I make two loafs. Its raining these days and the home made bread survives only 3 days so we have to ensure that we consume it within that time before it gets mouldy. Therefore, I bake one medium size loaf with half the dough and utilize the half to make different savouries and snacks for evening time tea. I make either pizzas or plain buns or sausage flower buns and cheese stuffed buns with the same dough.


My husband loves these paneer stuffed buns and so does my father. Last when we went for picnic I baked these for my father and he greedily ate them. It was a sheer pleasure to watch my father relishing something in spite of the fact he is a picky eater.


Directions:

1. In a container take some lukewarm water. It should neither be hot nor cold, just hot enough to comfortably put your finger into it . The right temperature of the water is very important for yeast to activate. Put yeast into it.

DSC02540
2. Along with yeast add some sugar.

DSC02541
3. Give it a gentle stir with a fork and let the mixture sit and activate for 10 minutes or until you see some bubbles on top and mixture has become frothy and milky.

DSC02548
4. Take all purpose flour in a bowl and add salt and olive oil.


DSC02549


DSC02551


5. Add the proofed yeast to the flour little by little and mix till it comes together.

DSC02553
6. Bring the dough to a flat counter or your kitchen platform and knead for good 10 minutes till it becomes soft and supple. Read more about Bread baking techniques in “Basic Steps to Bake a Perfect Bread

DSC02554
7. Transfer the dough to a greased bowl. And cover with a kitchen towel or cling wrap. Let it sit for an hour or so to double up in size.


DSC02560


DSC02562


8. Punch it down and deflate the dough. Knead for another 5-7 minutes.

DSC02563


9. For the filling chop some onions, green chilies and fresh coriander leaves.

DSC02634
10. In a pan add some oil.

DSC02635
11. Add onions, green chilies and saute them till onions become soft and translucent.


DSC02636


DSC02637


12. Add crumbled paneer and mix with onions.

DSC02638
13. Add Salt, Red Chili Powder and Garam Masala.


DSC02639


DSC02640


DSC02641


14. Garnish with chopped green coriander leaves and turn the flame off. Let the filling cool down.

DSC02642
15. Divide the dough into 10 parts (I used half dough to make White Sandwich Bread). You can make the size bigger but its your choice. Roll them into small balls.

DSC02643
16. Roll each dough into small rotis using a roller pin. You can use dry flour to ease rolling.

DSC02644
17. Place one table spoon Paneer mix in the centre of the rolled dough.

DSC02646
18. Pick the dough from the sides and close together to make a bag. Seal the edges and place on a greased baking sheet seam side down. Ensure there is ample distance between the buns, as they will expand on proofing and then on baking.


DSC02647


DSC02648


19. Cover the dough balls loosely with a kitchen towel and let them proof or expand for half an hour or so. Preheat your oven on 180 degree Celsius for 10 minutes. (Learn more about Oven temperatures and Conversions

DSC02649

20. Brush them with milk and sprinkle some sesame seeds on top.


DSC02650


DSC02651


21. Bake it in the preheated oven for 20-25 minutes till the top gets slight golden colour. Do not bake beyond this time for your buns can get hard crust. As soon as they are out of Oven brush them with butter for that incredible shine and taste.

Few recipes you can try here are which uses yeast:
White Sandwich BreadVegetarian homemade PizzaRussian BubliciWhole Wheat Sandwich BreadChinese Black Sesame Steamed BunsCherry Focaccia Bread with Rosemary and Sea SaltRosemary Garlic Focaccia Bread, Cinnamon Raisin BreadBeetroot Bread with Garlic and ThymeHoney Oats BreadDominoโ€™s Garlic Breadsticks.

[whohit]CheeseBuns[/whohit]

[yumprint-recipe id=’153′]

LitchiLemonade_Featured1
Summer brings in Nature’s bounty in the form of Mangoes, Plums, Cherries, Melons, Peaches and Lychees.  I have been busy all summer making something or the other from all these fruits before they disappear for this season. I tried Melon Cucumber Smoothie with Mint and Plum Mango Smoothie for the first time and they were a big hit in my family. So when I had lychees at home and no one wanted to touch it I decided to do this lemonade.

LitchiLemonade_Featured3
It not only put the lychees to good healthy use but also made a refreshing drink appreciated by all. It takes no time to put this together. So if you have some guests coming home this summer treat them with this tasty refreshing surprise.

Directions:

1. Peel the outer skin of lychees and discard the pits. You will be left with lychee flesh.


DSC02476


DSC02477


2. Add the lychee flesh in a blender and churn it to make a smooth puree.

DSC02478
3. Squeeze in lemon juice.

DSC02481

4. Add sugar to your taste.

DSC02483

5. Add cold water and combine.

DSC02484
6. Serve immediately with a slice of lemon.

Other Summer Beverages you can try are: Aam ka Panna,  Melon Cucumber Smoothie with Mint and Plum Mango Smoothie.

LitchiLemonade_Featured2[whohit]LitchiLemonade[/whohit]

[yumprint-recipe id=’152′]

PotatoLeeksSoup_Featured1
Its the same time of the month when Spatula Force member and my fellow blogger Stuti Baxi challenged us to do French Cuisine. I wanted to do something fancier but then this Classic Potato Leeks soup was on my to-do list for a very long time. I grabbed the opportunity and hurriedly made this soup.

In India you do not find Leeks, so I used the close kin to Leeks which is green onions. Leeks are sweeter and have a subtle flavour but on the other hand Green Onions are a little strong in taste. This did not stop me from making this french classic and that too Julia Child’s recipe. The soup turned out much more delicious than I have initially thought. The incredible taste of thyme with soft creamy potatoes and butter sauteed green onions gave this soup an amazing texture and divine taste. 

Directions:

1. Wash Potatoes and boil them in a pressure pan for 10 minutes or for three to four whistles depending upon the size of potatoes. Peel the skin and set aside.

2. In the meanwhile wash * and chop green onions or leeks if you are using. 

DSC09517
3. Finely chop Garlic. Set aside.


DSC09518


DSC09519


4. In a pot add some butter and add chopped garlic and saute for a minute.


DSC09521


DSC09522


5. Add chopped green onions to the butter. Reserve a few greens for  the garnish. Let it cook for  8-12  minutes until they sweat, soften and acquire some colour. Stir occasionally. 

DSC09523
6. Add slightly mashed potatoes to the pot.

DSC09524
7. Add Bay Leaf, Salt and Pepper.


DSC09526


DSC09527


DSC09528


8. Add vegetable stock. I have used stock cube and have added water.


DSC09529


DSC09530


9. Add thyme. I used dried thyme. And cover with a lid. Let it simmer for ten to twelve minutes on medium high flame.


DSC09531


DSC09532


10. Remove the bay leaf and turn the flame off.  Puree the soup with hand held blender when it has cooled off.


DSC09533


DSC09534


DSC09535


11. Turn the flame on and cook for a few minutes more. Add a little Cream and turn the flame off.

DSC09536
112. Serve hot and garnish with some reserved greens or fresh chives. I paired this soup with some paneer stuffed oven fresh buns. What a meal it was ๐Ÿ™‚

Other soups you can try on The Secret Ingredient are: Borsch: Classic Russian Beetroot Soup, Tomato Soup, Mexican Chicken Soup with Rice, Mexican Black Bean Soup, Zucchini Garlic Soup with Zak Cheese Shreddings.

PotatoLeeksSoup_Featured2[whohit]potatoLeekSoup[/whohit]

[yumprint-recipe id=’151′]

BlackBeanMangoSalad_Featured1
Its been a year and a half I am back from Mexico. In just three years we feel Mexico has become our other home. Its culture, cuisine and people have touched us deeply and made us a part of them. I miss Mexico day in and day out.

BlackBeanMangoSalad_Featured3
Today I decided to use the black beans I got from Mexico. This salad I have been planning to make for months. Finally I soaked the black beans overnight and boiled them first thing in the morning. With ripe mangoes and diced red onions, this salad was exceptionally delicious and nutritious. Such diverse ingredients blend together to form a melody of flavours. Its truly divine.

Directions:

1. Soak black beans* overnight and boil them in water. 


DSC02685


DSC02687


2. I used a pressure pan because it speeds up the cooking process by leaps and bounds. I added epazote** and bay leaf to the beans before boiling. 


DSC02688


DSC02689


DSC02690


3. For the Vinaigrette  take Apple Cider Vinegar in a bowl.

DSC02693
4. Add honey and lemon juice.


DSC02694


DSC02695


5. Also add roasted cumin powder to the vinaigrette and combine.

DSC02696
6. Whisk continuously and pour canola oil to the bowl.

DSC02697
7. In a large mixing bowl add drained boiled black beans and chopped onions.

DSC02698
8. Peel and chop some ripe but firm mangoes *** . Also add to the bowl chopped red bell pepper and deseeded jalapeno pepper. I was out of both these. So I replaced with green capsicum and red chilli peppers.


DSC02699


DSC02700


9. Drizzle the vinaigrette on top and mix together.


DSC02701


DSC02703


10. Season it with Salt and black pepper.

DSC02704
11. Serve fresh as a side dish with grilled chicken or barbecued meat. You can devour it just like that, it makes an amazing healthy snack.

You can also try Mexican Black Bean Soup or Sopa de Frijol.

Other Mango recipes you can try here are : Mango Pudding with Coconut Milk,  Raw Mango Sweet and Sour Chutney, Raw Mango Mint Chutney, Instant Raw Mango Pickle South Indian style, Aam Panna.

BlackBeanMangoSalad_Featured2
[whohit]BeanMangoSalad[/whohit]

[yumprint-recipe id=’150′]


Punjabis Love spices. There is no denial to this fact. They gorge on chillies and love spicy food. Being a punjabi myself I cannot accept bland, tasteless food. Some of the dishes are signature from a punjabi household like Kaddhi Chawal, Bharwan Karela, Dal Makhani, Langar wali Daal, Gobhi Ke Danthal, Bharwan Baingan and much much more. Basically Punjabis love to eat day in and day out. We live to EAT. Period!


Another interesting technique of cooking Punjabis follow is to stuff the vegetables with spices and then cook them. This method ensures that the spices are deeply infused in the vegetables. I have a few stuffed or bharwan vegetable recipes on my blog like Bharwan Karela, Bharwan Tinda. I will soon be posting Bharwan Tori and Bharwan Bhindi. But today I bring you Bharwan baby eggplants or chottey baingan.  As a kid I used to call them cooked rats!! ..hahahah am I scaring you? Well its because they were cooked with the little stem on. ๐Ÿ™‚

Directions:

1. Pick baby size eggplants , because they are perfect for this recipe. Wash them and pat them dry using a kitchen towel.


DSC04511


DSC04514


2. Make a cross insertion with a sharp knife. Do not cut all the way down separating the pieces. The piece should be intact.

DSC04519

3.  In a bowl add Salt, Turmeric, Garam masala, Coriander powder, Amchur,  Asafoetida , Sambar Powder, Channa Masala and Red Chili Powder and mix them evenly for the filling.

DSC04523
4. Stuff the eggplants with spoonful of spice mix and keep them aside.If some masala or spice remains reserve it.

DSC04534

5. Peel and slice some potatoes. Also cut onions in big chunks. Set aside.

DSC04526
6. In a cast Iron wok or kadhai add some mustard oil.

DSC04528
7. After the oil gets pipping hot add the potatoes and roast them till they turn golden and partially cooked.


DSC04529


DSC04530


8. Add the onion chunks and saute them with the potatoes.

DSC04531

9. Add to the wok the stuffed eggplants and toss them in the oil gently.

DSC04536 
10. Add some leftover reserved masala or spice mix. 

 DSC04537
11. Cover the wok with a lid which barely covers the vegetables. We are not looking at a bigger lid. When you tightly cover the vegetables with a lid while cooking, they cook faster and become crispy at the same time.


DSC04538


DSC04539


12. Open the lid after 5-7 minutes and change the sides with a service spoon and cook again till eggplants have lost the purple colour and cooked thoroughly.

DSC04540

13. Garnish with some Chopped Coriander Leaves.

DSC04541
14. Serve hot with Rotis, paranthas or even tawa naan.

Other recipes you can try : Mushroom do Pyaaza, Pindi Cholley, Tori wadiyan, Methi Matar Malai.

Other Eggplant recipes on The Secret Ingredient which might interest you are : Baingan ka Salan, Baingan ka Bhartha

[yumprint-recipe id=’149′]


Pudina Pulao is an incredible rice dish and if you are longing for aromatic rich flavours without much effort you have reached the right place. This recipe is special because it makes the most delicious, fresh pulao with very less effort. The king of this recipe is mint because it imparts the whole recipe that amazing fragrance and character.


I wasn’t aware of this recipe until I had a lot of fresh mint which needed to be put to use. I googled and came across this recipe and since then this is hot favourite in my family. You can make your ordinary every day meals look and taste special. It remains my all time favourite comfortable meal after Curd Rice. The use of simple every day ingredients in this dish gives it an edge over other dishes which demand exquisite ingredients or difficult method of preparation.

Directions:

1. Wash and soak rice in water for 15-20 minutes.

DSC08691
2. While rice is soaking, add some washed mint leaves, ginger, garlic cloves and green chilies to a grinder and make a coarse paste. You can add couple of spoons water to ease grinding. Set aside.


DSC08692


DSC08693


3. In a pressure pan add ghee or clarified butter.

DSC08694
4. Add Cumin seeds, Bay Leaf and Cinnamon Stick to the butter.


DSC08695


DSC08696


DSC08697


5. Also add sliced onions to the pressure pan and saute them till they are translucent and soft.

DSC08698
6. Add the mint puree to the onions and saute till the raw aroma of garlic and ginger fades away.


DSC08699


DSC08700


7. Add soaked rice to the pan and combine. Also add water to the rice.

DSC08701
8. Add salt and red chili powder. Close the lid and pressure cook for 4 whistles or 7-8 minutes after the full pressure has been attained.


DSC08702


DSC08703


9. While rice is cooking add ghee in a separate pan and add halved cashew nuts. Roast them till slight golden. Remove them on a plate and set aside.

DSC08705
10. Open the lid of the pressure pan after the steam has escaped. Fluff the rice with a fork or back of a service spoon. Serve in a plate and garnish with roasted cashews. You can accompany any yogurt based side dish with this like Anaar aur Aloo ka Raita or even Bathua ka Raita

Other rice recipes you can try here are : Curd Rice, Kathal ki Biryani, Quick Mushroom Biryani.

[yumprint-recipe id=’148′]

LolChef

LOL Chef are a bunch of foodies, techies and entrepreneurs on a mission to introduce the joy of having wholesome & delicious homemade food to anyone, anywhere. On the one hand, they provide a platform for home chefs to share their passion for cooking with a much larger audience, and on the other hand, they also take the monotony out of regular food intake with a daily selection of fresh homemade meals delivered right to your doorstep.

Download the app and order your favourite meal today! 

EAT. LOVE. REPEAT. Bon Appรฉtit!

https://www.facebook.com/mylolchef
https://instagram.com/mylolchef
https://twitter.com/mylolchef

+91-9599904101