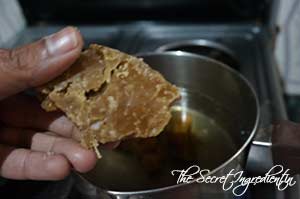
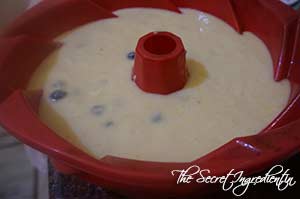
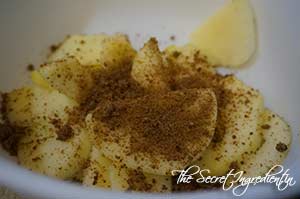
Being a mother of a Mexican boy, I hold the burden to keep his Mexican traditions alive. October 31st – November 2nd is observed as Dia de Muertos or Day of the Dead in Mexico. Its an ancient Aztec Festival where the deceased are fondly remembered. Its very similar to Sharaad in India. Each household decorates an Altar called ofrendas, honoring the deceased using sugar skulls, marigolds, and the favorite foods and beverages of the departed, and visiting graves with these as gifts.
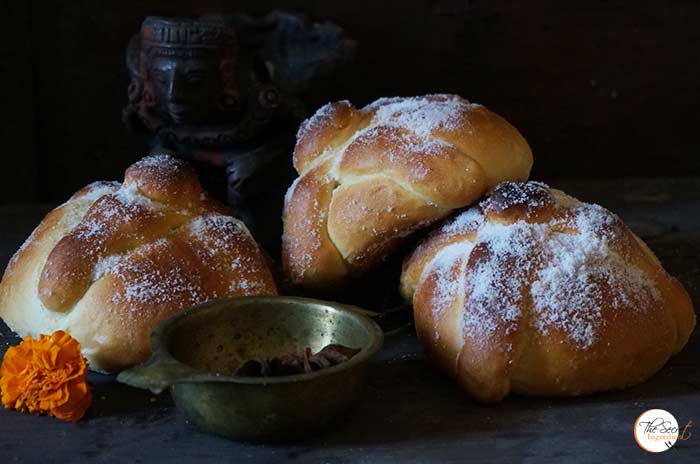
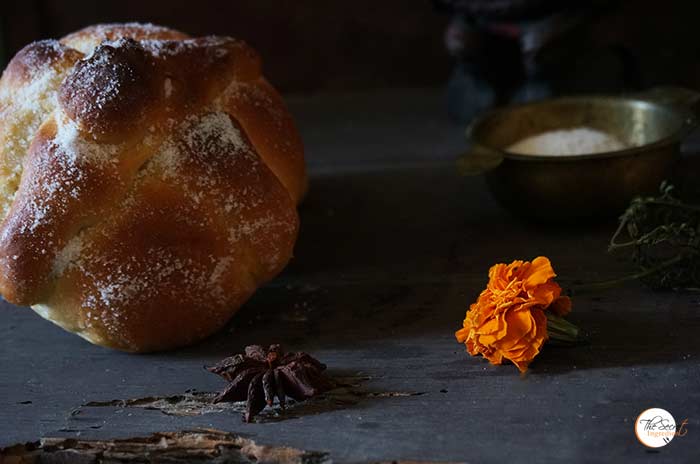
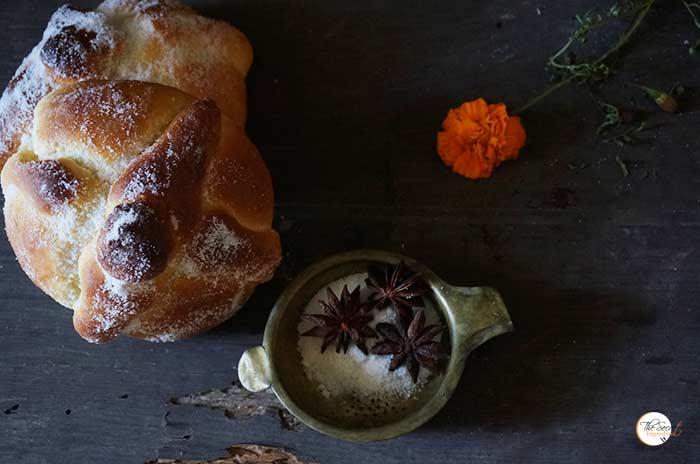
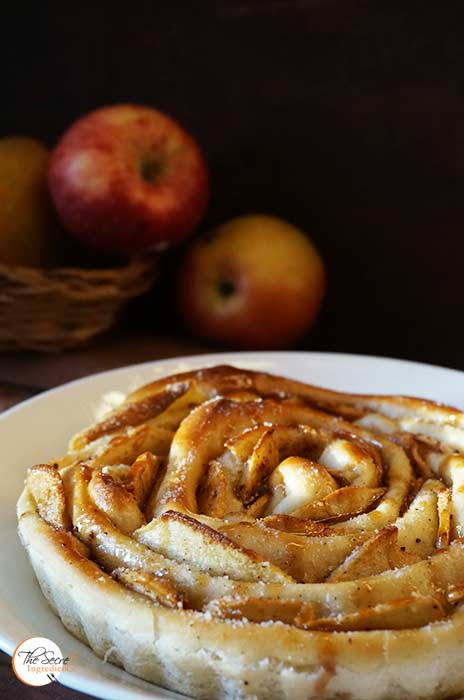
One such food being offered is Pan de Muerto which means ‘Bread of the dead’. It’s a delicious sweet bread with flavours of Orange or Anise or even cinnamon. The bun shaped bread is decorated with bone shaped phalanges. The bones represent the deceased and there is a ball on top of the bread which is like a teardrop representing Aztec goddess Chimalma’s tears for the living. The bones are represented in a circle to portray the circle of life. When we were in Mexico we used to relish. A person from our office would collect money from everyone and get each one of us a loaf of this bread around the festivity. Those memories are so fresh in my mind and make me nostalgic.
And this year when Dia de Muerto returned I so wanted to eat it. So I decided to make it at home. After reading many recipes in Spanish I managed to make this gorgeous loaf . It tasted just the way we found in Mexico. I just cannot contain my excitement. This is dedicated to all my friends in Mexico who gave us so much love. You must try this delicious bread and become a part of the tradition.
Directions:
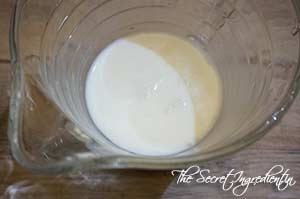
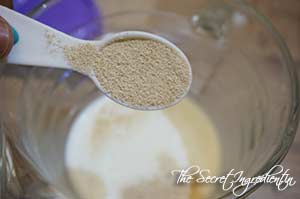
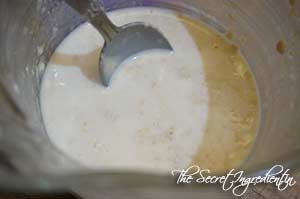
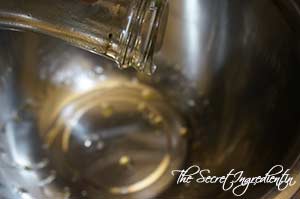
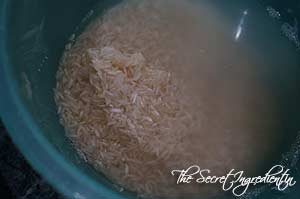
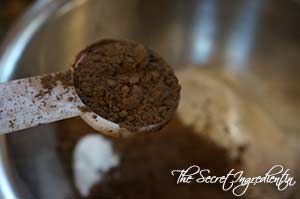
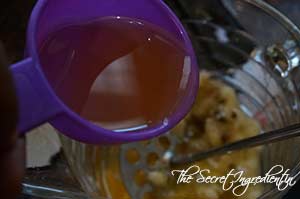
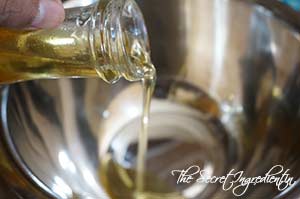
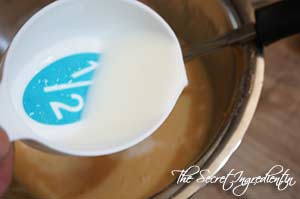
1. In a jar add some lukewarm milk and add instant yeast.
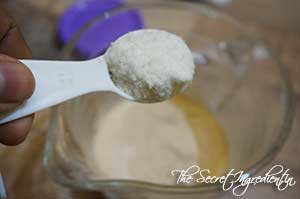
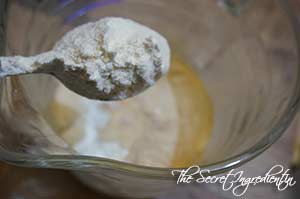
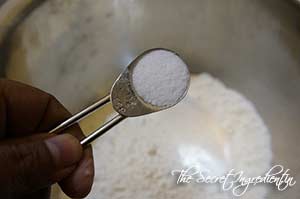
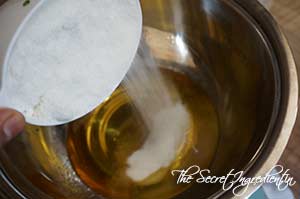
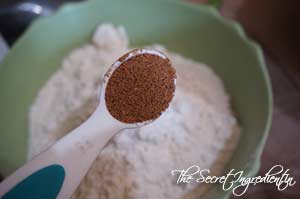
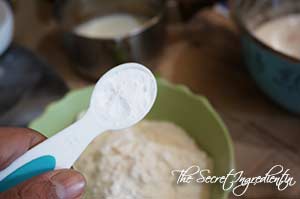
2. Also add some sugar and a spoonful of flour.
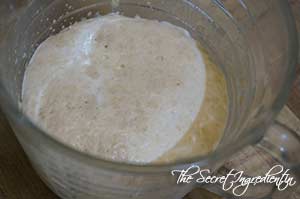
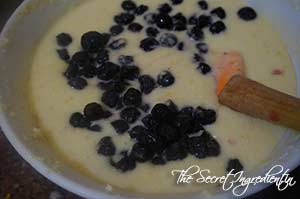
3. Combine everything using a spoon and let there be no lumps. Let the mixture proof for 5-10 minutes. There will be bubbles and froth all over the top.
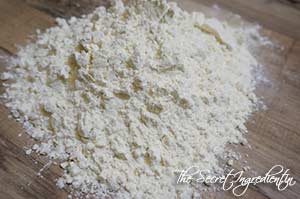
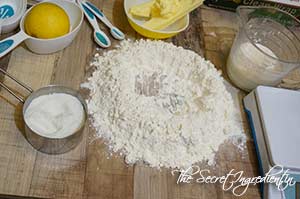
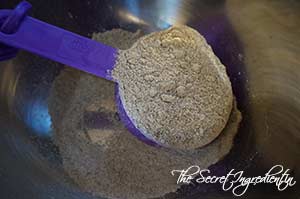
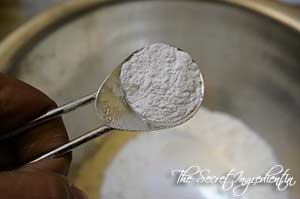
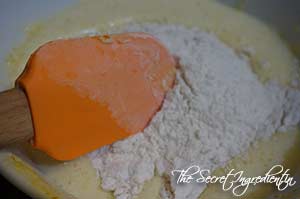
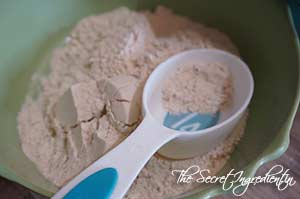
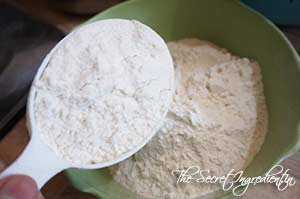
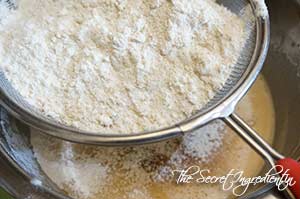
4. On a counter place the All Purpose Flour and make a well in the centre.
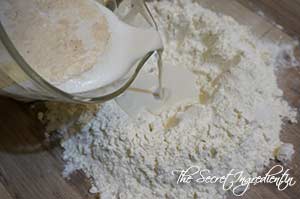
5. Add the proofed yeast liquid in the centre of the well.
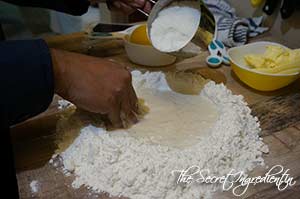
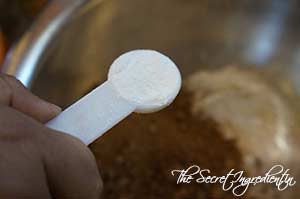
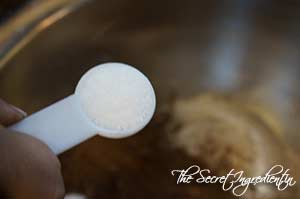
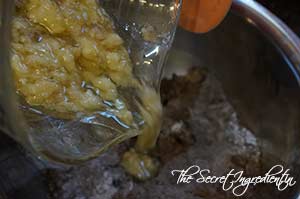
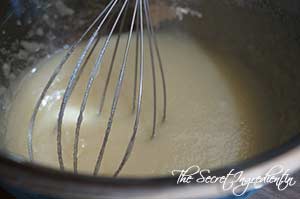
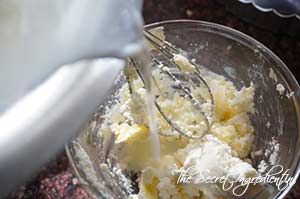
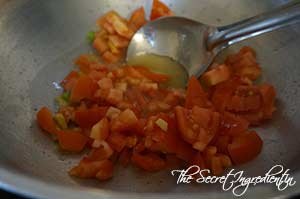
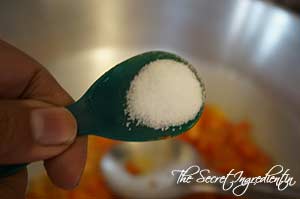
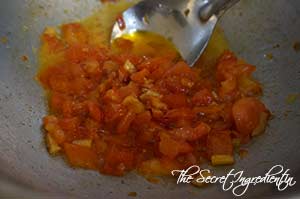
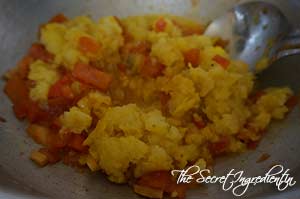
6. Now using your hand start taking little flour from the side and keep mixing with the water. Don’t do everything in one go. Little by little is the key. Add sugar in the well and combine till the sugar has mixed.
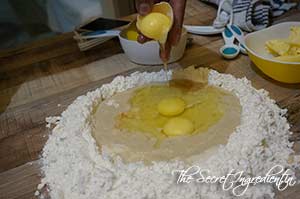
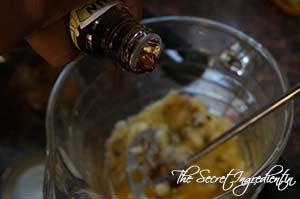
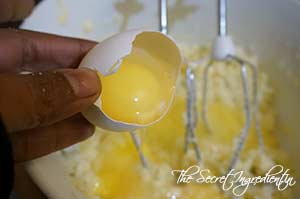
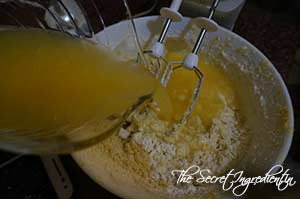
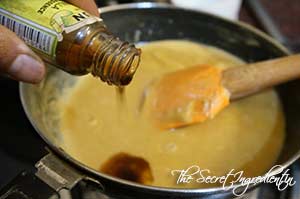
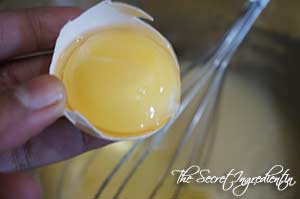
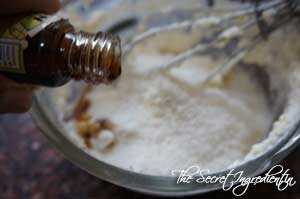
7. Add eggs in the well and continue to add little flour little by little. Also add vanilla essence.
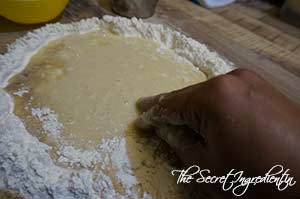
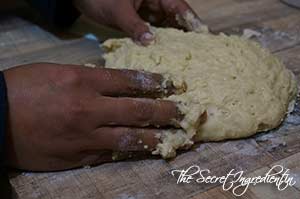
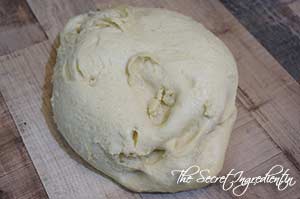
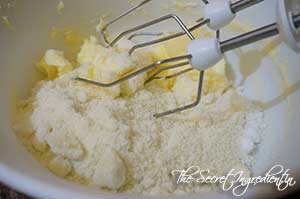
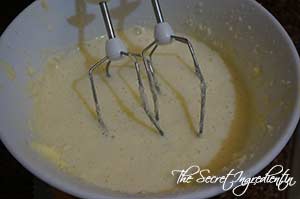
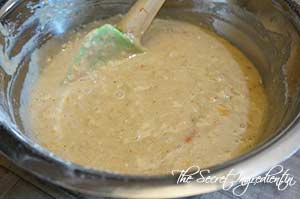
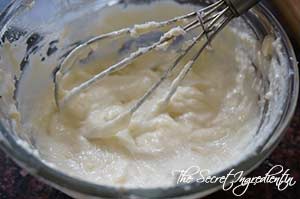
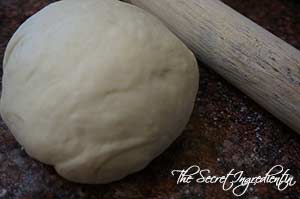
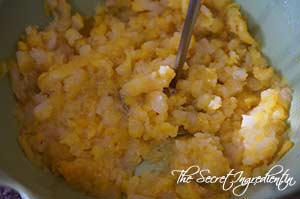
8. Keep mixing flour and then knead everything together. The dough will be very very sticky. Do not panic! That’s how it should be.
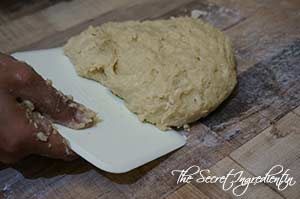
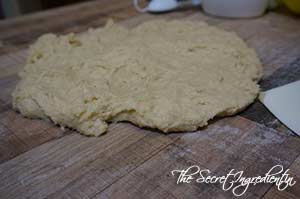
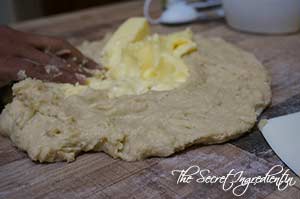
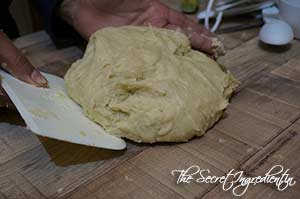
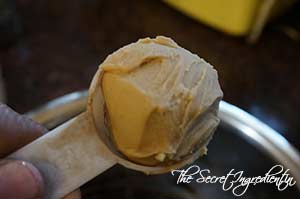
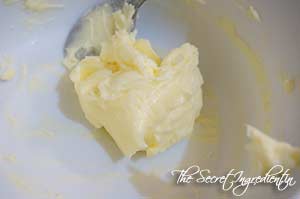
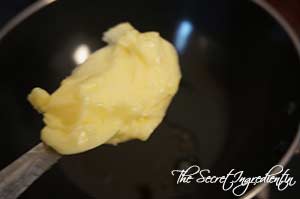
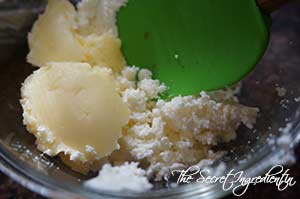
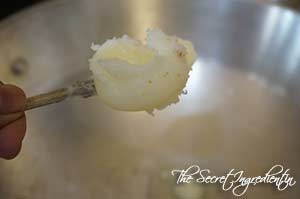
8. You can use a bread scraper to scrap out sticky dough. Spread it like a disc and add butter at room temperature.
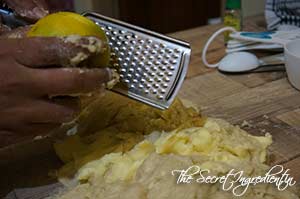
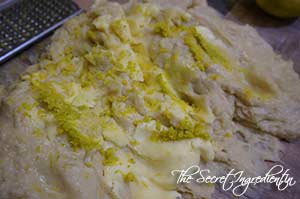
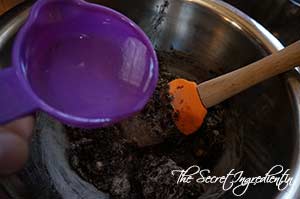
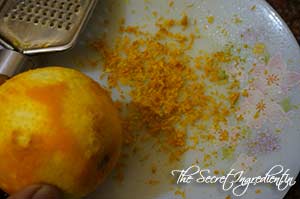
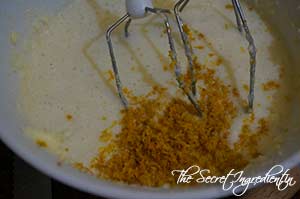
9. Also add zest of an orange and and continue to knead. The dough will still be sticky but you just have to keep kneading for good ten minutes.
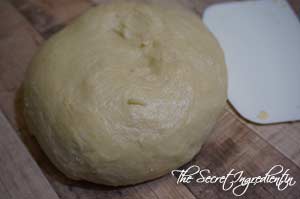
10. At this stage add just a little flour to make it less sticky and keep kneading til you get a pliable dough. Do not add a lot of flour. Add a few spoons first then knead and see if you need more.
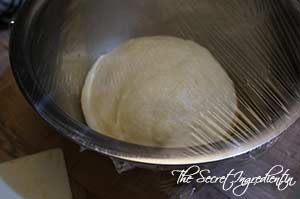
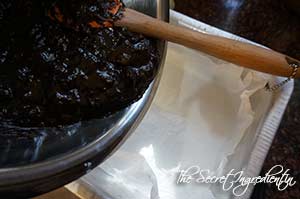
11. Place it in a greased bowl which has room for rising. Cover with a cling wrap and let it rise for an hour or so or until it has doubled in size. The time will vary on how hot or cold is your kitchen.
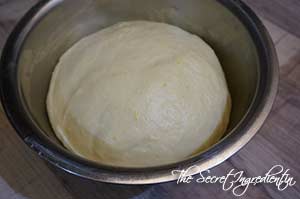
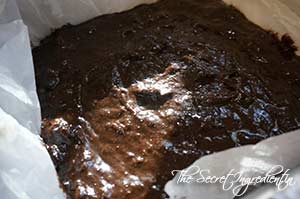
12. After 1 and a half hours the dough looks doubled. You need to place it on the counter and deflate it and knead it for a few minutes.
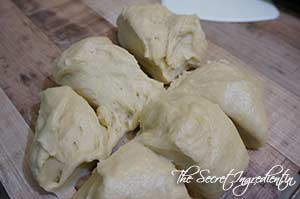
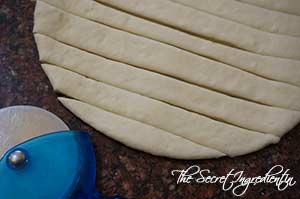
13. Separate 1/4th section of the dough and keep it aside for making bones and tear.
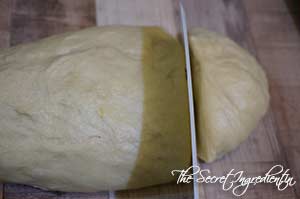
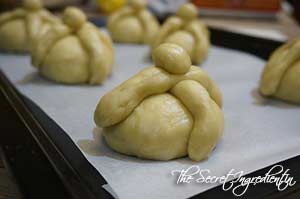
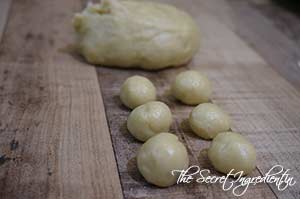
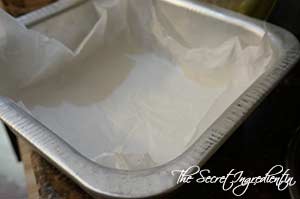
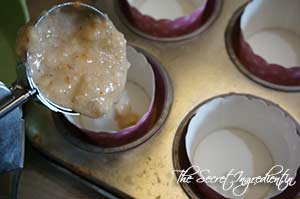
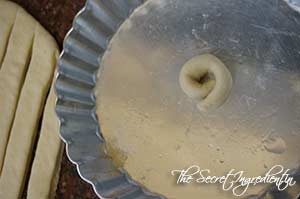
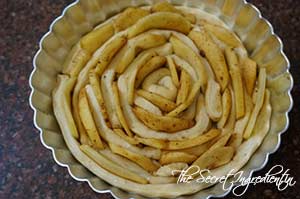
14. Divide rest of the dough into more or less six equal parts for shaping them in a bun. Place the rolled buns on a baking tray lined with parchment paper leaving gap between each of them for second rise.
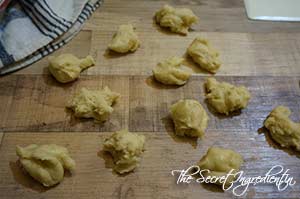
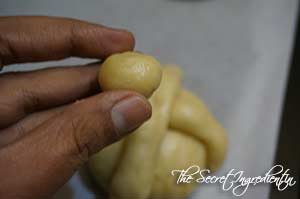
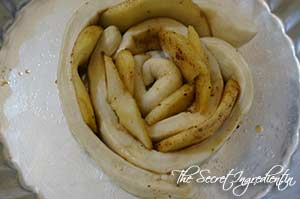
15. Make small six balls which represent tears with very little dough from the reserved dough and we will utilize the rest of it to make bones. Cover these balls with a kitchen towel till we use them.
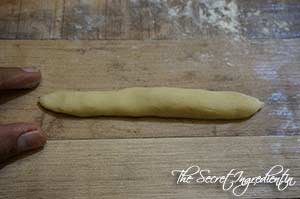
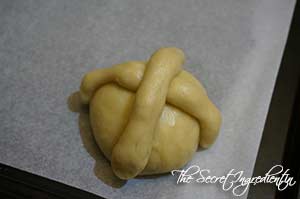
16. Divide rest of the dough into more or less 12 equal parts, you need two bones per bun. Start making thin cigars shapes with your palms with each one of them.
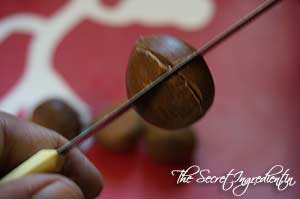
17. Using your three fingers as in the picture make indents in the cigar shaped dough to represent a bone.
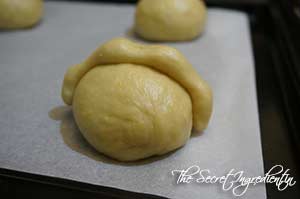
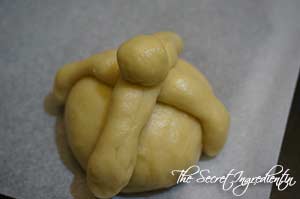
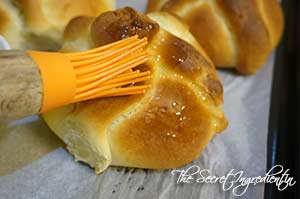
18. Place this bone shaped dough over a bun and another one across making it a cross.
19. Press the cross section just a little and place the ball on top.
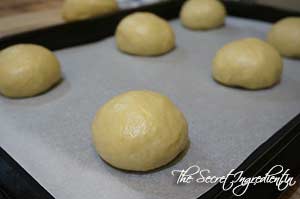
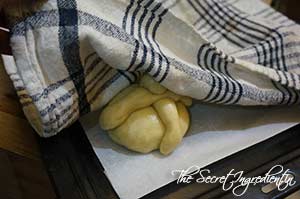
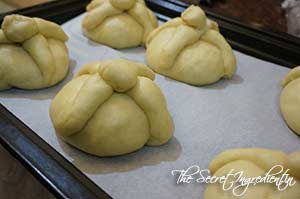
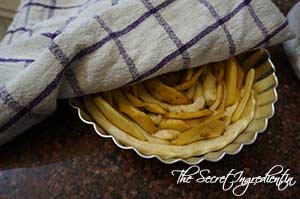
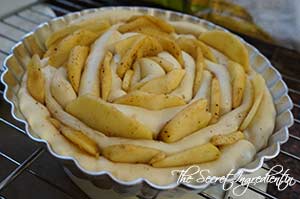
20. Repeat the same with rest of the buns. Cover the baking tray with a lint free kitchen towel for second rise. This should again take about 45 minutes to one hour depending on the environment.
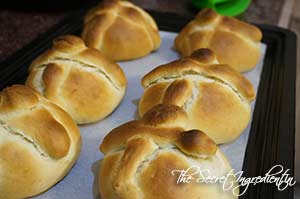
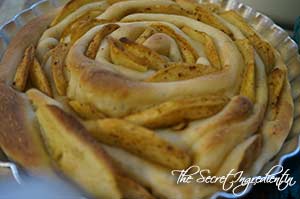
21. After they have doubled in size preheat the oven for 10 minutes to 180 degree Celsius (Learn more about Oven temperatures and Conversions). Bake them in oven for 20 minutes or until you see them turned golden brown.
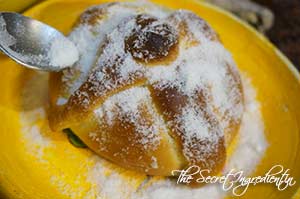
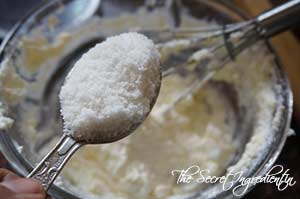
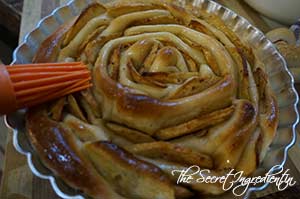
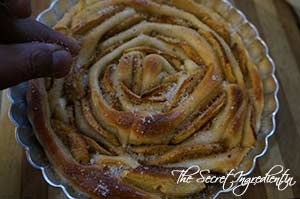
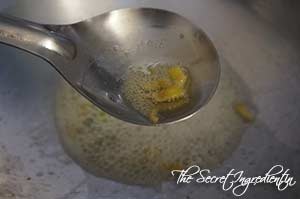
22. Let them come to room temperature and now brush each one of them with melted butter and ghee roughly sprinkle on them castor sugar.
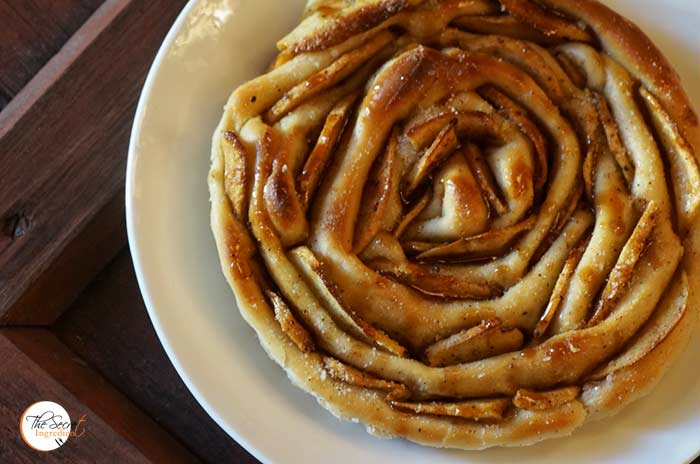
23. Pan de Muerto is ready to be served. You can use them for the offering if you are following the tradition or just eat it like a pan dulce or sweet bread. Goes best with a hot cup of Coffee. Thats exactly I remember eating it in Mexico.
Other Mexican dishes you can try are: Chilies en Nogada, Fresh Mexican Black Bean and Mango Salad, Huevos en Cazuela, Sopa De Frijol.
If you are looking for more bread recipes you can try: Vegetarian homemade Pizza, Russian Bublici, Whole Wheat Sandwich Bread, Chinese Black Sesame Steamed Buns, Cinnamon Raisin Bread, Beetroot Bread with Garlic and Thyme, Honey Oats Bread, Domino’s Garlic Breadsticks, Garlic Rosemary Focaccia Bread and Focaccia Bread with Fresh Cherries, Rosemary and Sea Salt.
 [whohit]PanDeMuerto[/whohit]
[yumprint-recipe id=’258′]

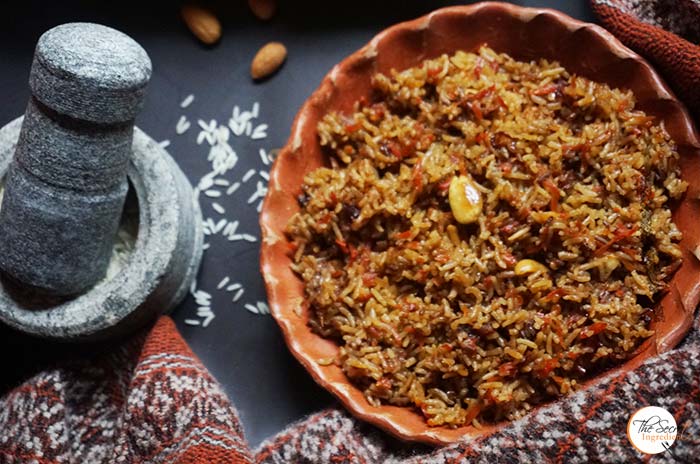
 [whohit]GurrGajarRice[/whohit]


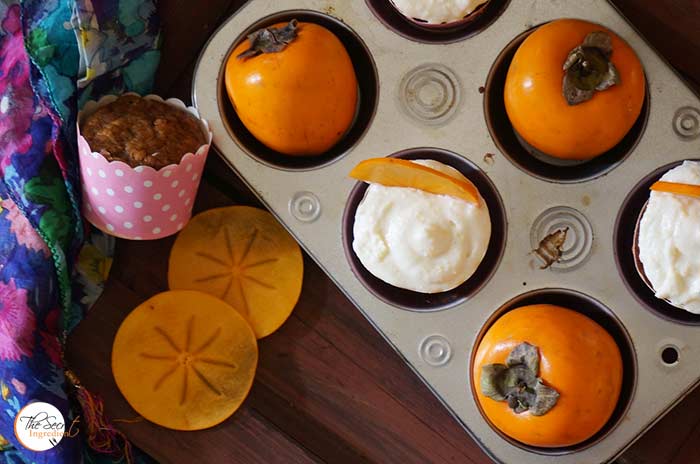

 [whohit]PersimmonCupcakes[/whohit]
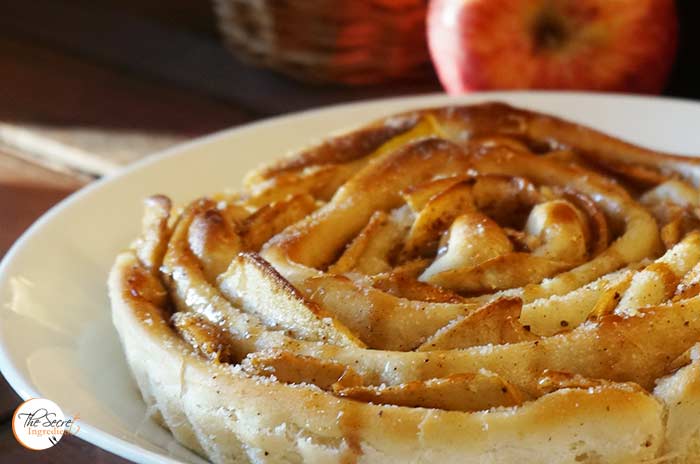


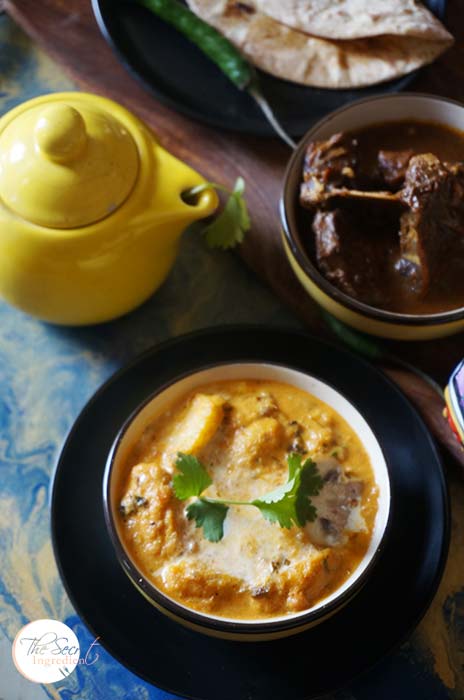
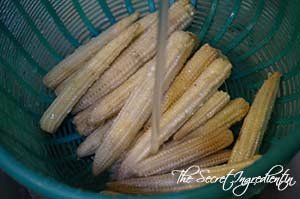
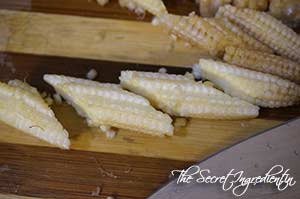
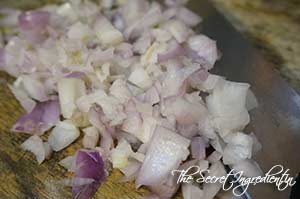


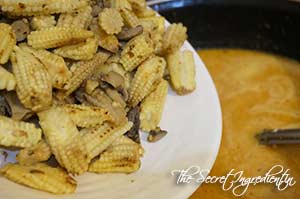
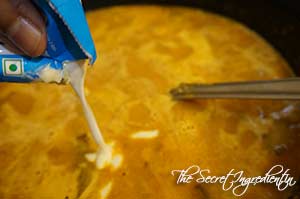
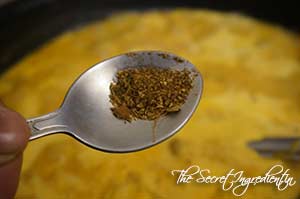
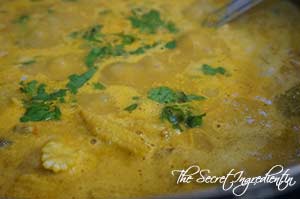
 [whohit]BabyCornMushroomMasala[/whohit]

 [whohit]ShalgamKaSaag[/whohit]