Author

anshu

Browsing

plantainkebabs_featured1
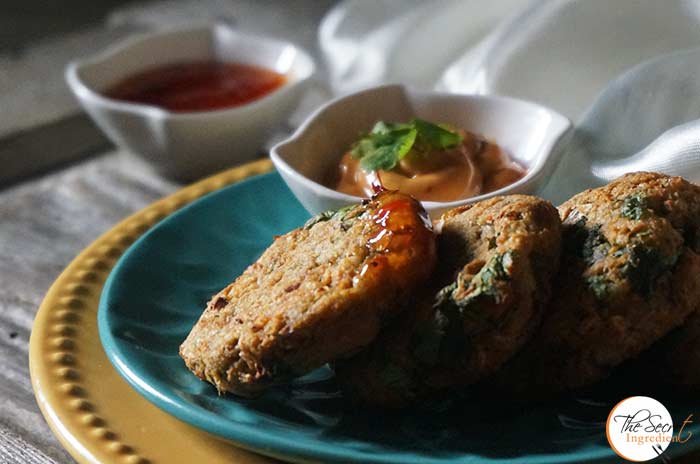
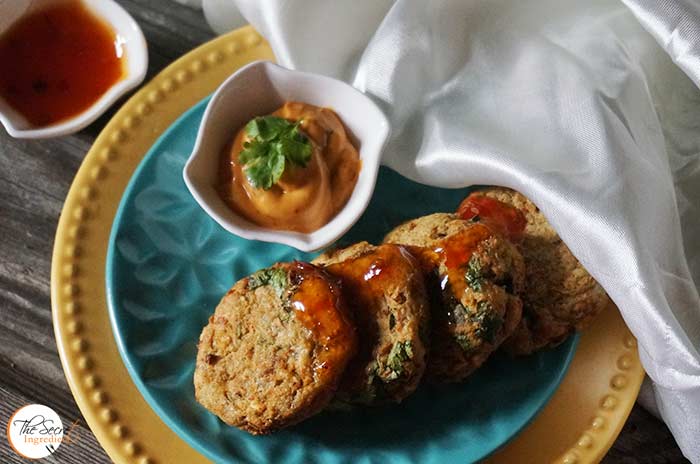
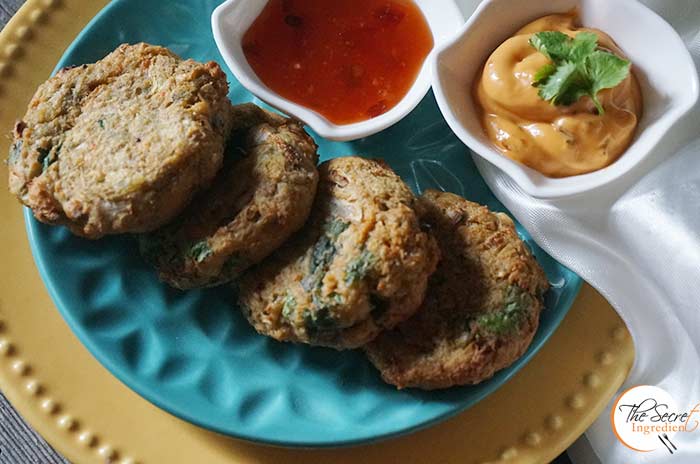
If you are a North Indian its likely you will miss using a few ingredients which are fundamental to South Indian Cooking. For example use of Coconut Milk, Coconut Oil (in food not for head massage), Yam, Plantain and many others. When I started blogging I broke the stereotype and gave them all a try. I must say the Coconut Milk has become an essential ingredient in my kitchen. I have been making a lot of Thai dishes using Coconut Milk. Apart from this I also tried Plantain or unripe bananas. When I saw plantains in my farmers market I grabbed them readily and decided to play with them. These Plantain and Potato Kebabs were a result of my trials and they were a delight. I air fried them for guilt free indulgence and served them with Harissa and Sweet Chilli Sauce.

plantainkebabs_featured2

Since I have been gifted with an Air Fryer I am leaving no stones unturned to try out snacks in this mean machine. It not only makes us try delicious things but at the same time without feeling guilty about it. Our weights are under control and we are having a ball eating new kebabs 😛 Why dont you try these out.

Directions:

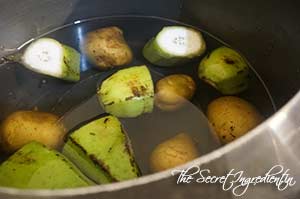
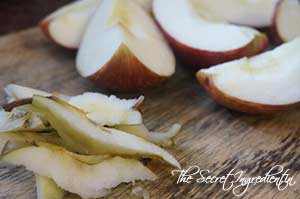
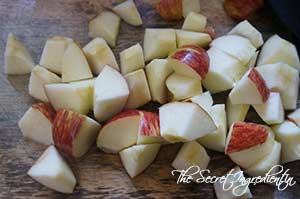
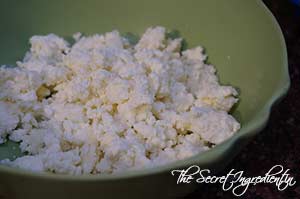
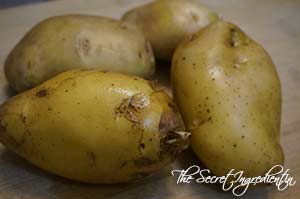
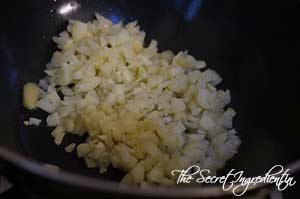
1. Take some plantains or raw green bananas and cut them into pieces without peeling off their skin. 


dsc08430


dsc08432


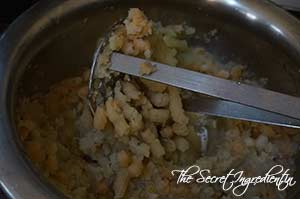
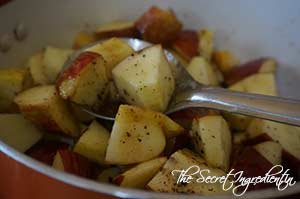
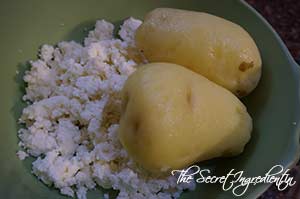
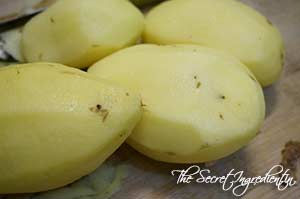
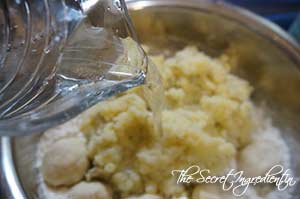
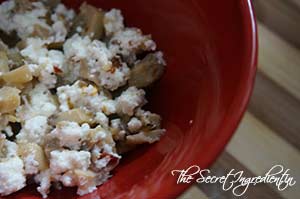
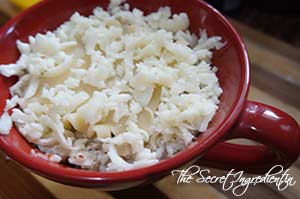
2. Place them in a pressure pan along with potatoes and water. Boil them till they have softened. You can boil them in a normal saucepan oil. Peel the skin on potatoes and plantains  and set aside in a bowl.


dsc08435


dsc08557


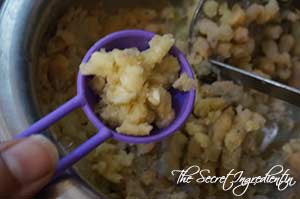
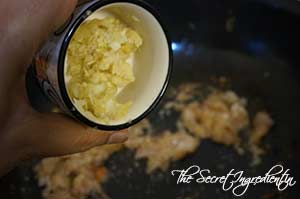
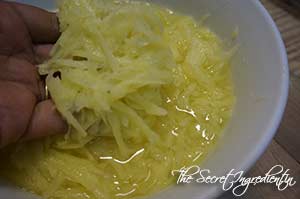
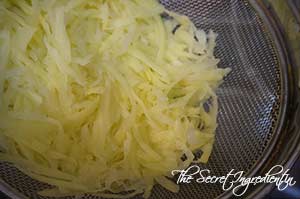
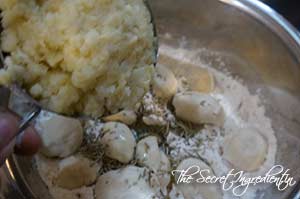
3. Mash the potatoes and plantain with a masher and add ginger garlic paste and combine.


dsc08558


dsc08559


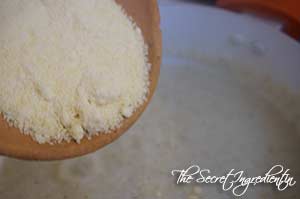
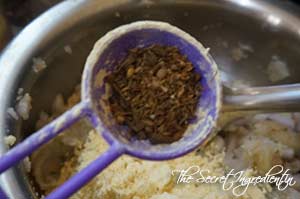
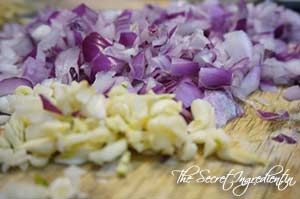
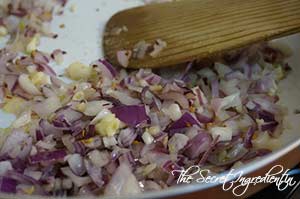
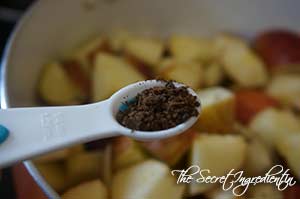
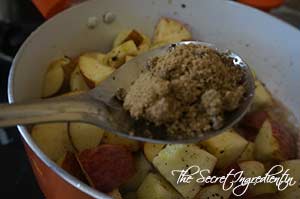
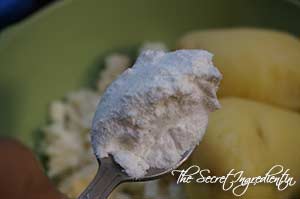
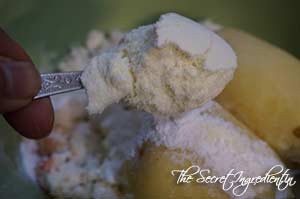
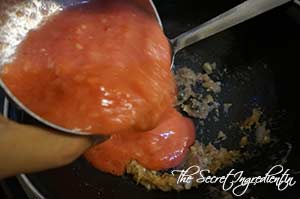
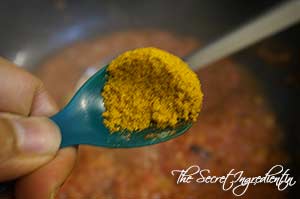
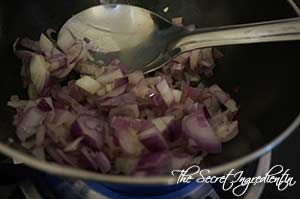
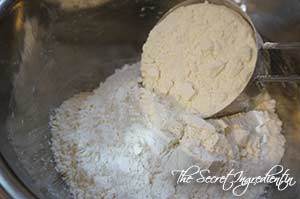
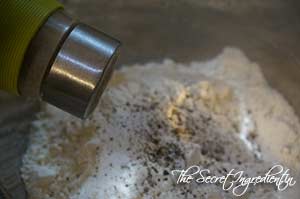
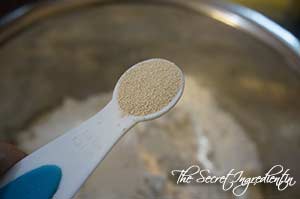
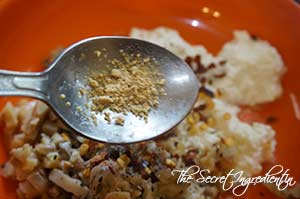
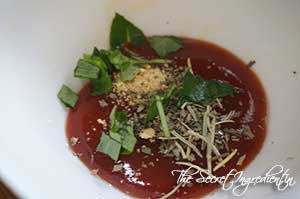
4. Add chopped onions, chickpea flour or besan and garam masala.


dsc08560


dsc08562


dsc08564


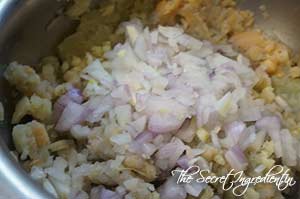
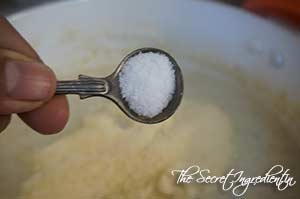
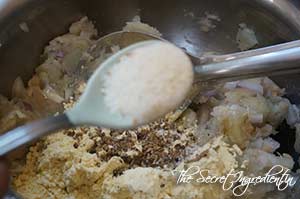
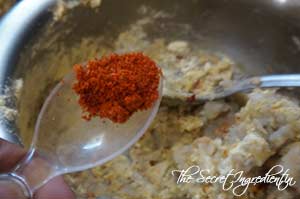
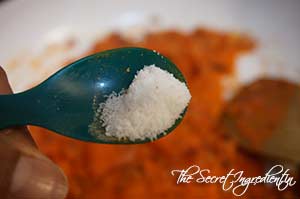
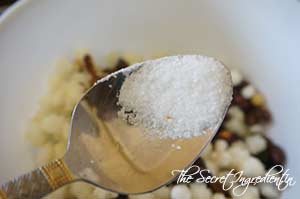
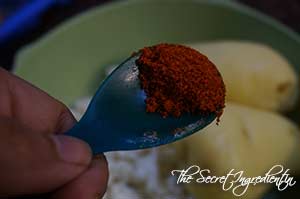
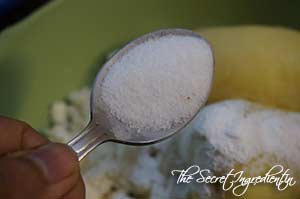
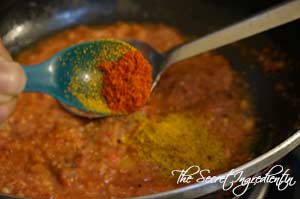
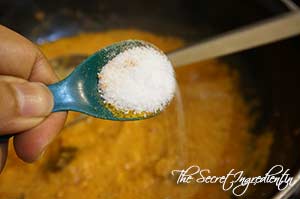
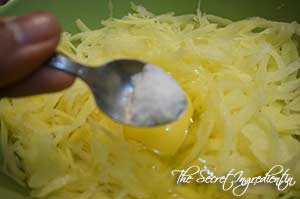
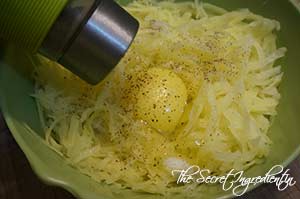
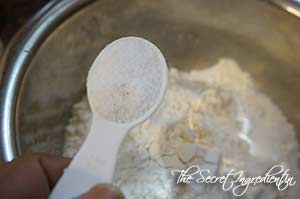
5. Add salt and Red Chili powder.


dsc08565


dsc08568


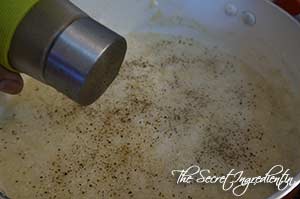
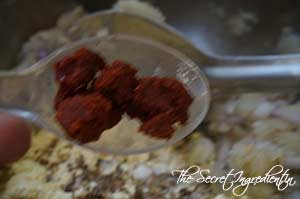
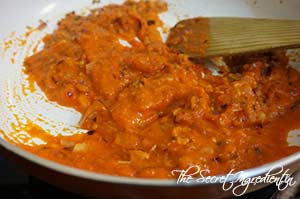
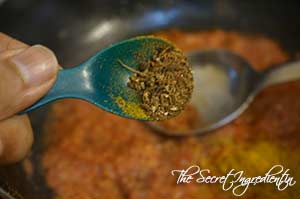
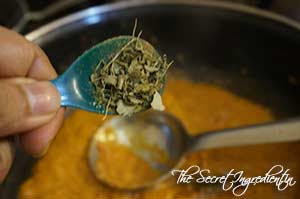
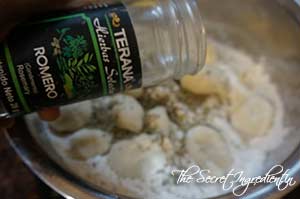
6. I like to add Tandoori masala to the kebabs for the extra zing. But its totally optional. Aldo add some chopped coriander leaves.


dsc08567


dsc08585


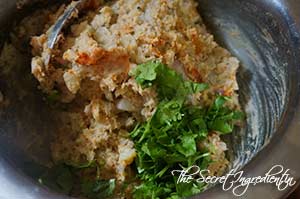
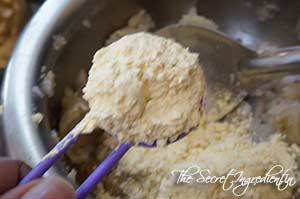
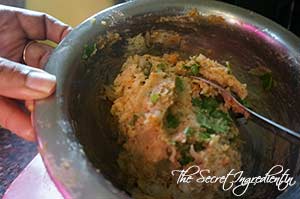
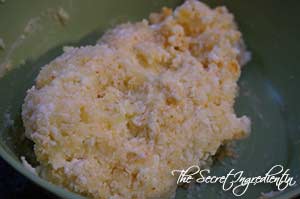
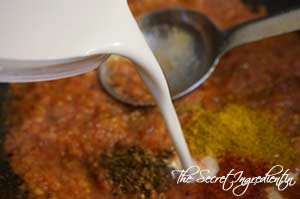
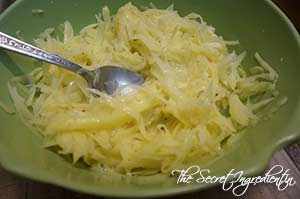
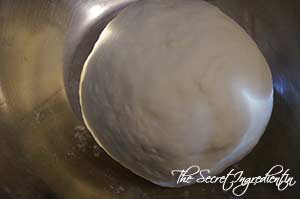
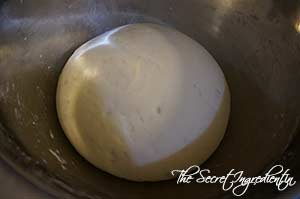
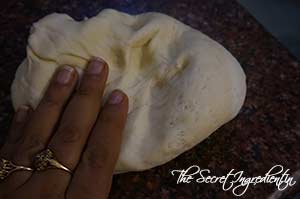
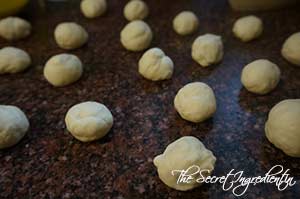
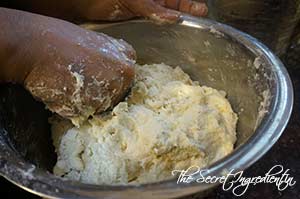
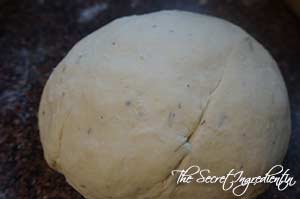
7. Mix everything together to form a dough .

dsc08586
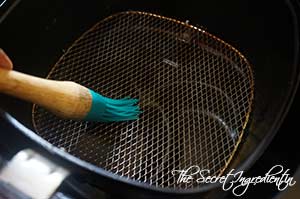
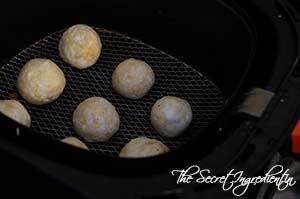
8. Preheat your Air fryer to 180 degree C for ten minutes and if you are using oven you can preheat the same on 180 degree C. Also brush the wire gauze basket of Air fryer with some oil so that the kebabs do not stick. In case of Oven line a baking sheet with parchment paper and set aside.

dsc08587
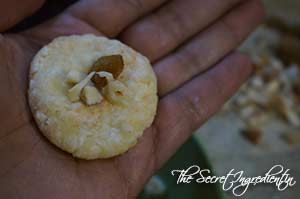
9. Shape the dough into tikkis or kebabs or into patties and place them in airfryer and brush the top with little oil.


dsc08588


dsc08589


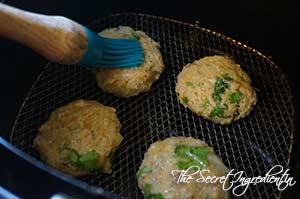
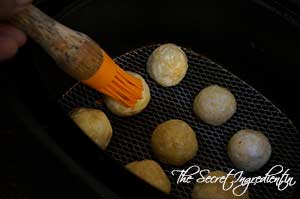
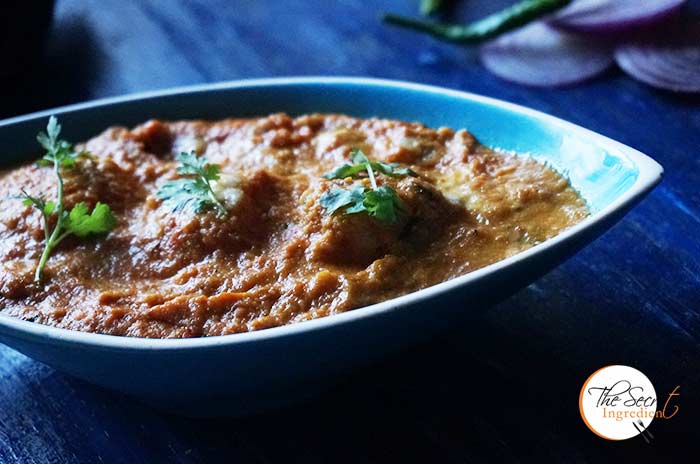
10. Air fry them for 18 minutes and halfway flip the kebabs and brush with oil on the top side and continue to bake until it’s got some golden hue. Enjoy with Ketchup, Mint Chutney, Spinach Coriander Chutney, Pesto or any dip of your choice. 

Other kebabs and croquettes you can try are: Tapioca CroquetteBaked Paneer Corn KababsVeg Shami KababAirfried Yogurt & Cottage Cheese Kebabs for Fasting , Baked Broccoli Cheese Patties.

plantainkebabs_featured4[whohit]PlantainKebabs[/whohit]

[yumprint-recipe id=’246′]

roastedbellpepperpasta_featured5

Sometimes you have a special attraction towards a particular type of ingredient. You may be fascinated by its taste or simply its appearance. I have such a fetish towards bell peppers, the red ones, the yellow ones and oh the orange ones. When I find them displayed in the supermarket I wanna hoard them. I love the way they make every dish look and taste special. The most interesting thing is that when you roast them they become sweeter and have such an amazing smokey taste. 

roastedbellpepperpasta_featured3

Last time when I found these I made charred Bell Pepper and Black eyed Peas Salad. Oh that was a hit in my house. The charred flavours of bell peppers lingers on in your mouth and want you to have them more and more. If you wanna know how to roast bell peppers in oven you can click here. For the sheer love of roasted bell peppers I tried pasta with charred bell pepper and pine nuts sauce. It came out so well and delicious that my husband wants this every now and then. Its a perfect under 30 minute dinner idea. Try it to believe it.

 Directions:

1. Boil pasta of your choice till al dente. Learn how to boil pasta perfectly. Strain and keep aside. In the meanwhile take some fresh pine nut and remove them from its shell. 

dsc00204

2. Toss the pine nuts in a pan on medium high heat for a couple of minutes just to get a bit of colour on them. Do not burn them! Remove them on a plate and set aside.


dsc00205


dsc00206


3. Chop Onion and Garlic finely and set aside. Also roast bell peppers and remove its skin, seeds and membranes. Learn how to roast your bell pepper in your oven.

dsc00200

4. In a grinder add your roasted bell peppers and toasted pine nuts and make a smooth puree.


dsc00211


dsc00233


5. In a pan add some olive oil and add Red Chilli Flakes. We are infusing the oil with the taste of chili. But if you dont like chili you can always ignore this step.


dsc00212


dsc00221


6. Add chopped Onions and garlic and saute them till they have acquired a light golden colour.

dsc00232

7. Add the puree and combine together with onions and garlic. Let it simmer on low medium heat for 5-7 minutes till it starts to bubble up.


dsc00234


dsc00235


8. Season with salt and to make it more velvety add cream to it.


dsc00236


dsc00237


9. Add the boiled pasta and toss it with the sauce.

dsc00238
10. Add Parsley, I used dried because that is what I had on hand. You can use fresh and it will make it more delicious! Also add Parmesan Cheese and combine everything together.


dsc00239


dsc00240


7. Serve hot and enjoy the incredible taste of Roasted Pell Pepper and Pine nut Sauce Pasta. All I need is a glass of wine to make my day 🙂

Other pasta recipes  Avocado Parsley PastaHealthy Broccoli PastaPasta Alla VodkaSautéed Red Bell Pepper and Olive Pasta SaladSpaghetti Vegetable PastaSundried Tomato Pasta SaladWild Fiddlehead Fern & Angel Hair Pasta

roastedbellpepperpasta_featured1
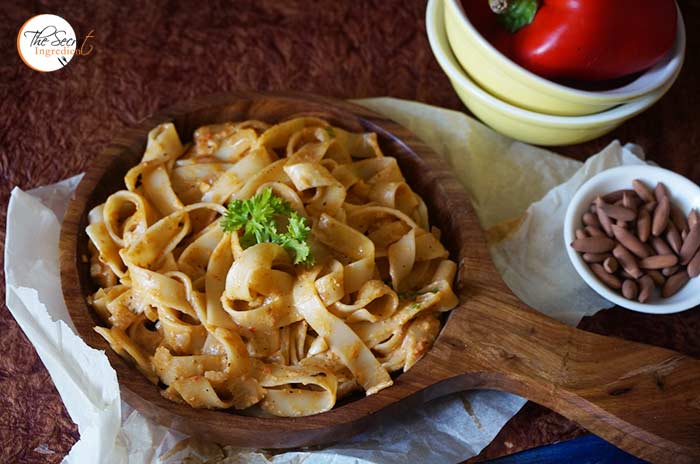
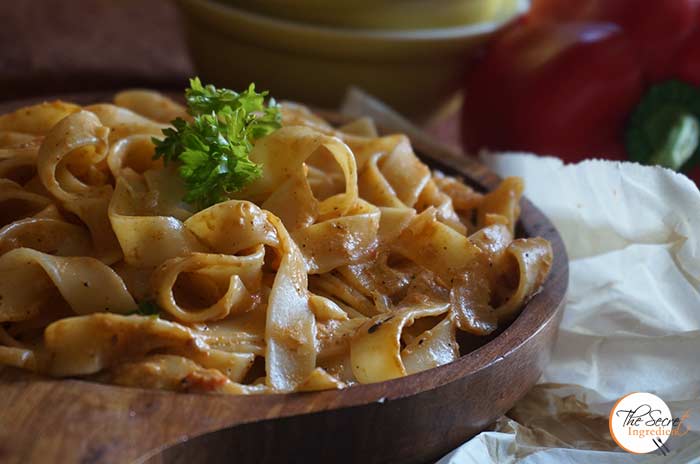
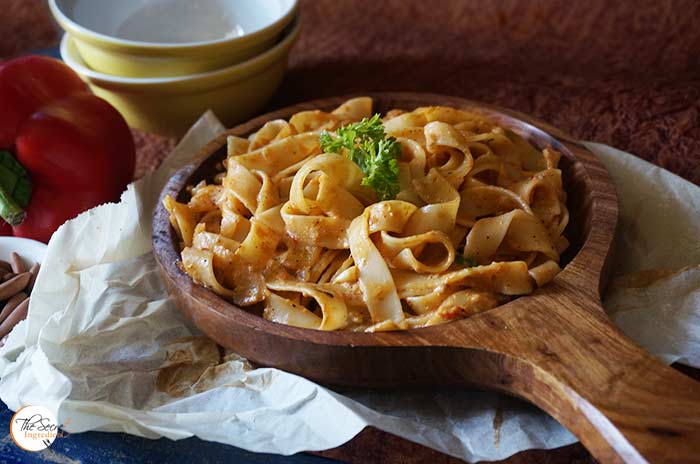
[whohit]RoastedBellPepperPinenutPasta[/whohit]

[yumprint-recipe id=’245′]

sabudananamkeen_featured1
We all need something to munch and snack on in between our meals. And when you are fasting for Navratri, those hunger pangs can really lower your energy. So instead of buying Namkeens or other snacks from market you can make them at home. They are easy to put together , fresh and hygienic. These can also be enjoyed by those who are not fasting. A word of caution, this Namkeen can be very addictive. Once you start eating this you cannot stop eating it. I loaded this one with dried fruits as I am expecting some guests in the days to come. You can please your guests with such home made snacks and even make it in advance and store for the upcoming festival season.

sabudananamkeen_featured2

I always have loved its khatta meetha flavour with a hint of Kaddi Patta. I have used Nylon Sabudana for this recipe which are bigger in size than the normal tapioca pearls. They puff up on frying and have an incredible crunch. But you can always use the normal sized sabudana for this.

Directions:

1. In a wok heat some vegetable oil. Drop one pearl of sabudana in hot oil to test if its heated optimally. If it rises instantly on the surface you know your oil is ready for frying. Add Sabudana to oil and let them fry and puff up for a couple of minutes without changing colour. Remove them on a plate lined with paper towel to absorb extra oil.


dsc06186


dsc06189


dsc06190


2. In the similar way fry the peanuts. Be careful not to over fry them for they will taste bitter.


dsc06192


dsc06193


3. Also remove them on the plate lined with paper towel along with sabudana.

dsc06194

4. Now in a shallow pan add very little oil and shallow fry Cashews till golden brown. Add them to the peanut sabudana plate.


dsc06195


dsc06196


5. Then add raisins to the same pan and toss it in oil till they puff up. Remove them and them saute, washed and dried Kaddi Patta and chopped green chillies.


dsc06197


dsc06198


dsc06202


6. Transfer everything to a bowl add powdered sugar and salt and ground black pepper. 


dsc06200


dsc06201


dsc06203


7. Toss everything together and transfer to an airtight container on coming to room temperature. Enjoy whenever hunger kicks in. It tastes incredible as a evening snack with your favourite cup of chai or coffee.

Other Fast recipes you can try are: Kuttu Singhara Sama Ke Atta Ki ThalipeethVrat Wale Dahi-Paneer KebabsSabudana KheerSabudada KhichdiSabudana TikkiTapioca Coconut Milk Pudding with Strawberry PreserveKaddu Ka HalwaPaneer Ki KheerRasgullaSwang Ke Chawal Ka HalwaSwang Ke Chawal Ki PhirniSwang ke Chawal ki Khichdi .

sabudananamkeen_featured3
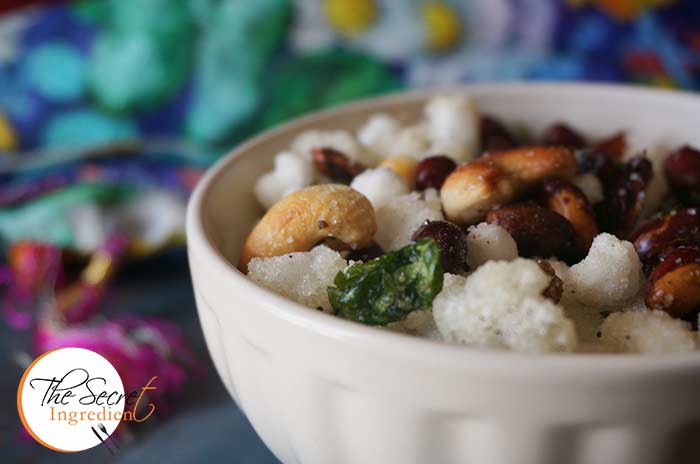
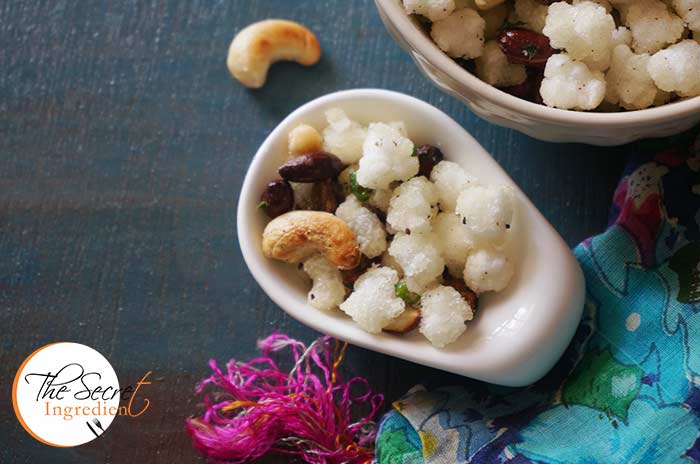
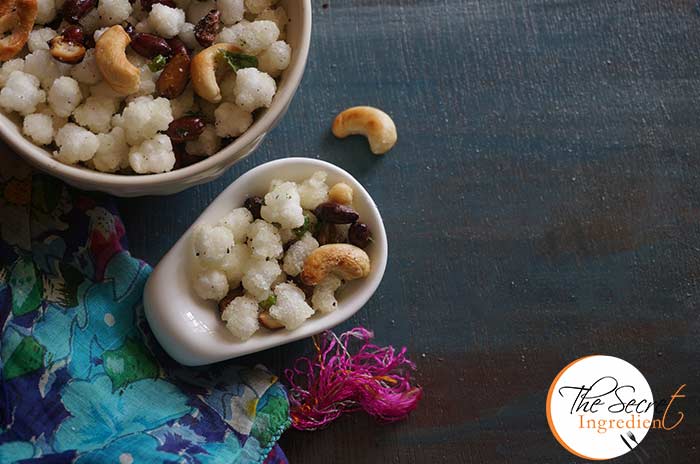
[whohit]Sabudana Namkeen[/whohit]

[yumprint-recipe id=’244′]

AppleButter_Featured5

I have been doing a food consult for an Organic Village Resort in Mukteshwar, Uttrakhand by the name DyoIt’s a gorgeous property in the middle of an Apple orchard spread over 25 acres. It’s a divine lap of nature with organic fruits and vegetables. They offer ‘farm to table’ experience to their guests. Everything you eat there is all grown organically in the property. If you are travelling to this part of the country you must ensure you spend a few days with them for a ravishing experience into the wild. 

AppleButter_Featured1

When I went for my food consult last month I picked up two boxes of Apples for myself and my family. Apart from making other amazing dishes with Apples I utilized them in making this huge batch of delicious Apple Butter. It came out creamy, spicy and lip smacking. I smeared on my toast and for a second I was in heaven. You can use this to make Pan cakes, Cakes, Brownies and many other things.  This is usually made in a slow crockpot overnight. However I made it in a normal saucepan and it was still delicious and super quick! So if you have apples in abundance put them to right use by making this tempting Apple Butter.

Directions:

1. Take some fresh apples and wash them thoroughly under running water.


DSC06540


DSC06541


2. Cut them into four pieces and core them discarding the seeds.Do not remove the peels.


DSC06542


DSC06543


3. Further cut them in cubes and set aside.

DSC06544
4. In a large pan add the cubed apples and add ground cinnamon and cloves.


DSC06546


DSC06545


4. Squeeze in some lemon juice and add salt and maple syrup. 


DSC06547


DSC06549


DSC06550


5. Combine everything together and cover the pot with the lid and let it cook on low flame for 30 minutes to 45 minutes or until everything is squishy squashy. Do not forget to stir it from time to time. Caution! at this point of time your house will start smelling like a cinnamon Bomb! Ummm aaha!


DSC06551


DSC06552


6. I also added additional brown sugar to make it a lot more sweeter. You can skip it if your apples are very sweet and your maple syrup gives you the desired sweetness. You will now notice your apples are bubbly and syrupy. Continue to cook till the syrup is reduced.


DSC06553


DSC06554


7. Once that syrup has reduced you know your apples are ready to be pureed. Put them in a blender and make a smooth butter like puree. 


DSC06555


DSC06556


DSC06557


8. Let it come to room temperature before you transfer it to glass mason jars. Keep them refrigerated and it stays good for months. Just remember to use a clean, dry spoon before taking it out of the jar. Enjoy the deliciousness. 

Other recipes using apples you can try are: Apple CrispApple Raisins Streusel BreadApple Bulgar PuddingApple & Cinnamon Pancakes.

AppleButter_Featured4
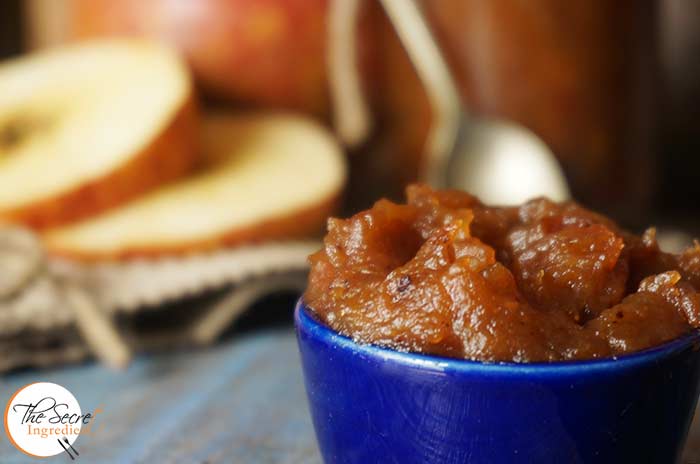
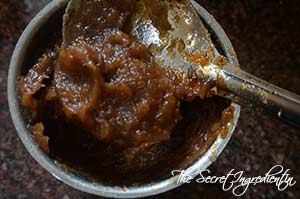
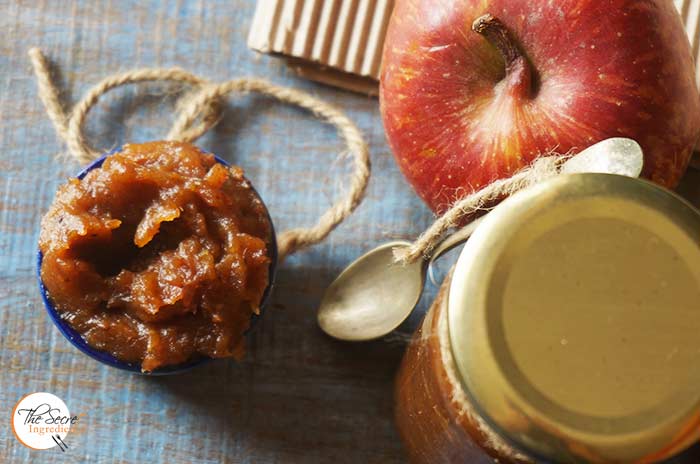
[whohit]AppleButter[/whohit]

[yumprint-recipe id=’243′]

MalaiKofta_Featured1
Its an irony how we want restaurant like food at home and homestyle food in restaurants. I live in a place where a proper restaurant is a far fetched dream. The closest fine dinning restaurant is about 40 kms away. Therefore, I would not be embarrassed if I say I wanna make restaurant like food at home to please my boys and my self. I have posted recipes of Shahi Paneer, Palak Paneer, Butter Chicken  and Pindi Cholley and they all come out better than restaurant.

MalaiKofta_Featured2

But this time I wanted to try these Malai Koftas at home. I had given up eating Koftas long back because they are oily, fried and greasy. But when my husband gifted me with an Air frier on my birthday I have started experimenting traditional recipes in it giving it a healthy twist. My morale was boosted when I tried Kamal Kakdi Ke Koftey in Air frier. It was better than the fried version. And when I tried Malai Kofta I wasn’t surprised, the koftas were simply soft and perfect. Don’t tell anyone, I popped 5 of them in my mouth as soon as they were out of the frier ;). Luckily few were left to be dunked in the creamy spicy gravy. Overall it was a hit dish with my family. When are you trying it out?

Directions:

1. In a Bowl add fresh crumbled cheese or chenna. Add boiled potatoes to it.


DSC07435


DSC07436


2. Add red chili powder,Corn flour and salt.


DSC07437


DSC07438


DSC07439


3. Also add milk powder and knead it together into a soft paliable dough.


DSC07440


DSC07442


4. Roughly chop some Almonds and raisins.

DSC07441
5. Take a small ball size dough and flatten it into a disc shape. Add a few chopped dried fruits and roll it into a ball.


DSC07443


DSC07444


DSC07445


6. Preheat your airfryer for 10 minutes on 180 degree Celsius and place the rolled balls into the basket. Make sure you have brushed the basket surface with oil. Brush the balls with oil and close the basket. Let it air fry for 18 minutes. Half way through open the basket and change sides and brush them again and continue to air fry. You will find your malai koftas golden in colour. Let them come to room temperature in the basket and then remove them or else they will break. You can always bake them in your oven till they become golden in colour.


DSC07447


DSC07448


DSC07449


7. Soak some cashews in water for an hour or so and grind it into a thin paste.

DSC07446
8. For the gravy add ghee or clarified butter in a wok. As the ghee heats up add Bay Leaf, mace or Javitri and toss them in oil.


DSC07450


DSC07451


DSC07452


9. Also add Cloves, Cinnamon and Green Cardamoms.


DSC07453


DSC07454


DSC07455


10. Also add Black Cardamom and Onion Paste. Once the onions have browned add ginger garlic paste and saute them till the raw smell of ginger garlic fades away.


DSC07456


DSC07457


DSC07458


11. Add puree of Tomato and add turmeric powder, red chilli powder and mix well. Let the puree reduce and the oil starts to separate. 


DSC07459


DSC07460


DSC07461


12. After the masala is ready add to it garam masala and the cashew paste we had made before. Don’t forget to season it with salt at this stage.


DSC07462


DSC07463


DSC07464


13. Finish the gravy with dried Fenugreek leaves  and fresh whisked cream. Turn the flame off.


DSC07465


DSC07466


14. Pour the gravy in the serving platter and add the koftas to it whenever you are ready to eat them. Adding them to the gravy before would make them lose their form and even melt away in the gravy. Garnish with fresh Coriander leaves. You can pair them with Tawa Naan or Roti or Parantha.

Other Recipes from North India you can try are: Dal Ghiya with Punjabi VadiyanDahi Wala KarelaKadhai MushroomKamal Kakdi Kay KoftayMethi Matar MalaiPunjabi Dal Makhani.

MalaiKofta_Featured3
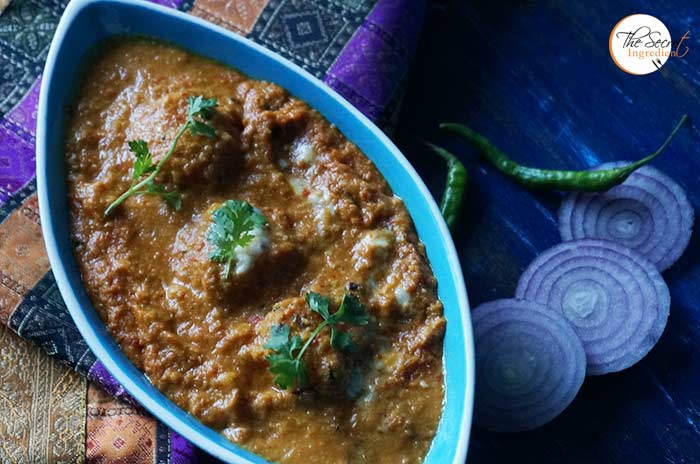
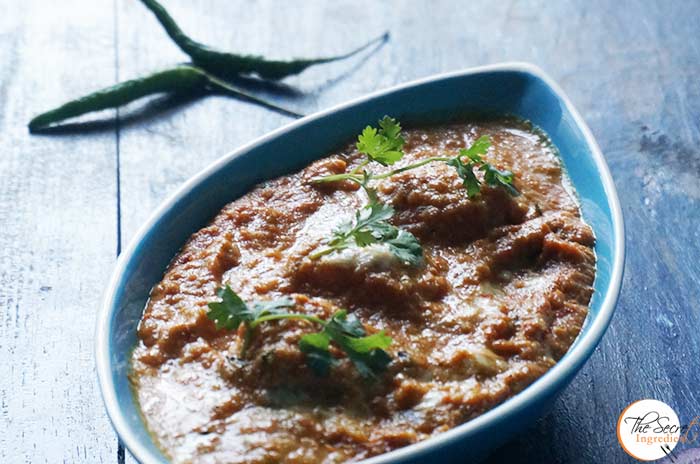
[whohit]Malai Kofta[/whohit]

[yumprint-recipe id=’241′]

HashBrowns_Featured1

Eggs are the most convenient and loved breakfast all across the globe. In the past I have posted a lot of Egg Breakfast recipes on my blog .In the west these eggs are often accompanied with Hash Browns which are Fried Crispy Potatoes. I am a little uncomfortable with fried stuff so I decided to fuse both of these in one healthy avatar. These Crispy Potato baskets were baked to perfection in my oven, you can also use air frier.

HashBrowns_Featured2

You can top it up with crispy bacon to make it even more naughtier. The feeling of eating a sumptuous breakfast without feeling guilty cannot be expressed in words. I have been eating clean for a while now and the results are beginning to show. I feel more energetic, fresh and younger 😉 If you wanna live a healthy life start with clean healthy eating and regular exercise for 20 minutes a day. There is nothing in this world which can stop you from becoming fit except temptation. 🙂 

Directions:
1. Wash and peel potatoes.


DSC01231


DSC01232


2. Grate them using a grater into thin but long shreds. Put the shredded potatoes in a bowl of cold water so that do do not turn black.


DSC01235


DSC01236


3. Rigrously wash the potatoes under running water for a couple of minutes to remove its starch.

DSC01238
4. Soak out the water and place the potatoes in a bowl. Add an egg, salt and pepper. You can even add shredded. Cheddar Cheese to make it more interesting and delicious. I wanted to keep it low cal so gave cheese a pass. 🙁 Having said that I feel sad.


DSC01239


TDSC01240


DSC01241


5. Combine everything with a spoon.

DSC01242
6. Generously grease some bake proof Ramekins with oil*. You can  even use non stick muffin tray. Spread a spoonful of potato mix all over the ramekins in one thin layer. Press with your fingers to form a nest. Let the potato strands poke out of the bowl. Do not overfill the ramekins or else as they will not become crisp on baking. Bake them in a preheated oven on 225 degree Celsius (Learn more about Oven Temperatures and Conversions) for about 20 minutes until they have crisped up. 


DSC01237


DSC01244


7. In the meanwhile chop some onions and add some oil in a pan. Saute them till they become brown.


DSC01245


DSC01246


DSC01247


8. Add a spoonful of  Sour Cream  and Sauteed Onions on top of the baked potatoes.


DSC01248


DSC01252


9. Break an egg in each ramekin and season with salt and pepper. Bake it in in preheated oven for 15 minutes till the egg white is set while yelow still runny.


DSC01253


DSC01256


10. Let it sit for 5-7 minutes then run a sharp knife around the ramekin and carefully remove the hash brown basket and serve in a platter. You can pair it with crispy bacon and a hot cup of Coffee. 

Other Egg Breakfast you can try: Fried Egg Over Polenta with Homemade Basil PestoItalian Frittata with Mushrooms and SpinachShakshoukaWrapped French ToastMexican Casserole Eggs. 

HashBrowns_Featured3[whohit]HashBrownCupsandegg[/whohit]

[yumprint-recipe id=’240′]

BigaBread_Featured1

I have spent enough time in doing regular yeast breads. It was high time I started experimenting and coming out of my comfort zone. I mustered the courage to make my own Sourdough starter and guess what after a lot of effort finally my starter is ready and I am soon gonna bake a sourdough bread with it. But  in the meanwhile I came across this monthly challenge in my bread baking group. We were asked to make Peter Reinhart’s Potato Rosemary Bread. It was to be made with biga. Now many of you must be wondering what is biga? Its a pre ferment technique used in baking breads which imparts it a slight sour taste. 

BigaBread_2

Interestingly, biga techniques were developed after the advent of baker’s yeast as bakers in Italy moved away from the use of sourdough and needed to recover some of the flavor that was given up in this move (Ref.Wikipedia). I was intrigued to try this recipe for  my favourite Rosemary and Garlic flavours were involved. How can I ever give it a pass. The bread was delightful. It had an amazing texture and taste. Do try this fabulous recipe.

Directions:

1. For biga add All purpose Flour, Instant Yeast and lukewarm water in a bowl


DSC07654


DSC07655


DSC07656


2. Mix everything together and bring it to the counter to knead it into a soft paliable dough. The dough should not be sticky so adjust the water accordingly. Make a ball of dough and place it in a greased bowl. Cover the bowl with cling wrap or lint free towel and let it rise till it doubles up. The weather plays an important role in the time required for proofing it. The hotter the environment the earlier it rises.


DSC07657


DSC07658


DSC07659


3. After it has risen degas it with your hands and place it back into the same bowl. Cover and put it in the refrigerator overnight for fermentation. You need to use this biga within 3 days or else freeze this to be used later.


DSC07660


DSC07661


DSC07662


4. Take the biga out of the refrigerator and let it rest for an hour at room temperature before using it. Divide it into small pieces.

DSC07663
5. In a bowl add All purpose flour, salt and pepper.


DSC07664


DSC07665


DSC07666


6. Also add instant yeast, rosemary and biga.


DSC07667


DSC07670


DSC07669


7. Add Olive oil, mashed potato and lukewarm water.


DSC07671


DSC07672


DSC07673


8. Mix together to bring it together. Take it to the counter and knead well for 10 minutes till it becomes soft and paliable.


DSC07674


DSC07677


9. In a pan add some oil and saute them chopped garlic till its roasted well. You can  even roast it in your oven.


DSC07675


DSC07676


10. Roll the dough and spread the garlic all over and form a ball again. Place it in a greased bowl and cover it. Let it rise till double in size.


DSC07679


DSC07680


11. Remove it from the bowl and place it on the counter. Divide the dough into two and shape them into boule following the technique by Peter Reinhart. Place them in a basket lined with a kitchen towel and dusted with dry flour.


DSC07685


DSC07684


DSC07686


12. Brush it lightly with olive oil and cover loosely with a towel and let it rise to double.


DSC07688


DSC07687


13. Once it has doubled in size. Invert the basket on a baking tray lined with parchment paper. I liked to score it on top. If you wish you can do the same or ignore.


DSC07689


DSC07690


DSC07691


14.  Bake it in a preheated oven on 200 degree Celsius for 40 minutes or until done. If the bread looks too soft  turn off the oven and let the loaf sit in the warm oven for another 5 to 10 minutes to firm up a bit. Slice it when completely cool.

Other bread recipes you can try : Vegetarian homemade PizzaRussian BubliciWhole Wheat Sandwich BreadChinese Black Sesame Steamed BunsCinnamon Raisin BreadBeetroot Bread with Garlic and ThymeHoney Oats BreadDomino’s Garlic BreadsticksGarlic Rosemary Focaccia Bread and Focaccia Bread with Fresh Cherries, Rosemary and Sea Salt.

BigaBread_Featured4[whohit]BigaPotatoRosemary[/whohit]

[yumprint-recipe id=’239′]

MicrowaveMugLasagna_Featured2

I am an extremely lazy person and when that laziness assimilates in me I look for all possible ways to cut short my work, be it cooking, exercise or anything else. Such times see emergence of use of microwave in my kitchen. I hate microwaves and use it only for reheating. I detest baking in it but this lasagna recipe made me change my opinion about microwaves. This single serving lasagna in a mug is like your best buddy and can be made by anyone. Bachelors will love some quick fix dishes and so will people who are lazy like me.

MicrowaveMugLasagna_Featured3

This no cook pasta sauce has been a boon in disguise. I love it for my pizzas and for everything which requires red sauce. Gets ready in a jiffy without any hassle. The ricotta cheese can also be made in no time. Its just paneer with a little salt which is not set and has a crumbly texture. All you need is to curdle milk, drain the whey and its ready to use. Check out a detailed step wise step recipe to make Ricotta Cheese at home.

Directions:
1.  In a glass microwave friendly bowl add water and Lasagna sheet and microwave for 3 minutes. Cut it into small squares and set aside.


DSC07535


DSC07536


DSC07545


2. Chop Mushrooms and Shred Mozzarella Cheese, set aside.


DSC07539


DSC07540


3. In a bowl add Chopped mushroom, Ricotta Cheese, ground black pepper, granulated garlic,red chili flakes, chopped basil leaves and salt. Set mixture aside.


DSC07541


DSC07542


DSC07543


4. Prepare the sauce by mixing all the ingredients under No Cook Red Pasta Sauce. Set aside for assembly.

DSC07549

5. Pour 2 tablespoons of pasta sauce at the bottom of the mug. Top with a piece of softened pasta sheet. Add some mushroom mixture, 2 tablespoons of mozzarella, and a pasta sheet. Continue building the lasagna, ending with a layer of pasta sheet at the top. Sprinkle mozzarella over the pasta.


DSC07556


DSC07557


DSC07558


6. Microwave everything for 1 minute 30 seconds or until Mozzarella Cheese melts. Serve hot.

Other Lasagna recipes you can try: Vegetarian Mushroom Lasagna in Creamy White SauceCheesy Chicken Lasagna .

Other Pasta dishes you can try: Healthy Broccoli PastaPasta Alla VodkaSautéed Red Bell Pepper and Olive Pasta Salad , Sundried Tomato Pasta SaladWild Fiddlehead Fern & Angel Hair Pasta  Avocado Parsley Pasta.

MicrowaveMugLasagna_Featured1[whohit]LasagnaMug[whohit]

[yumprint-recipe id=’238′] 

We are an egg loving family. For us our breakfast has to be with eggs but the same old omelette and fried eggs can be boring at times. So when I picked up this Polenta from SOS organics I was keen to make something with it. Polenta is widely used in Italy as a porridge. Its also known as Corn Semolina. The corn is coarsely ground in a mill and is used widely in place of wheat and rice. Its excellent for those people with gluten allergies. 

This is not exactly an elaborate recipe post as you are used to seeing on my blog but its an interesting breakfast idea which can be made in a jiffy and which is utterly delicious and nutritious. You must be well aware by now what emotions I have with respect to Eggs. I have recently come across high protein, organic and nutritious Eggs from Eggee. And trust me I never had better eggs than this in India. If you can lay your hands on Eggee I insist you try any recipe with it and you will feel the difference in taste and texture. Earlier I had posted a few other egg breakfast recipes on blog like Spinach Mushroom Quiche, Italian Frittata with Mushrooms and SpinachShakshoukaWrapped French Toast Mexican Casserole Eggs. However, this combination of simple fried or poached egg with polenta and pesto is a killer. If you are looking for homemade Italian Basil Pesto  you can try here. Nevertheless, you can buy in a jar. Just cook your polenta following the directions below wand assemble everything together.

Directions:

1. For polenta, pour water in a saucepan and bring it to a boil. Add polenta and simmer it for 20-25 minutes till the polenta is cooked and has absorbed water.


DSC05430


DSC05431

DSC05432


2. Take it off the flame and season with salt, pepper and parmesan cheese. Mix thoroughly and set aside for assembly.


DSC05434


DSC05436


DSC05433


3. Fry eggs. If you like you can even poach them.

DSC05447

4. You can make your own pesto by using fresh ingredients and you can follow this recipe. Now in order to plate this dish ladle some Polenta in a large serving bowl, garnish with Pesto and olive oil and place your fried egg in the centre resting on the bed of Polenta and pesto. You can even garnish with pine nuts.

Related Recipes: Italian Basil Pesto

Other Delicious egg recipes you can try:  Italian Frittata with Mushrooms and SpinachShakshoukaWrapped French Toast Mexican Casserole Eggs.

[yumprint-recipe id=’237′]