Hot Cross buns are symbolic to Easter and may go back to 12th Century. The relic goes that a Monk baked buns and made a cross on them in honour of Good Friday. Gradually, they became popular world over and were associated with Easter. Interestingly, there are a few superstitions and tales linked to baking these sweet hot cross buns on Good Friday. If you are interested you can read them at The kitchn.
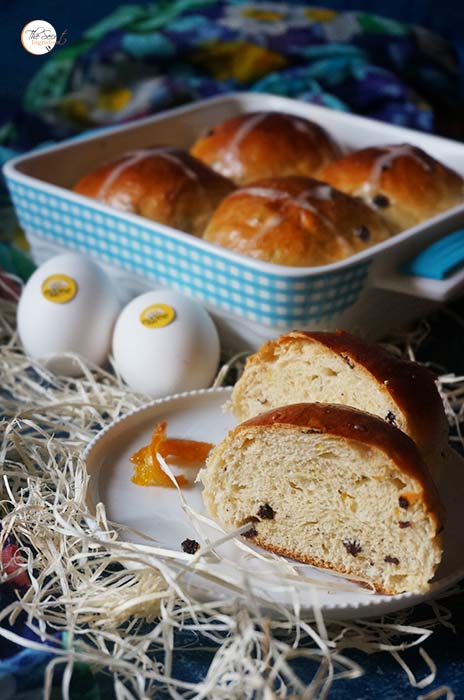
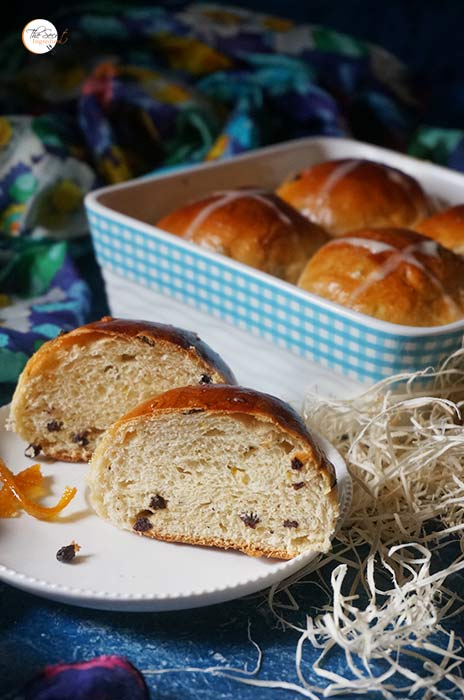
This is about the origin of recipe but what exactly are Hot cross buns? Well they are mildly spiced, sweet buns which are loaded with black currants or raisins. On top of these buns a cross is marked, which can be either done with icing sugar or its etched in the dough at the time of baking. As a kid we relished eating these buns and loved to sing Hot cross buns, Hot cross buns, One a penny, Two a penny, Hot cross buns. This ignites nostalgia and takes me back memory lane.
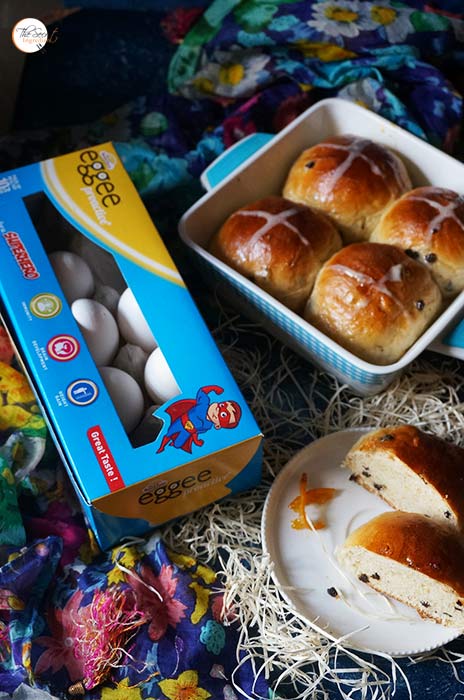
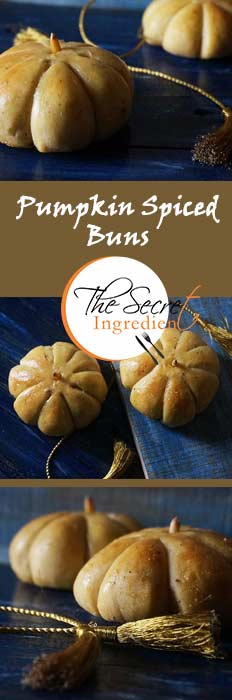
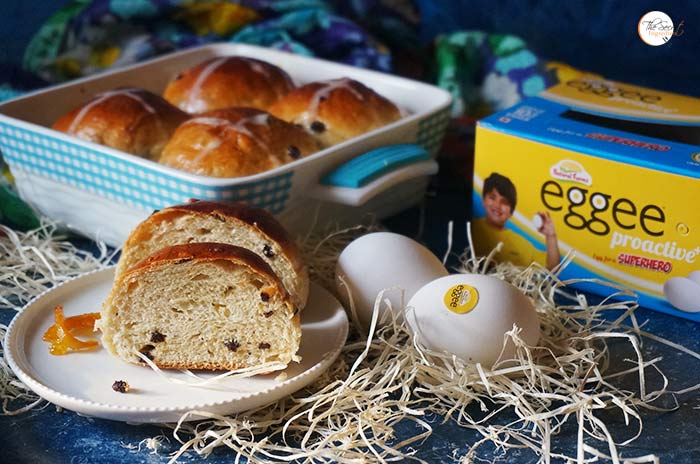
On the occasion of Easter, I collaborated with Eggee, the best organic high protein eggs, to curate this recipe for my readers. The addition of fresh eggs in the bun dough took this recipe to a whole new level. If you can find these organic eggs around you, give it a try. You sure would know the difference in taste and freshness. I have used home made Pumpkin Pie Spice and Candied Orange Peel in the recipe. You can make it yourself from scratch.
I am jumping to the recipe right away without wasting much time. Easter is just an excuse to bake these but honestly I can eat them all year round. If you try this recipe share your feedback with me and tag me on facebook or instagram.
Directions:
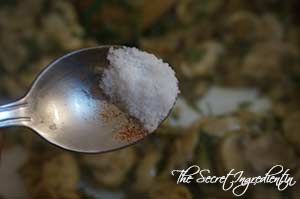
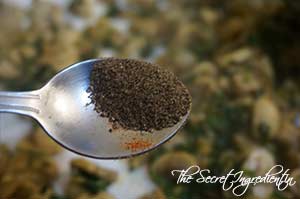
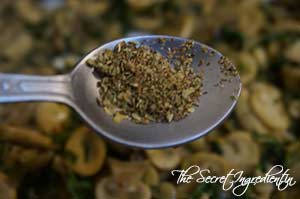
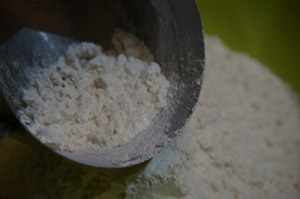
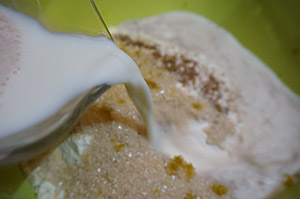
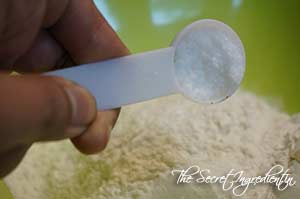
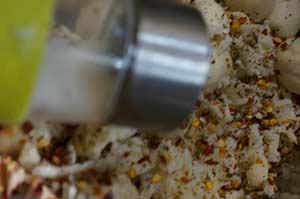
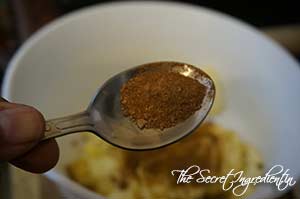
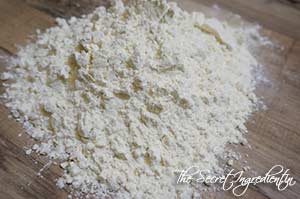
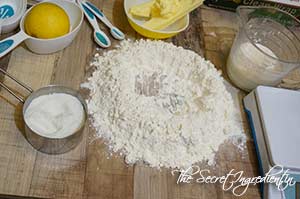
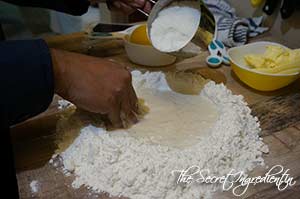
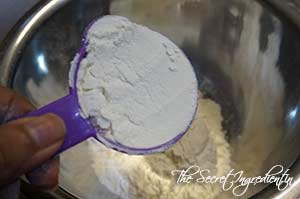
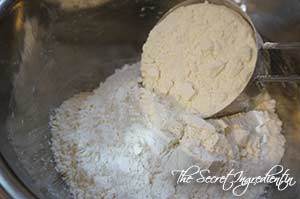
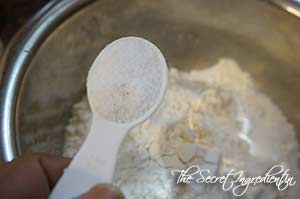
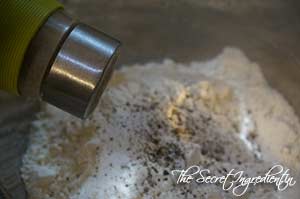
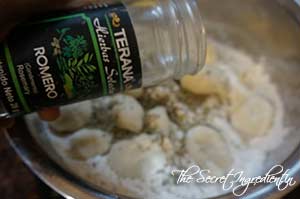
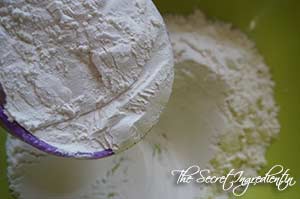
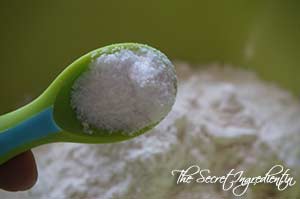
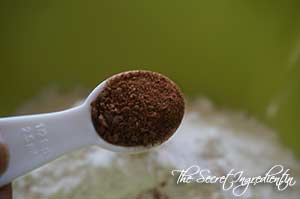
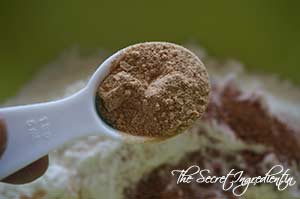
1. In a large bowl add all purpose flour, pumpkin pie spice and salt.
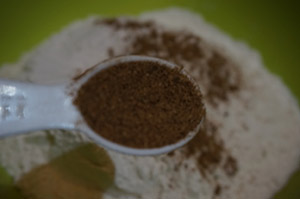

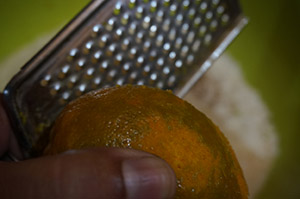
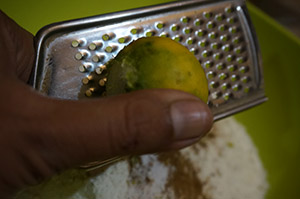
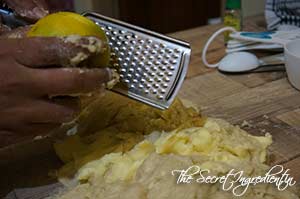
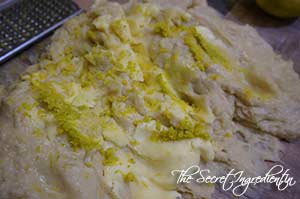
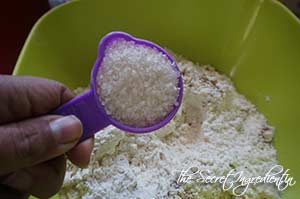
2. Also add to the bowl sugar and zest of orange and lemon. Mix well and set aside.
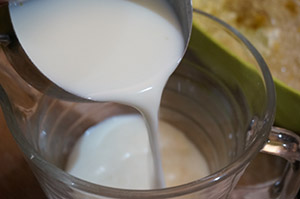
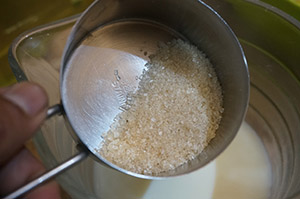
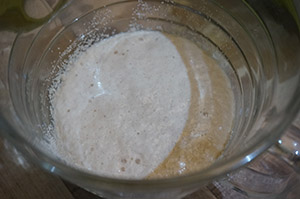
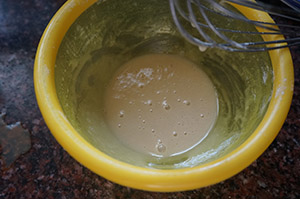
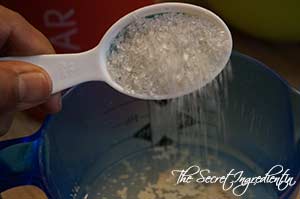
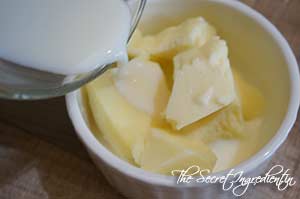
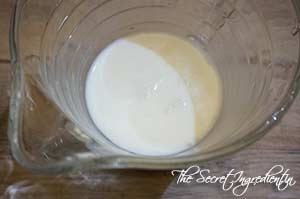
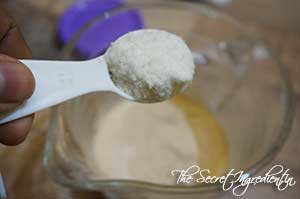
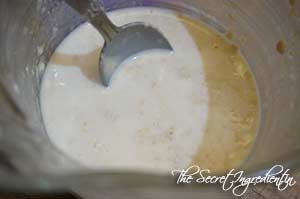
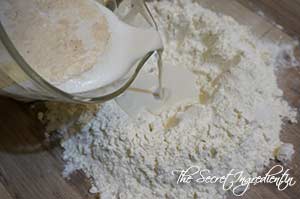
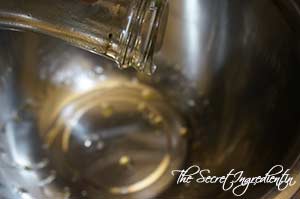
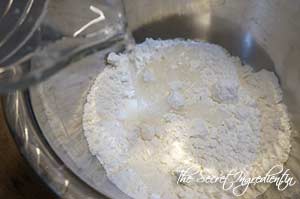
3. In another bowl or jar take some lukewarm milk. It should not be hot just lukewarm. Add some sugar to the milk.
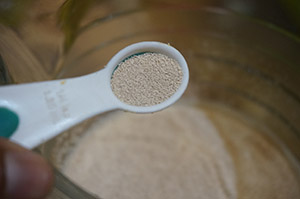
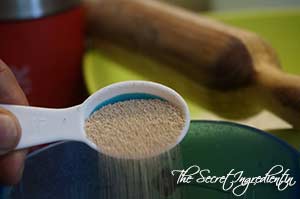
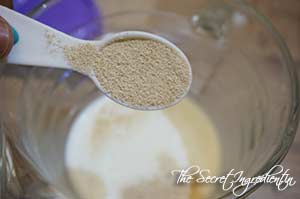
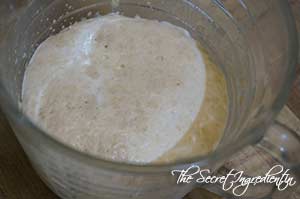
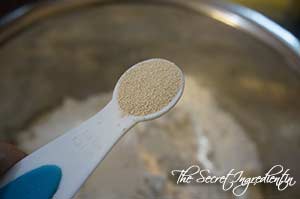
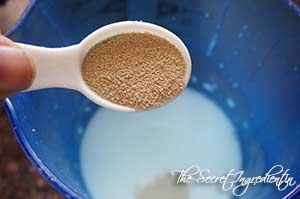
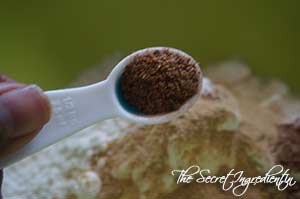
4. Sprinkle yeast on top and give it a gentle stir. Let the mixture stand and wait for yeast to bloom. I have used yeast from out online store The Gourmet Shop.

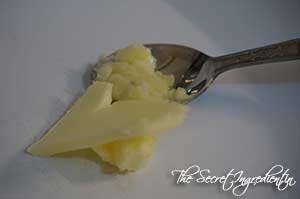
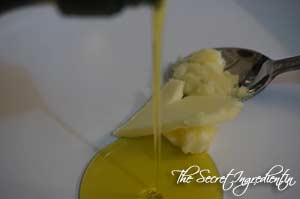
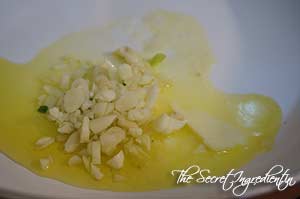
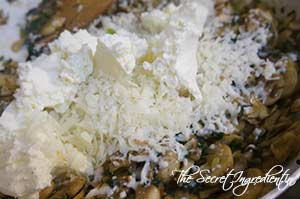
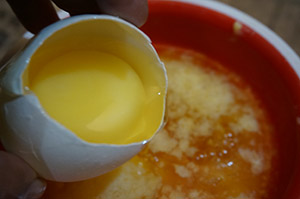
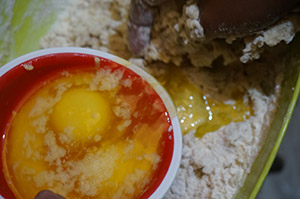
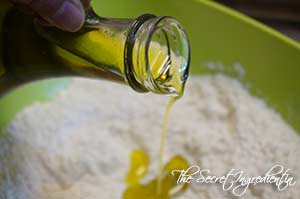
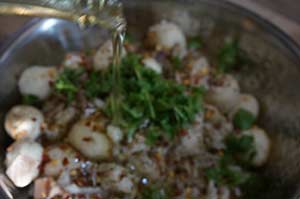
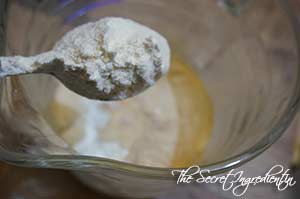
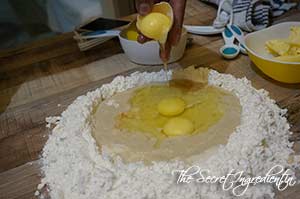
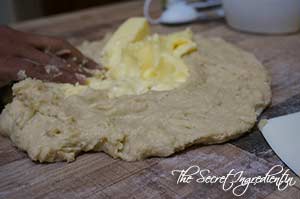
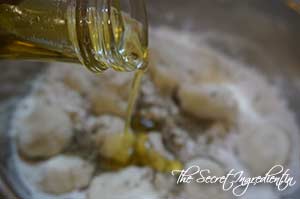
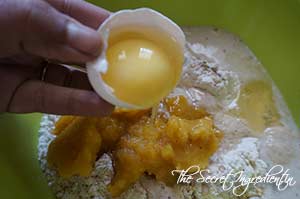
5. In another small bowl add melted butter and whisk in some eggs.
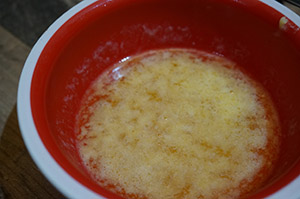
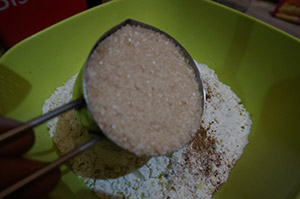
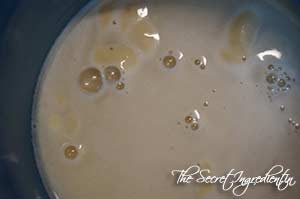
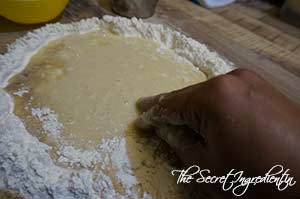
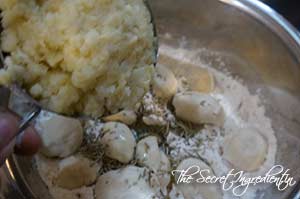
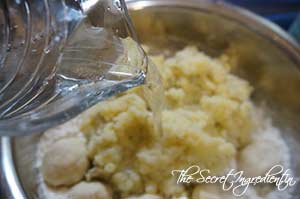
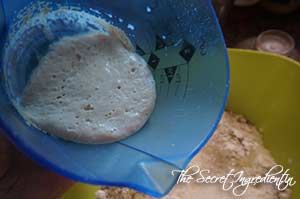
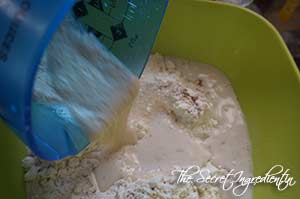
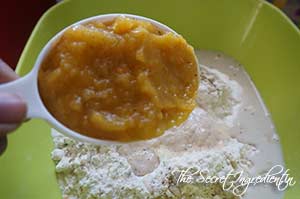
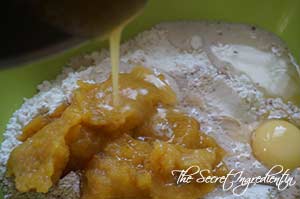
6. Once the yeast has proofed or bloomed and has become frothy, add this to the dry ingredients along with egg and butter mixture.
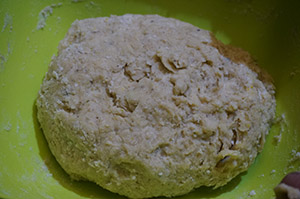
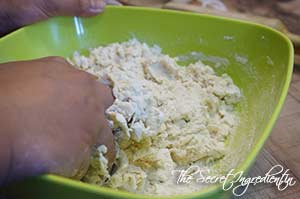
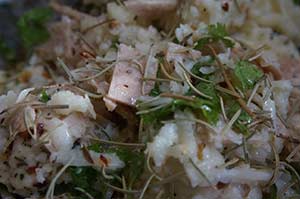
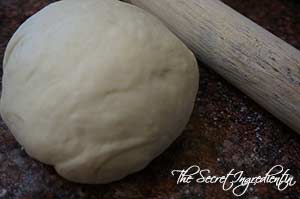
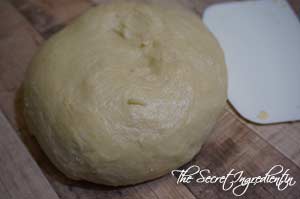
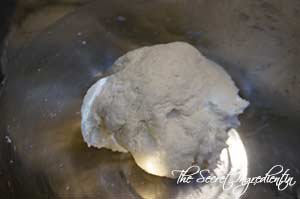
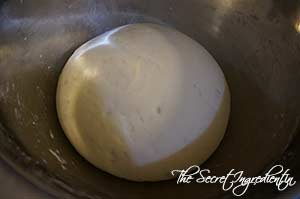
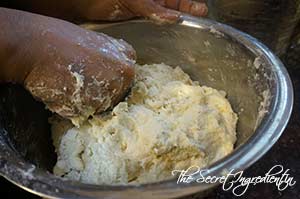
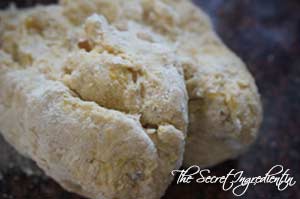
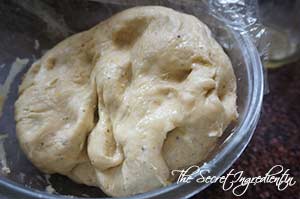
7. Mix them well till everything comes together into a sticky dough. Knead well for 6-8 minutes till the dough is smooth and supple.
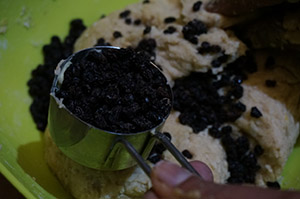
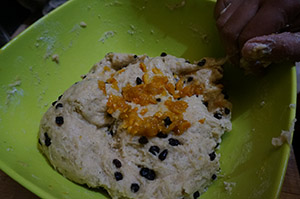
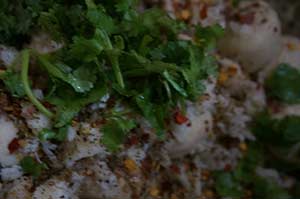
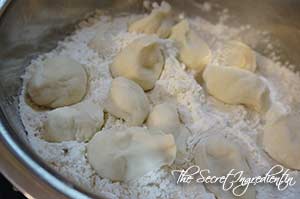
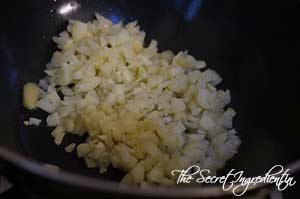
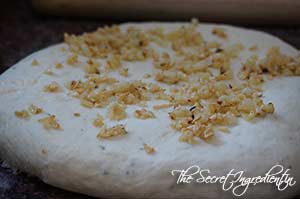
8. Add black currants and candied orange peel and mix well into the dough.
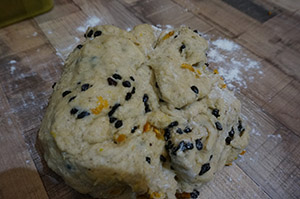
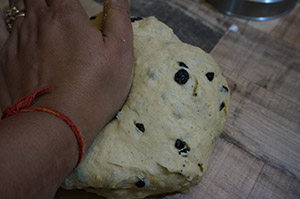
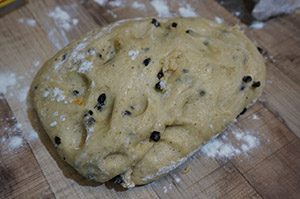
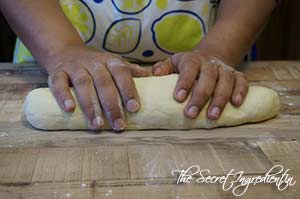
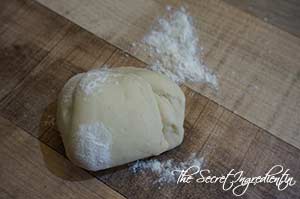
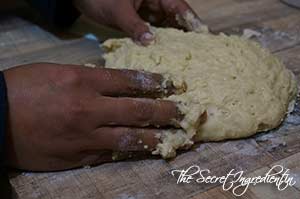
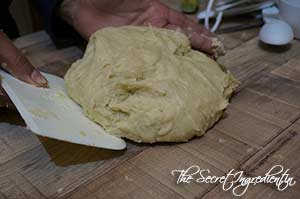
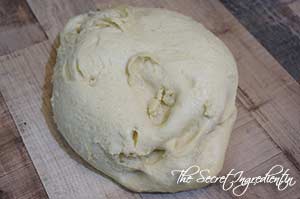
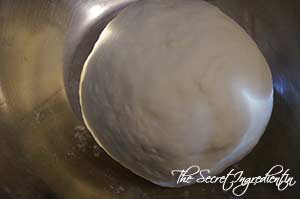
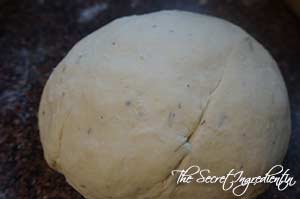
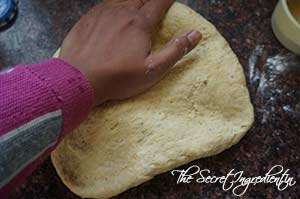
9. Dust your counter with some flour and dump the dough on it and knead well will your dough has developed gluten and is elastic and pliable.
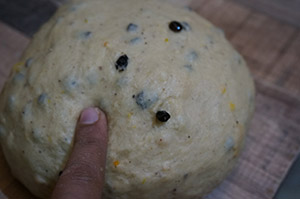
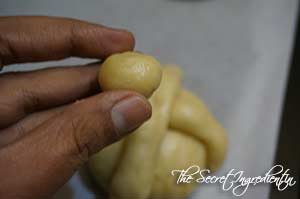
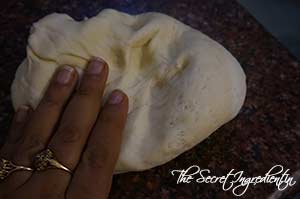
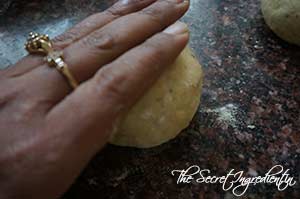
10. You can slightly poke your finger in the dough to test if its kneaded well or not. If the dough bounces back its ready and if it doesn’t you need to knead a few more minutes.
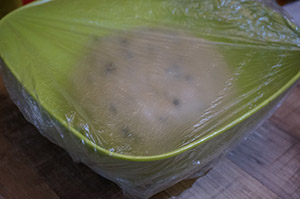
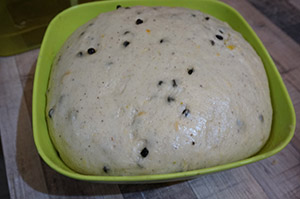
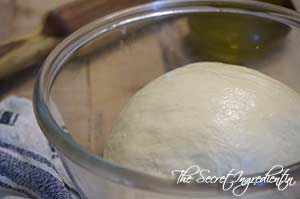
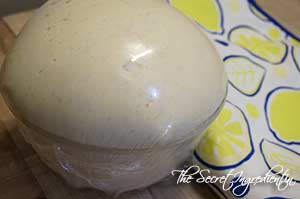
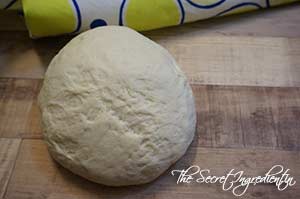
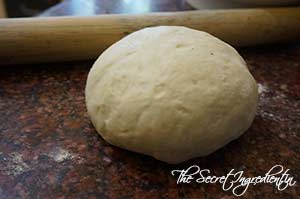
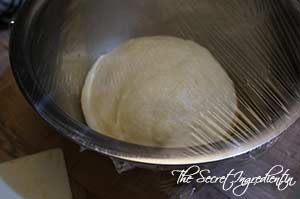
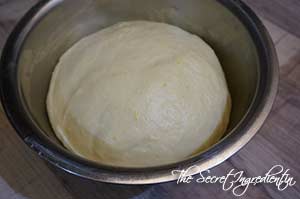
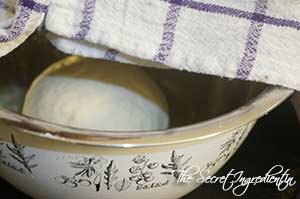
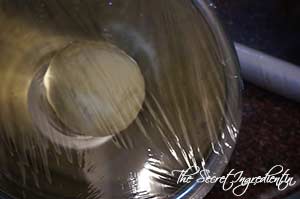
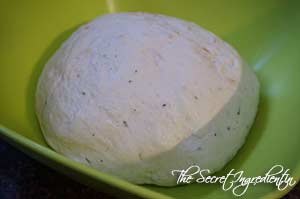
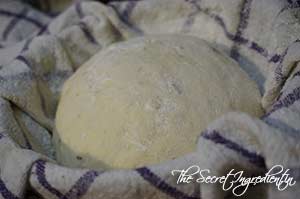
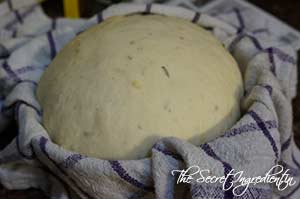
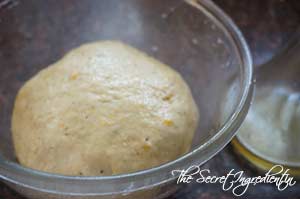
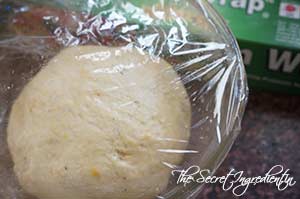
11. Grease a big bowl and place your dough in it to rise until it has doubled in size. This depends on the temperature of your kitchen. The warmer the kitchen the sooner the dough proofs.
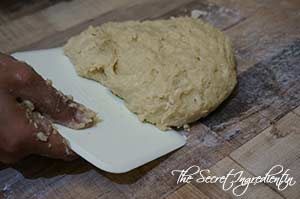
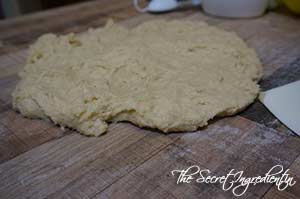
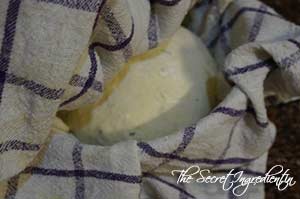
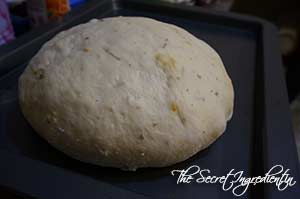
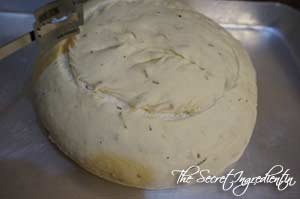
12. Once the dough has proofed. Again dust your counter with some flour and punch dough the dough to deflate it.
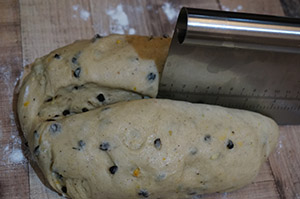
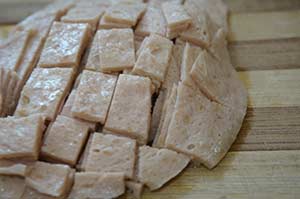
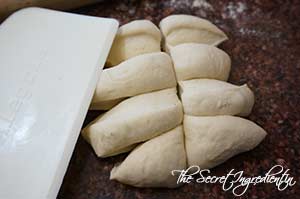
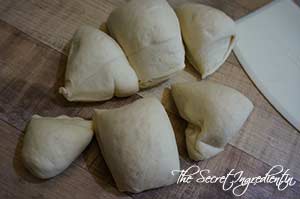
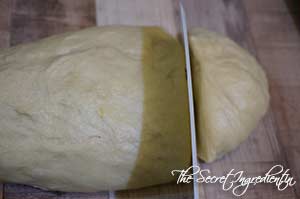
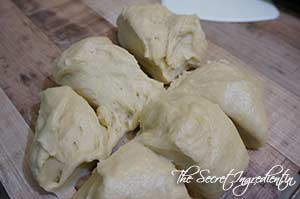
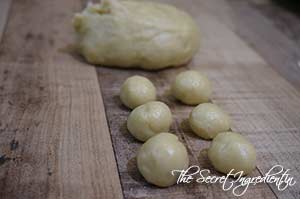
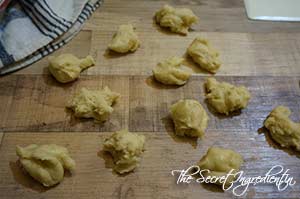
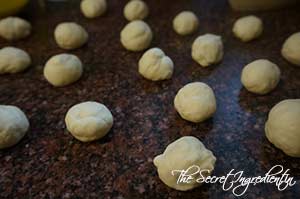
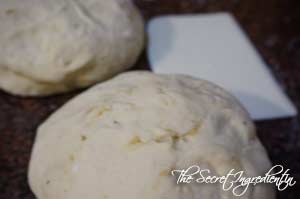
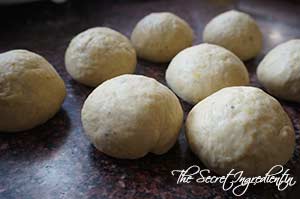
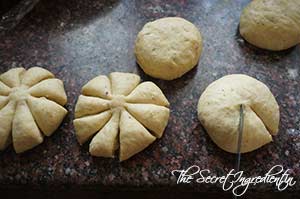
13. Divide the dough into equal 16 parts with the help of a bench press or metal scraper.
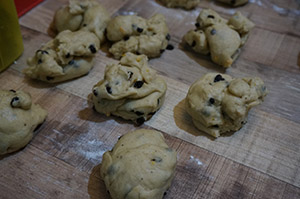
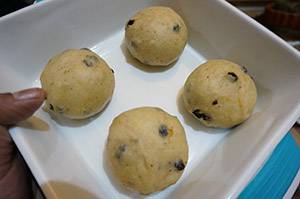
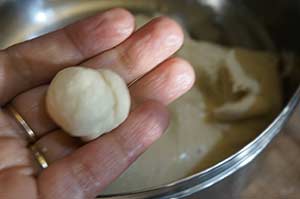
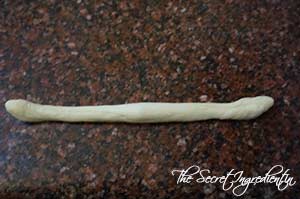
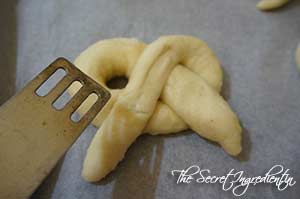
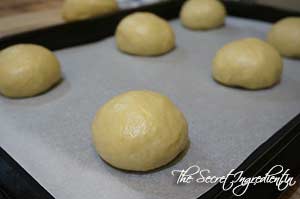
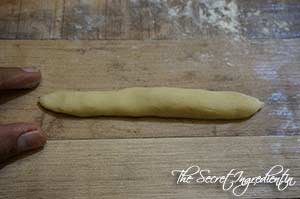
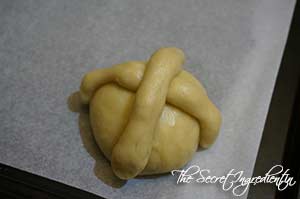
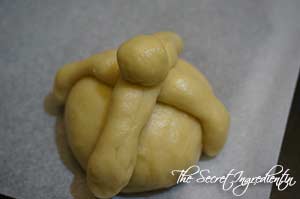
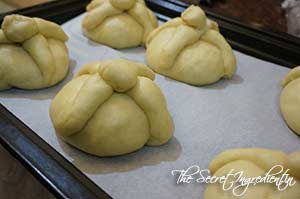
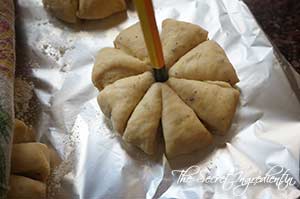
14. Roll each portion into a round ball with a smooth top.
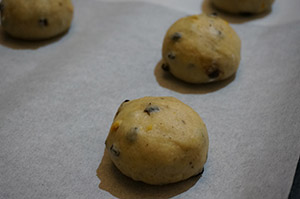
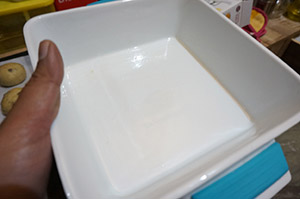
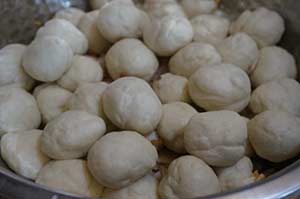
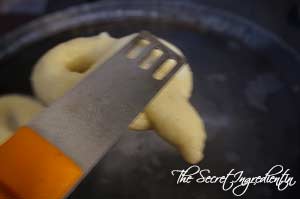
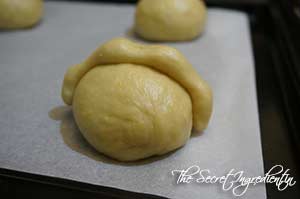
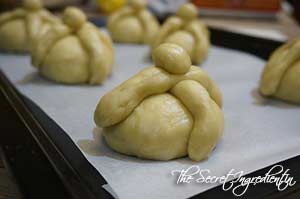
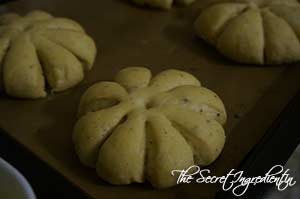
15. Grease a baking tray with butter and place these rolled dough in the tray. Each bun dough should be placed at some distance from each other.
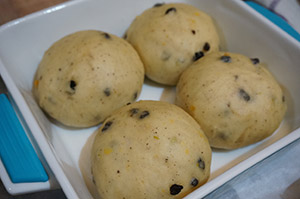
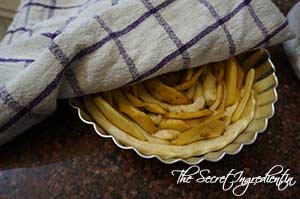
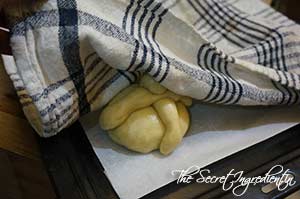
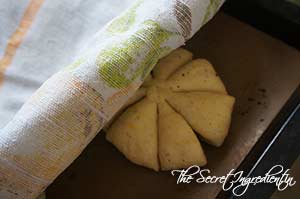
16. Cover them with a kitchen towel and let them rise till they have doubled up in size.
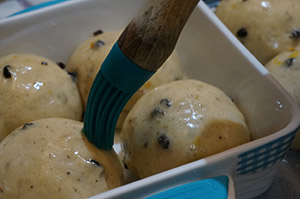
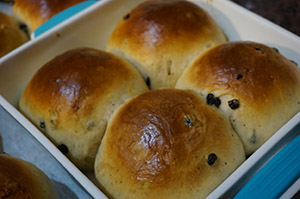
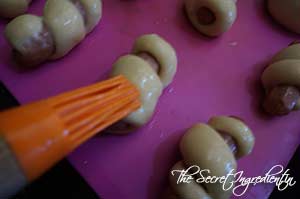
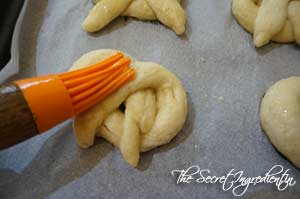
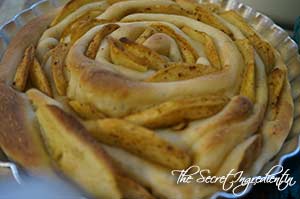
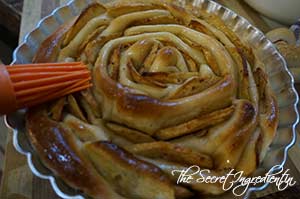
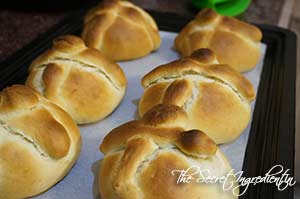
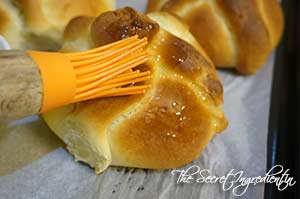
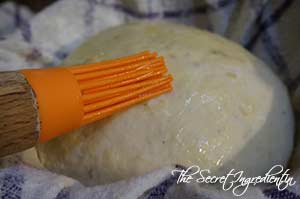
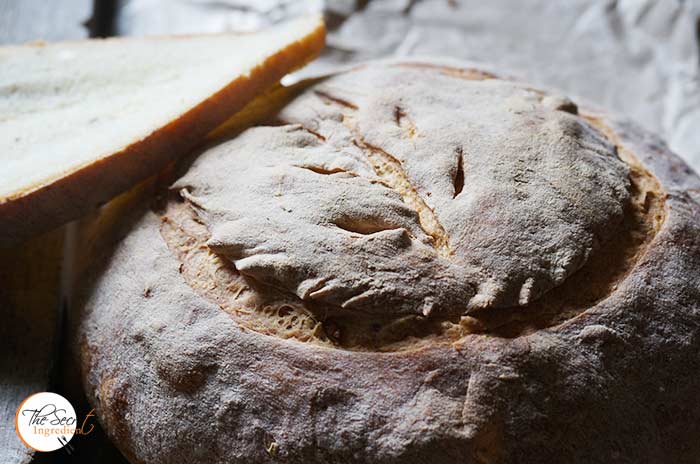
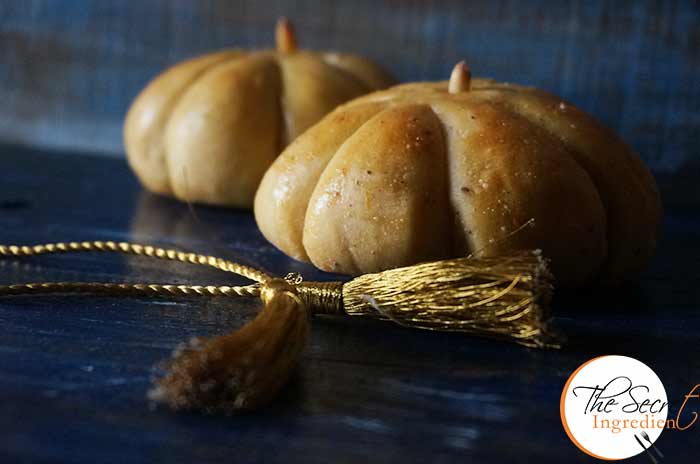
17. Give them an egg wash and preheat your oven to 180 degrees C for ten minutes. Once preheated place your buns in the oven for 20-25 minutes on 180 degree Celsius until the top is golden brown.
18. Place them on a wire rack to cool down. While they are cooling make royal icing. Learn to make Royal Icing here.
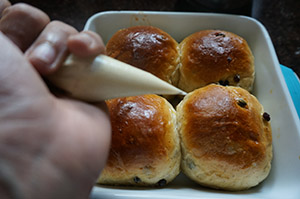
19. Pour this royal icing in a pipping bag and snip the end just enough for it come out. Pipe X on top of each bun and enjoy.
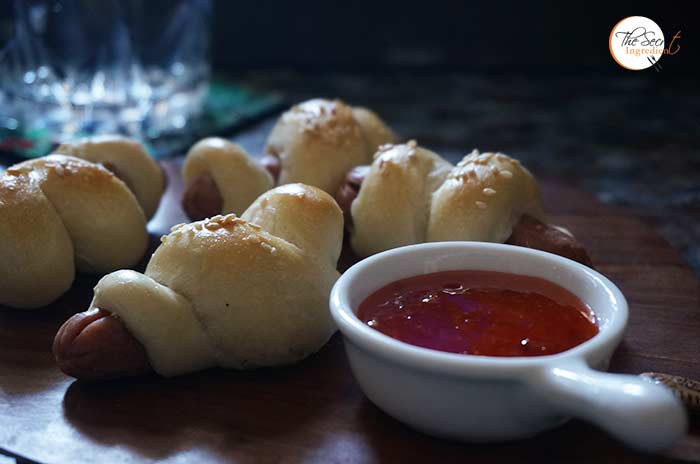
20. Enjoy these hot cross buns with a cup of coffee or tea. My kiddo gobbled two of these while they just got crossed. So tea or no tea you will love them as it is.
Happy Easter Friends!
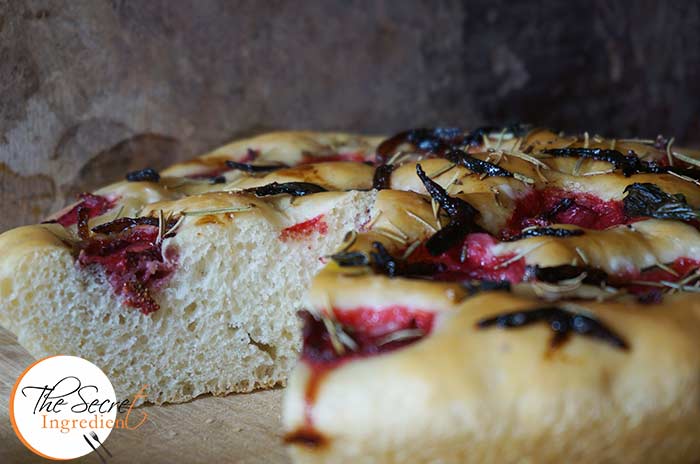
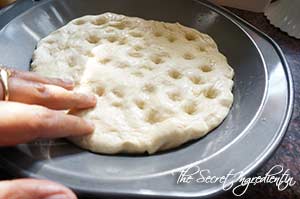
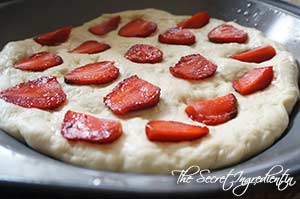
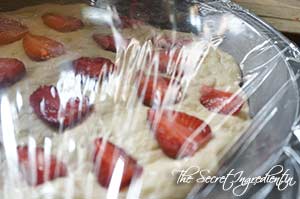
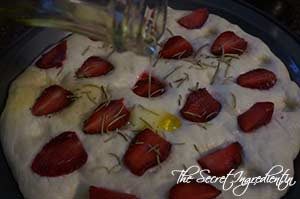
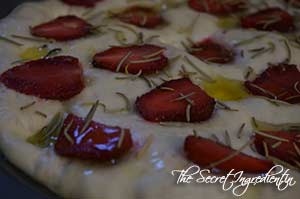
Other Bread Recipe you can try are: Italian Focaccia Bread with Strawberries , Rosemary Garlic Focaccia Bread, Garlic Cheesy Bread, Dominos Style Garlic Bread Sticks, Honey Oats Bread, Cinnamon Raisins Bread. Whole Wheat Sandwich Bread, Beetroot Bread. Georgian Kachapuri
- For the Buns:
- 2 and 1/4 tsp Instant Yeast
- 1 cup Lukewarm Milk
- 3 and 3/4 cup All Purpose Flour
- ½ cup Granulated Sugar
- 2 tsp Pumpkin Pie Spice
- 2/3 cup Currants or raisins
- 3 Tbsp Candied Orange Peel
- 1 tsp Salt
- 1 tsp Lemon Zest
- 1 Tsp Orange Zest
- ¼ cup Unsalted Butter, melted
- 2 Eggs
- Egg wash, one egg beaten with some milk or water.
- For the icing:
- 1 ½ cups of Powdered Sugar
- 1 Egg White
- Some Whole Milk, if needed
- In a large bowl add all purpose flour, pumpkin pie spice and salt.
- Also add to the bowl sugar and zest of orange and lemon. Mix well and set aside.
- In another bowl or jar take some lukewarm milk. It should not be hot just lukewarm. Add some sugar to the milk.
- Sprinkle yeast on top and give it a gentle stir. Let the mixture stand and wait for yeast to bloom.
- In another small bowl add melted butter and whisk in some eggs.
- Once the yeast has proofed or bloomed and has become frothy, add this to the dry ingredients along with egg and butter mixture.
- Mix them well till everything comes together into a sticky dough. Knead well for 6-8 minutes till the dough is smooth and supple.
- Add black currants and candied orange peel and mix well into the dough.
- Dust your counter with some flour and dump the dough on it and knead well will your dough has developed gluten and is elastic and pliable.
- You can slightly poke your finger in the dough to test if its kneaded well or not. If the dough bounces back its ready and if it doesn’t you need to knead a few more minutes.
- Grease a big bowl and place your dough in it to rise until it has doubled in size. This depends on the temperature of your kitchen. The warmer the kitchen the sooner the dough proofs.
- Once the dough has proofed. Again dust your counter with some flour and punch dough the dough to deflate it.
- Divide the dough into equal 16 parts with the help of a bench press or metal scraper.
- Roll each portion into a round ball with a smooth top.
- Grease a baking tray with butter and place these rolled dough in the tray. Each bun dough should be placed at some distance from each other.
- Cover them with a kitchen towel and let them rise till they have doubled up in size.
- Give them an egg wash and preheat your oven to 180 degrees C for ten minutes. Once preheated place your buns in the oven for 20-25 minutes on 180 degree Celsius until the top is golden brown.
- Place them on a wire rack to cool down. While they are cooling make royal icing.
- Pour this royal icing in a pipping bag and snip the end just enough for it come out. Pipe X on top of each bun and enjoy.
- Enjoy these hot cross buns with a cup of coffee or tea. My kiddo gobbled two of these while they just got crossed. So tea or no tea you will love them as it is.


 [whohit]SalamiHerbedPullapartBread[/whohit]
 [whohit]PiginBlanket[/whohit]


 [whohit]PanDeMuerto[/whohit]

 [whohit]BigaPotatoRosemary[/whohit]
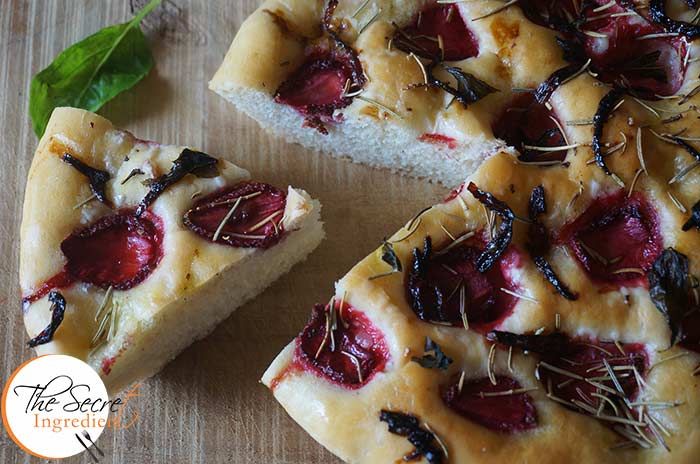


 [whohit]PumpkinBuns[/whohit]