
SecretIndianRecipe.com presents this Recipe Contest to Celebrate the Most Important Women in Your Life this Mother’s Day. Get a chance to win Rs. 5000. For more details logon to http://secretindianrecipe.com/contest .

SecretIndianRecipe.com presents this Recipe Contest to Celebrate the Most Important Women in Your Life this Mother’s Day. Get a chance to win Rs. 5000. For more details logon to http://secretindianrecipe.com/contest .
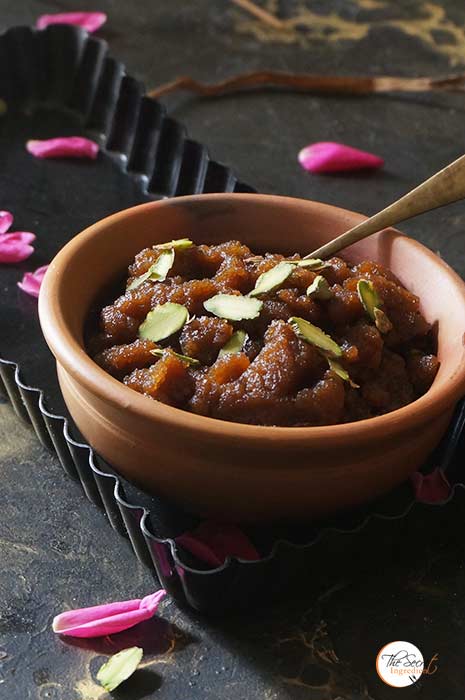
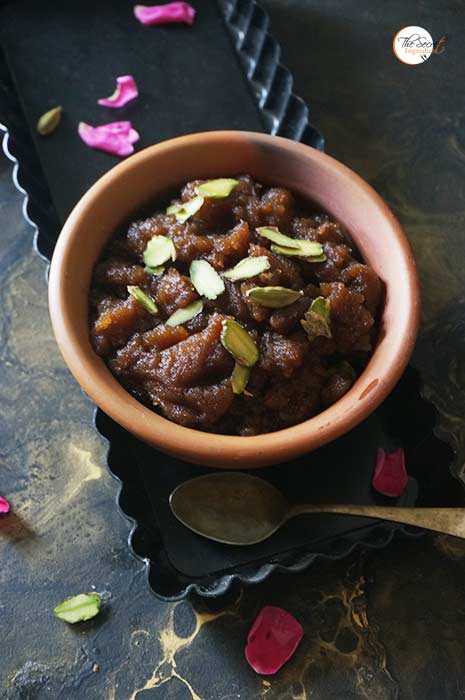
Attey Ka Halwa is a dense pudding made with whole wheat flour and clarified butter or ghee. And when this same halwa is made by Gurudwaras, Sikh Temple as an offering it becomes pious and is known as Kaddha Prasad or Babaji ka Prasad. Its offered to devotees at all Sikh Gurudwaras across the globe. It is deliciously sinful but also very easy to make. Its laden with ghee and has a lot of calories but once in a while its okay to indulge in it. Right? 😛 Like any halwa it requires the right proportion of ingredients and gets ready in no time. It is also known as degh, tribhavli for equal measures of sugar, flour and ghee.
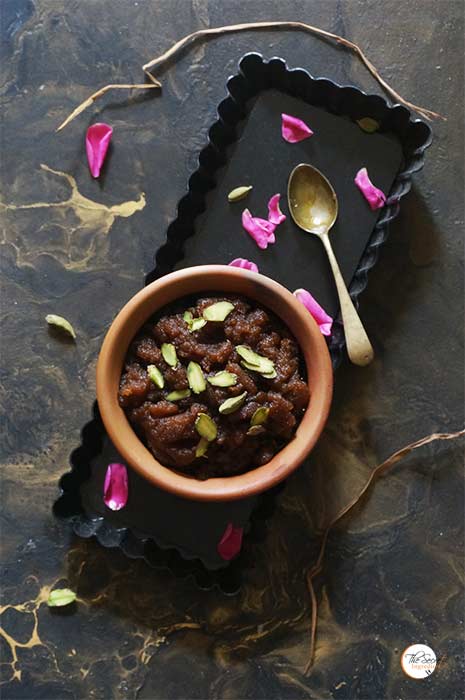
My mother has always made Sooji ka Halwa but I never had Attey ka Halwa at home except Gurudwaras. I got this authentic recipe from a friend, Sonu Mahajan whom I met on a food group on FB. We have never met in real life and talked once on phone but I feel I have some relation with her , may be prior birth :). Whenever I talk to her on web I feel she is my sister from another Mother. I thank Almighty for making us friends and for the bond we share. This post goes out to you Sonu! Love you Partner :*
Directions:
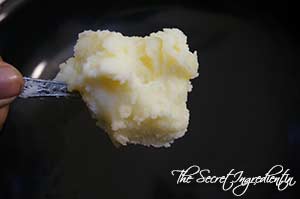
1. Add Ghee or Clarified butter in a wok or kadhai.
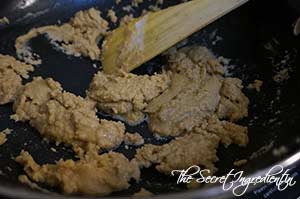
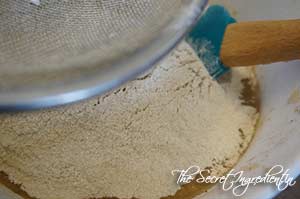
2. Add Whole Wheat Flour to the melted ghee.
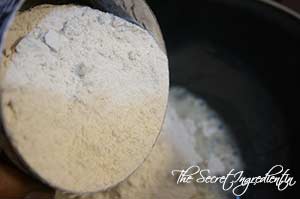
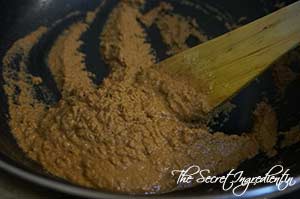
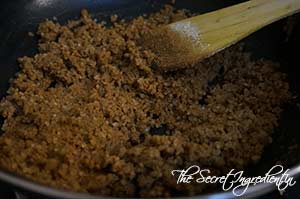
3. Keep tossing it on medium low flame till it turns dark brown in colour. You can moderate the temperature of flame from high to medium to low. But ensure to keep tossing continuously for it can burn. It should take good 15 minutes.
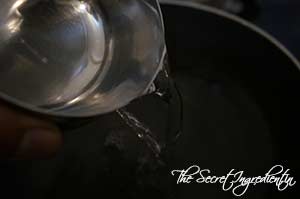
4. In the meanwhile heat water in a container and bring it to a boil.

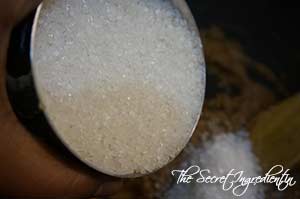
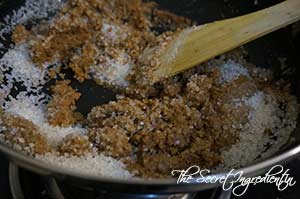
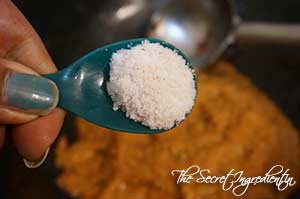
5. Once the flour has roasted and achieved the dark brown colour add sugar and combine.
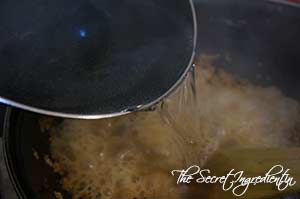
6. At this stage add water and turn the Flame OFF. No sim no low but OFF.
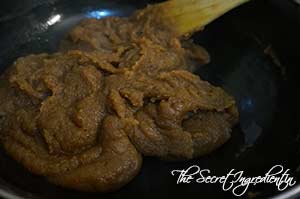
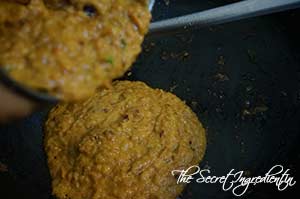
7. Now keep stirring it till the water and flour has become dense into a semi solid, gooey form. Ensure there are no lumps. The test of doneness is when the halwa has centred and leaves the sides.
8. Serve hot and enjoy.
You can even try the Langar wali Dal served at Sikh Gurudwaras.
Try other Halwa recipes of Sooji Halwa, Kaddu ka Halwa, Gajar ka Halwa, Swang ke Chawal ka Halwa, Seb Dalia Halwa.
[yumprint-recipe id=’116′]

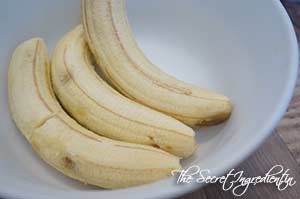
Every once in a while we have dying, over ripe bananas and do not know what to do with them. The easiest is to throw them away but that would not be wise thing to do. These overripe bananas get sweeter as they age and become more nutritious. I combined them with whole wheat flour and hand husked melon seeds. It made a divine, delicious bread.

I made them two weeks back when my in laws and parents visited us in the hills. Since they are vegetarians I had to make this bread without eggs. Inspite of no eggs the bread came out super moist because it had these delicious over ripe bananas.
Directions:
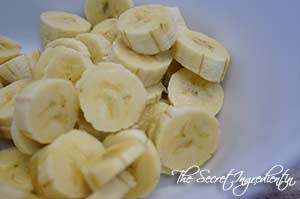
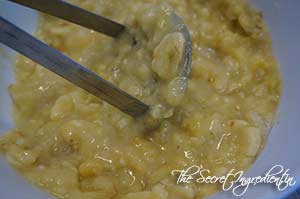
1. Peel bananas and cut them into slices.
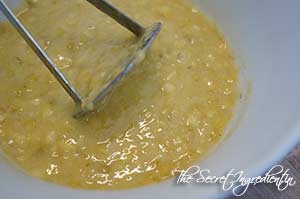
3. Add sugar and mash them using a potato masher or you can even use a fork.
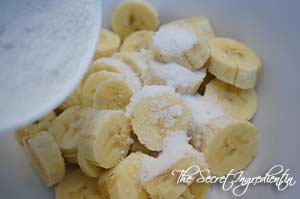
4. The bananas should be well mashed leaving no chunks of bananas. It should be of pourable consistency.
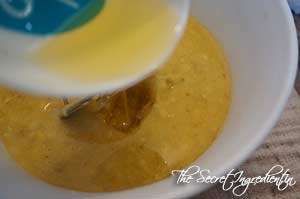
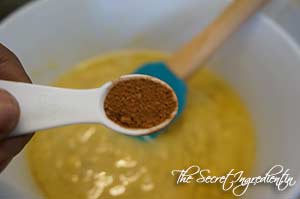
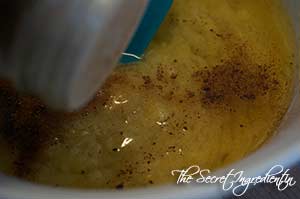
6. Add cinnamon powder and nutmeg powder for a little spiciness and aroma.
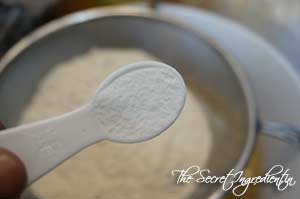
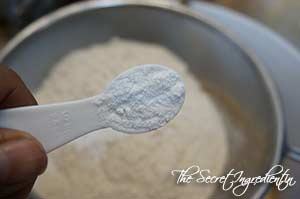
8. Add baking powder and baking soda and combine everything evenly.
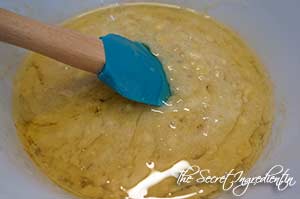
10. Add melon seeds and fold gently using a spatula.

11. Brush a bread pan with oil or butter and dust with some flour. Preheat the oven to 180 degree Celsius (Learn more about Oven Temperatures and Conversions).


12. Pour the batter into the pan and gently level from top.

13. Bake in the preheated oven for 30-40 minutes in medium rack until the toothpick inserted comes out clean.

14. Cool it completely before slicing it . Serve with your favourite cup of tea or coffee.
You can even try Apple Raisins Streusel Bread, Garlic Rosemary Focaccia Bread and Dominos Style Garlic Breadsticks,

[whohit]BananaBreadWithMelon[/whohit]
[yumprint-recipe id=’115′]
![]()
Its such a proud feeling for me when I say this is the best bread I have baked till date. Its so soft and moist, has a perfect crust and a tender crumb. The thing which makes it so amazing is the inside layering with Cinnamon Sugar and Raisins. While I was baking the fragrance of this bread took me back in Mexico’s LeCaroz Panaderia or Bakery. I cant stop talking about this bread. You have to try to believe me .
You know what!! I just went back in kitchen to grab myself a slice of this bread. I was literally salivating writing description of this moist cinnamony bread.
![]()
I baked this bread before in Mexico for the first time and at that time I was a new baker. Ever since then I have matured and improved my skills. Today looking at this bread has made me realise that my patience and hard work has paid off. Behind this success story are numerous unsuccessful trials but I thank them which made me learn more.
Directions:
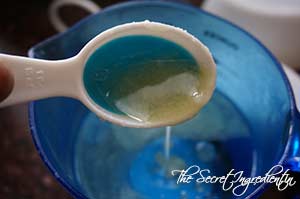
1. In a Small bowl or measuring jar take lukewarm water. It should not be very hot and neither cold. The test is you should be able to insert your finger comfortably without burning. Add melted vegetable shortening into it. See notes to know more about Vegetable Shortening.
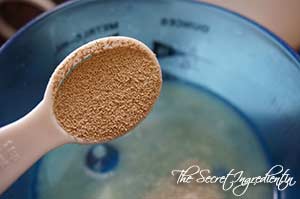
2. Add yeast. You can use either instant yeast or dry active yeast. Both will work just fine. I am using instant yeast for this bread.
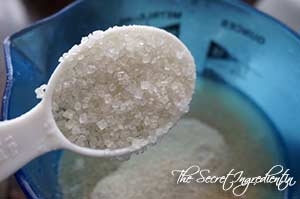
3. Add sugar to the lukewarm water. And let it rest for 5-8 minutes so that the yeast activates.
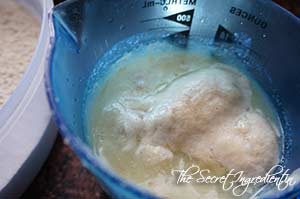
4. The water will turn milky and frothy. This is a sign of yeast activation. If it doesn’t turn milky and frothy you know there is something wrong with your yeast.
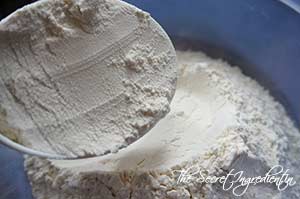
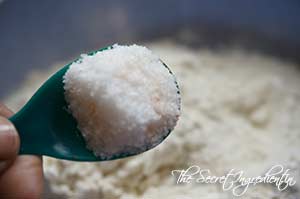
5. In a very large bowl add All purpose Flour.
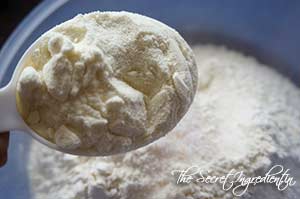
6. Add to it salt and Milk Powder.
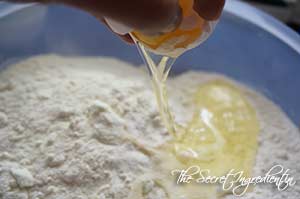
7. Break in an egg.
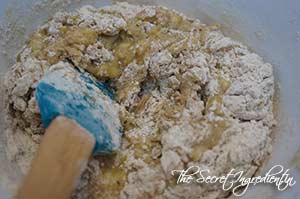
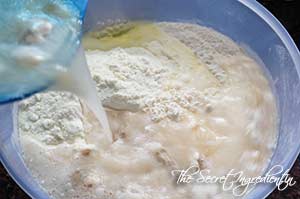
8. Add the yeasty water to the dry mixture little by little and knead using your hand.
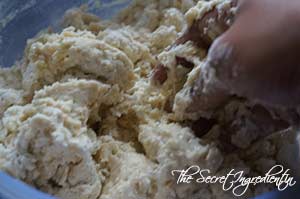
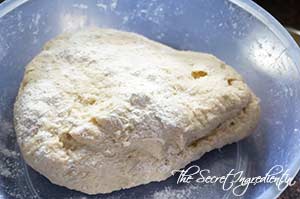
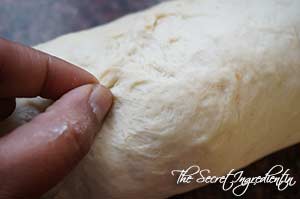
9. When the entire dough comes together take it on a slightly floured counter top and knead rigorously. I prefer to do it in the bowl itself. The dough should become soft and supple. You can sprinkle little dry flour to make it non sticky.
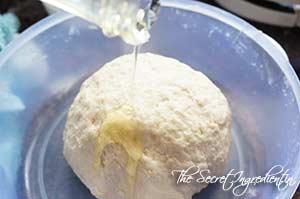
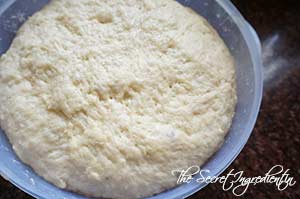
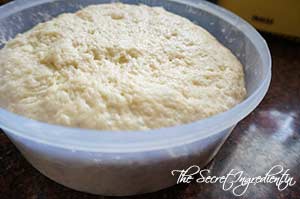
10. Form a dough ball and place it in a greased large bowl. Also sprinkle the dough with some oil so that it doesn’t turn dry from top. Cover with a cling wrap or lint free kitchen towel or even a lid.

11, Keep it in a warm dry place for atleast an hour and a half or even two. The proofing depends on the temperature of the place. It proofed soo well for me.
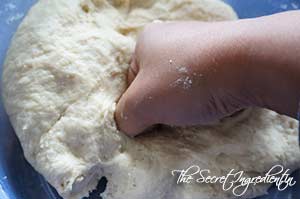
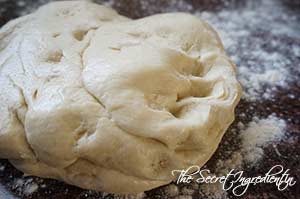
12. Punch it down using your fists and knead again for another five minutes before we roll it into a bread. Bring it on a slightly floured counter.

13. Grease a 9×10 bread load with some butter or oil and set aside.
![]()
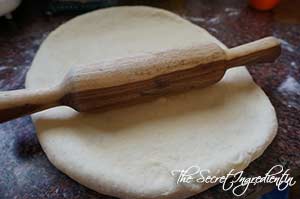
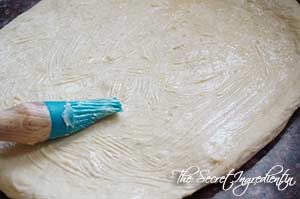
14. Using a roller pin roll it into a rectangle which should be 10 inches wide and 20 inches in length .
15. Smear the surface with butter.
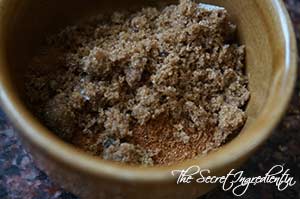
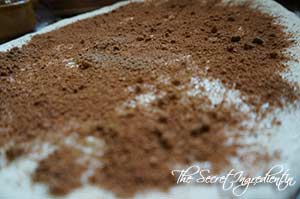
16. Make a mix of Cinnamon Powder and Sugar. You can use any sugar powder, I used raw brown sugar. Sprinkle it over the butter.
17. Also spread out raisins.
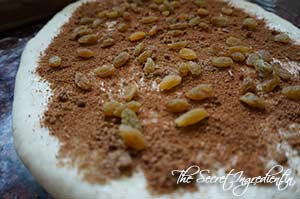
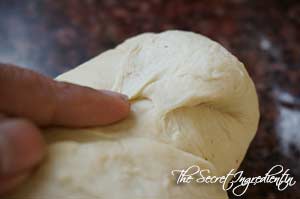
18. Now start rolling it from one end. Preferably the shortest in the far end. Make sure you roll them as tightly as possible.
19. After it has rolled, pinch the seam to lock it.
20. Fold the sides in and pinch again to seal it.
21. Place it in the greased bread pan, seam side down.
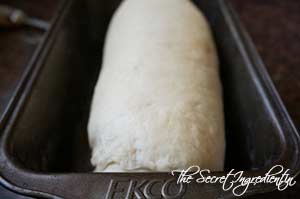
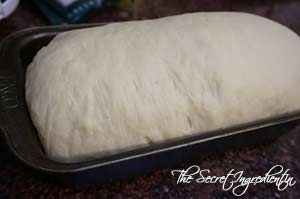
22. Cover with a lint free kitchen towel and let it proof for the second time. This should take another hour or so. Keep it in a dry warm place.

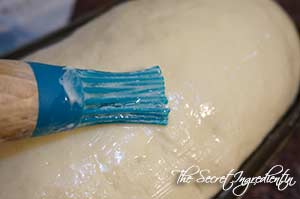
23. After it has risen, brush it with egg wash. Be gentle do not deflate the bread. Preheat the oven for 10 minutes on 180 degree Celsius (Learn more about Oven temperatures and Conversions).
T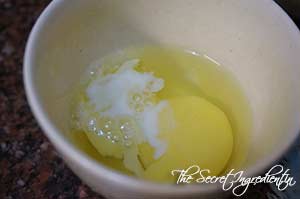
24. Place it in the preheated oven and bake for 40 minutes. Changing sides in half time. If the top of the bread starts getting too dark too quickly cover it with Aluminium Foil.
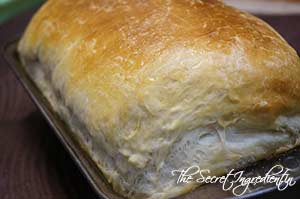
25. Let the bread cool down completely before slicing it, otherwise the bread with crumble. Serve with your favourite cup of coffee.
Other bread recipes you can try are: Italian Focaccia Bread with Strawberries , Rosemary Garlic Focaccia Bread, Garlic Cheesy Bread, Dominos Style Garlic Bread Sticks, Honey Oats Bread, Cinnamon Raisins Bread. Whole Wheat Sandwich Bread, Beetroot Bread.
![]()
Sending this to YeastSpotting
[yumprint-recipe id=’114′]
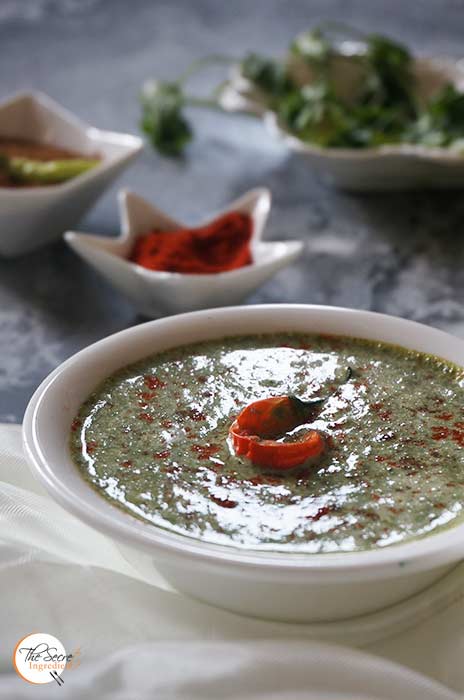
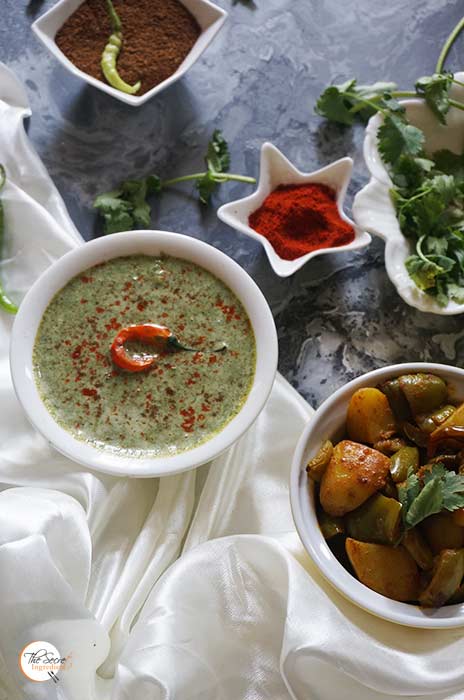
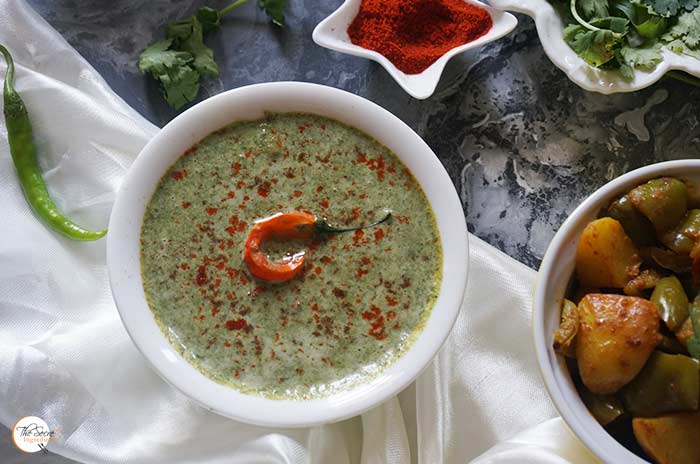
The best part about winters and spring is that you get a lot of green leafy vegetables. They are not only nutritious but also very tasty. I love to indulge in Sarson ka Saag, Palak Paneer, Methi Aloo, Methi Matar Malai every other day. But my favourite is the delicious Bathua Ka Raita. It is a yogurt dip made with a kind of seasonal weed plant known as Bathua or Bathuwa. Its english name is Chenopodium Album. It may be a weed but it is extensively grown as a crop in Northern India.
I had no clue that it was a weed until I moved to Almora. My maid came with a bag of leaves and she said would you mind if I take these home? I asked her what it was and she told me its bathua which she plucked from the wasteland above the house on the hills. I told her to take it on a condition, if she could also fetch for me 🙂
With abundance of bathua around me I can enjoy this raita more than ever before. My husband always avoids yogurt complaining its cold in here. So the other day I decided to make this for myself. To my surprise the bowl was half empty when I decided to pour for myself. He kittenishly said “why you did not tell me before it was going to be so tasty”. He finished half of it and was asking for more.
Directions:
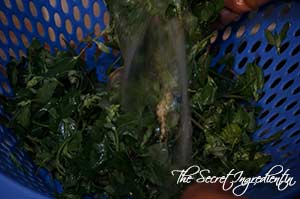
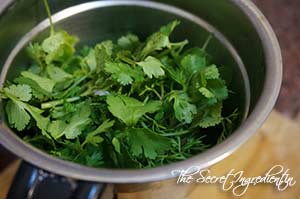
1. Separate Bathua leaves from its stem. Also separate the coriander leaves from its stem. Wash both the leaves separately and keep aside.

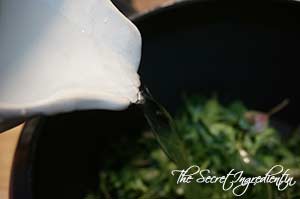
2. In a pressure pan put washed bathua leaves and 1/4 cup of water.
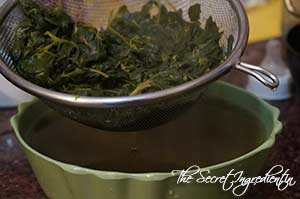
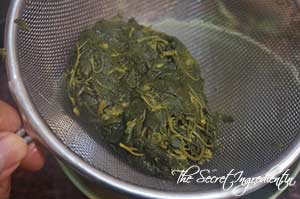
3. Also add salt and put the lid on. Cook for one whistle or 2 minutes after the pressure has reached its peak and switch off the flame. Let it cook in the steam. After the steam has released open the lid. Drain the water using a colander or wire mesh. You can use this nutritious water to knead dough for rotis.
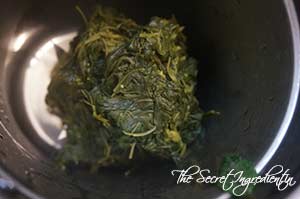
4. Squeeze out extra water using your hands.
5. Place the squeezed bathua in a blender.
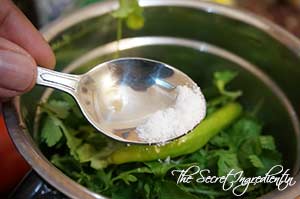
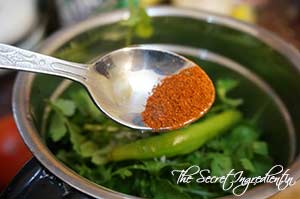
6. Add to it washed coriander leaves, green chilies. red chili powder and salt.
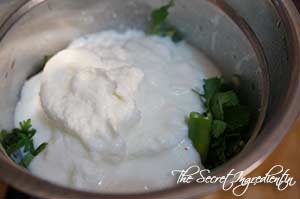
7. Add on top curd.
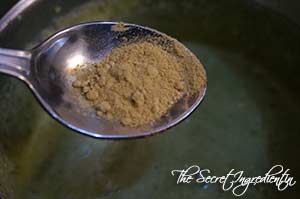
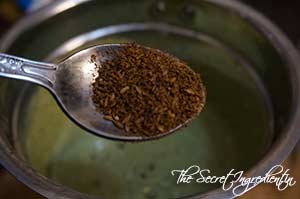
8. Also add ground ginger powder or sonth and roasted ground cumin powder. Pulse this together for two seconds or until the green colour appears.
9. Transfer it to a serving bowl. Sprinkle more roasted ground cumin powder and red chili powder. Serve as a side dish with anything you please.
Other Raita or yogurt based dishes you can try are : Purslane Yogurt Dip, Aloo Anaar ka Raita, Baigan ka Raita.
[whohit]BathuaKaRaita[/whohit]
[yumprint-recipe id=’112′]
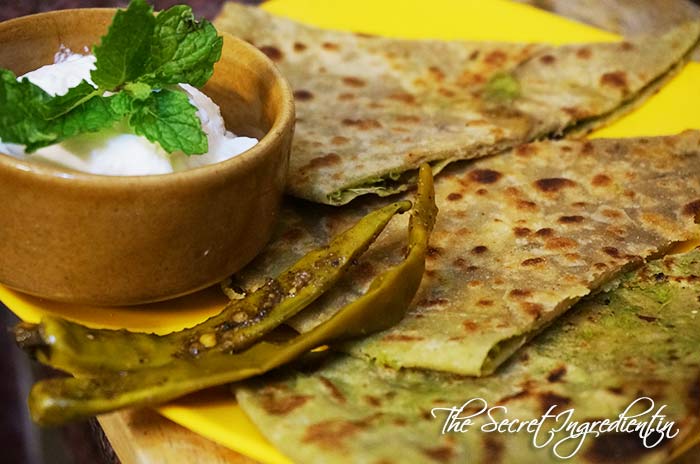
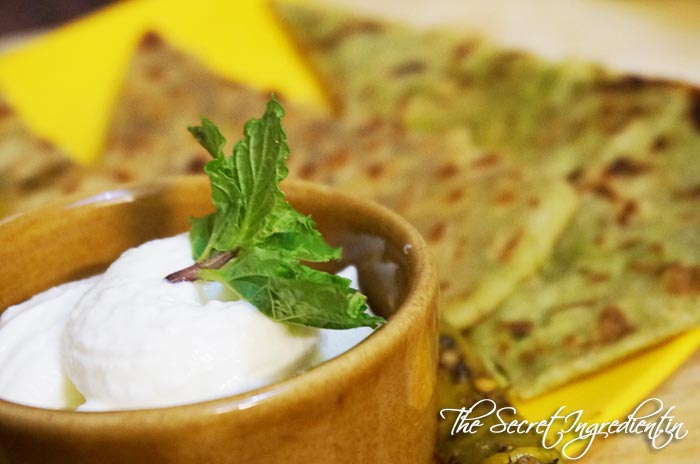
Indian Flatbreads or Paranthas are famous all over the globe for the variety of stuffing. They can be vegetarian as well as non vegetarian. Basically there is no end to them, you just have to be creative with it.
My husband and kiddo are not very fond of Peas or matar. They eat it when only when pressurized or when I have to raise my eyebrow 😛 So making them eat this parantha was a challenge. I borrowed this recipe from an adorable friend whom I met in Mexico, Garima Kedia Harlalka. From the moment she shared this recipe I knew I had to make this. But unfortunately it took me soo much time as I was bust relocating to India,
I tried it and it came out soo well that both my fussy boys relished it to the core. Thank you soo much Garima this is for you.
Directions:
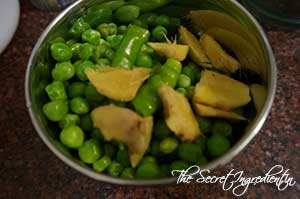
1. Take peas, I am using frozen, but you can use fresh if you like.
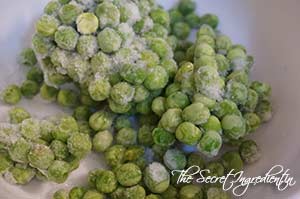
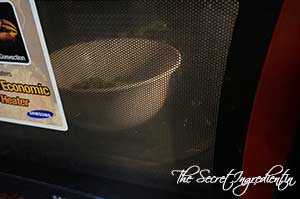
2. Defrost them in the Microwave for about 3-4 minutes. Time can vary on the power of your microwave. You can even put them in hot water to defrost without microwave. Later you can drain them.

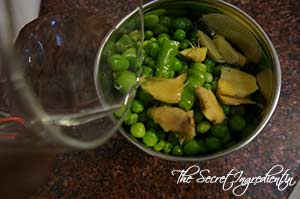
3. Add the defrosted peas with ginger and green chilies in a grinder.
4. Add a few spoons of water to make a paste of it.
T
5. In a wok or pan add oil.

6. Add cumin seeds and let them sputter.
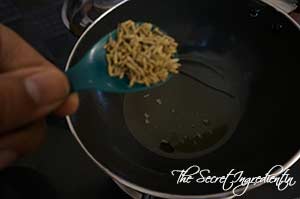
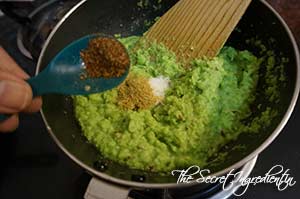
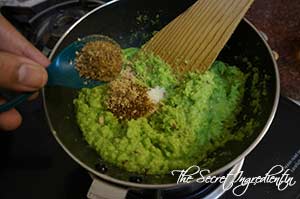
7. Add the paste, salt, Dry Coriander powder & Amchur.
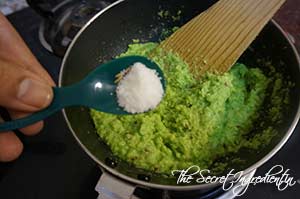
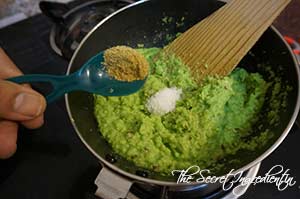
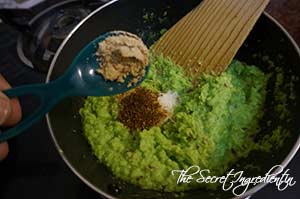
8. Also add roasted cumin powder and garam masala.
9. Combine everything and cook on medium low flame till all the moisture is absorbed and it becomes dry.
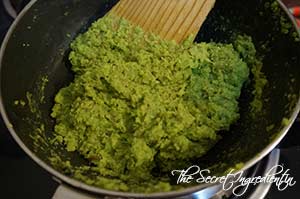
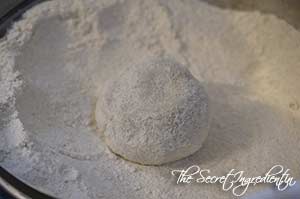
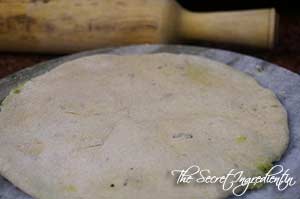
10. Take the dough and roll it into a small circle. Add two spoons full of peas mixture and place it in the center.
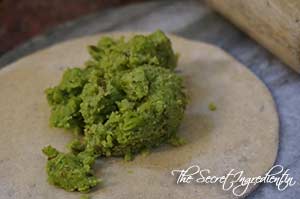
11. Close it from all ends to make it look like a money bag.
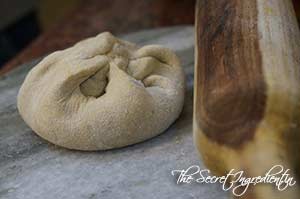
12. Roll it carefully in a circle using a roller pin and dry flour. Ensure you don’t put a lot of pressure while rolling as the stuffing can ooze out.
13. Add ghee on an iron tawa or pan and put it on heat.
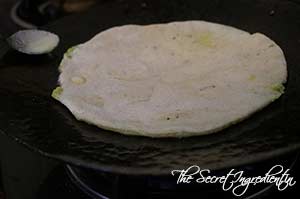
14. Cook on both sides flipping after every few minutes until its crisp and golden brown on both sides. Serve hot with a bowl of fresh natural curd and stuffed chili pickle.
You can try other recipes with peas like Methi Matar Malai.
[whohit]MatarParantha[/whohit]
[yumprint-recipe id=’109′]
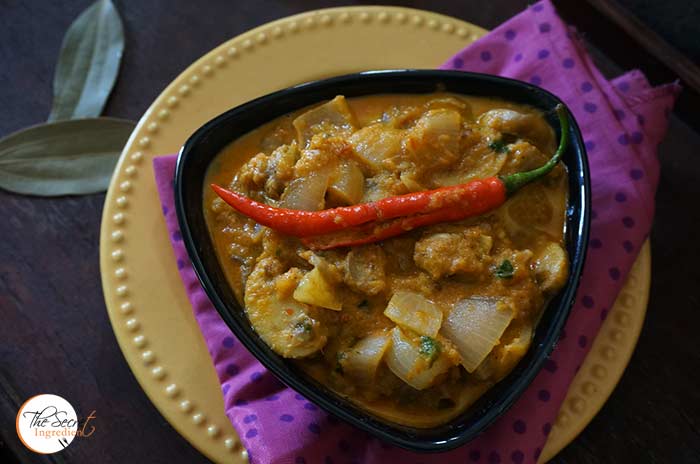
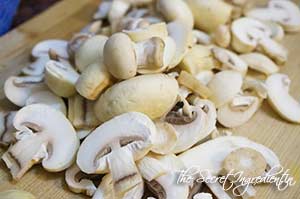
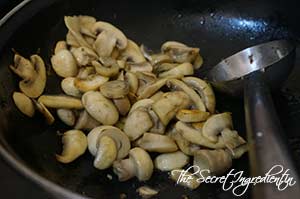
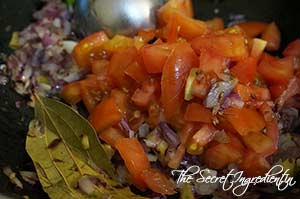
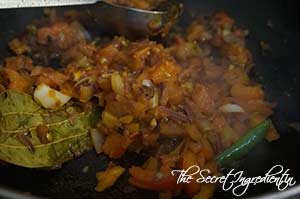
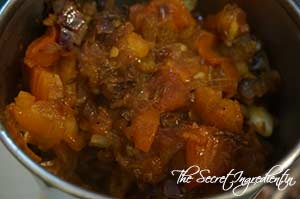
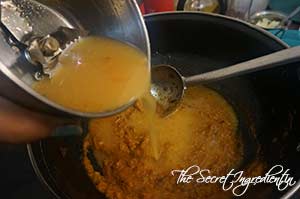
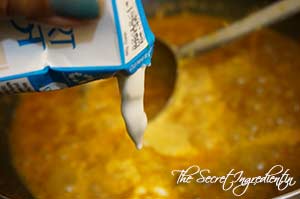
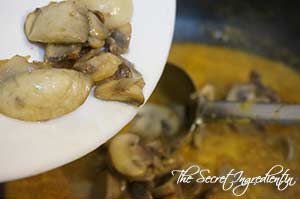
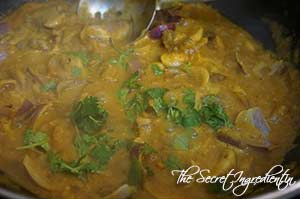
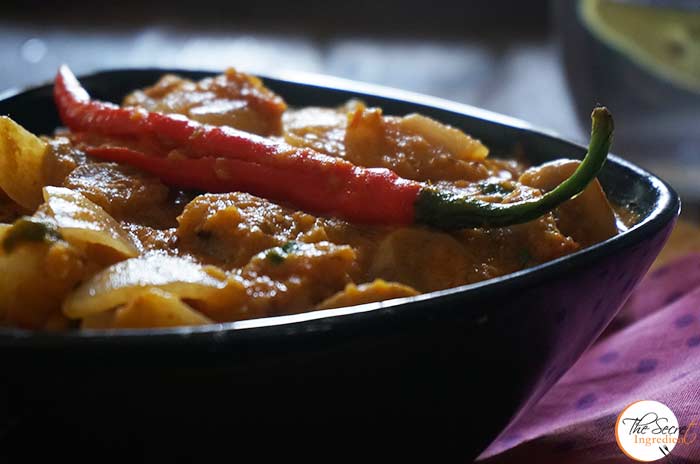
Mushroom or Khumb Do Pyaaza is a popular Indian Dish which uses Onions twice, hence the name. It has flavourful mushrooms cooked in aromatic spices in thick gravy. It tastes incredible with Roti or Lacha Parantha.
I am as it is a die hard fan of mushrooms. for me all mushroom dishes are special, be it Mushroom Lasagna, Cream of Mushroom Soup, Mushroom and Green Onions Pasta, Italian Frittata with Mushrooms and Spinach or Indo Chinese style Chili Mushrooms (I know that’s a lot of mushrooms :P)
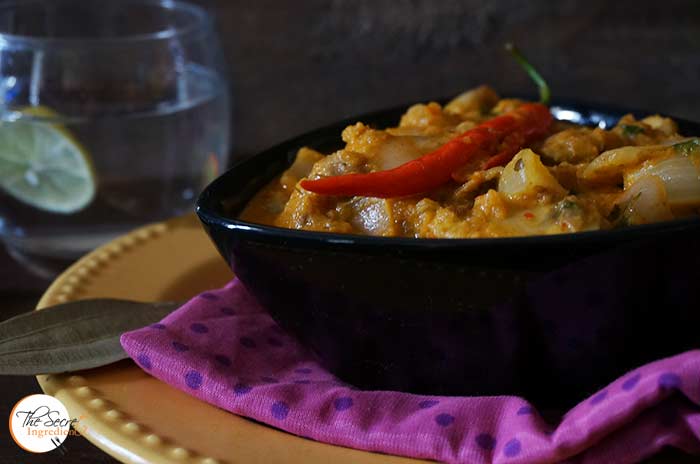
Coming back to the topic of Mushroom Do Pyaaza. I always had this dish in a fancy restaurant, where you cant have enough. So I decided to do this at home . I followed Ambikaji’s recipe. She is a fellow blogger like me and cooks very delicious food. I made a few minor tweak to her original recipe and it was a delight.
Directions:


Durga Ashtami or the Eight day of the holy week, Navratras, where most Hindus fast in respect to the deity Durga. Its a Nine Day festival. During these nine nights and ten days, nine forms of Shakti or Goddesses are worshiped. This festival comes twice in a year, at the beginning of Spring and then at the beginning of Autumn. These two periods are taken as sacred opportunities for the worship of the Divine Mother Durga.
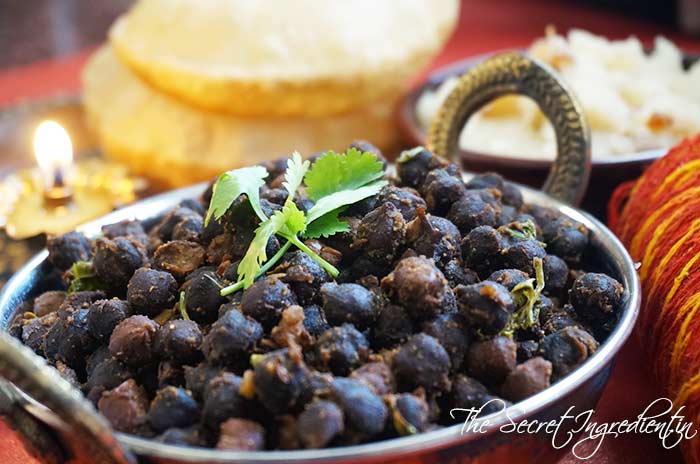
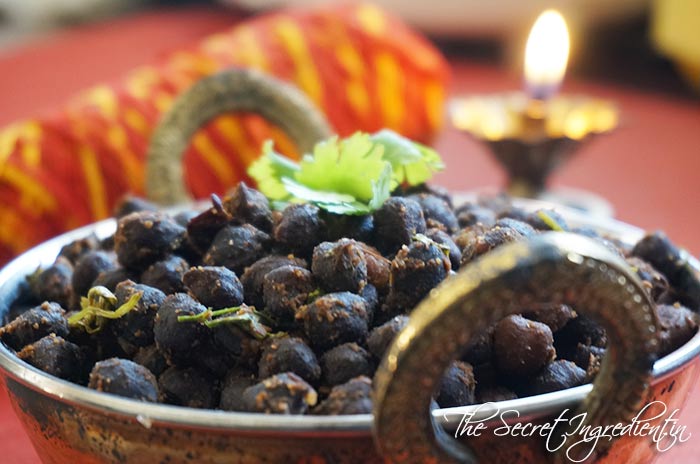
As part of the festival Hindus keep fasts where certain type of food is abstained while fruits and few vegetables along with milk products can be consumed. On the eighth day the fast is formally ended followed by a ritualistic ceremony. A special food is cooked which is offered to the God and then shared amongst devotees as Prasad. The food consists of Halwa, a dessert made from Sugar and Semolina, Dry spicy Black Bengal Gram, which are from the family of chickpeas and Puris, they are small, inflated, round shaped bread which is made from unleavened wheat flour deep dried in oil. This is a divine meal in the true sense.
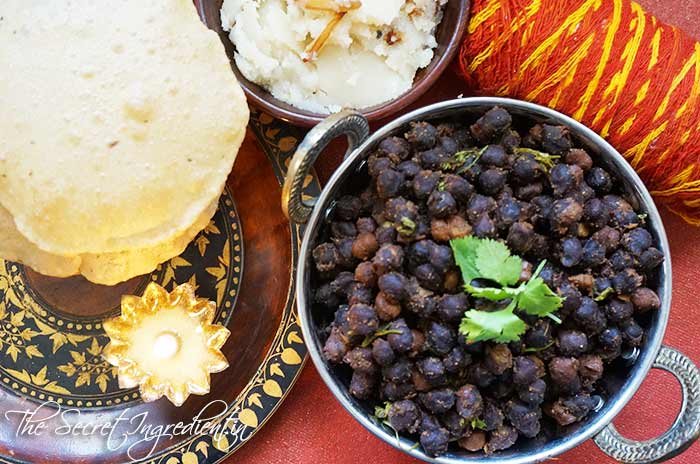
The festival is very popular with small girls as they are considered as little deities known as kanjak. The little kanjaks are invited by the neighbourhood in their houses , worshipped and offered halwa, puri, channey and small gifts. I remember going to several houses and eating delicious food and counting my gifts at the end of the day 🙂 What beautiful memories!
I have been fasting for Navratras ever since I was a 9 year old girl. Now I invite small kanjaks to my house and follow the the ritual. I made these delicious halwa puri and channe . I previously shared recipe of Sooji ka Halwa on my blog. On popular request I am sharing my mother’s recipe of Sookhey Kale Channey.
Directions:
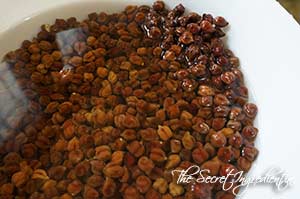
1. Soak Kale Channey or Black Bengal Gram in water overnight for at least 6-8 hours. Put good amount of water for soaking. They will swell after soaking.
2. Put them in the pressure pan for boiling along with water. Add more water.
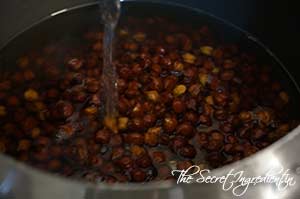
3. Add salt and close the lid. Cook on high flame till the pressure builds up and you get the first whistle or hissing sound.Turn the flame on low and further cook for 45 -50 minutes or till the channey are soft and cooked.
4. Drain the water. Do not throw it away. You can use it as a broth for soups or making lentils.
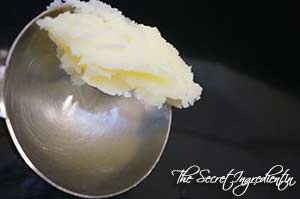
5. In a wok or large kadhai add Clarified butter or ghee. Let it melt.

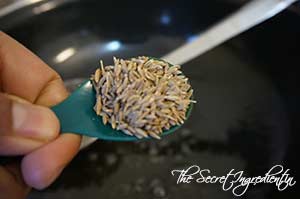
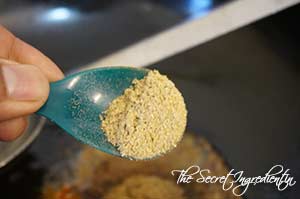
5. Add cumin seeds and let them crack. It will take less than a minute.
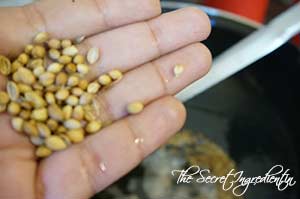
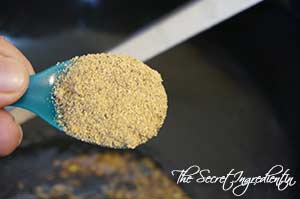
6. Add coarsely crushed coriander seeds.
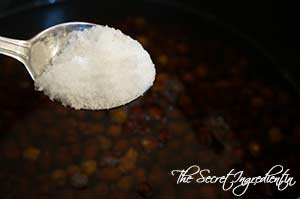
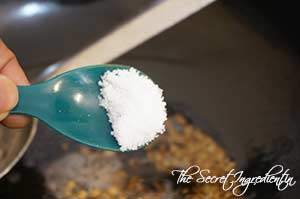
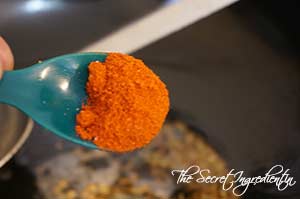
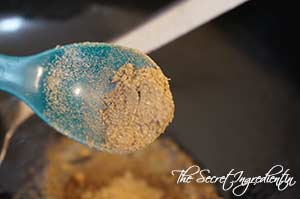
7. Now turn the flame on low and add salt, red chili powder and amchur.
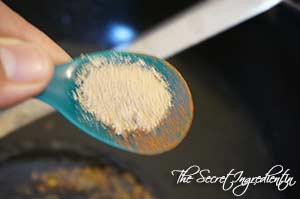
8. Also add dry channa masala, Garam Masala and coriander powder.
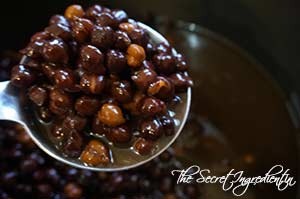
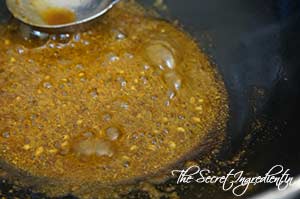
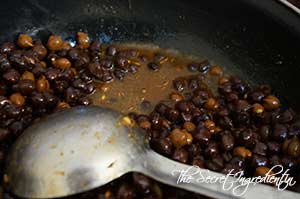
9. The masalas will get fried in the ghee and start bubbling. At this stage add the boiled channas. I added a little water reserved from boiling them.
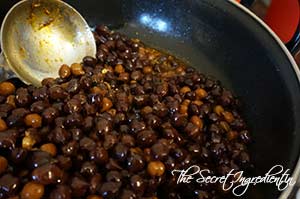
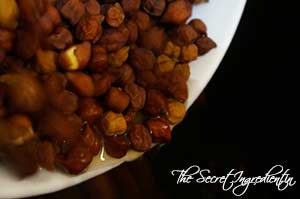
10. Keep tossing it on high flame till the water evaporates and the channas are coated with spices. It will take 10-15 minutes depending on the quantity.
11. When the channas are ready to dry add additional channa masala and salt if you feel its less.
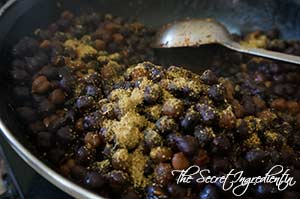
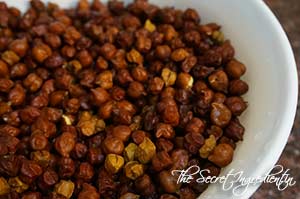
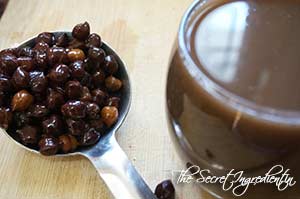
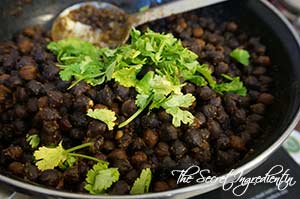
12. After little patience this is how your channas will start looking, beautifully smeared in dry spices..
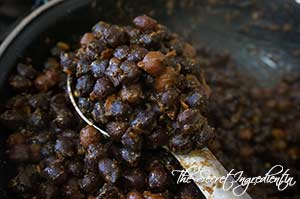
13. Garnish with fresh coriander leaves.
14. Serve hot with Puris and Sooji ka Halwa.
You can make Dry Punjabi Cholley Masala at home and try our Punjabi Style Pindi Cholley.
 [whohit]KaleCholleyDry[/whohit]
[yumprint-recipe id=’111′]
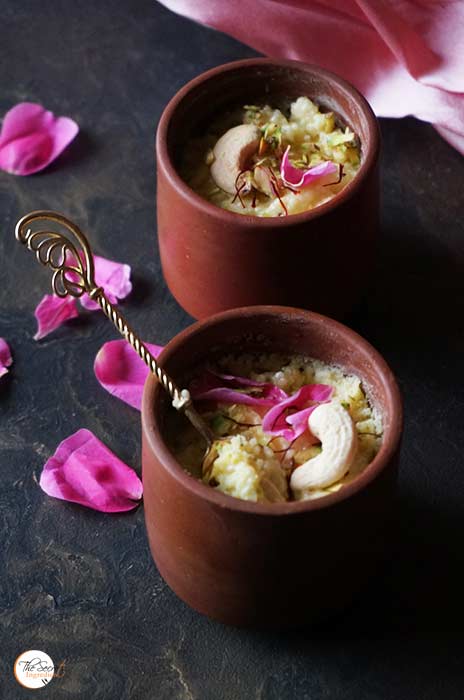
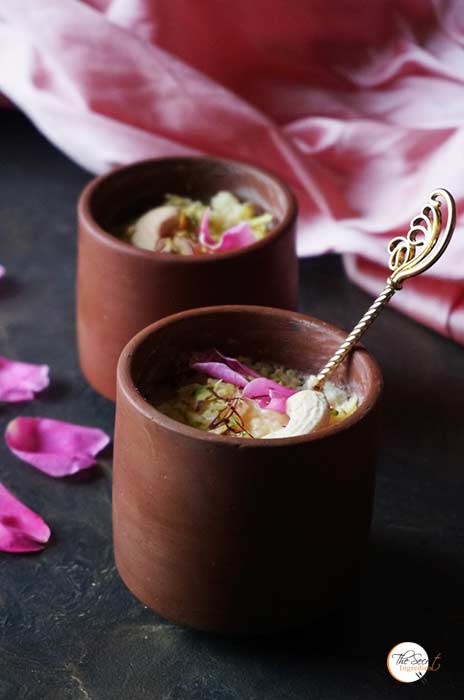
My fasts are on and I barely want to cook specially for myself. I guess the joy of cooking comes when you have a company. My husband knows my habit and he often volunteers to eat whatever I cook for myself during Navratras. So I have a company and I wanted to make this phirni with Swang Ke Chawal. Barnyard Millet Saffron Milk Pudding will be a more better of knowing this.
Swang ke chawal is not rice but belongs to millet family. It is know by various names like, Samvat, Sama, Vari, Varai, Samwa, Jhangora, Samo, Morio, Mario, Moraiaya, Bhagar & Kuthirai Vaali. This cereal is gluten free and is usually cultivated on marginal lands where rice doesn’t grow. Making this phirni is super simple all you need is little patience . I have experimented so much with barnyard millet that I call myself a pro 😉 . I have made with this Swang ke chawal ki khichdi and Swang ke chawal ka halwa .
Directions:
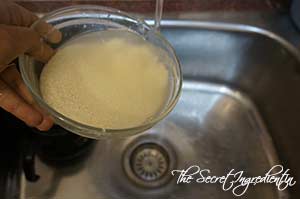
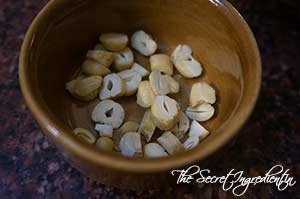
1. Soak the millets in water for at least an hour or so.
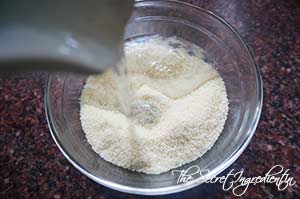
2. Drain the water and wash the millets till you get clear water.
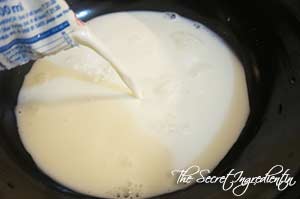
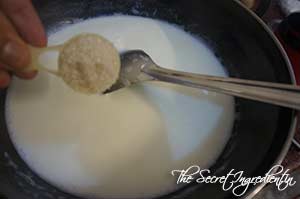
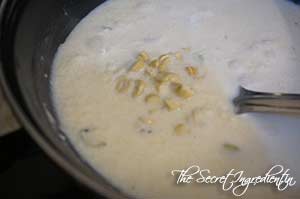
3. Add Milk in the wok or Heavy bottom Pan. Bring it to a boil and keep simmering it on low till reduced to half. Keep stirring in between.
4. Once the milk is reduced to half add the soaked Millets into the milk.
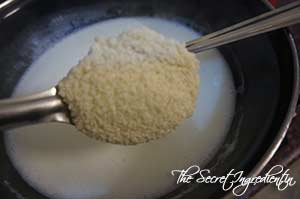
5. Add Sugar and combine.
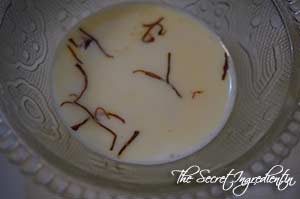
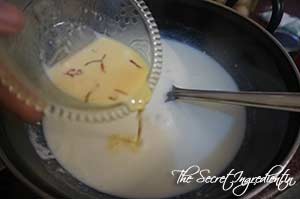
6. Heat little milk and saffron strands in it and let it rest for some time.
7. Mix this saffron milk to the millets in the pan.
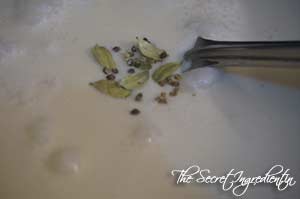
8. Add crushed cardamom to the milk.
10. Chop some Cahews or any nuts of your choice and add to the simmering milk.
11. Keep simmering till the milk reaches thick consistency. It should take 3-4 minutes,
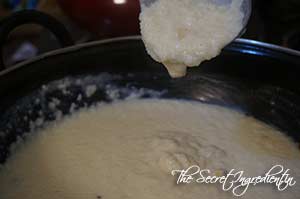
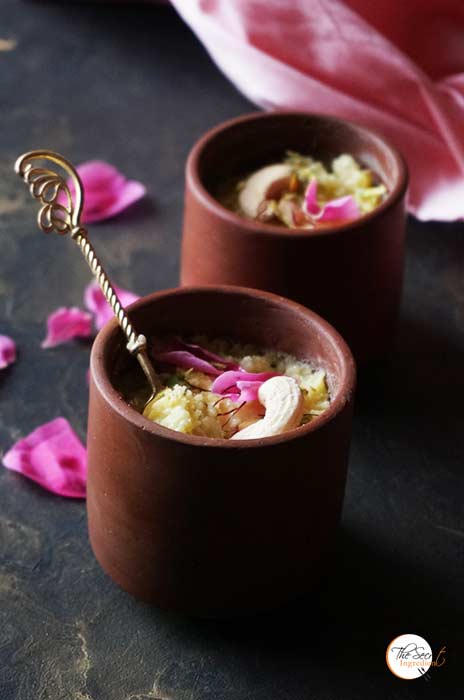
12. After the phirni has cooled down a bit, transfer to serving bowls and refrigerate for 2-3 hours before serving. I like to garnish it with some fresh rose petals, saffron strands, crushed pistachio and love.
Other recipes for fasting you can try are: Healthy Kachalu Aloo Chat, Tangy Mint Potatoes, Khajoor Til Ke Laddoo, Vrat Wale Dahi-Paneer Kebabs, Swang Ke Chawal Ka Halwa, Swang Ke Chawal Ki Phirni, Tapioca Coconut Milk Pudding with Strawberry Preserve, Paneer Ki Kheer, Sabudana Kheer, Kaddu Ka Halwa, Sabudana Khichdi .
[yumprint-recipe id=’110′]
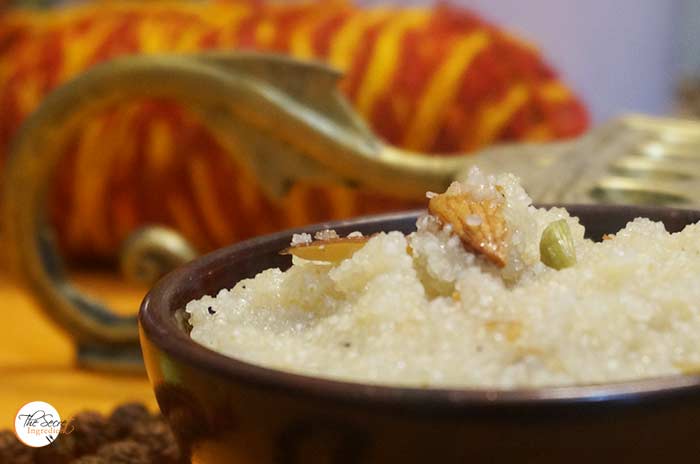
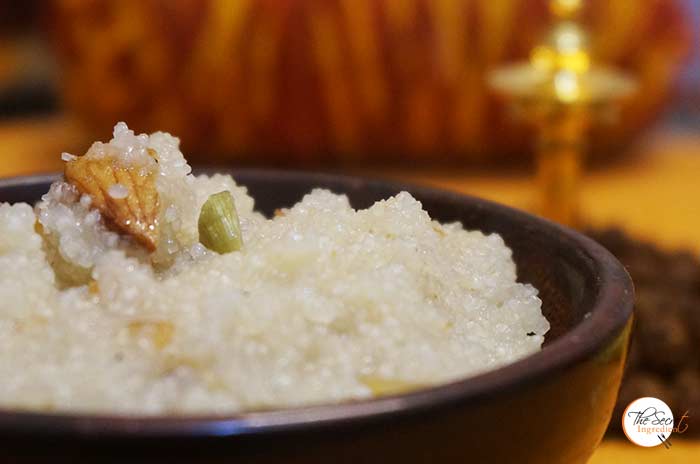
Barnyard Millets or Swang Ke Chawal are mostly used during the fasting period when cereals and other grains are abstained. Swang ke chawal is not rice but belongs to millet family. It is know by various names like, Samvat, Sama, Vari, Varai, Samwa, Jhangora, Samo, Morio, Mario, Moraiaya, Bhagar & Kuthirai Vaali. This cereal is gluten free and is usually cultivated on marginal lands where rice doesn’t grow.
I shared my mother’s recipe of Swang Ke Chawal ki Khichdi sometime back, which was well appreciated by all my readers. So I decided to share Halwa recipe with Swang ke Chawal. It is very easy to make, simply proportions have to be correct just like the Sooji Halwa. The texture of this halwa is a little grainy but that is the beauty of it 🙂
Directions:
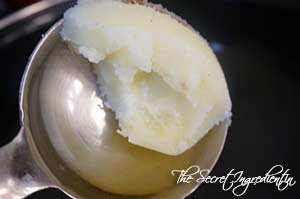
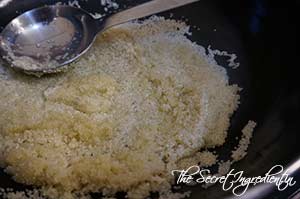
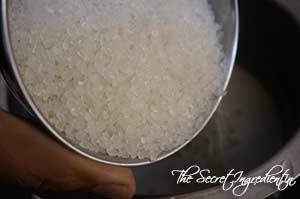
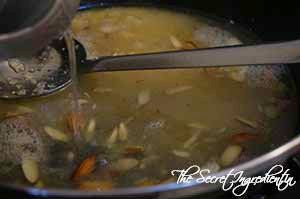
1.In a wok add ghee also known as clarified butter and add Swang ke Chawal. Keep roasting Swang ke Chawal in ghee by continuously stirring it till it turns slight golden brown. Keep an eye and do not let the Swang ke Chawal burn.
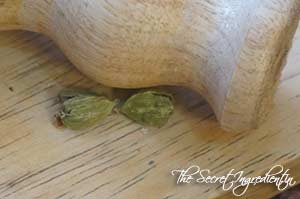
2. In a separate vessel take water which should be four times the sugar. Add two opened pods of cardamoms and sugar. Give it two to three boils till the sugar is dissolved in water. We do not intend to make a thick sugary syrup, just some sugar dissolved water. Keep it aside.

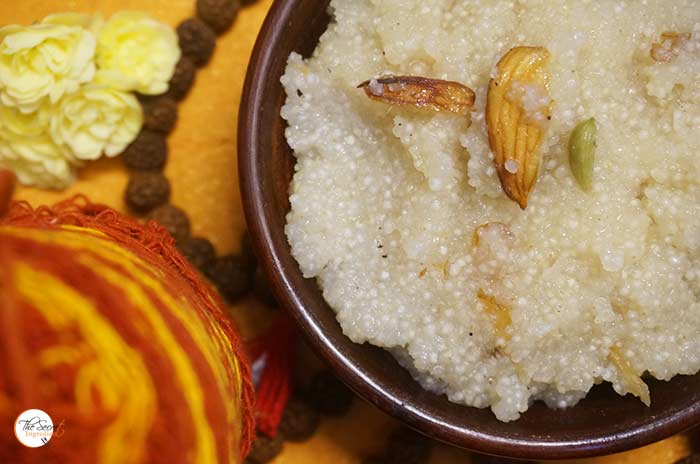
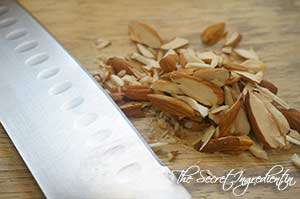
3. In the meanwhile chop almonds and cashews. If you wish to use any other dry fruits you can always go ahead.
4. Add the dry fruits to the Wok to get roasted all with swang ke chawal. If you like you can roast it separately and then add to the wok.
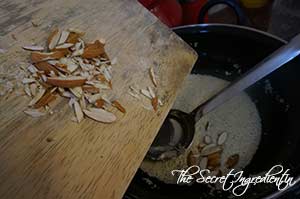
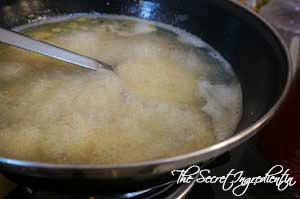
5. Now as your swang ke chawal are roasted add the light sugar syrup. Continue to stir so that no lumps are formed. Do not worry if you see the mixture has turned watery.
6. Keep stirring on high flame till it becomes dense and swang ke chawal has absorbed entire syrup. Keep stirring till you see halwa has left the sides and centered itself.
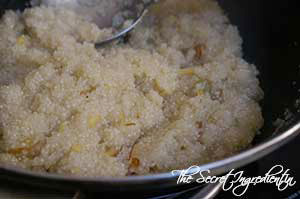
Serve hot.
You can try our other halwas like Sooji Ka Halwa, Kaddu Ka Halwa, Gajar Ka Halwa, Seb Daliye ka Halwa.
Other recipes for fasting you can try are: Healthy Kachalu Aloo Chat, Tangy Mint Potatoes, Khajoor Til Ke Laddoo, Vrat Wale Dahi-Paneer Kebabs, Swang Ke Chawal Ki Phirni, Tapioca Coconut Milk Pudding with Strawberry Preserve, Paneer Ki Kheer, Sabudana Kheer, Kaddu Ka Halwa, Sabudana Khichdi .
[whohit]SwangKChawalHalwa[/whohit]
[yumprint-recipe id=’108′]