Author

anshu

Browsing


Yesterday Morning I woke up to a call from a friend who also is a client. I had 5 of her missed calls. It turns out she wanted to order a cake which needs to be ready in 3-4 hours. As you all know I dont do cakes on a regular basis and I live in a place where ingredients aren’t readily available. So i was in a dilemma but then I took this challenge. She left me to decide whatever I wanted to make. 
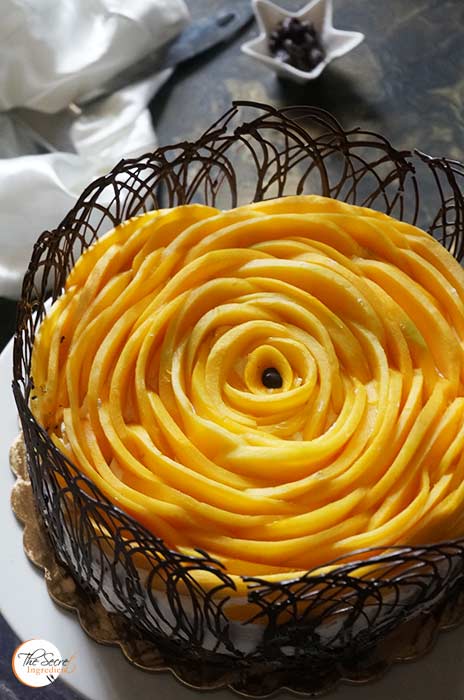

I had to quickly make a decision as to what can be made in jiffy and still looked pretty. You know when such cakes are ordered specially for wedding Anniversaries they need to have a wow factor not just in taste but also the way they look. For a second all the good looking cakes I had done in the past zapped right in front of my eyes and I had to choose one. Because this wasn’t a time for experimentation. I had made a Mango Tart a while back and it had turned out pretty and then I also had made a Vanilla Cake with pomegranate Sauce which was yummy. So I decided to fuse the two. 


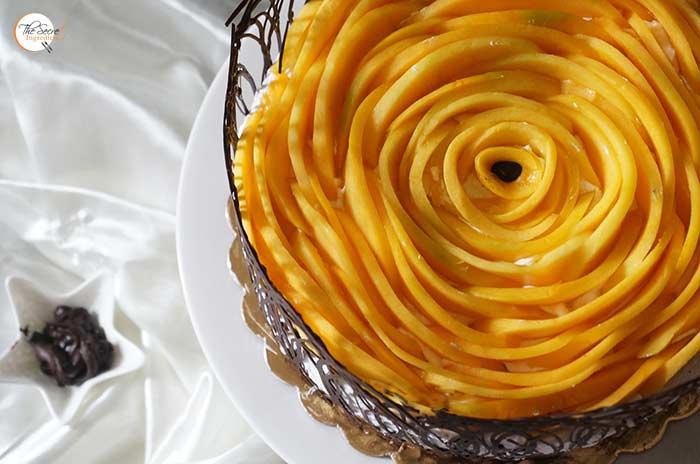
And the result was this gorgeous little Mango Vanilla Cake with Chocolate Collar! Aahh I feel soo happy after looking at it. The real icing on the cake was that the Client loved it  I cant explain the social network has been going gaga over this. It was 1.4k likes on a single Facebook group and other 1k in other. Everywhere I post this its being appreciated. I am a novice cake baker but sometimes things happen like magic happens 🙂 I am Thankful to Almighty and you all for this love.

Directions: 

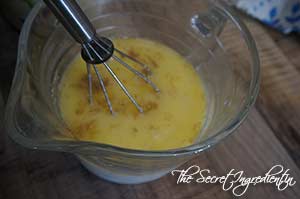
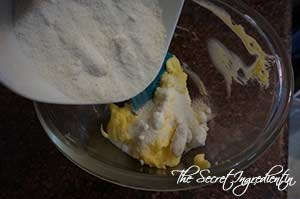
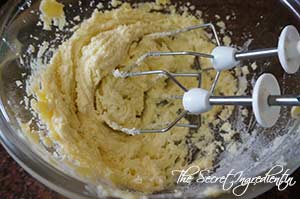
1.In a bowl add Butter and castor Sugar. Cream them together. You can use hand held whisk or electric whisk.

DSC05591


DSC05592


DSC05593


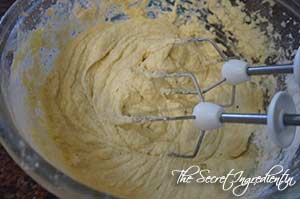
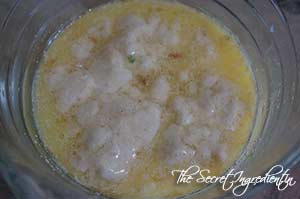
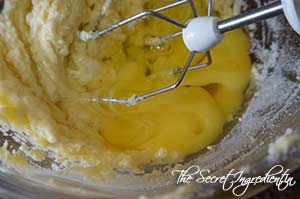
2. Add eggs and combine till creamy and light.
DSC05594
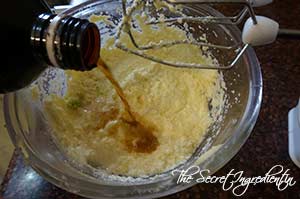
3. Add  Vanilla Extract.

DSC05597  
4.  In a bowl add All Purpose Flour, salt and Baking Powder.


DSC05598


DSC05599


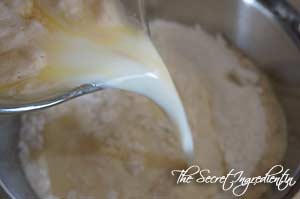
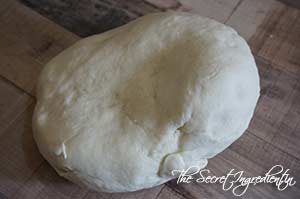
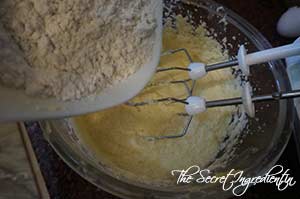
5. Slowly add this to the wet ingredients and combine until moistened.

DSC05600


DSC05601


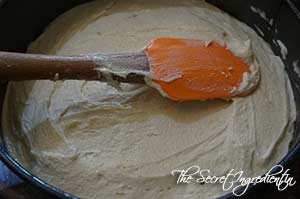
6. Pour this batter in a  springform pan and smoothen the top with a spatula. You can buy the Springform pan with our online store,  The Gourmet Shop. We ship pan India. 

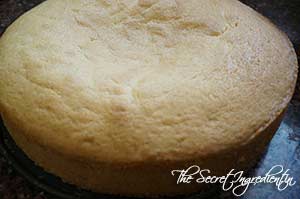
7. Bake in the preheated oven on 160 degree for 50 minutes or until the toothpick inserted comes out clean. Let it  cool down completely before removing it from the pan.

8. When the cake has cooled completely slice it horizontally into half using a sharp serrated knife. The motion of knife should be like a saw. Refrigerate for half an hour. I couldn’t because I had to finish the cake in 3 hours.


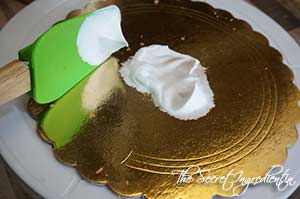
9. Add some whipped cream in a chilled bowl and whip it with an electric whisk till stiff peaks are formed.


9. Place a cake board on a rotatable Icing table and spread a little whipped cream on the board and place one slice of cake on it. This will ensure the cake doesn’t slip from the board.
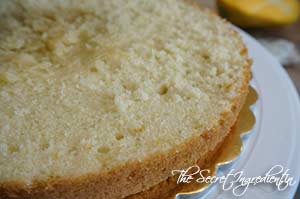


10. Chop a fresh mango into small chunks and spread it on the surface of cake.
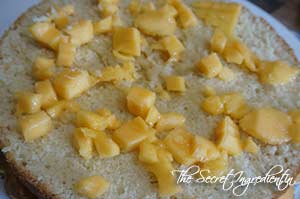
11. Spread a layer of whipped cream on top of mangoes and make it even using a palette knife. you can even use a spatula if you dont have a palette knife.


12. Place the other part of the cake on top of the whipped cream and mango mix.


13. Take some whipped cream and smear it on the sides all along its circumference and top. It has to be thin layer, doesn’t matter if its smooth or not. I am not good with smooth finish so I made this cake to hide my inadequacies 🙂 How I forgot to take picture of this step! 🙁

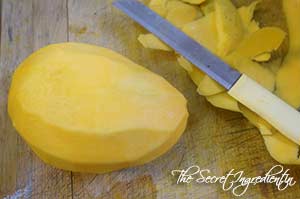
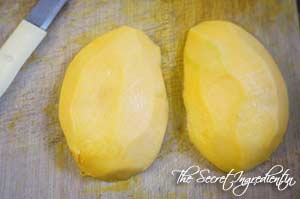
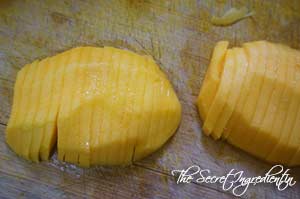
14. Now for the top mango garnish, take firm mangoes, peel the skin and cut it into half, removing the seed. Then further cut halves into thin slices. Set aside.
DSC06413


DSC06414


DSC06415


15. Once the cake has been iced from all sides. start from the top centre. Arrange the mango slices on top, starting in the centre and then taking it outwards to mimic flower petals. Don’t place the slices deep into the cream. The more they remain on top the neater will be the look.




16. Now the question was how to hide the sides and pretty pie it. I thought of a chocolate collar and found a tutorial which was quick and seemed easy but I had never done it before. But I had little choice. So I went ahead. You need is a bar of chocolate or chocolate chips. Place them in a microwaveable bowl and heat it till it melts. You need to stir it every 30 seconds so that it doesn’t burn. You can also use a double boiler to melt, whichever you think is faster.
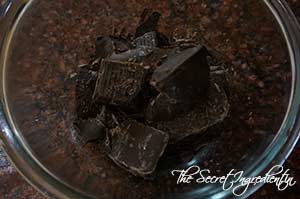
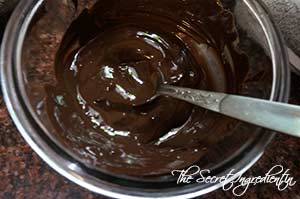


17. Pour the melted chocolate in a pipping bag or ziploc without any nozzle and tighten the keep. 



18. Now you have to measure the height of the cake, I used a ruler. It was 4 inches for my cake. Tear a sheet of parchment paper which covers the cake around completely and further trim its height matching to the height of your cake or a little taller, it was 4.5 inches in case of my cake. Oh look you have the view to my not so clean icing on the sides of the cake. yippy!
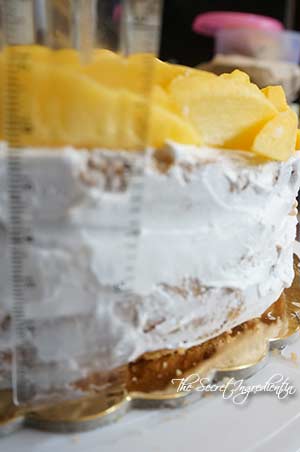



19. See it fits around the cake perfectly and also has the height i wanted.
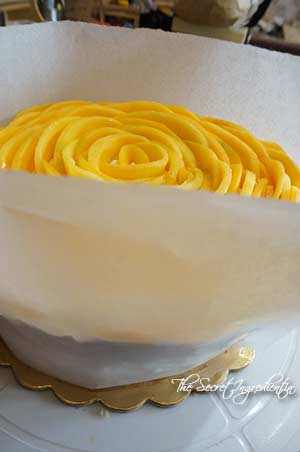

20. Remove this parchment paper and place it on a smooth surface. You pipping bag with melted chocolate is ready, snip the end with scissors and make a small hole. Now spread the chocolate in circular motion, starting from one end and finishing the other, say left to right. Now repeat the same from right to left . You can make it as intricate as you want. The more layers you give it the more sturdy will be your chocolate collar. 


21. Let it be like that for a few seconds till the chocolate sets partially. Now remove the strip of  parchment paper carefully with both your hands. If you leave it for a longer time and it sets fully you will not be able to mould it around the circular cake. So eyeball the timing.


22. Place it around the cake with chocolate side inside, pushing it inside the cake carefully.


23. Once the chocolate collar has been placed around the cake, remove the parchment paper slowly without damaging the lace and breaking it.


24. Guess what the cake is ready. You can add anything more to prettify it. I think I was happy with the results and gladly my client also liked it. 

Other Cake recipes you can try are: Eggless Black Grapes Cake,  Chocolate Vanilla Marble Cake , Eggless Almond Vanilla Cake,  Eggless Orange Cake with Candied Orange Peel FillingLemon Cake with Lemon GlazePersimmon Rum CakePumpkin Cake RollsSurprise Heart Inside CakeVegan Chocolate Banana CakeVanilla & Pomegranate CakeWacky Vegan Chocolate CakeFestive Orange Blueberry Pound Cake Mediterranean Eggless Semolina Cake

[whohit]MangoVanillaCake[/whohit]

[yumprint-recipe id=’273′]


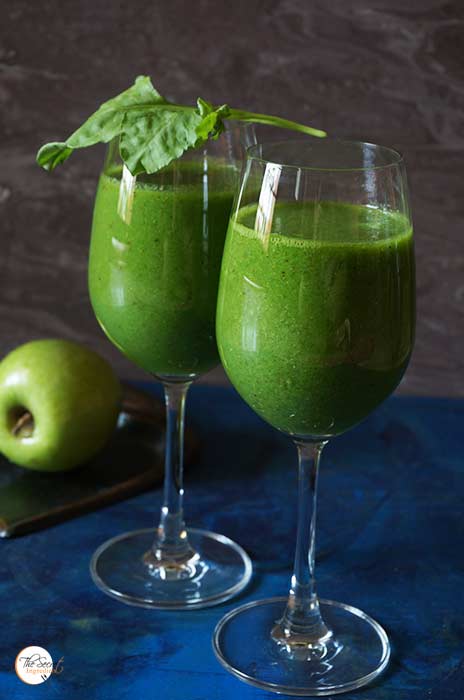
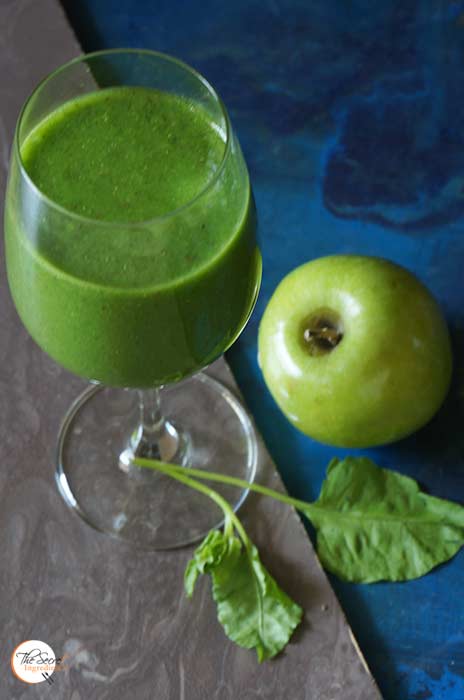
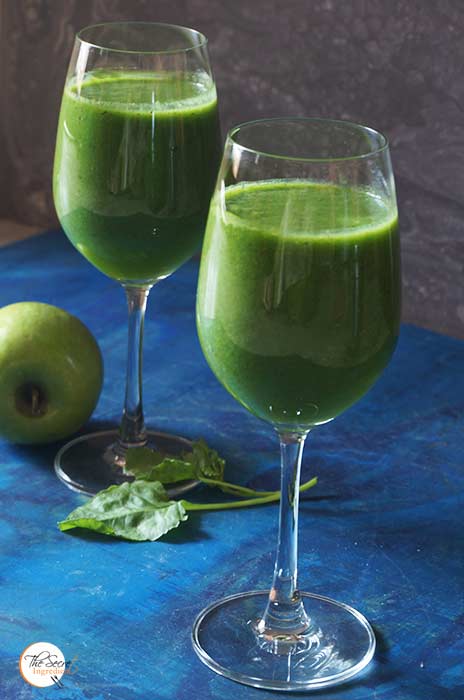
Last Night was Saturday night party at my place. Along with some cocktails we had some heavy snacks! Now I wake up with a bloated tummy and a guilty conscience. To fix both these things I needed to make this Green detoxifying smoothie which will revive my stomach and clear my body of all the toxins. This smoothie doesn’t use any dairy and is free from all sort of sugars. 

Its even ideal for people who are watching their weight. I like to include this smoothie in my diet at least once a week. If you are also fond of smoothies then you must check out a few other recipes of Smoothies on my page. Some links I have mentioned at the end of this post. What kind of smoothie do you like? I would like to know your opinion. Would love to hear from you.

Directions:
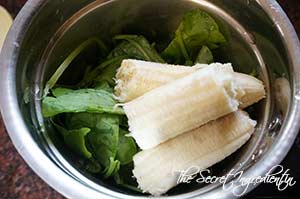
1. In a blender add thoroughly washed leaves of Spinach and a peeled banana.


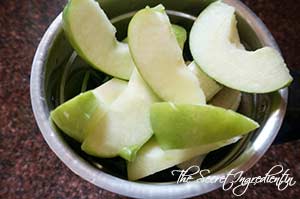
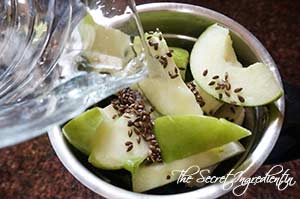
2. Add one cored green apple. 


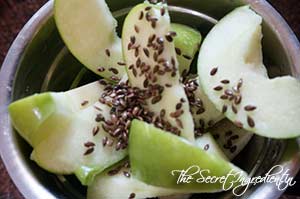
3. Add roasted seeds of Flax.


3. Add Water to the blender.

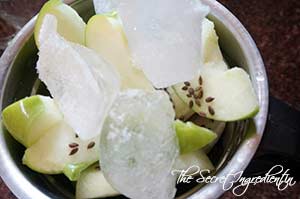
4. Also throw in some ice cubes.

5. Pulse till everything is smooth. Pour into glasses and drink it up immediately. This is detoxifying and quite refreshing.

Other Smoothies and Beverages  you can try are: Plum Smoothie Raw Mango Drink with Mint and Roasted CuminGinger Papaya Mint Smoothie Central Himalayan Wild Bayberry SyrupLitchi LemonadeMango Chamomile-Mint Tea LemonadeKiwi Chia PuddingPeach LemonadeSpiced Mango Lassi, Melon Cucumber and Mint Smoothie, Orange and Blueberry Smoothie.

[yumprint-recipe id=’272′]

I am returning after a very long gap. My father was hospitalised and it was a very tough time for my family. With God’s grace he is alright now and recovering very well. I have been away from my kitchen for almost 2 months. I have been cooking but havnt been developing any recipes for the blog. This has made me very restless. I feel my expressions are lost. I am soon getting back into the groove. Thank You for your patience and your support while I was gone. 

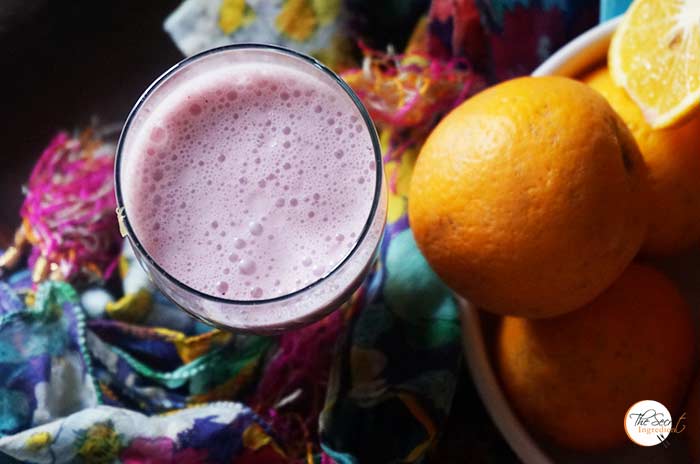
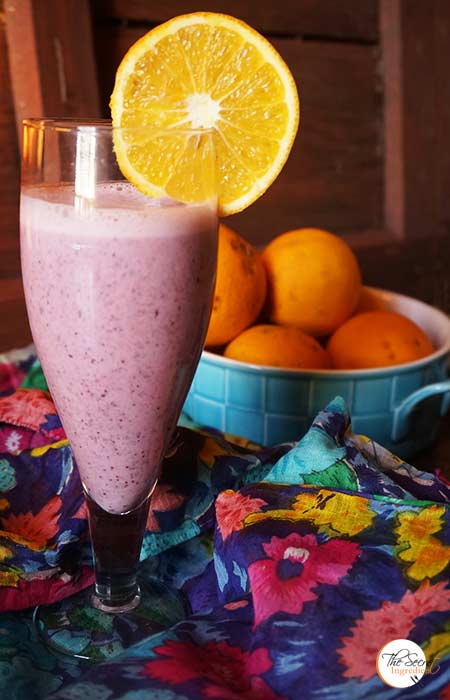
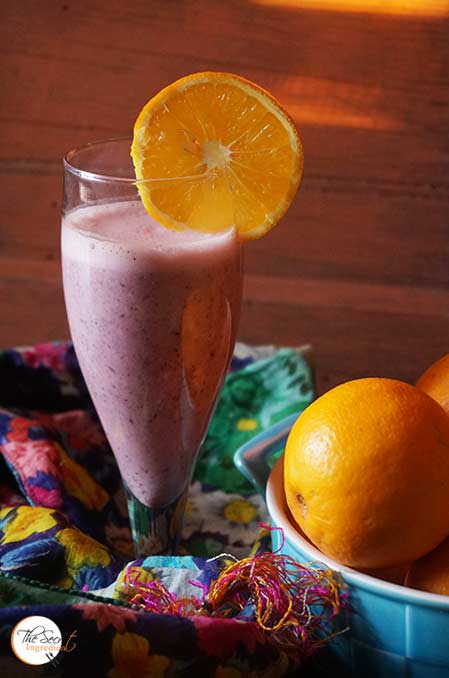
Not only I have been away from baking and cooking but by exercise regime has also been compromised. Although there hasn’t been much of a weight increase still I feel I need to start working out again and feel better. Since I have returned I have been eating a lot of salads and drinking a lot of smoothies. I love smoothies and like to try new variants to make life more fun and delicious. This time I came up with this Orange Blueberry Smoothie. The pastel pink purple colour says it all.. It was fresh, refreshing and oh so delicious! Oh well with same flavours you can even make Orange Blueberry Pound Cake.

Directions:
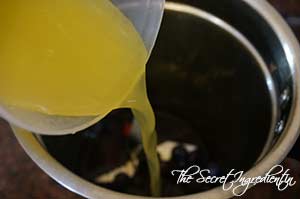
1. In a blender add some orange juice. I have used freshly squeezed juice you can use from the box.


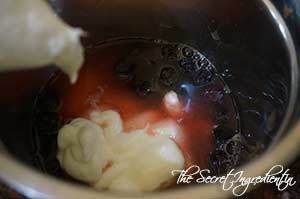
2. Add blueberries fresh or frozen. I had frozen on hand. Also add plain yogurt. You can use greek yogurt also. 


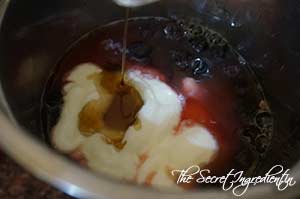
3. Add honey or maple syrup for sweetening it.


4. Blend and serve. You can also add ice cubes if you like.


5. Serve in a tall glass with a slice of Fresh Orange and make your day beautiful.

Other Smoothies and Beverages  you can try are: Plum Smoothie Raw Mango Drink with Mint and Roasted CuminGinger Papaya Mint Smoothie Central Himalayan Wild Bayberry SyrupLitchi LemonadeMango Chamomile-Mint Tea LemonadeKiwi Chia PuddingPeach LemonadeSpiced Mango Lassi, Melon Cucumber and Mint Smoothie.

[whohit]OrangeBlueberrySmoothie[/whohit]
[yumprint-recipe id=’271′]


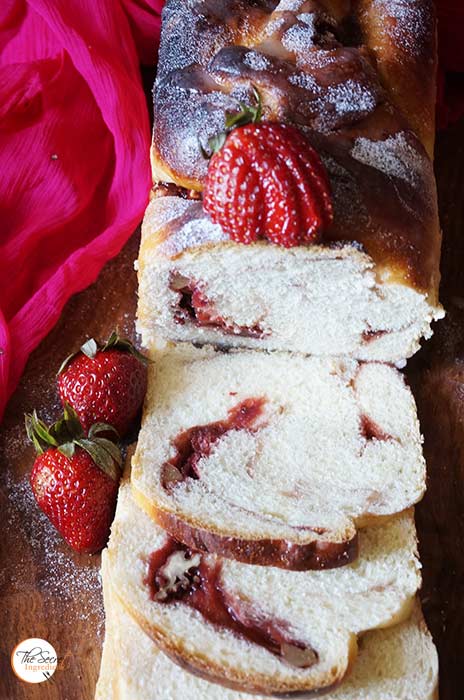
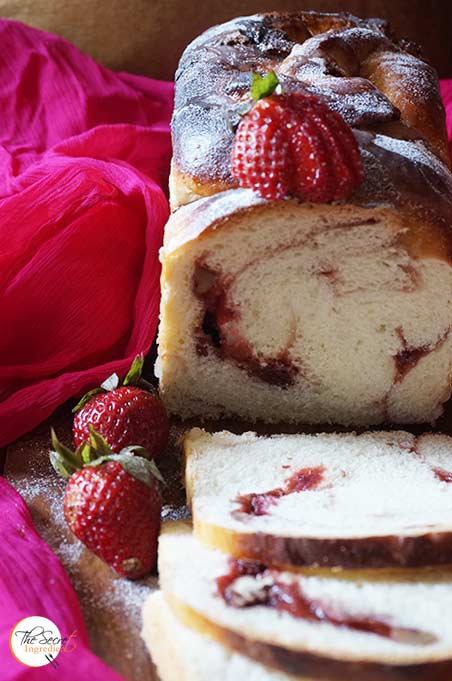
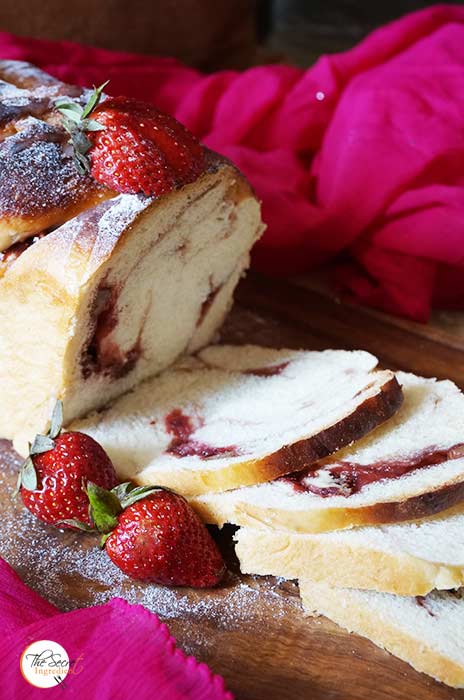
Happiness is when you find Strawberries in your local market. Yeah it’s a rare kind of produce in our hills. So when I spotted them I went crazy looking for things I can do with them! I ended up making a Strawberry Walnut Babka Bread. Last year I had made Strawberry Preserve and Foccacia Bread with Strawberries . So you should have guessed by now how carefully I choose what to do with the limited ingredients I have on hand. The recipe is similar to my Cinnamon Raisin Swirl Bread which I had made a while back. But to play with ingredients which are non dry in nature is a bit of a challenge especially when you are stuffing it in your bread dough. I saw this recipe on the internet but it was done with cranberries. So I was convinced that the result will not disappoint me. 


The dough was enriched with milk and butter and there was sweetness in the bread which complemented so well with the strawberry compote I had made. Each slice was so amazing that me and my husband we finished the entire loaf in a day. Traditionally This babka bread is traditionally made with Chocolate which of course is on my to do list but then the strawberry babka happened before turn. Clearly I dont regret it and if you try you wouldn’t either.

Directions:
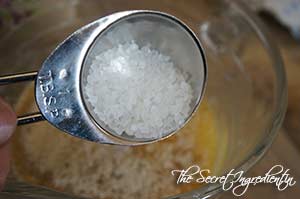
1. In a bowl add some All Purpose Flour, Salt and Granulated Sugar. Combine and set aside.


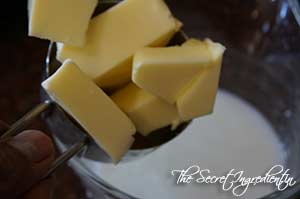
2. In another jar or saucepan add some water and milk. Add chunks of butter and heat it on a stove top or microwave it till butter melts.


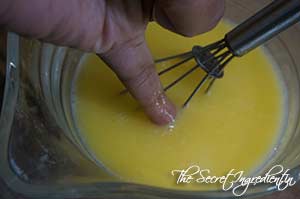
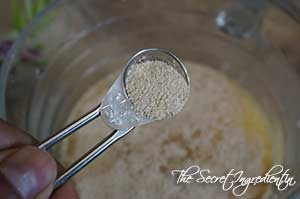
3. They should be just hot enough that you are able to insert your finger in it. Add instant yeast and a tablespoon of sugar. 


4. Give it a gentle stir and let it sit till it blooms. If you like you can add instant yeast to the flour mix directly. I always like to proof it.


5. Add liquid ingredients to dry ingredients and start kneading till the dough comes together. Bring it on a dusted countertop and knead for good 10 minutes until the gluten is formed and the dough passes the finger poke test. If the dough bounces back on poking its ready. 


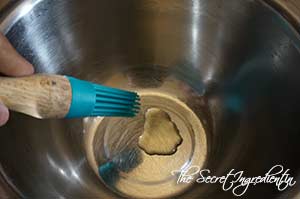
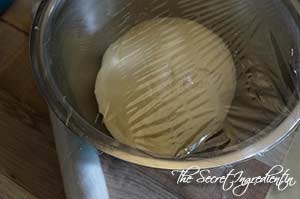
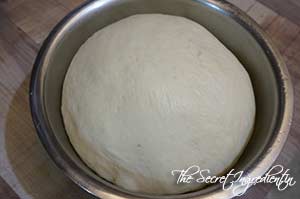
6. Grease a larger bowl and add the dough to it and cover with cling wrap until it doubles in size.


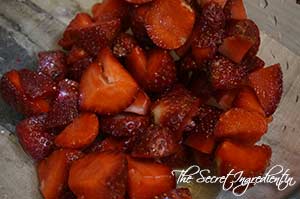
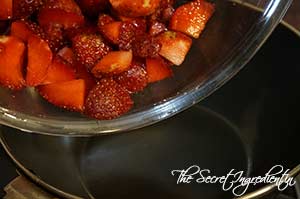
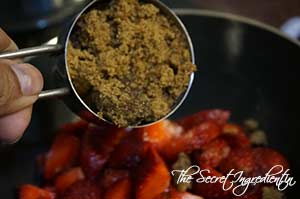
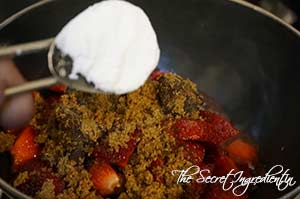
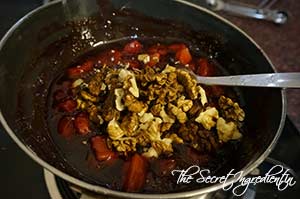
7. In the meanwhile wash and hull some strawberries and chop them into small pieces. In a saucepan add them along with brown sugar


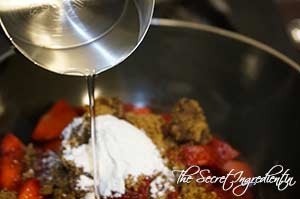
8. Add corn flour and little water. Bring it to a boil.


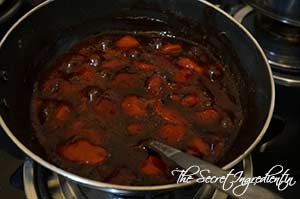
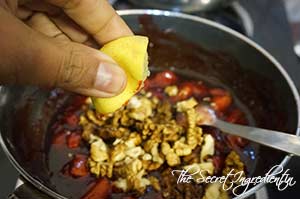
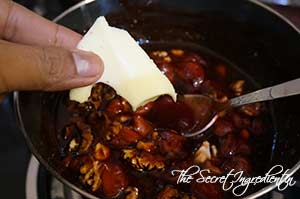
9. Let it simmer and reduce till its thick and saucy. Add chopped walnuts or pecans. Also add juice of lemon and butter. Remove it from the stove and let it cool down.


10. Take the proofed dough and punch it down.


11. Dust the counter with little flour.  Shape it in a ball and roll it into a 10×20 inch rectangle.


12. Spread the strawberry compote all over the rolled surface leaving 1/2 inch border all around.


13. Start rolling it as tightly as possible. start from the further end. Pinch the seam and tug the ends and seal well. 


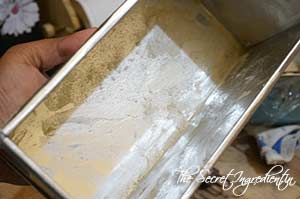
14.  Grease and dust a pullman loaf pan with flour all over. You can own a pullman loaf pan from The Gourmet Shop

15. Make a U shape with the roll of dough and twist it around. Follow the pictures for reference. I had a slight tear but the oven takes care of it, dont worry.


16. Place the twisted dough in the pullman loaf pan . Close the lid and let it double up in size. It will take 40 minutes to one hour depending on the weather. Do u see that red spill.. no its not blood 😛 It’s the tear while led to a spill. Preheat the oven to 180 degree C for ten minutes before the bread goes in the oven.


17. Give it an egg wash or if u are a vegetarian use cream. Pop it in the oven for 40 minutes. 20 minutes with lid on and last 20 minutes without lid. And if it gets dark too fast tent it with aluminium foil.


18. Take it out of the oven and let it sit in the pan for 5 minutes. Remove it and let it sit on a cooling rack till it has come to room temperature. Slice it and serve with your favourite cup of coffee.

Other Bread Recipes you can try are:Apple Cinnamon Swirl Bread, Pan De MuertoPeter Reinhart’s Potato Rosemary BreadItalian Focaccia Bread with StrawberriesPumpkin BunsStuffed Mushroom Cheesy Crack BreadStuffed Mushroom and Spinach Braided BreadWhite Sandwich BreadWhole Wheat Sandwich Bread Recipe

[whohit]StrawberryBabka[whohit]


I have been receiving numerous requests from friends, followers to post more Gluten Free Recipes on my blog. Some of them have celiac issues and some want to include gluten free flours in their diet.. Earlier I had posted recipe of Gluten Free Brownies with Ragi FlourNo Bake Amaranth Granola Bars which received great reviews from you all. If you try any of my recipes, please send me the feedback with a picture. I would love to showcase them on my facebook page. Such feedbacks keep me motivated.

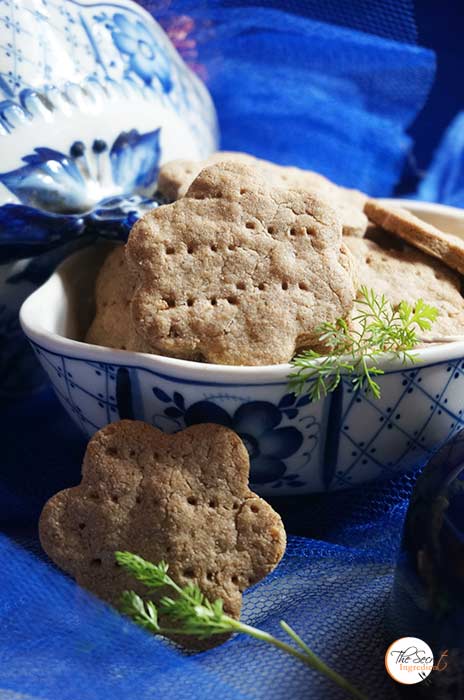
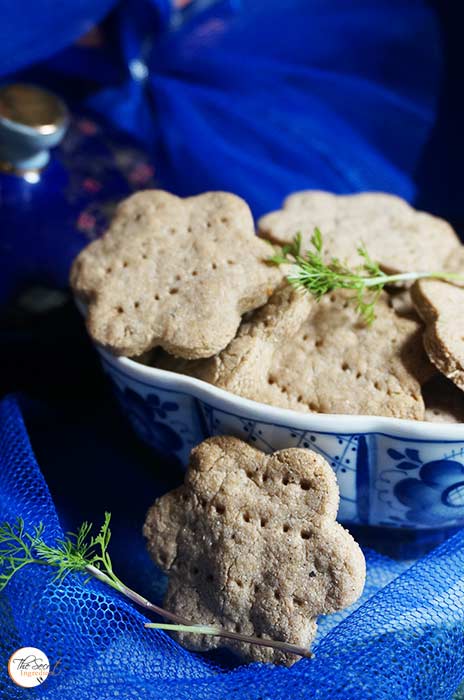
This time when I had organic Amaranth Flour from SOS organics I knew I will be trying out something different with it. The Amaranth Flour has a slight nutty flavour. And then I came across this recipe which was not only Gluten Free but also Vegan and Diabetic Friendly. These Savoury Herbed Crackers  are loaded with herbs and has a subtle flavour of garlic. They are so easy to put together and loved by all. You must try them at least once.

Directions:
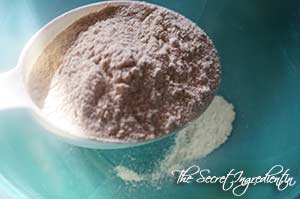
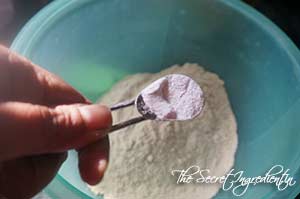
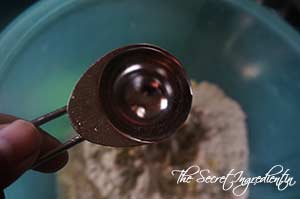
1. Preheat the oven to 180 degree Celsius (Learn more about Oven Temperatures and Conversions). In a bowl add the Amaranth Flour and Baking Powder.


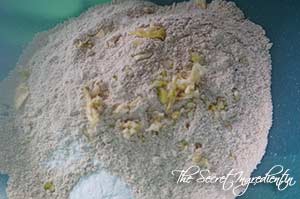
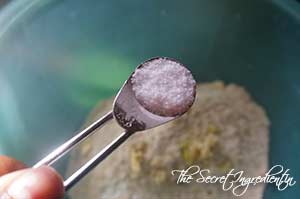
2. Also add chopped garlic and salt to the flour.


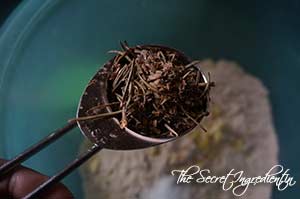
3. Add dried or fresh herbs to the bowl and combine. You can use any herb or combination of herbs to your liking.


4. Add water and Olive oil.


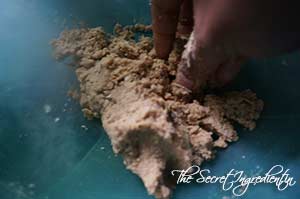
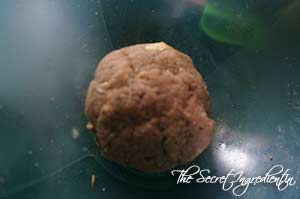
5. Combine everything using your hands or you can do the same in a food processor. Mix this till everything comes together like a dough. Don’t add more water or oil. Its a gluten free flour so it will take some time for it to come together.


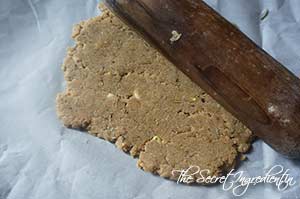
6. Place the dough on a sheet of Parchment Paper and roll it thin using a roller pin. It should be about 1/5th of an inch in thickness.


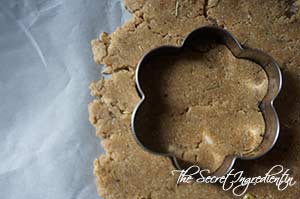
7. Use a cookie cutter and cut them into desired shapes. Place them on a baking sheet lined with Parchment Paper. You can use a spatula to lift the cracker dough for it is very fragile.


8. Use a fork to prick the crackers all over. Bake the crackers in preheated oven for 12-13 minutes. Keep a close eye not to over bake them. Let them crisp up a little before biting into them.

Other cookies and crackers you can try here are: Traditional Australian – New Zealand Anzac BiscuitsSubway Copycat Oatmeal Raisin Cookies Chickpea Flour & Corn Flakes Eggless CookiesChyawanprash CookiesStrawberry CookiesGingerbread Man CookiesGreek Traditional Christmas CookiesItalian Almond BiscottiPeanut Butter Cookies with Chocolate ChipsChocolate Coconut CookiesWhite Chocolate Chip CookiesRagi & Whole Wheat Biscuits.


[whohit]AmaranthCrackers[/whohit]


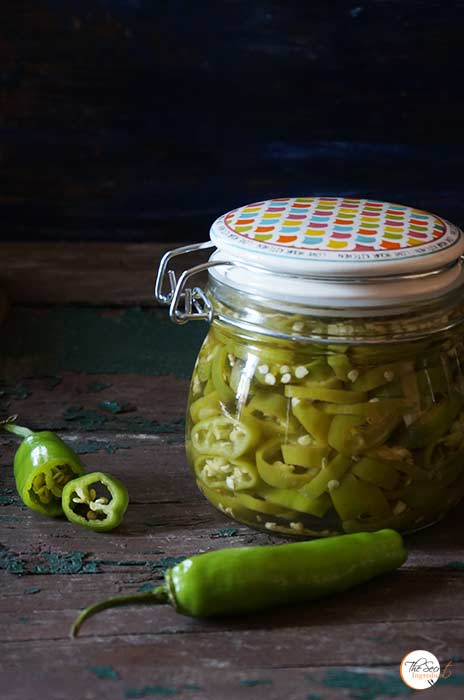
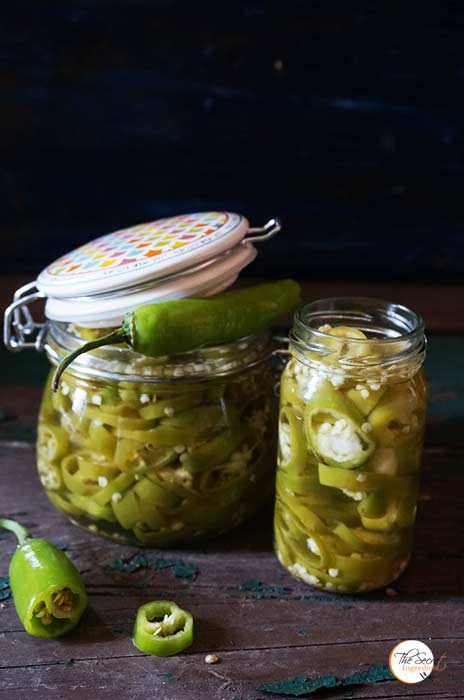
Sometimes we have raw materials in abundance around us and we tend to ignore them. These green Jalapeño peppers and Red Fresno Chilies are widely available in winters and we Indians use them to make Stuffed Pickles. But most of us dont realise we can also use them to make pickle for our Pizzas, Pastas and Salads. It can be done in fifteen minutes and your jar will stay good for a year without the use of any chemical preservative. Why do we need to buy from the store then?

I made a huge jar with these green Jalapeños and gifted them to my mother. Now when I spotted the red Fresno Chilies I am going to treat them in the same way. While I am typing this post those chillies are basking in the sun after I have washed them. So you can replace the green chillies with the red ones. The recipe remains the same.

Directions:

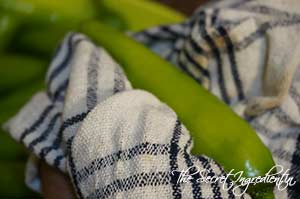
1.  Take fresh chillies and omit the ones which are bruised.  Wash them well.


2, Pat them dry using a kitchen towel or put them in the sun for half an hour.


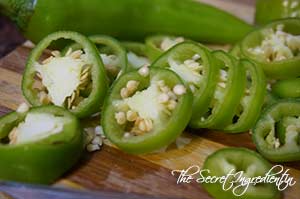
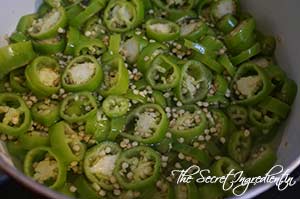
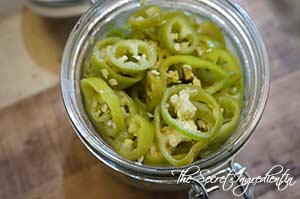
3. Trim the tops of the Jalapenos and slice them into rings. If you feel your chillies are way too hot you can remove the seeds.


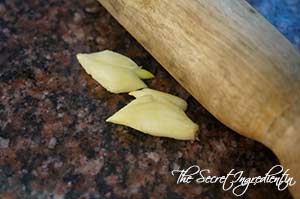
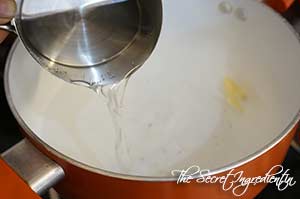
4. Smash two cloves of garlic. Add water in a pot and put the cloves in.


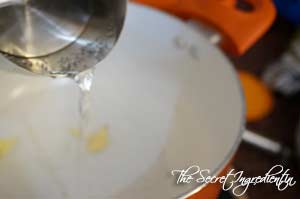
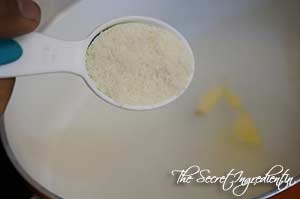
5. Add distilled White Vinegar, sugar and salt.


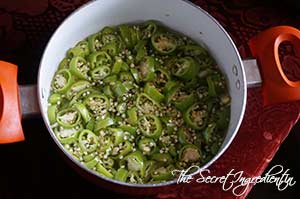
6. Once the liquid comes to a boil and the sugar and salt are dissolved. Add the Sliced Jalapeños into the vinegar water bath. 


7. Turn the flame off and let the peppers sit in the bath for 10-15 minutes. You will see a gradual change in colour of the peppers. Its the vinegar which is working. 


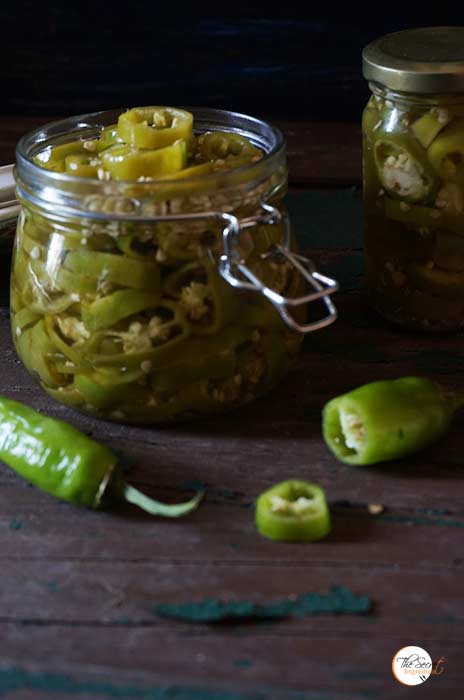
8. Use tongs to remove the Jalapeños from the pot to the jar. 


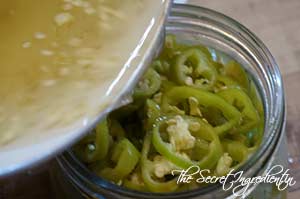
9. Once the peppers are in the jar, fill it up with the liquid brine from the pot. Use a ladle that will ease the process of transfer.

10. Let it cool down and come to room temperature and then you can put the lid on and refrigerate it. It stays good for a year or as long as it lasts. 

Other Recipe you can try using Green   Jalapeños  or Red Fresno Chilies:  Stuffed Red Chilli Pickle, Red Chilli and Red Bell Pepper Jam.

[whohit]JalepenoPickle[whohit]


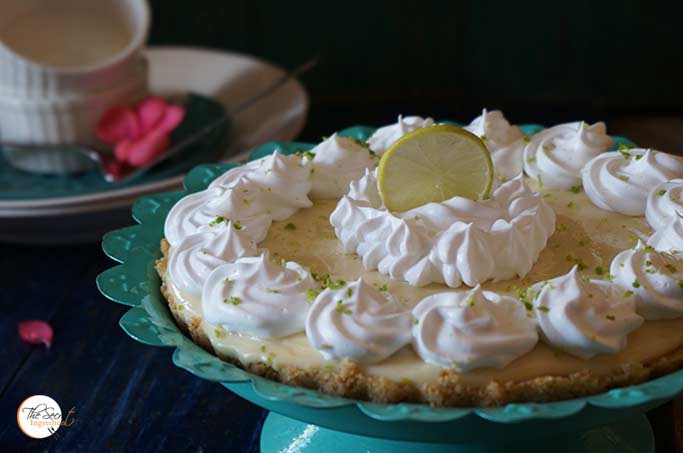
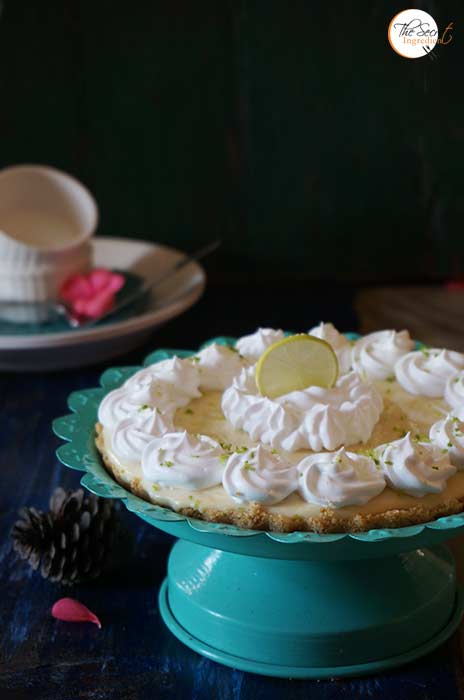
Some friends from my hometown were visiting us in the hills. My parents asked them to carry a few lemons from their yard. Last time when I had the lemons in abundance I made the Lemon Pound Cake with Lemon Glaze and this time I wanted to make Laura Vitale’s Key Lime Pie. My husband was leaving for a shoot to mumbai and I had one hour in hand. I decided to make this dessert for him so that he leaves with some sweet memories. ha! I am such an adorable, dotting and caring wife 😛 (No pun intended)


So this was an easy peasy recipe and required no baking just a little chill time. The weather was already freezing so it needed half of the time to set and it was soo soo good. I loved the three layered tart, crumbly and sweet culmination. If you like lemony tart desserts you sure will be on cloud 9. Please ensure that you add ample whipping cream as suggested in the recipe. I know the lessor will have less calories but it will be quite lemony for the taste buds. 

Directions:

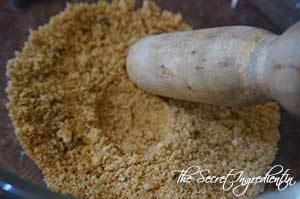
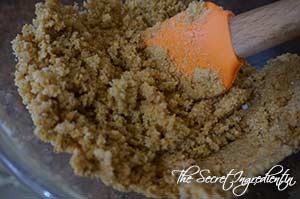
1. Take Graham Crackers or even digestive biscuits will work great. I have used the later. Add them to a bowl and crush them to make crumble. I have used a pestle for this. 


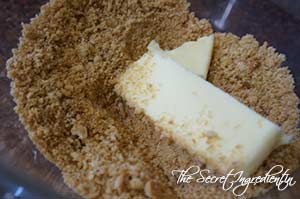
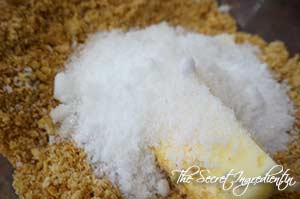
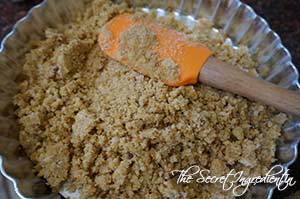
2. Add butter at room tempertaure to the crumble. Also add powdered sugar.


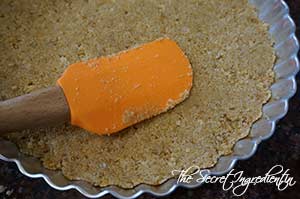
3. Mix everything together and dump the crumble mix on a pie pan with removable bottom. You can buy one like this on The Gourmet Shop at reasonable prices. Press the crumble into the base evenly using the force of a spatula or even a small bowl. Set the pie pan aside.


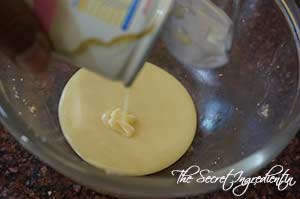
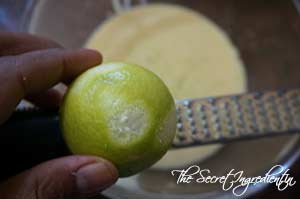
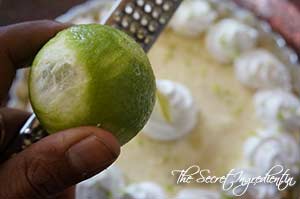
4. In another bowl add the condensed milk and add a zest of a lemon. 


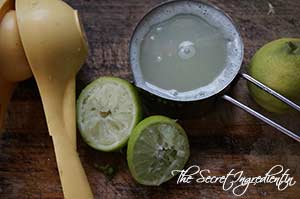
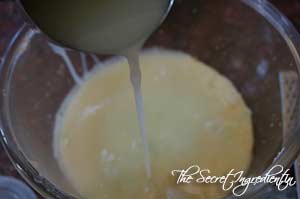
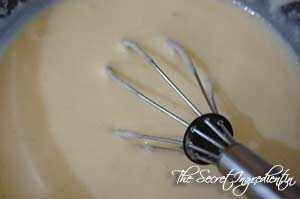
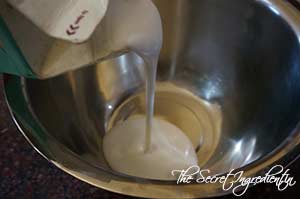
5. Squeeze out juice of lemons and mix that to the condensed milk and combine using a whisk.


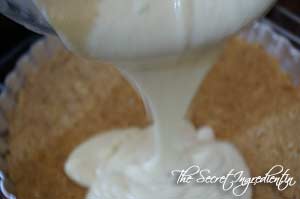
6. Pour that condesnsed milk mixture on top of the tart pan over tha layer of biscuits. Let it sit in the refrigerator and set for a cuple of hours. 

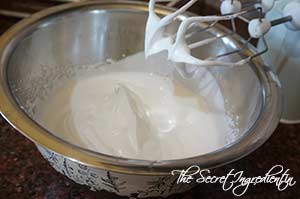
7. In the meanwhile take out thawed whipping cream from the fridge and whisk it with electric whisk till stiff peaks are formed. 


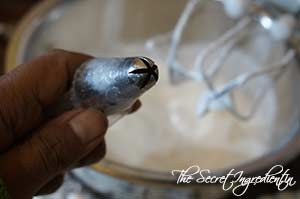
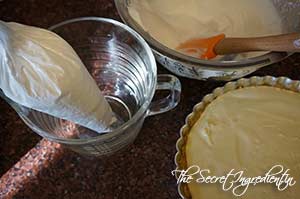
8. Place a pipping nozzle of your choice in a pipping bag and fill the bag with whipped cream. Tightly close the bag and cut the tip with a pair of scissors.


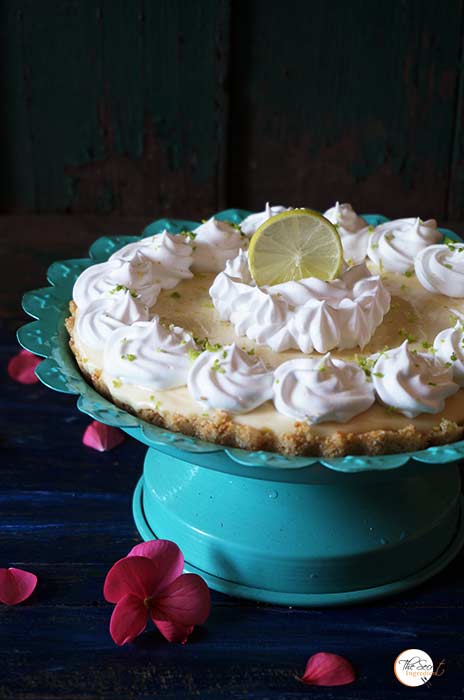
9. Pipe the top of the lemony pie with whipped cream all over. You can even spreead the cream with a spatula, pipping is not mandatory. You can beautify it further by adding additional lemon zest.


10. Put it inside the fridge for whipped cream to settle. Slice and serve. 

Other Pie, Tarts and Desserts you can try from our my blog are: Mango Tart with Vanilla Pastry CreamApple Cider Spiced Doughnuts ,  Blueberry Bars,  Eggless Orange Cake with Candied Orange Peel FillingLemon Cake with Lemon GlazeSorghum and Wheat Flour Persimmon Cupcakes with Cream Cheese Frosting.

[whohit]KeyLimePie[/whohit]



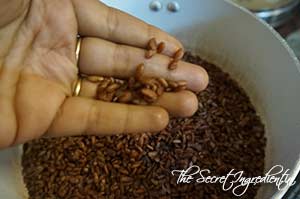
I always wanted to try the Red variety of Rice locally known as ‘Patni Rice’. Its all referred to as “Weedy Rice” or “Bhutanese red”. The Rice has beautiful red colour and even red husk. It is often eaten semi hulled and has an enchanting nutty flavour. The grains are short and thick so it doesn’t get mush on cooking and is quite chewy which makes it perfect for salad dishes. The nutritional quotient of this rice is much higher than other varieties of rice because it is unpolished and is eaten with germ intact. You can read the health benefits of Red Rice here in an article. This is grown in the North Himalayan, coastal Central and Western parts of India.

So when I saw packet of Patni Rice by Conscious Foods  in the supermarket I knew I am making a wonderful decision by buying it. Not only are their products amazing but also organic. Last time I had made Sorghum and Whole Wheat Persimmon Cupcakes with Organic Sorghum Flour from the list of amazing products that these guys have launched in the market. If you like to place order for any conscious food products you can order with our online store The Gourmet Shop.

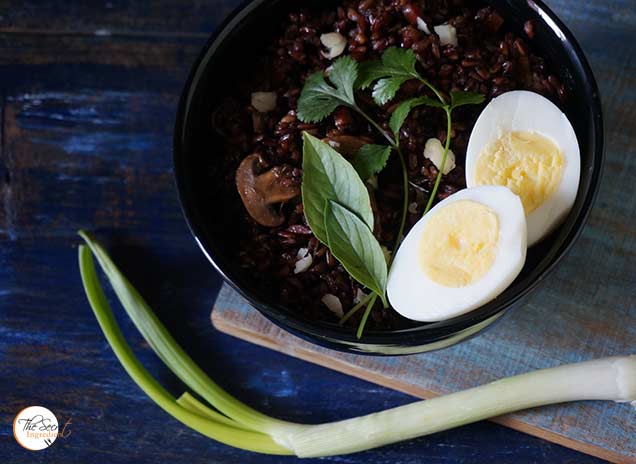
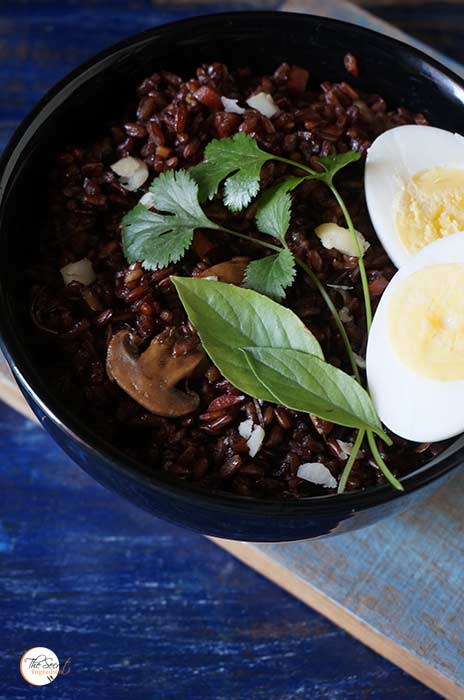
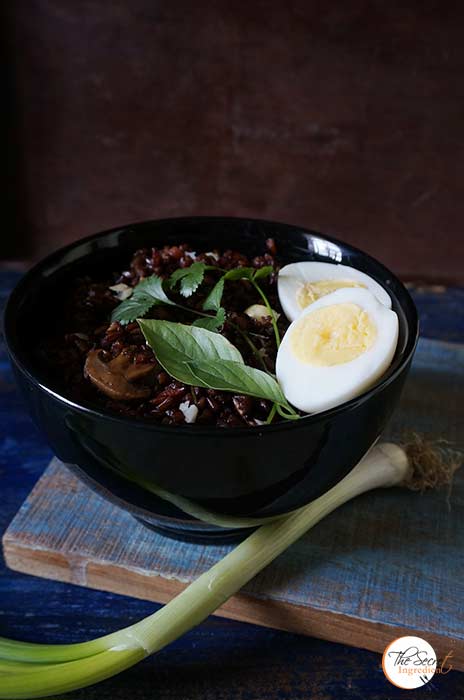
Since the texture of the rice is chewy and the taste is nutty I made an Indonesian Style Red Rice Salad with some veggies and tossed some Macadamia Nuts and serve it with boiled eggs. Oh what a wholesome meal it was. This is to be informed that its not a quick fix, toss and mix kind of salad recipe. It requires cooking and a bit of your time. But trust me the end result will really impress you.

Directions:
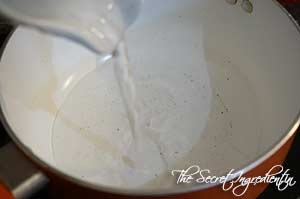
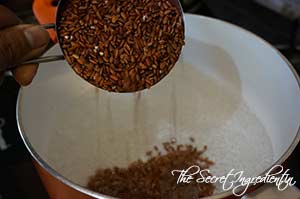
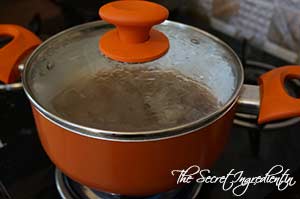
1. In a pot boil some water. Wash the red rice thoroughly and drain its water. Add the washed rice to the pot of boiling water. Add a clove for an incredible aroma and let it boil with the rice. This is purely optional.


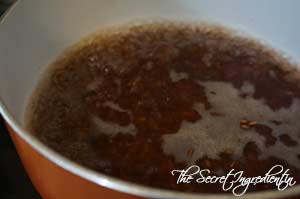
2. Let the rice come to a boil and then turn the flame on low and let it cook on simmer with lid on.


3. After 45 minutes on simmer or when you see the water has evaporated, the rice will be cooked al dente . Set aside.


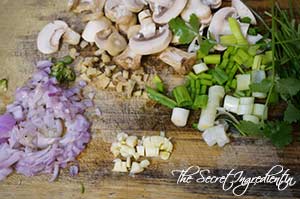
4. Chop vegetables like spring onions,green chilly, red Onions, garlic, ginger, slice mushrooms, red bell pepper, coriander leaves. You can add any vegetable you like.

 
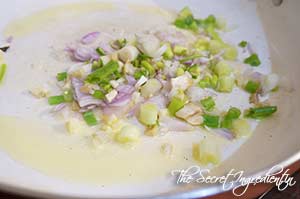
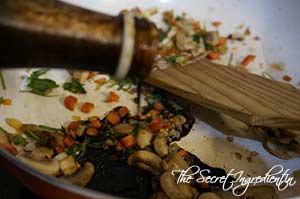
5. In a pan pour some oil and add chopped onions,green chillies, ginger and garlic. Saute them till the onions have been soft and raw smell of garlic and ginger has faded.


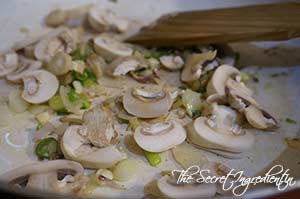
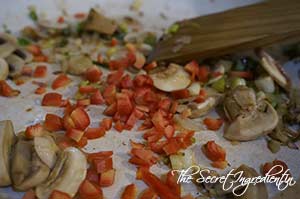
6. Add sliced  mushrooms and toss them in oil till they are semi cooked. Add red bell pepper and continue to cook.


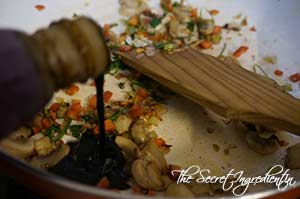
7. Add soy sauce, pomegranate molasses and Coconut milk.


8. Season with salt and pepper.


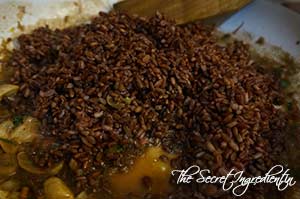
9. Add cooked rice and combine. Let it cook for another 5 -7 minutes till the flavours are absorbed by rice.


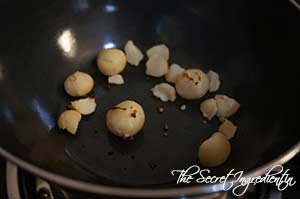
10. Dry toast some macadamia nuts in a pan. 


11. Transfer the rice to a serving bowl and toss in some toasted macadamia nuts and serve with Boiled eggs. This cant get better than this. 

Other Salad recipes you can try are: Thai Green Papaya Salad RecipeCharred Peppers Salad with Anchovy White BeansCouscous Salad with Chickpeas in Lemon Olive Oil VinaigretteFresh Mexican Black Bean & Mango SaladSautéed Red Bell Pepper and Olive Pasta SaladSundried Tomatoes Pasta SaladGrilled Chicken Salad

[whohit]RedRiceSalad[/whohit]

[yumprint-recipe id=’270′]

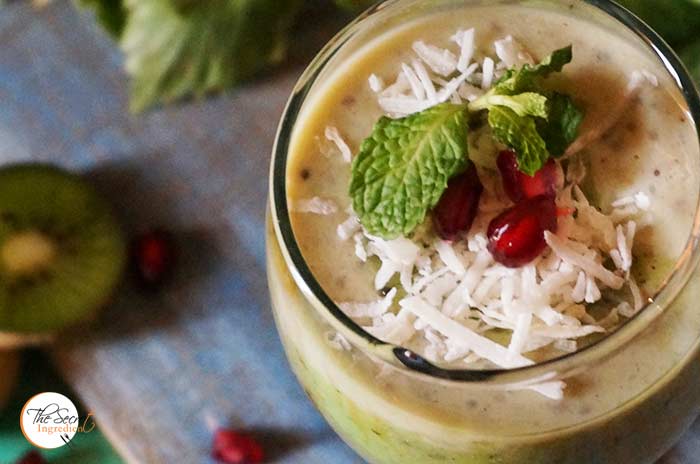
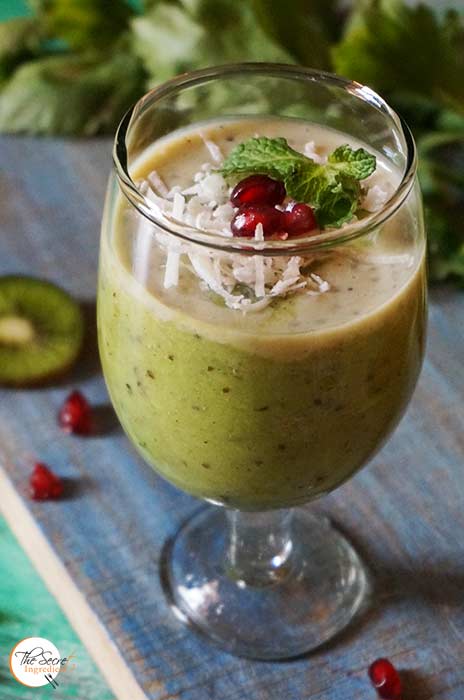
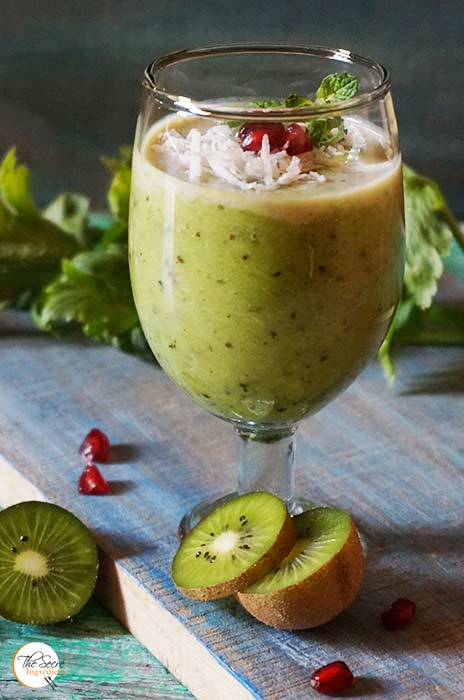
Its been a while I have really exercised. I am out of regime, out of practice. These past two months were full of indulgence, hogging and merriment. Not that I complain but now since I am back in my hills I have observed I am up by a few kilos and my body has started revolting. So here is what I am gonna do, start eating healthy, exercise more frequently and blog more often 🙂 The first tiny step was making this yummilicious Kiwi Chia Pudding. 


I picked these kiwis from Jageshwar which has some good number of kiwi trees and is an organic belt. I used Soy milk which is vegan and added maple syrup which has an interesting flavour and sweetness. The Chia seeds are a super food and need no introduction. The overall pudding was topped with sum desiccated coconut which gave the serving glass that oomph factor. I loved this enriching pudding which I devoured greedily because there was nothing to be feel guilty about.

Directions:

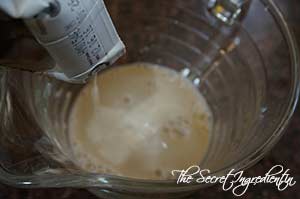
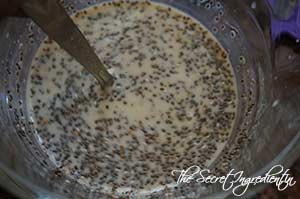
1. Add soy milk or any other milk of your choice.


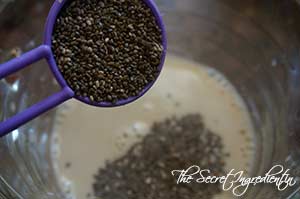
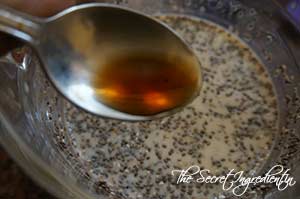
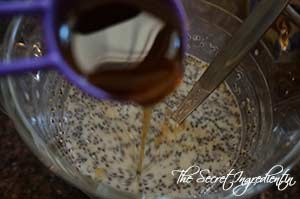
2. Add vanilla Extract. Also add maple syrup or honey for sweetness. You can add regular sugar if you like. Just combine and cover the jar with Cling wrap and keep it in the refrigerator for a couple of hours. This will make chia seeds swell. 


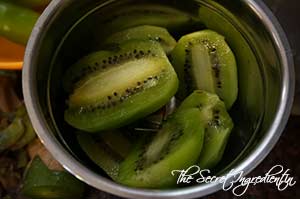
3. When you are ready to serve, peel some kiwis and make a smooth puree with it. Add it to the chia milk and combine.


4. Pour in individual serving glasses and garnish it with desiccated coconut and berries. I have added pomegranate arils. Serve and enjoy the guilt free pudding.

Other Smoothie and drinks you can try are:  Plum Smoothie Raw Mango Drink with Mint and Roasted CuminGinger Papaya Mint Smoothie Central Himalayan Wild Bayberry SyrupLitchi LemonadeMango Chamomile-Mint Tea LemonadeMusk Melon & Cucumber Smoothie with MintPeach LemonadeSpiced Mango Lassi


[whohit]KiwiChiaPudding[/whohit]

 

[yumprint-recipe id=’268′]