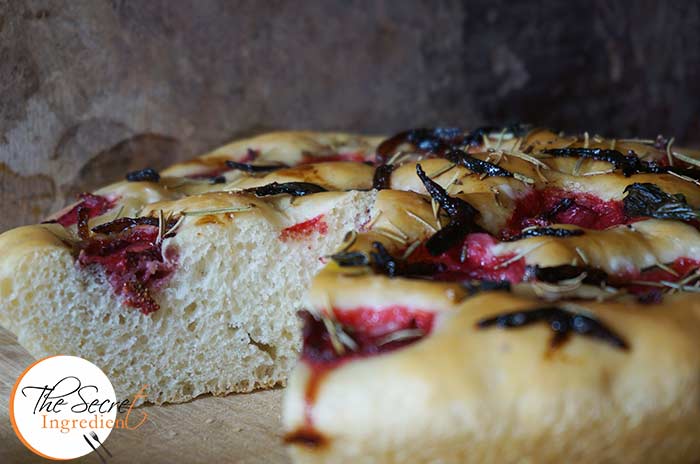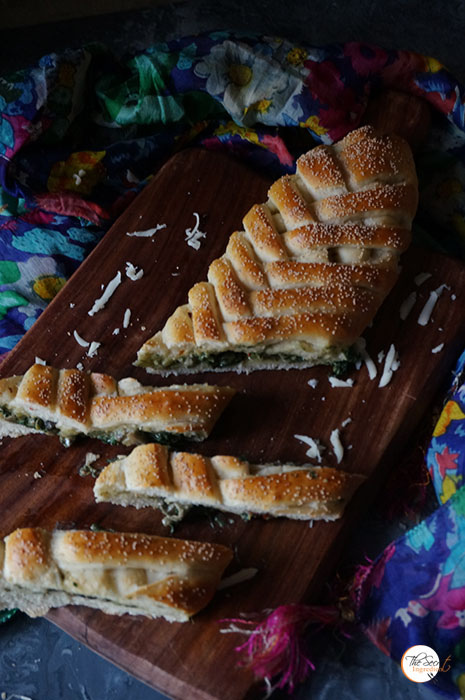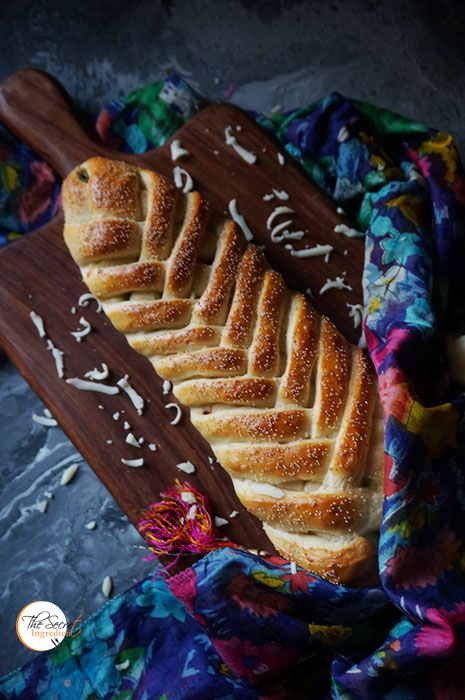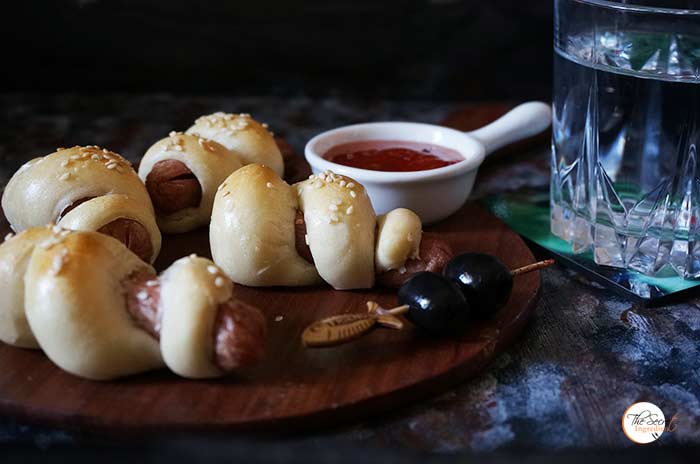
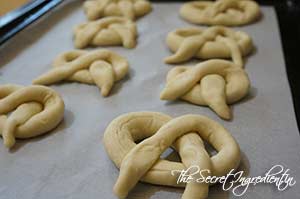
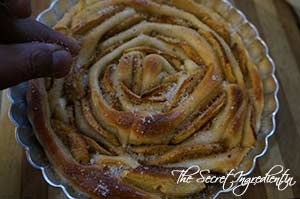
So I have this constant itch to play with pizza dough or bread dough. Its like playing with clay and moulding it into different shapes to create something mesmerizing. Last time when I was getting adventurous I ended up making Soft Pretzels. My son and husband both loved them. This time I had some friends coming over for drinks and I wanted to make something quick and yet something they will remember for a long time. I had some cocktail sausages in my freezer which came in handy. I made the dough and simply rolled it over all those thawed sausages. This is actually not even a recipe… I’ll call it a no brainer! But yes it gives you ideas the possible ways we can use this forgiving pizza dough.

This is a healthier twist over traditional Pigs in a Blanket recipe which uses pastry dough which is laden with lots and lots of butter. Once you have your dough ready you can roll them on your sausages and sprinkle the top with sesame seeds and bake in oven till they get that golden sheen.
Directions:
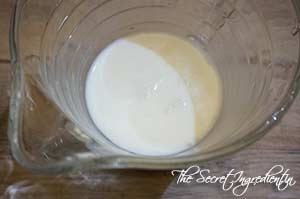
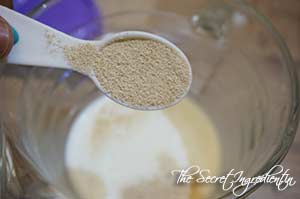
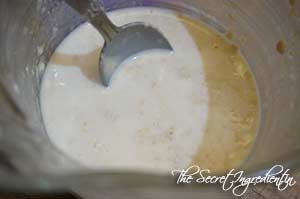
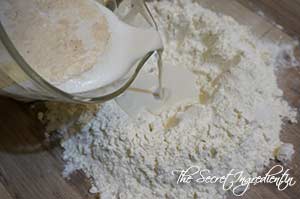
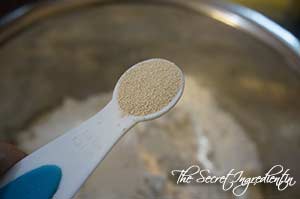
1. In a container take some lukewarm water. It should neither be hot nor cold, just hot enough to comfortably put your finger into it . The right temperature of the water is very important for yeast to activate. Put yeast into it.
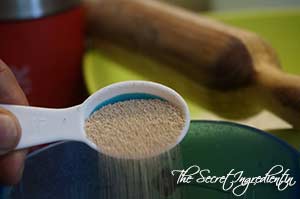
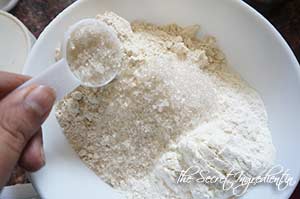
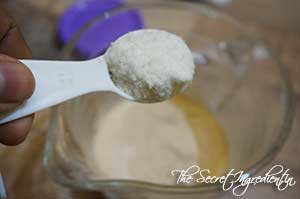
2. Along with yeast add some sugar.
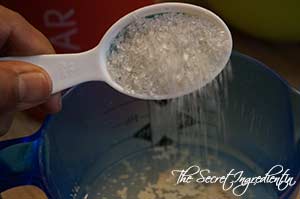
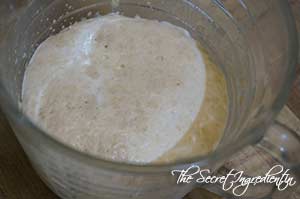
3. Give it a gentle stir with a fork and let the mixture sit and activate for 10 minutes or until you see some bubbles on top and mixture has become frothy and milky.

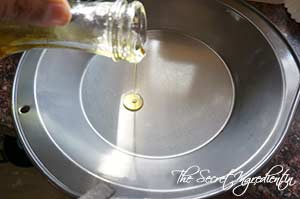
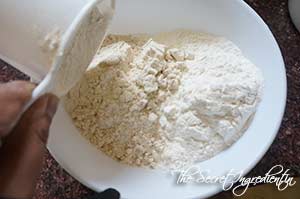
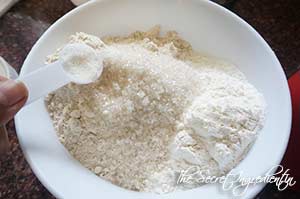
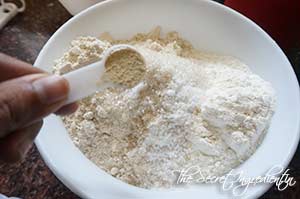
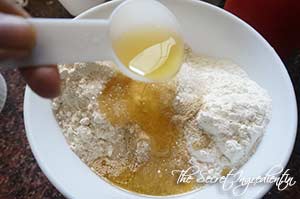
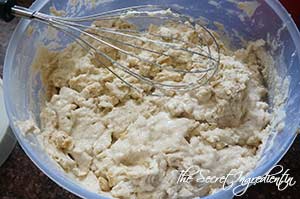
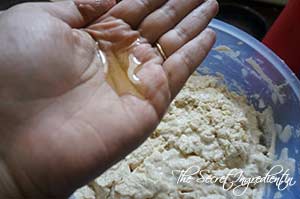
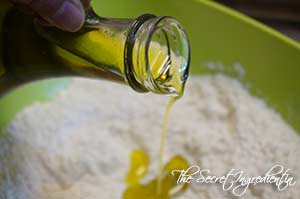
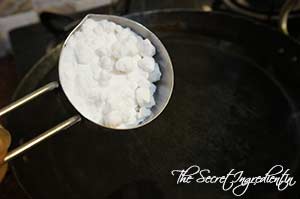
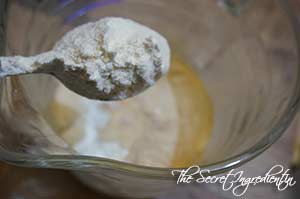
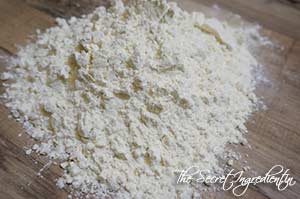
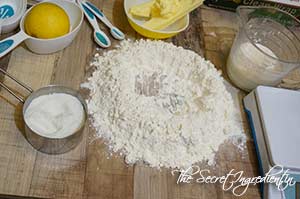
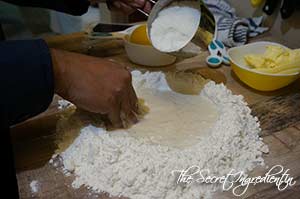
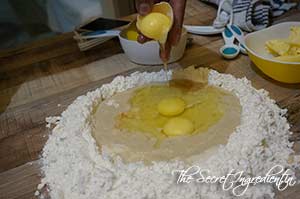
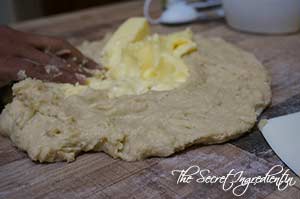
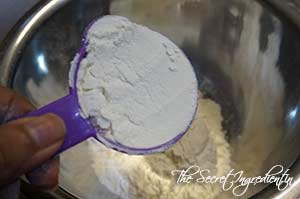
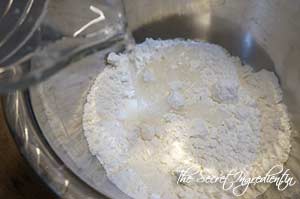
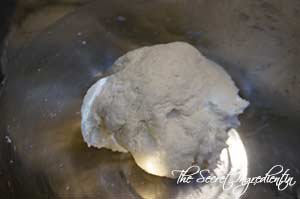
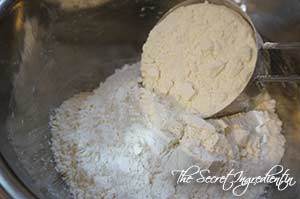
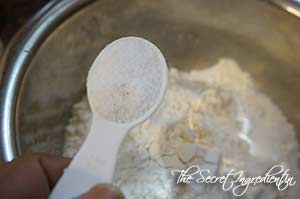
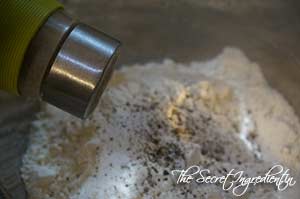
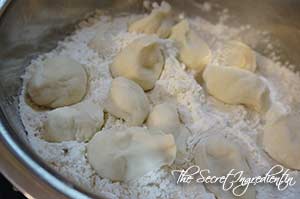
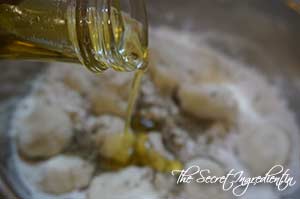
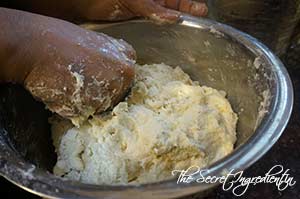
4. Take all purpose flour in a bowl and add salt and olive oil.
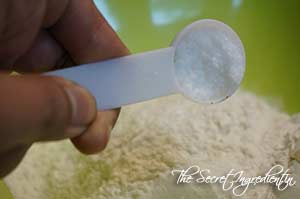
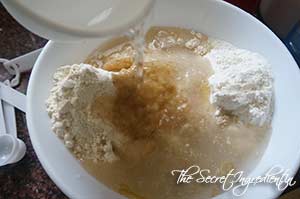
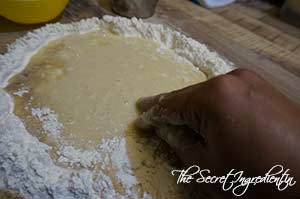
5. Add the proofed yeast to the flour little by little and mix till it comes together.
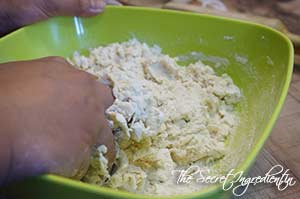
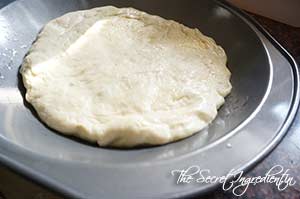
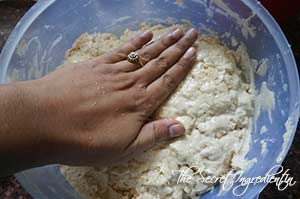
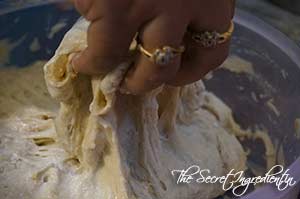
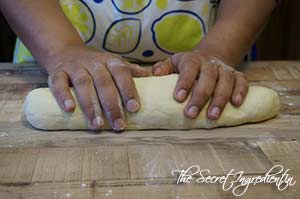
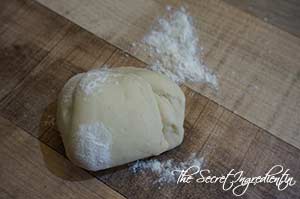
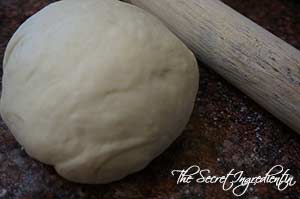
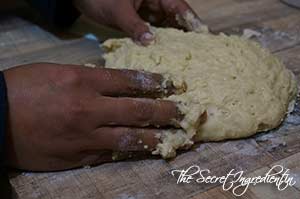
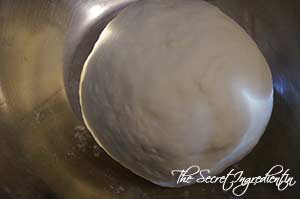
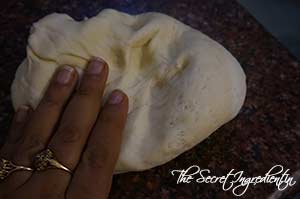
6. Bring the dough to a flat counter or your kitchen platform and knead for good 10 minutes till it becomes soft and supple. Read more about Bread baking techniques in “Basic Steps to Bake a Perfect Bread“
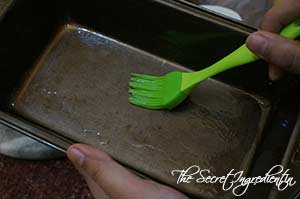
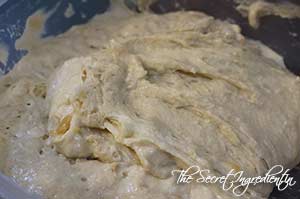
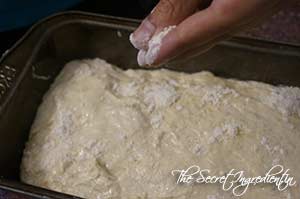
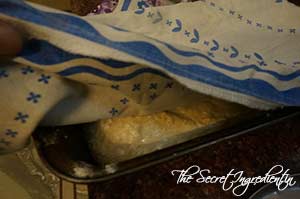
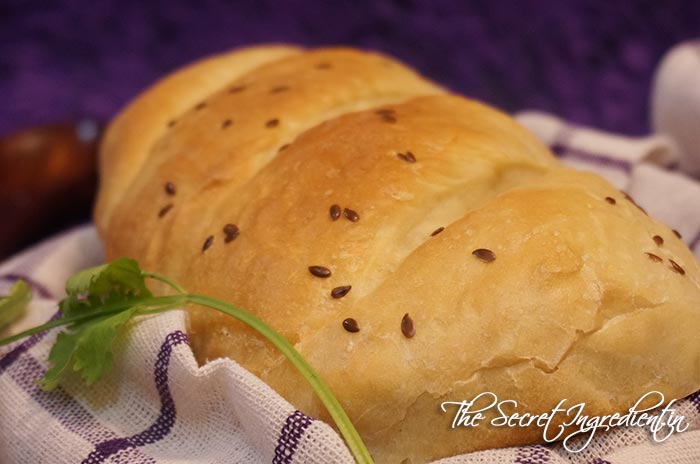
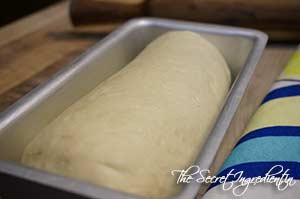
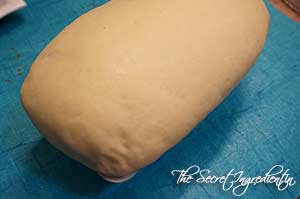
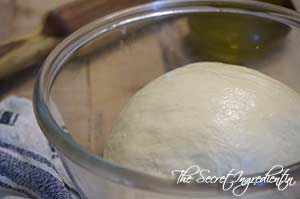
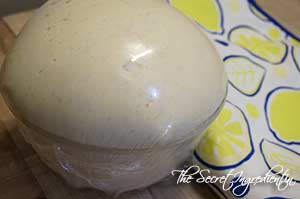
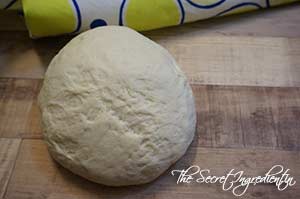
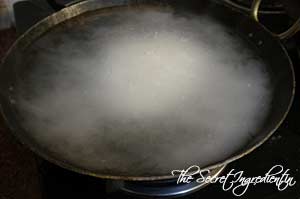
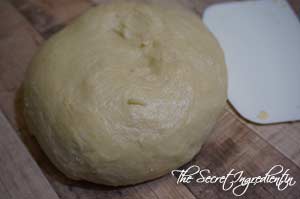
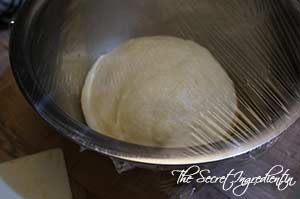
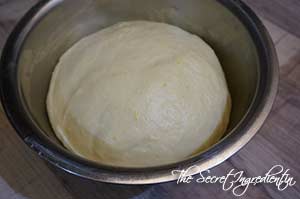
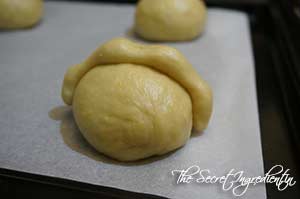
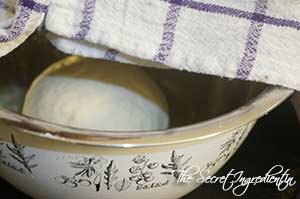
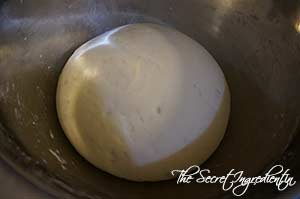
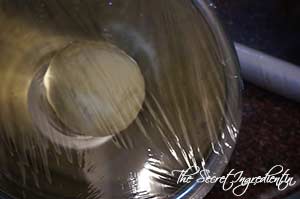
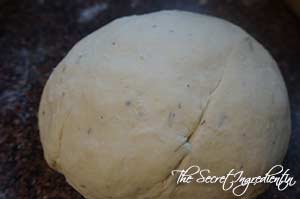
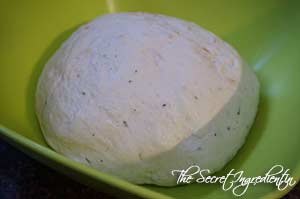
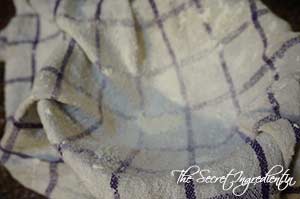
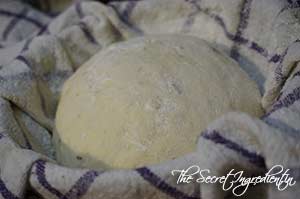
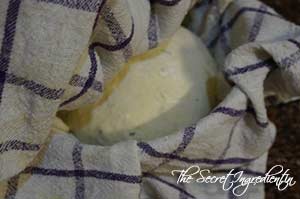
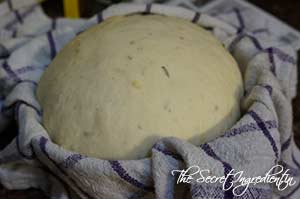
7. Transfer the dough to a greased bowl. And cover with a kitchen towel or cling wrap. Let it sit for an hour or so to double up in size.
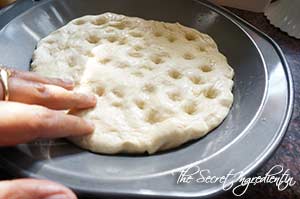
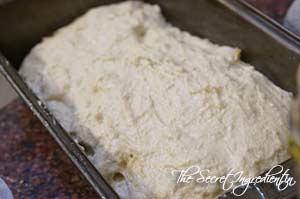
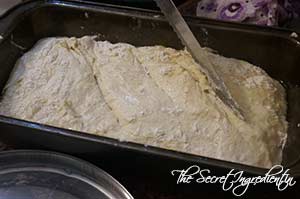
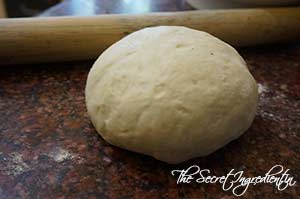
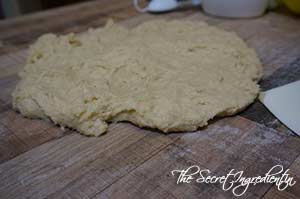
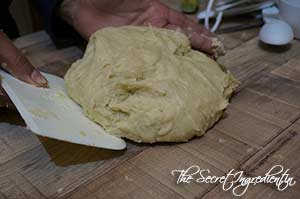
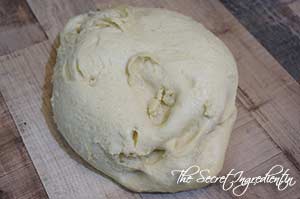
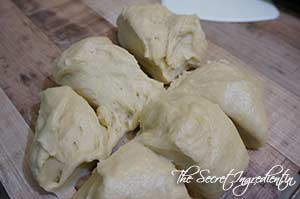
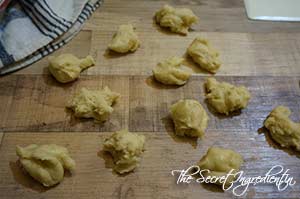
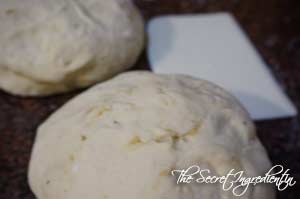
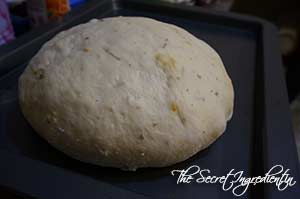
8. Punch it down and deflate the dough. Knead for another 5-7 minutes.
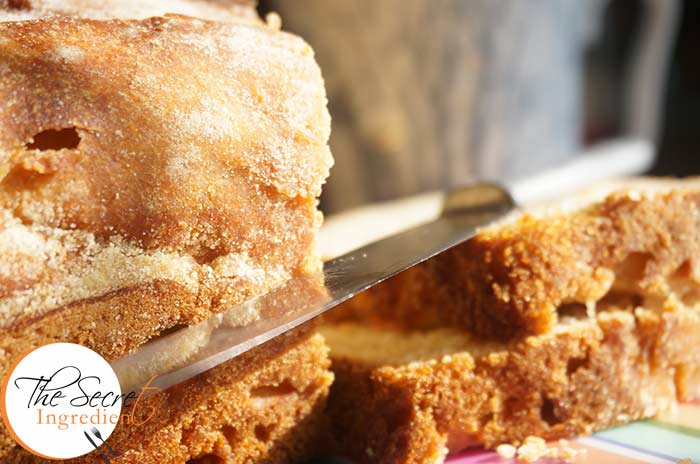
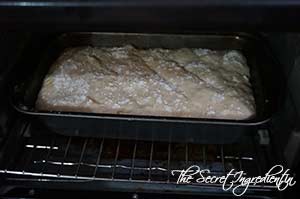
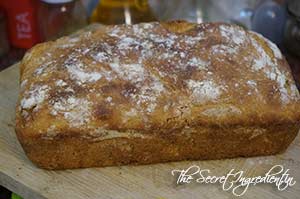
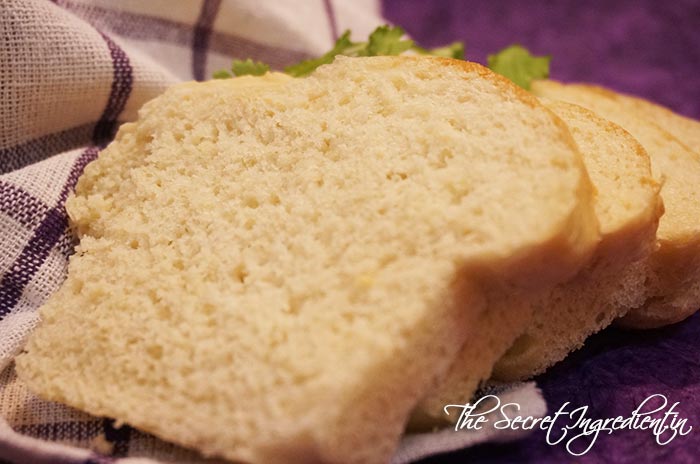
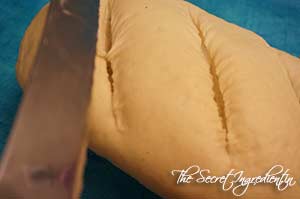
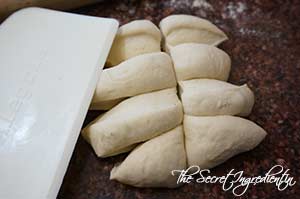
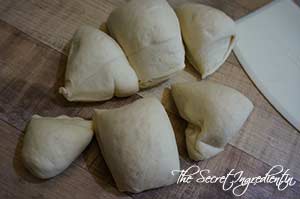
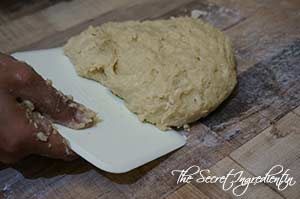
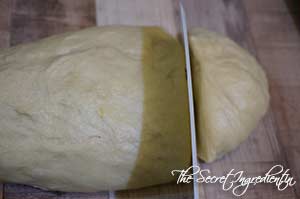
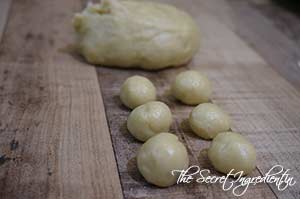
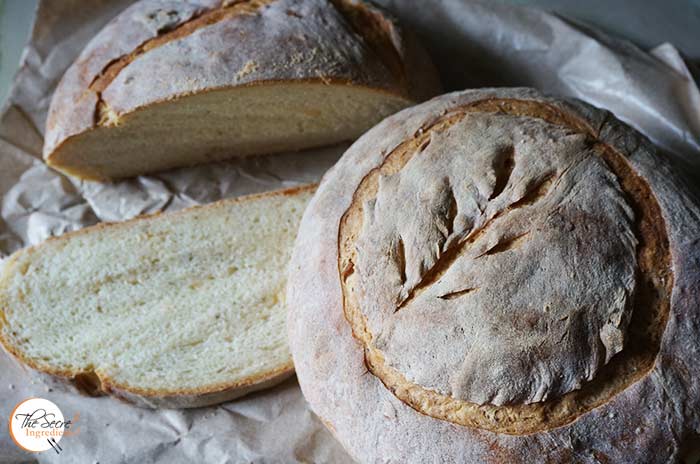
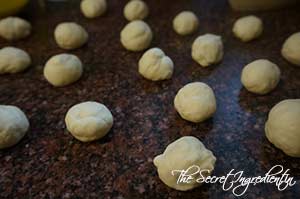
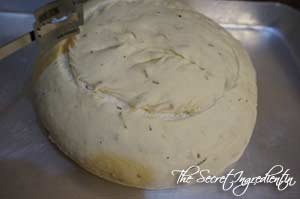
9. Divide the dough into 6 or 12 equal parts using a scraper. I have used half of this dough to make my regular White Sandwich Bread and the other half for these pigs in the blanket. Preheat the oven to 180 degree Celsius (Learn more about Oven Temperatures and Conversions)
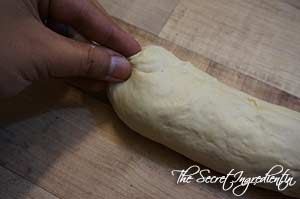
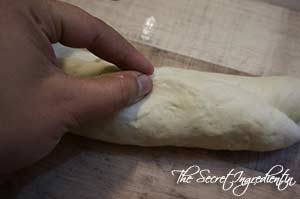
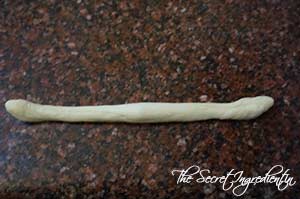
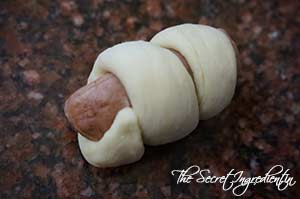
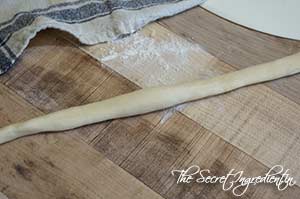
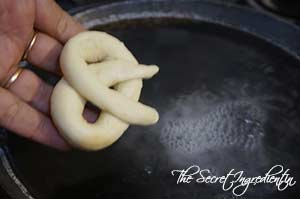
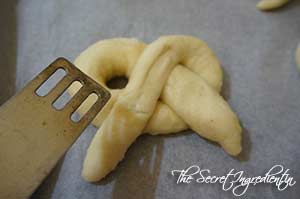
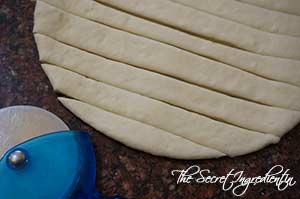
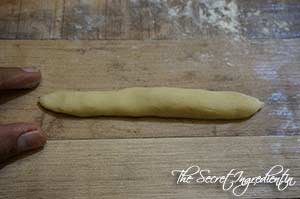
10. Roll each dough bite into a rope.
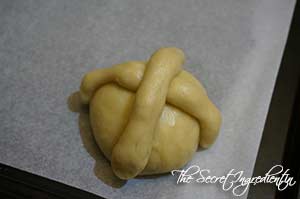
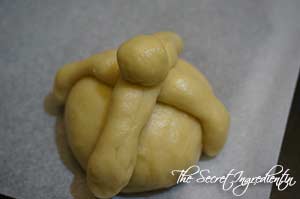
11. Roll this role around the sausage like a serpent.
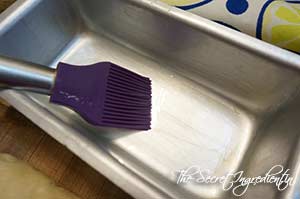
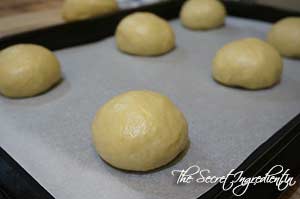
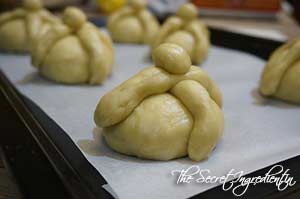
12. Repeat the same with rest of the sausages and place them on a baking tray lined with parchment paper or Silicon mat. You can buy both of them at our online store, The Gourmet Shop.

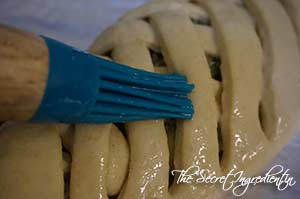
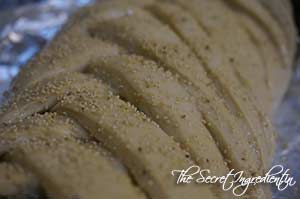
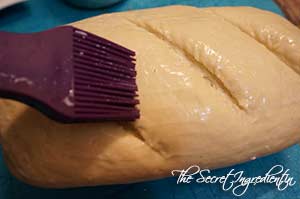
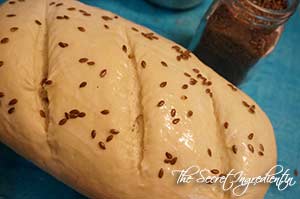
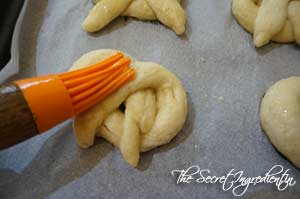
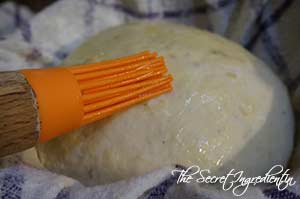
13. Brush them with an egg wash. You can use egg whites with little water and whisk them together . sprinkle with Sesame seeds.


14. Bake it in the preheated oven for 10-12 minutes of until it gets golden brown in colour. Serve hot with some Schezuan Sauce or even sweet Red Chilli Sauce.
 [whohit]PiginBlanket[/whohit]
[yumprint-recipe id=’276′]


 [whohit]PanDeMuerto[/whohit]
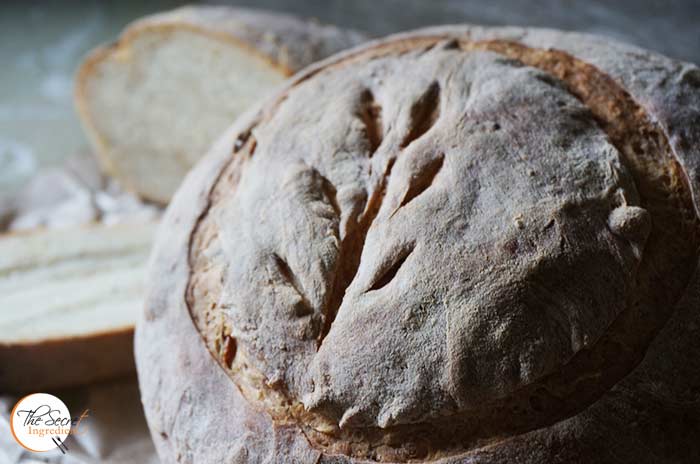


 [whohit]BigaPotatoRosemary[/whohit]