Tag

CookingWithFruits

Browsing


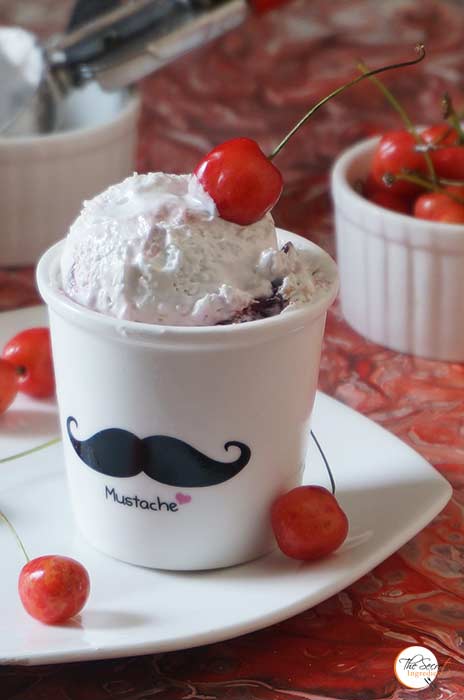
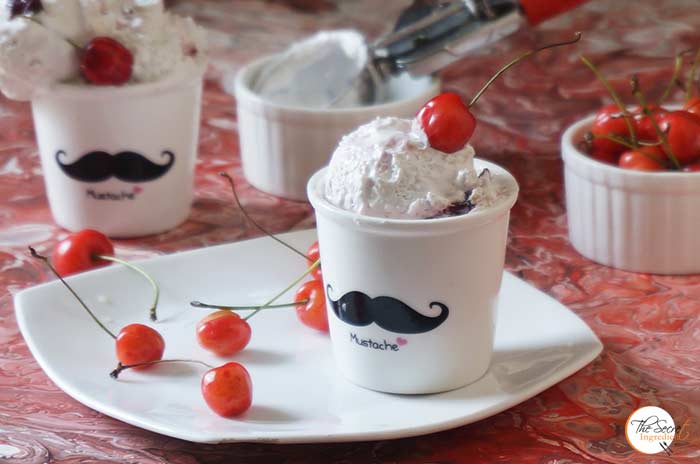
I think my obsession with red fruits and vegetables is growing with growing age. Be it red bell peppers or himalayan bay berries, strawberries or cherries. I like the way they brighten my life. Specially when I see cherries it takes me back in time. My father knew how much I love cherries and at the outset of season he would get for me cartons of cherries. That love is imprinted in my heart and I can never forget that. So whenever I see cheries I go berserk. I always find ways to make something with them. In the past I have made Cherry Focaccia Bread, Cherry & Lychee Ice Cream, Mascarpone Cherry Compote Cheesecake Glasses. And this season I knew I had to make  this Cherry Clafoutis, the popular French flan.


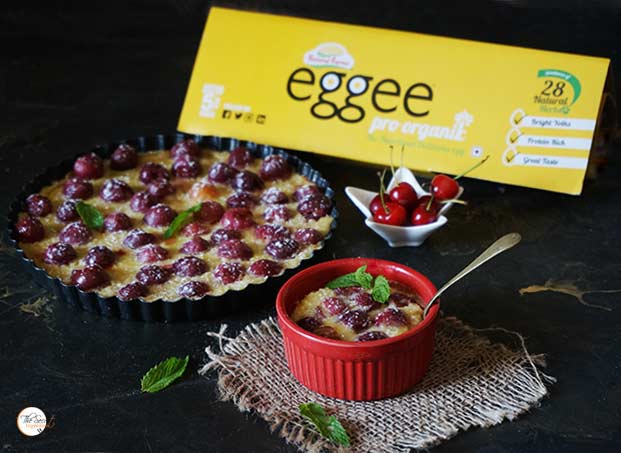
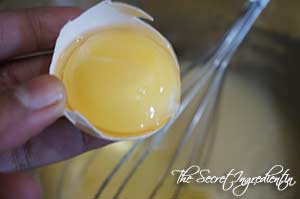
If you have made a flan before you know it is made with a rich custard. The key ingredient in any flan is eggs. If they are fresh ,it has a direct impact on the overall quality and taste of any dish. So my first choice was to use Eggee, which are high protein, organic eggs. They are my family favourite. 


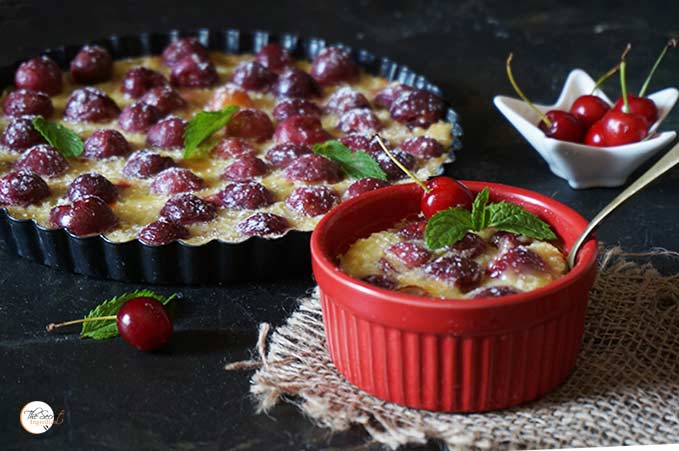
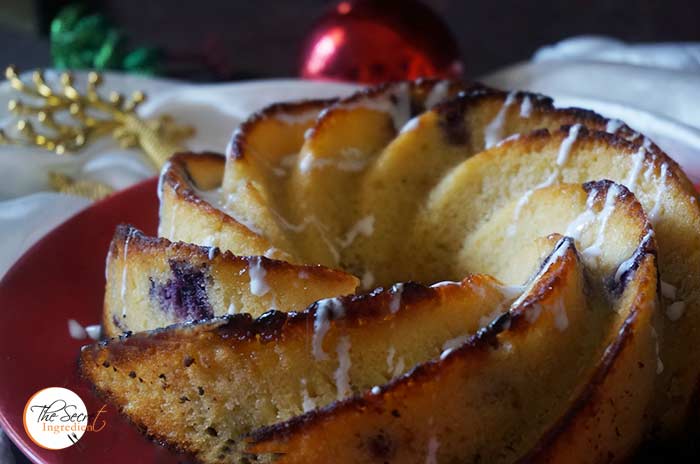
And oh boy! I was right the clafoutis came out so rich and perfect. Its an easy peasy recipe and you should try it out before the cherries disappear for the season. I still have a box of cherries, if you have any interesting recipe where I can utilize cherries please share it below in the comment box.

Directions:
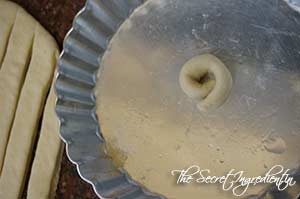
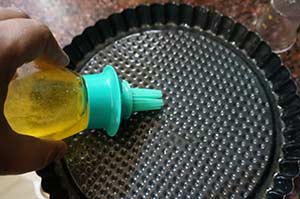
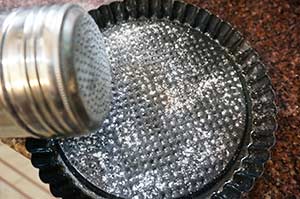
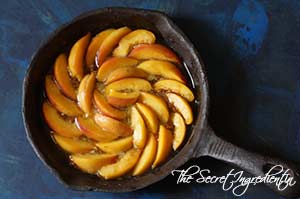
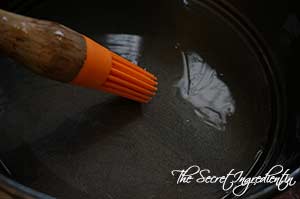
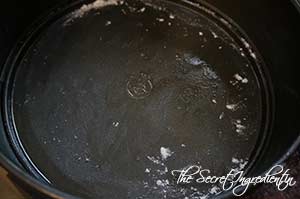
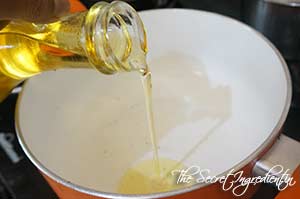
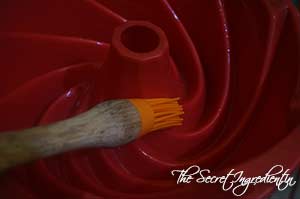
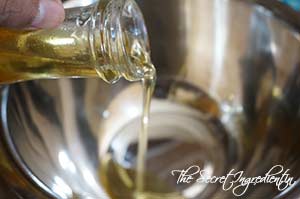
1. Grease a 9 inch pie tart pan or cast iron skillet or baking dish with oil or butter. And dust the surface with Confectioner’s Sugar.


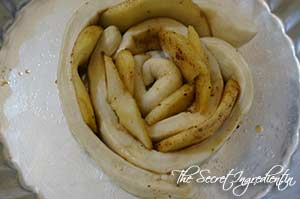
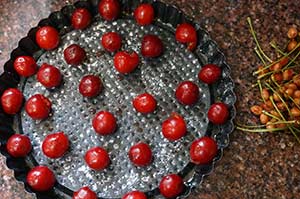
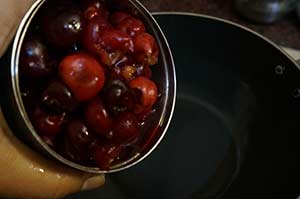
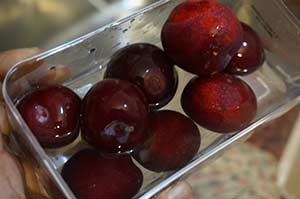
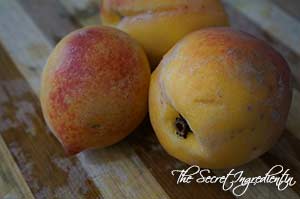
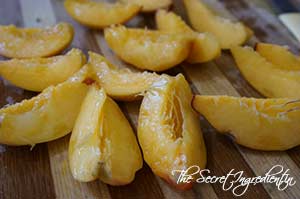
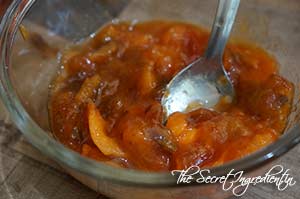
2. Pit the stones out of the cherries. There is an easier way to remove stones from the cherry. Try this method. Place the pitted cherries on the pie pan and spread evenly. Set aside. Preheat your oven on 180 degree Celsius for 10 minutes.


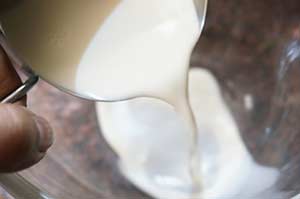
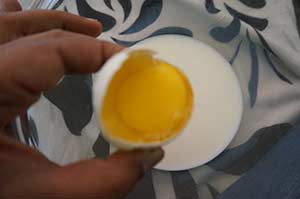
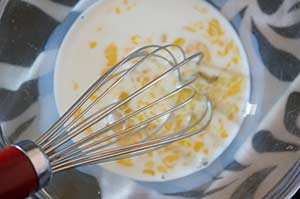
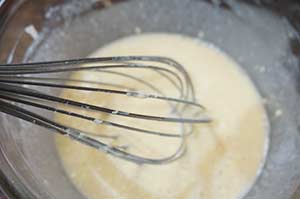
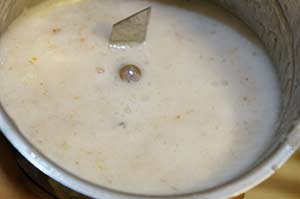
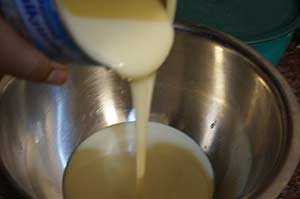
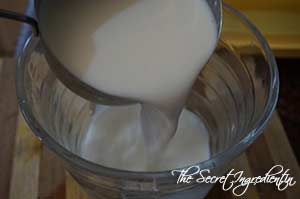
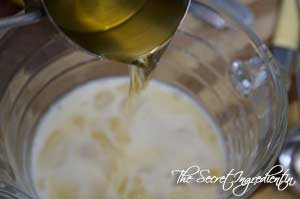
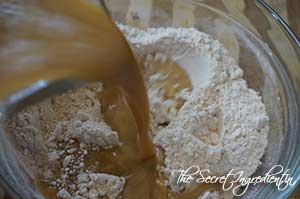
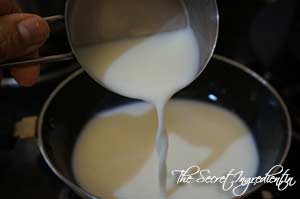
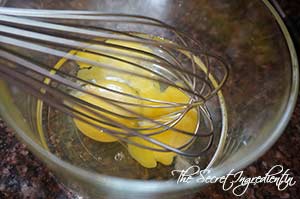
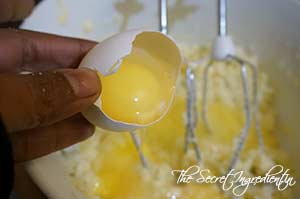
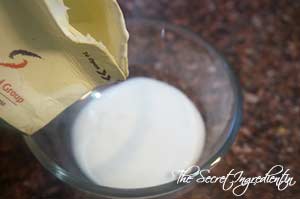
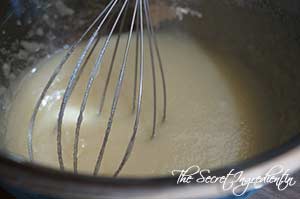
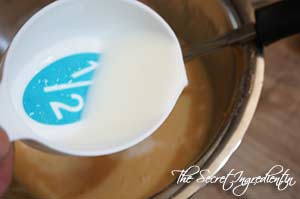
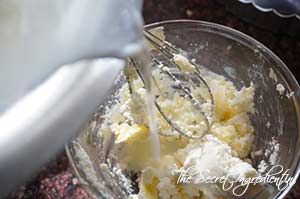
3. In a bowl whisk milk and eggs. I have used organic eggs by Eggee. I find these eggs to be most amazing in nutrition and taste. That yellow yolk is so beautiful. 


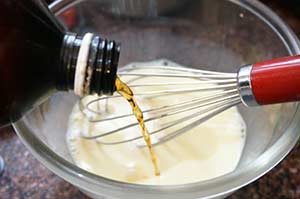
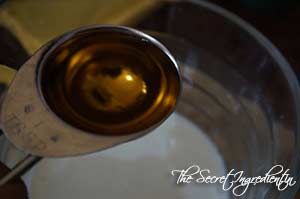
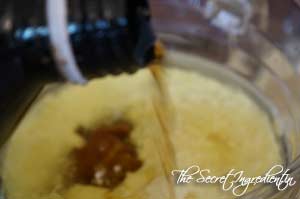
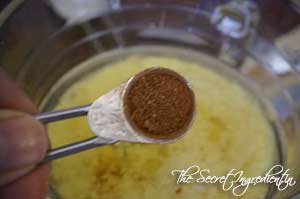
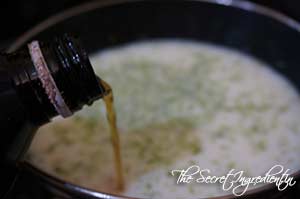
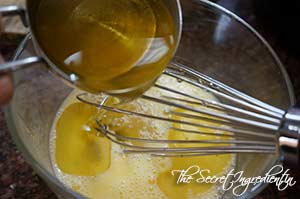
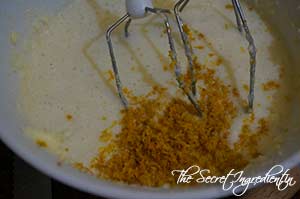
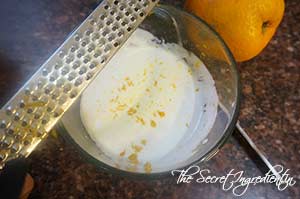
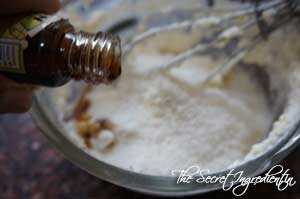
4. Add Vanilla essence and mix.

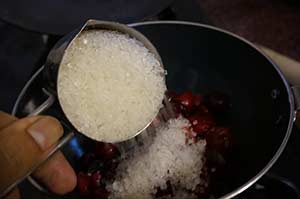
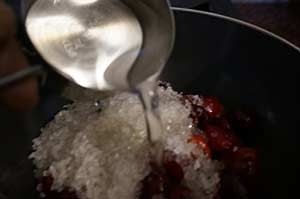
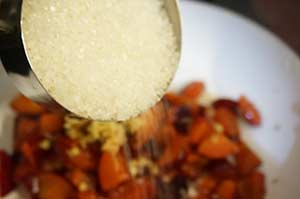
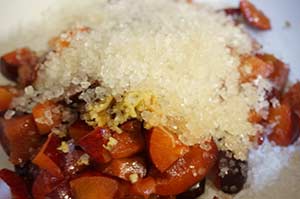
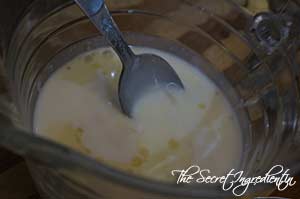
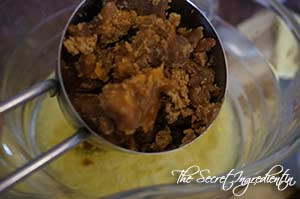
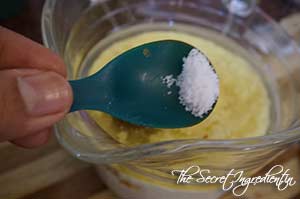
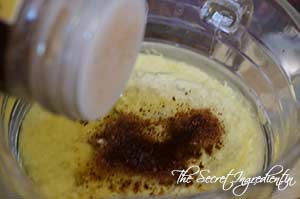
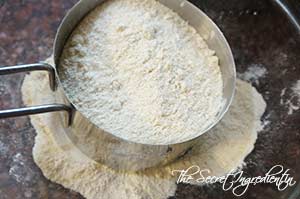
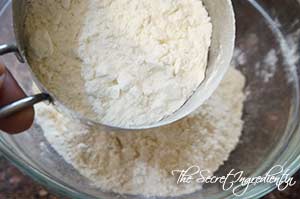
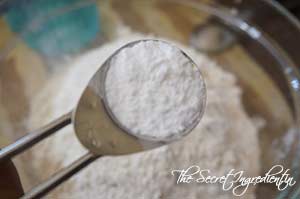
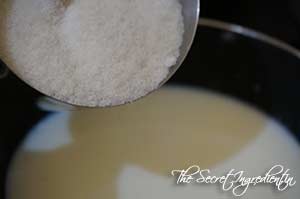
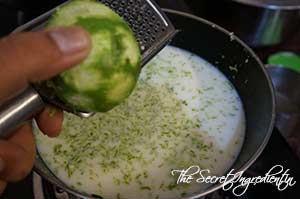
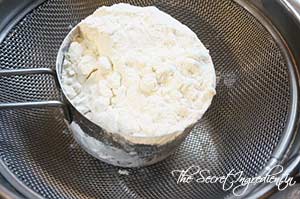
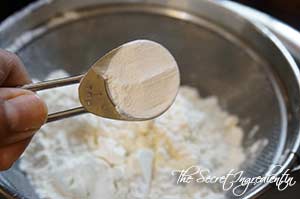
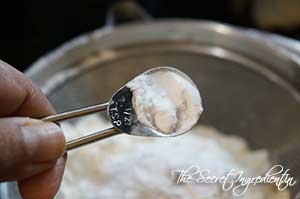
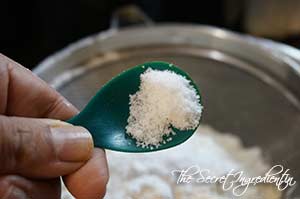
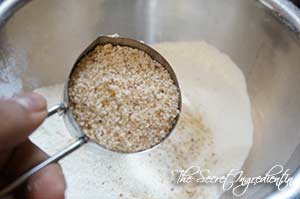
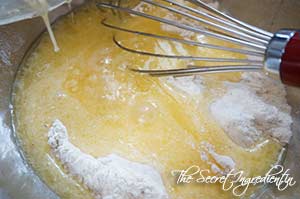
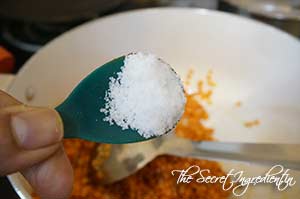
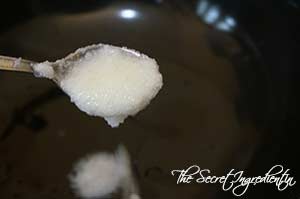
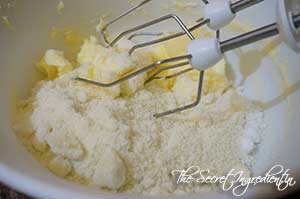
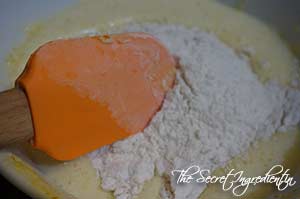
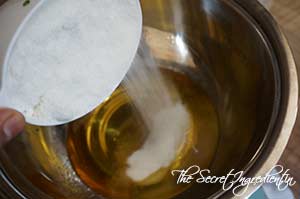
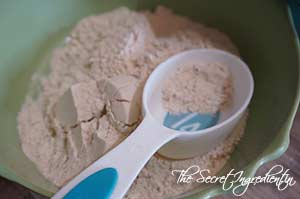
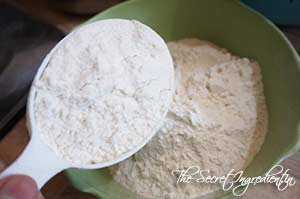
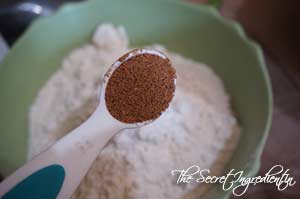
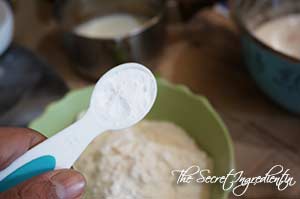
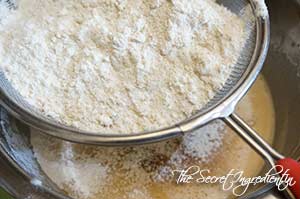
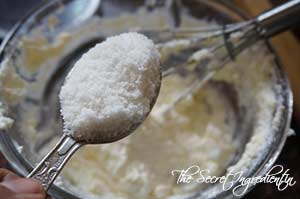
5.Add sugar, salt and all purpose flour.


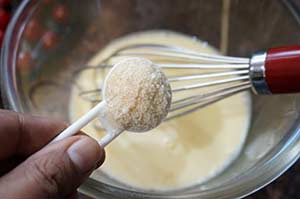
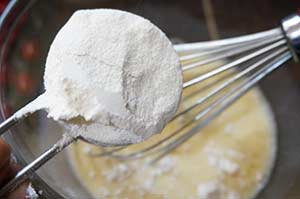
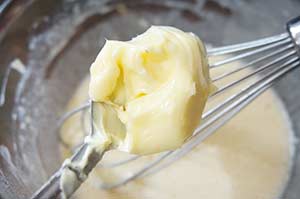
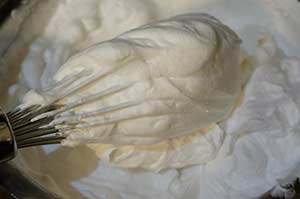
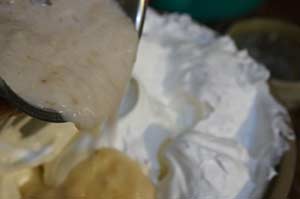
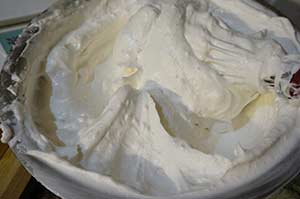
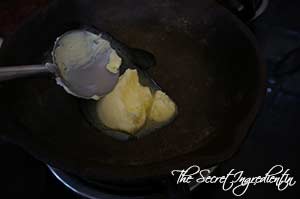
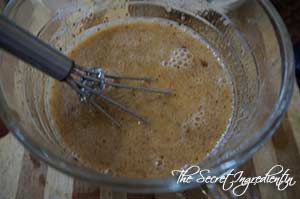
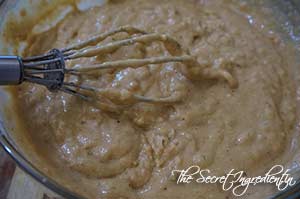
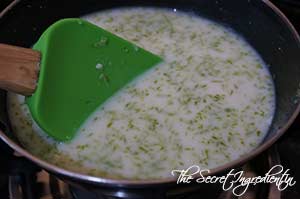
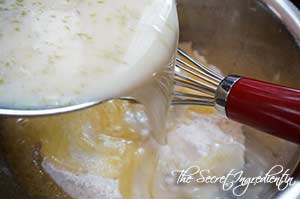
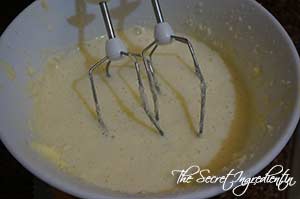
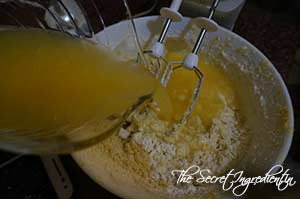
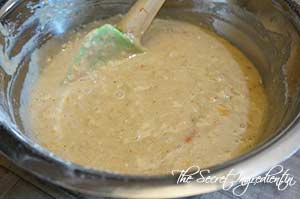
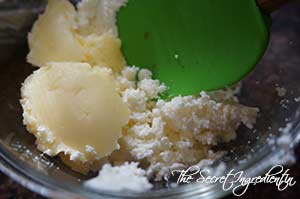
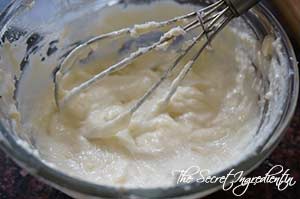
6. Whisk everything together and now add melted butter and whisk again.


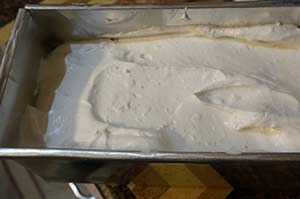
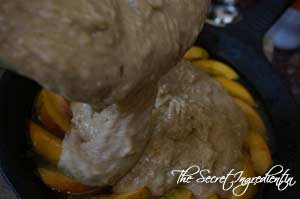
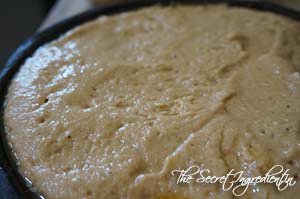
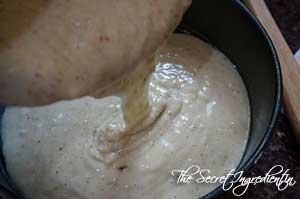
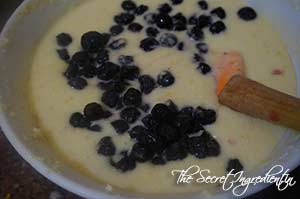
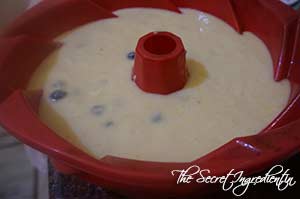
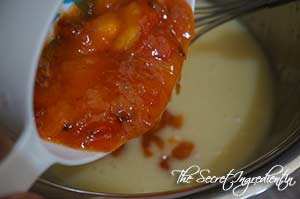
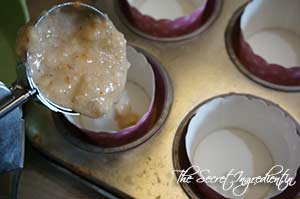
7.Pour this custard in the pie pan over the cherries.


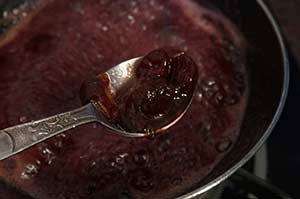
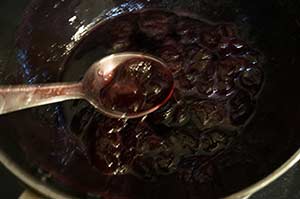
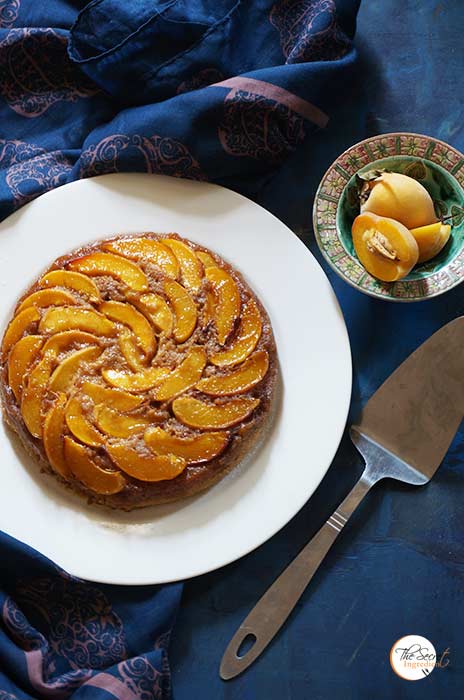
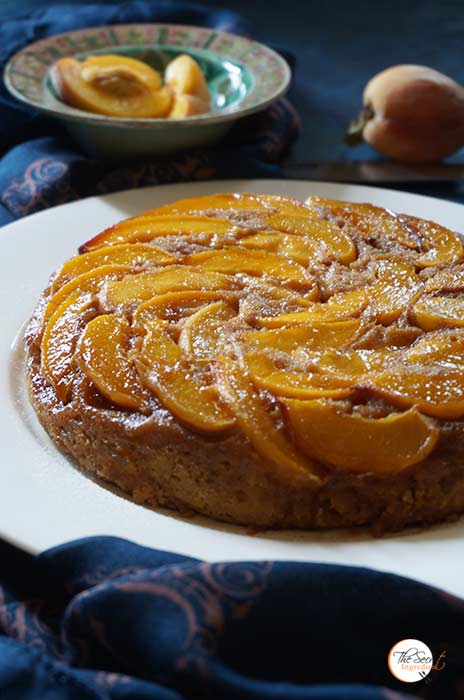
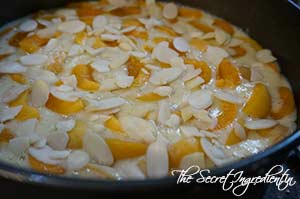
8.Bake it in the pre heated oven on 180 degree Celsius for 40-45 min or until the custard just sets.You can insert a knife in the centre to check if it comes out clean. Slice and serve warm or cold as you like. I like it warm and still jiggly. You can make these in ramekins also which makes individual servings, so perfect for parties.

Other recipes you can try with summer fruits are: Strawberry Walnut Babka, Italian Focaccia Bread with Strawberries, Apple Crisp, Banana Bread Baked Oatmeal with Toasted Walnuts, Eggless Black Grape Cake with Strawberry Jam Glaze, Classic No Bake Key Lime Pie, Coconut Milk Mango Pudding, Eggless Fresh Peach Cobbler.

[yumprint-recipe id=’312′] 

I behave like a little puppy when summers arrive in hills. There is so much to look forward, the fresh bounty which includes fruits like, cherries, apricots, plums, peaches, lychees, apples and pears. I cant seem to get over them. I just have to keep trying new recipes using these fruits. The summers are receding and monsoons is taking over us but then the excitement level hasn’t gone down. I am already through playing with peaches, plums and apricots. But when I spotted cherries my heart skipped a beat, I love them! – the taste, the shape, the colour. It’s like the best fruit for a food blogger. 

I had made Cherry Compote Cheesecake Glasses and Cherry Rosemary Focaccia Bread a while back and had also made lychee lemonade. This time I decided to make lychee icecream with cherry compote. The way they married each other was simply fabulous. You should try this recipe and the results will amaze you.

Directions:

1. Peel the outer skin of lychees and discard the pits. You will be left with lychee flesh.


2. Add the lychee flesh in a blender and churn it to make a smooth puree.


3. Whip together condensed Milk and Whipping Cream till you get airy light and soft cream.


4.  Add the lychee puree to the fluffy cream and whisk again till it blends well. 


5. Transfer the lychee cream to a icecream box with a lid. Smoothen the top with a spatula.


6. Cover the box with a lid and freeze it for about 1 and 1/2 hours.


7. For the cherry compote. Stone the cherries. You can use this easy hack to pit the stones without the use of pitter.  Add the cherries to a saucepan.


8. Also add sugar and water and cook on medium flame.


9. Cook till the cherries have lost their shape and become gooey, almost like a syrup.


10. Cook further till that syrup is thickened and its not liquid any more. Turn the flame off and bring this compote to room temperature.


11.  Spoon the icecream with cherry compote and then using a toothpick or fork create swirls randomly so that the compote mixes with the icecream and creates a swirl like pattern. Do not over mix for that effect will not come.


12. Freeze the icecream again with lid on for minimum of 4-5 hours or overnight. Scoop and serve and you will get the best creamy homemade Lychee and Cherry Ice cream!  

You can even try Instant Pista Badam Kulfi and Darsaan. 


[whohit]LycheeCherryIcecream[/whohit]

[yumprint-recipe id=’287′] 

Living on the hills has its own advantages and disadvantages.  One of the most amazing part of the hills is that we get access to some fresh bounty in the form of fruit, vegetables and lentils. Everything is organically grown. Last week when I went to Mukteshwar, I saw people selling fresh plums , peaches and apricots on the road side, just outside their orchards. I bought them greedily and started weaving dreams of how I can utilize them. I made Peach upside down cake with peaches, Apricot Almond Cake  and Apricot coriander chutney with apricots and this Plum Ginger Jam with juicy ripe plums. 

This is by far the most amazing combination of jam I have made. The way plum marries ginger is outstanding.  It has an incredible out of the world taste and goes amazing with my Sourdough Bread, I made a small batch to really understand how ginger marries Plums but looks like I have to make a huge batch as the result was sincilating! Try this 4 Ingredient, Preservative free, Pectin free Plum Ginger Jam and you will surely like to thank me πŸ™‚


Directions:
1. Wash some plums and pat them fry with a kitchen towel.


2. Chop them into small pieces and remove the stone. Place a ceramic plate inside the freezer. 


3. Put the chopped pieces of plums in a pan, preferably a non stick pan. 


4. Add grated ginger, lemon juice and sugar.


5. Mix everything well and turn the flame on. Keep cooking on medium high flame.


6. The plums would release its liquid and entire mixture will come to a boil. If you feel their is little liquid in the plums add 1 tbsp water and cook.


7. Keep stirring and cooking. As the plums cook the colour of the jam will become darker. After 10 minutes approximately when you notice it has achieved some what jam like consistency you can test by putting quarter of a spoon on the frozen ceramic plate and run a finger in between it. If the division remains clear your jam is ready but if the jam runs over, you need to cook a little longer and do the test again.


8. Turn the flame off and let it cool down before you transfer this to a glass jar. Store in the refrigerator for couple of weeks. Please use a clean and dry spoon for spooning out the jam from the jar.

Other Plum recipes you can try are : Spiced Plum Chutney and Plum and Mango Smoothie  .

You can even try Red Bell Pepper and Chili Jam and  Strawberry Jam

[whohit]PlumGingerJam[/whohit]

[yumprint-recipe id=’286′]

I woke up one morning to find a mail in my mailbox saying that my blog has been listed under top 100 Indian Food Blogs by Feedspot. First I dint take it seriously because the link said I shared the space with Masterchefs like Sanjeev Kapoor and knwon faces like Nishamadhulika and Manjula’s Kitchen. But then by evening the word spread to Facebook and my friends started tagging me that my blog name is actually in top 100 Indian Blog list. I was numb for a moment but then I was jumping with joy. I want to thank you my readers , my family and my friends who have encouraged me and supported me in this food journey. What would I do without your love! 


My family wanted a cake to celebrate the occasion and I though of baking this Peach upside down cake. This cake was baked in a cast iron skillet and uses no refined flour or sugar! It was moist and held the peaches so well. The flavour of jaggery gave it that earthy feel. What a healthy way to celebrate the occasion. 

Directions:

1. Thoroughly wash ripe peaches and slice them into wedges and discard the stones.


2. Place a 8-9 inches cast iron skillet* on stove and add butter. You can buy a 6 inches Cast iron skillet from our online store The Gourmet Shop . Let the butter melt and spread crumbled jaggery all over the surface. Instead of jaggery you can also add brown sugar. Let the jaggery melt and form a caramel like syrup. Turn the flame off.


3. Place peach wedges all over the skillet. Set aside. In the meanwhile preheat the oven for 10 minutes on 180 degree Celsius (Learn more about Oven temperatures and conversions)


4.  In a vessel add milk and Apple Cider Vinegar**.


5. Stir to mix and also add oil. Heat the milk oil mix in a microwave for 2 minutes.


6. Add brown sugar or jaggery powder, salt and vanilla extract.


7. Also add cinnamon powder and nutmeg powder to the wet ingredients.


8. Give everything a good mix and set aside. 

9. In another bowl add whole wheat flour and All purpose flour.


7. Also add baking powder and baking soda. Combine all the dry ingredients.


11. Add the wet ingredients to the dry ingredients and mix everything till everything is moistened. Do not over mix for you do not want a tough cake.


12. Pour this batter over the peaches in the skillet. Level up with a spatula and pop it in the oven for 30 minutes or till the tooth pick inserted comes out clean.  


13. Bring the skillet outside the oven and let it sit on the counter for 10 minutes and only after that invert it on a serving plate carefully. If you do it before ten minutes the cake will spread everywhere and if you wait too long the caramelized peaches will stick to the skillet and will refuse to move. Therefore, invert the plate right after 10 minutes. Slice and enjoy!

Other recipes with fresh peach you can try are: Peach Lemonade and Eggless Fresh Peach Cobbler.

If you are looking for other Cakes and desserts with fresh fruits you can try: Fresh Apricot and Almond CakeApple CrispMango Vanilla CakeFestive Orange Blueberry Pound CakeSorghum and Wheat Flour Persimmon Cupcakes with Cream Cheese FrostingVanilla & Pomegranate CakeVegan Chocolate Banana CakeMascarpone Cherry Compote Cheesecake GlassesEggless Orange Cake with Candied Orange Peel FillingPersimmon Rum Cake,  Mango Tart with Vanilla Pastry Cream

[whohit]PeachUpsideDownCake[/whohit]

[yumprint-recipe id=’282′]


The advantages of living on the hills are plenty. One of them being you get to taste the fruits first which grow around us everywhere. When I saw fresh Apricots, I bought them greedily. Yes I am a compulsive buyer. I end up buying so much produce and which all ends up in my bakes or I have to gift them to my friends. But yes I dont mind doing that because the pleasure of buying is always greater πŸ˜› I hope my husband is not reading this or else I know a big lecture is coming my way πŸ˜›


I love to play around with fruits. I find excuses to bake with them or make something fabulous with them. I feel fruits give a lot of character to the dish. It makes them special and so very fresh and vibrant. In the past I have used pomegranate, papaya, peaches, apples, black grapes, persimmons, oranges, cherries, bananas, blueberries and what not in my food and recipes. This time I knew its going to be apricots and when I looked for this recipe with Almonds and Apricots in a cake the idea kinda clicked and then there was no looking back. I was here baking a cake with these pretty little apricots. The cake was moist and very spongy I loved its dark crisp crust which was perfect for tea time.

Directions:
1. Wash some ripe apricots and deseed them and cut them into quarters and set aside.


2. In a blender add some almonds and grind them into a powder. Set aside.


3. In a saucepan add milk and sugar.


4. Also add zest of a lemon and vanilla extract. Bring everything to a simmer till sugar dissolves in milk. Do not boil. Remove from the stove and let it cool down.


5. Grease a 9 inch Springform baking tin with oil and sprinkle some flour all over. You can buy this tin at our online store, The Gourmet Shop. Preheat the oven to 180 degree Celsius (Learn more about Oven temperature and Conversion).


6. In a bowl sift All purpose flour, baking powder and baking soda.


7. Also add salt and almond meal which we had reserved before. Keep the dry ingredients aside.


8. In another bowl add some eggs and whisk them till they are light and fluffy. And add oil to them and whisk again.


9. Add the egg and oil mix to the dry ingredients. Also add the cooled sugar milk we had made before. Combine everything together till everything is moist. Do not over mix for you will end up making a chewy cake.


10. Pour this cake batter on the greased tin. And tap couple of times to remove any trapped air bubble.


11. Randomly place apricot quarters all over the surface of batter. It may not be in a designed pattern because eventually nothing will show and they will spread all over the cake. Add some almond flakes over the batter. 


12. Bake in the preheated oven for 40-50 minute or until the toothpick inserted in the center comes out clean. If at any stage you feel the cake is getting too browned tent it with an aluminium foil. Once baked remove it from the oven and let it sit on the counter for 10 minutes. Remove from the tin and keep it on the wire rack till it has come to room temperature. You can dust it with some confectioner’s sugar, slice and serve.

Other cakes you can try are: Sorghum and Wheat Flour Persimmon Cupcakes with Cream Cheese Frosting Fresh Mango Cake with Vanilla and Chocolate CollarFestive Orange Blueberry Pound CakeVanilla Cake with Pomegranate Syrup Lemony Pound Cake with Lemon FrostingEggless Orange Cake with Candied Orange Peel FillingApple Raisins Streusel BreadPersimmon Rum CakeEggless Mediterranean Semolina CakeEggless Almond Vanilla CakeEggless Black Grape Cake with Strawberry Jam GlazeVegan Chocolate Banana CakeChocolate Vanilla Marble CakeSurprise Heart Inside CakePumpkin Cake RollsWacky Vegan Chocolate Cake.

[whohit]ApricotAlmondCake[/whohit]

[yumprint-recipe id=’280′]

So the green mango saga continues. I had about 6-7 kgs of unripe green mangoes from my parents yard and I wanted to try out new recipes. Last week I had made Sweet and Sour Aam ki Launji which was simply phenomenal. I had asked for suggestions from my blogger friends if they could suggest a few recipes which could be made with unripe mangoes. My talented friend Rhea from the Food blog Euphorhea suggested Mango Dal which is unripe mango cooked with lentils. The idea kinda fascinated me. I tried it and the result was amazing. The dal was yummilicious with the tangy flavour of green mangoes.


I love anything which has temper of kaddi patta and mustard seeds. I don’t say it a lot but I feel I like South Indian food a lot. The tanginess of tamarind which is infused in sambhar or any dal is quite enthralling to my taste buds. And when this tanginess is absorbed by idlis or dosas …aah! the level of awesomeness achieves new heights. 

I finished one bowl of dal all by myself, even before the lunch was served. Quality testing is very important (yeah right!). A small change I did to her basic recipe was that I added ginger garlic paste to the dal which I think gave a lot of texture and taste to the lentils. 

If you have unripe mangoes you must give this dal a try. It will not disappoint you. And if you are looking for more unripe mango recipes you can check the links. I have listed all the possible things I have tried with green mangoes. This list is non conclusive as I am adding more things every day till the season of mangoes dies down for this year πŸ™‚

Directions:
1. Wash and soak lentils in water for half an hour. I have used Masoor Chilka or Red Lentils without the skin. You can use any lentils which gets cooked readily.


2. In the meanwhile peel and chop some unripe green mangoes into cubes and set aside.


3. In a sauce pan add some oil and add drained lentils and saute them for at least 5 minutes.


4. Add ginger garlic paste and continue to saute with the lentils till the raw smell of garlic fades away. 


5. Add turmeric powder, red chilli powder and salt.


6. Add water to the lentils and bring it to a boil. Then cover with a lid and continue to simmer till the lentils have cooked. It should take from 10-15 minutes. 


7. In a wok add some ghee and add mustard seeds and cumin seeds. Let them crackle.


8. Also add dried red chilli and toss it in the oil to release flavours.


9. Add mango cubes and kaddi patta and cook them in the wok till mango cubes are cooked .


10. Add the boiled lentils to the mango temper and continue to cook for another 5-7 minutes on simmer. Check for salt.


11.  Serve hot with chapatis or roti or parantha.

Other recipe you can try with unripe green mangoes are:  Kaccha Aam Aur Lehsun ChutneyFresh Turmeric Pickle with Green Mangoes Raw Mango RiceAam Ka PannaRaw Mango Chutney with Mint and CorianderKhatti Meethi Kacchey Aam Ki Chutney Instant Raw Mango Pickle South Indian Style, Aam ki Launji.

[whohit]MangoDal[/whohit]

[yumprint-recipe id=’279′]

orangeblueberrycake_featured1

Its almost Christmas and time for us to move our base from the hills to the plains till the winter break is over. This is the time of the year when our school shuts down for almost two months and we get a good time to spend with our family and loved ones. My bags are packed and I am about to empty my pantry. Last few days I am baking with whatever fruit is left in the fridge. Therefore, the productivity of Oven is at its peak. When I saw oranges and blueberry in my freezer compartment I knew I have make this cake which has been on my to do list for such a long time. I wanted a simple Orange Pound cake which makes everything just right.

orangeblueberrycake_featured4

And when the cake came out of the oven it was simply to die for. So moist, flavourful with orange zest and the cake was screaming eat me up! So that’s what I did πŸ˜‰ If you are planning to do something for this holiday season its highly recommended that you include this in your bake list. You will surely thank me πŸ™‚ Until next time…

Directions:

1. In a bowl add All purpose Flour, salt and Baking Powder and combine. Set aside.


dsc00146


dsc00147


2. Take zest of two oranges and juice them. Set aside the zest and fresh orange juice aside.

dsc00145

3. In another bowl add add butter at room temperature. Also add sugar and whisk it till everything is creamy.


dsc00148


dsc00149


4. Add eggs and continue to whisk till everything is light and fluffy.


dsc00150


dsc00151


5. Add Orange Zest and combine.

dsc00152

6. Now add dry ingredients to the wet and also add orange juice. Combine everything.


dsc00153


dsc00154


7. Add blueberries and fold inside the batter.

dsc00155

8. Grease a bundt pan or any pan you fancy. Dust it with dry flour. Preheat the oven to 180 degree Celsius for ten minutes. 

dsc00156

9. Pour the batter in the baking pan, remember to fill only 3/4th of it. Because you need to give it room to rise. Bake in the oven for 45- 50 minutes or until the toothpick comes out clean. If the cake is getting brown too fast tent it with aluminium foil and continue to bake at the same temperature.

dsc00157
10. While its baking in the oven you can prepare a glaze to pour. Add whipping cream in the bowl lightly whisk it add icing sugar, if its not sweet already and  add some orange zest. Combine together.


dsc00158


dsc00160


11. Add the glaze in a piping bag and make a very small cut in the tip. You dont need a nozzle for this.

dsc00163
12. When the cake has baked take it out of the oven and let it cool down completely before taking it out of the pan. When it’s at room temperature drizzle some glaze on top and serve.

Other festive things you can try: Gingerbread Man CookiesGreek Traditional Christmas Cookies , Chocolate Vanilla Marble CakePersimmon Rum CakeSorghum and Wheat Flour Persimmon Cupcakes with Cream Cheese Frosting.

orangeblueberrycake_featured2
[whohit]OrangeBluebberyCake[/whohit]

[yumprint-recipe id=’265′]


persimmoncupcakes_featured2

Last year when I saw Kaku or Ramphal or as it is called as Persimmon in english in my local market I was thrilled to try them. We get Hachiya variety of Persimmons in our hills which is a sweeter variety but tannic and astringent in taste if you eat them unripe. By ripe I mean they should be almost squishy and the pulp should almost run out of the fruit. Surprisingly the locals dont like the taste of the fruit. But the Persimmon Rum Cake I made last year was amazing. This year I wanted to take my experiments to a next level. I tried to make a healthy bake by adding Organic Sorghum Flour and Whole Wheat Flour. I made these gorgeous and delicious cupcakes with these enriching flours. I picked up Sorghum Flour or Jowar ka Atta from Conscious Food. Their products are absolutely top notch. We are proud to have partnered with them and now you can buy them on our online store The Gourmet Shop

persimmoncupcakes_featured1

I sent this recipe for the 2nd Anniversary Ovenderful Mom Bakers Community Annual Contest . With the grace of God my recipe got a consolation prize as one of the healthy bakes. So if you have persimmons on hand and healthy cupcakes is on your mind this is a winning recipe, well literally πŸ™‚ 

Directions:
1. You need to peel the skin of Persimmons and spoon out its pulp. If you are using the Hachiya variety make sure its squishy ripe. Remove seeds if any. With the help of a potato masher mash the pulp and set aside.

dsc09296

2. In an another bowl add vegetable oil and sugar. 


dsc09297


dsc09298


3. Whisk the sugar and oil till sugar is dissolved. Slowly whisk in eggs and make the mixture cremier.


dsc09299


dsc09300


4. Add the persimmon pulp and combine. Also add milk , vanilla extract and whisk well.


dsc09303


dsc09304


dsc09346


5. In another bowl add Wheat Flour and Conscious Food Sorghum Flour and combine them.


dsc09305


dsc09306


6. Add pumpkin pie spice and Baking soda to the flour and combine. 


dsc09308


dsc09307


 7. Sieve the dry ingredients to the wet ingredients and combine till everything is moistened. Do not over mix.


dsc09333


dsc09334


8. Preheat your oven to 180 degree C (Learn more about Oven temperatures and Conversions) and if you are using muffin liners, line your muffin tray with the liners. I am using stand alone bakeable cups. You can buy them at The Gourmet Shop. Pour the batter in the cups and fill only 3/4 of the cup. Bake in the preheated oven for 20-25 minutes until the top is golden in colour and the tooth pick inserted comes out clean. 

dsc09335
9. While these are baking make the cream cheese icing by whisking Cream cheese and butter in a bowl. Add a little milk to make the icing a little loose.


dsc09342


dsc09343


10. Once the icing is whisked add powdered sugar or icing sugar and continue to whisk.


dsc09344


dsc09345


11. Once the sugar has mixed well set the icing aside. Line a pipping bag with a pipping nozzle of your choice. and cut the top edge with a pair of scissor. 


dsc09347


dsc09348


dsc09349


12. Place the bag in a glass and pour the icing in it. Squeeze it to go further down. Now fold the top of the bag to avoid icing from flowing back.
dsc09350

14. Ice your cupcakes after they have cooled down completely. If you like you can top the icing with a half slice of persimmon. Enjoy.

You can even try Persimmon Rum Cake.

Other Cupcakes and Muffins you can try : Papaya Chocolate Muffins and Vegan Eggless Chocolate Muffins 

persimmoncupcakes_featured4[whohit]PersimmonCupcakes[/whohit]

[yumprint-recipe id=’262′]

appleswirlbread_featured2

It was an ordinary day when I was finishing my chores which involved baking a loaf of bread for the next three days. The creative part of me decided to do something offbeat therefore I kneaded some extra dough of my regular White Sandwich Bread . I let it proof till it doubled up. Then suddenly craving for apple pie set inside me. I knew making an apple pie meant a lot of extra calories and labour πŸ˜› So I sliced some apples and rolled them into spices and shaped them into a rose flower along with the dough. This technique I had seen once on pinterest from Inspired by Charm. I did not follow this recipe  to the T but tweaked it a little to make it easier and healthier.

appleswirlbread_featured4

The result was just divine!! After I finished the shoot this bread was gone in minutes nd I managed to get a tiny miny slice for myself. This was the best sweet bread ever! If you are baking your bread next time do ensure you knead some extra dough and make this baby. You will thank me later πŸ™‚

Directions:

1. Wash, Peel and Core Apples and cut them into thin slices. Place these slices in a bowl.


dsc09773


dsc09774


2. Add Cinnamon Powder, Brown Sugar and squeeze out a juice of lemon.


dsc09775


dsc09776


dsc09777


3. Mix everything thoroughly that the apples are well coated with the spice and sugar. The lemon will prevent the apples from turning brown and help coat the apples.

dsc09778
4. Take a White Sandwich Bread dough and after first proof deflate the dough. Shape it like a ball and with the help of a rolling pin , roll it in a flat disk like a pizza or roti.


dsc09780


dsc09781


5. With the help of a pizza cutter cut the circular disc into 1/2 inch strips. 

dsc09782

6.  Grease a pie pan with oil. I have used a removable bottom pie pan which makes things easier to remove. You can always place your order with The Gourmet Shop and buy this pie pan.

dsc09779
7. In the centre of the greased pie pan add the smallest strip of bread dough and curl it with your hands.

dsc09783

8. Now curl the other strips around it by placing a slice of apple in between each strip. The pictures below will give more clarity. Cover the entire pie pan with apples and dough strips. It will resemble like a rose flower.


dsc09784


dsc09785


9. Cover the pie pan with a lint free kitchen towel and keep it in a warm place to rise until doubled.


dsc09786


dsc09793


10. Preheat the oven to 180 degree Celsius (Learn more about Oven Temperatures and Conversions) for ten minutes. Now place the bread inside the oven on middle wrack and bake for 20-25 minutes till the top has become golden brown.

dsc09797
11. Remove it from the oven and brush it all over with melted butter. and sprinkle some caster sugar on top.


dsc09805


dsc09806


12. Remove the Bread from the Pie Pan and transfer it to a serving plate. Drizzle some Caramel syrup. Slice and serve hot with a hot cup of Coffee and enjoy the winters.

If you are looking for more bread recipes you can try: Vegetarian homemade PizzaRussian BubliciWhole Wheat Sandwich BreadChinese Black Sesame Steamed BunsCinnamon Raisin BreadBeetroot Bread with Garlic and ThymeHoney Oats BreadDomino’s Garlic BreadsticksGarlic Rosemary Focaccia Bread and Focaccia Bread with Fresh Cherries, Rosemary and Sea Salt.

appleswirlbread_featured3

[whohit]AppleSwirlBread[/whohit]

[yumprint-recipe id=’261′]