Author

anshu

Browsing

wholewheatsandwichbread_featured1

I tried my hands numerous times to bake a perfect bread. After a lot of hit and trial I finally figured out what goes into that perfect loaf of bread. Since then I have been experimenting with new recipes and have stopped buying bread from market. Its been half a year now and I oo don’t miss eating that crappy bread.

A lot of people say that they just cant get the bread right, the dough never rises. Its because the yeast is either expired or the temperature of water is not perfect for yeast to rise. Always check the colour of your yeast it should be whitish and not brown in colour. If its brown it means it is of no use, simply throw it in the bin. If you want to under yeast better you must read “All you ever wanted to know about yeast“. I have started using instant yeast which can be mixed with the dry flour and kneaded into a dough, leaving no room for any error. You can buy Instant yeast from our online store The Gourmet Shop

wholewheatsandwichbread_featured3


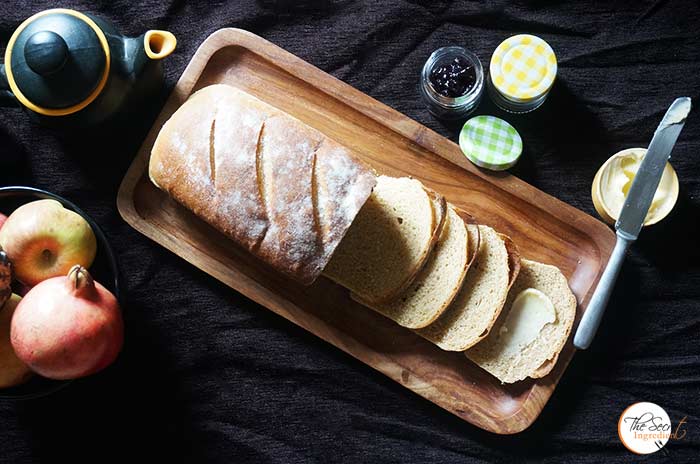
I had earlier posted a  recipe of White Sandwich bread which come out beautiful. But lately, I have tried to cut All Purpose Flour from my daily life, therefore eating Whole Wheat bread is always a better open. But to make a whole wheat bread is a little different. If you are using whole wheat flour or atta the bread comes out dense and bulky. The reason being that unlike All Purpose Flour Whole wheat flour doesn’t have that much gluten which is essential for making a airy light bread.  Therefore, if you add additional gluten to the flour while kneading the bread will come out just amazing.

Directions:

1. In a bowl add wheat flour and salt.

DSC07265
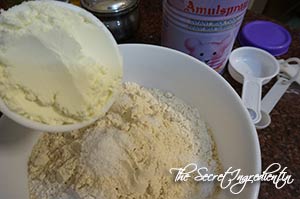
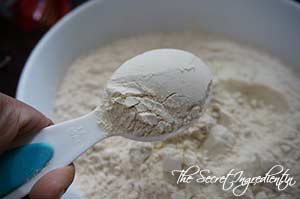
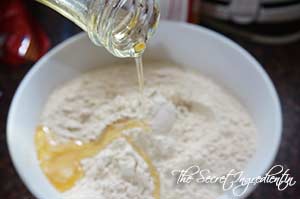
2. Also add milk powder, Gluten and oil. If you dont know what vital gluten looks like, its just like any other flour. You can always buy at our Online store.

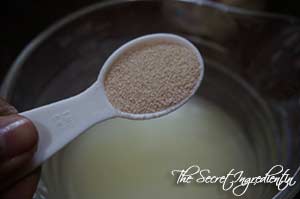
4.  In a container take some lukewarm water. It should neither be hot nor cold, just hot enough to comfortably put your finger into it. The right temperature of the water is very important for yeast to activate. Put yeast into it. Along with yeast add some sugar.

dsc09017


dsc09018


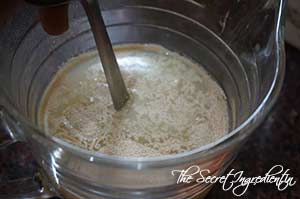
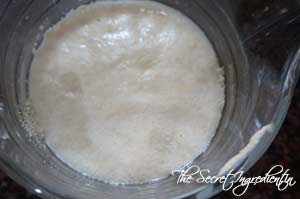
5. Give it a gentle stir with a fork and let the mixture sit and activate for 10 minutes or until you see some bubbles on top and mixture has become frothy and milky.
dsc09020


dsc09022


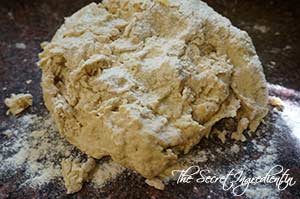
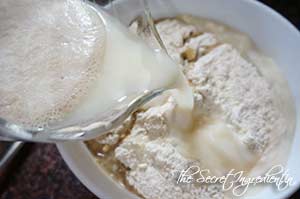
6. Add the proofed yeast to the flour little by little and mix till it comes together. You dont have to knead at this stage. Just mix it with hands or even a wooden spatula. Let this sit for 10-15 minutes. This is known as autolyze. 

dsc09024


dsc09025


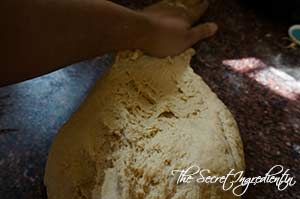
7. After 10-15 minutes dust your counter with some flour and place your dough on it and start to stretch and knead. This kneading is different than kneading a dough for roti. You have to knead for 10-15 minutes in order to gluten to develop. Read more about Bread baking techniques in “Basic Steps to Bake a Perfect Bread


dsc09026


dsc09027


dsc09029


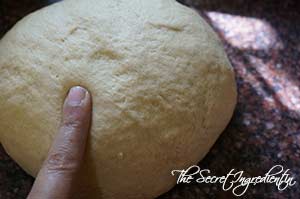
8. How would you know if you have kneaded the dough properly. Give it a finger test. Make a ball of dough and slightly poke with your finger if you see it bounces back it means its ready to be proofed. Remember the bounce will be very slight and if it doesn’t happen you need more kneading time. Start again and check with your finger.

dsc09030


dsc09031


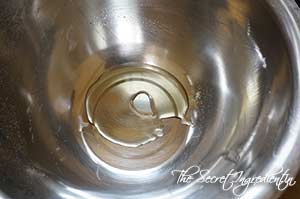
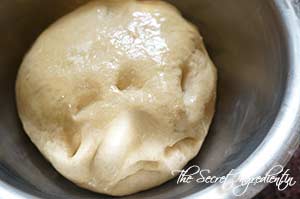
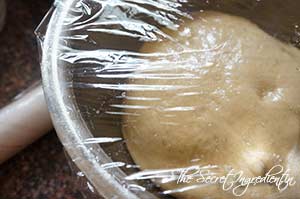
9. Transfer the dough to a greased bowl. Cover with a kitchen towel or cling wrap. Turn the dough upside bowl so that it is also coated with a layer of oil. The size of the bowl should be big because on proofing the dough will become double in size and there should be ample room for it in the bowl. Let it sit for an hour or so to double up in size. The time of proofing depends on the temperature of the kitchen. If the weather is cold it might take longer and if its hot the dough will rise quickly so time it accordingly.
dsc09032


dsc09033


dsc09034


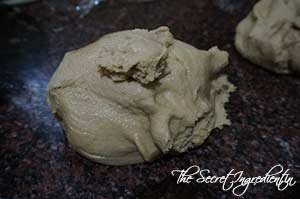
10. Punch it down and deflate the dough. Knead for another 5-7 minutes. Divide the dough into two.
dsc09035


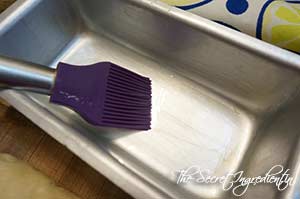
11. Grease two bread pan with oil and dust with some flour. I have used  two 8 inch rectangular bread mould
DSC02566


12. Roll half dough into a circle using a roller pin.
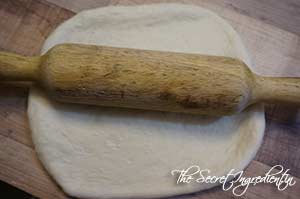
DSC02565

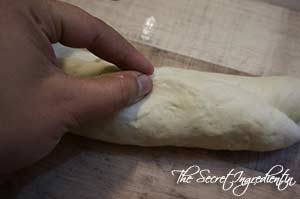
13. Take one end and roll it together . Fold in the sides and pinch the seam.


DSC02567


DSC02568


DSC02569


14. Place the rolled dough in the baking pans with seam side down. Cover the dough loosely with a towel or cling wrap and let it rest again for 30 minutes or till it rises again. The dough will reach the lip of the pan that’s when you have to bake it. Preheat the oven to 180 degree Celsius for 10 minutes. (Learn more about Oven temperatures and Conversions)
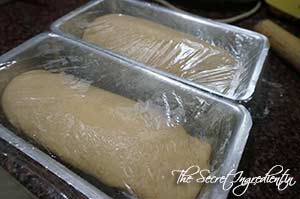
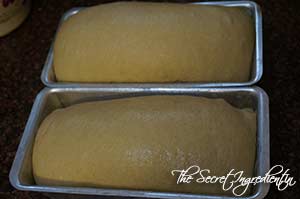
dsc09036


dsc09037


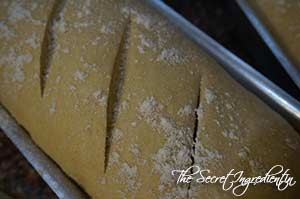
15.  If you wish you can score the bread with a sharp knife. You can choose to brush the top gently with milk wash or egg wash. This time I chose to just dust it with flour for a rustic look.
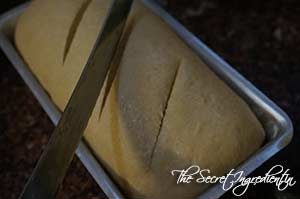


dsc09038


dsc09039


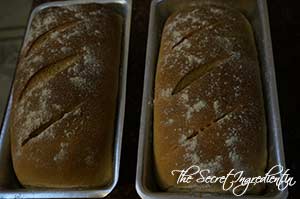
16. Bake it in the center rack of your preheated oven for 35-40 minute. Change sides half way for even cooking. If you feel your bread is browning too fast tent it with aluminium foil and continue to bake.
dsc09040
17. Remove from the tin after 5 minutes you have removed them from the oven or else the bottom with become soggy.  Let the bread cool down completely on a wire wrack before slicing it.

dsc09041

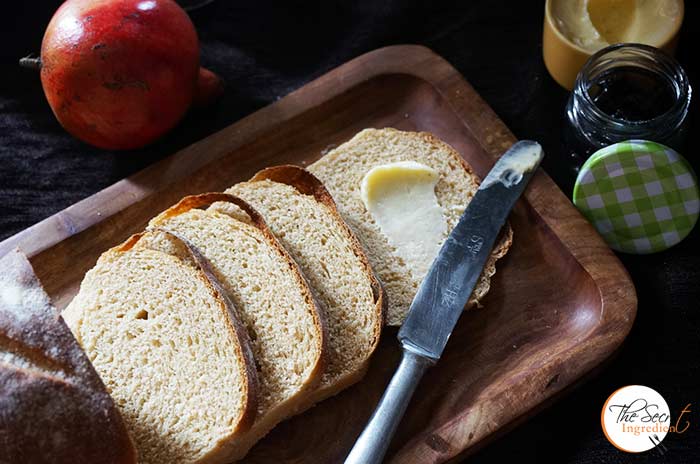
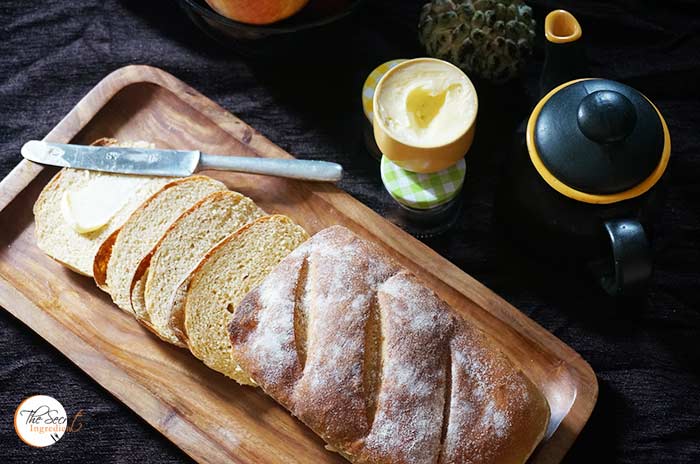
18. Smear some butter and enjoy the delicious home made whole wheat bread.

You can also try Honey Oats Bread, Rosemary Garlic Foccacia Bread, Domino’s style Garlic BreadsticksVegetarian homemade PizzaRussian Bublici,  Chinese Black Sesame Steamed BunsCherry Focaccia Bread with Rosemary and Sea Salt, Cinnamon Raisin BreadBeetroot Bread with Garlic and Thyme.


Sending this Bread to YeastSpotting

 [whohit]WholeWheatBread[/whohit]

[yumprint-recipe id=’86’]


DosaChutney_Featured1
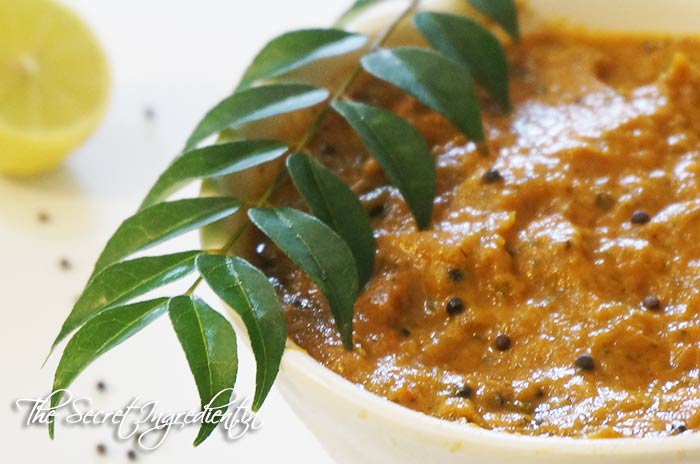
I have already expressed my undisputed love for South Indian Cuisine. I love the sweet flavour of Kaddhi Patta or Curry Leaves and the pungent tasting tempering of Mustard Seeds. This chutney imbibes both these delicious flavours. This Chutney is so versatile that you can use it as a side dish for your Idli, both rice and rava, dosa, uttapam and even Dal Chila. Whenever my mother makes it we always ask her to make it in bulk for there should not be any paucity.

It is so delicious that you tend to eat more dosas for the sake of eating more chutney.

Directions:

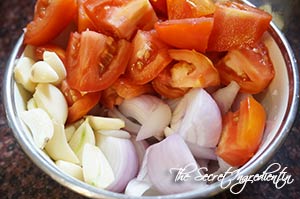
1. Roughly chop some tomatoes, onions and garlic in big pieces. Set aside.

DSC07774

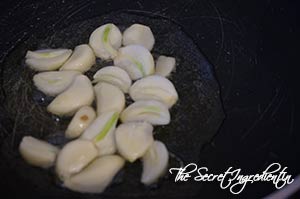
2. In a wok add some oil.

DSC09271

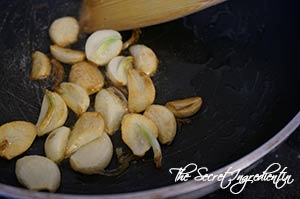
3. Add garlic and saute them for a couple of minutes.You don’t want brown like mine 😛 I left them a little longer.


DSC07775


DSC07776


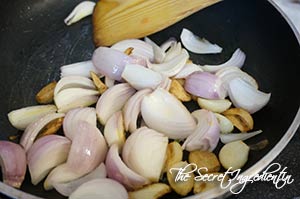
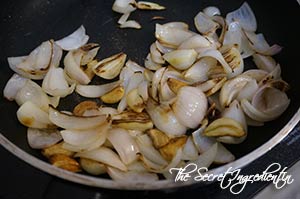
4. Add Onions and keep tossing them till they become little soft.


DSC07777


DSC07778


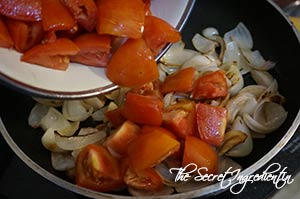
5. Add tomatoes and cook them too till they are soft.

DSC07779

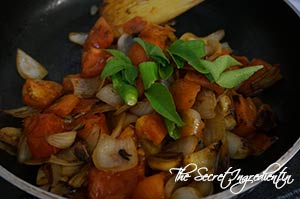
6. Add to this Kaddhi patta and Coriander leaves.


DSC07780


DSC07781


7. Let it cool down and transfer it to a blender . Add salt and make a smooth puree.


DSC07782


DSC07783


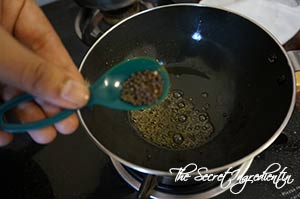
8. In another pan add little oil and add mustard Seeds.Let the seeds splatter.

DSC07786

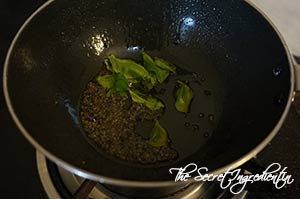
9. Add Kaddhi Patta.

DSC07787
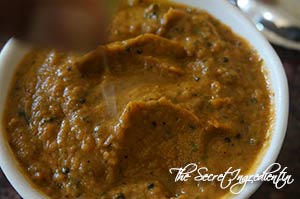
10. Mix this tempering with the pureed tomato garlic. And squeeze in some lemon juice.

DSC07788

Serve with your favorite Dosa or Quick Rava Idli.

You can even try more South Indian dishes like  Curd Rice Coconut Chutney and even Quick Rava Idli.

DosaChutney_Featured3
[whohit]TomatoGarlicOnionChutney[/whohit]

[yumprint-recipe id=’85’] 


 ChiliMushroom_Featured2

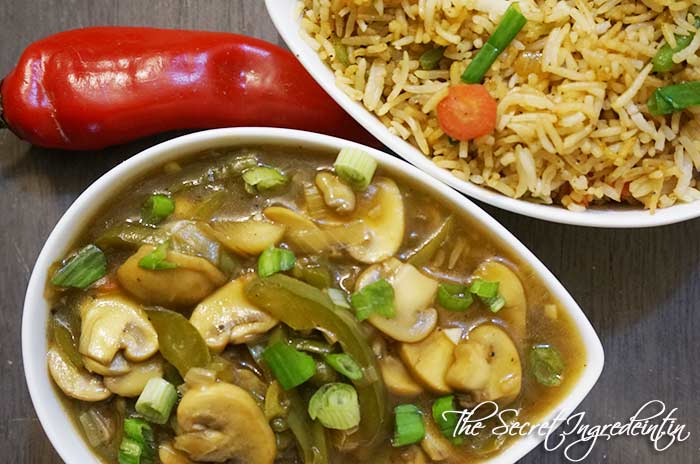
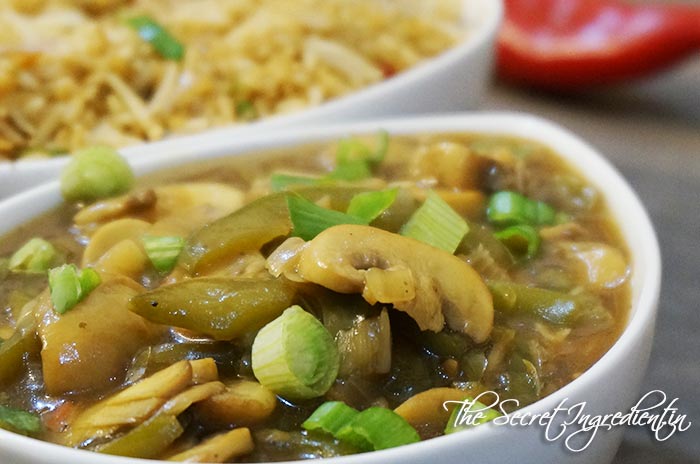
Indo Chinese Food has become an integral part of our modern day eating style. Unfortunately most of the restaurants which serve Chinese food don’t pay much attention to the recipe. All Indo Chinese food taste the same. They have the same sauce poured over different vegetables or meat. Therefore, I avoid eating Chinese food out. 

Lately my husband asked me to make Manchurian at home. I was reluctant at once but then I did give it a try. To my utter amazement it tasted awesome and nothing like the food they serve at restaurants. And then there was no looking back. I tried my hands on Vegetable Manchurian, Vegetable Hakka Noodles, Szechuan Rice, Gobhi Manchurian, Fried Rice, American Chopsuey and currently Chili Mushroom

Directions:

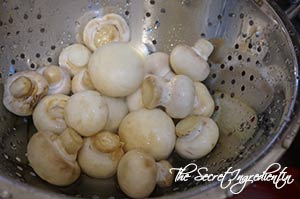
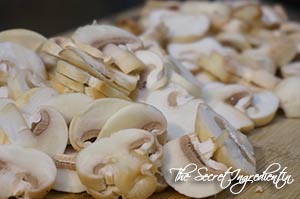
1. Thoroughly wash Mushrooms under lukewarm water and cut them into long slices.


DSC09266


DSC09267


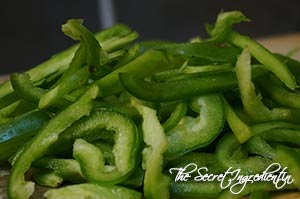
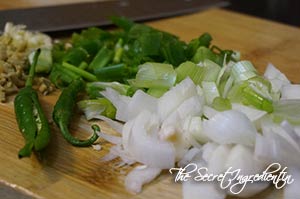
2. Also Chop some Green Capsicum in length into thin slices. Also Chop some spring Onions. The white portion as well as the green leeks. Dont mix them up. Slit green chilies and keep aside. Chop ginger and garlic.


DSC09268


DSC09270

3. Pour some Oil in a wok.

DSC09271


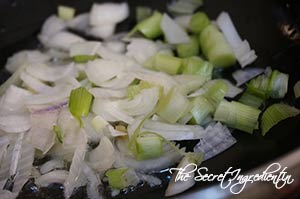
4. Throw in the white part of the spring onions and saute them.

DSC09272

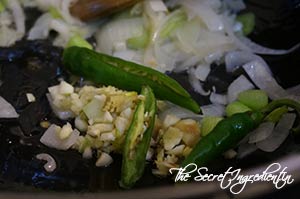
5. Also add slit gren chilies and Ginger garlic and continue to saute them.

 DSC09273


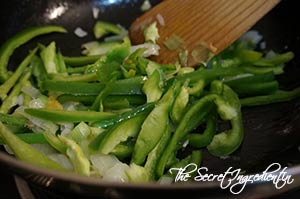
6. Add capsicum and saute them till they are soft and tender.

DSC09274


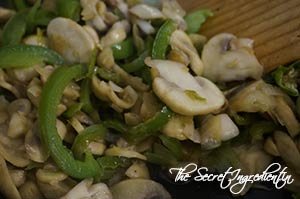
7. Add mushrooms and cook them till they release their water and shrink in size.

DSC09276

8. Add Soya Sauce and Balsamic Vinegar.


DSC09277


DSC09278


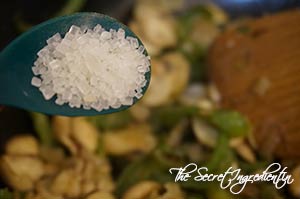
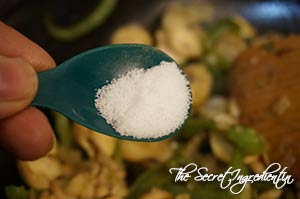
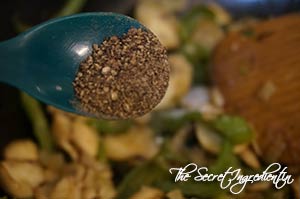
9. Add sugar, salt and Black pepper.


DSC09279


DSC09280


DSC09281


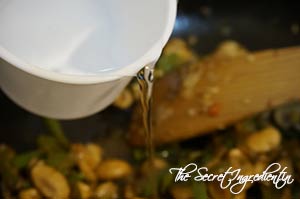
10. Add water and combine everything.

DSC09282

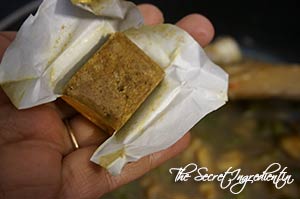
11. To enhance the flavour you can add a stock bullion. But its purely optional.

 DSC09283

12. Let it simmer. In the meanwhile, add cornflour in a small bowl and add water. Mix thoroughly so that no lump remains.


DSC09284


DSC09286


13. Pour this cornflour mix in the wok to thicken the gravy. Keep cooking for another five minutes. You will see the sauce has thickened. 

DSC09288

14. Sprinkle some chopped green spring onions on top and serve hot with Fried Rice or Vegetable Hakka Noodles or Szechuan Rice.

[whohit]ChiliMushroom[/whohit]

ChiliMushroom_Featured1

[yumprint-recipe id=’84’] 


AvacadoPasta_Featured2
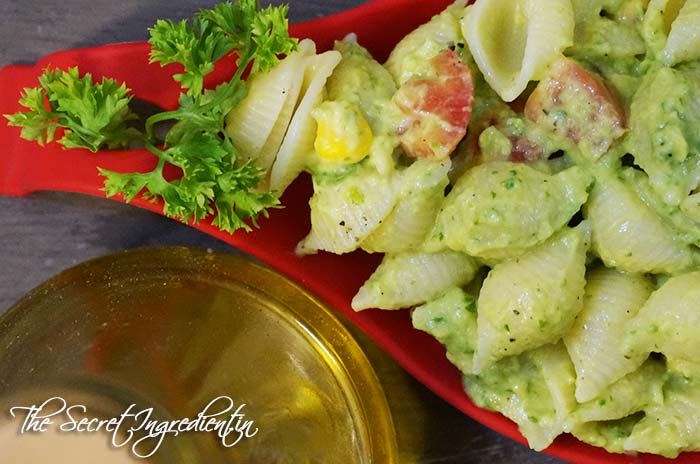
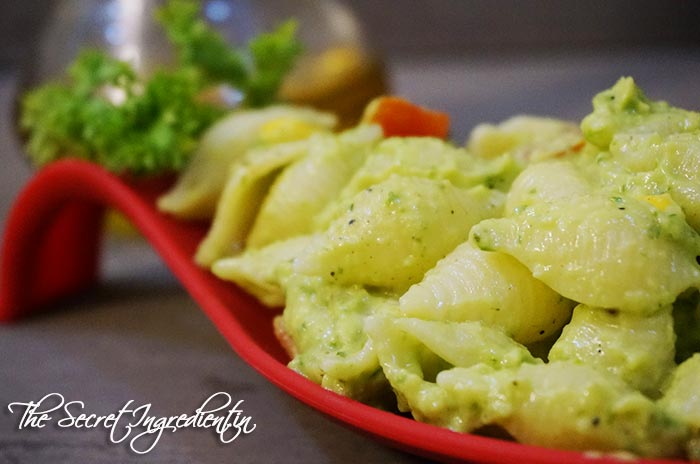
I tasted Avocado in Guacamole for the first time in Mexico. Frankly speaking I did ‘nt like its taste. Infact, it had no significant taste, just a creamy texture. But interesting thing about Avocado is that it acquires the taste of ingredients it is blended with and then the  taste becomes amazing. Gradually, I started liking Guacamole and started using Avocado in a number of dishes.

When I came to India, I missed eating Avocado. On one of my visits to Delhi’s INA market I found this and bought couple of them. I made Guacamole with one and the second one I used to make this delicious pasta. Its simple, light and very healthy.

Directions:
1. Boil Pasta and keep aside. Learn how to boil pasta here. Chop some tomatoes and take some corn kernels. I used canned but you can always take the packaged ones and boil them till they are soft and tender. Add pasta, tomatoes and Corn kernels together in a bowl.


DSC08725


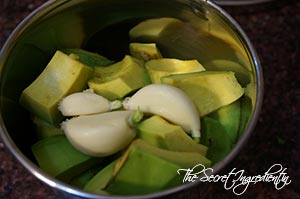
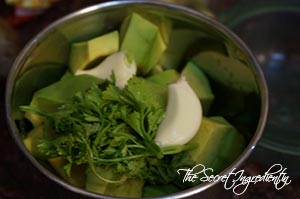
2. In a blender add avocado pulp. Learn how to peel and cut an avocado. Along with few cloves of garlic and parsley.


DSC08716


DSC08717


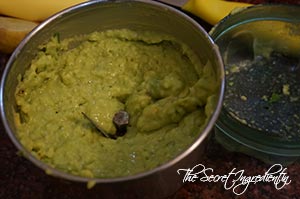
3. Pulse the blender to form a smooth paste.

DSC08718
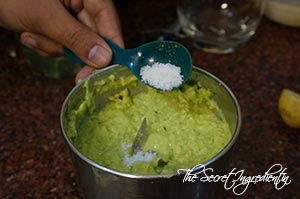
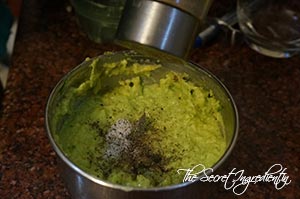
4. Add Salt and Pepper.


DSC08719


DSC08720


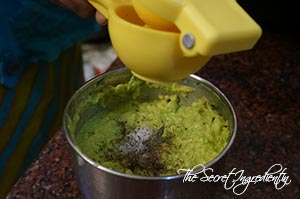
5. Squeeze in some lemon juice.

DSC08722
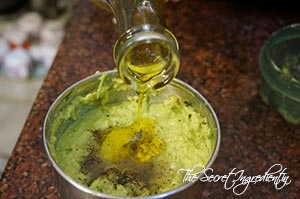
6. Add Olive Oil. And combine.

DSC08724

7. Mix this paste with the pasta mixture evenly.

DSC08726
8. Serve at room temperature as a side dish with your favourite Pan Grilled Chicken or Pan Grilled Fish.

You can even try our other pastas like Pasta Alla Vodka, Sundried Tomatoes Pasta Salad and Sauteed Red Red Pepper & Olive Pasta Salad.

AvacadoPasta_Featured1

 [whohit]AvocadoPasta[/whohit]

[yumprint-recipe id=’82’] 


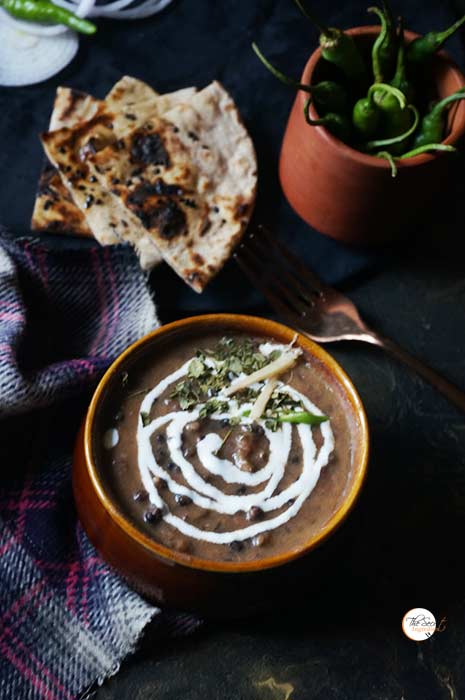
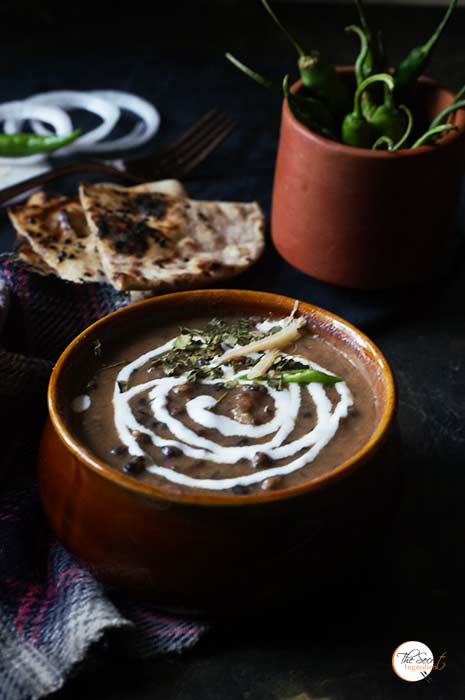
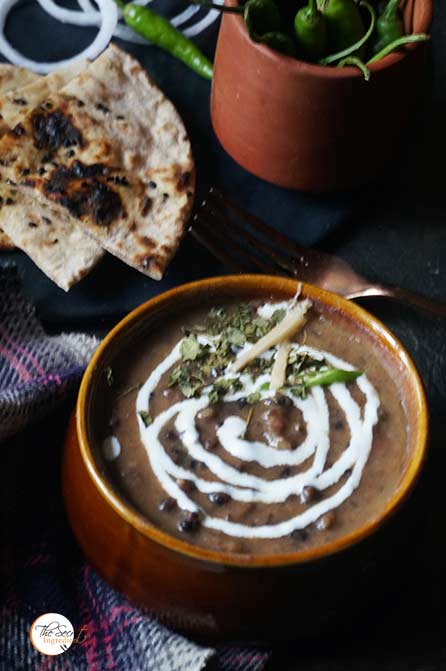
Punjabi Dal Makhani is perhaps the most popular dish from India along with Shahi Paneer and Butter Chicken. The black whole lentils are cooked slowly along with spices for a longer time to become soft and tender. It is then mixed with rich cream to give that creamy, buttery taste. This divine dish is a specialty and usually made on all special occasions. My family loves this and relish it with tawa naan.

My mother makes this delicious lentil or dal as we call it but that too in a pressure pan which takes less than half the time. It still tastes creamy and wonderful. I would love to share her easy recipe with you. Its the most authentic recipe and comes out well with minimal efforts.

Directions:

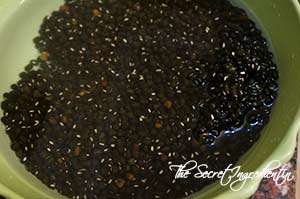
1. Wash and soak the lentil in water for 8 to 10 hours. Overnight is best.

DSC09328
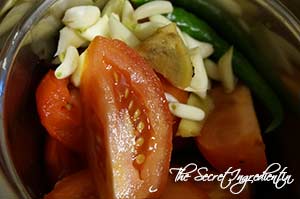
2. In a blender add some roughly chopped tomatoes, garlic, green chilies and ginger root. Make a smooth puree. Set aside.

DSC09381
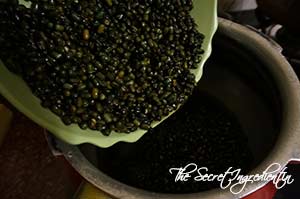
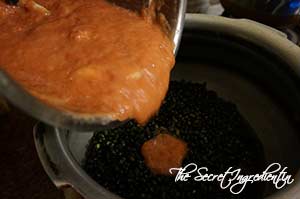
3. Take a pressure pan and add pre soaked lentils and tomato puree to it.


DSC09382


DSC09383


4. Also add water to the pressure pan. I usually fill the blender with water to take out any extra puree stuck to the sides.

DSC09384

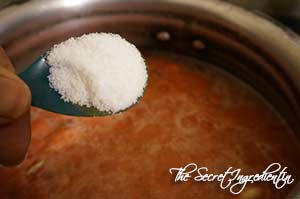
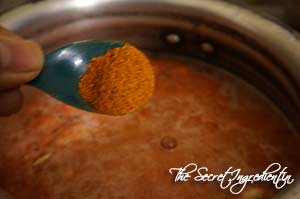
3. Add salt, red chili powder and Asafoetida.


DSC09385


DSC09386


DSC09387


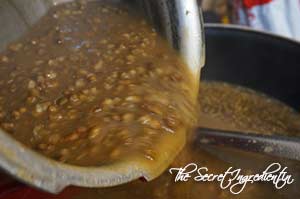
 4. Close the lid and let it cook on high flame. After first whistle or when you hear the pressure to its peak lower the flame and let it cook further for 45 to 50 minutes without getting disturbed. Do not open immediately. Let the pressure release on its own and then open.

DSC09388

5. In a wok or pan add ghee or clarified butter.

DSC09389

6. Add cumin seeds and let them splatter for about 10-15 seconds.

DSC09390

7. Add the boiled lentil. Mix and check for more salt if required.

DSC09392
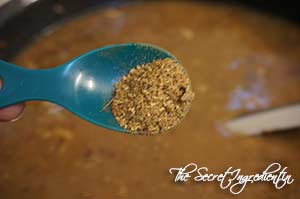
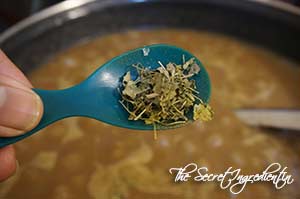
8. Add Garam Masala and dried fenugreek leaves or Kasuri methi. Let it simmer for another 10-15 minutes till it starts to get thicker.


DSC09393


DSC09394


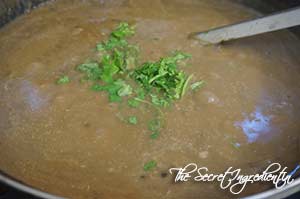
9. Add fresh chopped coriander leaves .

DSC09396
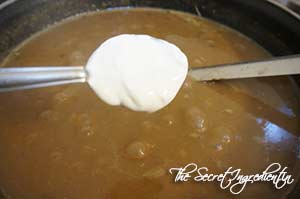
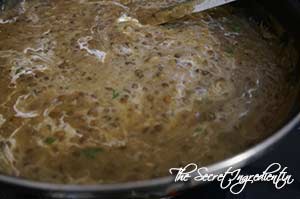
10. Lastly for that creamy richness add cream. Combine.


DSC09395


DSC09401


11. Serve hot with Rotis or rice.

You can try other North Indian delicacies like Shahi Paneer, Punjabi Pindi Choley, Besan Kaddhi Pakora, Bharwan Karela.


[yumprint-recipe id=’80’]

Chimnichuri_Featured1
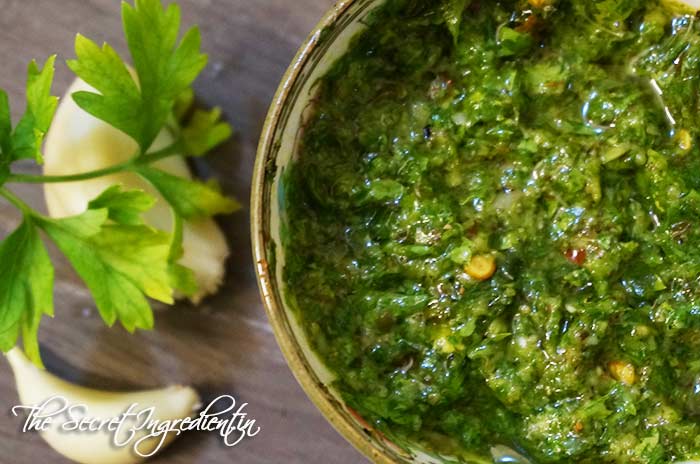
In Mexico you find a lot of Argentine influence specially on food and wine. Argentine wines are one of the best in the world and their grilled meat has such amazing flavours. If you happen to visit any Argentine restaurant you will always find a delicious salsa on their table. It has incredible flavour full of garlic and parsley married in extra virgin Olive Oil.

I remember eating this salsa with some warm bread as an appetizer before main meal in our favourite Argentine restaurant. It is interesting to note that the same salsa is also used as a marinade or asado for meats. I even remember a famous Pizza Chain in Mexico Benedetti’s Pizza serving their pizza with Chimichurri.

Last night when I made this we ate with Potato Stuffed Phyllo Triangles. It was a delicious fusion.

Directions:

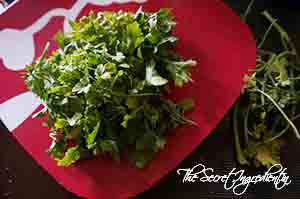
1. Separate Parsley leaves from the stem and wash them thoroughly.

DSC08590
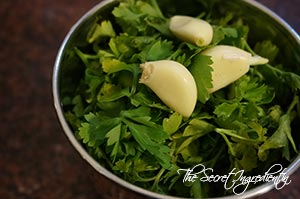
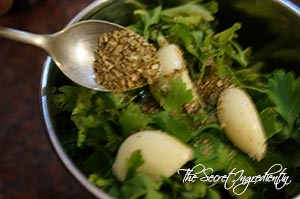
2. Put them in a blender along with few cloves of Garlic.

DSC08607

3. Add some Red wine Vinegar.

DSC08612

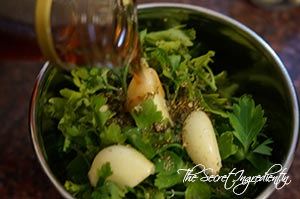
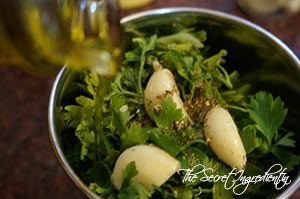
4. Add Extra Virgin Olive Oil. It is important to use a good quality Olive Oil in this salsa because it really brings in the flavour.

DSC08613

5. Add Fresh or dried Oregano as per the availability.

DSC08614

6. Blend them together to make a semi coarse puree.

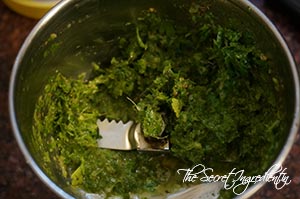
DSC08615

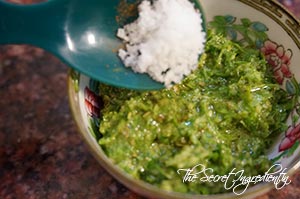
7. Add salt and Red Chili Flakes


DSC08616


DSC08618


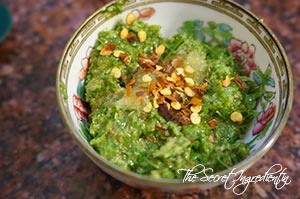
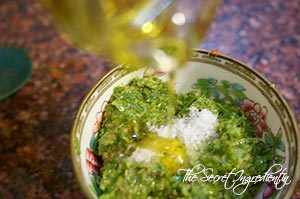
8. Mix everything and taste for salt.Add more to suit your taste. If the salsa looks dry add more Olive Oil and combine.

DSC08617

9. Decant the salsa in a container of your choice. You can let it sit over the counter overnight to do its thing. The longer it stays the stronger it gets. In restaurants you find them brown in colour as it gets murky with age, but still tastes yum. Serve it with your favourite snacks or even a warm bread or simply use it as a marinade to enhance the flavour of your grilled meat.
[whohit]Chimichurri[/whohit]

Chimnichuri_Featured1

[yumprint-recipe id=’79’]


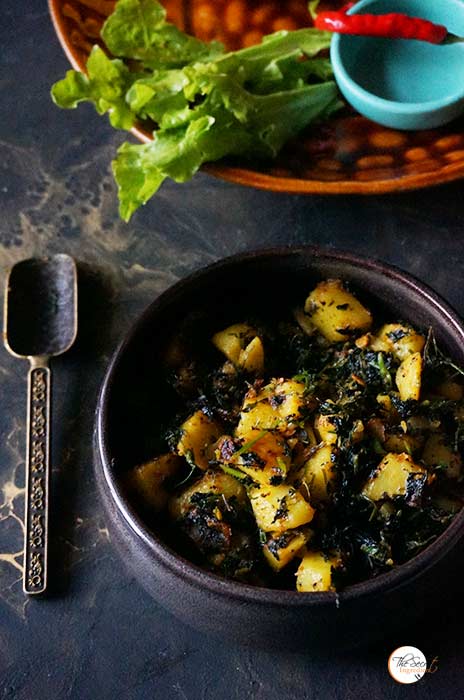
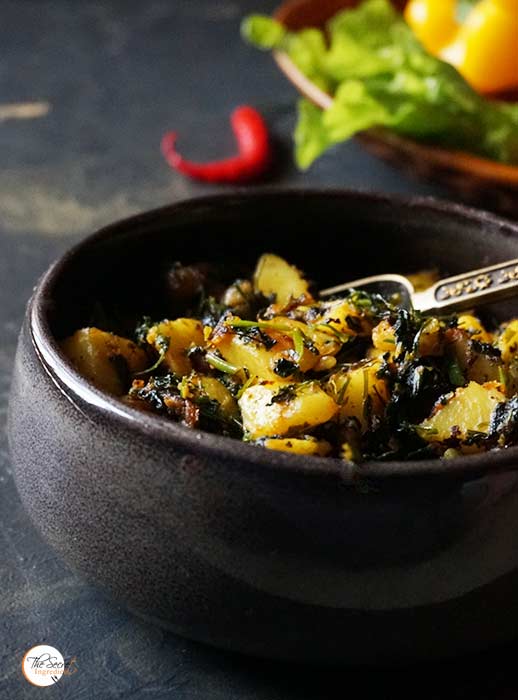
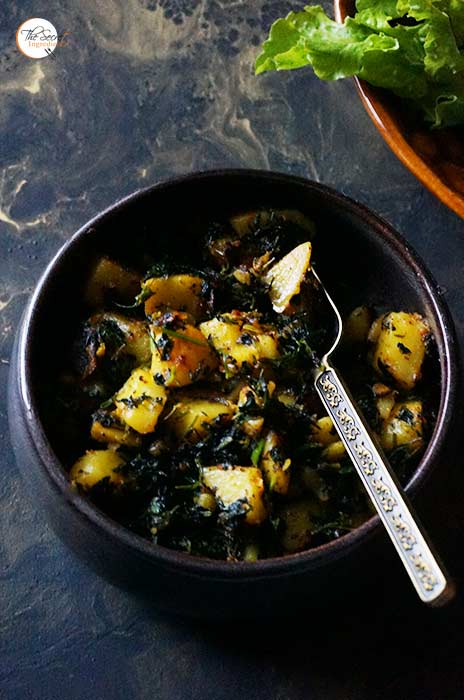
Fenugreek Leaves or Methi is a gift from Winters. The bitter taste of these leaves brings a delicious flavour when cooked with spices. I missed them so much in Mexico as they are largely cultivated in Indian Subcontinent and other countries like Turkey and Spain . But this season I am making the most of it.The warmth of this dish is incredible. Punjabi Style Aloo Methi is something I have grown up eating and is close to my heart. 

The cooking time of this dish is nothing but the only taxing part is to separate the leaves from the stem and cleaning them. My family is very fond of this dish. If you like Methi or fenugreek you can also try Methi Matar Malai which is also very interesting and has a distinct taste. I have always seen my mother separating green leaves from stems, be it fenugreek,spinach, mustard leaves and many many more leafy vegetables we get in winters. I make a lot of them. May be you can try Bathua ka RaitaChaulai Ka Saag, Palak Paneer ,Palak Mushroom  and I’ll be sharing many more in the days to come. Till then you enjoy these and keep your selves warm and hearty.

Directions:

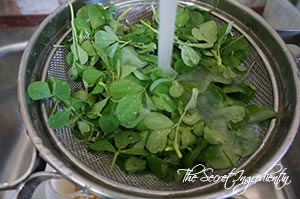
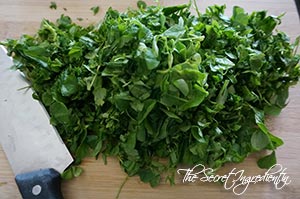
1. Separate the leaves from the stem and wash them thoroughly under running water several times or until the leaves are clean.

DSC04883
2. Drain out all excess water and chop them coarsely.

DSC04884

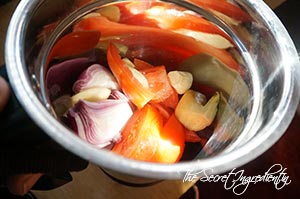
3. Roughly chop Tomato, Onion, Green Chili,Garlic and Ginger. Put them in a blender and make a puree. Set aside.


DSC04886


DSC04887


DSC04888


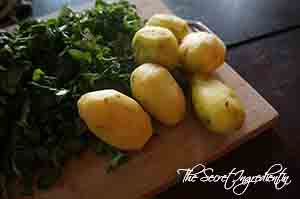
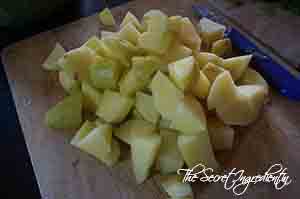
4. Also wash, peel and cube few potatoes. Keep aside.


DSC04889


DSC04890


5. In a pressure pan add some mustard Oil and let it heat till it starts to give out smoke.

DSC04891

6. Add cubed potatoes.

DSC04892

7. Add the puree.

DSC04893

8. Add salt, turmeric powder, asafoetida and red chili powder. Mix together.

DSC04894
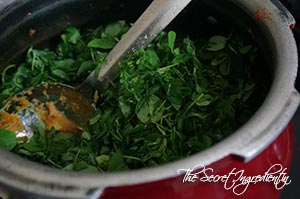
9. Add chopped fenugreek leaves.

DSC04895

10. Combine everything together.

DSC04898

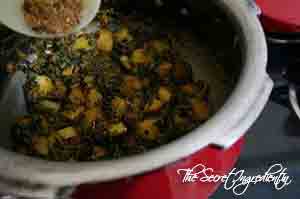
11. Put the lid on and let it cook for 5 whistles or 7 minutes after the pressure builds up.

DSC04899

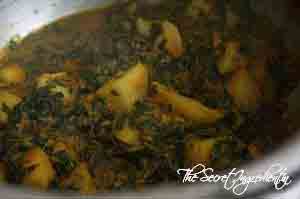
12. Turn off the flame and let it cook in its own steam. After all pressure has released open the lid and turn the flame on. You will see some liquid. Let it simmer on low flame till all liquid has been absorbed. This step is very crucial for this will bring in a great flavour.

DSC04901
13. Keep stirring and after the liquid has absorbed you will see some oil in the base. Sprinkle with some Garam Masala.

DSC04902

14. Serve hot with Rotis and Aloo anaar ka Raita or Bathua ka Raita.

You can try more Cuisines from Punjabi Kitchen like Stuffed Bittergourd or Bharwan Karela, Besan Kaddhi Pakora, Punjabi Pindi Cholley 

[yumprint-recipe id=’78’]


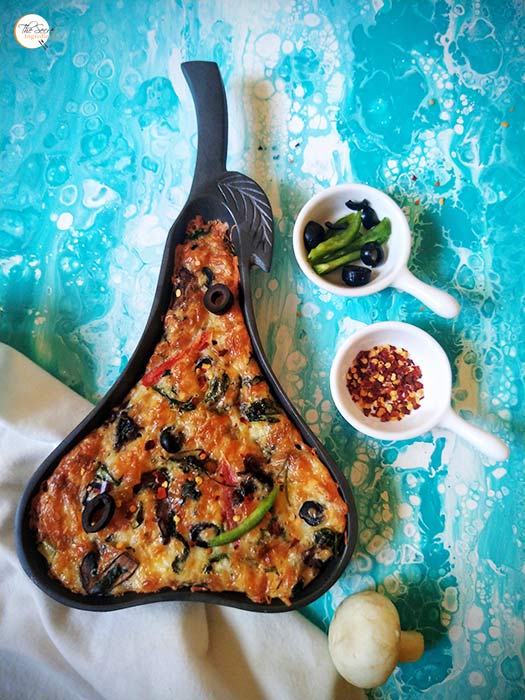
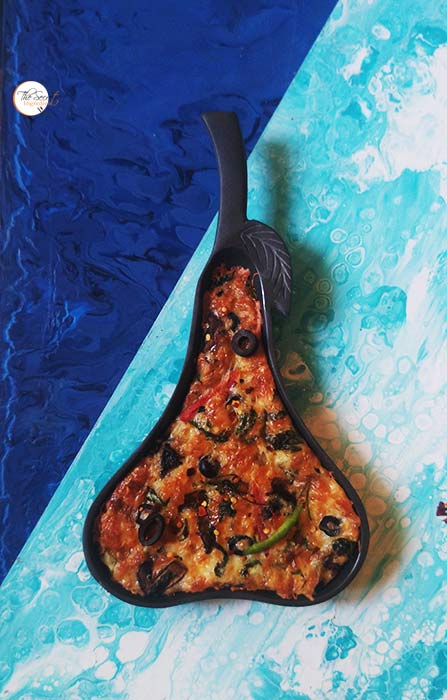
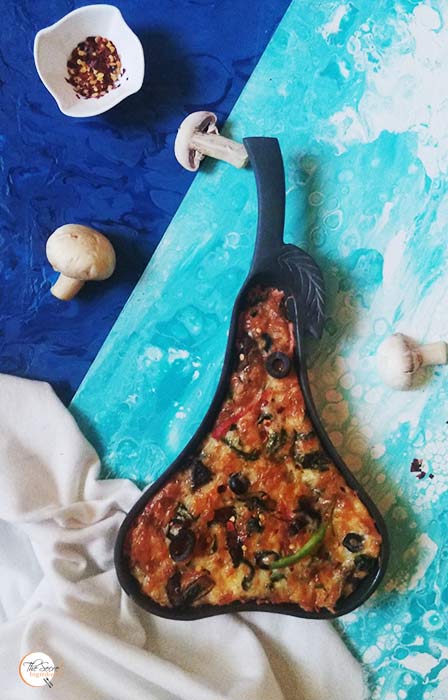
I had never tasted Frittata until one night I saw a chef preparing it on a show featuring on TLC. I was smitten by it in its very first sight. It looked simply irresistible. It was almost time for dinner and me and my husband were still wondering what to eat. And then we decided we will make frittata. Although its a breakfast dish but nothing stopped us from having it for dinner. I chopped some mushrooms, bell pepper and Olives and soon we were sitting with Frittata  on our dinner table. It was oh sooo delicious!

Frittata is similar to Omelette but still quite distinct. Its cooked like Omelette but for a longer time and then baked on setting. It is somewhat a crustless Quiche. It originated in Italy but many counties have similar egg dishes in their cuisine. It literally means ‘Fried’. It is usually divided into slices and eaten hot or cold and even accompanied with a bowl of salad, or beans or bread. You can add anything of your choice along with eggs like mushroom, spinach, bell pepper, feta cheese, beacon, sausage etc. And since egg is the main component in this dish its important to use good quality eggs like Eggee. The frittata came out pillowy soft. The taste, the softness was incredible. 

Directions:
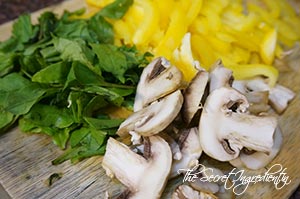
1. Pre-heat oven to 375 degrees F (Learn more about Oven temperatures and Conversions). Chop some mushrooms,capsicum, zucchini, fresh leaves of spinach, previously washed. Thinly slice yellow bell pepper and Olives. Keep aside.

DSC09028
2. Add little oil in an iron skillet, which you can bake it in oven. Add mushrooms and saute them until little brown. 

DSC09029

3. Add bell pepper and saute till its soft yet still crisp.

DSC09030

4. Add chopped spinach.

DSC09031

5. Grate Parmesan Cheese and Cheddar Cheese and keep aside. 


DSC09032


DSC09033


6. Whisk four eggs in a jar. Season with salt and pepper. Also add red chili flakes if you like it little hot. Pour it over the sauteed vegetables in the baking dish.

DSC09035

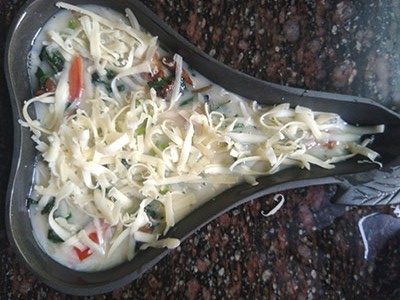
7. Sprinkle on top grated cheese and spread the sliced olives.

8. Let it keep cooking undisturbed for 5-7 minutes or until the bottom of the eggs is set. Transfer to a preheated oven and bake for 25 to 30 minutes until brown and everything comes together and nothing remains runny. Run a heat proof silicon spatula under the frittata to ease removing it from the baking dish. Serve hot.

You can even try Mushroom and Spinach Quiche, Wrapped French Toast or Mexican Casserole Eggs,  Apple & Cinnamon Pan Cakes , Bird’s Nest Breakfast Cups Recipe, Blueberry Buttermilk Pan Cakes, Eggless Walnut Pan Cakes , Fried Egg Over Polenta with Homemade Basil Pesto Recipe,Halloween Special Pumpkin Puree Pancakes , Quick Rava Idli , Rava Pizza Bread, Shahi Poha, Shakshouka ,Soya Veggie Vermicelli for Breakfast.

[yumprint-recipe id=’77’]

VegPatties_Featured2
I love Aloo Patty. This love began when I was in School. My school canteen used to sell Stuffed potato pastries or as we North Indians call it Aloo Patty (How Funny! Patty is the croquettes or tikki inside a burger but we call them as patty). Anyways! That patty was and is the best I have ever tasted in my life.  There are soo many wonderful memories woven around patties, canteen and my lovely school. I miss every thing about my school. This year my School celebrated its Golden Anniversary. I feel so proud to be part of St. Joseph’s Convent School and thankful for making me what I am today. I dedicate this post to my School :).

Ohh Lord! Patties can make me soo nostalgic. I almost lost track of this post 🙂 Coming back to the topic, you can make a lot of things with phyllo pastry and that too in a jiffy specially when some unannounced guests come over. I always kept some in my freezer in Mexico here in India I have to make an effort to procure them. But I still retain my stock in freezer. I recently conquered making Turkish Börek with feta cheese and spinach. And with leftover Phyllo I made aloo patty for my sheer love for them.

Directions:

1. Take phyllo sheets out from the freezer and thaw them. You can keep them in fridge overnight or put them on the counter for few hours so that they get ready for use. Chop some onions and green chilies. Set aside.

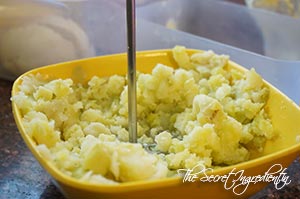
2. Wash & Boil potatoes and peel their skin. Put them in a bowl and mash them using a potato masher or with fork or even your hands.


DSC08953


DSC08954


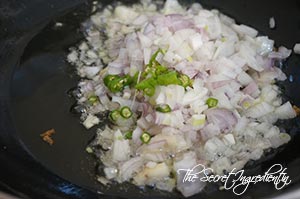
3. Add oil in a pan and add chopped onions and green chilies. Saute them till the onions become translucent and tender.

DSC08952

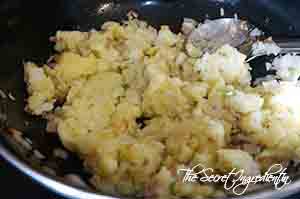
4. Add Mashed potatoes to the pan and mix them with onions.

DSC08955

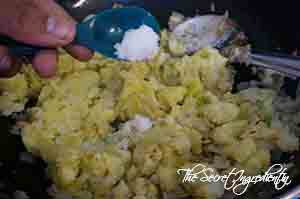
5. Add salt, Turmeric Powder and Red Chili Powder. Combine them.


DSC08956


DSC08957


DSC08958


6. Add amchur and also mix.

DSC08959

7. Add chopped Coriander leaves and Garam Masala. Mix together. Your stuffing is ready. Keep aside to cool down.


DSC08960


DSC08961


8. Melt butter in a bowl. Preheat the oven on 180 degree Celsius (Learn more about Oven Temperatures and Conversions)

DSC08962
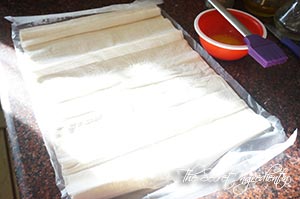
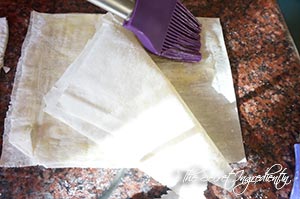
9. Now unfold the thawed phyllo sheets on a dry surface. In order to avoid their drying up, place on top a damp kitchen towel. Always ensure to take out the sheet you are working with and cover rest of them.

DSC08963

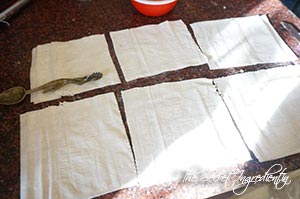
10. Take 3-5 sheets of Phyllo sheets, one on top of each other and divide it into equal sized six squares using a sharp knife or pastry cutter. You need to be careful with it. Try not to tear the sheet.


DSC08964


DSC08965


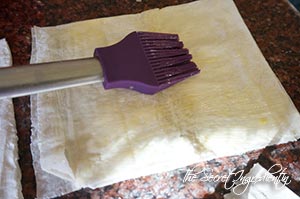
11. Take one set of square and butter all layers with butter.


DSC08966


DSC08967


DSC08968


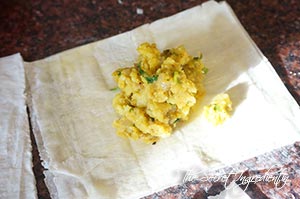
12. Put one spoon of stuffing and place it in the center of the square.

DSC08969


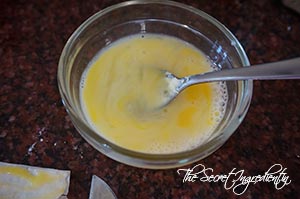
13. In a small bowl break one egg and add few spoons of milk and whisk together to make egg wash.


DSC08971


DSC08972


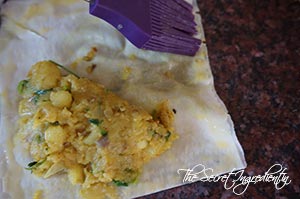
14. Apply this egg wash on all four sides of the pastry sheet using a pastry brush.

DSC08973

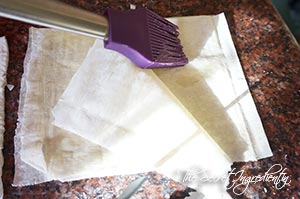
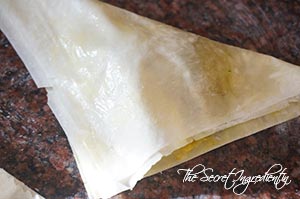
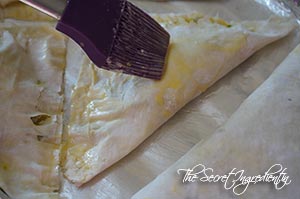
15. Take one tip of the pastry and fold it making a triangle.

DSC08970
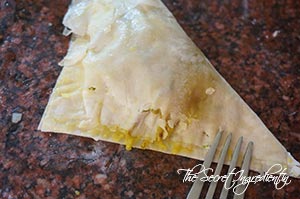
  16. With the help of a fork seal the sides of the triangle by pressing it down.

DSC08974

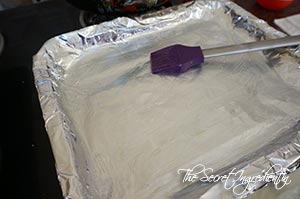
17. Cover a baking sheet with aluminium foil or parchment paper and brush it with oil so that patties do not stick to the bottom.

DSC08975
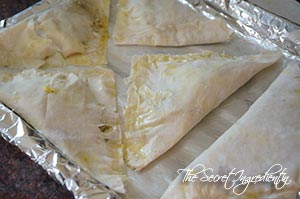
18. Place the stuffed patties on greased baking sheet.

DSC08976

19. Brush the top with egg wash.

DSC08977

20. Bake for 15-18 minutes on preheated oven till the crust has turned golden brown. Serve hot with simple Ketchup and or Pudina Chutney or Chimichurri Sauce or Spinach Coriander Chutney.

You can even try other recipes made with Phyllo Pastry like Turkish Börek
[whohit]AlooPatty[/whohit]

VegPatties

[yumprint-recipe id=’76’]
BellPepperPasta_Featured1
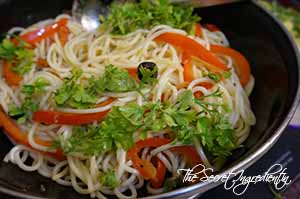
I was planning to make Avocado Pasta Salad for dinner so I boiled some spaghetti Pasta. On cutting open Avocado I noticed it was  still unripe. So plan changed and this recipe happened because I had already boiled the pasta. I wanted to make something mild, non cheesy and more like a salad. I sautéed some bell peppers and threw in some olives and before I could do further I had my pasta ready , well almost. 🙂

This experimental Pasta Salad was soo delicious and mild with minimum Ingredients. Each flavour could be noticed  separately on your tongue. Its a must try recipe for people who are watching their weight or even for those who want something mild with a bowl of Soup.

Directions:

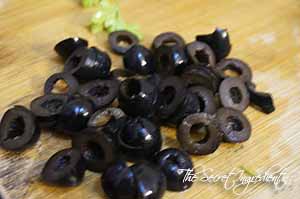
1. Thinly slice some red bell peppers. You can use any colour of your choice. All I had was red at that moment. Also roughly chop some Parsley leaves. Also cut a lemon in half and keep ready. Take some pitted Olives and cut them into slices.


BellPepperPasta1


BellPepperPasta4


2. Boil pasta and run it under cold water. Learn how to boil pasta perfectly.

BellPepperPasta2

3. In a wok add some olive oil.

BellPepperPasta3
4. Add bell peppers and olives.
BellPepperPasta5

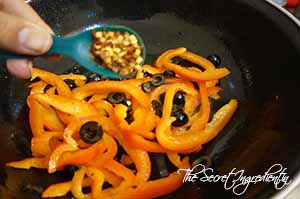
5, Add some red chili flakes to add a little flavour to the salad.

BellPepperPasta6

6. Continue to saute them till they become little soft but still retain their crispiness.

BellPepperPasta7

7. Add boiled pasta and combine with the veggies.

BellPepperPasta8
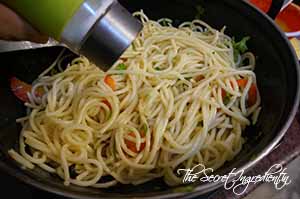
8. Add salt to taste and combine.

BellPepperPasta15
9. Add chopped Parsley and turn the flame off.

BellPepperPasta9

10. Squeeze juice of Lemon as per your taste.

BellPepperPasta10

Serve at room temperature with your Favorite Bowl of Soup.

You can even try Sundried Tomato Pasta Salad & Pasta alla Vodka.

BellPepperPasta_Featured2

[whohit]RedPepperPastaSalad[/whohit]

[yumprint-recipe id=’75’]