
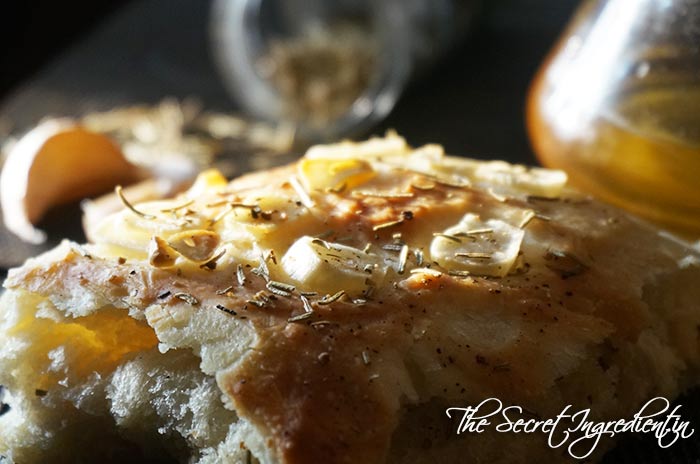
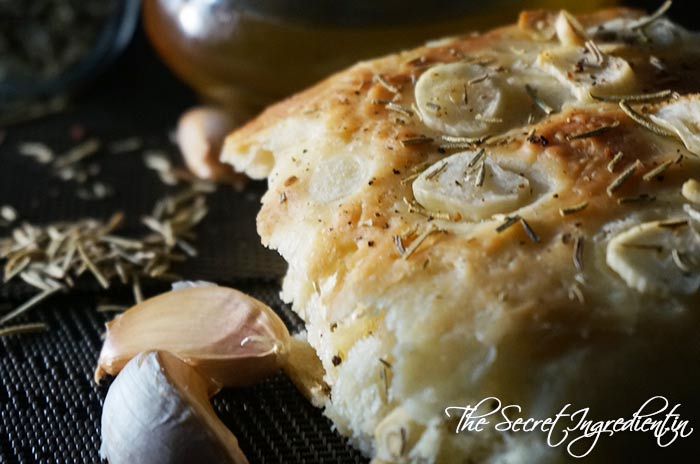
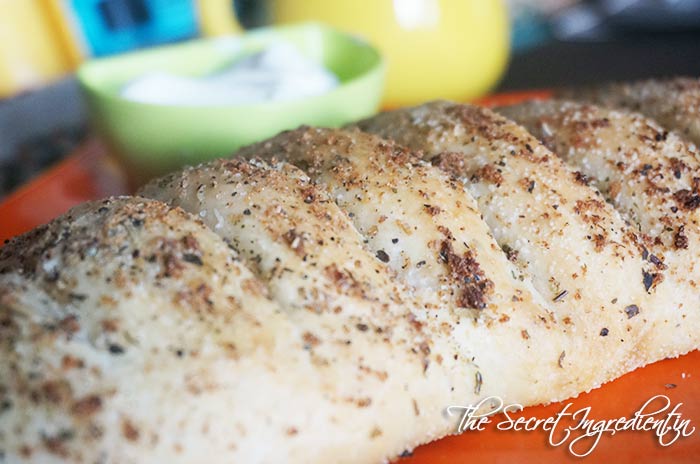
Focaccia is an Italian flat oven baked bread similar in style and texture to pizza. It is usually seasoned with olive oil and salt and some times topped with herbs and few vegetables. I have been longing to make this for a long time but finally I did it last week. And each time I was having its bite I was regretting why I dint bake this earlier. It came out outrageously delicious! It was topped with rosemary and garlic, a divine combination.Period.
I devoured like a retard, my husband was crazily digging into it and my 2 year old was shaking his head in joy while eating its little pieces. So all in all it was total madness. And the bread was gone in flat 5 minutes.
Directions:
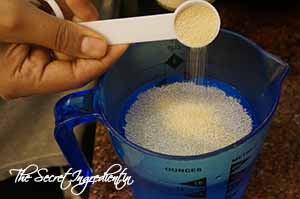
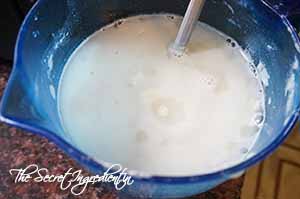
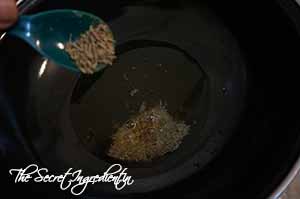
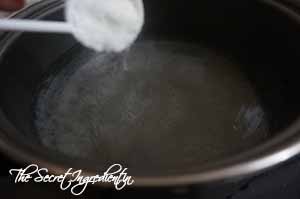
1. In a container take some lukewarm water. It should neither be hot nor cold, just hot enough to comfortably put your finger into it . The right temperature of the water is very important for yeast to activate. Put yeast into it.
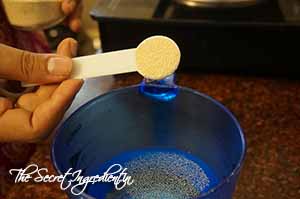
2. Along with yeast add some sugar.
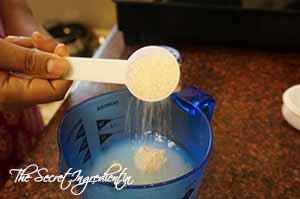
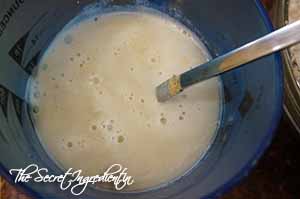
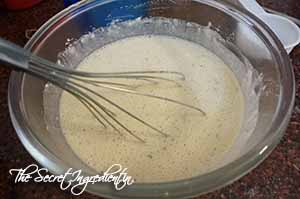
3. Give it a gentle stir with a fork and let the mixture sit and activate for 10 minutes or until you see some bubbles on top and mixture has become frothy and milky.
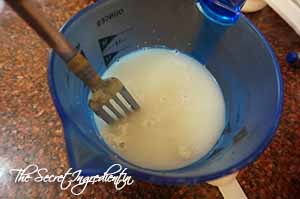
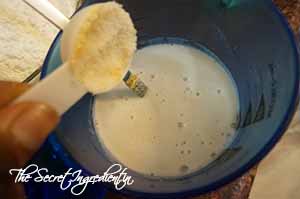
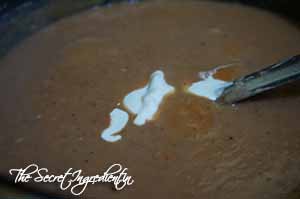
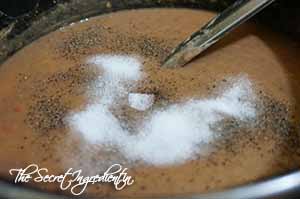
4. Add salt to the yeast mixture.
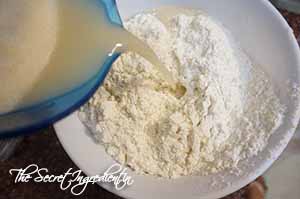
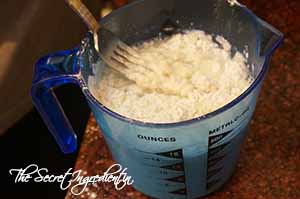
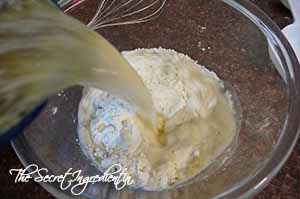
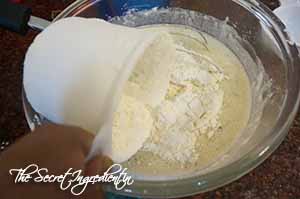
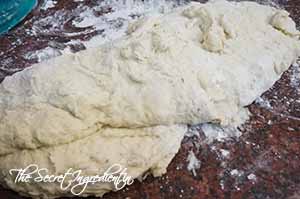
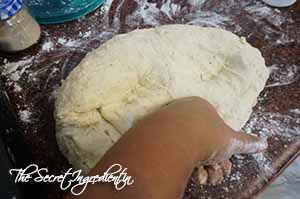
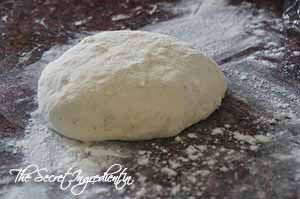
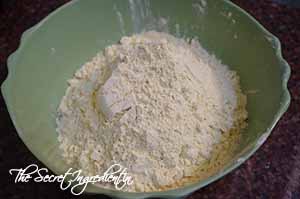
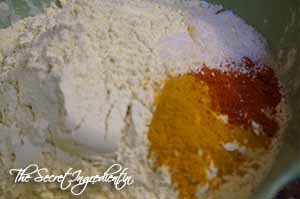
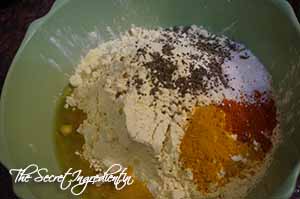
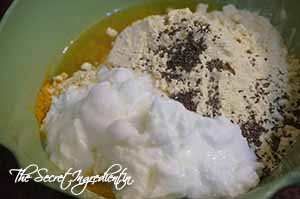
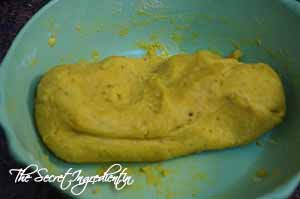
5. Take all purpose flour in a bowl and add the yeast mixture to it. Knead for 10 minutes until it forms a dough.
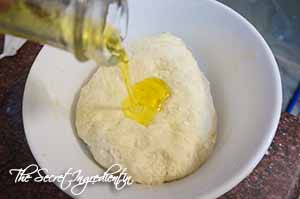
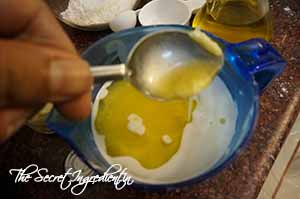
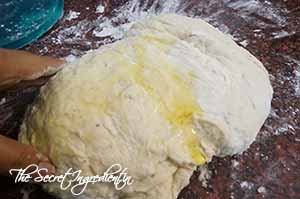
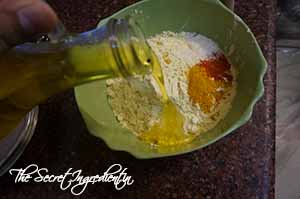
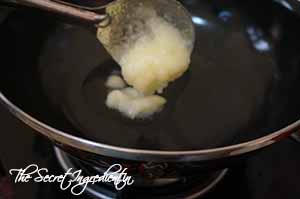
6. Add olive oil and knead for 5 minutes again.
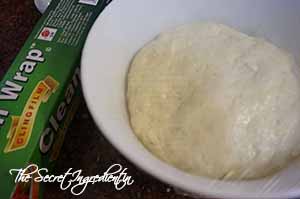
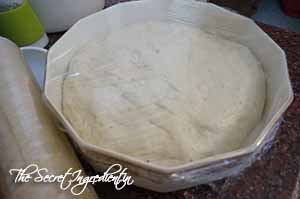
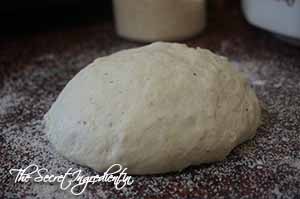
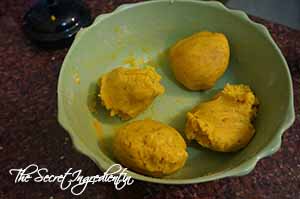
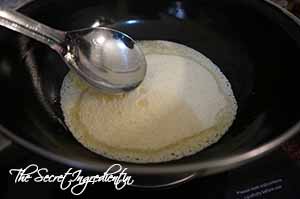
7. Transfer the dough ball in a oiled bowl. Also cover the dough with little olive oil so that it doesn’t form a skin. Cover with a plastic clingwrap and store in a warm place preferably inside unplugged microwave. The dough will double itself in 1 hour and 10 minutes.
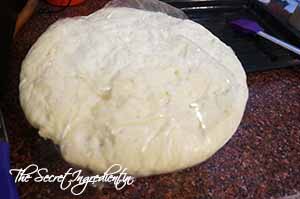
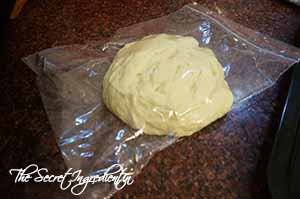
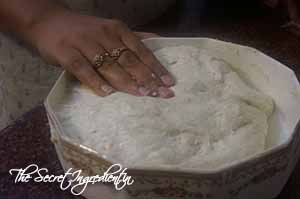
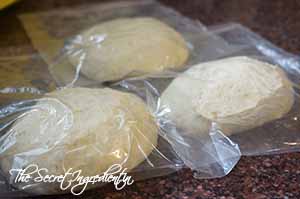
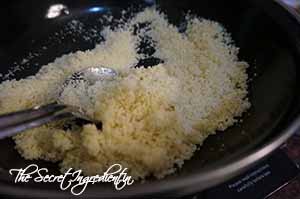
8. The dough doubled in volume. I used half of the dough to make a smaller sized dough. The rest of it I kept in a ziplog bag and froze.
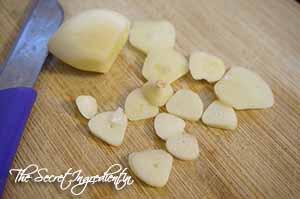
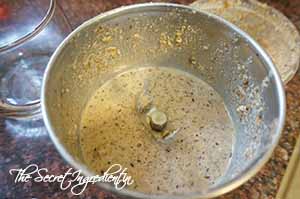
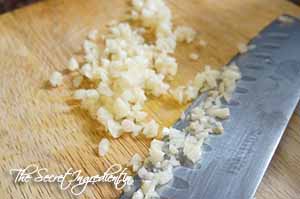
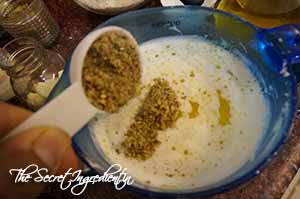
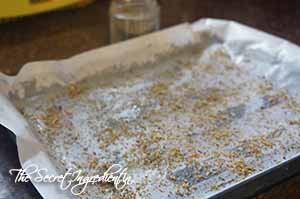
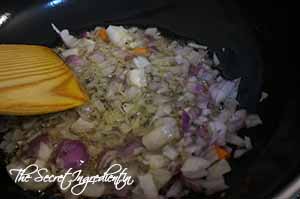
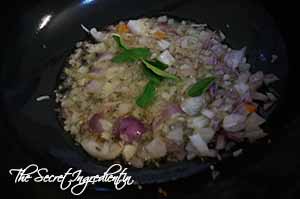
9. Chop some garlic in slices and keep aside.
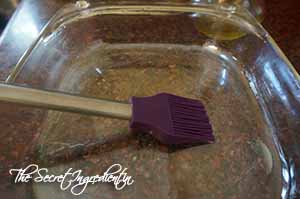
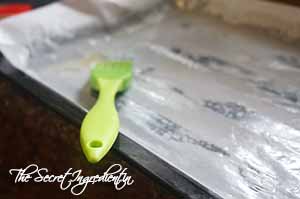
10. Take a flat bottom baking sheet or baking dish and grease it with oil generously.
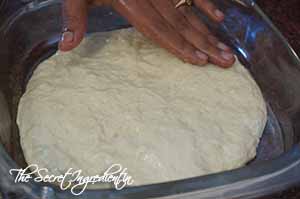
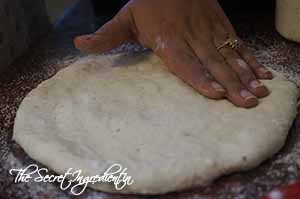
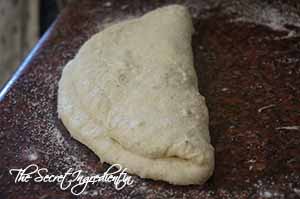
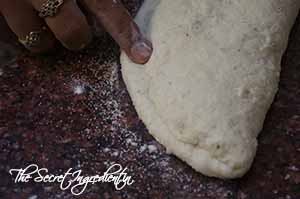
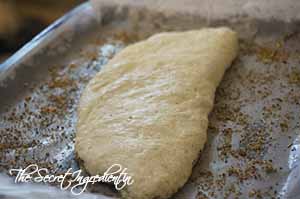
11. Stretch and roll the dough into the baking dish using your hands.It should be about 1/2 inch thick.
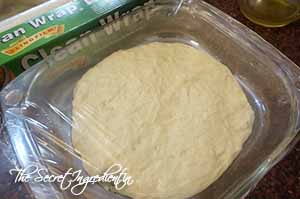
12. Now cover this with cling wrap and let it rest for 20 minutes.
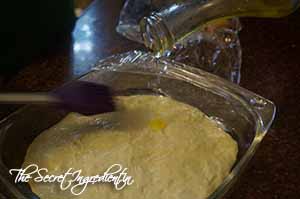
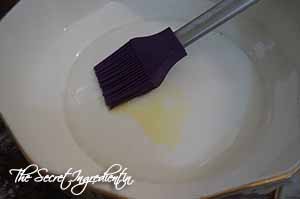
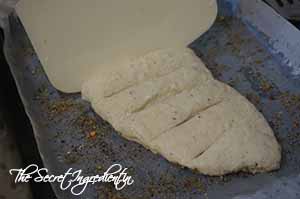
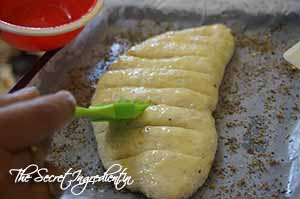
13. After 20 minutes remove the cling wrap but don’t throw it away. Brush some olive oil on the dough surface using a brush.
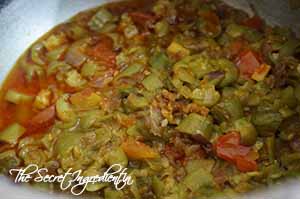
14. Top it up with as many or as less garlic slices you want.

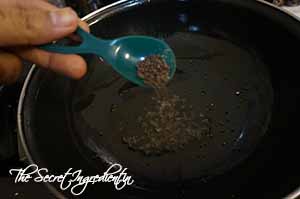
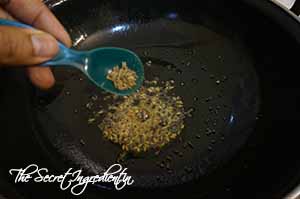
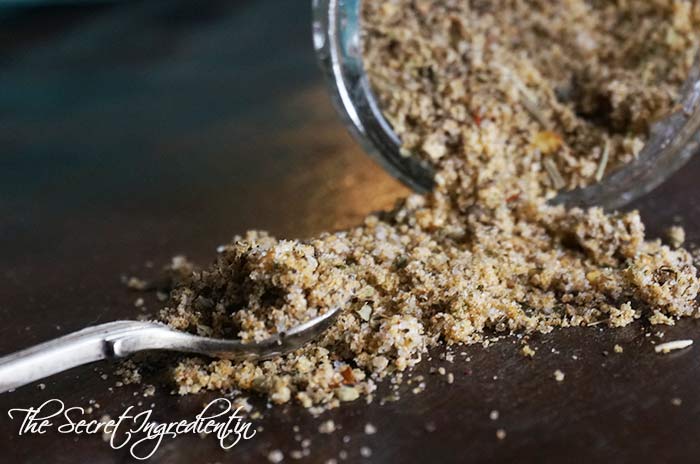
15. Sprinkle chopped fresh Rosemary or dried rosemary all over the surface.

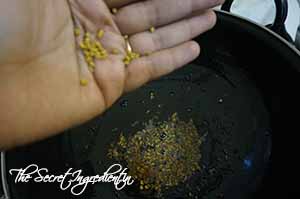
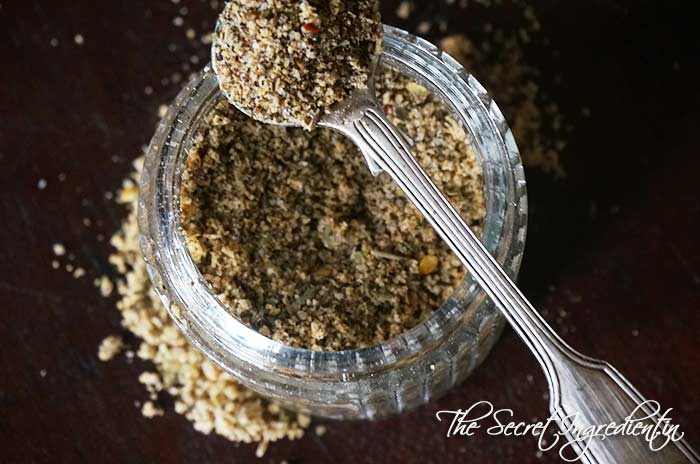
16. Season it with Salt and black pepper.
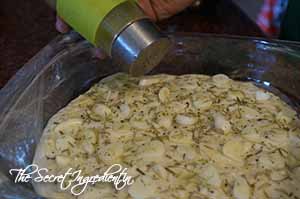
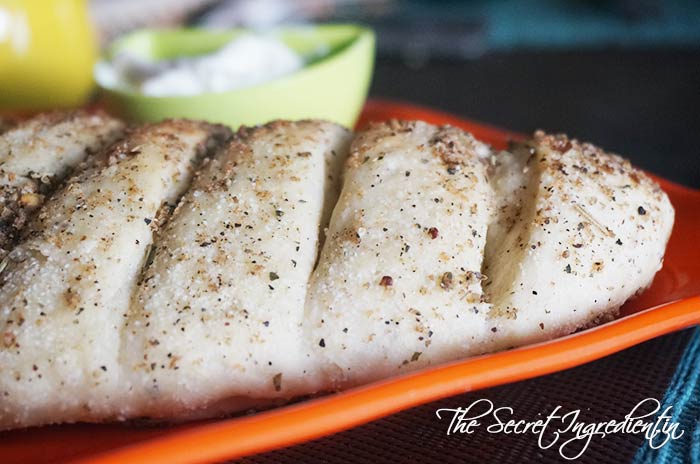
17. Again cover it with cling wrap and rest for another 25 minutes.

18. Pop into a preheated oven on 200 degrees Celsius for 20 minutes or until its golden brown.

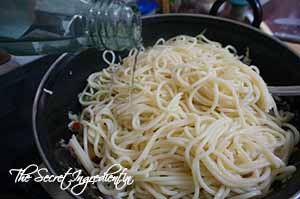
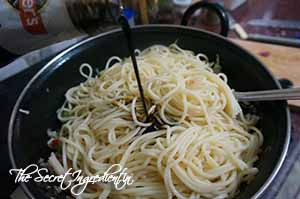
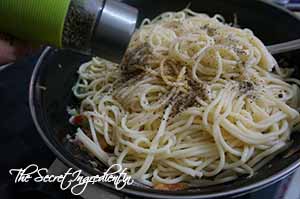
19. Serve as a side dish with pasta or any chicken cheese recipe.
[yumprint-recipe id=’41’] [whohit]GarlicRosemaryFocaccia[/whohit]


![[whohit]GarlicRosemaryFocaccia[/whohit]](http://www.thesecretingredient.in/wp-content/uploads/2014/07/SoojiHalwa_Featured1.jpg)
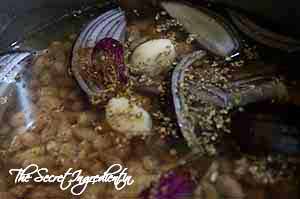
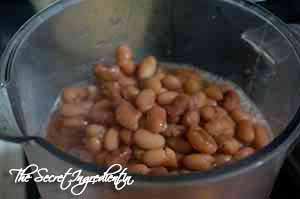
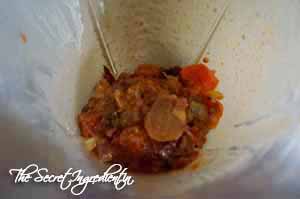
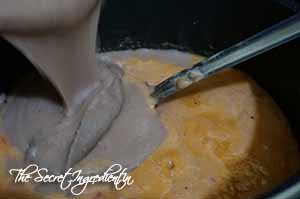
![[whohit]SopaDeFrijol[/whohit]](http://www.thesecretingredient.in/wp-content/uploads/2014/05/DSC05066.jpg)