Author

anshu

Browsing

I stumbled upon this recipe on the internet which is eggless, butterless and vegan. It is a sure shot no hassle super moist cake which can be made in less than 30 minutes from start to finish. No wonder it has been rightly named Wacky Cake. It has an interesting history which fascinated me and motivated me to try this recipe.

This recipe was born during war times and the economic depression when food was scarce specially eggs, milk, sugar and butter. It was during those crucial times this cake was introduced. Its fondly known as ‘War cake’. If you are new to baking then this is the cake which you should try because it doesn’t require any difficult steps. Its largely mix and bake. You can make this whenever you want to bake a cake using everyday ingredients without much effort. 

Directions:

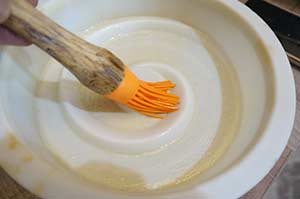
1. Preheat your oven to 180 degree Celsius (Learn more about Oven Temperatures and Conversions). Brush a 8 inch baking dish with cooking oil. Don’t forget to brush the sides. I am using a silicon Mould which works well. You can use aluminium mould, stoneware, ceramic and even borosil flat bottom dish. These all are oven friendly.

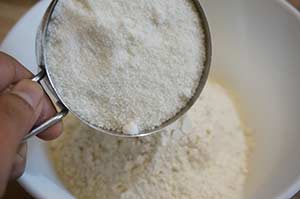
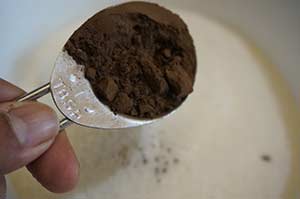
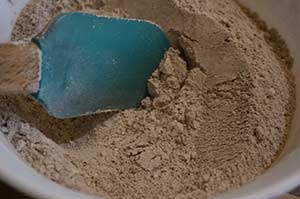
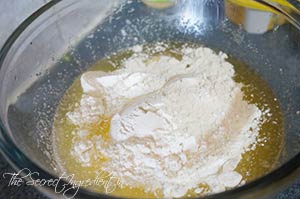
2. In a bowl put All purpose flour, Cocoa powder*, powdered Sugar or castor sugar.


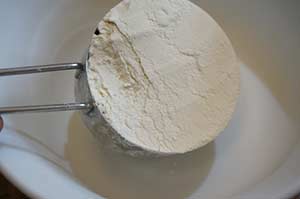
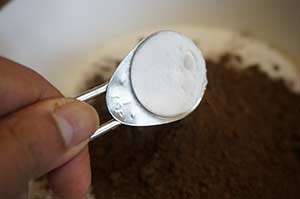
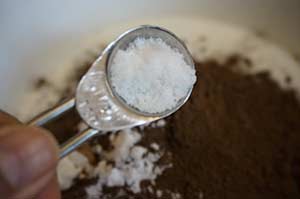
3 . Also add baking soda and salt. Basically, put all dry ingredient together. Now gently mix all the dry ingredients for an even mixture.


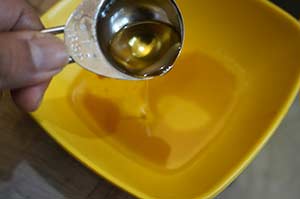
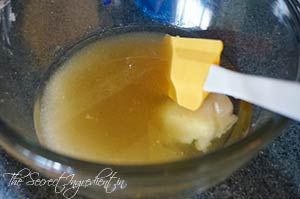
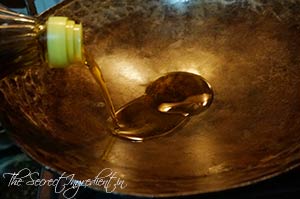
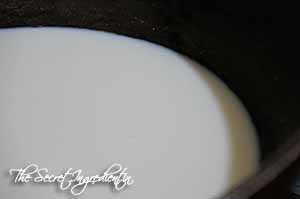
4. In another bowl add Oil and Vanilla Essence.


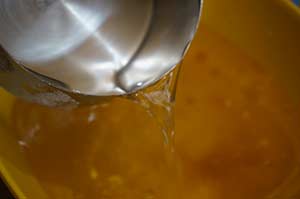
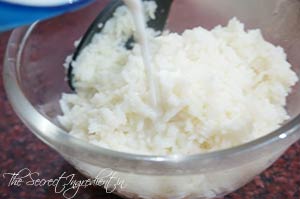
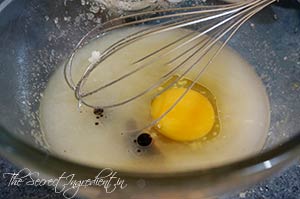
5. Also add warm water and Vinegar to the wet ingredients and combine.


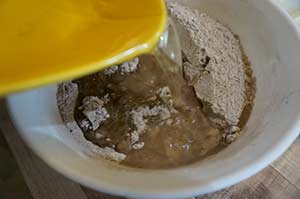
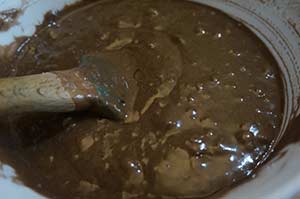
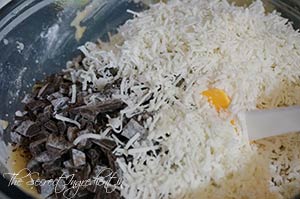
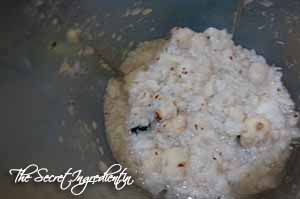
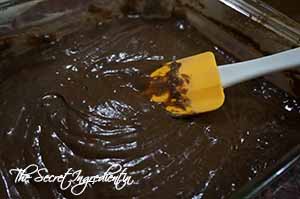
6 . Add wet ingredients to the dry ingredients and mix with a spatula. Ensure the flour is all moistened and its a lump free batter. Do not overmix**.


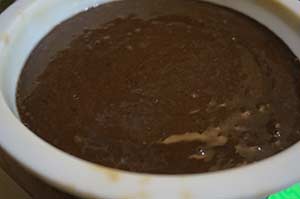
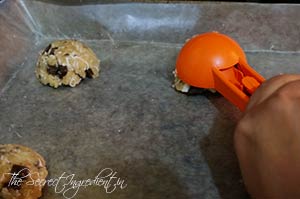
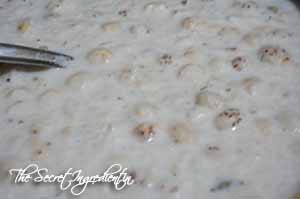
7. Pour the batter in the greased mould and tap to remove any trapped air bubbles. Immediately*** put the dish in the preheated oven and bake for 20 to 25 minutes. Insert a toothpick in the center of the cake and if the stick comes out clean, your cake is ready.  If the batter sticks then cook for a few minutes longer and check again with toothpick.

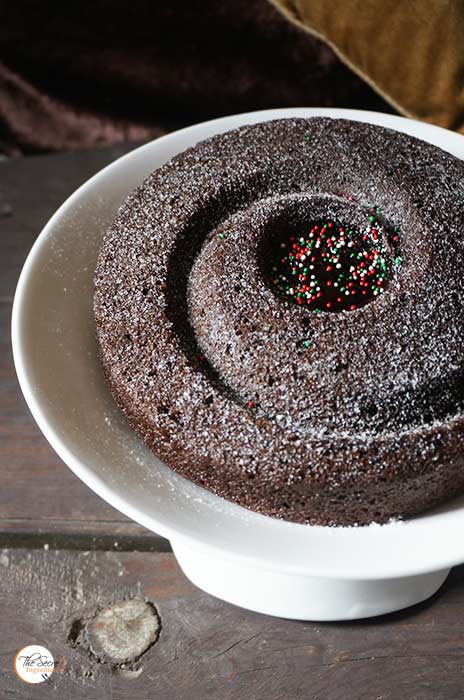
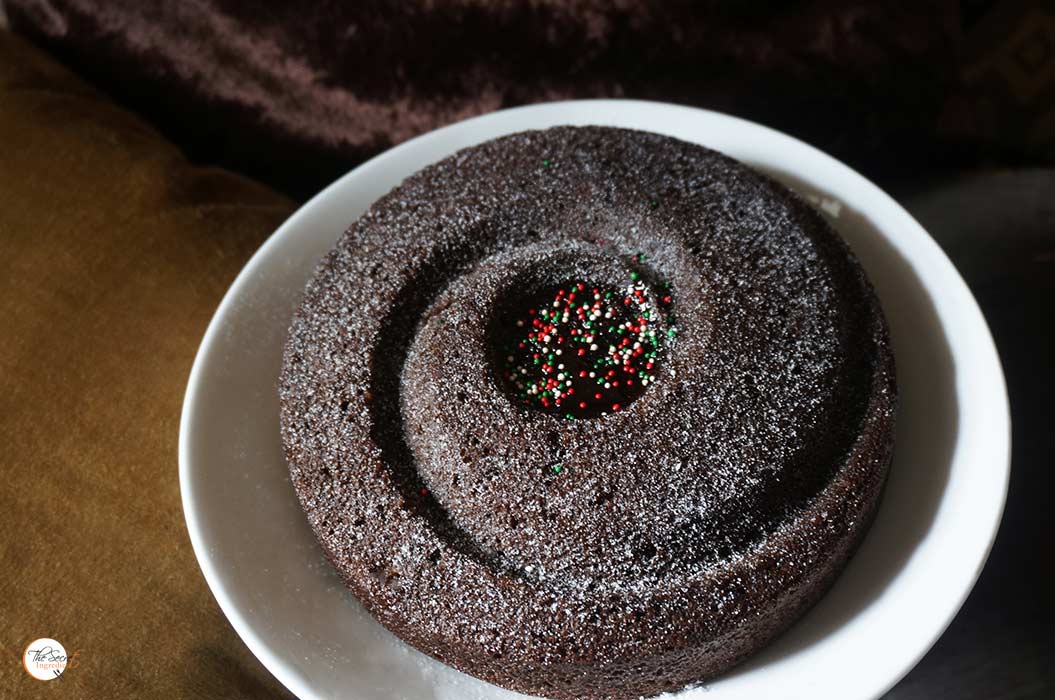
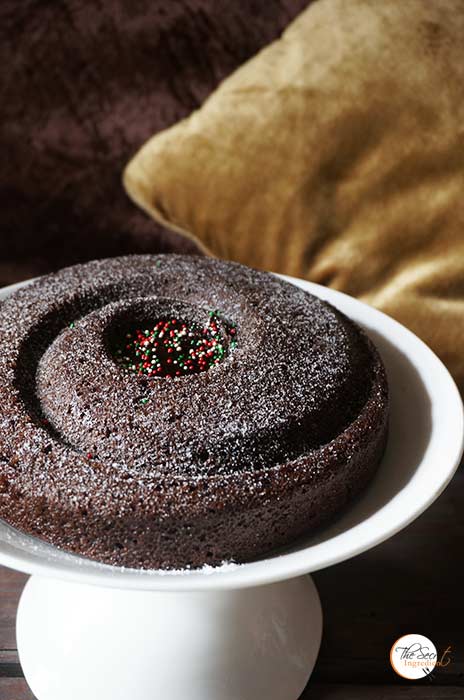
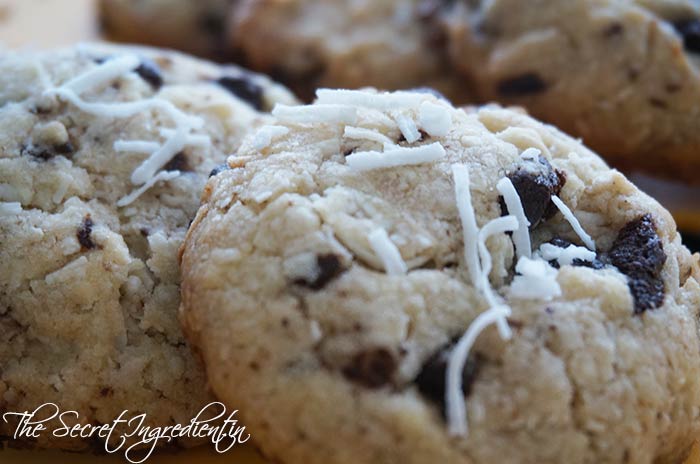
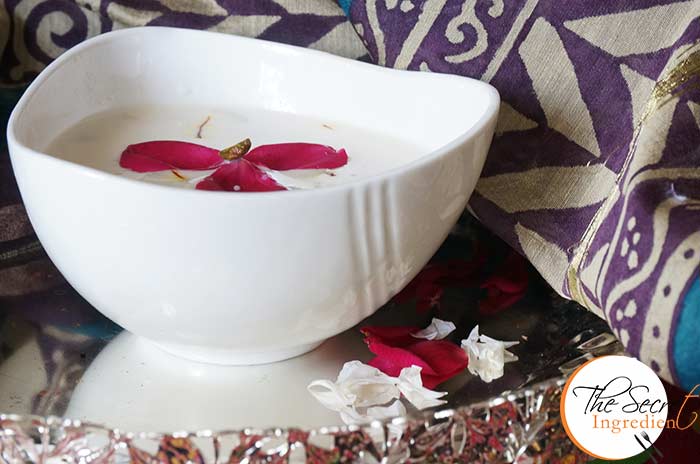
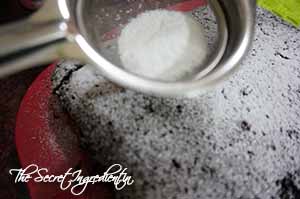
8. Remove it from oven and let it come to room temperature before unmolding it. You can frost this cake with your favourite icing. Or dust with some confectioner’s sugar and slice as it is and serve with your favorite cup of tea or coffee.

Other cakes you can try are: Sorghum and Wheat Flour Persimmon Cupcakes with Cream Cheese Frosting Fresh Mango Cake with Vanilla and Chocolate CollarFestive Orange Blueberry Pound CakeVanilla Cake with Pomegranate Syrup Lemony Pound Cake with Lemon FrostingEggless Orange Cake with Candied Orange Peel FillingApple Raisins Streusel BreadPersimmon Rum CakeEggless Mediterranean Semolina CakeEggless Almond Vanilla CakeEggless Black Grape Cake with Strawberry Jam GlazeVegan Chocolate Banana CakeChocolate Vanilla Marble CakeSurprise Heart Inside CakePumpkin Cake RollsWacky Vegan Chocolate Cake. Apricot & Almond Cake 

 
  [whohit]WackyCake[/whohit]

[yumprint-recipe id=’25’]

CoconutChutney_Featured2

Some things are made in pairs and they compliment each other well. If you cook one and leave the other..its like Blasphemy πŸ˜› The same is the case with Idli or Dosa Sambar, it has to have Coconut Chutney. My husband is a great fan of Coconut Chutney. Any time I end up making anything from the Southern Indian Cuisine I have to make this chutney. There are many ways of making this but his is my version. Simple and tastes great.

Directions:

1. In a bowl soak some channa dal for atleast fifteen minutes. If you can easily find roasted channa dal you can use that.

DSC04501


2. Break open a fresh Coconut and remove the water. Dont throw it away drink it or use it to liquefy the chutney. Scrape the coconut using a scrapper or grater.


DSC04499


DSC04500


3. In a blender put grated coconut, green chilli, channa dal, grated ginger and combine to make a smooth paste.

DSC04502

4. Add couple of spoons of water to achieve a perfect consistency.


DSC04503


DSC04504


5. Now for tempering you must add oil in a pan and when it gets heated add Red dried chili, mustard seeds and kaddi patta. I was out of dried red chili so I skipped adding it. My bad. Wait for the mustard seeds to crackle and then turn the flame off.

DSC04506
6. Pour this tempering over the chutney and refrigerate. Serve them with hot Rava Idlis.

CoconutChutney_Featured1  [whohit]CoconutChutney/whohit]

[yumprint-recipe id=’22’]

I must admit I had never tasted curd rice before but had certainly heard from my papa and my friends that its ridiculously yummy. I always used to wonder what could be so special about such a dish, after all its just curd and rice. But the other day when a friend requested this recipe I googled it and found an appealing recipe. When I made it the same very night.. it was like an instant hit!! I now happen to make it every other day. It is the best comfort food ever. Thought to share this recipe with you. Well I found out that it is also known as Thayir Sadam, my south Indian friends will know. πŸ™‚

Update:
I am updating pictures of this blog after I have had tremendous following on this recipe. And especially when its a time of crisis for us and the entire world is dealing with COVID 19. We have limited rations and limited supplies. So best can be when we use our existing supplies in a more creative manner. Making simple, nutritious dishes using lesser ingredients. I made this for my family last night and it was well appreciated. I hope you guys stay safe out there . Sending you hugs from India

Directions:

1. Thoroughly wash rice , soak it in water for half an hour and pressure cook it till soft and gooey.

DSC05055

2. Immediately transfer the rice in a bowl while still hot. Mash them and add hot milk. I also added butter for that rich buttery flavour. But its optional.


DSC05059


DSC05062


DSC05063


3. Let the mashed rice cool down and then add curd to it. 

DSC05067

4. Add finely chopped ginger, kaddi patta, coriander leaves, green chilies, salt and asafoetida. Mix well and set aside.

DSC05066

5. In a pan heat some oil or ghee.

DSC05068
6. Add kaddi patta, mustard seeds, halved or broken cashews, urad dal and  asafoetida. Roast them for a couple of minutes.

DSC05069

7. Pour the temper over the rice mixture.

DSC05070

8. Garnish with some pomegranate seeds. Serve immediately.

You can try Other dishes from South of India: Quick Rava Idli, Ragi Dosa, Instant Raw Mango Pickle South Indian Style, Tomato Onion Garlic Chutney, Coconut Chutney.


[yumprint-recipe id=’21’]  

PudinaChutney_Featured2

Pudina Chutney or Mint Chutney or Salsa de menta is a popular dip which goes with every possible Indian snack. Its minty, fresh and complements your favorite pakoras, Besan ka poora, dahi bhale. Its easy to pull together with handful ingredients, probably already available in your kitchen.  

Directions:

1. Separate mint and coriander leaves from their stem and rinse them very well for any dust or mud. Peel onion and garlic cloves.


DSC04840


DSC04837


2. Roughly chop onions, tomato, garlic, green chili and coriander and mint leaves.

DSC04841

3. In a blender put all the above mentioned ingredients. Squeeze on top juice of a lemon. Sprinkle some chat masala, amchur and salt. 

DSC04843

4. Pour some water for runny consistency.

DSC04845

5. Combine everything to form a smooth paste. Serve with your favourite snack.

PudinaChutney_Featured1

 [whohit]PudinaChutney[/whohit]

[yumprint-recipe id=’20’]


FrenchToast_Featured2

This is authentically my husband’s recipe and I proudly say that he makes it better than me every single time. This is a little twist over the regular french toast as it is a omelette wrap around over a slice of bread. The grated ginger and sauteed onion gives it a unique flavor. It is so easy that you can ask your spouse to make it for you for a weekend breakfast. In this case I am lucky for my husband loves to make this for me on a Sunday morning. How romantic is that! This is definitely a pleasant change to make eggs on a busy office day. Its fast yet tasty and filling.

 Directions:

1.In a mixing bowl break two eggs and whisk them using a whisker.

DSC02812

2. Add a spoon of milk to fluff up the eggs. Add salt and pepper. Whisk again. Set aside.

DSC02814

3. In a pan melt some butter. Add chopped onion and grated ginger and finely chopped green chili if you like. Seems Mr. Pande skipped it. Toss them for a couple of minutes in butter.

DSC02831

DSC02816

4. Now pour the whisked eggs over sauteed ginger onion and ensure it spreads all over the pan.

DSC02817

5. Without wasting time place a bread slice in the center of the pan over the eggs while they are still liquid.

DSC02818

6. Now flip the bread side and let the other side also absorb the egg liquid.

DSC02819

7. When you feel the bottom of the omelette has solidified but the top is still liquid start folding the four corners to wrap the bread.It may not be perfect but really doesn’t matter. We cook for taste and not for perfection. πŸ™‚

DSC02820

DSC02828

8. Now flip the wrapped bread and cook on the other side till slight golden.

DSC02830

9. Serve it just like that or sprinkle some Parmesan Cheese with Chili Flakes.

FrenchToast_Featured1

  [whohit]WrappedFrenchToast[/whohit]

[yumprint-recipe id=’17’] 

CoconutCookies_Featured-2

Its Easter time! Time for baking some yummilicious cookies. I already have recipe of White Chocolate Chip Cookies on my website. But this time I wanted to share this recipe of Chocolate and Coconut Cookies which I made out of accident. And that accident was sooo delicious!

I was leaving for India in few weeks and I decided to say goodbye to my friends by visiting them and baking them something from my oven. So I checked my closet and found I was out of chocolate chips but had half a bar of dark chocolate and some shredded coconut. I was even out of butter so decided to use vegetable oil. I had to empty my kitchen before leaving so shopping some more was not a viable option. So I decided to combine the two ingredients I had on hand into cookies. The combination seemed weird but I still went ahead with it. The result was simply outstanding. We devoured so many of them ourselves before packing them into a basket with a bow. Ahhh beautiful memories…

Directions:

1. Preheat the oven to 375 degrees (Learn more about Oven Temperatures and Conversions). Line few baking sheets with some parchment paper and set aside.

2. In a bowl mix together sugar, oil and vegetable shortening for a lump free mixture.

DSC04107
3. Add eggs and Vanilla essence. Whisk it till everything combines.

DSC04108

4. In a separate bowl combine All purpose flour, baking powder, baking soda and salt. Give them a gentle stir so that they combine evenly.

DSC04109

5. Now add dry ingredients to the wet ingredients and mix gently. Do not over mix.

DSC04111
6. Fold in chocolate chips or you can add chopped chocolate chunks like I did along with shredded dry coconut. 

DSC04112

7. With the help of a small ice cream scooper, about 1 tbsp measure, scoop out the cookie dough on to the baking sheet pre-lined with parchment paper. The distance between each cookie should at least be 2 inches because they will spread on being heated.


DSC04113


DSC04114


DSC04117


8 . Press the cookie dough with your hand so that they even out when they spread.


DSC04118


DSC04119


9. Bake them for 9 to 11 minutes or until the edges become slightly golden. Cool them on a wire rack for ten minutes. Enjoy them with a cup of tea or coffee.

CoconutCookies_Featured1

 [whohit]ChocoCocoCookies[/whohit]

[yumprint-recipe id=’16’] 


Year 2014: Bharwan Karela also known as Stuffed Bitter Gourd is a specialty from the state of Punjab. When I married a Pahari, i.e. some one from hills, my Mother-in-law told me that her son hates karela and a few more vegetables. Everytime she makes them at home he makes faces and finds something else to eat. I took the challenge and when I made them he instantly fell in love with them. It was one of the biggest changeover my Mom in Law saw in her son after our marriage. She would jokingly tease him “biwi ne banaya tou kha liya, ma kay haath ka pasand nahin“. πŸ˜›


While we were in Mexico we literally craved for karelas as you get them only in few particular markets. When India happened it was first on my to do list. At least one thing is clear if you crave or something or something or is not available in abundance you realise its importance. Never take anything in life for granted. Count your blessing, fill your heart with gratitude.

Update: Now 2020: Fast forward many years when I decided to upload better pictures. With God’s grace and your love it is still one of the most visited recipe on my blog and those who have tried it vouch for it. I have also tried a recipe of karela with Dahi or plain yogurt. You should also try that.

Directions:

1. Wash and peel off the skin of karela with a peeler. Do not forget to cut off the tail from both the ends. My mother uses even the peeled skin to cook sometime but I am not trying this. Update: I tried using the karela peels and the results were amazing. Will share the recipe soon.


DSC04566


DSC04567


2. Cut open the Karela from one end vertically so that you can stuff in the spices. Use the sharp corner of the knife to make this slit.

DSC04568
3. Now carefully with the help of  a peeler scoop out the pith and the seeds. I read somewhere that the seeds of medium and big sized karela are toxic so should not be used. It is better to get small size baby karelas which are soft and tender from inside and are perfect for making this recipe. But if you can not lay your hands like me use the readily available medium sized karela.


DSC04569


DSC04571


4. Now you have to evenly scrub the karela with a generous quantity of salt, both inside as well outside. This is done to take out the bitterness out of the karela.


DSC04572


DSC04573


DSC04574


5. Let the karela coated with salt rest for three to four hours or overnight is best.

DSC04575

6. After that squeeze the karela with your hand to remove the bitter water. Throw the water away and reserve the karela.

DSC04579

7.  Wash them thoroughly and squeeze out the extra water and pat dry with a kitchen towel. Keep them aside.


DSC04582


DSC04583


8. In a bowl add Salt, Turmeric, Garam masala, Coriander powder, Amchur,  Asafoetida , Sambar Powder, Chana Masala and Red Chili Powder and mix them evenly for the filling.

DSC04580
9. Fill the dry karela with spoonful of spice mix and keep them aside.

DSC04585

10. In a wok or karahi, preferably a cast iron karahi pour mustard oil. Bharwan Karela taste best in Mustard Oil but if you like you can use even Vegetable Oil. If some spice mix remains reserve it and if you fall short of masala for the size of karela you have to make little more πŸ™ I hate doing this.

DSC04586
11. After the oil has heated scorchingly well (if that is any word :P) and you can see the smoke coming out that is when you put the spice stuffed karela for frying. If you have any left over spice mix you can put it on top now.

DSC04589

12. Toss them for five minutes and  then cover with a steel plate or lid and press tightly with a kitchen towel. Let them cook on medium flame.

DSC04591
13. After every five to seven minutes open the lid and turn the sides of karela to cook evenly.

DSC04592

14.  The karela will obtain dark brown colour after around fifteen minutes. Ensure you keep turning sides and cook evenly for they will burn.

DSC04593

15. Remove the karelas in a serving platter and with the left over oil in the same wok or karahi add halved onions and green chili if you like. I added the chilies later.


DSC04594


DSC04595


16. The onions will absorb the taste of karela from the burnt oil. Trust me they taste heavenly. My husband always requests extra onions everytime.

DSC04596

17. Cover the onions with the lid like earlier and cook for couple of minutes.

DSC04597

18.  This is how they look, purely divine. And look I did add green chilies I wasn’t lying.

DSC04598
19. Mix them with the karela and Serve hot with Chappatis.

Other recipes you can try from Punjabi Cuisine : Dal Makhni, Butter Chicken, Vadi Toriyan, Bharwan Tinda, Punjabi Shalgam ka saag, Palak Paneer, Pindi Chole, Langar wali Dal, Baigan ka Bhartha, Kadda Prasad.

[yumprint-recipe id=’15’]

SabudanaKhichdi_Featured1
During Navratras one is tired of eating the same food again and again. I understand you are fasting and are required to eat a particular type of food, but what if you can make some interesting food using the same ingredients. Here is one recipe which is easy and delicious yet does not use any fancy ingredients. It uses Sabudana which is also known as ‘Tapioca‘ in many countries.This can also be made for breakfast even on non fasting days.

Directions:
1. Soak Tapioca in a bowl with water for a couple of hours till the tapioca balls become soft. Drain water and set aside. In the meanwhile boil potatoes and peel their skin. Cut them into cubes and set aside.

2. In a pan pour some oil and add cumin seeds along with few leaves of Kaddi Patta. When the cumin seeds start sputtering add raw Ground nuts and toast them for a couple of minutes.

SabudanaKhichdi1
3. Add grated ginger and gently mix and cook for a minute or so.

SabudanaKhichdi2
4. Now add boiled cubed potatoes and roast them in oil with cumin and other spices. 

SabudanaKhichdi3
5. After potatoes have attained a golden colour and have become little crisp from outside add salt or sendha namak namak and red chili powder and mix it thoroughly.

SabudanaKhichdi4

6. Add pre-soaked tapioca to the potatoes and mix thoroughly.


SabudanaKhichdi5


SabudanaKhichdi6


7. Cover the tapioca potato mix with a lid or small plate tightly and let it cook on low flame for about five to seven minutes.

SabudanaKhichdi7
8. Open lid and check if the tapioca has become slightly gooey and become transparent in colour.

SabudanaKhichdi8

9. Garnish it with Green Coriander leaves.

SabudanaKhichdi9

10. Serve with plain yogurt and green pudina chutney.   

If you looking for more Navratri or Vrat recipes you can checkout Makhaney ki KheerSwang ke Chawal ki Khichdi, Gajar ka Halwa RasgullaAnaar Aloo ka Raita and Kachalu Aloo ki Chaat.

SabudanaKhichdi_Featured

[yumprint-recipe id=’14’] [whohit]SabudanaKhichdi[/whohit]

MakhaneyKikHEER_fEATURED1
Navratras are approaching and this recipe is simply ideal for all those who wanna fast and also for those who wanna taste the Navratri food despite non fasting πŸ˜› I know many such people in my family including my husband. I never tasted this kheer until my mother in law made it soon after I got married.

MakhaneyKiKheer_Featured3

It tasted amazing and I learnt from my Mother in Law and now I am sharing it with you. For those who are unaware of Makhanas or Phool Makhanas, they are nothing but Lotus dried seeds also known as Foxnut. You can eat this during any vrat or any festivity.

Directions:
1. Put Makhanas in a bowl and soak them in water for couple of hours or so till they become soft and gooey.


SopaDeFrijol1


SopaDeFrijol2


2.  Coarsely grind the soaked makhanas in a blender. You can also make a smooth paste if you prefer but I like it chunky. Set aside.

SopaDeFrijol5

3. In a deep bottom pan add milk and give it a boil.

SopaDeFrijol6

4. Add crushed cardamoms to the milk and boil for another 5 minutes on low flame . If you prefer you can even use powdered cardamoms.

SopaDeFrijol7

5. Add coasrsely blended Makhanas to the milk and give it a stir. Boil for ten minutes till the kheer attains a thicker consistency.

SopaDeFrijol8

6. Add a can of condensed milk or sugar as per your taste. Stir continuously.

SopaDeFrijol9

7. Add Chopped Pistachios or dry fruit of your choice. and give it a mix.


SopaDeFrijol10


SopaDeFrijol11


 8. Add few strands of saffron and mix.

SopaDeFrijol12

9. Serve Hot and Enjoy. 

Other traditional sweets you can enjoy during the festivity are: Pumpkin Halwa, Sooji Ka Halwa, Gajar Ka Halwa, Rasgulla, Attey Ka Halwa.

MakhaneyKiKheer_Featured2


MakhaneyKiKheer_Pintrest

[yumprint-recipe id=’13’][whohit]MakhaneKiKheer[/whohit]


In less than five days I am saying bye to Mexico. I am feeling very nostalgic. Mexico holds a special place in my heart because of various reasons, few of them being that my son was born here and this place gave me opportunity to learn a lot specially in cooking. If I am writing this post it is because of Mexico.

Well I could not leave this country without posting the recipe of World famous Mexican Guacamole (pronounced as Wa-ka-Moley). Its a delicious yet easy side dish made with Avocados which we do not find easily in India. I think this recipe is my tribute to this beautiful country which gave us so much love.

Directions:

1. Finely chop the onion and keep aside. Cut the tomato in half and scoop out the seeds or pulp from its center using a spoon. Chop the outer cover finely and keep aside.

HowToAvacado1
2. Once the onions and tomatoes are chopped, peel and cut avocado and mash it gently using a fork (Learn How to cut and peel an avacado). Leave the avocados chunky as it gives a great texture to the guacamole.  Avocados turn black fast due to oxidization so they must be peeled and cut only when you are ready to use them. 

HowToAvacado2

3. In a serving bowl add chopped onions, tomatoes and mashed avocados. Top it with finely chopped coriander leaves and green chili. Add lemon juice and salt pepper to taste.

HowToAvacado4
4. Serve them immediately with tortilla chips.

Other Mexican Recipes you can try are: Pan De MuertoFresh Mexican Black Bean & Mango SaladChilies en NogadaSopa De FrijolMexican Casserole Eggs Mexican Chicken Soup With Rice .

[yumprint-recipe id=’12’]   [whohit]Guacamole[/whohit]