Author

anshu

Browsing

SundriedTomatoesPasta_Featured1

If you follow my posts you know I am a big fan of Pasta. I am on a constant voyage to look for new and exciting recipes of pasta. I stumbled upon this recipe on The Pioneer Woman’s webpage. It was like love at first sight. I brought home the ingredients and made it the same day for dinner. Wola! The pasta salad was soooo amazing with a lingering flavor of garlic.

Directions:

1. In a pot boil water and add salt. Once the water boils add pasta. You can choose any shape of pasta of your choice. I used spaghetti for this recipe. Cook pasta till al dente. Drain water and reserve pasta. Run it under cold water and keep aside.


DSC02068


DSC02098


2. In a blender add sundried tomatoes after draining the oil from it. Also add garlic cloves to it along with salt and pepper.

DSC02074

3. Now add some red wine vinegar and olive oil to it and give it a run. Keep aside.

DSC02075


4. Slice some pitted black olives and handful red cherry tomatoes and keep them aside.

DSC02096
5. In a big serving boil add the pasta and top it up with the sundried tomato vinaigrette and sliced olives and cherry tomatoes.

DSC02100

6. Toss in some good amount of Parmesan cheese.

DSC02101
7. Stir everything carefully and serve with additional parmesan cheese on top.

SundriedTomatoesPasta_Featured2

[yumprint-recipe id=’44’]


[whohit]sundried-tomato-pasta[/whohit]

GajarKaHalwa_Featured
I come from a family of professional sweet makers or as we call them in Hindi ‘Halwai’. My maternal Uncles run a restaurant in India which was established by my late Grandfather. The sweets and snacks made by them tastes heavenly. If you taste it once you will come back for more and more, I challenge you. When I was in India I enjoyed those delicacies in abundance. Now as I write this blog I miss those flavours. Every year during winters my grandfather used to send us Gajar ka halwa …I cant describe how amazing was that. The good part is my uncles have carried the tradition 🙂 So I will go back to India and devour lots of sweets and of course gajar ka halwa. Till then you enjoy this recipe which I have taken from Edible Garden, which is tasty by the way. I promise when I go to India I will learn to make Gajar ka Halwa the way my uncles make and post it here.

Directions:
1. In a pressure cooker add the grated carrots, (preferably the red ones you get in India during winters. If you cant get them you are a looser like me 😛 but you can use the orange ones. The halwa wont taste the same but will be close enough).

CasseroleEggs1

2. Add Milk and water. Stir well and pressure cook for  about 7-8 mins. Turn off the flame but do not open it immediately. Let it cook further in its own steam.

CasseroleEggs3

3. In a small pan heat the ghee and fry the cashew nuts,raisins and almonds until golden, set aside.. The use of ghee will bring in the most delightful flavour so it is highly recommended.

CasseroleEggs6

4. Once the pressure cooker is ready to be opened, turn on flame again and keep it on low. Bring the carrot milk mixture to boil again and continue to cook on low flame for 10-15 mins until the mixture thickens and the milk becomes a bit grainy.


CasseroleEggs4


CasseroleEggs7


5. Add the condensed milk and mix well. Let it cook for another couple of mins. The addition of condensed milk gives it enough sweetness. But if you have a sweet tooth add more sugar I wont judge you. 😛

CasseroleEggs8

6. Next add the roasted cashew nuts, raisins, almonds and dates and the ghee it was roasted in. Top up with the cardamom powder. Mix well.


CasseroleEggs9


CasseroleEggs10


Transfer it in a serving bowl. Me and my husband finished this in minutes. I am sure you will like to try this.

GajarHalwa_Featured2


[yumprint-recipe id=’81’][whohit]gajar-ka-halwa[/whohit]

PastaAllaVodka_Featured

Cooking with alcohol gives an extra kick to the dishes. Be it Grilled Chicken marinated with wine or Almond Biscotti baked with little liquor. As you add alcohol to the food you are cooking, it evaporates with heat and only thing left behind is the lingering flavour. The alcohol in the food doesn’t make you tipsy therefore its even safe for kids. Although its optional to use alcohol in most recipes but in this one I would say it is mandatory. The pasta wouldn’t be the same without vodka and you have to trust me on that.

Directions
1. In a large deep pan heat some water. The water should be at least 3 inches above pasta. When the water boils add pasta and 1 tbsp salt to it. Cook the pasta al dente.  Drain and reserve the water from pasta for later use .


DSC01298


DSC01300


2.In a large skillet over medium heat, add olive oil and butter. When butter is melted, add in chopped onion and garlic. Stir and allow to cook for two minutes.


DSC01302


DSC01303


3. Pour in vodka. Stir and cook for three minutes. Do not worry you wont go tipsy 😛

DSC01304

4. Add in pasta sauce and stir. As a matter of fact my kitchen is always stocked with Pasta Sauce. It saves me a number of times when you have to cook something quickly.

DSC01306
5. Reduce heat to low and stir in cream. Allow to simmer, being careful not to overheat. Stir in red pepper flakes, salt and pepper.

DSC01308
4.If you feel the sauce is too thick you can add water reserved from boiling pasta. Add cooked pasta to the sauce, tossing to combine. Stir in Parmesan cheese.


DSC01309


DSC01310


5. Put pasta into large serving bowl. Garnish with more Parmesan cheese and enjoy!

Pasta-Alla-Vodk_Featured2

[yumprint-recipe id=’39’] 


[whohit]pasta-alla-vodka[/whohit]

GrilledChickenFeatired-2

In general Indian cooking is rich and oily. And if you make any non vegetarian dish in Indian style it becomes even more richer with addition of ghee. I was looking for a way to cook chicken which is healthier and yet tasty. I tried cooking it with bare minimum spices and a tbsp of olive oil by grilling it on my pan. Trust me this experiment was a hit and now we make this Grilled Chicken Salad once every week. Do not get confused as it may be called salad but its a full meal in itself.But if you like you can always use a side dish like Avocado Parsley Pasta with this

Directions:

1. Preheat a pan or griddle over medium heat.

2. In a bowl, mix the chicken with the oil, balsamic vinegar or its substitute, zest and juice of lemon, garlic, parsley, chili flakes and salt and pepper. Ensure the chicken is well coated in the marinade and set aside for a few minutes while the grill pan gets nice and hot.

DSC00858

3.Cook the chicken for about 4 minutes on each side or until fully cooked through (this might take longer if the chicken isn’t pounded thin enough). Do not overcook it for it will become dry and loose all its flavour.


DSC00859


DSC00861


4. Remove to a plate to cool slightly.

5. Cut it into bite size pieces and serve with a blast of salad. You can even try BBQ Sauce and Honey Mustard dressings with it. I love to pair it with Avocado Pasta.

You can even try our Pan Grilled Fish in Lemon Butter Sauce.

GrilledChickenFeatured1

[yumprint-recipe id=’83’]

[whohit]grilled-chicken-salad[/whohit]


KaddhiChwal_Featured3
My mother is an incredible cook and the credit goes to her for taming me and making a good cook out of me. I learnt to cook out of need and never out of interest. But gradually that need became an enjoyment and lately a passion.

KaddhiChwal_Featured1


Last year when my parents visited me in Mexico, I made Kaddhi Chawal for dinner one night. Needless to say this recipe is my mom’s most famous recipe. When she started eating she paused and said “I cant say if its made by you or me”. That was the biggest compliment from my guru. I hope you try this recipe and enjoy.

Directions:

1. Add all the ingredients for kaddi (not tadka) in a blender and add add only 1/4 of water and run the mixer to form a lump free liquid.


DSC01817


DSC01820


2. Pour this mixture in a large pot (ensure its very deep because on boiling it can spill) and add rest of the water.

DSC01823

3. Turn on the flame and let it boil for about 25-30 minutes. You must keep stirring it every minute and reduce the flame every now and then to stop the kaddhi flowing off the pot. Don’t be like me 😛 keep an eye on it. You can put it on high flame again and likewise keep repeating till about half an hour. Once you feel the kaddhi is cooked turn off the flame. The consistency of kaddhi will become less dense as the kaddhi cooks.


DSC01825


DSC01827


4.  In a skillet/ pan add oil and let it heat for a minute and then add mustard seeds and cumin . Let it splatter for another half a minute. Ensure you do not over cook otherwise the taste changes.

DSC01828

5. Add Fresh kaddi patta and cook for additional half a minute. I do not have the luxury to have fresh kaddi patta in Mexico so i use dried coarsely ground kaddhi patta. It doesnt taste as strong as fresh leaves but something is better than nothing.

DSC01830

6. Add garlic and green chili and cook till garlic starts turning golden brown.

DSC01831

7. Now add this tempering on top of your kaddhi in the pot. Garnish with chopped coriander and garam masala. Keep aside.


DSC01834


DSC01835


8. For the pakora or fritters, in a frying pan pour oil and let it heat.In the meanwhile mix besan, onions, chilli, salt, red pepper powder and water to form a paste. It should not be very liquid.

DSC01839

9.  With a spoon pour the mixture in heated oil to make fritters. Ensure you make small and thin fritters or  pakora for kaddhi as they will not absorb a lot of kaddhi and there will be enough liquid.

DSC01842

10. Once you fry the fritters turning both sides till they acquire golden colour remove them on a paper towel to absorb extra oil.

DSC01845

11.  Put these pakoras/fritters in kaddhi and heat it for a couple of minutes.Your Besan Kaddhi is ready! Serve with Rice and enjoy !

Other popular and Lip smacking dishes from Punjabi Cuisine are: Bharwan Karela, Dal Makhani, Langar wali dal, Bharwan Tinda, Butter Chicken .

KaddhiChwal_Featured2

[yumprint-recipe id=’48’]


KaddhiChwal_Pintrest


[whohit]kaddhi[/whohit]


Chicken Soup is a popular healthy soup made in all parts of the world. Each Cuisine makes it in its own unique way by adding its special Secret Ingredient. I was a Vegetarian in India before I came to Mexico, so I had no knowledge of how to cook any non vegetarian dishes including chicken soup. I happened to try one day one of their Chicken Soup which is a clear soup made with rich stock. Its known as Consomé de Pollo.


The soup was warm and delicious and a complete meal in itself because it had rice in it. I looked for the traditional recipe and made few variations and here is my version of it. The soup is perfect for winter dinner tables. You can relish it by adding a few drops of lemon juice, just the way Mexicans like it. After this trial I have tried so many other dishes from the Mexican cuisine like Sopa de Frijol, Guacamole, Pan de Muerto, and the list goes on. If you are keen on trying authentic Mexican dishes you should try some of these.

Directions:
1. Take boneless skinless chicken(I used chicken breast because it is with least fat), and cut it in thin slices so that it cooks faster and evenly.

DSC01961

2. In a flat bottom pan, pour less than one tbsp of olive oil and when it begins to turn hot add the sliced chicken slices to it.

DSC01963

3. Let it cook for a couple of minutes and when you notice the pink color of chicken has turned white you can flip it upside down.  Season the bird with salt and pepper.

DSC01964

4. Keep flipping sides till you see the chicken has acquired a light golden brown colour. Cook until the chicken is soft but do not over cook for it will loose all its moisture hence its taste. Remove from pan and keep in a plate to cool.

DSC01977

5. When the chicken has cooled, shred it gently with the help of two forks. You can even cut it in to bite size pieces, completely depends on personal preference.

DSC01984

6. Now in a pot pour a tablespoon of olive oil and when it starts to warm up add garlic and saute them for a minute. Then add onions and Saute them till they become translucent.

DSC01969

7. Now add tomatoes and garnish it with salt and pepper. Cook the tomatoes till they are gooey and are in semi liquid state.

DSC01970

8. Add half cup of cooked rice. I prefer to use less rice because if the quantity of rice is more the soup becomes dense with chicken and rice. But if you wish you can add rice as much as you want.

DSC01983

9. Add to the mixture about 5 cups of water or chicken broth. I simply add water for I feel as it is a chicken soup why add additional chicken broth. Plus the packaged broth is high on sodium. But if you feel it makes a huge difference in taste, go head and add one broth or chicken bullion or cube along with water.

DSC01986
10.  Check for additional salt or pepper. Now cover the pot with a lid and let it sit on low flame for about twenty minutes.

DSC01987

Transfer the soup in a soup bowl, squeeze in some lemon juice and enjoy steaming hot on a cold cold night.

Chicken-Consomme

If you are looking for other soup recipes you can try: Classic Russian BorschCream of Asparagus SoupCream of Broccoli Soup with ChivesPeas and Mushroom Spicy SoupClassic French Potato Leek SoupMexican Red Kidney Beans Soup With Baked Tortilla ChipsTomato Soup , Zucchini Garlic Soup with Yak Cheese ShreddingsCream of Mushroom.


[yumprint-recipe id=’257′]


Palak Paneer is the one of the delicacies of North India. The fresh cottage cheese also known as Paneer, Cream and blanched Spinach paste gives it a rich smooth flavor. I forgot to mention its my husband’s absolute favorite. He can eat this even when he is not hungry. Even so my little toddler who has bare minimum teeth also enjoys this heartily. So, I make this very often.


Its easy to make but the only crucial thing is that you need thoroughly washed Spinach. Spinach is a green leafy vegetable which has a lot of mud/dust. So if any impurity remains it can spoil the entire taste of the dish and you wouldn’t like that. So you MUST wash the Spinach leaves thoroughly or buy the packaged clean spinach, which could be a little expensive.

Directions:

1. Separate the spinach stems from the leaves and reserve the leaves in a colander. If you are using the packaged spinach in a bag they come without stems, so you can skip this step.

DSC00838
2. Insert the colander with leaves under the water tap and wash rigorously ensure that there is no dirt. Ensure you wash each leaf, it is a tedious process but by this you will eliminate all the dirt which will effect the taste of your dish.

DSC00878

3. Put the washed leaves in a pot and blanch them for ten minutes with lid on top. If you are using the packaged spinach you will need to put half cup of water to blanch the spinach. Once you see the spinach leaves are no longer firm you must turn the flame off. Keep them aside to cool down a little and after its cooled make a paste of it in the blender. Keep aside.


DSC00879


DSC00881


4. While the spinach is still blanching you can make a thick paste of tomatoes, Onion, Green Chili, Garlic and Ginger in a blender.

DSC00883

5. In another pan add Oil/ghee and when hot add cumin seeds. When you see they start to splutter add the thick paste of ginger garlic and others you just made.

DSC00884

6. Add salt to it so that the paste cooks faster. Keep the paste on flame for at least ten fifteen minutes till you see the oil separates the masala. It will reduce to less than half its initial quantity. You can add chili powder to it. Keep stirring it every few minutes to avoid sticking to the bottom.

DSC00885

7. Add the spinach paste to it and mix it with the masala. Keep on flame for another five seven minutes then add cream to it. You can also substitute it with little milk or malai (in a bowl whisk the malai to form a smooth cream).


DSC00886


DSC00887


8. Add cubed Paneer to it and mix it well.

DSC00888

9. Sprinkle some Garam Masala and mix . For restaurant like taste finish it with Kasuri Methi and mix again.

DSC00890

Serve hot with Chappatis.


Other Paneer dishes you can try are: Shahi Paneer,  Achari Paneer,  Vrat Wale Dahi-Paneer Kebabs , Paneer Ki Kheer,  Baked Paneer Corn Kababs , Stuffed Buns with Spicy Paneer Mughlai Shaahi Paneer.

[yumprint-recipe id=’26’]


[whohit]palak-paneer[/whohit]

HomemadeVegPizza_Featured2

Baking a right kind of Pizza from scratch was always my dream. You know one of those cooking fantasies. Only if you day dream about cooking different food you will understand what I am talking about. So  one fine day I gathered courage and boom before I could think twice the pizza was ready. I always thought its a Rocket Science. But you have to trust me on that, that it is so easy, delicious and way better than any restaurant pizza. It gives you the super power to make it as healthy as you want and plus you can choose umpteen types of toppings or rather utilize any leftover in your fridge. I used vegetables mainly because most of my readers are vegetarians. But as I said you can use any combination you want, after all its your pizza!

Directions :

To make the Pizza Dough

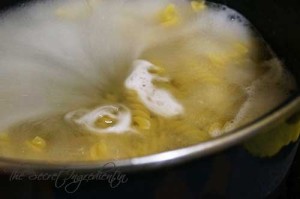
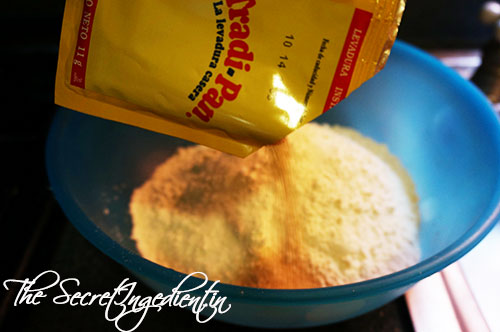
1. If you are using dry active yeast then add the yeast to warm water and set it aside for about 3 minutes. Remember the water should not be too hot or cold. You must be able to comfortably place your finger in the water. Secondly, the yeast should not be old for it will not work and activate. Please check the expiry date on the yeast envelope before using. I used Instant yeast which doesn’t need water for activation, you just have to knead it directly into the flour. But the amount of water called for in the recipe should be used when substituting the two types of yeast. I will soon post a detailed article explaining the types of yeast and how to use them which will make your life much easier.

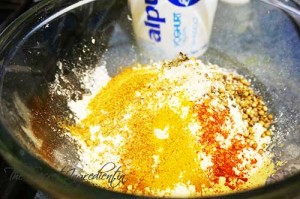
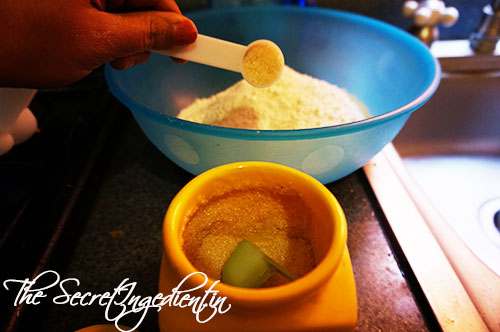
2. In the bowl mix together the  all purpose flour, salt, sugar …

DSC01765

Stir the yeast in the water to make sure its all dissolved and add it to the flour mixture. Or in case of instant yeast  as discussed above simply empty the contents of envelop with the water.
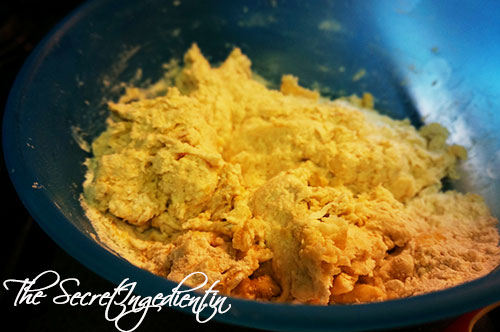

DSC01766

Also add Olive oil

DSC01769

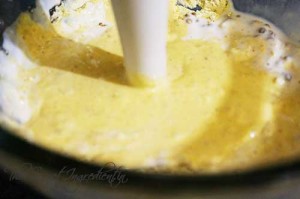
3. Mix everything using your hands till everything combines.

DSC01770

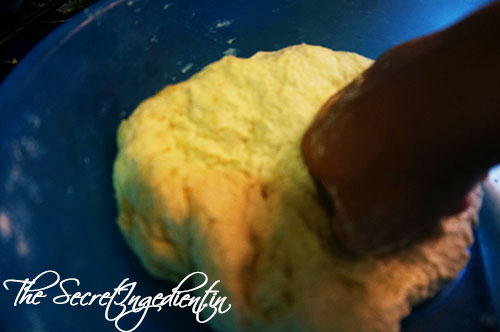
Keep kneading till it comes together as a soft ball. At least 7-10 minutes.

DSC01771

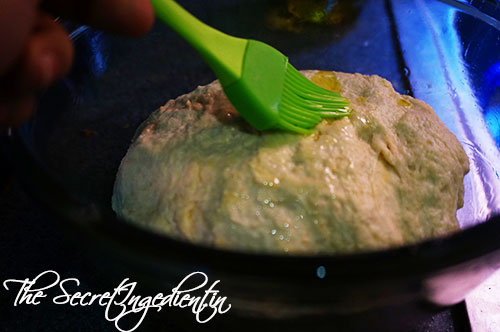
4. Oil a bowl with olive oil and set aside.  Place ball of dough into the oiled bowl, seam side down and brush the top of the dough with a little oil to stop it from drying out. Ensure you choose a big size bowl as the dough will double up in volume.

DSC01775DSC01775DSC01775

Seal with  a piece of cling wrap on top of each bowl and place the dough into a warm place. Inside a microwave or an oven (oven turned off) works best.

DSC01776

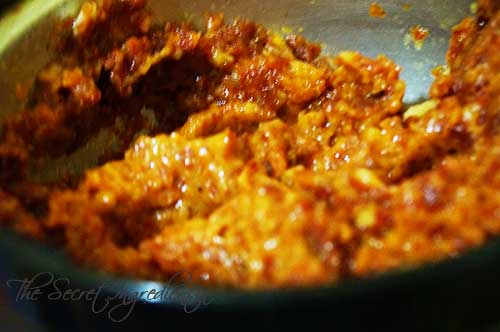
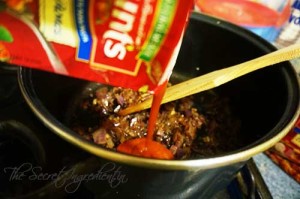
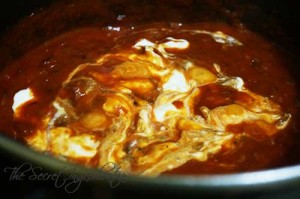
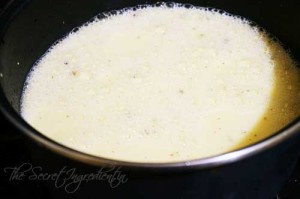
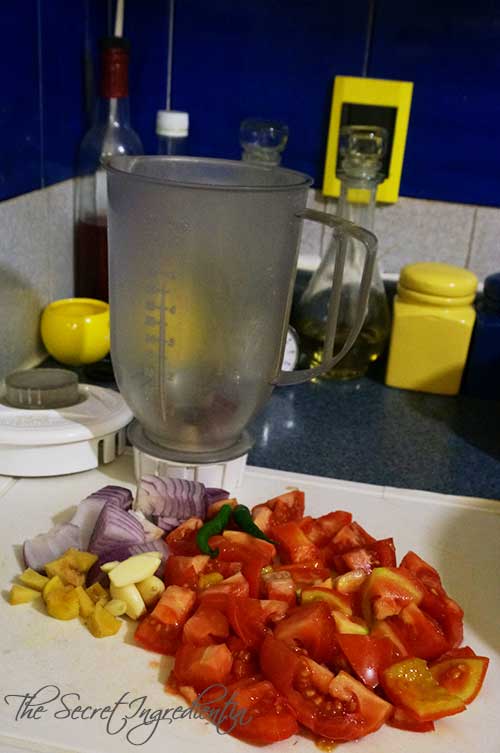
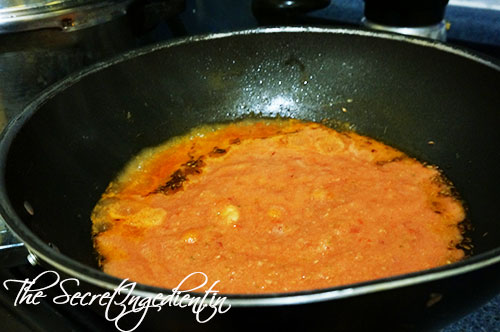
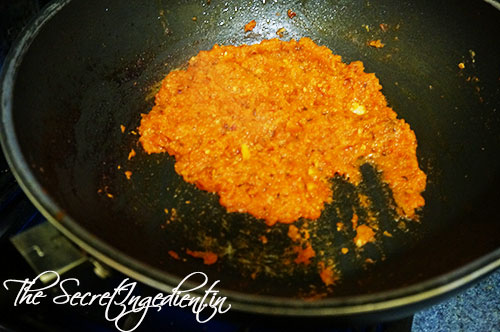
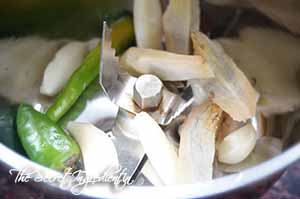
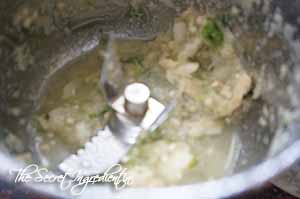
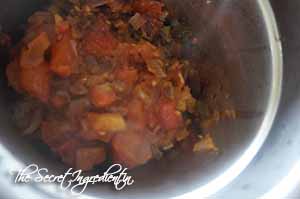
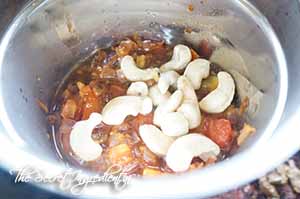
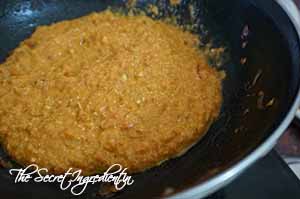
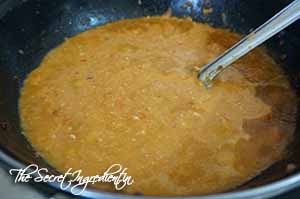
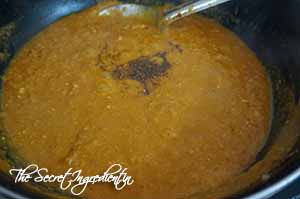
5. To make the sauce simply mix together all of the sauce ingredients and adjust the seasonings to your taste. Set aside.

6. To make the pizzas, preheat the oven to 475 degrees (Know more about Oven temperatures and Conversion) and place a pizza stone in the oven and preheat it for 20 minutes. (if you don’t have a pizza stone you can use a large baking sheet just place it in the oven upside down so there are no edges)

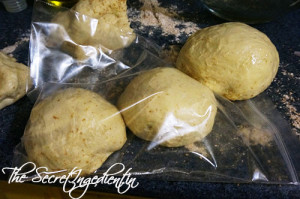
7. Sprinkle some flour onto your counter, take 1 ball of dough and you can use the full ball to make one family size pizza or cut it into half to make a medium size pizza and dredge it in the flour on all sides. Using your hands or a rolling pin, roll the dough out to a 10 inch circle for family size pizza and 6 inch circle for medium size pizza. The rest of the dough you can put it in a zip lock bag, remove the air inside and seal it and pop in your freezer. You can use them to make pizza or Garlic Knots. When you wish to use it remove the dough bag from freezer and keep it in the fridge compartment for 12 hours or overnight to defreeze .


DSC01778

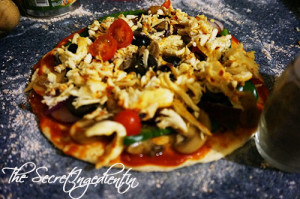
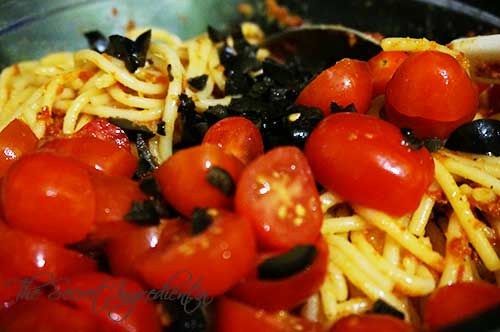
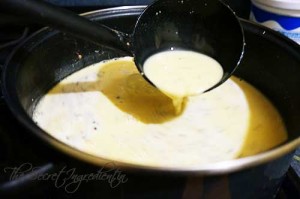
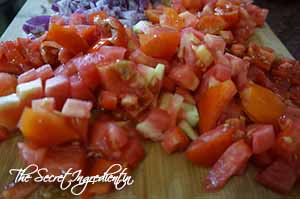
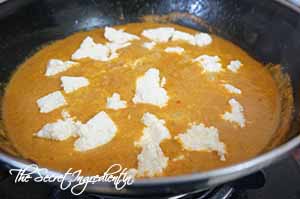
8. Using a pizza peel (or a baking sheet upside down so that there are no edges) place the rolled out pizza dough on it and start topping it. To make a red pizza, using a ladle add the no cook sauce and using the back of the ladle swirl it all over the top of the dough. Top it with the shredded cheese and other vegetables we chopped. This has to be done super fast so that the pizza doesn’t stick to the bottom.

DSC01782

Now using the pizza peel slide it onto the pizza stone. This is the most complicated part of the entire process. Ensure that the pizza peel or any edge-less tray you use to pop in the pizza in the oven is floured well so that it doesn’t stick to the bottom of it.  Cook for 20 minutes, rotating half way through to insure even cooking.

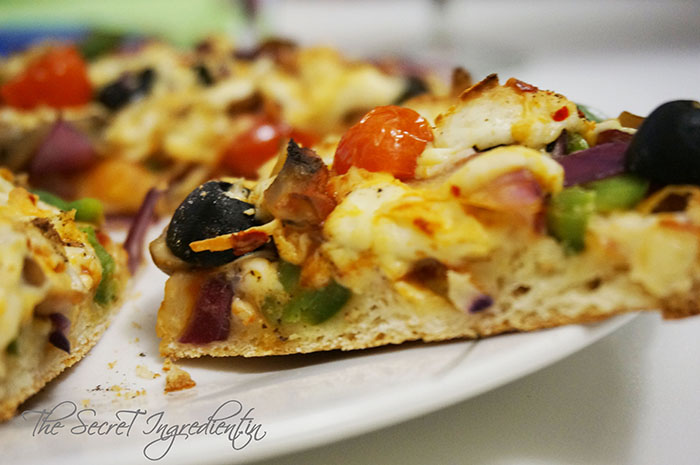
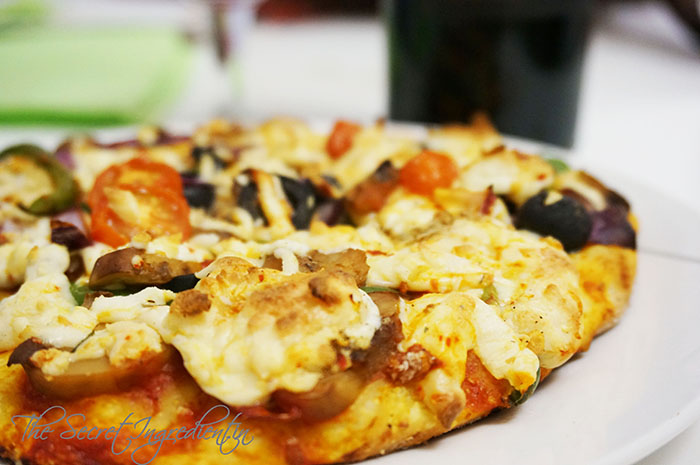
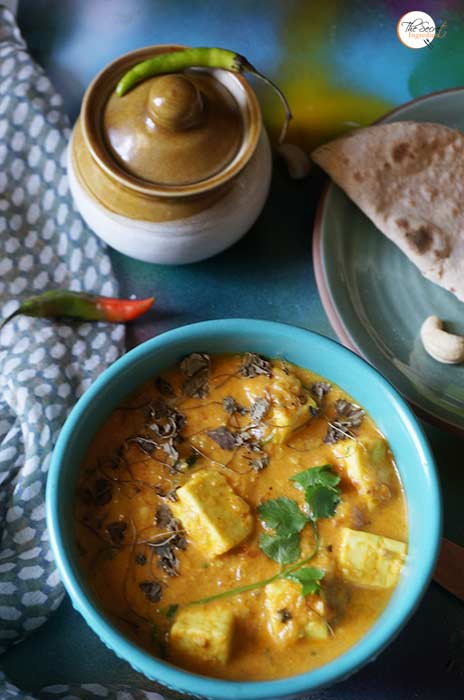
Enjoy the fresh home made Pizza! I promise you will never eat pizza out.

HomemadeVegPizza_Featured

[yumprint-recipe id=’53’] 


[whohit]veg-pizza[/whohit]


tomatosoup_featured2
Come Winters and Tomato Soup is a frequent phenomenon on our dinner table.  The soup is creamy yet tasty. The best part is it doesn’t taste like restaurant tomato pureed soup. It has the perfect blend of vegetables and tomatoes. Of Course its my Mother’s recipe as she would add all possible vegetables and hide them under that delicious and beautiful looking soup. Its a full meal in itself but you can always serve it with bread sticks or even vegetable sandwich. My little one loves this soup. You must also give it an opportunity to become your favorite soup.

tomatosoup_featured1

When I was in Mexico I remembered how people would fall for this soup. They found it so comforting and when I speak to them now they tell me how they miss us and the tomato soup. This simply makes me proud that a petty soup can stay in someone’s memory for so long. You should try it, it certainly is comforting for the winter season.

Directions:
1. In a pressure cooker pour some oil and wait for it warm up little. You can also use a deep pot instead of a pressure cooker. I prefer Pressure Cooker because its faster. Add garlic and sauté it for a minute till you see it starts to get golden colour. Add Onions and sauté them till they become translucent. This will take another minute or two.

TomatoSoup_01
2. Add Carrots, beetroots and saute them along with garlic and onions for another minute or so.

TomatoSoup_02

3. Add Gourd also known as Ghiya or louki or Calabasa or Zucchini and mix it to release some of its moisture. This will also take a minute.

TomatoSoup_03TomatoSoup_03

4. Now add tomatoes the most important character here. Stir the vegetables for another minute.

TomatoSoup_04

5. Let us garnish the vegetables with Salt and Pepper.

TomatoSoup_05

6. Now add about a liter and a half water into it or enough to drown the vegetables. And close the lid of the pressure cooker with whistle on. Cook on high flame till you hear the first whistle or hissing sound and then turn the flame on low and continue to cook for another half an hour. Open only when the entire pressure has released itself. If you using deep pot add about two liters of water and cover the pot with a lid and cook on high flame for ten minutes then turn the flame on low and cook for at least an hour or when you see vegetables turn tender. Do not forget to stir occasionally like after every few minutes and if you see water level dropping add more water.

TomatoSoup_06TomatoSoup_07

7. Now drain the vegetables with a colander and do not throw away the water. Reserve it.

TomatoSoup_08

8. Now put these vegetables in a blender and puree them till soft.


TomatoSoup_09


TomatoSoup_10


8. Now mix the reserved water with this puree. And sieve it using a colander. You will find a little residue left in the colander, throw it away.

TomatoSoup_12
TomatoSoup_12

9. Bring a boil to the sieved soup. If you feel the consistency is too thick add little water to dilute it.

TomatoSoup_11

10. If you like add a spoonful of thick cream or malai whisked using a fork. Season again with Salt and Pepper, if needed. Serve hot and beat the cold. 🙂

Other Soup Recipes you can try are: Classic Cream of Mushroom SoupClassic Russian BorschCream of Asparagus SoupCream of Broccoli Soup with ChivesPeas and Mushroom Spicy SoupClassic French Potato Leek SoupMexican Red Kidney Beans Soup With Baked Tortilla ChipsZucchini Garlic Soup with Yak Cheese ShreddingsChicken Soup with Rice.


tomatosoup_featured3

[yumprint-recipe id=’6′][whohit]tomato-soup[/whohit]


Shahi means Royal for the richness of its gravy. Honestly, I never tried making Shahi Paneer at home. I always had an idea that it is super rich and will invite calories. But this Diwali I wanted to make something for Dinner table which was different and little special for the occasion. I found a recipe to which I made some changes and it came out finger licking. Since then we do not fear calories and make it quiet often 😛 Its so delicious that you would want to make it for every special occasion.

Its better than they serve at any given restaurant. The richness of its gravy perfectly compliments with the soft cottage cheese cubes. Its creamy texture may malt your heart. Its my most sought after recipes which never fails me. I highly recommend that you use home made fresh paneer or cottage cheese for this to get amazing results.

Directions:
1. Soak cashews in water for at least 2 hours or overnight.

ShahiPaneer1

2. Chop Onions and tomatoes. Keep aside.

ShahiPaneer3

3. In a blender add ginger,garlic and green chilies and make a smooth paste. Keep aside.


ShahiPaneer4


ShahiPaneer5


4. In a pan put some ghee and add onions to saute till they turn golden brown.


ShahiPaneer6


ShahiPaneer7


5.  Add the ginger, garlic and chili paste, mix well and saute till it is brown.

ShahiPaneer8

6. Add the tomatoes and saute for 6 to 8 minutes.

ShahiPaneer9

7. Cool the sauteed onion tomatoes and blend in a mixer along with soaked cashews to make a smooth puree.


ShahiPaneer13


ShahiPaneer14


8. Transfer in a deep pan, add 1/2 cup water and bring it to a boil on a slow flame.


ShahiPaneer15


ShahiPaneer16


9. Add turmeric powder, red chili powder, garam masala, coriander powder and salt to the puree and mix well.

ShahiPaneer18

10.  Add cream, mix well and cook on a slow flame,for 5 minutes or till the gravy is thick.

ShahiPaneer19
11. Just before serving, heat the gravy and add the paneer pieces into it.


ShahiPaneer11


ShahiPaneer20


8. To make it taste just like restaurant add dried fenugreek leaves or Kasuri Methi to it and stir.  Serve hot garnish with coriander.

Other Popular dishes from Indian Cuisine you can try are: Mughlai Shahi Paneer,  Dal Makhni, Butter Chicken, Rogan Josh, Palak Paneer, Mushroom Do Pyaaza, Kadhai Mushroom.


[yumprint-recipe id=’33’]


[whohit]shahi-paneer[/whohit]