Tag

health4u

Browsing

Ladies and Gentleman I am back and I am back with a lot to share. This Corona lock down has made me write all over again on my blog. The reason for disappearance was pure laziness (proud to be a lazy bum :P). Although I had been baking and cooking and posting on my Instagram handle. I hope you are following my feed. I bring you today my go to recipe of No Bake Foxnut and Puffed amaranth granola bars. The reason I chose this recipe  is because we all are home these days. The situation is bad and scary out there. But at the end of the day precaution can save us which means staying home without cribbing,finding reasons to cook together, enjoy with your loved ones. Rather than sulking we can transform this worry into hope. Just keep your mind and body occupied constructively.
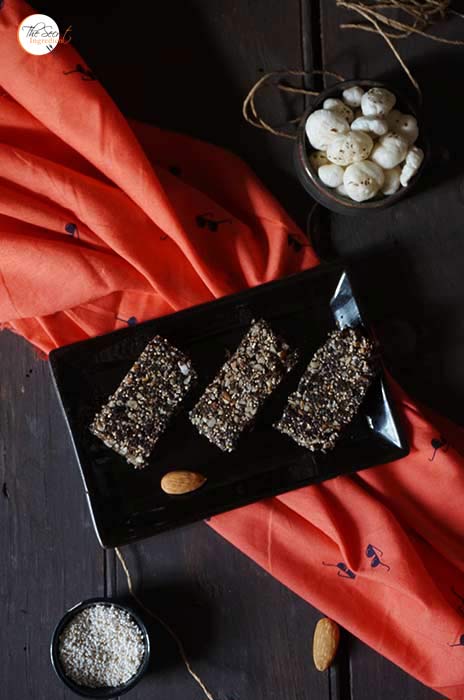

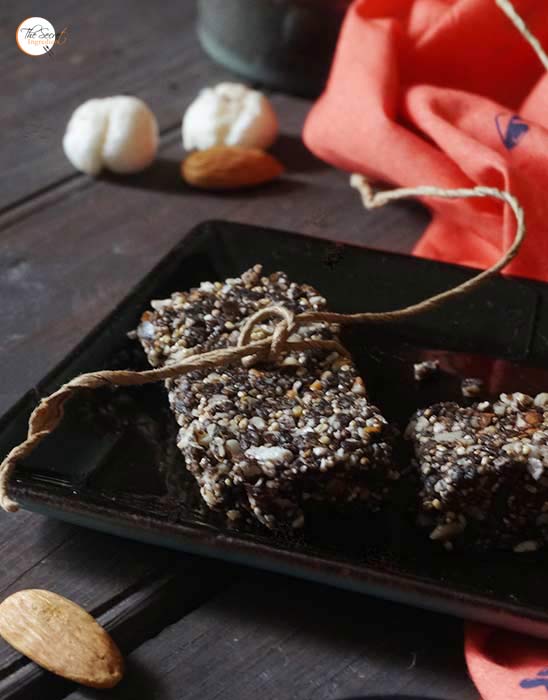
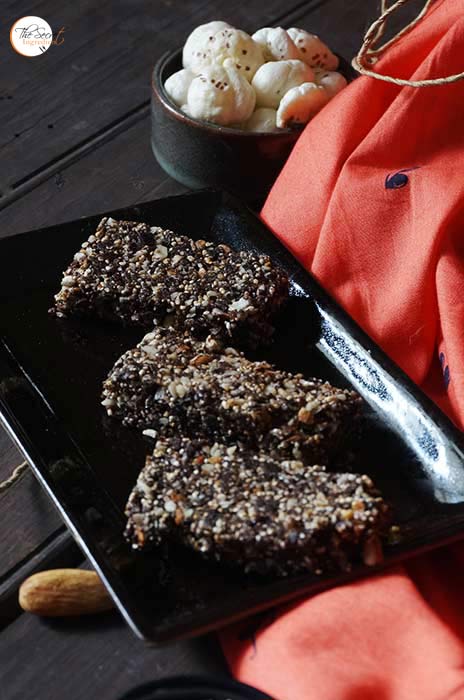
These granola bars are so easy to make. You can engage your kids to make this like a DIY project and you can supervise. It requires no baking and no major cooking. It has goodness of foxnuts or makhana , amaranth and almonds and taste nutty and chocolaty. Requires handful of ingredients and little of your time. I wont yap more and will jump directly to the recipe. Do write to me how are you dealing with lockdown and this scare. Sometime venting helps. It may not solve your problem but lightens your burden. If you wish to check out more energy bar recipes you can try Oats & Almond Energy Bars and No Bake Amaranth Granola Bars.

Directions:

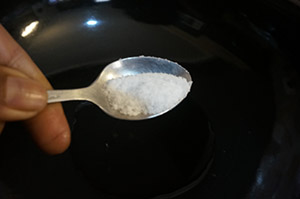
1. In a wok add some oil and salt 


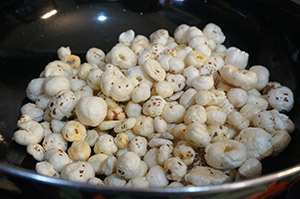
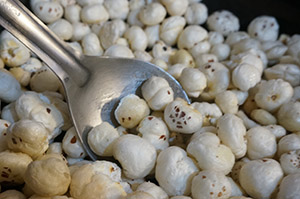
2. Add foxnuts. Roast them on a medium heat till they become crunchy and acquire some colour. This should take less than five minutes. Keep tossing the nuts constantly. You don’t want them to burn down. Remove on a plate and set aside.


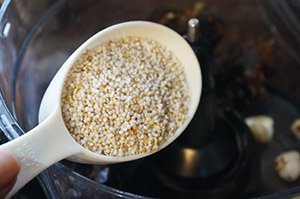
3. In a food processor add seedless dates, roasted foxnuts and puffed amaranth.
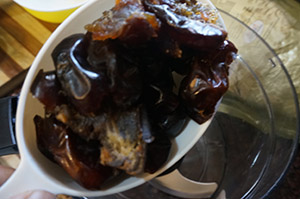


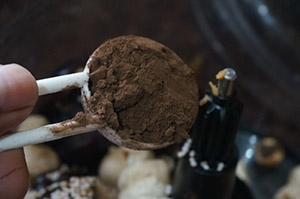
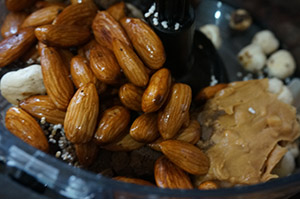
4. Also add peanut butter, cocoa powder and almonds.


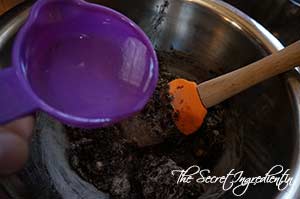
5. Blitz everything till you get a sand like mixture.


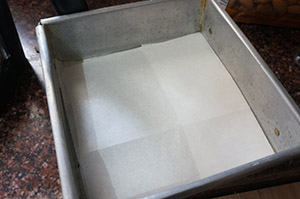
6. Line a baking pan with 90 degree angles with parchment paper, so that nothing sticks. I have used 8 x 5.5 inch pan.

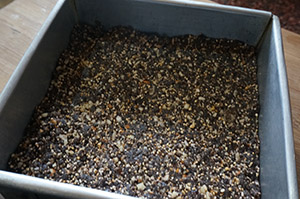
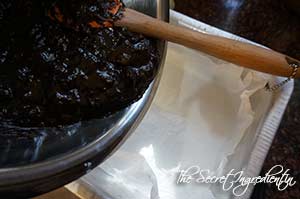
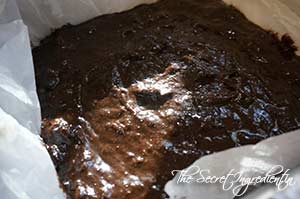
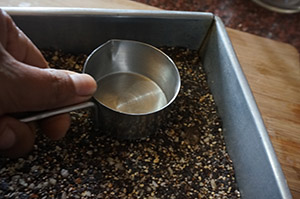
7. Dump the mixture into the baking pan and try to spread evenly and press with the help of a flat bowl so that everything gets settled and sticks together, If you do not use force you may come up with a crumbly bar.


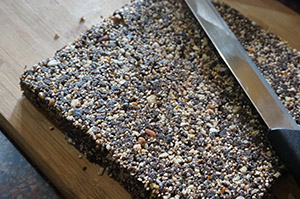
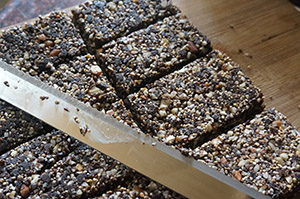
8. Refrigerate for at least an hour to set properly. Flip it upside down on a chopping board and cut into desired bars with a sharp knife.


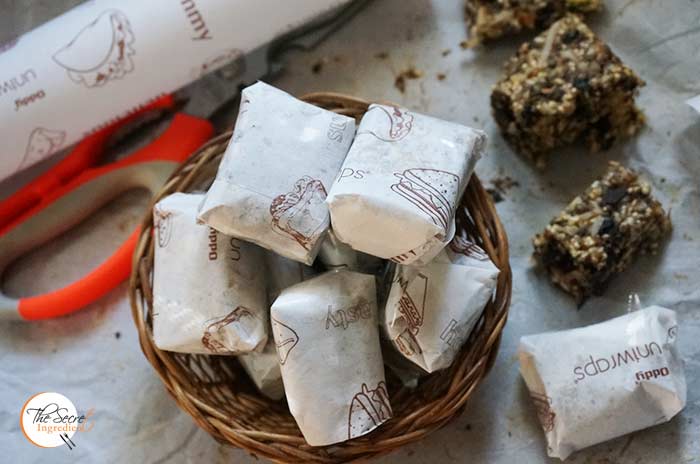
9. You can cover them individually in food wrapping paper and refrigerate. It has a good shelf life. Lasts upto two weeks or so.

Other gluten Free recipes you can try are: Foxnut Milk pudding, Persimmon Buckwheat Gluten Free Cake, Vintage Honey Figs and Date Cake Squares Recipe with Gluten Free Flour,Amaranth Herbed Crackers,Gluten Free Chocolate Ragi Brownies,Besan & Corn Flakes Cookies,No Bake Amaranth Granola Bars, Apple Crisp

No Bake Foxnut and Puffed Amaranth Granola Bar
 
Recipe Type: SNACK
Cuisine: CONTINENTAL
Author: Anshu Wadhwa
Prep time:
Cook time:
Total time:
Serves: 12 bars
No Bake Fox nut and Puffed Amaranth Granola Bars are healthy and delicious energy food with goodness of fox nuts, amaranth and almonds.Its a gluten free treat.
Ingredients
  • 3 cup Pitted dates
  • 1 cup roasted Almonds
  • 3/4 cup fox nuts
  • 3/4 cup peanut butter
  • 3 tbsp cocoa powder
  • 3/4 cup puffed amaranth
Instructions
  1. In a wok add some oil and salt.
  2. Add foxnuts. Roast them on a medium heat till they become crunchy and acquire some colour.This should take less than five minutes. Keep tossing the nuts constantly. You don’t want them to burn down. Remove on a plate and set aside.
  3. In a food processor add seedless dates, roasted foxnuts and puffed amaranth.
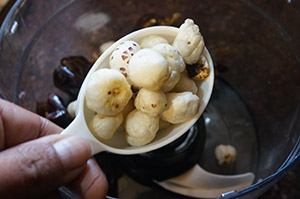
  4. Also add peanut butter, cocoa powder and almonds.
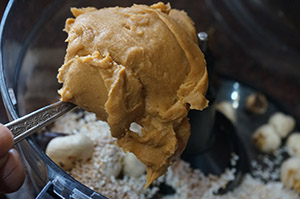
  5. Blitz everything till you get a sand like mixture.
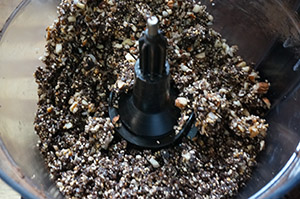
  6. Line a baking pan with 90 degree angles with parchment paper, so that nothing sticks. I have used 8 x 5.5 inch pan.
  7. Dump the mixture into the baking pan and try to spread evenly and press with the help of a flat bowl so that everything gets settled and sticks together, If you do not use force you may come up with a crumbly bar.
  8. Refrigerate for at least an hour to set properly. Flip it upside down on a chopping board and cut into desired bars with a sharp knife.
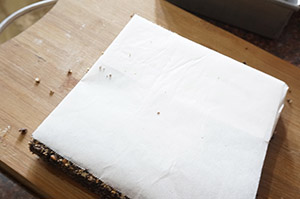
  9. You can cover them individually in food wrapping paper and refrigerate. It has a good shelf life. Lasts upto two weeks or so.


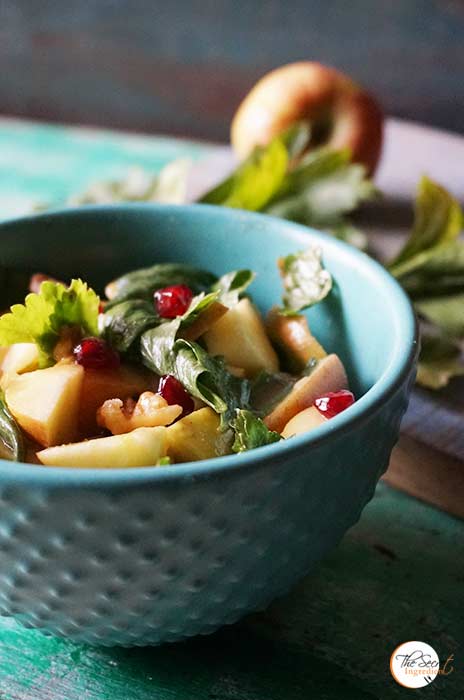
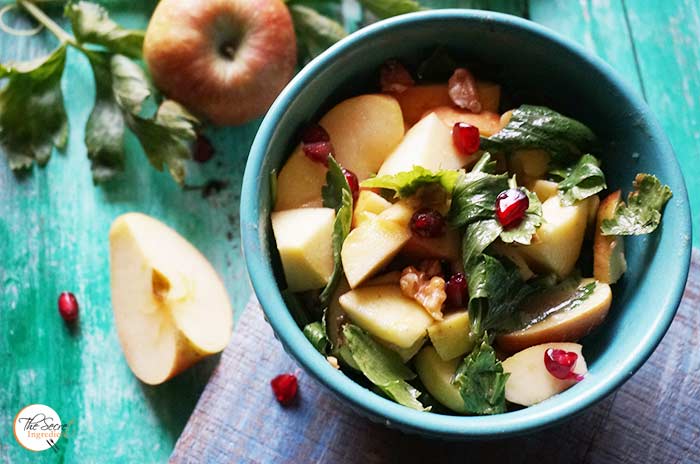
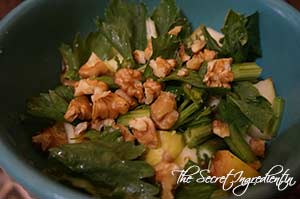
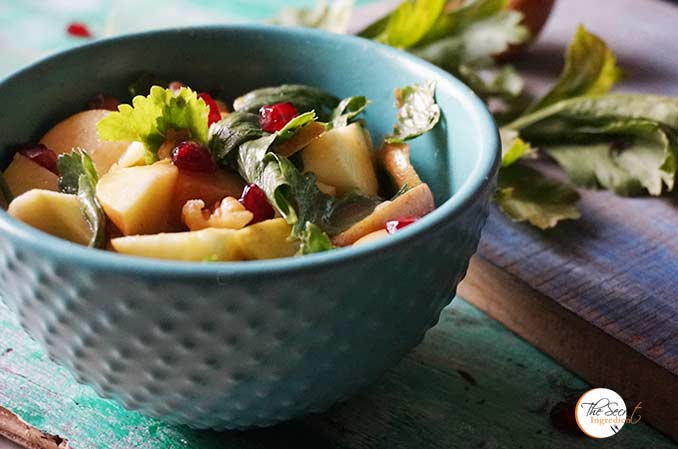
Last week I had posted my Watermelon and Feta Cheese Summer Salad Recipe which was appreciated by a lot of you. Many had requested me to share more such fresh salad recipes to beat the heat. It’s practically impossible for me to eat anything greasy and rich during summers. I can simply live on fresh salads. They not only soothe my soul but are a great detox. I can have one meal of just salads. This apple celery salad is very simple and requires no spadework and can be made in a jiffy. The dressing of Mustard Vinaigrette pairs so well with the sweetness and crunch of apples and the zing of celery.

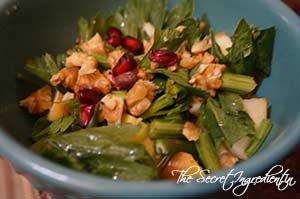
Every salad needs that nutty flavour which balances the acidity and the crispness of vegetables. The toasted walnuts and pomegranate actually perform this role and trust me they are good. I will be posting more such salad recipes so keep watching the space and subscribe to my social media handles on Facebook, Instagram and Pinterest.

Directions:

1. Core and chop some fresh apples and place them in a salad bowl. Also add celery leaves and its tender stems.


2. Add chopped and toasted walnuts to the bowl along with pomegranate arils.


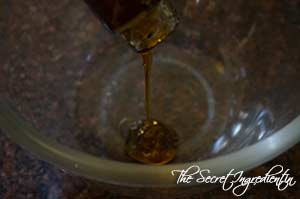
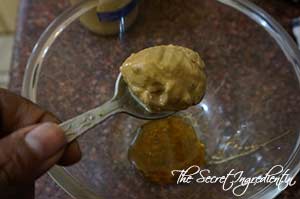
3. For the dressing add honey in a separate bowl and to this add dijon mustard sauce.


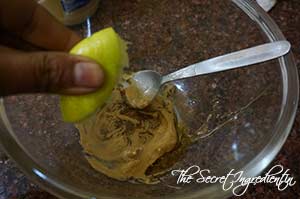
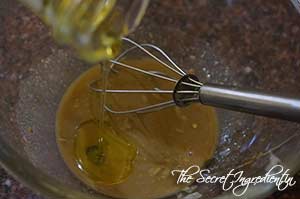
3. Squeeze in a juice of lemon and also add olive oil. Whisk everything together.


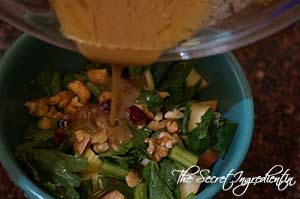
4. When you are ready to serve pour this dressing over the apple celery mix and toss everything well. 

5. Serve as it is.

Other Salad recipes you can try are:Watermelon and Feta Cheese SaladThai Green Papaya Salad RecipeCharred Peppers Salad with Anchovy White BeansCouscous Salad with Chickpeas in Lemon Olive Oil VinaigretteFresh Mexican Black Bean & Mango SaladSautéed Red Bell Pepper and Olive Pasta SaladSundried Tomatoes Pasta SaladGrilled Chicken SaladIndonesian Style Patni Red Rice Salad With Boiled Eggs in Pomegranate Molasses Sauce , Apple Spinach & Cranberry Salad.


[whohit]AppleCelerySalad[/whohit]

[yumprint-recipe id=’277′] 

Come summers and I become so picky about my food. The gravies and rich curries make me nervous. Thanks to the fact that I live in hills, which are pleasant even in the summers. All I want to eat all summers is salad. Therefore, I keep trying new combinations which doesn’t let me get bored. Summers also help me get rid of the winter fat I have picked up. If you are watching your weight and are looking for options I will be posting more such recipes and will also post links to the recipes I had done before. 


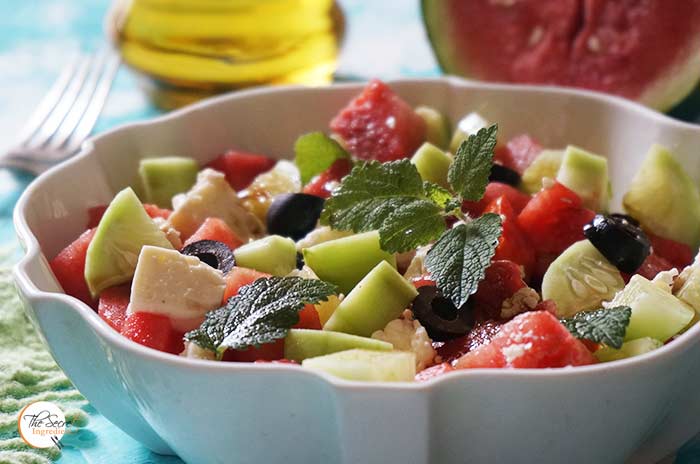
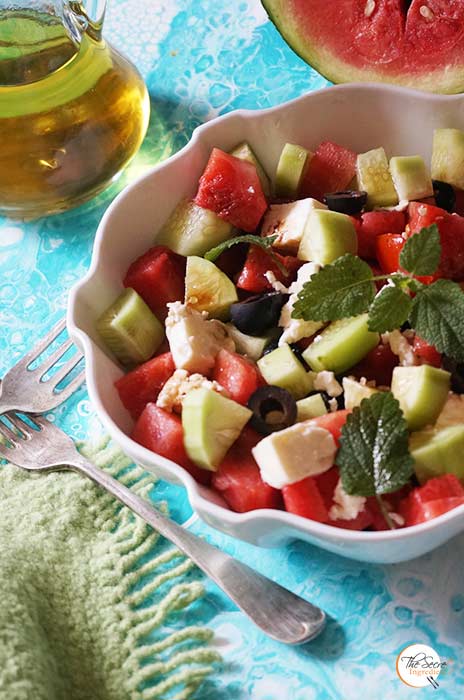
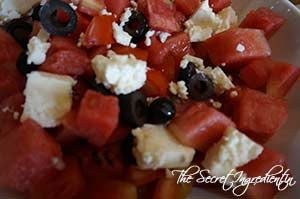
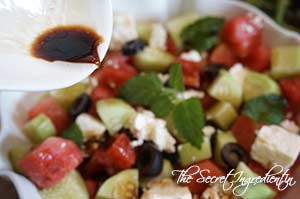
This time I got adventurous with this Watermelon and feta salad. Not to mention I almost chopped my finger while cutting the watermelon and there was blood all over 😛  This salad uses very few ingredients but makes bomb of a salad. The sweetness of watermelon marries the sourness of feta cheese and the crunchiness of fresh cucumber contrasts well with black olives.  The dressing is just minimal imparting it a subtle naughtiness! If you have been hit by summer go for this salad and be easy on yourself. Not everything about summers is bad.. remember we have watermelons to brighten up our lives 🙂

Directions:
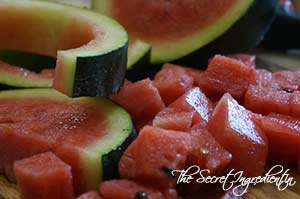
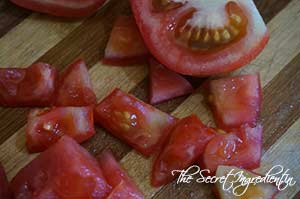
1. Chop ripe and fresh watermelon into bite size cubes. Also chop some Tomatoes into cubes. Place them in a salad bowl.


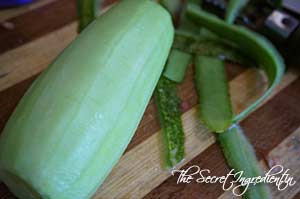
2. Add cubes of Feta cheese and slices of black olives. Peel a fresh Cucumber and chop it into cubes. Add them to the salad bowl. Add leaves of Fresh Mint.


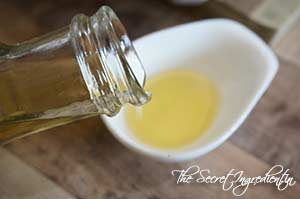
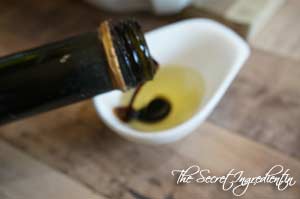
3. In a small bowl add olive oil and Balsamic Vinegar. Mix them well and pour over the salad.


4. Serve and enjoy the bounty of summer.

Other Salad recipes you can try are: Thai Green Papaya Salad RecipeCharred Peppers Salad with Anchovy White BeansCouscous Salad with Chickpeas in Lemon Olive Oil VinaigretteFresh Mexican Black Bean & Mango SaladSautéed Red Bell Pepper and Olive Pasta SaladSundried Tomatoes Pasta SaladGrilled Chicken SaladIndonesian Style Patni Red Rice Salad With Boiled Eggs in Pomegranate Molasses Sauce.

[whohit]WatermelonFetaSalad[/whohit]

[yumprint-recipe id=’275′]


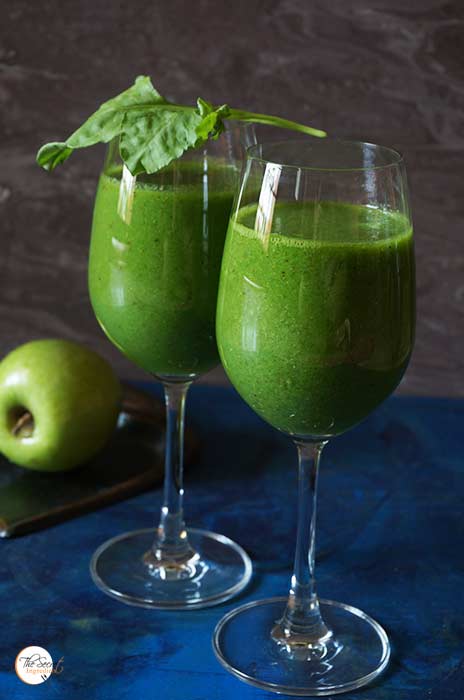
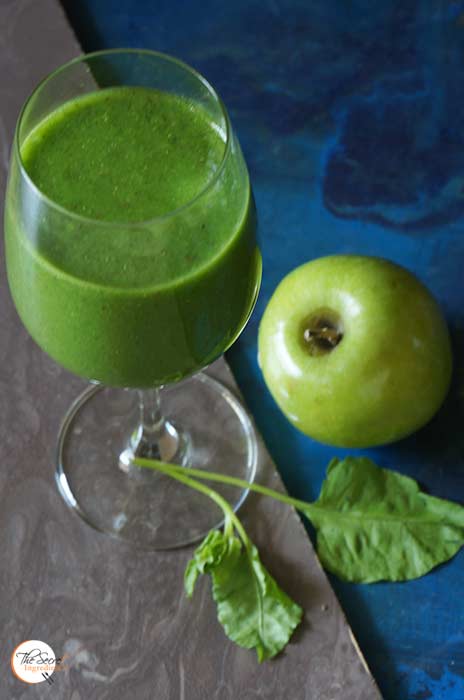
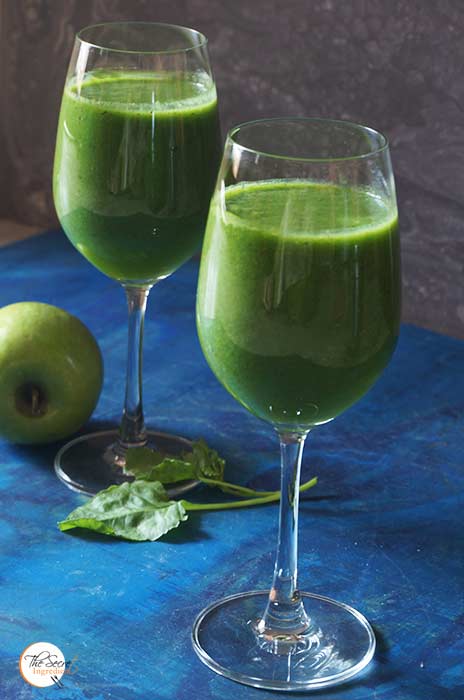
Last Night was Saturday night party at my place. Along with some cocktails we had some heavy snacks! Now I wake up with a bloated tummy and a guilty conscience. To fix both these things I needed to make this Green detoxifying smoothie which will revive my stomach and clear my body of all the toxins. This smoothie doesn’t use any dairy and is free from all sort of sugars. 

Its even ideal for people who are watching their weight. I like to include this smoothie in my diet at least once a week. If you are also fond of smoothies then you must check out a few other recipes of Smoothies on my page. Some links I have mentioned at the end of this post. What kind of smoothie do you like? I would like to know your opinion. Would love to hear from you.

Directions:
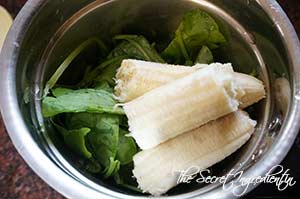
1. In a blender add thoroughly washed leaves of Spinach and a peeled banana.


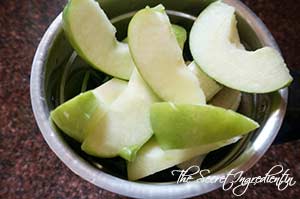
2. Add one cored green apple. 


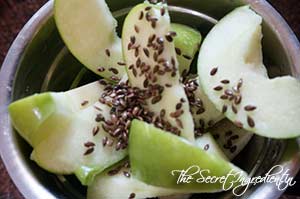
3. Add roasted seeds of Flax.


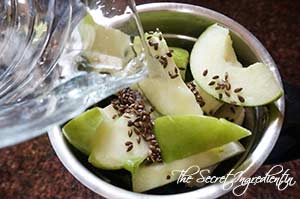
3. Add Water to the blender.

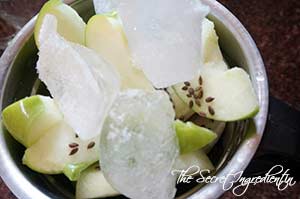
4. Also throw in some ice cubes.

5. Pulse till everything is smooth. Pour into glasses and drink it up immediately. This is detoxifying and quite refreshing.

Other Smoothies and Beverages  you can try are: Plum Smoothie Raw Mango Drink with Mint and Roasted CuminGinger Papaya Mint Smoothie Central Himalayan Wild Bayberry SyrupLitchi LemonadeMango Chamomile-Mint Tea LemonadeKiwi Chia PuddingPeach LemonadeSpiced Mango Lassi, Melon Cucumber and Mint Smoothie, Orange and Blueberry Smoothie.

[yumprint-recipe id=’272′]

I am returning after a very long gap. My father was hospitalised and it was a very tough time for my family. With God’s grace he is alright now and recovering very well. I have been away from my kitchen for almost 2 months. I have been cooking but havnt been developing any recipes for the blog. This has made me very restless. I feel my expressions are lost. I am soon getting back into the groove. Thank You for your patience and your support while I was gone. 

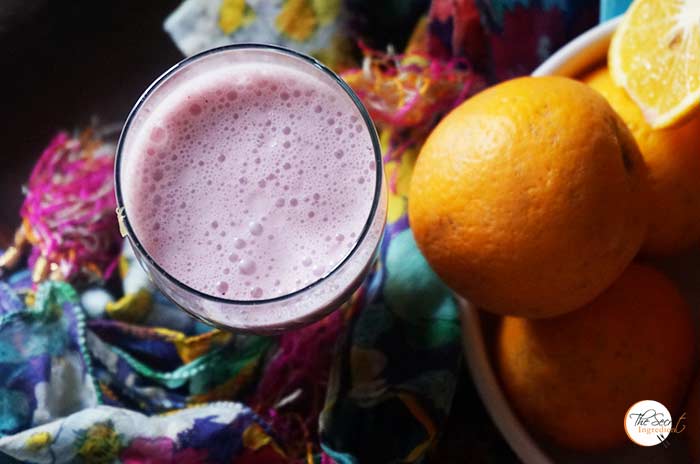
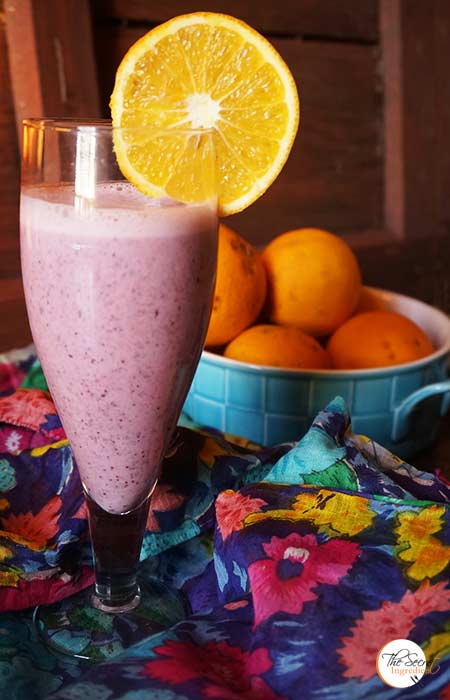
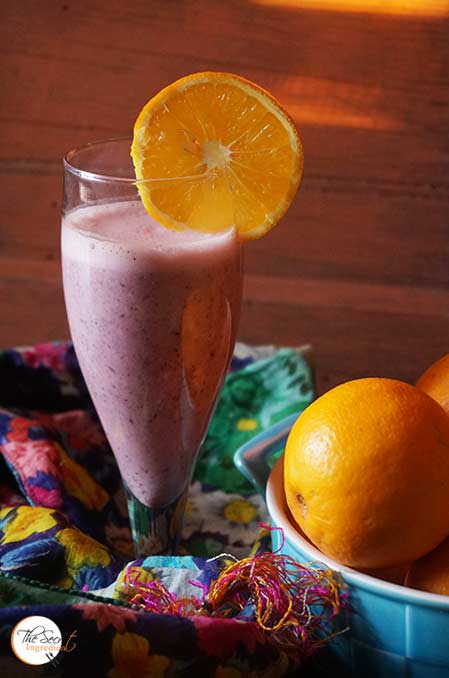
Not only I have been away from baking and cooking but by exercise regime has also been compromised. Although there hasn’t been much of a weight increase still I feel I need to start working out again and feel better. Since I have returned I have been eating a lot of salads and drinking a lot of smoothies. I love smoothies and like to try new variants to make life more fun and delicious. This time I came up with this Orange Blueberry Smoothie. The pastel pink purple colour says it all.. It was fresh, refreshing and oh so delicious! Oh well with same flavours you can even make Orange Blueberry Pound Cake.

Directions:
1. In a blender add some orange juice. I have used freshly squeezed juice you can use from the box.


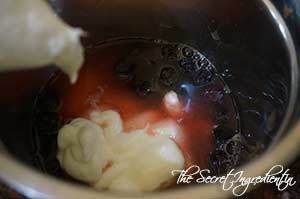
2. Add blueberries fresh or frozen. I had frozen on hand. Also add plain yogurt. You can use greek yogurt also. 

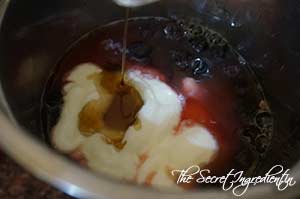
3. Add honey or maple syrup for sweetening it.


4. Blend and serve. You can also add ice cubes if you like.


5. Serve in a tall glass with a slice of Fresh Orange and make your day beautiful.

Other Smoothies and Beverages  you can try are: Plum Smoothie Raw Mango Drink with Mint and Roasted CuminGinger Papaya Mint Smoothie Central Himalayan Wild Bayberry SyrupLitchi LemonadeMango Chamomile-Mint Tea LemonadeKiwi Chia PuddingPeach LemonadeSpiced Mango Lassi, Melon Cucumber and Mint Smoothie.

[whohit]OrangeBlueberrySmoothie[/whohit]
[yumprint-recipe id=’271′]

I have been receiving numerous requests from friends, followers to post more Gluten Free Recipes on my blog. Some of them have celiac issues and some want to include gluten free flours in their diet.. Earlier I had posted recipe of Gluten Free Brownies with Ragi FlourNo Bake Amaranth Granola Bars which received great reviews from you all. If you try any of my recipes, please send me the feedback with a picture. I would love to showcase them on my facebook page. Such feedbacks keep me motivated.

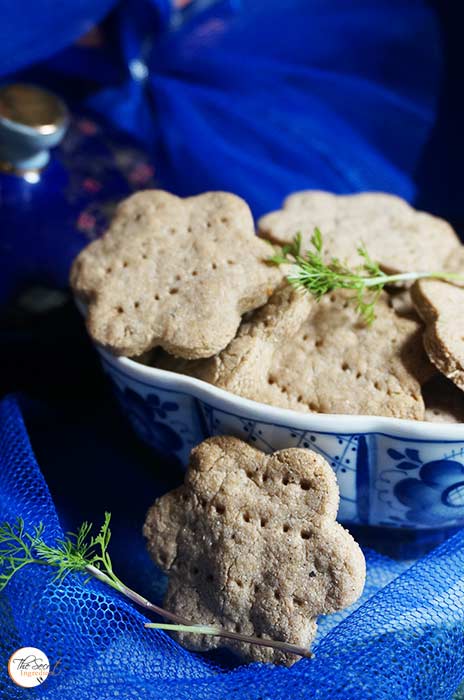
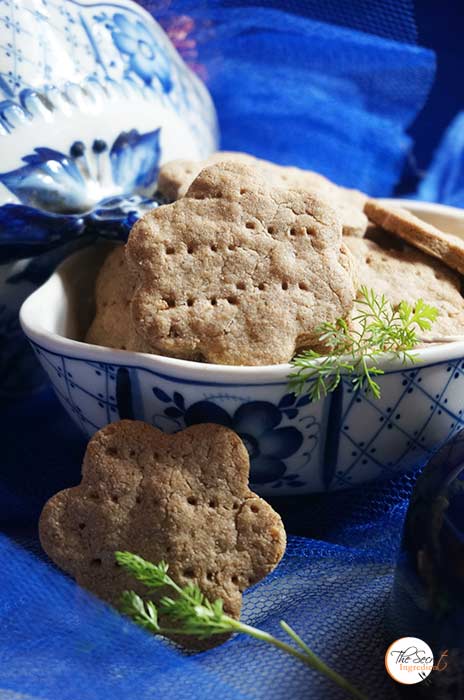
This time when I had organic Amaranth Flour from SOS organics I knew I will be trying out something different with it. The Amaranth Flour has a slight nutty flavour. And then I came across this recipe which was not only Gluten Free but also Vegan and Diabetic Friendly. These Savoury Herbed Crackers  are loaded with herbs and has a subtle flavour of garlic. They are so easy to put together and loved by all. You must try them at least once.

Directions:
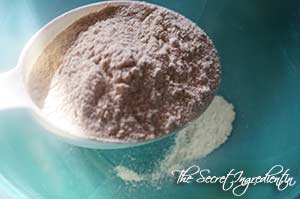
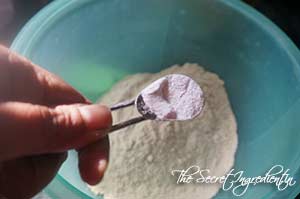
1. Preheat the oven to 180 degree Celsius (Learn more about Oven Temperatures and Conversions). In a bowl add the Amaranth Flour and Baking Powder.


2. Also add chopped garlic and salt to the flour.


3. Add dried or fresh herbs to the bowl and combine. You can use any herb or combination of herbs to your liking.


4. Add water and Olive oil.


5. Combine everything using your hands or you can do the same in a food processor. Mix this till everything comes together like a dough. Don’t add more water or oil. Its a gluten free flour so it will take some time for it to come together.


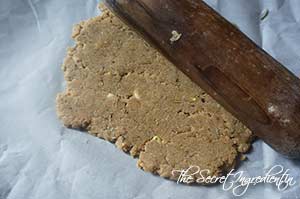
6. Place the dough on a sheet of Parchment Paper and roll it thin using a roller pin. It should be about 1/5th of an inch in thickness.


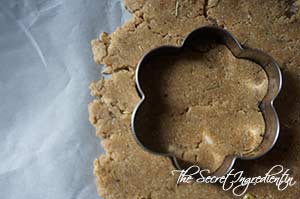
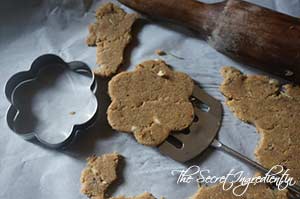
7. Use a cookie cutter and cut them into desired shapes. Place them on a baking sheet lined with Parchment Paper. You can use a spatula to lift the cracker dough for it is very fragile.


8. Use a fork to prick the crackers all over. Bake the crackers in preheated oven for 12-13 minutes. Keep a close eye not to over bake them. Let them crisp up a little before biting into them.

Other cookies and crackers you can try here are: Traditional Australian – New Zealand Anzac BiscuitsSubway Copycat Oatmeal Raisin Cookies Chickpea Flour & Corn Flakes Eggless CookiesChyawanprash CookiesStrawberry CookiesGingerbread Man CookiesGreek Traditional Christmas CookiesItalian Almond BiscottiPeanut Butter Cookies with Chocolate ChipsChocolate Coconut CookiesWhite Chocolate Chip CookiesRagi & Whole Wheat Biscuits.


[whohit]AmaranthCrackers[/whohit]


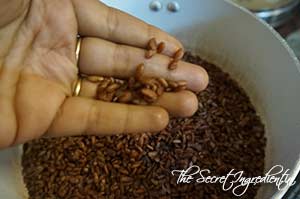
I always wanted to try the Red variety of Rice locally known as ‘Patni Rice’. Its all referred to as “Weedy Rice” or “Bhutanese red”. The Rice has beautiful red colour and even red husk. It is often eaten semi hulled and has an enchanting nutty flavour. The grains are short and thick so it doesn’t get mush on cooking and is quite chewy which makes it perfect for salad dishes. The nutritional quotient of this rice is much higher than other varieties of rice because it is unpolished and is eaten with germ intact. You can read the health benefits of Red Rice here in an article. This is grown in the North Himalayan, coastal Central and Western parts of India.

So when I saw packet of Patni Rice by Conscious Foods  in the supermarket I knew I am making a wonderful decision by buying it. Not only are their products amazing but also organic. Last time I had made Sorghum and Whole Wheat Persimmon Cupcakes with Organic Sorghum Flour from the list of amazing products that these guys have launched in the market. If you like to place order for any conscious food products you can order with our online store The Gourmet Shop.

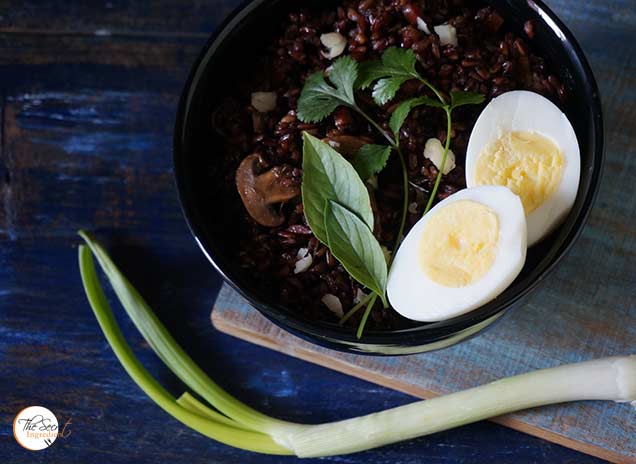
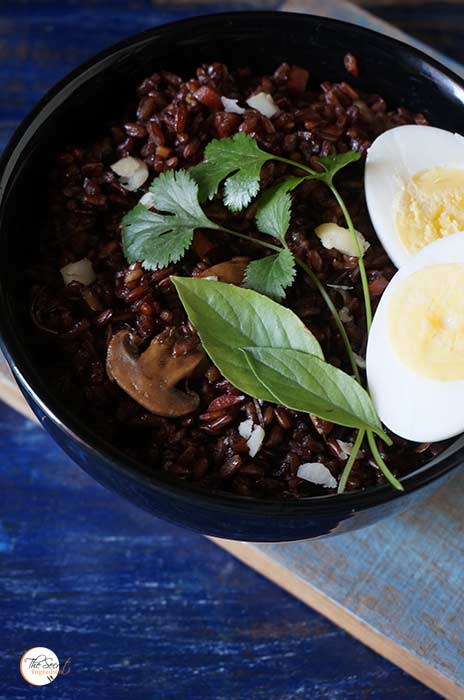
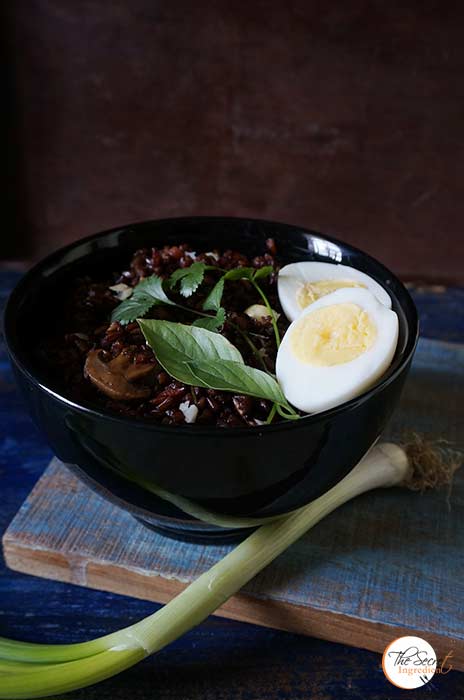
Since the texture of the rice is chewy and the taste is nutty I made an Indonesian Style Red Rice Salad with some veggies and tossed some Macadamia Nuts and serve it with boiled eggs. Oh what a wholesome meal it was. This is to be informed that its not a quick fix, toss and mix kind of salad recipe. It requires cooking and a bit of your time. But trust me the end result will really impress you.

Directions:
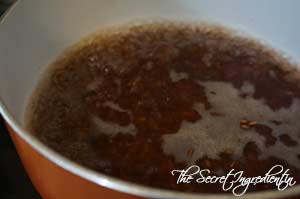
1. In a pot boil some water. Wash the red rice thoroughly and drain its water. Add the washed rice to the pot of boiling water. Add a clove for an incredible aroma and let it boil with the rice. This is purely optional.


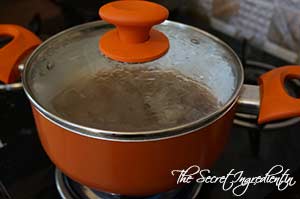
2. Let the rice come to a boil and then turn the flame on low and let it cook on simmer with lid on.


3. After 45 minutes on simmer or when you see the water has evaporated, the rice will be cooked al dente . Set aside.


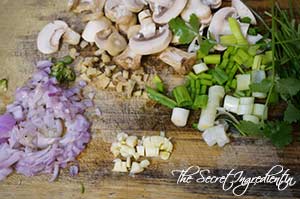
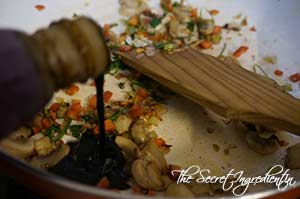
4. Chop vegetables like spring onions,green chilly, red Onions, garlic, ginger, slice mushrooms, red bell pepper, coriander leaves. You can add any vegetable you like.

 
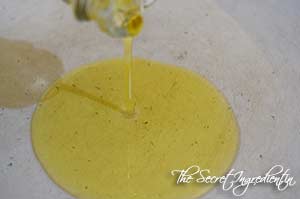
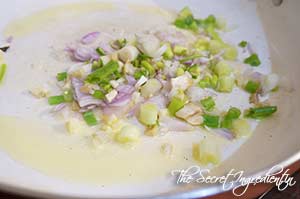
5. In a pan pour some oil and add chopped onions,green chillies, ginger and garlic. Saute them till the onions have been soft and raw smell of garlic and ginger has faded.


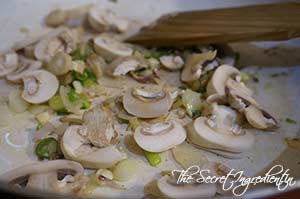
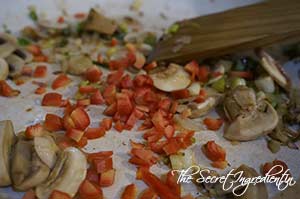
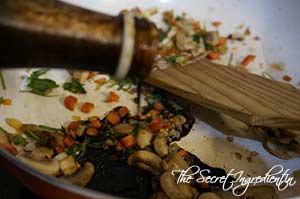
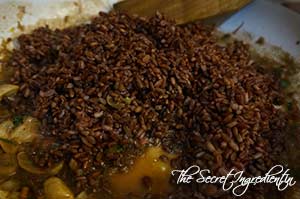
6. Add sliced  mushrooms and toss them in oil till they are semi cooked. Add red bell pepper and continue to cook.


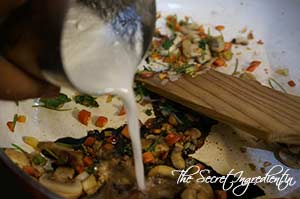
7. Add soy sauce, pomegranate molasses and Coconut milk.


8. Season with salt and pepper.


9. Add cooked rice and combine. Let it cook for another 5 -7 minutes till the flavours are absorbed by rice.


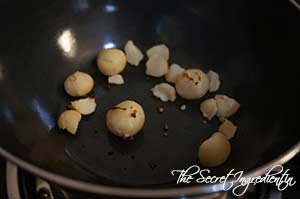
10. Dry toast some macadamia nuts in a pan. 


11. Transfer the rice to a serving bowl and toss in some toasted macadamia nuts and serve with Boiled eggs. This cant get better than this. 

Other Salad recipes you can try are: Thai Green Papaya Salad RecipeCharred Peppers Salad with Anchovy White BeansCouscous Salad with Chickpeas in Lemon Olive Oil VinaigretteFresh Mexican Black Bean & Mango SaladSautéed Red Bell Pepper and Olive Pasta SaladSundried Tomatoes Pasta SaladGrilled Chicken Salad

[whohit]RedRiceSalad[/whohit]

[yumprint-recipe id=’270′]

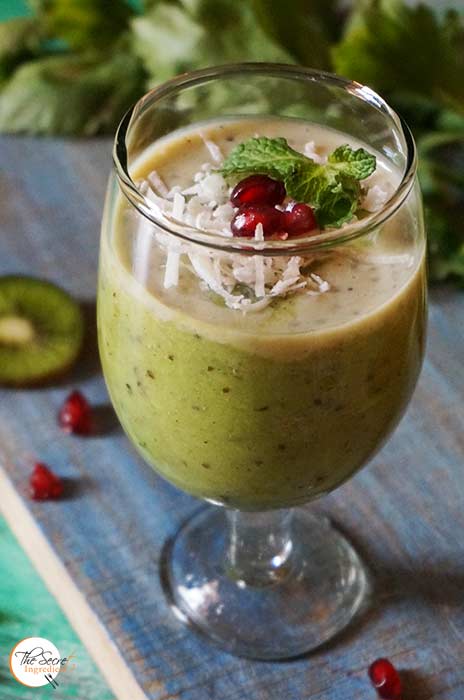
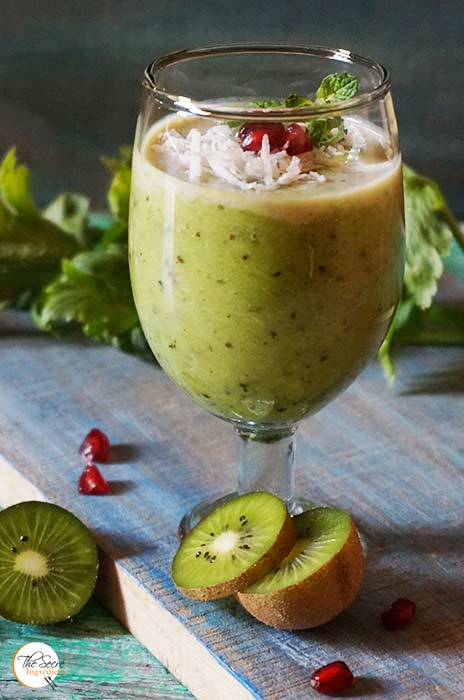
Its been a while I have really exercised. I am out of regime, out of practice. These past two months were full of indulgence, hogging and merriment. Not that I complain but now since I am back in my hills I have observed I am up by a few kilos and my body has started revolting. So here is what I am gonna do, start eating healthy, exercise more frequently and blog more often 🙂 The first tiny step was making this yummilicious Kiwi Chia Pudding. 


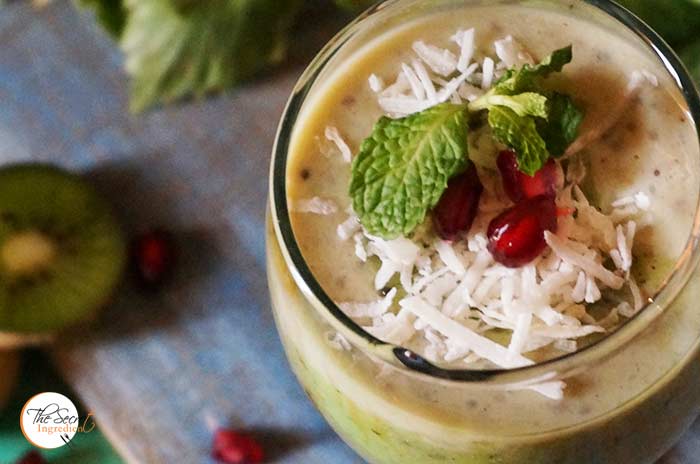
I picked these kiwis from Jageshwar which has some good number of kiwi trees and is an organic belt. I used Soy milk which is vegan and added maple syrup which has an interesting flavour and sweetness. The Chia seeds are a super food and need no introduction. The overall pudding was topped with sum desiccated coconut which gave the serving glass that oomph factor. I loved this enriching pudding which I devoured greedily because there was nothing to be feel guilty about.

Directions:

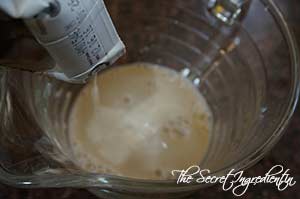
1. Add soy milk or any other milk of your choice.


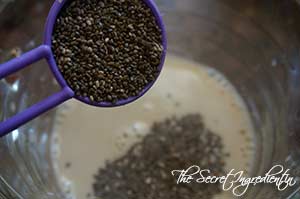
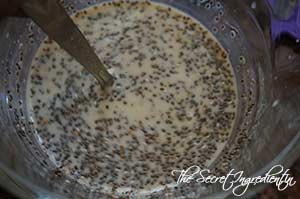
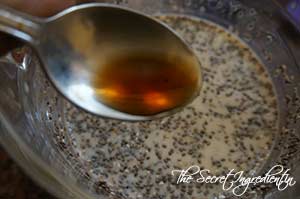
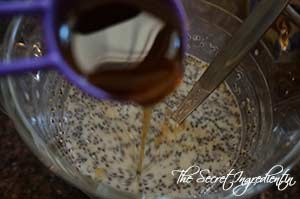
2. Add vanilla Extract. Also add maple syrup or honey for sweetness. You can add regular sugar if you like. Just combine and cover the jar with Cling wrap and keep it in the refrigerator for a couple of hours. This will make chia seeds swell. 


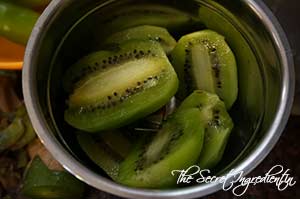
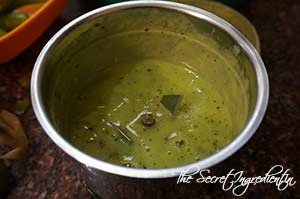
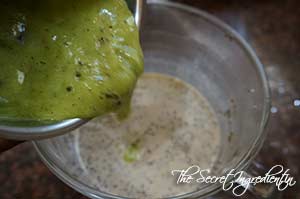
3. When you are ready to serve, peel some kiwis and make a smooth puree with it. Add it to the chia milk and combine.


4. Pour in individual serving glasses and garnish it with desiccated coconut and berries. I have added pomegranate arils. Serve and enjoy the guilt free pudding.

Other Smoothie and drinks you can try are:  Plum Smoothie Raw Mango Drink with Mint and Roasted CuminGinger Papaya Mint Smoothie Central Himalayan Wild Bayberry SyrupLitchi LemonadeMango Chamomile-Mint Tea LemonadeMusk Melon & Cucumber Smoothie with MintPeach LemonadeSpiced Mango Lassi


[whohit]KiwiChiaPudding[/whohit]
 

[yumprint-recipe id=’268′]


ragibrownies_featured4

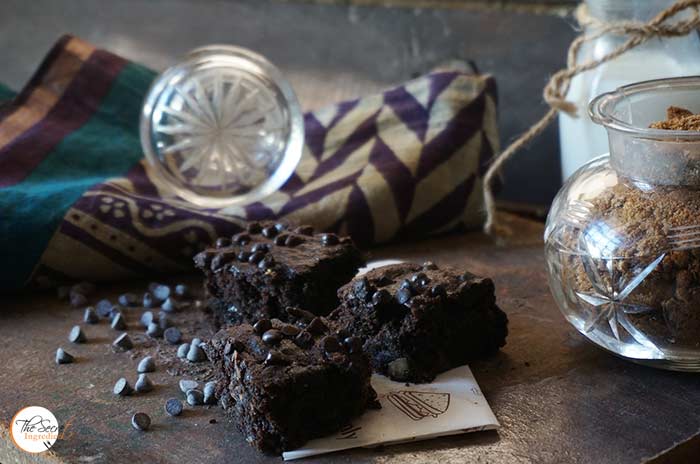
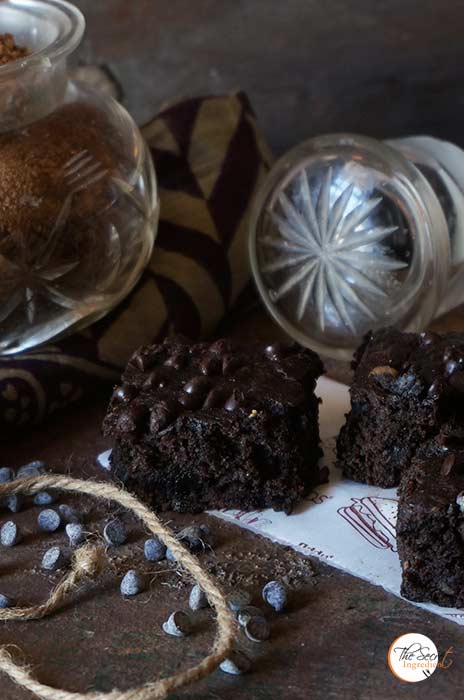
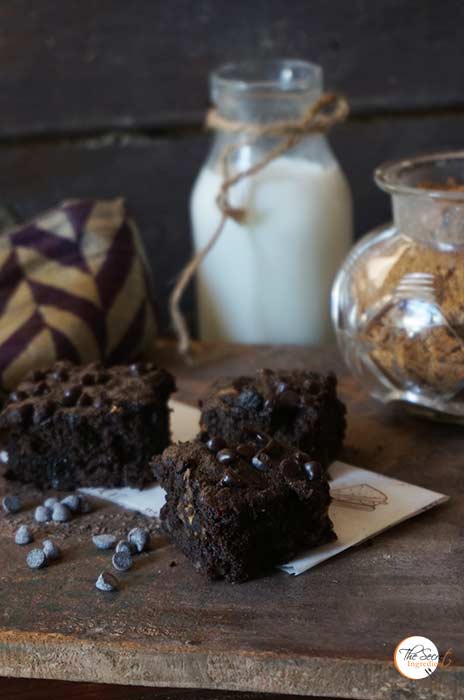
Its funny how I have never posted a non healthy recipe of Chocolate Brownies on my blog. Last two times the chocolate brownies on my page were Vegan Yellow Zucchini Chocolate Brownies and Whole Wheat Oats & Chocolate Brownies. And this time I had decided to post a traditional indulging, rich brownie loaded with chocolate, butter and refined flour. But then there was a change in heart and I ended up baking these Ragi Gluten Free and Vegan Chocolate Brownies. Not that I regret doing this but this makes me ponder have I really become that health conscious? I think I have to say yes! To me my family’s health is out of utmost priority. I simply cannot settle for things which have lesser nutritional content.

ragibrownies_featured2
May be someday I will bake those brownies, may be for the cheat day. For now to celebrate third Anniversary of my baby blog we must enjoy these delicious, decadent, healthy and gooey brownies. I posted the pictures of these on the 1st day of the year celebrating my blogs and my own birthday. It was loved by you all and everyone wanted the recipe. Unfortunately I was occupied and could not blog. So here I am burning the midnight oil and writing the recipe for you guys!I hope you will like it. I wish you all a happy and healthy New year 2017.

Directions:
1. In a bowl add Ragi flour and brown cane sugar.


dsc09837


dsc09838


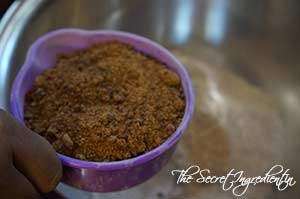
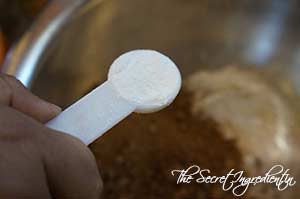
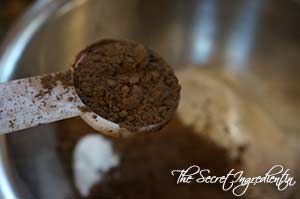
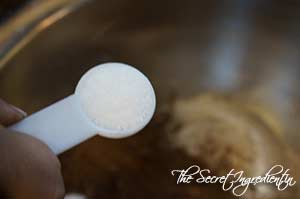
2. Also add baking powder, Cocoa Powder and Salt.


dsc09839


dsc09840


dsc09841


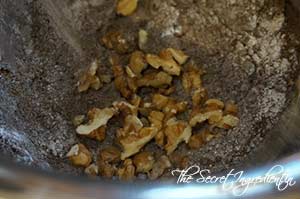
3. Add chopped toasted walnuts to it and set aside.

dsc09842
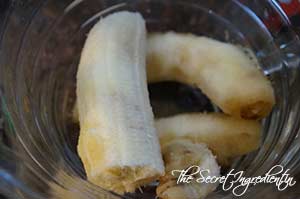
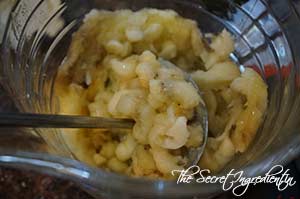
4. In another bowl take some ripe bananas and mash them well.


dsc09843


dsc09844


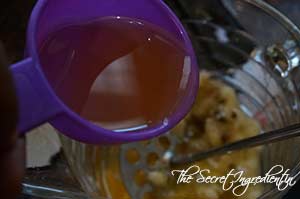
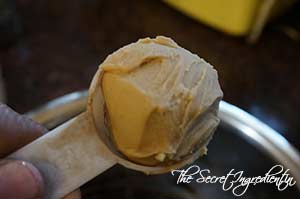
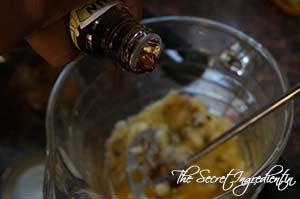
5. Add oil, peanut butter and vanilla essence and combine.


dsc09845


dsc09851


dsc09846


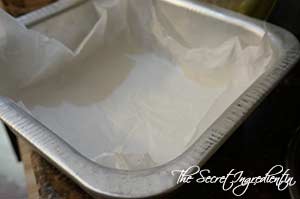
6. Preheat your oven to 180 degree Celsius (Learn more about your oven temperatures and conversion) and line a square 8×8 baking pan with Parchment Paper. Set aside.

dsc09847
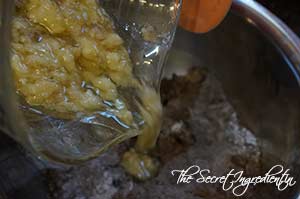
7. Add wet ingredients to the dry ingredients and also add water.


dsc09849


dsc09850


8. Mix everything thoroughly and ensure no lumps remain. Pour the batter into the baking pan.


dsc09852


dsc09853


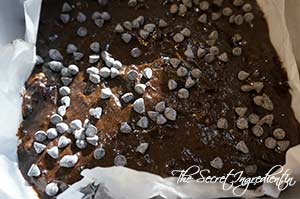
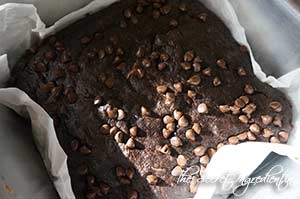
9. Add Choco Chips on top and spread evenly. I used the vegan non dairy chips.

dsc09854
10. Bake in the preheated oven for 25-30 minutes until the top becomes non glossy and toothpick inserted comes out clean.

dsc09855
11. Let it cool down completely and then cut into squares. Serve with a drizzle of Chocolate Sauce or Ice cream.

Other Chocolate Brownies you can try here are: Vegan Yellow Zucchini Chocolate Brownies and Whole Wheat Oats & Chocolate Brownies.

If you are looking for more chocolate desserts here is what you should try: Vegan Chocolate Banana CakeWhite Chocolate Chip Cookies Vegan Eggless Chocolate MuffinsPeanut Butter Cookies with Chocolate ChipsPapaya Chocolate MuffinsCoconut Chocolate CookiesChocolate Vanilla Marble CakeBrigadeirosWacky Vegan Chocolate Cake.

ragibrownies_featured5
[whohit]RagiBrowniesGF[/whohit]
[yumprint-recipe id=’266′]

amaranthgranolabars_featured1

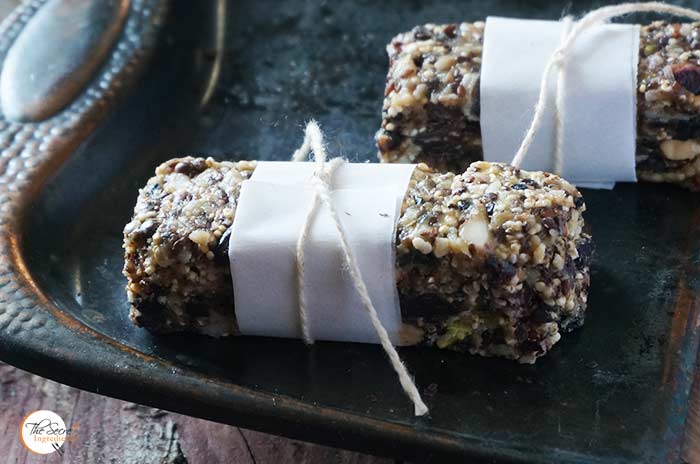
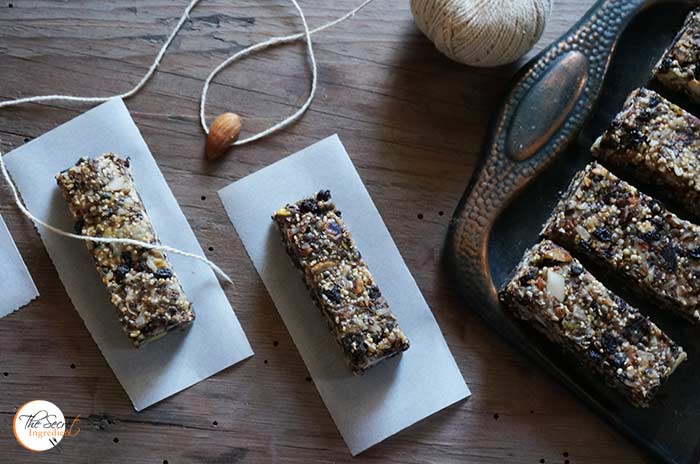
Christmas is around the corner and I am looking like a Santa Claus today, for I am wrapping energy bars for my cyclist husband. Since he started cycling on the mountain trails he has been obsessed with it. I am jealous that he spends more time with his cycle now than me 😛 But I am also glad that he has found his true calling and enjoys this activity to the hilt. I have been making energy bars for him which are healthier and much more delicious than what you get packed from the stores.

amaranthgranolabars_featured2

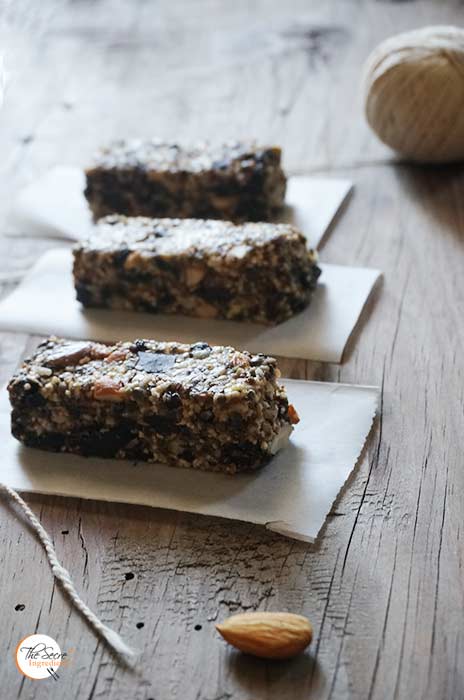
When his last batch finished I made him a fresh one and thought to share this on my blog for all of you. What can be a better way to rejoice the holiday season by making healthy choices. These no bake granola bars are loaded with puffed amaranth, dry fruits, black currant, chia seeds, hemp seeds and peanut butter. I have used Organic Puffed Amaranth or Ramdana or Rajgira from SOS Organics. Amaranth is a good source of calcium, protein and amino acids and is rich in iron, magnesium and Vitamin A, B and C too. You can always buy it from our – The Gourmet Shop. If you have your own un puffed amaranth you can puff it yourself. Take a cast iron skillet or wok. Heat it so that it gets hot enough. Take 1 tsp of amaranth seeds and place it in the wok and let it sit for 5 seconds. Then cover it with a lid and toss it around. You should be able to get puffed amaranth. Don’t keep it for too long for they can burn very easily. It requires a bit of practice. Once you get a hang of it you can increase it to 1 tbsp at a time.

amaranthgranolabars_featured7

Most the recipes of energy bar go haywire because of the proportions. If you choose to substitute any one ingredient with another, for example you dont have hemp seeds, you can substitute it with pumpkin seeds or melon seeds but the quantity has to be the same. This is a foolproof recipe, just follow it to the ‘T’ and you will never ever indulge in store bought bars.  These are so delicious that my kiddo wants to eat them whole day long and I have no reasons to say no. 

Directions:

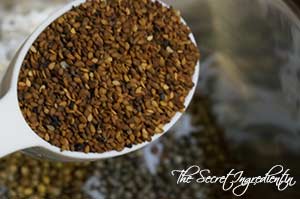
1.  In a bowl add puffed amaranth , dessicated unsweetened coconut and hemp seeds.


dsc00087


dsc00088


dsc00089


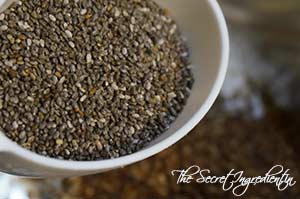
2. Also add sesame seeds and chia seeds.


dsc00090


dsc00091


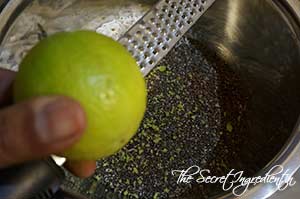
3. In the same bowl add fresh zest of a lemon. Yes yes trust me! Its the most magical ingredient in this recipe.

dsc00092

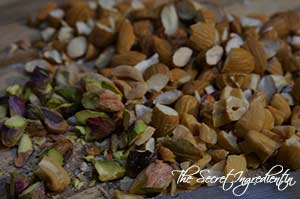
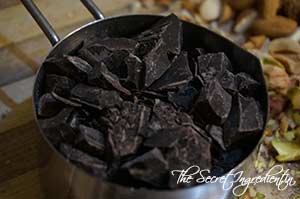
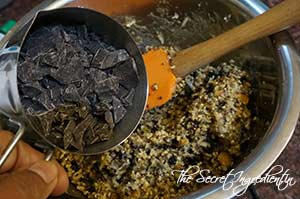
4. Roughly chop Almonds, Pistachios, Cashews and Jother nuts you would like to add to the bar.  Also chop dark chocolate bar into chunks. Ignore if you are using chocolate nibbles. Set aside.


dsc00085


dsc00086


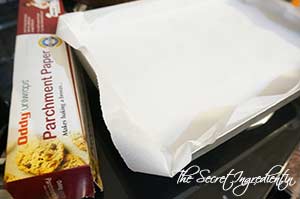
5. Grease a 8×8 inch baking tray with good quality parchment paper . Leave handles on the side to make it easy to remove from the pan. You can buy it here if you like.

dsc00101
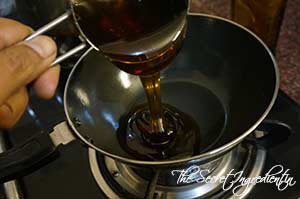
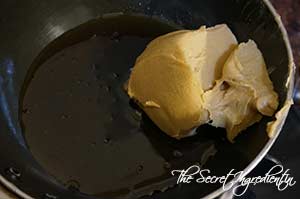
6. In a saucepan add some honey and peanut butter. Just heat it up to make it loose and runny.


dsc00093


dsc00095


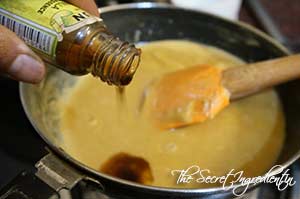
7. Once the honey and butter is melted turn the flame off and add vanilla essence to it and combine.

dsc00096
 
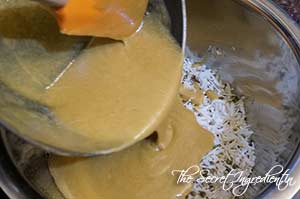
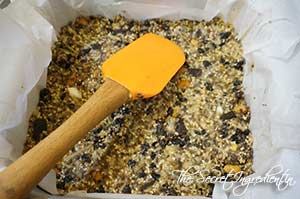
8. Add the melted honey and butter to the amaranth seed mix and combine using a spatula.

dsc00097
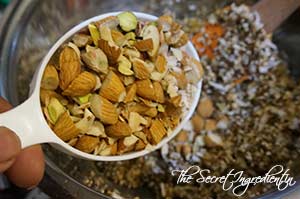
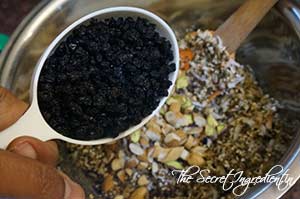
9. Add chopped nuts and black currants. Combine.


dsc00098


dsc00099


10. Lastly, add chopped chocolate and mix. You will get a tough mixture to work with but that’s how it should be.

dsc00100
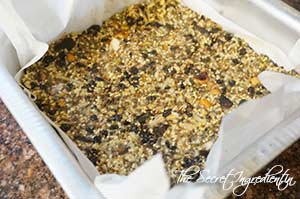
11. Transfer the entire mixture the baking tray lines with parchment paper and even it out by pressing down with the help of a spatula. Let it sit in the refrigerator for a couple of hours to set.


dsc00105


dsc00106


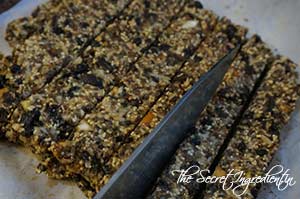
12. Cut into desired shapes using a long knife.

dsc00107
13. Wrap them into individual packing using a food wrapping paper and store it in a cool place. This stays good for couple of weeks.

Other easy desserts you can try here are: Blueberry Jam BarsMediterranean Eggless Semolina CakeCoconut MacaroonsKhajoor Til Ke Laddoo

amaranthgranolabars_featured8

[whohit]AmaranthBars[/whohit]
 

[yumprint-recipe id=’264′]