Tag

WinterFood

Browsing

MatarKaPrantha_Featured1
I
ndian Flatbreads or Paranthas are famous all over the globe for the variety of stuffing. They can be vegetarian as well as non vegetarian. Basically there is no end to them, you just have to be creative with it.

My husband and kiddo are not very fond of Peas or matar. They eat it when only when pressurized or when I have to raise my eyebrow 😛 So making them eat this parantha was a challenge. I borrowed this recipe from an adorable friend whom I met in Mexico, Garima Kedia Harlalka. From the moment she shared this recipe I knew I had to make this. But unfortunately it took me soo much time as I was bust relocating to India,

I tried it and it came out soo well that both my fussy boys relished it to the core. Thank you soo much Garima this is for you.

Directions:

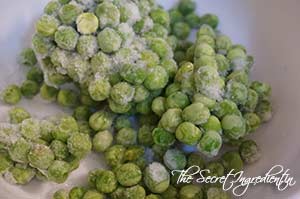
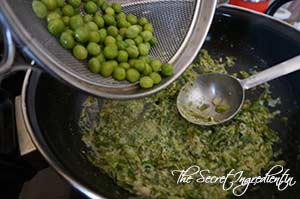
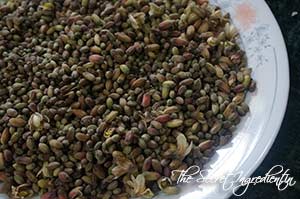
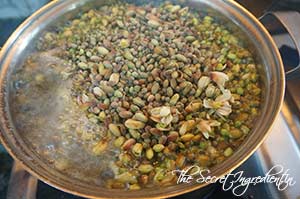
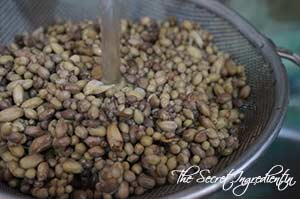
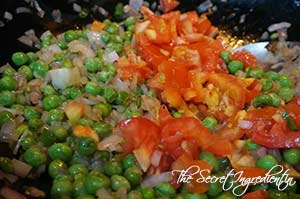
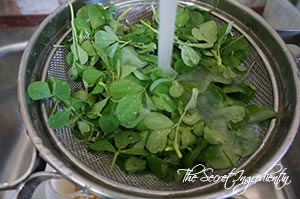
1. Take peas, I am using frozen, but you can use fresh if you like.

DSC07233


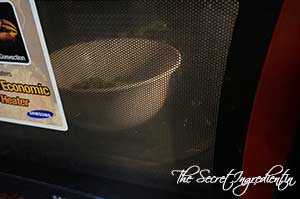
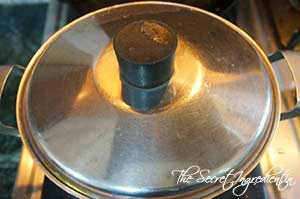
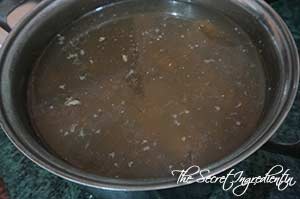
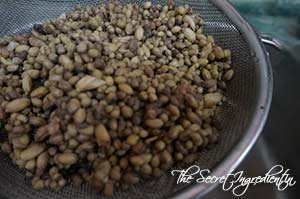
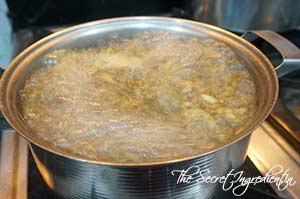
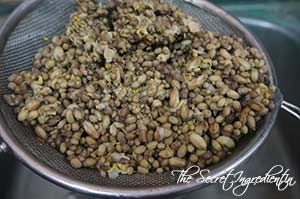
2. Defrost them in the Microwave for about 3-4 minutes. Time can vary on the power of your microwave. You can even put them in hot water to defrost without microwave. Later you can drain them.


DSC07234


DSC07236


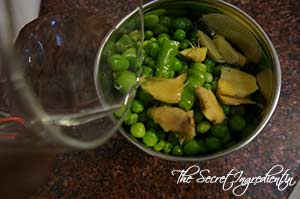
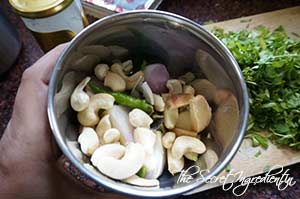
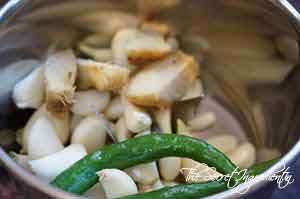
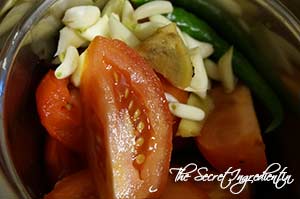
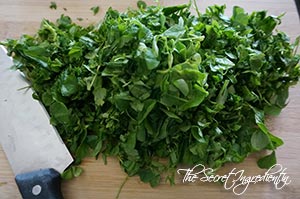
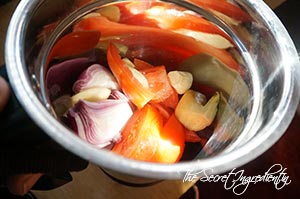
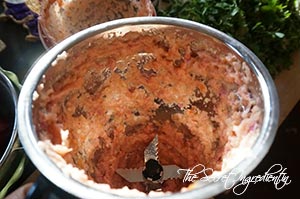
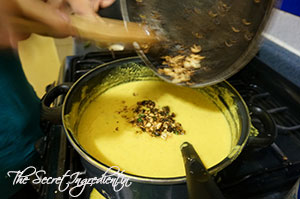
3. Add the defrosted peas with ginger and green chilies in a grinder.

DSC07237

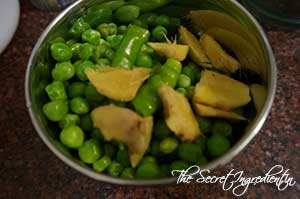
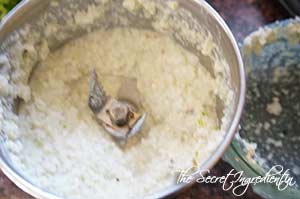
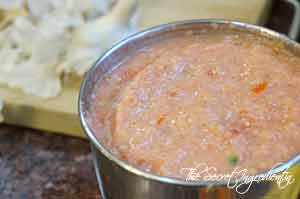
4. Add a few spoons of water to make a paste of it.


DSC07239


TDSC07240


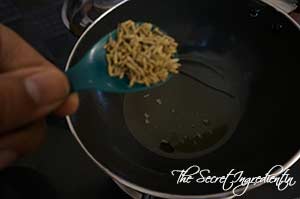
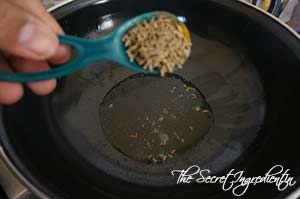
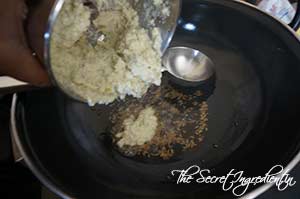
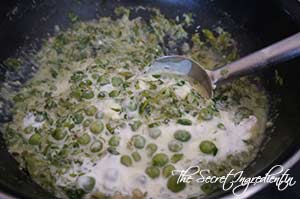
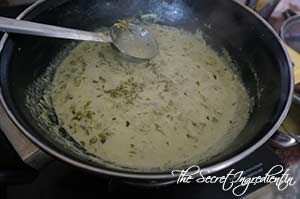
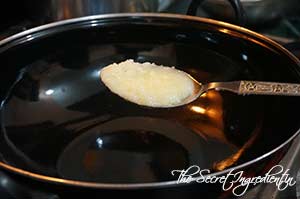
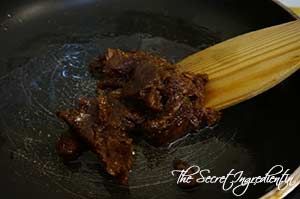
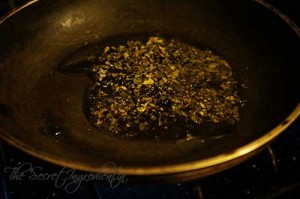
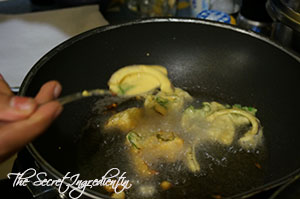
 5. In a wok or pan add oil.

DSC07241


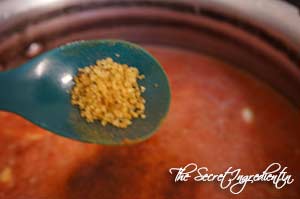
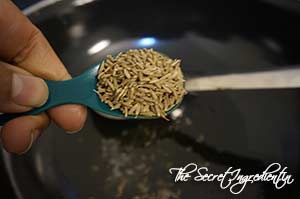
6. Add cumin seeds and let them sputter.

DSC07242


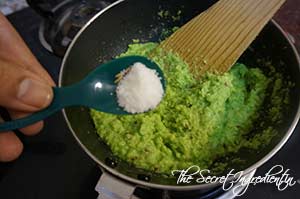
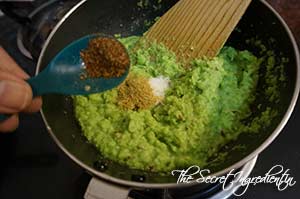
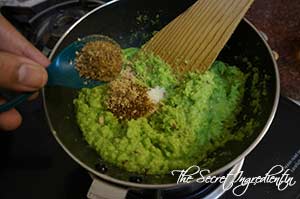
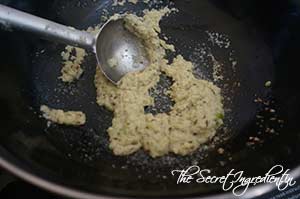
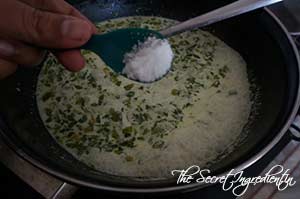
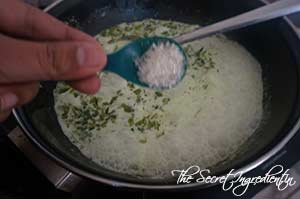
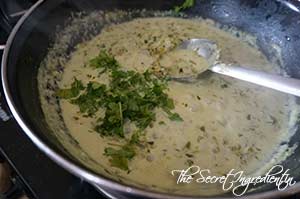
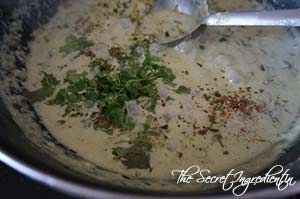
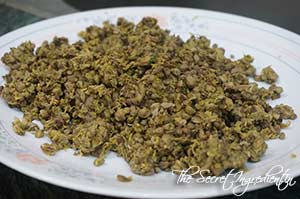
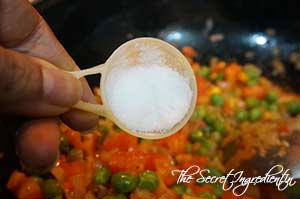
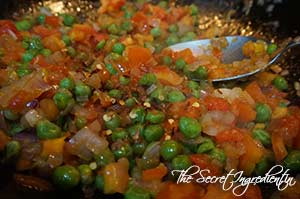
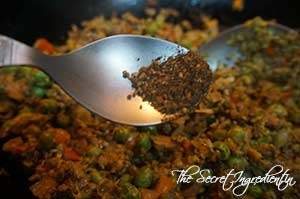
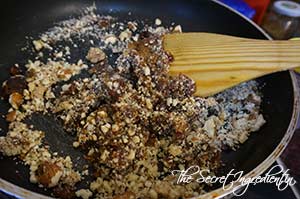
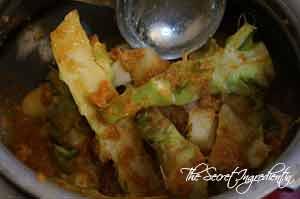
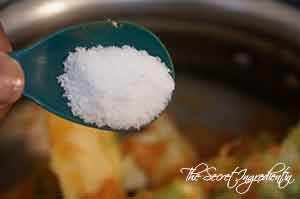
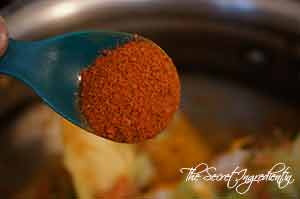
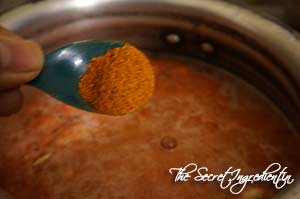
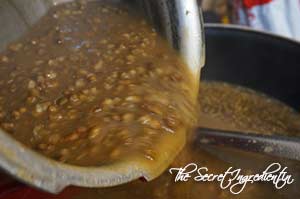
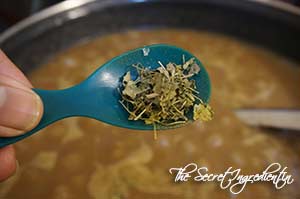
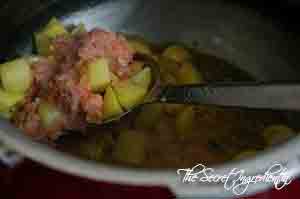
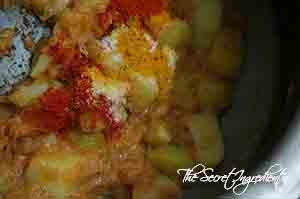
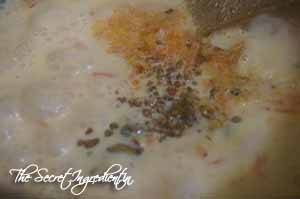
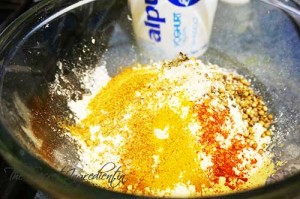
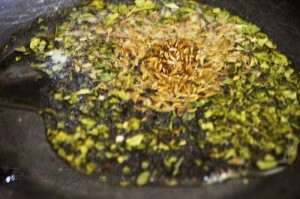
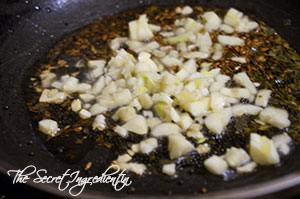
7. Add the paste, salt, Dry Coriander powder & Amchur.


DSC07244


DSC07245


DSC07247


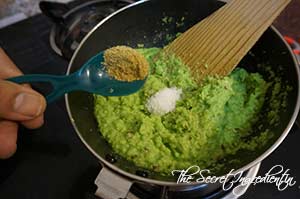
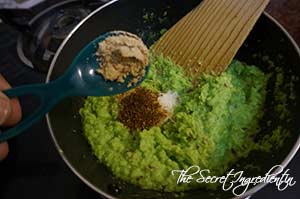
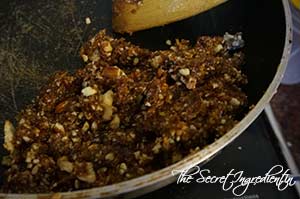
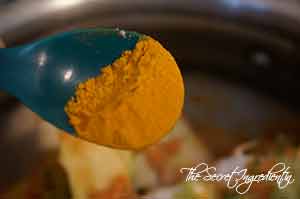
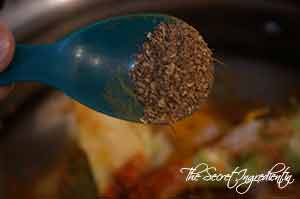
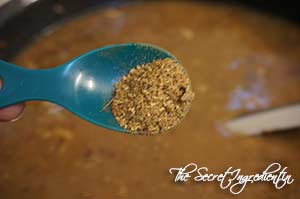
8. Also add roasted cumin powder and garam masala.


DSC07246


DSC07248


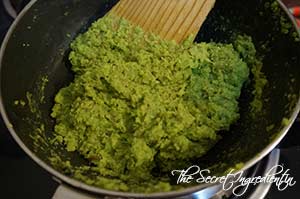
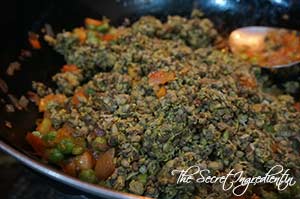
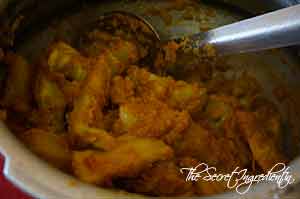
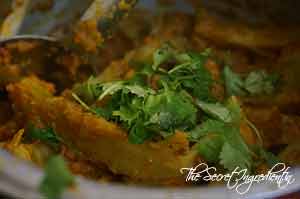
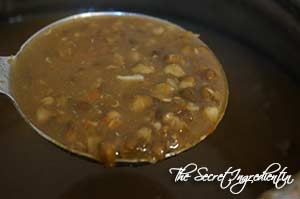
9. Combine everything and cook on medium low flame till all the moisture is absorbed and it becomes dry.

 
DSC07249
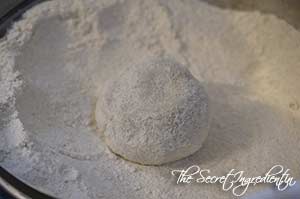
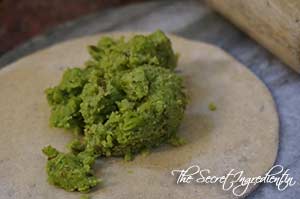
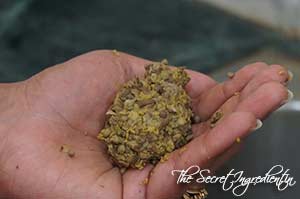
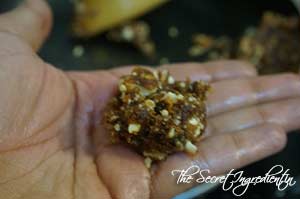
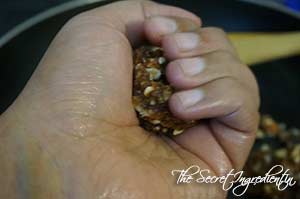
10. Take the dough and roll it into a small circle. Add two spoons full of peas mixture and place it in the center.


DSC07250


DSC07251


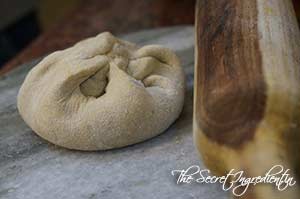
 11. Close it from all ends to make it look like a money bag.
DSC07252

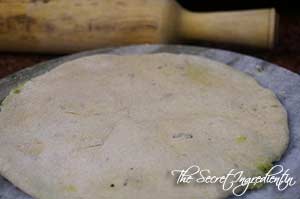
12. Roll it carefully in a circle using a roller pin and dry flour. Ensure you don’t put a lot of pressure while rolling as the stuffing can ooze out.

DSC07253

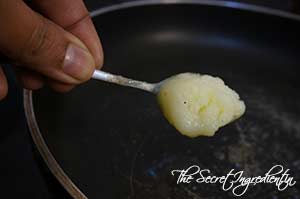
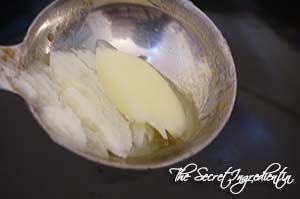
13. Add ghee on an iron tawa or pan and put it on heat. 

DSC07254

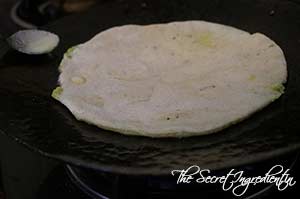
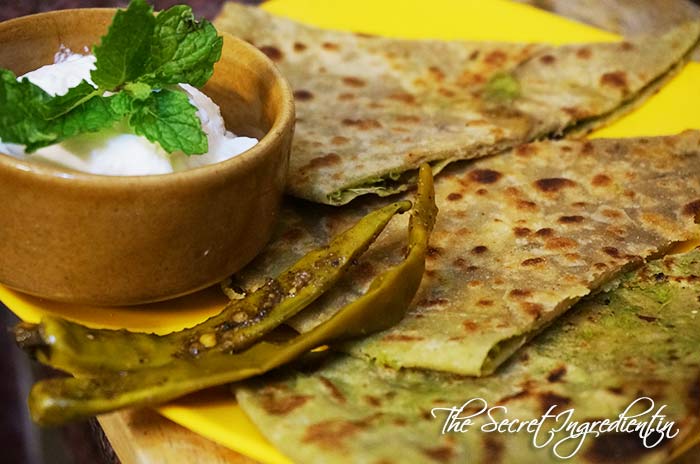
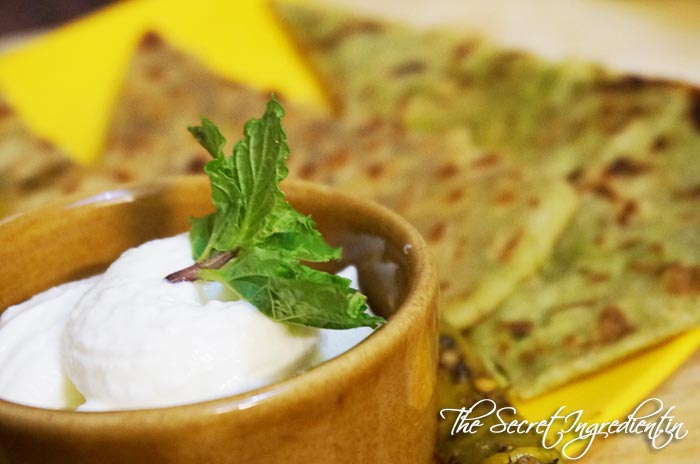
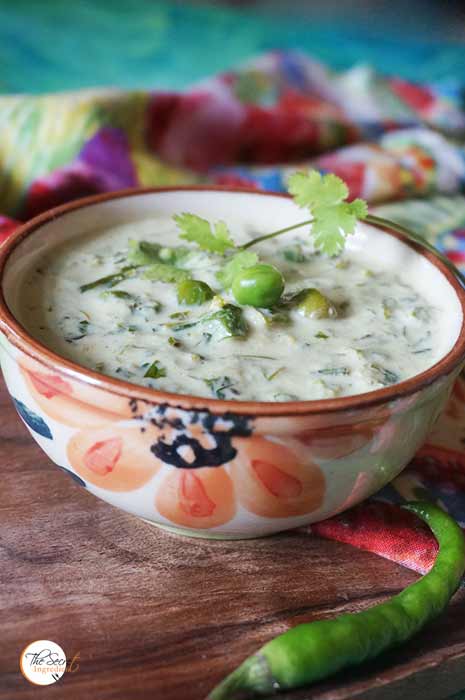
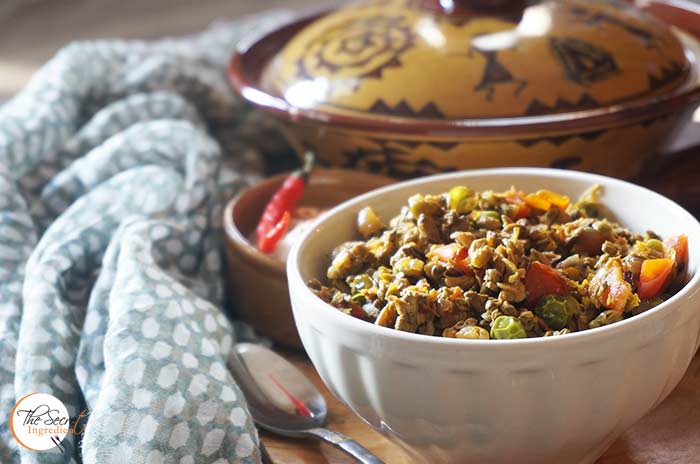
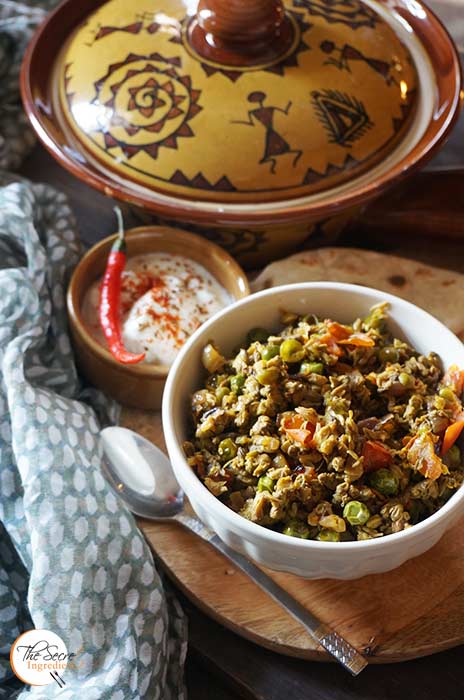
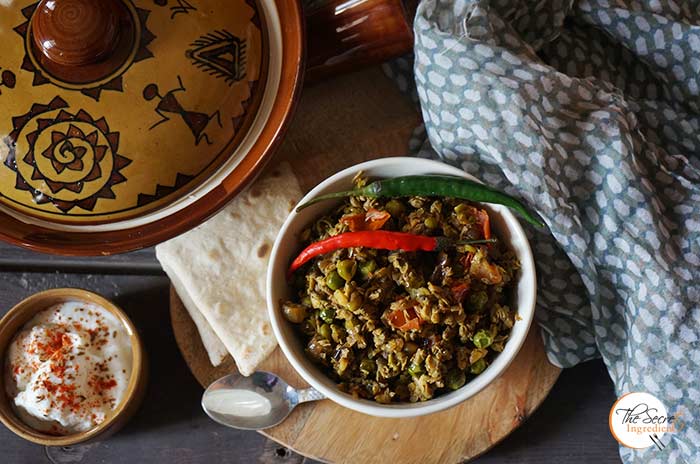
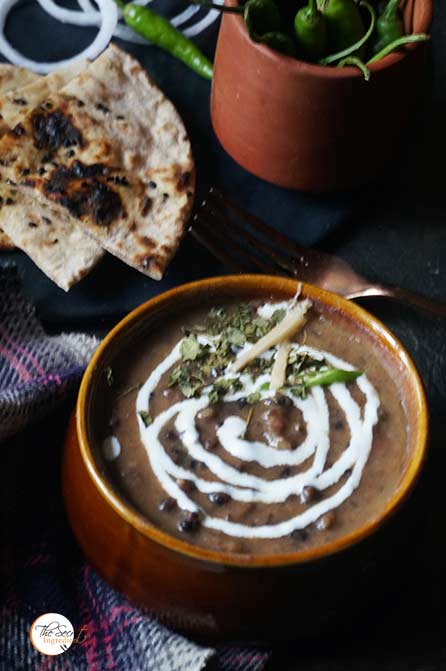
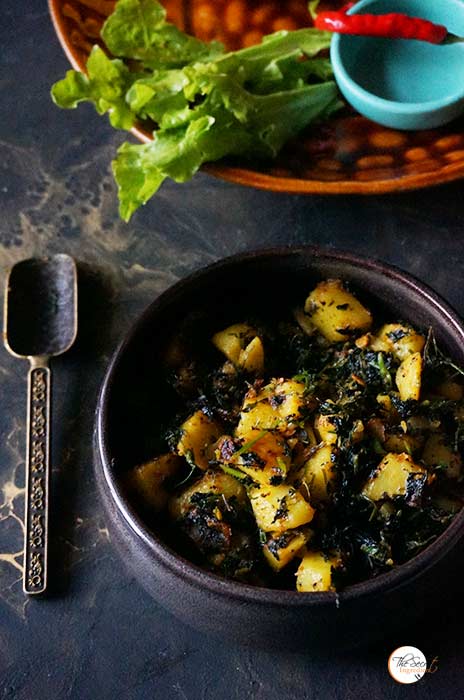
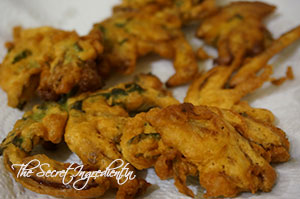
14. Cook on both sides flipping after every few minutes until its crisp and golden brown on both sides. Serve hot with a bowl of fresh natural curd and stuffed chili pickle

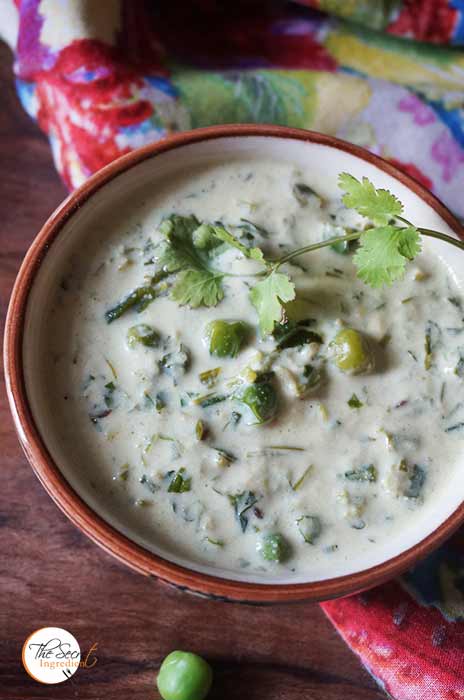
You can try other recipes with peas like Methi Matar Malai.


MatarKaPrantha_Featured3

 [whohit]MatarParantha[/whohit]

[yumprint-recipe id=’109′]


Methi Leaves or Fenugreek leaves are widely available in winters. The slight bitterness in these leaves brings an interesting flavour to the dish. Usually in my kitchen I make Fenugreek with Potatoes or as we call it in hindi, Aloo Methi . But this time I wanted to try something new so tried cooking Methi Matar Malai.

It was my maiden attempt at this dish and I am proud to say it came out very yummy. The bitterness of leaves, the crunchiness of peas and the creaminess of malai or cream gives it a unique, balanced flavour.

Directions:

1. Separate the fenugreek leaves from their stem. Wash it rigorously and chop it coarsely.


DSC08663


DSC08664


 2. In a grinder add Cashew Nuts, Onion, Ginger, Green Chilies and Garlic. 

DSC08665


3. Make a smooth paste without using water. You can add a spoon of water if there is difficulty in making a paste.

DSC08666

4. In a wok add little ghee or clarified butter.

DSC08667 

5. Add cumin seeds till they splutter. Then add the ground cashew mixture.


DSC08668


DSC08669


 6. Saute the mixture till rich aroma starts coming. You don’t have to brown the paste. 

DSC08670

7. Add chopped fenugreek leaves and pour 1/4 to 1/2 cup water.


DSC08671


DSC08672


 8.  Simmer for a few minutes then add boiled peas and Cream or malai.


DSC08673


DSC08674


 9. Keep simmering it further. Now add salt and sugar to balance the bitterness of fenugreek.


DSC08676


DSC08677


10. Give it a mix. and keep simmering for a minute or two.

DSC08678

11. Garnish with Fresh Coriander Leaves and little Garama Masala.


DSC08680


DSC08681


 12. Serve hot with Rotis.

You can even try Aloo Methi.

If you are looking for more winter dishes you can try Swanjhane Ke Phool Ki Sabji.Besan Kaddhi Pakora, Kathal ki Sabji.


[whohit]MethiMatarMalai[/whohit]

[yumprint-recipe id=’104′]

Swanjhane ke phool or drumstick flowers as it is known in English are bitter flowers available at this time of the year. These are also known as Moringa flowers, sahjan k phul, swanjhra gulah and are widely popular in Sindhi Cuisine. My mother being a punjabi makes this amazing dish which is known in lessor households, rather not a lot of people know that these flowers can be cooked. When I made this last time my parents in law tried it for the very first time. 

This is my favourite dish and I yearn to eat this whenever these flowers are in season and I am at my mother’s place. I haven’t been able to perfect this recipe but this is the exact recipe she follows. I think its the addition of love which makes it more delicious. Many people dislike this because they complain of being very bitter. But my mom’s recipe makes it neutral and delicious. You must try it out. It has that earthy taste which makes it simply delicious. 

Directions:

1. When you buy the flowers and buds of drumstick just ensure it doesn’t have any unwanted stems. 

DSC09754


2. Boil some water in a pot and add salt.

DSC09755


3. When the water comes to a boil add the flowers and let it cook for a minute and then turn the flame off.

DSC09756


4. Close the lid and let it sit overnight or 8 to 9 hours. This will take out the bitterness out of the flowers.

DSC09757

5. After soaking for 8 hours this is how it will look. The water will become brown.

DSC09758

6. Now drain the flowers and  put them under running water.


DSC09759


DSC09760


7. Put the flowers back in the pot and add fresh water.

DSC09761

8. Keep boiling it for 20-25 minutes till the flowers are soft and cooked. You can take a flower and try to mash it with your fingers.*


DSC09762


DSC09764


9. Drain the flowers using a colander.

DSC09765


10. Squeeze out extra water using your hands. It will mash up the flowers but its okay. You can do it in batches.

DSC09766

11. Keep them aside on a plate. In the meanwhile chop some onions, tomatoes and green chilies for the temper.


DSC09767


DSC09763


 12. In a wok add some ghee or clarified butter,

DSC09768

 13. Add peas and cook them for five to seven minutes till they become soft and crunchy.
DSC09769

14. Add chopped onions and saute them till they become transparent and little brown.

DSC09770

15. At this  stage add chopped tomatoes and green chilies. And cook till tomatoes are softened.

DSC09771

16. Add salt and red chili powder.

DSC09772

17. Cook for five minutes or until the oil begins to separate.

DSC09773

18, Add boiled and drained flowers and mix.

DSC09774

19. Cover it with a fitting plate and let it cook on low flame for five minutes.

DSC09775

20. Sprinkle some Garam Masala.

DSC09776

Serve hot with Rotis.

You can try other recipes from my Mother’s Kitchen like Tori Wadiyan, Bharwan Karela, Besan Kaddi Pakora, Aloo Methi, Gobhi Danthal, Dal Makhni.

[whohit]SwanjhneyKPhool[/whohit]

[yumprint-recipe id=’103′] 


DatesLaddoo_Featured1

This post is specially for diet conscious people or people who are watching their weight. These dates ball are quick and easy to do with minimal ingredients. When you want to snack on to something guilt free or quench your mid night cravings this is a perfect treat. Store them in air tight jar and these go a long way. They look small but they are very filling, so ensure you make small sized balls.

When I made them last time I never got an opportunity to store them for they were gone by the evening. Yes me and my husband had 6 each ;). A little dieting never hurts anyone 😛

Directions:

1. Remove the seeds from the dates.

DSC08289
2. Dry roast the almonds and walnuts or pecans in a pan in batches. You can use any nut of your choice. Ensure you keep tossing them for you don’t want to burn them. Coarsely grind them in a grinder leaving a few chunky pieces to give texture to the balls.


DSC08290


DSC08291


DSC08298


3. In the same pan add the sesame seeds and toss them to get a slight colour and crunch on them. Roast them on a low medium flame.


DSC08292


DSC08293


4.  Add the pitted dates in a coffee grinder or normal grinder and make a sticky paste.


DSC08294


DSC08295


5. In a pan add little butter or ghee or if you are vegan add coconut oil or any neutral oil.

DSC08296

6. Add the dates and cook them in ghee for about 2-3 minutes. The dates will absorb all the butter.

 DSC08297

7. Now add the ground chunky nuts and mix them to combine evenly using a spatula. Soon everything will be well combines in one thick paste.


DSC08299


DSC08300


8. Let the mixture cool down a bit. Take a spoon full of it in your palm and make a smooth ball with it.


DSC08301


DSC08302


9. Place all the balls in a plate and one by one roll them in roasted sesame seeds.


DSC08303


DSC08304


 10. Store them in an air tight jar and enjoy them whenever you feel like snacking!

DatesLaddoo_Featured2


[whohit]DatesLaddoo[/whohit]

[yumprint-recipe id=’101′]


Gobhi or Cauliflower is the most versatile vegetable after potatoes and found in almost all across the globe. In winters it is available in abundance in India. One gets tired of eating Aloo Gobhi or Cauliflower cooked with Potatoes so a variation is always welcome. Few days back I had posted recipe of Gobhi Manchurian. which is an indo-chinese way of cooking this nutritious vegetable. The interesting thing to note is that not only the cauliflower florets are used in cooking but the central stem holding the florets also makes such an amazing dish. My mother makes it and its absolutely delightful.Its one of my favourite dishes and I insist that you must try it in thick winters. Its also known as Vegetarians meat. 

gobhidanthal_featured4

You have to reserve and collect the stems or danthals when you cook cauliflower. The softer the stems the better the dish tastes. You can keep the danthals or stems in the fridge for two weeks and cook once you have enough danthals to get started. The other option is you can ask your local vegetable vendor to give you the stems. They will be happy to give away to you.

Directions:

1. You need atleast two full pods of Garlic for this. Peel the skin and keep the garlic cloves aside.

DSC09357


2. In a blender add garlic, green chilies, ginger and tomatoes and make a fine paste. Keep aside.


DSC09358


DSC09359


DSC09360


3. Remove the florets and take the central stem of the cauliflower. You can also use the hard shoots,ensure they are fresh. Wash them rigorously to remove all dirt.

DSC09361


4. Cut the danthals into half or if they are big cut them into fours lengthwise.

DSC09362
5. Put some mustard oil in the pressure pan. Wait till the oil starts to smoke out.

DSC09363
6. Put the tomato puree.

DSC09364
7. Also add the danthals and combine them with the puree.


DSC09367


DSC09368


 8. Add salt, turmeric powder and red chili powder.


DSC09369


DSC09370


DSC09371


 9. Also add garam masala and combine.


DSC09372


DSC09373


 10. Close the lid and cook for 6-7 whistles or till it becomes soft and tender.

DSC09374

 11. Garnish with Green coriander leaves.

DSC09375

Serve hot with Rotis and enjoy the most amazing vegetarian meat. Do not forget to remove the hard stems like bone 😉

You can even try other dishes from Punjabi Cuisine like Besan Kaddhi Pakore, Bharwan Karela, Dal Makhni, Langar Wali Dal and Dum Aloo.

[whohit]Danthal[/whohit]


[yumprint-recipe id=’98’]


Punjabi Dal Makhani is perhaps the most popular dish from India along with Shahi Paneer and Butter Chicken. The black whole lentils are cooked slowly along with spices for a longer time to become soft and tender. It is then mixed with rich cream to give that creamy, buttery taste. This divine dish is a specialty and usually made on all special occasions. My family loves this and relish it with tawa naan.

My mother makes this delicious lentil or dal as we call it but that too in a pressure pan which takes less than half the time. It still tastes creamy and wonderful. I would love to share her easy recipe with you. Its the most authentic recipe and comes out well with minimal efforts.

Directions:

1. Wash and soak the lentil in water for 8 to 10 hours. Overnight is best.

DSC09328
2. In a blender add some roughly chopped tomatoes, garlic, green chilies and ginger root. Make a smooth puree. Set aside.

DSC09381
3. Take a pressure pan and add pre soaked lentils and tomato puree to it.


DSC09382


DSC09383


4. Also add water to the pressure pan. I usually fill the blender with water to take out any extra puree stuck to the sides.

DSC09384

3. Add salt, red chili powder and Asafoetida.


DSC09385


DSC09386


DSC09387


 4. Close the lid and let it cook on high flame. After first whistle or when you hear the pressure to its peak lower the flame and let it cook further for 45 to 50 minutes without getting disturbed. Do not open immediately. Let the pressure release on its own and then open.

DSC09388

5. In a wok or pan add ghee or clarified butter.

DSC09389

6. Add cumin seeds and let them splatter for about 10-15 seconds.

DSC09390

7. Add the boiled lentil. Mix and check for more salt if required.

DSC09392
8. Add Garam Masala and dried fenugreek leaves or Kasuri methi. Let it simmer for another 10-15 minutes till it starts to get thicker.


DSC09393


DSC09394


9. Add fresh chopped coriander leaves .

DSC09396
10. Lastly for that creamy richness add cream. Combine.


DSC09395


DSC09401


11. Serve hot with Rotis or rice.

You can try other North Indian delicacies like Shahi Paneer, Punjabi Pindi Choley, Besan Kaddhi Pakora, Bharwan Karela.


[yumprint-recipe id=’80’]


Fenugreek Leaves or Methi is a gift from Winters. The bitter taste of these leaves brings a delicious flavour when cooked with spices. I missed them so much in Mexico as they are largely cultivated in Indian Subcontinent and other countries like Turkey and Spain . But this season I am making the most of it.The warmth of this dish is incredible. Punjabi Style Aloo Methi is something I have grown up eating and is close to my heart. 

The cooking time of this dish is nothing but the only taxing part is to separate the leaves from the stem and cleaning them. My family is very fond of this dish. If you like Methi or fenugreek you can also try Methi Matar Malai which is also very interesting and has a distinct taste. I have always seen my mother separating green leaves from stems, be it fenugreek,spinach, mustard leaves and many many more leafy vegetables we get in winters. I make a lot of them. May be you can try Bathua ka RaitaChaulai Ka Saag, Palak Paneer ,Palak Mushroom  and I’ll be sharing many more in the days to come. Till then you enjoy these and keep your selves warm and hearty.

Directions:

1. Separate the leaves from the stem and wash them thoroughly under running water several times or until the leaves are clean.

DSC04883
2. Drain out all excess water and chop them coarsely.

DSC04884

3. Roughly chop Tomato, Onion, Green Chili,Garlic and Ginger. Put them in a blender and make a puree. Set aside.


DSC04886


DSC04887


DSC04888


4. Also wash, peel and cube few potatoes. Keep aside.


DSC04889


DSC04890


5. In a pressure pan add some mustard Oil and let it heat till it starts to give out smoke.

DSC04891

6. Add cubed potatoes.

DSC04892

7. Add the puree.

DSC04893

8. Add salt, turmeric powder, asafoetida and red chili powder. Mix together.

DSC04894
9. Add chopped fenugreek leaves.

DSC04895

10. Combine everything together.

DSC04898

11. Put the lid on and let it cook for 5 whistles or 7 minutes after the pressure builds up.

DSC04899

12. Turn off the flame and let it cook in its own steam. After all pressure has released open the lid and turn the flame on. You will see some liquid. Let it simmer on low flame till all liquid has been absorbed. This step is very crucial for this will bring in a great flavour.

DSC04901
13. Keep stirring and after the liquid has absorbed you will see some oil in the base. Sprinkle with some Garam Masala.

DSC04902

14. Serve hot with Rotis and Aloo anaar ka Raita or Bathua ka Raita.

You can try more Cuisines from Punjabi Kitchen like Stuffed Bittergourd or Bharwan Karela, Besan Kaddhi Pakora, Punjabi Pindi Cholley 

[yumprint-recipe id=’78’]

GajarKaHalwa_Featured
I come from a family of professional sweet makers or as we call them in Hindi ‘Halwai’. My maternal Uncles run a restaurant in India which was established by my late Grandfather. The sweets and snacks made by them tastes heavenly. If you taste it once you will come back for more and more, I challenge you. When I was in India I enjoyed those delicacies in abundance. Now as I write this blog I miss those flavours. Every year during winters my grandfather used to send us Gajar ka halwa …I cant describe how amazing was that. The good part is my uncles have carried the tradition 🙂 So I will go back to India and devour lots of sweets and of course gajar ka halwa. Till then you enjoy this recipe which I have taken from Edible Garden, which is tasty by the way. I promise when I go to India I will learn to make Gajar ka Halwa the way my uncles make and post it here.

Directions:
1. In a pressure cooker add the grated carrots, (preferably the red ones you get in India during winters. If you cant get them you are a looser like me 😛 but you can use the orange ones. The halwa wont taste the same but will be close enough).

CasseroleEggs1

2. Add Milk and water. Stir well and pressure cook for  about 7-8 mins. Turn off the flame but do not open it immediately. Let it cook further in its own steam.

CasseroleEggs3

3. In a small pan heat the ghee and fry the cashew nuts,raisins and almonds until golden, set aside.. The use of ghee will bring in the most delightful flavour so it is highly recommended.

CasseroleEggs6

4. Once the pressure cooker is ready to be opened, turn on flame again and keep it on low. Bring the carrot milk mixture to boil again and continue to cook on low flame for 10-15 mins until the mixture thickens and the milk becomes a bit grainy.


CasseroleEggs4


CasseroleEggs7


5. Add the condensed milk and mix well. Let it cook for another couple of mins. The addition of condensed milk gives it enough sweetness. But if you have a sweet tooth add more sugar I wont judge you. 😛

CasseroleEggs8

6. Next add the roasted cashew nuts, raisins, almonds and dates and the ghee it was roasted in. Top up with the cardamom powder. Mix well.


CasseroleEggs9


CasseroleEggs10


Transfer it in a serving bowl. Me and my husband finished this in minutes. I am sure you will like to try this.

GajarHalwa_Featured2


[yumprint-recipe id=’81’][whohit]gajar-ka-halwa[/whohit]


KaddhiChwal_Featured3
My mother is an incredible cook and the credit goes to her for taming me and making a good cook out of me. I learnt to cook out of need and never out of interest. But gradually that need became an enjoyment and lately a passion.

KaddhiChwal_Featured1


Last year when my parents visited me in Mexico, I made Kaddhi Chawal for dinner one night. Needless to say this recipe is my mom’s most famous recipe. When she started eating she paused and said “I cant say if its made by you or me”. That was the biggest compliment from my guru. I hope you try this recipe and enjoy.

Directions:

1. Add all the ingredients for kaddi (not tadka) in a blender and add add only 1/4 of water and run the mixer to form a lump free liquid.


DSC01817


DSC01820


2. Pour this mixture in a large pot (ensure its very deep because on boiling it can spill) and add rest of the water.

DSC01823

3. Turn on the flame and let it boil for about 25-30 minutes. You must keep stirring it every minute and reduce the flame every now and then to stop the kaddhi flowing off the pot. Don’t be like me 😛 keep an eye on it. You can put it on high flame again and likewise keep repeating till about half an hour. Once you feel the kaddhi is cooked turn off the flame. The consistency of kaddhi will become less dense as the kaddhi cooks.


DSC01825


DSC01827


4.  In a skillet/ pan add oil and let it heat for a minute and then add mustard seeds and cumin . Let it splatter for another half a minute. Ensure you do not over cook otherwise the taste changes.

DSC01828

5. Add Fresh kaddi patta and cook for additional half a minute. I do not have the luxury to have fresh kaddi patta in Mexico so i use dried coarsely ground kaddhi patta. It doesnt taste as strong as fresh leaves but something is better than nothing.

DSC01830

6. Add garlic and green chili and cook till garlic starts turning golden brown.

DSC01831

7. Now add this tempering on top of your kaddhi in the pot. Garnish with chopped coriander and garam masala. Keep aside.


DSC01834


DSC01835


8. For the pakora or fritters, in a frying pan pour oil and let it heat.In the meanwhile mix besan, onions, chilli, salt, red pepper powder and water to form a paste. It should not be very liquid.

DSC01839

9.  With a spoon pour the mixture in heated oil to make fritters. Ensure you make small and thin fritters or  pakora for kaddhi as they will not absorb a lot of kaddhi and there will be enough liquid.

DSC01842

10. Once you fry the fritters turning both sides till they acquire golden colour remove them on a paper towel to absorb extra oil.

DSC01845

11.  Put these pakoras/fritters in kaddhi and heat it for a couple of minutes.Your Besan Kaddhi is ready! Serve with Rice and enjoy !

Other popular and Lip smacking dishes from Punjabi Cuisine are: Bharwan Karela, Dal Makhani, Langar wali dal, Bharwan Tinda, Butter Chicken .

KaddhiChwal_Featured2

[yumprint-recipe id=’48’]


KaddhiChwal_Pintrest


[whohit]kaddhi[/whohit]


Chicken Soup is a popular healthy soup made in all parts of the world. Each Cuisine makes it in its own unique way by adding its special Secret Ingredient. I was a Vegetarian in India before I came to Mexico, so I had no knowledge of how to cook any non vegetarian dishes including chicken soup. I happened to try one day one of their Chicken Soup which is a clear soup made with rich stock. Its known as Consomé de Pollo.


The soup was warm and delicious and a complete meal in itself because it had rice in it. I looked for the traditional recipe and made few variations and here is my version of it. The soup is perfect for winter dinner tables. You can relish it by adding a few drops of lemon juice, just the way Mexicans like it. After this trial I have tried so many other dishes from the Mexican cuisine like Sopa de Frijol, Guacamole, Pan de Muerto, and the list goes on. If you are keen on trying authentic Mexican dishes you should try some of these.

Directions:
1. Take boneless skinless chicken(I used chicken breast because it is with least fat), and cut it in thin slices so that it cooks faster and evenly.

DSC01961

2. In a flat bottom pan, pour less than one tbsp of olive oil and when it begins to turn hot add the sliced chicken slices to it.

DSC01963

3. Let it cook for a couple of minutes and when you notice the pink color of chicken has turned white you can flip it upside down.  Season the bird with salt and pepper.

DSC01964

4. Keep flipping sides till you see the chicken has acquired a light golden brown colour. Cook until the chicken is soft but do not over cook for it will loose all its moisture hence its taste. Remove from pan and keep in a plate to cool.

DSC01977

5. When the chicken has cooled, shred it gently with the help of two forks. You can even cut it in to bite size pieces, completely depends on personal preference.

DSC01984

6. Now in a pot pour a tablespoon of olive oil and when it starts to warm up add garlic and saute them for a minute. Then add onions and Saute them till they become translucent.

DSC01969

7. Now add tomatoes and garnish it with salt and pepper. Cook the tomatoes till they are gooey and are in semi liquid state.

DSC01970

8. Add half cup of cooked rice. I prefer to use less rice because if the quantity of rice is more the soup becomes dense with chicken and rice. But if you wish you can add rice as much as you want.

DSC01983

9. Add to the mixture about 5 cups of water or chicken broth. I simply add water for I feel as it is a chicken soup why add additional chicken broth. Plus the packaged broth is high on sodium. But if you feel it makes a huge difference in taste, go head and add one broth or chicken bullion or cube along with water.

DSC01986
10.  Check for additional salt or pepper. Now cover the pot with a lid and let it sit on low flame for about twenty minutes.

DSC01987

Transfer the soup in a soup bowl, squeeze in some lemon juice and enjoy steaming hot on a cold cold night.

Chicken-Consomme

If you are looking for other soup recipes you can try: Classic Russian BorschCream of Asparagus SoupCream of Broccoli Soup with ChivesPeas and Mushroom Spicy SoupClassic French Potato Leek SoupMexican Red Kidney Beans Soup With Baked Tortilla ChipsTomato Soup , Zucchini Garlic Soup with Yak Cheese ShreddingsCream of Mushroom.


[yumprint-recipe id=’257′]