Tag

Baker’sDelight

Browsing

appleciderdonuts_featured5
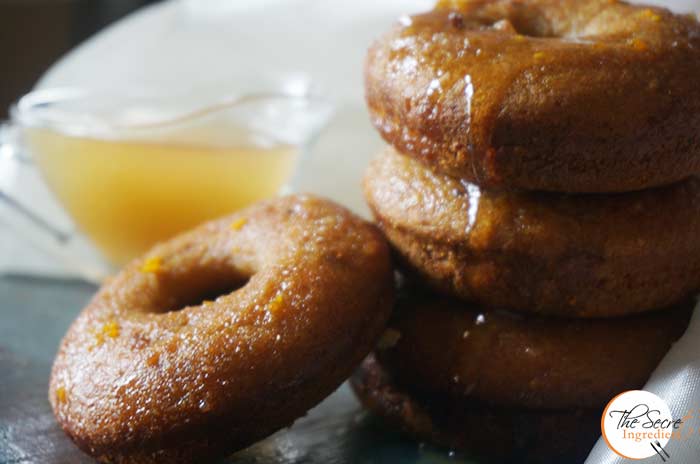
I have been meaning to make these baked Apple Cider Doughnuts with Orange Glaze for more than three years ever since I saw this recipe on Laura in the Kitchen. There were so many impediments on the way. First I did not have the doughnut mould, which I got from US. Then I made Apple Cider from scratch which was a huge huge achievement for me. For those who do not know there is a difference between Apple Cider and Apple Cider Vinegar. Then I  learnt to make fresh apple butter and even pumpkin pie spice. And by the time I arranged all this.. the season of fresh oranges disappeared 🙁 I did not give up and next year I did everything and baked these beauties just perfect for the fall season. All I can say it was worth all the effort.. where there is a will there is a way.

appleciderdonuts_featured3
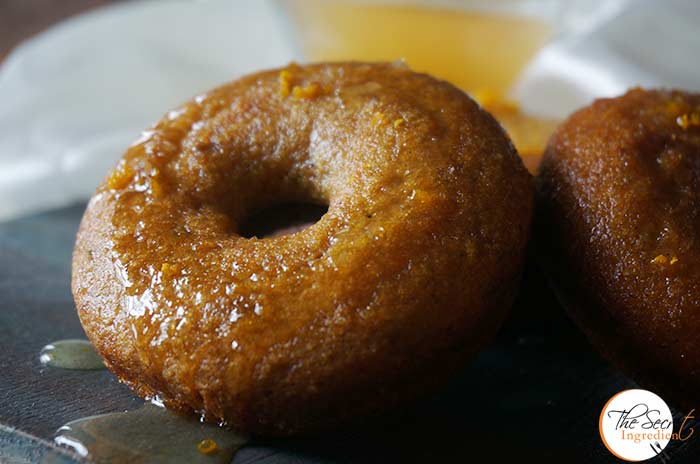
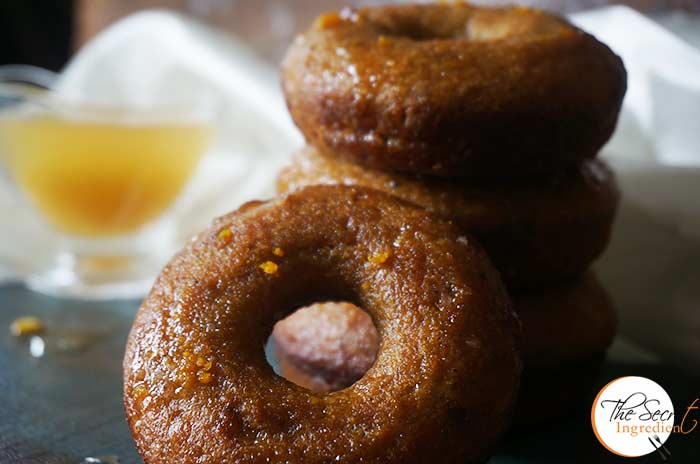
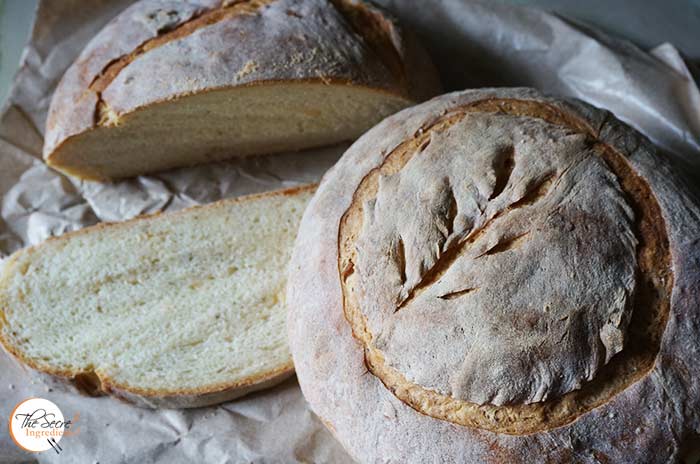
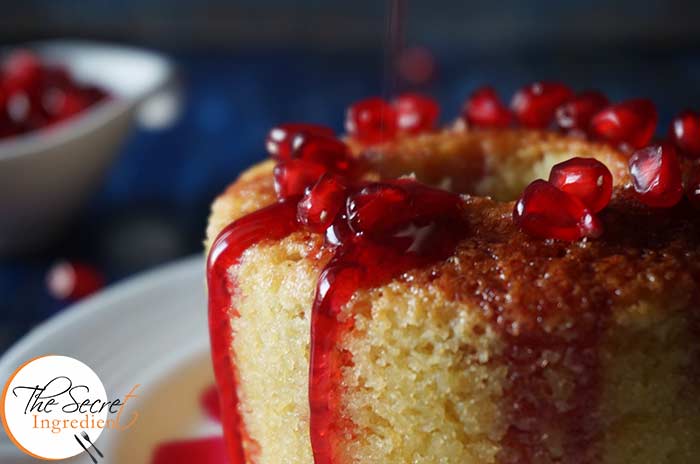
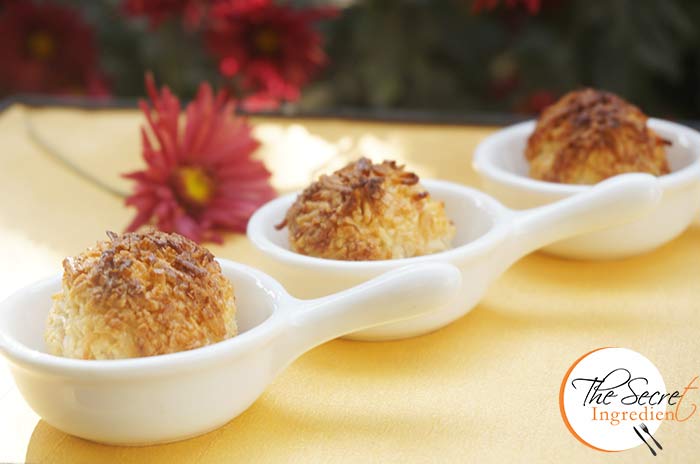
The doughnuts were extremely delicious and aromatic. The recipe uses no oil in the batter, only a little for brushing the pan. The orange glaze on top is the best part of these Doughnuts, they simply melt in your mouth. You must try them for this fall.

Directions:
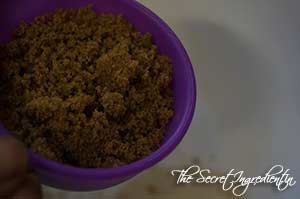
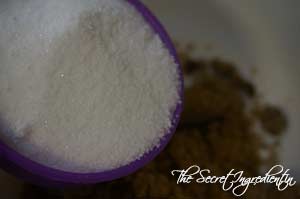
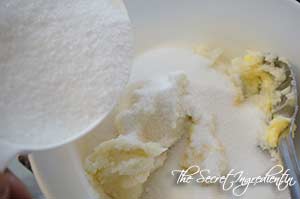
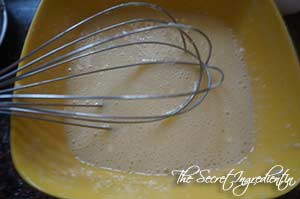
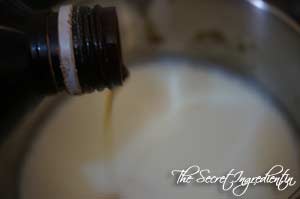
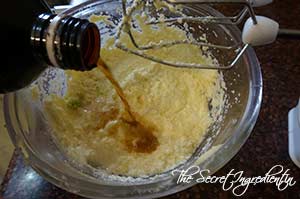
1. In a bowl add Brown sugar, white granulated sugar and Vanilla essence.


dsc06581


dsc06582


dsc06583

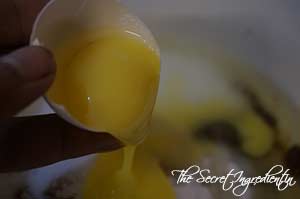
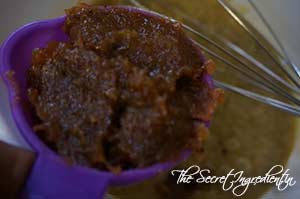
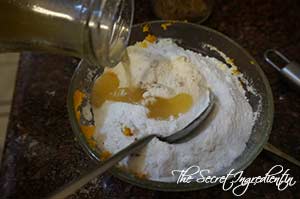
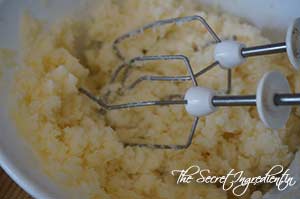
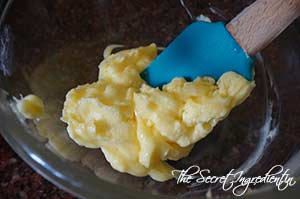
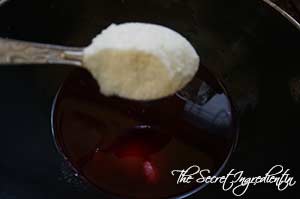
2. Add eggs,  melted butter and apple butter. You can easily make your apple butter at home. Try this recipe


dsc06584


dsc06585


dsc06586


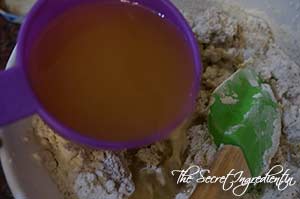
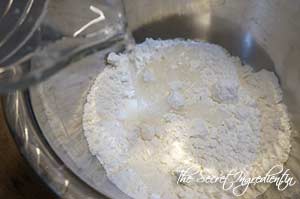
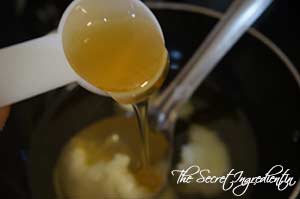
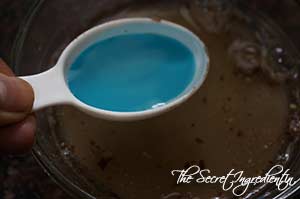
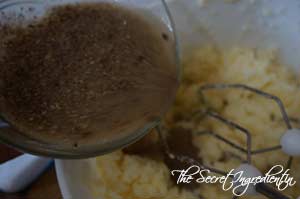
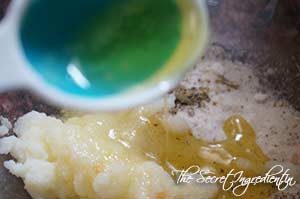
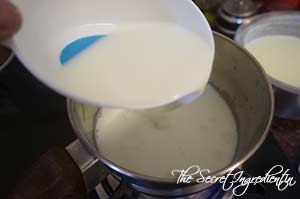
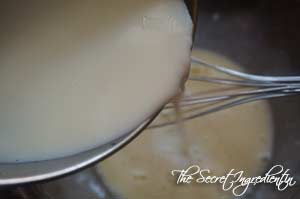
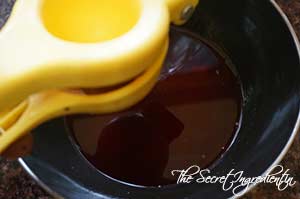
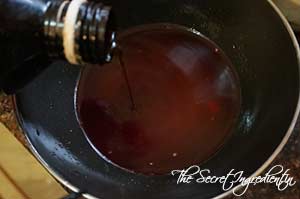
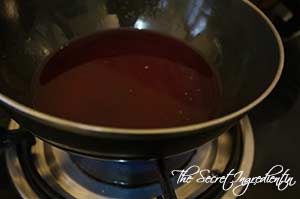
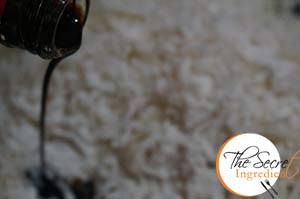
3. Add Apple Cider and whisk everything together till the sugar has dissolved and everything is evenly mixed.

dsc06594

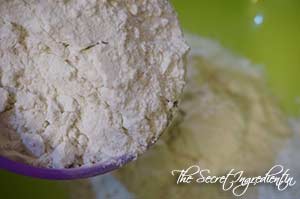
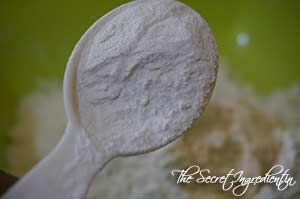
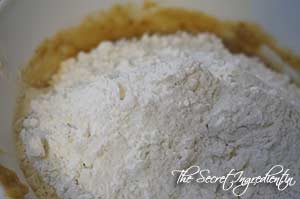
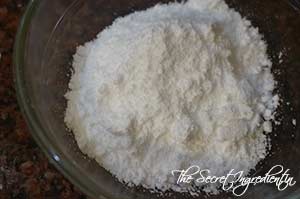
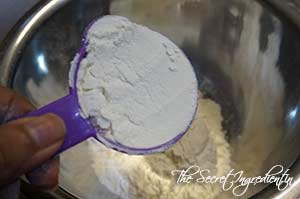
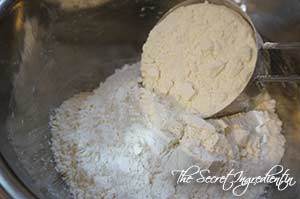
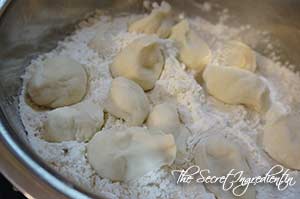
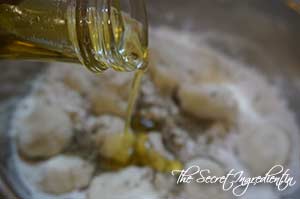
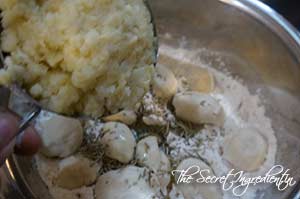
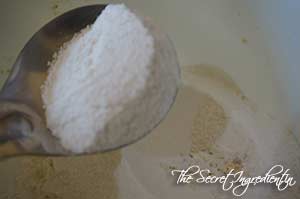
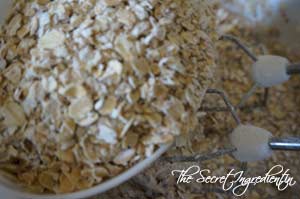
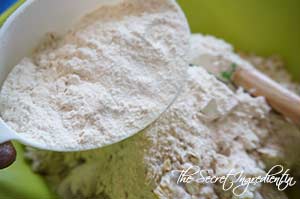
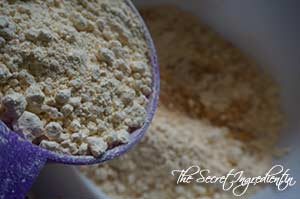
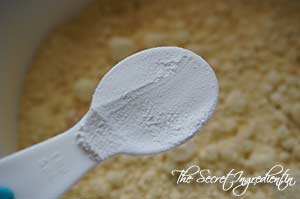
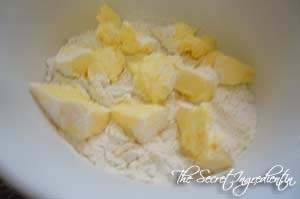
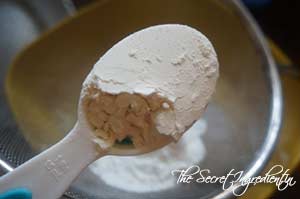
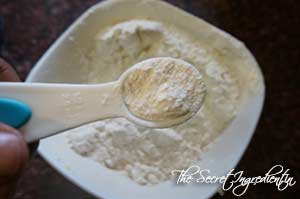
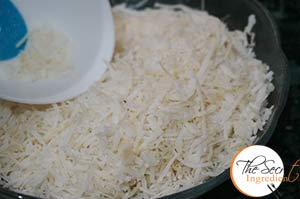
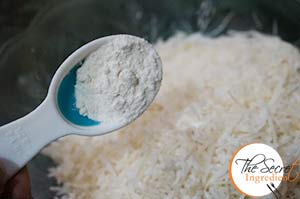
4. In another bowl add the All Purpose flour, Baking Powder and Baking Soda.
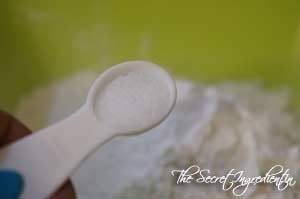

dsc06587


dsc06588


Tdsc06589


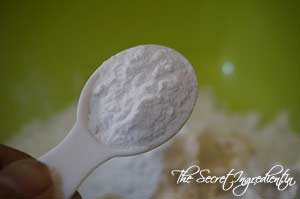
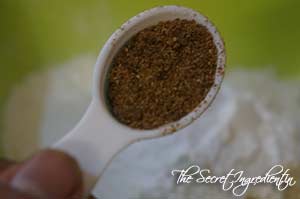
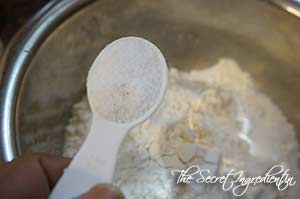
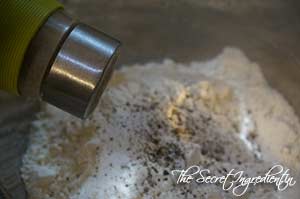
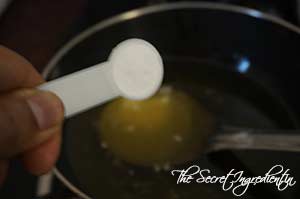
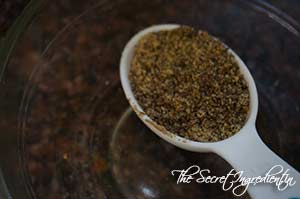
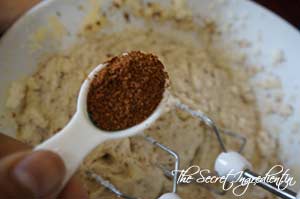
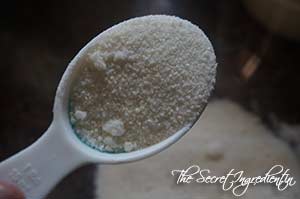
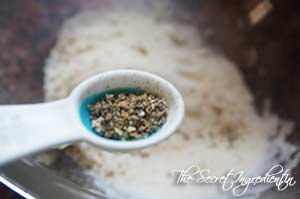
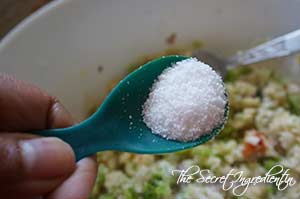
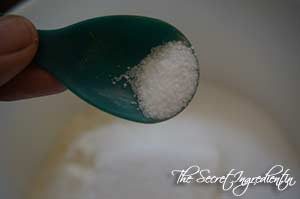
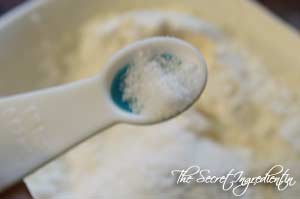
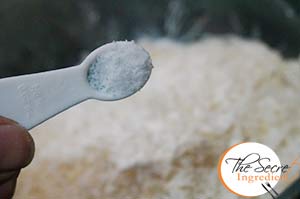
5. Add salt and Pumpkin Pie Spice. Of Course you can easily make it at home. Follow this recipe . Give all the dry ingredients a gentle stir and combine.


dsc06591


dsc06592


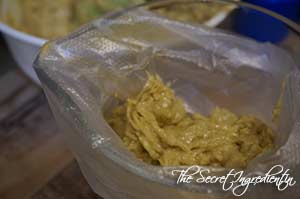
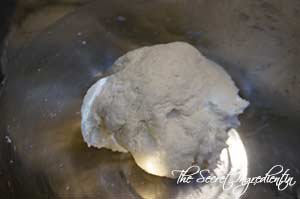
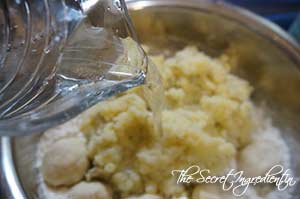
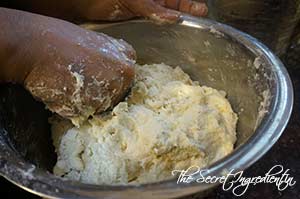
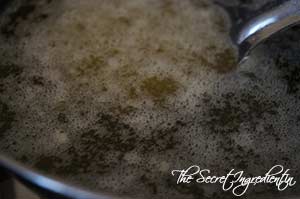
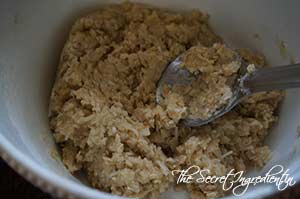
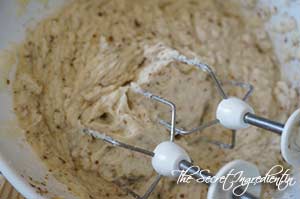
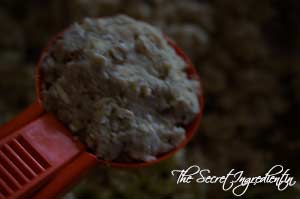
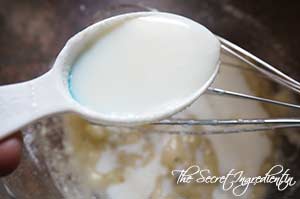
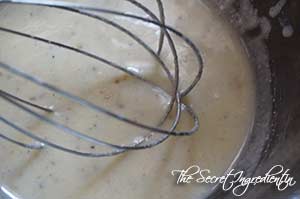
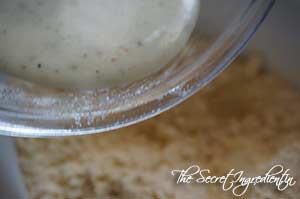
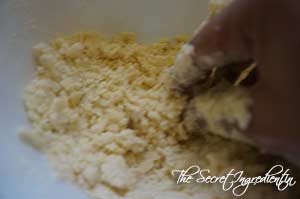
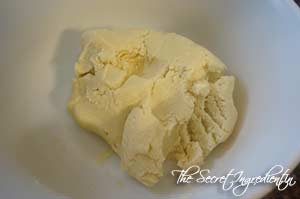
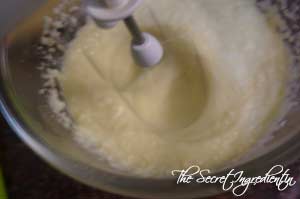
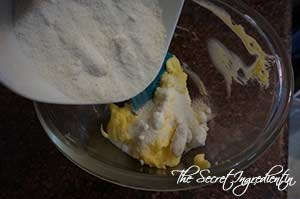
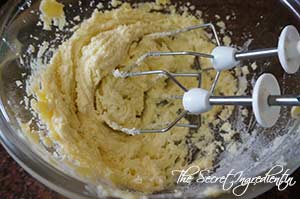
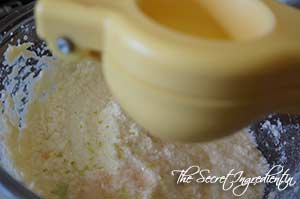
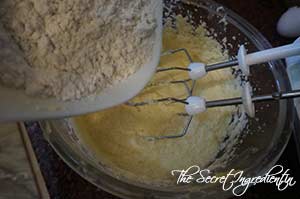
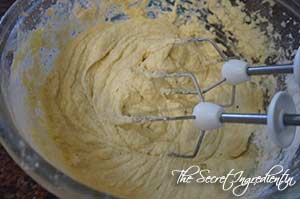
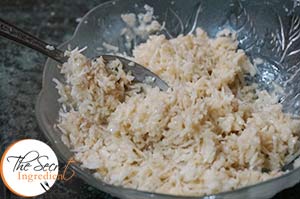
6. Add the dry ingredients to the wet batter and mix till everything is moistened. Do not over mix.

dsc06593
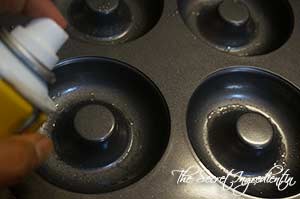
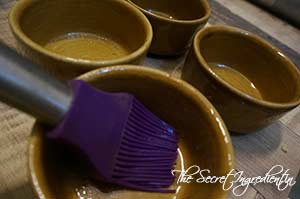
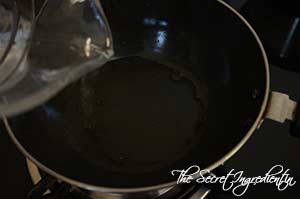
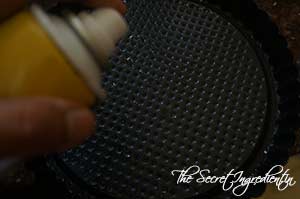
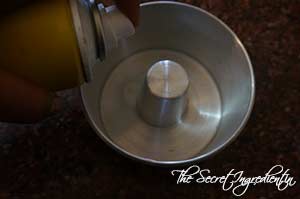
7. Preheat your oven for 10 minutes on 180 degree C (Learn more about Oven temperatures and Conversions) . Grease a donut baking pan with oil and pour the batter in a piping bag for ease. 


dsc06596


dsc06597


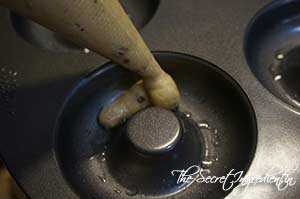
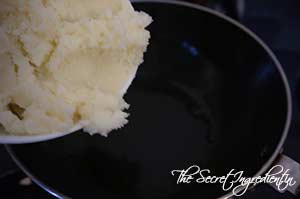
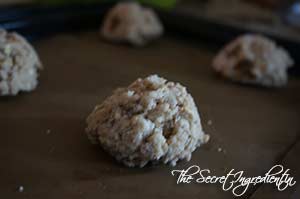
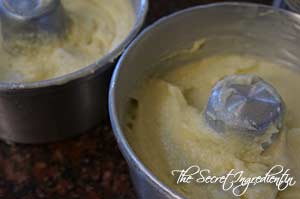
8. Fill the doughnut mould with the batter. Ensure you just fill 3/4 of it. 


dsc06598


dsc06599


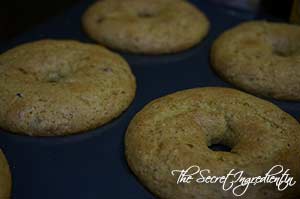
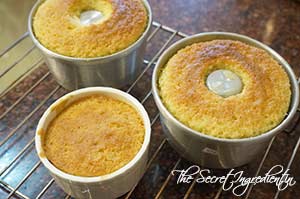
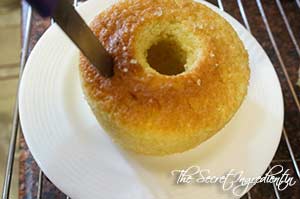
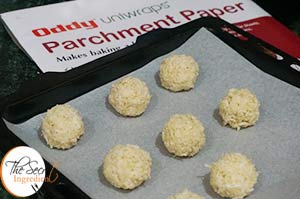
9. Bake it in a preheated oven for ten minutes or until cooked through. Take them out of the oven and let them come to room temperature. Remove them on a wire mesh and place the wire mesh on a sheet of parchment paper.

dsc06605
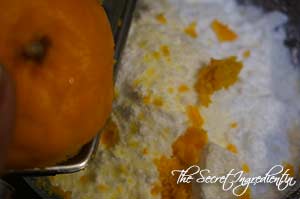
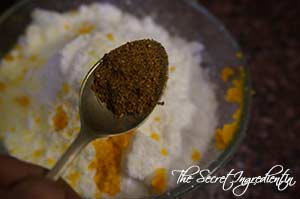
10. In the meanwhile for the orange glaze add icing sugar to the bowl and add orange zest to it.


dsc06600


dsc06601


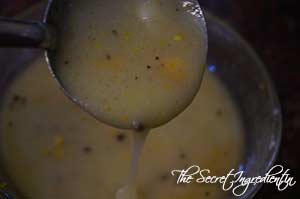
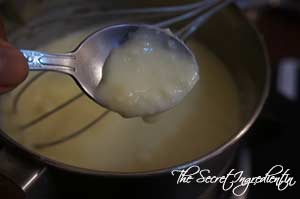
11.  Add Pumpkin Pie Spice and Apple Cider Vinegar. Add Cider spoon by spoon to get that syrupy consistency. It should not be very thick or thin. 


dsc06602


dsc06603


12. Mix well and check the consistency.

dsc06604

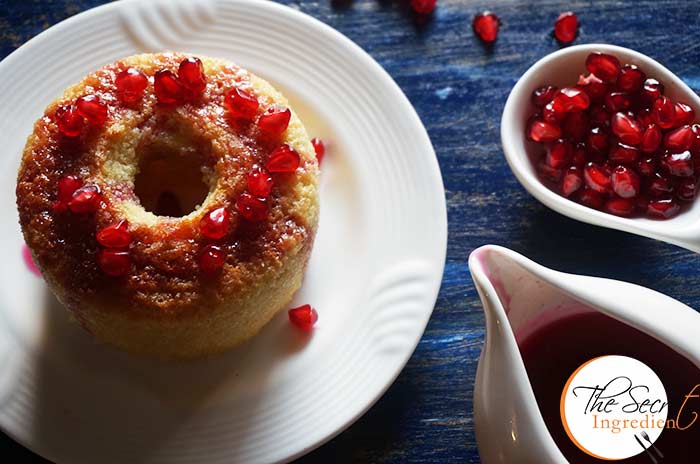
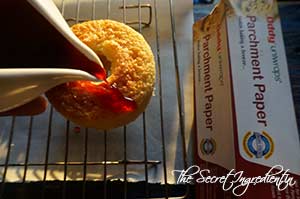
13. Once the glaze is ready and doughnuts are at room temperature. Dip the doughnuts in the glaze and place them on the wired mesh and let the extra drip off. Indulge and enjoy the deliciousness of yummy Doughnuts.

Other Things you can try with Apple are: Apple & Cinnamon Pan CakesApple CrispApple Raisins Streusel Bread Apple LapsiApple Spiced Butter.

appleciderdonuts_featured2

[yumprint-recipe id=’249′]

HashBrowns_Featured1

Eggs are the most convenient and loved breakfast all across the globe. In the past I have posted a lot of Egg Breakfast recipes on my blog .In the west these eggs are often accompanied with Hash Browns which are Fried Crispy Potatoes. I am a little uncomfortable with fried stuff so I decided to fuse both of these in one healthy avatar. These Crispy Potato baskets were baked to perfection in my oven, you can also use air frier.

HashBrowns_Featured2

You can top it up with crispy bacon to make it even more naughtier. The feeling of eating a sumptuous breakfast without feeling guilty cannot be expressed in words. I have been eating clean for a while now and the results are beginning to show. I feel more energetic, fresh and younger 😉 If you wanna live a healthy life start with clean healthy eating and regular exercise for 20 minutes a day. There is nothing in this world which can stop you from becoming fit except temptation. 🙂 

Directions:
1. Wash and peel potatoes.


DSC01231


DSC01232


2. Grate them using a grater into thin but long shreds. Put the shredded potatoes in a bowl of cold water so that do do not turn black.


DSC01235


DSC01236


3. Rigrously wash the potatoes under running water for a couple of minutes to remove its starch.

DSC01238
4. Soak out the water and place the potatoes in a bowl. Add an egg, salt and pepper. You can even add shredded. Cheddar Cheese to make it more interesting and delicious. I wanted to keep it low cal so gave cheese a pass. 🙁 Having said that I feel sad.


DSC01239


TDSC01240


DSC01241


5. Combine everything with a spoon.

DSC01242
6. Generously grease some bake proof Ramekins with oil*. You can  even use non stick muffin tray. Spread a spoonful of potato mix all over the ramekins in one thin layer. Press with your fingers to form a nest. Let the potato strands poke out of the bowl. Do not overfill the ramekins or else as they will not become crisp on baking. Bake them in a preheated oven on 225 degree Celsius (Learn more about Oven Temperatures and Conversions) for about 20 minutes until they have crisped up. 


DSC01237


DSC01244


7. In the meanwhile chop some onions and add some oil in a pan. Saute them till they become brown.


DSC01245


DSC01246


DSC01247


8. Add a spoonful of  Sour Cream  and Sauteed Onions on top of the baked potatoes.


DSC01248


DSC01252


9. Break an egg in each ramekin and season with salt and pepper. Bake it in in preheated oven for 15 minutes till the egg white is set while yelow still runny.


DSC01253


DSC01256


10. Let it sit for 5-7 minutes then run a sharp knife around the ramekin and carefully remove the hash brown basket and serve in a platter. You can pair it with crispy bacon and a hot cup of Coffee. 

Other Egg Breakfast you can try: Fried Egg Over Polenta with Homemade Basil PestoItalian Frittata with Mushrooms and SpinachShakshoukaWrapped French ToastMexican Casserole Eggs. 

HashBrowns_Featured3[whohit]HashBrownCupsandegg[/whohit]

[yumprint-recipe id=’240′]

BigaBread_Featured1

I have spent enough time in doing regular yeast breads. It was high time I started experimenting and coming out of my comfort zone. I mustered the courage to make my own Sourdough starter and guess what after a lot of effort finally my starter is ready and I am soon gonna bake a sourdough bread with it. But  in the meanwhile I came across this monthly challenge in my bread baking group. We were asked to make Peter Reinhart’s Potato Rosemary Bread. It was to be made with biga. Now many of you must be wondering what is biga? Its a pre ferment technique used in baking breads which imparts it a slight sour taste. 

BigaBread_2

Interestingly, biga techniques were developed after the advent of baker’s yeast as bakers in Italy moved away from the use of sourdough and needed to recover some of the flavor that was given up in this move (Ref.Wikipedia). I was intrigued to try this recipe for  my favourite Rosemary and Garlic flavours were involved. How can I ever give it a pass. The bread was delightful. It had an amazing texture and taste. Do try this fabulous recipe.

Directions:

1. For biga add All purpose Flour, Instant Yeast and lukewarm water in a bowl


DSC07654


DSC07655


DSC07656


2. Mix everything together and bring it to the counter to knead it into a soft paliable dough. The dough should not be sticky so adjust the water accordingly. Make a ball of dough and place it in a greased bowl. Cover the bowl with cling wrap or lint free towel and let it rise till it doubles up. The weather plays an important role in the time required for proofing it. The hotter the environment the earlier it rises.


DSC07657


DSC07658


DSC07659


3. After it has risen degas it with your hands and place it back into the same bowl. Cover and put it in the refrigerator overnight for fermentation. You need to use this biga within 3 days or else freeze this to be used later.


DSC07660


DSC07661


DSC07662


4. Take the biga out of the refrigerator and let it rest for an hour at room temperature before using it. Divide it into small pieces.

DSC07663
5. In a bowl add All purpose flour, salt and pepper.


DSC07664


DSC07665


DSC07666


6. Also add instant yeast, rosemary and biga.


DSC07667


DSC07670


DSC07669


7. Add Olive oil, mashed potato and lukewarm water.


DSC07671


DSC07672


DSC07673


8. Mix together to bring it together. Take it to the counter and knead well for 10 minutes till it becomes soft and paliable.


DSC07674


DSC07677


9. In a pan add some oil and saute them chopped garlic till its roasted well. You can  even roast it in your oven.


DSC07675


DSC07676


10. Roll the dough and spread the garlic all over and form a ball again. Place it in a greased bowl and cover it. Let it rise till double in size.


DSC07679


DSC07680


11. Remove it from the bowl and place it on the counter. Divide the dough into two and shape them into boule following the technique by Peter Reinhart. Place them in a basket lined with a kitchen towel and dusted with dry flour.


DSC07685


DSC07684


DSC07686


12. Brush it lightly with olive oil and cover loosely with a towel and let it rise to double.


DSC07688


DSC07687


13. Once it has doubled in size. Invert the basket on a baking tray lined with parchment paper. I liked to score it on top. If you wish you can do the same or ignore.


DSC07689


DSC07690


DSC07691


14.  Bake it in a preheated oven on 200 degree Celsius for 40 minutes or until done. If the bread looks too soft  turn off the oven and let the loaf sit in the warm oven for another 5 to 10 minutes to firm up a bit. Slice it when completely cool.

Other bread recipes you can try : Vegetarian homemade PizzaRussian BubliciWhole Wheat Sandwich BreadChinese Black Sesame Steamed BunsCinnamon Raisin BreadBeetroot Bread with Garlic and ThymeHoney Oats BreadDomino’s Garlic BreadsticksGarlic Rosemary Focaccia Bread and Focaccia Bread with Fresh Cherries, Rosemary and Sea Salt.

BigaBread_Featured4[whohit]BigaPotatoRosemary[/whohit]

[yumprint-recipe id=’239′]

AnzacCookies_Featured6

As a foodie I feel life is so short and there are so many cookies, cakes and dishes in this world. One has to really keep trying as many new things as possible. With this thought in mind I often like to try out new cookies whenever I get a chance. My blog is already over flowing with cookies and biscuits of a wide variety. 

My baker friend Jayshree Nischal from The Baking Sutra is super talented and her bakes are an inspiration, I tried her Anzac Cookies and these were one of the bestest cookies I have made so far. I have been eyeing these special cookies for a while now and when Jayu posted them one day I could not control my temptation.

AnzacCookies_Featured4

A brief background check on Anzac Cookies or Biscuits, these are traditional biscuits from Australia and New Zealand and are suppose to be eaten on the Anzac (Australia New Zealand Army Corps) Day. This day is celebrated on 25th April every year in honour of soldiers who have lost their lives in the wars, especially World War I. During the war times, these biscuits were sent overseas on ship to locations where the soldiers were stationed. The biscuits were nutritious and had a good shelf life and even survived the long ship journey. Also they were pretty solid and wouldn’t break easily. They were also known as “Anzac Tiles” or “Anzac Wafers”. However, the new modern recipe of Anzac makes them soft unlike the traditional ones.  I wouldn’t keep you busy in history anymore. Here goes the recipe.

Directions:

1. Preheat your oven to 160 degree Celsius (Learn more about Oven Temperature and Conversions). Line a baking sheet with Parchment Paper or Silicon Mat (You can order this silicon mat online from The Gourmet Shop, our online Gourmet e store). In a bowl add Flour and Rolled Oats. I have used Whole Wheat Flour you can also use All Purpose Flour or Maida.


DSC06895


DSC06896


2. Add dessicated Coconut to the the bowl along with castor sugar. You can even use Brown sugar powder also. Combine them and keep aside.


DSC06897


DSC06898


3. In a sauce pan add water and butter. Turn the heat on, on medium and let the butter melt.


DSC06899


DSC06900


4. Add honey and combine. Then add baking soda. The mixture will become all frothy. Turn the flame off .


DSC06901


DSC06902


DSC06903


5. Add this liquid to the dry ingredients and combine till everything comes together.


DSC06904


DSC06905


6. Take a spoonful of this mixture in your palm and roll it into golf size ball. Place them on a baking sheet and press them slightly to flatten them. There should be at least 3 inches gap between each cookie as they spread a lot on baking.


DSC06908


DSC06909


7. Bake them for 15 minutes on 160 degree Celsius on the centre rack. When you see them they are light golden remove them from oven and let them rest for ten minutes on wire wrack. It will help them crisp up further. Dunk them in a glass of cold milk and you will be straight in heaven 🙂

Other Cookies and Biscuits you can try are: Chickpea Flour & Corn Flakes Eggless Cookies,Coconut Chocolate CookiesGingerbread Man CookiesPeanut Butter Cookies with Chocolate ChipsItalian Almond BiscottiGreek Traditional Christmas Cookies , Ragi & Whole Wheat BiscuitsSubway Copycat Oatmeal Raisin CookiesWhite Chocolate Chip Cookies .

AnzacCookies_Featured1[whohit]AnzacCookies[/whohit]

[yumprint-recipe id=’228′]

My husband and me are Subway Lovers. That is our favourite Sandwich place in the whole wide world. Every place I have been outside India I have had sandwiches from Subway. If we have subway in our city we tend to eat three to four times in a week there.  At the end of every meal I grab an Oatmeal Cookie for myself and eat it greedily. They are soo very addictive. I guess that is one reason for me to make a frequent visit there.

The other day I was craving for the Subway Oatmeal Cookie (we dont have a subway in hills bohooo :'( ) So I decided to hunt on the web for a recipe which is as close to Subway’s Oatmeal Cookies. After a few hit and trials and trying a few recipes, I think I hit a jackpot. This recipe from Aarthi’s blog was almost near to what I was looking for. I tweaked it a little to make it just PERFECT. You have to try it but dont blame me later that I dint warn you for they are soo addictive.

Directions:

1. In a bowl add Flax Meal (Learn how to make Flax meal or Flax seed powder at home) and 3 tablespoon water. Let it sit for 5-7 minutes till it becomes gelatinous. You can always replace flax meal with an egg if you are okay with it.


DSC06717


DSC06718


2. In a bowl add Butter (at room temperature) and caster Sugar. Whisk them together until creamy. 


DSC06719


DSC06721


3. Add the gelatinous flax meal and combine.


DSC06722


DSC06723


4. Add Cinnamon Powder, Quick Cooking Oatmeal and baking soda.


DSC06724


DSC06725


DSC06726


5. Also add Whole wheat Flour or atta and Raisins. Combine everything into a dough.


DSC06727


DSC06728


6. Line a baking sheet with Parchment Paper or Silicon Mat. I use Silicon Mat because it can be used again and again and nothing sticks on it. You can order your own silicone cookie mat from our online store, The Gourmet Shop. Scoop out the cookie dough with an ice cream scooper or you can even use a normal spoon and place them on the tray. Ensure to keep 2 inch space between them, as they will spread on baking. 


DSC06729


DSC06730


7. Press each cookie ball with your palm and put them for baking in a preheated oven for 17-18 minutes  on 180 degree Celsius (Learn more about Oven Temperatures and Conversions) until you see them slightly golden. 

DSC06731
8. Take them out of the oven and let them sit on wire rack for ten minutes before indulging. They will crisp up as they come to room temperature.


DSC06732


DSC06733


9. Put them in an airtight cannister and they will stay good for more than a week, if only you can resist not eating them. Enjoy them with a cup of hot coffee or a glass of milk. You know for sure they are better than subway 🙂

Other Cookies you can try here are: Besan & Corn Flakes CookiesWhite Chocolate Chip Cookies , Ragi & Whole Wheat Biscuits, Coconut Chocolate CookiesPeanut Butter Cookies with Chocolate ChipsMelomakarona: Greek Traditional Christmas Cookies and Italian Almond Biscotti.

[whohit]OatmealRaisinCookie[/whohit]


[yumprint-recipe id=’224′]


BesanCornFlakesCookies_Featured1

I am not a huge fan of Corn flakes, I prefer wheat flakes over Corn. So is the case with my family. I had a packet of Corn flakes feeling abandoned. And when I saw a post of Besan Cornflakes Cookies by Ravneet it triggered a spark and compelled me to try these. It was a rescue mission for the poor corn flakes but later I realised I have to get another packet of corn flakes as the cookies cake out quiet nice. My husband and son ate them all in no time. 

BesanCornFlakesCookies_Featured4

The another fascinating thing about this recipe is that its gluten free. For those who are avoiding gluten for any specific reason can safely indulge in this. I love the way cardamom goes with chickpea flour. It fondly reminds me of Besan Ke Laddoo 🙂 Yum!

Directions:
1. In a blender add corn flakes and grind them into a coarse powder. You can even crush them using a rolling pin, but if you leave big flakes they will fall out and cause trouble in shaping the cookies.


DSC06622


DSC06623


2.  Mix the corn flakes power and besan or chickpea flour in a bowl. Add Baking powder and give a gentle mix to the dry ingredients and set aside.


DSC06624


DSC06625


DSC06633


3. In another bowl add castor sugar and add cardamom powder.


DSC06626


DSC06627


4. Add Ghee or clarified butter to it along with some Olive Oil.


DSC06628


DSC06630


5. Add milk and give the wet ingredients a good whisk until everything is well incorporated.


DSC06631


DSC06632


6. Add wet ingredients to the dry ingredients and knead everything into a paliable dough. If you think you need more milk to get it together you may add a few teaspoons. 


DSC06635


DSC06636


7. Divide the dough and roll into small balls of equal size and place them on a cookie tray lined with Parchment Paper or Silicon Mat. Preheat your oven to 180 degree Celsius for ten minutes.


DSC06637


DSC06638


8. Flatten the dough balls with your palm and place slithered almonds on top of your cookie and press slightly. I used almond flakes.


DSC06639


DSC06640


9. Bake in the middle rack of your oven on 180 degrees (Learn more about Oven temperatures and Conversion) for 12-15 minutes or until you see them slight golden. Remove them from oven and place on a wire rack to cool down for about ten minutes and then dont wait just grab a cookie and indulge 🙂

Other Cookies you can try are: White Chocolate Chip Cookies , Ragi & Whole Wheat Biscuits, Coconut Chocolate CookiesPeanut Butter Cookies with Chocolate Chips Melomakarona: Greek Traditional Christmas Cookies and Italian Almond Biscotti.

BesanCornFlakesCookies_Featured3

[yumprint-recipe id=’219′]

BroccoliPatties_Featured5

Its been a while that I have fried anything in my wok. I either air fry stuff or bake them to perfection. I guess eliminating fried food from my life has helped me lose weight and I actually feel good about it. Some time back I had posted Baked Paneer and Corn Kebabs, they were immensely loved by you all and also by my family. So the other day I had Broccoli florets and I wasn’t in a mood for Cream of Broccoli Soup. I decided to make baked croquettes with Broccoli with an addition on egg and bread crumbs. What I thought would turn out an average dish came out an amazing recipe.

BroccoliPatties_Featured4

We tugged it under a burger bun and smeared some Parsley Pistachio Pesto over it and enjoyed our lunch in comfort. It was the best broccoli recipe I have ever made. If you have Broccoli Naah! people in your family, surprise them with this amazing dish.

Directions:

1. Take one head Broccoli and cut it into florets. Wash well under running water.


DSC05824


DSC05825


DSC05826


2. In a large pot add some water and bring it to a boil. Add salt to it.

DSC05827

3. In a wire mesh submerge Broccoli florets in water for  seven to nine minutes or until they are blanched al dente. Don’t let them go mush.


DSC05828


DSC05829


4. Drain the broccoli and place them on a kitchen towel and squeeze out all the water. Give broccoli a coarse chop under the knife and set aside.


DSC05830


DSC05832

DSC05836


5. Chop Onions and Garlic and set aside.

DSC05833
6. In a pan add little oil and add chopped onions and garlic. Oh I had some chopped red and yellow bell pepper I added them too for colour. But its optional. Saute them until they are slightly cooked.


DSC05834


DSC05835


7. In a bowl mix Broccoli, eggs, onions and garlic, grated cheese and breadcrumbs.

DSC05837

8. Add salt and pepper to the mix and combine.


DSC05838


DSC05839


9. Line a tray with Parchment Paper and preheat the oven* to 200 degree Celsius.(Learn more about Oven temperatures and Conversions). Take a little dough in your hands and shape them into patties.

DSC05841

10. Place them on baking sheet and brush them with oil.

DSC05842

11. Bake in the oven for 15 minutes. Flip and bake for another 15 minutes or until browned and crispy.

DSC05843
12. Tug them inside a burger bun and top it with Parsley Pistachio Pesto and enjoy hot. You can also line the burger with veggies and cheese.

Other Broccoli dishes you can try are: Healthy Broccoli PastaRoasted Broccoli with Garlic and Lemon & Cream of Broccoli Soup with Chives 

Other Croquettes and Kebabs you can try here are: Baked Paneer Corn Kababs Tapioca CroquetteVeg Shami KababAirfried Yogurt & Cottage Cheese Kebabs for Fasting.

BroccoliPatties_Featured2[whohit]BroccoliCroquettes[/whohit]

[yumprint-recipe id=’211′]

MangoTart_Featured2

The summers are here and so are mangoes which brings a big smile on my face 🙂 I was looking to make some mango dessert. Last year I had made Coconut Milk Mango Pudding and it was a hit. But when this season I spotted Mangoes in market I had my mind started thinking what crazy thing I can do with the King of Fruits. The plan got a shape as I reached home and after an hour it was executed to perfection. Yes yes I am giving modesty a little break for a while 😉

MangoTart_Featured3

I barely clicked the pictures hurriedly as it was getting dark and after half an hour there were no traces of the tart as my husband ate the entire tart for dinner and you are asking me to be modest 😉 You must must try this. Oh I also made another similar thing with Mangos and Vanilla and this time it was in the form of a Cake. It was for a client and it was one of the best cakes i have done till date. 

Directions:

1. For the pie crust, in a bowl add All Purpose Flour, Salt and Castor Sugar. Combine together.


DSC06401


DSC06402


DSC06403


2. Add cold butter cubes and mix with your finger tips or fork till you get a coarse mixture.


DSC06404


DSC06405


3. Keep kneading till everything comes together in a dough mass. No adding water please. Refrigerate the dough for 15 minutes so that it becomes easy to roll.

DSC06406
4. Grease your pie  pan with oil or butter.

DSC06407

4.  Place a sheet of Parchment Paper on your kitchen counter and roll the dough on top of it with rolling pin. Parchment paper helps you to lift the rolled dough easily. If the pastry sheet tears, put it back in the refrigerator for a little more time. 

DSC06410

5. Place the rolled sheet on the greased pie sheet carefully and set it with your fingers. Remove the extra trimmings. If you see a little portion of pastry has teared you can patch it up with a small piece of trimming. Extra trimmings can be used to make smaller tartlets. Place the pie pan in freezer for 15 minutes, till then preheat the oven on 210 degree Celsius (Learn about Oven Temperatures and Conversions)


DSC06411


DSC06412


6. Prick the pie pan with fork all over. Bake it in preheated oven for 15-18 minutes on 210 degree C till you see it has golden colour. Set aside to cool. Once its cold, gently remove it from the pie mould and set aside.


DSC06416


DSC06417


DSC06420


7. For the custard dressing, whisk together eggs and caster sugar. If you are looking for eggless Custard check notes below.


DSC06388


DSC06392


8. Sieve in Corn Cornflour and All purpose Flour and whisk well.


DSC06391


DSC06390


DSC06393


9. Add milk in a saucepan and put it on stove. Add Vanilla Essence*. When the milk just starts to boil that is when you notice some bubbles on the sides, turn the flame off.


DSC06394


DSC06395


10. At this stage add the whisked eggs mixture little by little to the milk. Make sure you keep whisking continuously or else the eggs will get cooked and the mixture will curdle.

DSC06396

11. Put the saucepan back on flame on medium slow and bring it to a simmer. Keep whisking for another 30 seconds till it starts to thicken.

DSC06399

12. Immediately transfer the custard in a bowl and cover with cling wrap. Make sure the cling wrap touches the cream. This will prevent a skin formation on the cream. Let the custard come to room temperature and then place it in refrigerator to cool down.

DSC06400
13. After 15-20 minutes of cooling down whisk it again to remove any lump.

DSC06419
14. Spread the custard on the prepared pie crust. Even it with spatula.

DSC06421
15. Now for the top mango garnish, peel the skin and cut it into half, removing the seed. Then further cut halves into thin slices.


DSC06413


DSC06414


DSC06415


16. Arrange the mango slices on top, starting in the outside circle and then taking it inwards to mimic flower petals.

DSC06423

17. If you like you can add pomegranate seeds for the centre of the flower. Serve as it is or cover with cling wrap to serve later.

Other Fruit based bakes you can try here are: Apple Raisins Streusel Bread,  Blueberry BarsCoconut Chocolate CookiesPersimmon Rum Cake,  Eggless Orange Cake with Candied Orange Peel FillingPapaya Chocolate MuffinsVegan Chocolate Banana CakeWhole Wheat Vegan Banana Bread with Melon Seeds . Cherry Rosemary & Sea Salt Focaccia BreadItalian Focaccia Bread with Strawberries.

MangoTart_Featured1[whohit]MangoTart[/whohit]

[yumprint-recipe id=’210′]

PomegranateCake_Featured1

Holi is around the corner and I am heading home next week to be with my family. I know for a fact that like any holi there will be Gujiya, Thandai and more Indian sweets and savouries. I want to take them something different which is special, colourful for the occasion and yet delicious.  I decided to use pomegranates which I am currently loaded with. As you know my hunt for recipes begins when I start panicking with things in abundance. I have been eyeing this recipe on BBC good food for a while and with Holi on my mind this seemed a perfect match for the occasion.

PomegranateCake_Featured2

This was very easy to put together. The base of this can be any sponge cake with egg or eggless! I chose to do egg because you get the perfect rise without being too dense. But if you like you can do any. You can even make my Eggless Almond Vanilla Cake, skipping the almonds. The beauty of this cake is in the syrup, as you can see 😛 The pomegranate arils are like the jewels studded in the crown. Oh  I can become a poet now for I loved this cake. But the real kick is in the pomegranate syrup. It takes the cake to next level of deliciousness.

PomegranateCake_Featured5

See I can go and and on and yap so much about this cake and lure with pictures. But you must stop me here and look at the recipe and make for your loved ones this holi! Or why look for an occasion, just bake it, dress it and devour.. Oh yes and  don’t forget to thank me 😛 In the meanwhile I am sending this cake for my friend Shaheen from Spoon Fork and Food and Sonal from Simply Vegetarian 777 Holi Collective. Do check out their blogs for some amazing Holi Recipes.

Directions: 

1.In a bowl add Butter and castor Sugar. Cream them together. You can use hand held whisk or electric whisk.


DSC05591


DSC05592


DSC05593


2. Add eggs and combine till creamy and light.

DSC05594
3. Add Zest of Lemon, Lemon Juice and Vanilla Extract.


DSC05596


DSC05597


4.  In a bowl add All Purpose Flour, salt and Baking Powder.


DSC05598


DSC05599


5. Slowly add this to the wet ingredients and combine until moistened.


DSC05600


DSC05601


6. Pour this batter in a cake tin or smaller 4 cake tins and smoothen the top with a spatula.


DSC05602


DSC05603


7. Bake in the preheated oven on 160 degree for 50 minutes for large single tin and 20 minutes for smaller tins or until the toothpick inserted comes out clean. Let them cool down completely before removing them from the pans.

DSC05609


8. For the syrup add Pomegranate juice and Sugar a sauce pan.


DSC05604


DSC05605


9. Also add Lemon Juice and Vanilla Extract.


DSC05607


DSC05606


10. Place the saucepan on medium heat and let the sugar dissolve in the juice. After a few boils the liquid will became a little thick but with pourable consistency. When it reaches that stage turn the flame off.

DSC05608


11. After your cake has cooled poke some holes with a knife or skewer on its top.

DSC05611
12. Place a sheet of Oddy Parchment Paper below a wire rack and place your cake on the rack. Pour the syrup on the cake and let the parchment Paper catch the drippings. Its makes cleaning breeze. Also top it up with pomegranate arils.

DSC05612

13. Greet your guests with this gorgeous cake this Holi. I am sure they will never forget this one.

You can try other cakes here as well Wacky Vegan Chocolate Cake, Persimmon Rum CakeApple Raisin Streusel Bread, Pumpkin Cake Rolls, Surprise Heart Inside Cake, Chocolate Vanilla Marble Cake, Lemon Cake with Lemony Frosting

PomegranateCake_Featured3

[yumprint-recipe id=’199′]

CoconutMacaroons_Featured3
This is my first post the year. It has been crazy in the midst of workshops, bakes, pickle orders and a much much more. Not that I have not been baking , just that I have a different laptop to work with and it is taking a while to adjust. So a lull in posting. I hope you missed me as much I missed you. Here’s a super quick dessert which is easy, crisp and equally delicious.   

CoconutMacaroons_Featured2

These Coconut Macaroons are not to be confused with French Macarons. The two words refer to completely different things. Both macarons and macaroons are confections, and both names are derived from the Italian word ammaccare, which means “to crush” – but that’s where the similarities end. Traditionally, these coconut macaroons are made with whipped egg whites, however this recipe is eggless and far more easy and yet so delicious!

Directions:

1. Preheat your oven to  350 degree F ( Learn about Oven temperatures and Conversion). In a bowl add some dried flaky Coconut. Also add to it All purpose Flour and little salt.


DSC04576


DSC04577


DSC04578


2. Add to the bowl vanilla extract and condensed milk.


DSC04579


DSC04580


3. Mix them thoroughly using a spoon. Wet your hands and roll them into golf size balls.


DSC04581


DSC04584


4. Line a baking sheet with Oddy Uniwrap Parchment Paper and place these balls on it. 

DSC04585
5. Bake them in preheated oven for 15 to 17 minutes or until golden. Remove them on wire rack to cool off.

DSC04586
6. Enjoy these crispy flaky Coconut Macaroons in no time. Perfect solution for quick dessert cravings.

Still looking for more Coconut recipes? You can try Coconut Chutney , Coconut milk and Mango Pudding and Chocolate Coconut Cookies.
 
CoconutMacaroons_Featured5
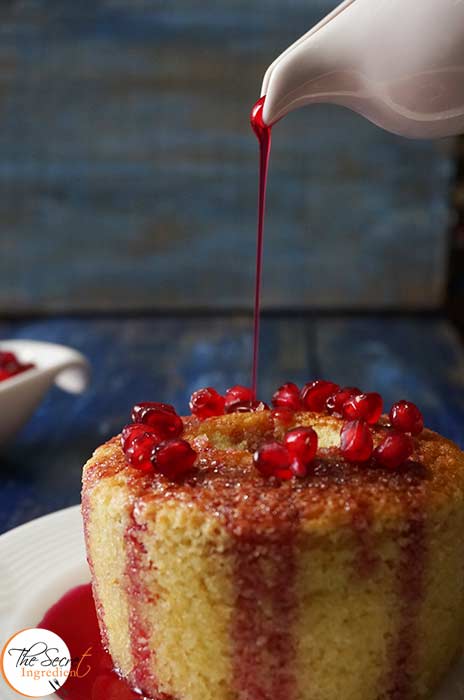
[whohit]CoconutMacaroons[/whohit]

[yumprint-recipe id=’188′]