Tag

HealthyMeals

Browsing

BokChoyChicken_Featured3

Oriental flavours have always enticed me. They have that strong taste and the way it blends with meat and veggies cannot be defined in words. The combining sauce is often a blend of soy sauce, vinegar and ginger. This recipe has everything which gives it an authentic Oriental character. Recently, I found Bok Choy at my local farmer’s market. Honestly, I had no clue what it was. I asked the seller and even he was perplexed 😛 I bought it anyway and when I googled it I found it was bok choy, which I have always relished at my favourite oriental eatery.

BokChoyChicken_Featured1

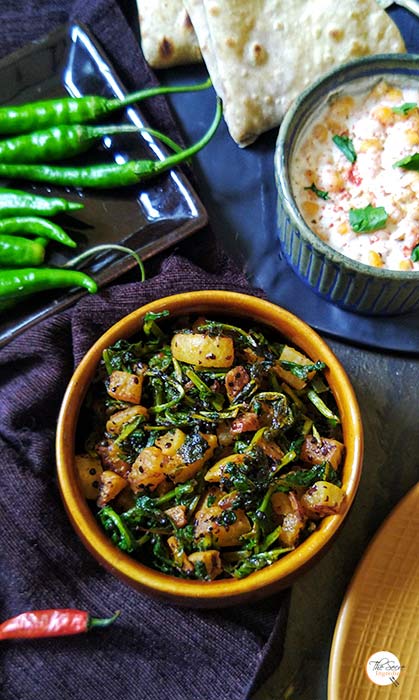
I decided to use it in an oriental asian stir fry recipe. I had some chicken on hand and also mushrooms, bell pepper. I was actually feeling rich given the fact such ingredients are scarce where I live. The Stir fry came out absolutely aromatic and full of flavours. We had it greedily with rice and it was decided then and there that it will be a regular feature in our household (whenever we have those ingredients :P)

Directions:

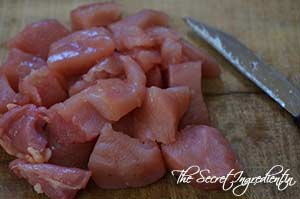
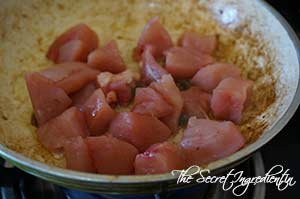
1. Cut Boneless Chicken into cubes and set aside.

DSC05036

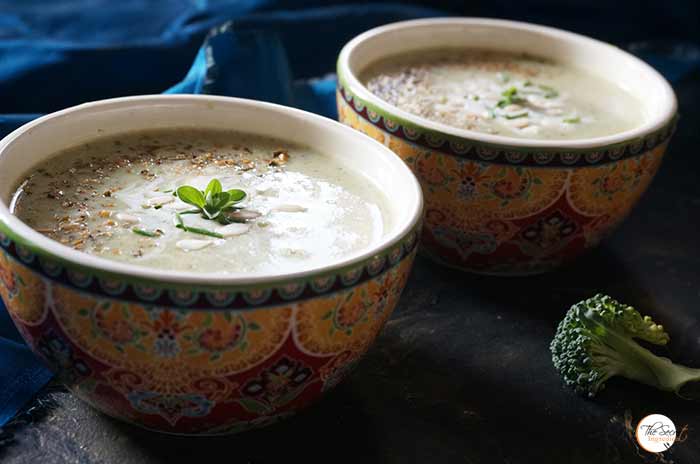
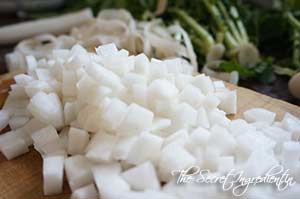
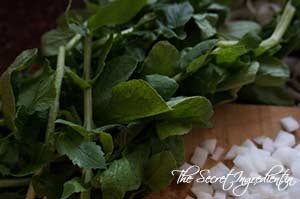
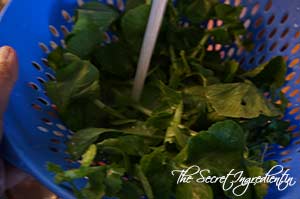
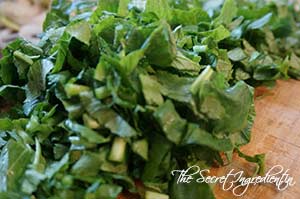
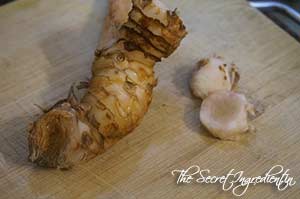
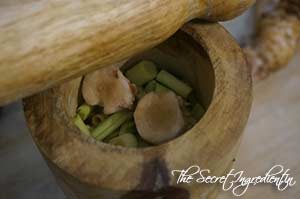
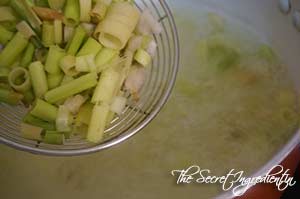
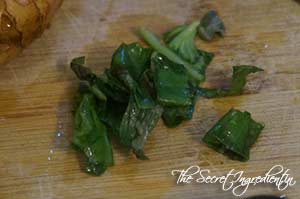
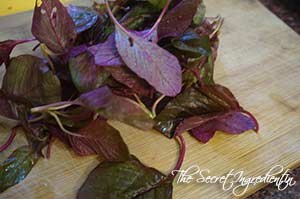
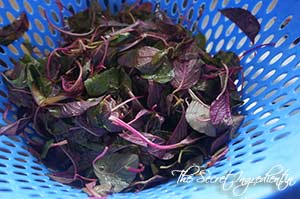
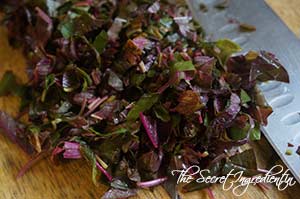
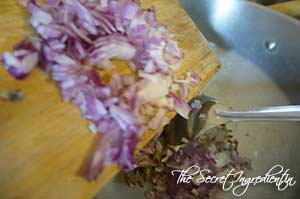
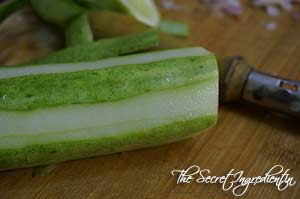
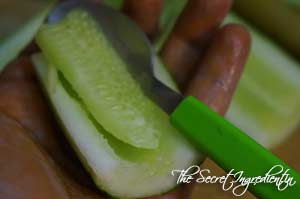
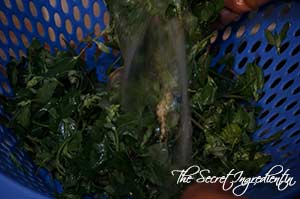
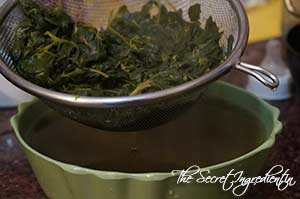
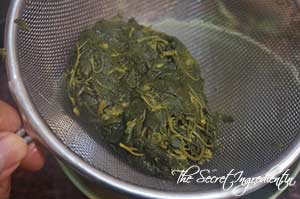
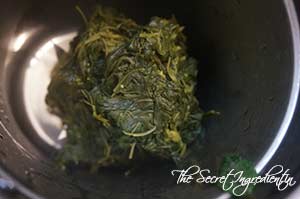
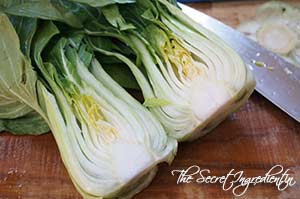
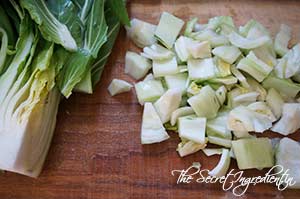
2. Wash heads of Bok Choy and split it into half. Cut the root part crosswise into squares. Leaves can be used in bokchoy soup, so reserve them.


DSC05038


DSC05039


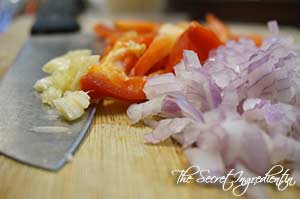
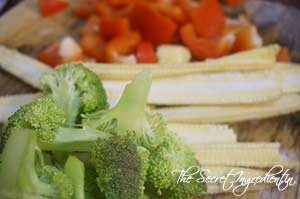
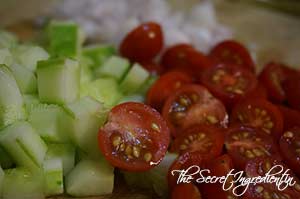
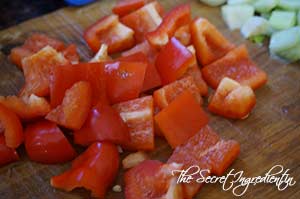
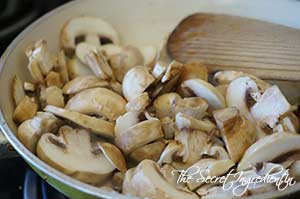
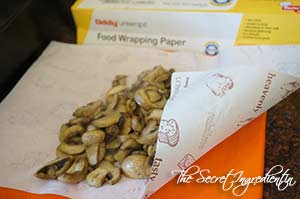
3. Wash and Chop Mushrooms in slices and Red Bell Pepper in Small Squares.


DSC05041


DSC05040


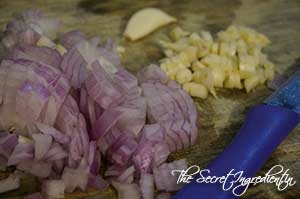
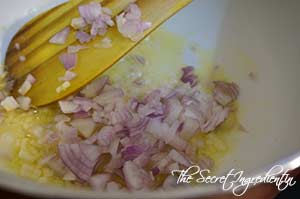
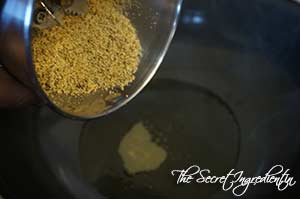
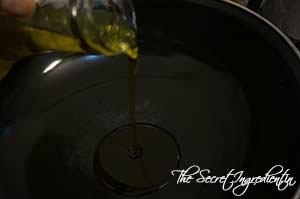
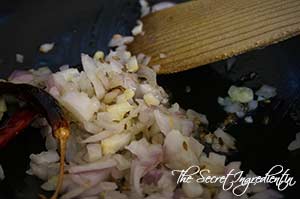
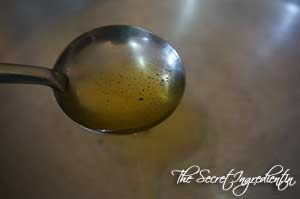
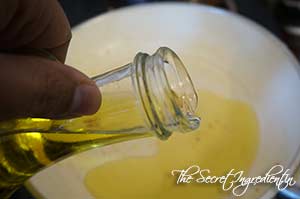
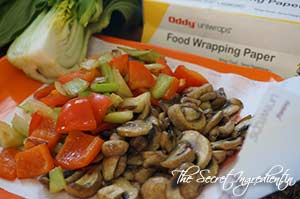
4. In a pan add some vegetable oil and saute onion till they release their water and become a little brown.Remove them on a plate lined with Oddy Food Wrapping Paper, so that excess oil is soaked.


DSC05043


DSC05045


DSC05046


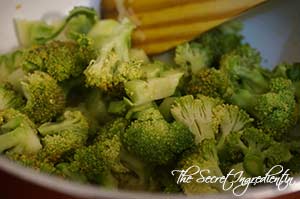
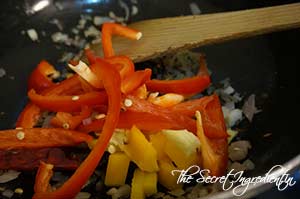
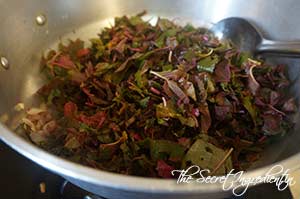
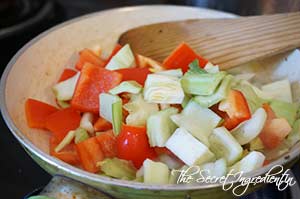
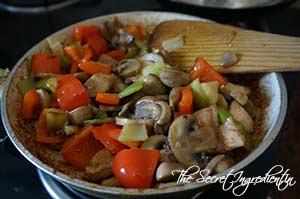
5. Now add little more oil to the same pan and add Red bell Pepper and Bok Choy. Stir Fry till they have cooked but still retain their crisp character. Also remove them on the plate lines with Food Wrapping Paper.


DSC05047


DSC05048


DSC05049


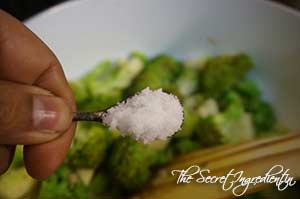
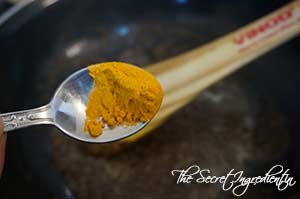
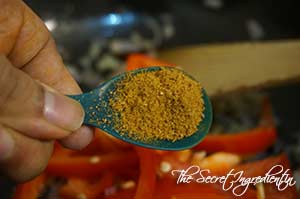
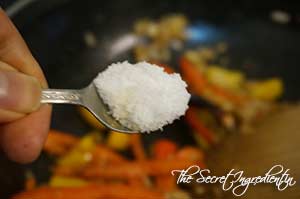
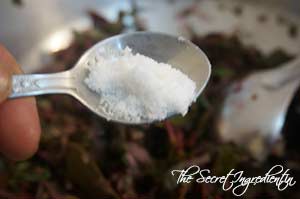
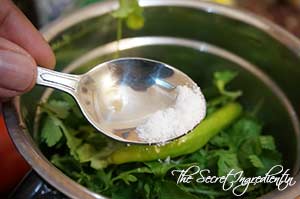
6. Repeat the same with Cubed Chicken. Stir Fry in the same pan by adding little oil. Season it with Salt and Pepper.


DSC05050


DSC05051


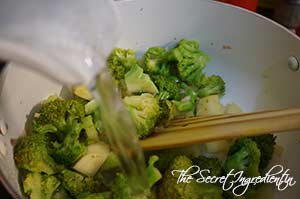
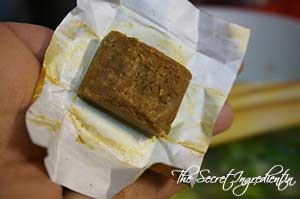
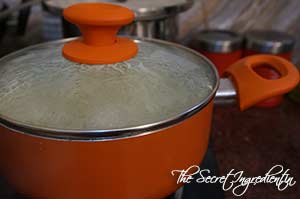
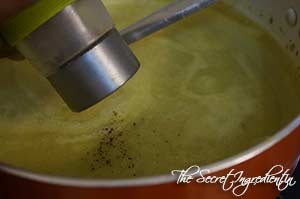
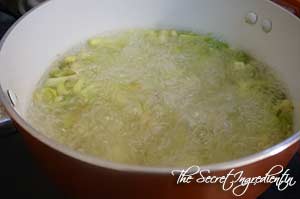
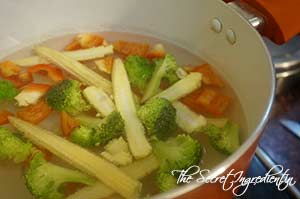
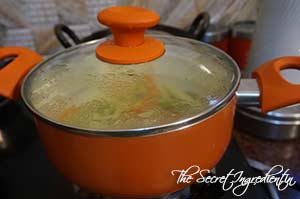
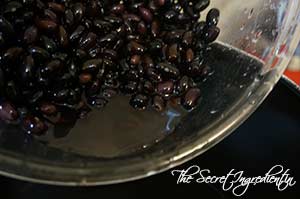
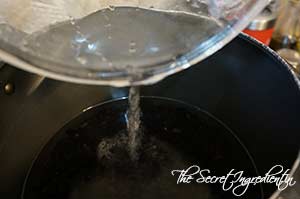
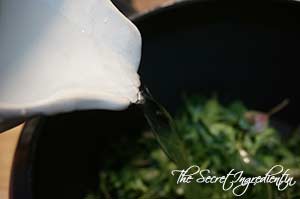
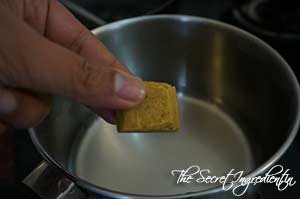
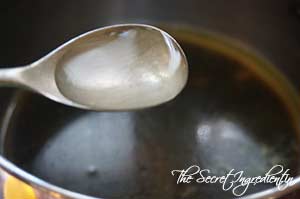
7. In a saucepan add some Chicken Broth or if you are using Broth Cubes add water and Broth Cube. Bring it to a boil and then turn the flame off.

DSC05052
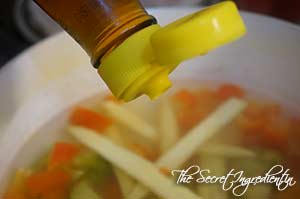
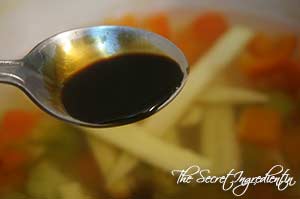
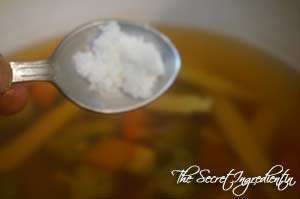
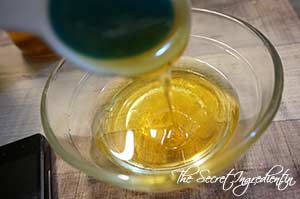
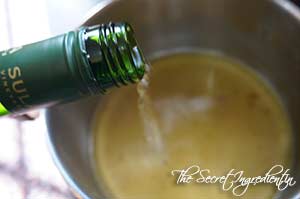
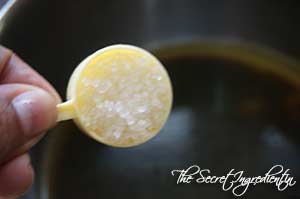
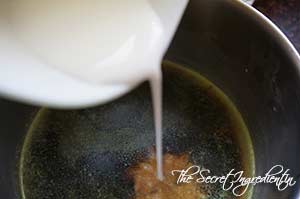
8. In the same sauce pan add Sheer or White Wine, Soya Sauce and Sugar.


DSC05053


DSC05055


DSC05056


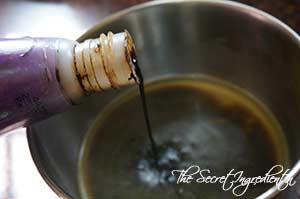
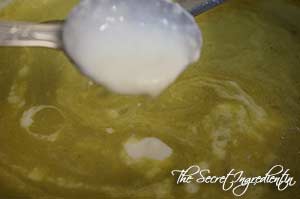
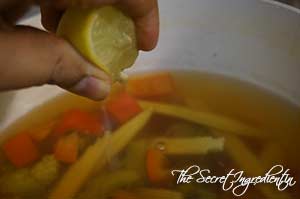
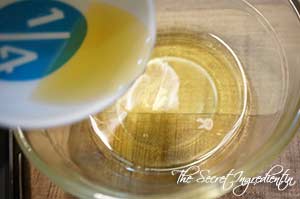
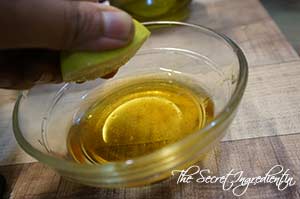
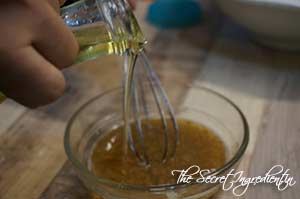
9. Also add Rice Vinegar, Cornstarch dissolved in water and sesame oil.


DSC05057


DSC05058


DSC05059


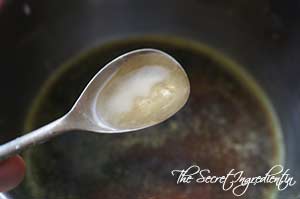
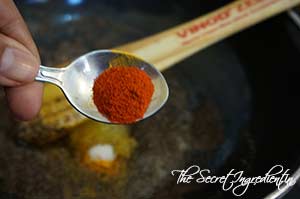
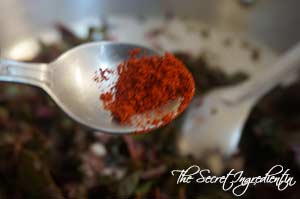
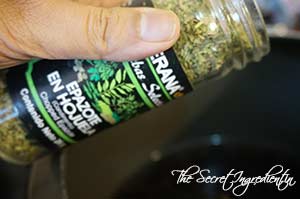
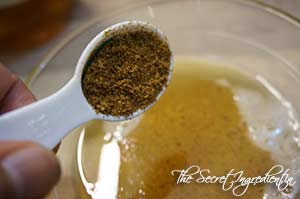
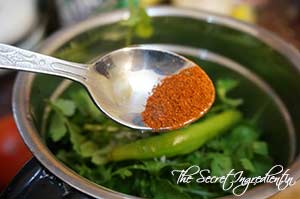
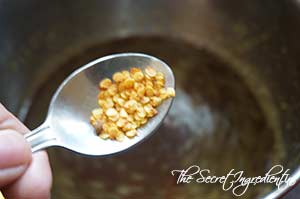
10. Also add Red Chili Flakes to the sauce pan and mix till everything is dissolved.

DSC05060
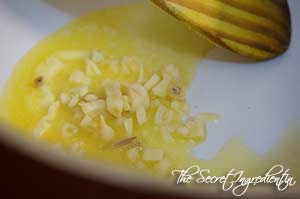
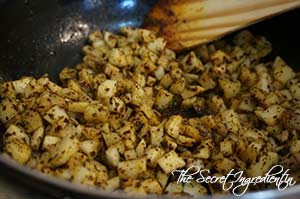
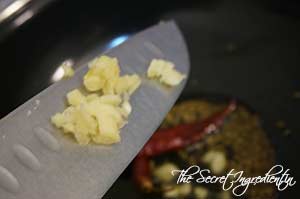
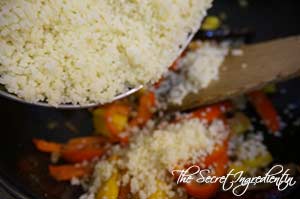
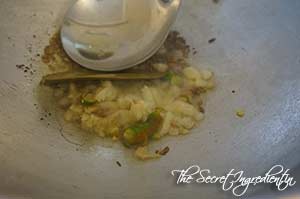
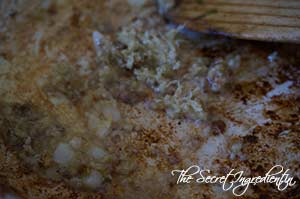
11. In a pan add oil and saute minced garlic and ginger for a minute and then add all the stir fried veggies and chicken. Mix well.


DSC05061


DSC05062


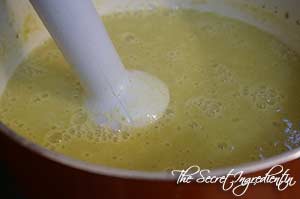
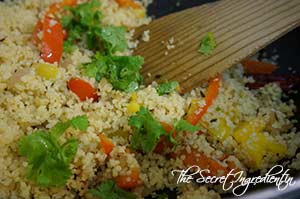
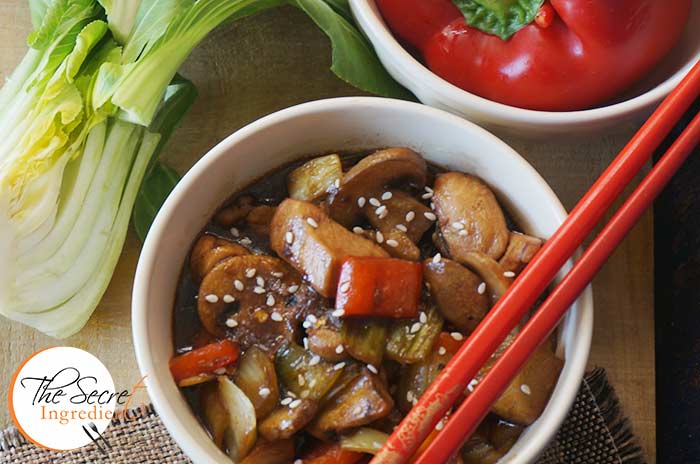
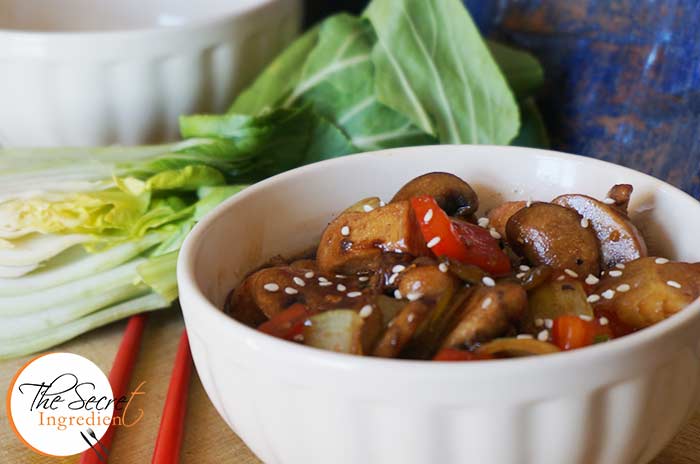
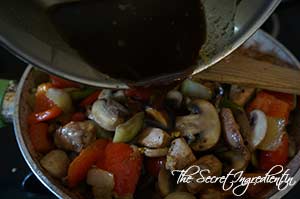
12. Add the sauce and let it simmer till it has reduced and thickened a little bit.

DSC05063
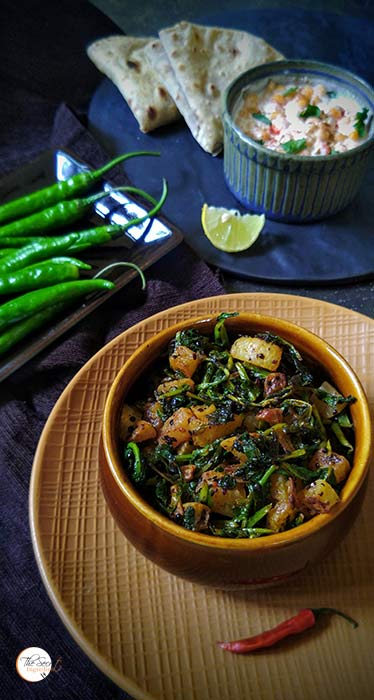
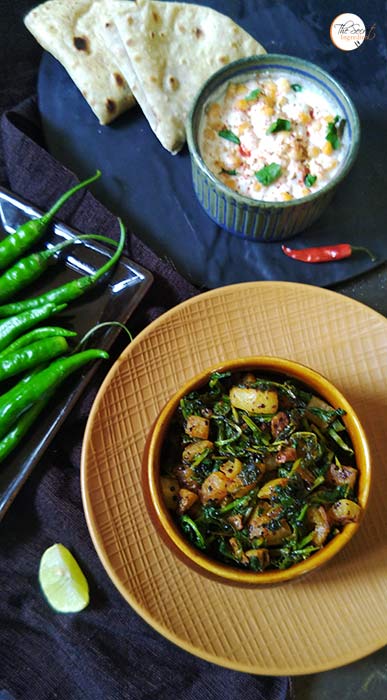
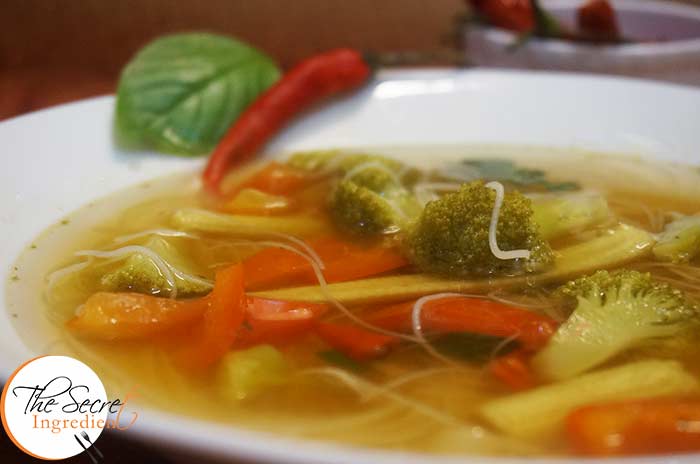
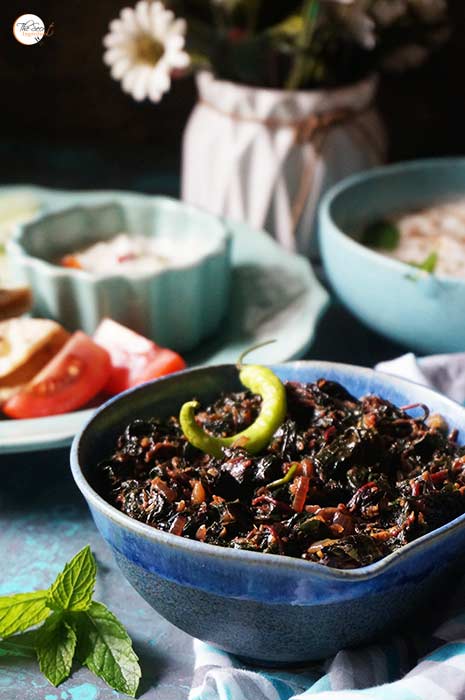
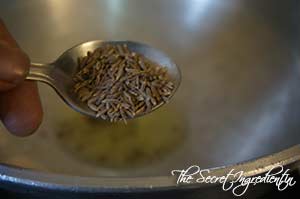
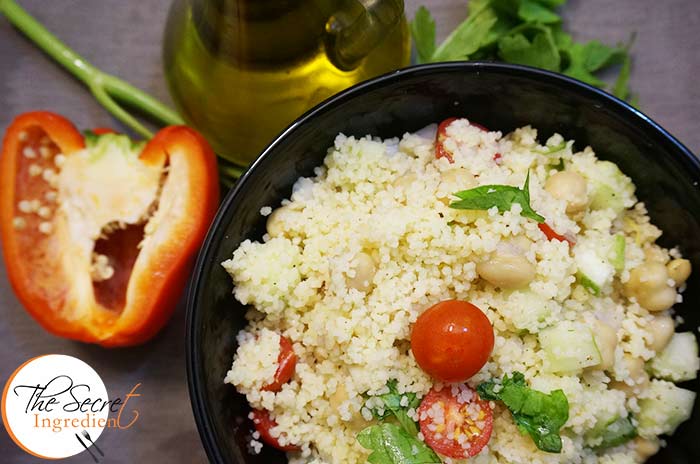
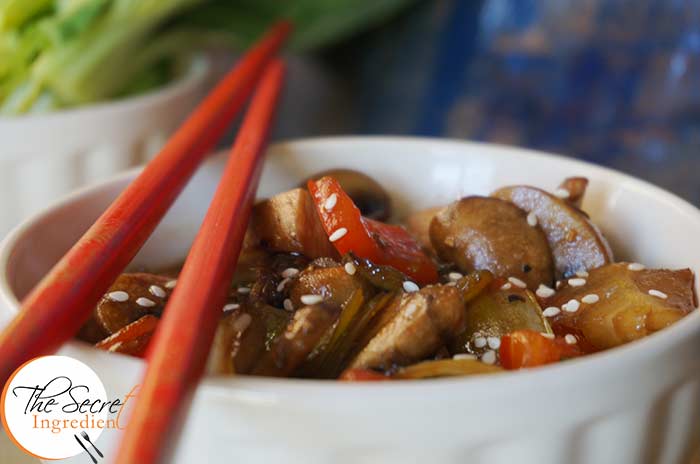
13. Transfer to a bowl and sprinkle some roasted sesame seeds. Serve hot with some boiled rice.

Other Indo Chinese Recipe you can try on The Secret Ingredient are: Chili MushroomGravy Gobhi ManchurianCrispy Honey Chili Potatoes with Sesame SeedsIndo Chinese Vegetable Chop SueyVegetarian Hakka Noodles.

BokChoyChicken_Featured4

[whohit]BokChoyChicken[/whohit]

[yumprint-recipe id=’191′] Sending this Recipe to Oddy Uniwraps


Winters are the best time of the year when you enjoy feasting and gorging on rich food. The body requires certain food to keep it warm. As a result we end up hogging so much that as the summers approach we are up by a few kilos. I know you are nodding in agreement. But this year I have decided to keep a strict watch on my diet. I am staying away from fatty, greasy, fried food by all means. In order to keep the body warm I have started making warm soups every evening, which are healthy and my family enjoys.


Last week when my mommy sent me broccoli from the plains (yeah unfortunately we don’t find this in our hills :() I knew I had to make this soup. Its the best way to ingest broccoli specially when you despise its flavour. I also made Broccoli Pasta which is creamless and a big hit in my family. The soup is made creamy not by adding whole lot of creamy fat but by adding potatoes. It gives it a smooth creamy texture and rich flavour.

Directions:

1. Take two heads of broccoli and cut out their stems. Cut it into florets.


DSC04189


DSC04190


2. Wash the florets under running water for any grit.
DSC04191
3. Chop some Garlic and Onions finely. Peel Potato and cut it into cubes.


DSC04192


DSC04193


4. Add Butter in a large pot and let it melt. Add garlic and onions and saute them till they turn a little pink.


DSC04194


DSC04195


DSC04196


5. Add broccoli florets and potato cubes to the pot and mix them well.


DSC04197


DSC04198


6. Add Salt and Water.


DSC04199


DSC04200


7. Add a cube of broth. I used vegetable broth if you like you can use chicken. Cover with a lid and let it simmer for 15 minutes or until the potatoes have cooked.


DSC04201


DSC04202


8. Open the lid and let it cool off a little. Puree the soup with a blender and make it into a smooth soup.


DSC04203


DSC04204


9. Season with black pepper powder and a little cream.


DSC04205


DSC04206


10. Garnish with freshly chopped Chives and serve hot with soup sticks.

Other Soups you can try here are: Tomato SoupZucchini Garlic Soup with Yak Cheese ShreddingsClassic French Potato Leek SoupPeas and Mushroom Spicy SoupRussian Beetroot & Vegetable SoupChicken Soup with RiceSopa De Frijol .

[whohit]CreamOfBroccoliSoup[/whohit]

[yumprint-recipe id=’184′]

Mooli aur Mooli Ke Patton Ki Sabzi is a winter delicacy. Winters are here in full swing and the most inviting winter produce we get in India are white long radishes. In mexico I have seen red colour variation of these. But nonetheless both are delicious in their own ways 🙂 The radish which are sold now often come with the leaves on. If you are lucky to visit the market in the morning you might find the fresh radish with their greens on. That what you must pick for this recipe. The tender the leaves the more delicious they will be. This is an interesting way to cook radish than to have it just as a salad or stuffed in a parantha.

It is my maternal aunt Neena’s recipe which she often makes with ground poppy seeds and mustard seeds. I tried this first time fearing my fussy husband wouldn’t like it. He simply detests radish and its close kin turnip. But I was hellbent to impress him. The dish came out delicious and it was proved without doubt when my husband took a second helping 🙂

Its not only delicious but very nutritious. The fresh greens and radish are a rich source of roughage and helps to regulate blood pressure. It fights constipation and is extremely good for asthmatic patients. Who doesn’t wanna like this humble vegetable with such health benefits.

Directions:
1. Take some firm radish with fresh tender leaves. Wash the radishes. Cut the neck of the radish and separate the leaves. Do not throw them away. Peel the radish. 


DSC04129


DSC04130


DSC04131


2. Cut the radish into small cubes and separate the tender leaves.


DSC04132


DSC04133


3. Wash these leaves well so that no grit remains. Chop them finely, set aside.


DSC04134


DSC04147


4. In a dry grinder or coffee grinder add poppy and mustard seeds and grind them to a powder. Set aside.


DSC04135


DSC04136


DSC04137


5. In a wok or kadhai add mustard oil and smoke it. Add the mustard, poppy seeds powder and saute for a minute.


DSC04139


DSC04140


6. Add turmeric powder, salt and red chili powder.


DSC04141


DSC04142


DSC04143


7. Add chopped raddish and mix well with the spices. Cover with a lid and cook on medium low heat for 7-8 minutes or until your see its partially cooked.


DSC04144


DSC04145


DSC04146


8. Add the chopped radish greens to the wok and mix well. Cover it and further cook for another 5 minutes.


DSC04149


DSC04150


9. Serve hot with Roti and with some Bathua raita on the side.

For more everyday recipes you can try: Gobhi Danthal ki Sabji, Aloo Methi Punjabi Style, Swanjhane ki Sabji, Methi Matar Malai.


[yumprint-recipe id=’183′] 

MooliKiSabji_Pintrest

CousCousPilaf_Featured2

Its been a few months now I have been maintaining the regime to eat healthy and exercise daily. Luckily I have been able to shed a few kilos (Happy Dance!!) but a few kilos are still to go. I have been eating everything but in control and avoiding sugar and fried food as much as I can. I made Couscous Salad with Chickpeas some time back and it is a regular at my place.

Couscous Pilaf_Featured3
I wanted to try the couscous pilaf which tasted flavourful with some spices and vegetables. All I can say it was amazing, filling and gets ready in minutes.  If you are hungry and looking for quick dinner options, dont think twice make this healthy pulao which looks gorgeous and tastes divine. Its a good option when you want to avoid hi starch rice pulav.

Directions:

1. Chop Onions and Garlic Finely. Also chop Red and Yellow Bell Pepper in strips lengthwise. You can even add mushrooms, I did not have on hand. Set aside.

DSC03039

2. In a sauce pan add water and bring it to a boil. Turn the flame off.

DSC03040

3. Add Couscous to the boiled boiled and top it with ghee or clarified butter*. Cover and let it sit for 5-7 minutes or till the couscous gets cooked. Fluff it up with a fork and set aside.


DSC03041


DSC03042


4. In a pan add oil and heat it.

DSC03043

5. Add cumin seeds and let them crackle for a couple of seconds. Also add whole red chilies.


DSC03044


DSC03045


6.  Add garlic and saute. Also add onions and saute till it turns soft and translucent.


DSC03046


DSC03047


7. Add bell peppers and mushrooms if you are using. Saute them till they become cooked but still crisp.

DSC03048
8. Add turmeric Powder and salt. Combine.


DSC03049


DSC03050


9. Add cooked and fluffed couscous to the veggies and combine. Garnish with freshly chopped coriander leaves.


DSC03051


DSC03052


10. Serve hot with some Aloo Anaar Raita or plain yogurt.

Other Pulav or Pulao or Pilaf recipes you can try are: Mint Pulav, Mango Rice, Curd Rice, Kathal Ki Biryani,  Veggie Vermicelli Pulao.

If you are looking for other healthy recipes you can try, Couscous salad with Chickpeas, Mango Black bean Salad, Grilled Chicken Salad, Healthy Broccoli Pasta.

CousCousPilaf_Featured1[whohit]CouscousPilaf[/whohit]

CousCousPilaf_Pintrest

[yumprint-recipe id=’176′]


TomYum_Featured2
I have always been fond of clear soups. They are flavourful, light and don’t make you feel overly full. One day I was surfing on web to look for some delicious clear soup options. I was spell bound by the description of Thai Tom Yum Soup. It was spicy, sour and loaded with veggies. I planned to give it a try as I had lemongrass growing in my kitchen garden and galangal I had just got from my recent Delhi trip. I wanted to make a vegetarian version of this without shrimps. There are so many variations available. This is without coconut milk and tomatoes. Also I haven’t used any Thai Red Curry Paste.

TomYum_Featured3

Tom Yum soup was followed by Thai Red Curry and Sticky rice in main course. That night’s dinner was unforgetful. I am still recovering from the blast of flavours I had in my mouth. If you have never tried this soup before I would say go for it. Its a weight watcher’s haven.

Directions:

1. Chop lemongrass into small pieces. Last three inch you can trim and discard.

DSC02979
2. Peel off Galangal root and roughly cut into pieces.

DSC02981
3. Put both chopped lemongrass and galangal in a mortar and crush it with a pestle. You want it to release its juices.

DSC02982
4. Bring water to a boil in a dutch oven or any pot. Add crushed lemongrass and galangal.

DSC02983

5. Let the water boil further along with lemongrass and galangal. Reduce heat to low and simmer 15 minutes. Remove galangal and lemongrass.


DSC02984


DSC02985


6. Chop some veggies . I used Baby corn, Broccoli, Red & yellow bell pepper and mushrooms.

DSC02986

7. Add them to the pot of aromatic water. Put the lid on. Boil them till the vegetables are tender.


DSC02987


DSC02990


8. Add Fish sauce. If you are a vegetarian skip this altogether. 

DSC02991
9. Add Soy Sauce.
DSC02992 
10. Squeeze in a juice of lemon. Season with salt and also add sugar to balance the acidity.


DSC02994


DSC02995


DSC02996


11. Add chopped red chilli .

DSC02989
12. Add Rice Noodles and give the soup a boil.

DSC02997
13. Garnish with torn basil leaves and chopped coriander leaves.

DSC02998

 Serve hot and enjoy the freshness of flavours.

Other International Cuisines you can try here are: Italian Frittata, Chinese Steamed Baos with Custard Filling, Mexican Black Bean Salad with Mangoes, Argentine Chimichurri.

If you are looking for more healthy soups : Russian Beetroot & Vegetable Soup , Zucchini Garlic Soup with Yak Cheese ShreddingsClassic French Potato Leek Soup Chicken Soup With RiceTomato SoupSoup of Red Kidney Beans.

TomYum_Featured1[whohit]TomYumVeg[/whohit]

[yumprint-recipe id=’174′]

Amaranth Saag

I just attended my brother’s wedding last week and I realised I was much plumper than before (I don’t wanna demean my self by calling fat :P). So on returning back my husband and me decided to go on good healthy diet with proper exercise. Its been a week and we still seem to be on the right track. I have been avoiding sweets and cheese and bringing in more vegetables and proteins in my diet. One such vegetable is the nutritious leafy vegetable which is known as Cholai or Chaulai in Hindi and Amaranth or Amaranthus in English. I made this stir fried Amaranth Leaves with spices.

Amaranth Saag
 Grains of Amaranth  are also used in food and are very good  source of energy. I found these leaves in the farmer’s market and quickly decided to make something out of them. The colour of leaves vary from purple to red and green to gold. I have used the former types as I love these colours but you can use any variant. Amaranth leaves are good antioxidants and good source of Vitamin A and Vitamin C. If you eat amaranth in leafy form, it acts as a good roughage and helps cure constipation. It is very easy to cook amaranth. Its a simple recipe with bountiful of nutrition. 

Directions: 

1. Separate the leaves from the stems. Place them together.


DSC02475


DSC02419


2. Wash the leaves thoroughly as there can be a lot of grit in the leaves.

DSC02420
3. Chop them coarsely and set aside.

DSC02421
4. In a wok or karahi add clarified butter or ghee and turn the flame on. Vegan may use any other cooking oil.

DSC02422
5. Add Cumin seeds and A bay Leaf.


DSC02423


DSC02424


6. Add Ginger Garlic paste along with chopped green chilies and saute them until the raw fragrance of garlic diminishes.

DSC02425
7. Add onions and continue to saute till the onion becomes soft and translucent.

DSC02426
8. At this stage add the chopped cholai leaves and toss them with the onions. 

DSC02427
9. Season with Salt, red chilli powder.


DSC02428


DSC02429


10. Also add coriander powder and Garam Masala.


DSC02430


DSC02431 


11. Cook on medium low flame, uncovered until soft and thoroughly cooked. Serve hot with Chappatis.

Other simple everyday recipes you can try on The Secret Ingredient: Tori Wadi, Masaledar Arbi, Baingan ka Bhartha, Langar Wali Dal.
Other dishes with Leafy vegetables you may try: Palak Paneer,  Aloo Methi, Arbi Ke Paton Ke Patode, Pudina Pulav, Methi Matar Malai.

Amaranth Saag

[yumprint-recipe id=’159′]


CousCousSaLad_Featured1

I was introduced to Couscous in Mexico. Couscous is a traditional North African dish made with semolina and cooked by steaming it. Its a staple food throughout the North African cuisines of Tunisia, Algeria, Morocco, Mauritania and Libya. But owing to its nutritional benefits its becoming very popular all across the globe. Couscous is made by sprinkling semolina with water and rolled with hands to form small tiny balls. It is then sprinkled with dry flour to keep them from sticking. These small balls or pellets are then steamed and cooked.

CousCousSaLad_Featured2

In a modern scenario couscous is available as instant couscous which requires soaking in hot water for 5 minutes. For this salad I have used Instant Couscous. The salad featured in Laura Vitale’s Webspace and I was so determined to try it. I found couscous and made it. It was sooo delicious, filling and refreshing. Its a boon for all weight watchers. The salad can be made with any fresh vegetable you like. You can use green onions, boiled beans even blanched beans.

Directions:

1. In a sauce pan add some water and bring it to a boil. Turn the flame off.

DSC03006
2. Now add equal quantity of couscous to the water. Let it get soaked and cooked for 5 minutes. Put the lid on and let it rest.


DSC03007


DSC03008


DSC03009


3. Peel a fresh cucumber. I partially peeled it for an amazing texture. Also deseed it using a spoon.


DSC03010


DSC03011


4. Chop Cucumber into bite size pieces. Also chop onions and tomatoes. I have used cherry tomatoes you can use any. Set aside.

DSC03012
5. For the vinaigrette, in a bowl add zest of a lemon. Also add lemon juice.


DSC03013


DSC03015


3. Add Extra Virgin Olive Oil and season it with salt and pepper.


DSC03016


DSC03017


DSC03018


4. Add chopped veggies to the  vinaigrette along with boiled chickpeas.


DSC03019


DSC03020


5. Top it with fresh chopped parsley and combine everything.

DSC03021
6. Fluff up the soaked couscous with a fork.

DSC03022
7. Season it with salt and pepper.


DSC03023


DSC03024


8. Add couscous to the veggies and combine. Check for additional salt and pepper.

DSC03025
9. Serve at room temperature or refrigerate overnight to enhance the flavours. Its a full meal in itself.

You can even try Fresh Mexican Black Bean Salad with Mangoes, Avocado Parsley Pasta, Sundried tomatoes Pasta Salad, Thai Green Papaya Salad Recipe.
[whohit]CouscousSalad[/whohit]

CousCousSaLad_Featured3

[yumprint-recipe id=’158′]

BlackBeanMangoSalad_Featured1
Its been a year and a half I am back from Mexico. In just three years we feel Mexico has become our other home. Its culture, cuisine and people have touched us deeply and made us a part of them. I miss Mexico day in and day out.

BlackBeanMangoSalad_Featured3
Today I decided to use the black beans I got from Mexico. This salad I have been planning to make for months. Finally I soaked the black beans overnight and boiled them first thing in the morning. With ripe mangoes and diced red onions, this salad was exceptionally delicious and nutritious. Such diverse ingredients blend together to form a melody of flavours. Its truly divine.

Directions:

1. Soak black beans* overnight and boil them in water. 


DSC02685


DSC02687


2. I used a pressure pan because it speeds up the cooking process by leaps and bounds. I added epazote** and bay leaf to the beans before boiling. 


DSC02688


DSC02689


DSC02690


3. For the Vinaigrette  take Apple Cider Vinegar in a bowl.

DSC02693
4. Add honey and lemon juice.


DSC02694


DSC02695


5. Also add roasted cumin powder to the vinaigrette and combine.

DSC02696
6. Whisk continuously and pour canola oil to the bowl.

DSC02697
7. In a large mixing bowl add drained boiled black beans and chopped onions.

DSC02698
8. Peel and chop some ripe but firm mangoes *** . Also add to the bowl chopped red bell pepper and deseeded jalapeno pepper. I was out of both these. So I replaced with green capsicum and red chilli peppers.


DSC02699


DSC02700


9. Drizzle the vinaigrette on top and mix together.


DSC02701


DSC02703


10. Season it with Salt and black pepper.

DSC02704
11. Serve fresh as a side dish with grilled chicken or barbecued meat. You can devour it just like that, it makes an amazing healthy snack.

You can also try Mexican Black Bean Soup or Sopa de Frijol.

Other Mango recipes you can try here are : Mango Pudding with Coconut Milk,  Raw Mango Sweet and Sour Chutney, Raw Mango Mint Chutney, Instant Raw Mango Pickle South Indian style, Aam Panna.

BlackBeanMangoSalad_Featured2
[whohit]BeanMangoSalad[/whohit]

[yumprint-recipe id=’150′]

RagiDosa_Featured2
Finger Millet also known as Ragi or Manduwa or Maddua is a gluten free cereal which is very widely consumed in Uttrakhand where I live now. Other than Uttrakhand it is a popular millet used in South Indian Cuisine. It is a rich source of amino acid methionine. 

In Kumaoni Cuisine Maddua plays a very important role for it is used in variety of dishes. It is also believed to keep you warm in thick cold. So I  was tempted to try this super cereal and got its flour from the local market. I debuted my adventure with Ragi by making this Instant Ragi Dosa. I saw Malar Muthu’s post one fine day and could not resist trying it. It was quick and required no fermentation. Luckily I had Sambar and Coconut Chutney to accompany this. The dosa came out crisp and so delicious. Even my kiddo loved them to the core.

Directions:

1. In a bowl add urad dal or split black gram. Add water and let it get soaked for atleast an hour.


DSC00597


DSC00598


2. Transfer the soaked lentils with little water in a blender. Make a fine paste.


DSC00600


DSC00602


3. Transfer the paste to a larger bowl and add to it. Ragi Flour and Rice Flour.


DSC00603


DSC00604


DSC00605


4. Add water and salt. Combine to make a dosa consistency batter. It should neither be thick nor thin.


DSC00606


DSC00607


DSC00608


5. Heat a flat griddle or dosa tawa. Add oil. Wipe it with a kitchen towel.

DSC00609

6. Add a ladle full of batter in the center and spread in circular motions evenly. Drizzle some oil on dosa and flip after 2-3 minutes. Cook on the other side.


DSC00610


DSC00611


7. Serve hot with Coconut Chutney and Sambar.

You can even try this dosa with Tomato Onion Garlic Chutney.
Other dishes from South Indian Cuisine which you can try here: Curd Rice, Quick Rava Idli

RagiDosa_Featured3[whohit]RagiDosa[/whohit]

[yumprint-recipe id=’129′]


The best part about winters and spring is that you get a lot of green leafy vegetables. They are not only nutritious but also very tasty. I love to indulge in Sarson ka Saag, Palak Paneer, Methi Aloo, Methi Matar Malai every other day. But my favourite is the delicious Bathua Ka Raita. It is a yogurt dip made with a kind of seasonal weed plant known as Bathua or Bathuwa. Its english name is Chenopodium Album. It may be a weed but it is extensively grown as a crop in Northern India.

I had no clue that it was a weed until I moved to Almora. My maid came with a bag of leaves and she said would you mind if I take these home? I asked her what it was and she told me its bathua which she plucked from the wasteland above the house on the hills. I told her to take it on a condition, if she could also fetch for me 🙂

With abundance of bathua around me I can enjoy this raita more than ever before. My husband always avoids yogurt complaining its cold in here. So the other day I decided to make this for myself. To my surprise the bowl was half empty when I decided to pour for myself. He kittenishly said “why you did not tell me before it was going to be so tasty”. He finished half of it and was asking for more. 

Directions:

1. Separate Bathua leaves from its stem. Also separate the coriander leaves from its stem. Wash both the leaves separately and keep aside.


DSC09989


DSC09990


 2. In a pressure pan put washed bathua leaves and 1/4 cup of water.

DSC09992

3. Also add salt and put the lid on. Cook  for one whistle or 2 minutes after the pressure has reached its peak  and switch off the flame. Let it cook in the steam. After the steam has released open the lid. Drain the water using a colander or wire mesh. You can use this nutritious water to knead dough for rotis.

DSC09994


4. Squeeze out  extra water using your hands.

DSC09995


5. Place the squeezed bathua in a blender.

DSC09996

6. Add to it washed coriander leaves, green chilies. red chili powder and salt.


DSC09997


DSC09999


DSC00001

 7. Add on top curd.

DSC00002


8. Also add ground ginger powder or sonth and roasted ground cumin powder. Pulse this together for two seconds or until the green colour appears.


DSC00003


DSC00005


 9. Transfer it to a serving bowl. Sprinkle more roasted ground cumin powder and red chili powder. Serve as a side dish with anything you please.

Other Raita or yogurt based dishes you can try are : Purslane Yogurt Dip, Aloo Anaar ka Raita, Baigan ka Raita.

[whohit]BathuaKaRaita[/whohit]

[yumprint-recipe id=’112′]