Tag

Sweet Indulgence

Browsing

OrangeCake_Featured3

I have never been fond of Orange Flavour specially the artificial flavour in ice lollies, squashes, sweet orange candies. But when I saw the recipe of this cake it enticed me. The recipe said it is made with fresh orange juice and candied orange peels. The idea itself was so inviting that I took a plunge and decided to bake this cake.

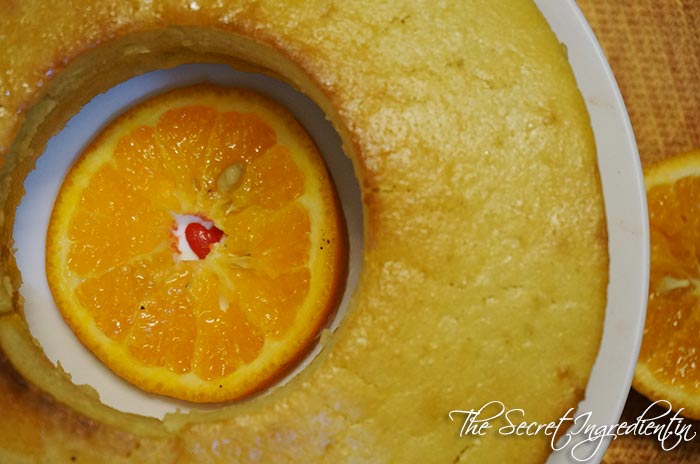
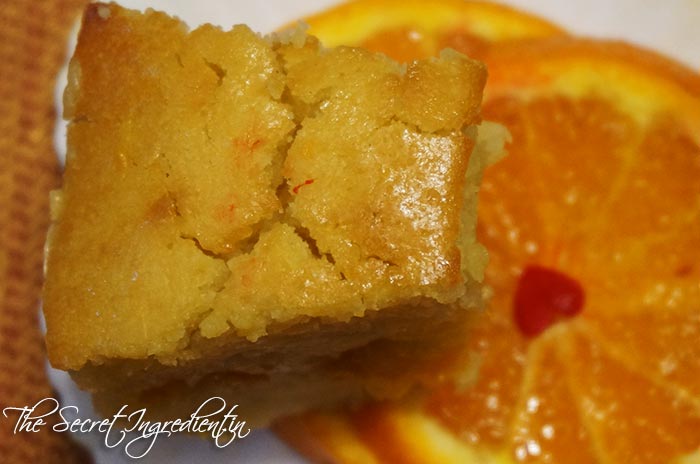
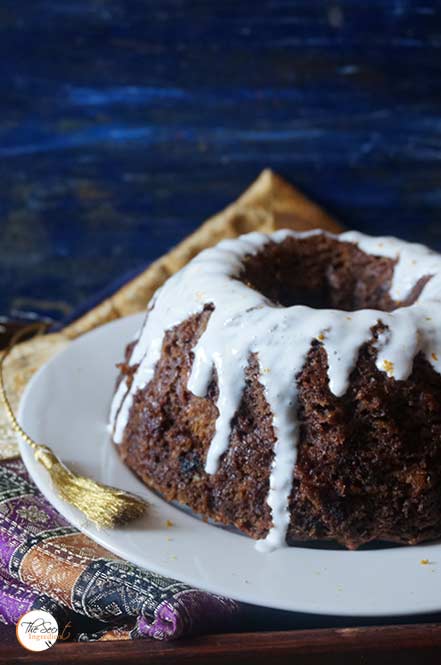
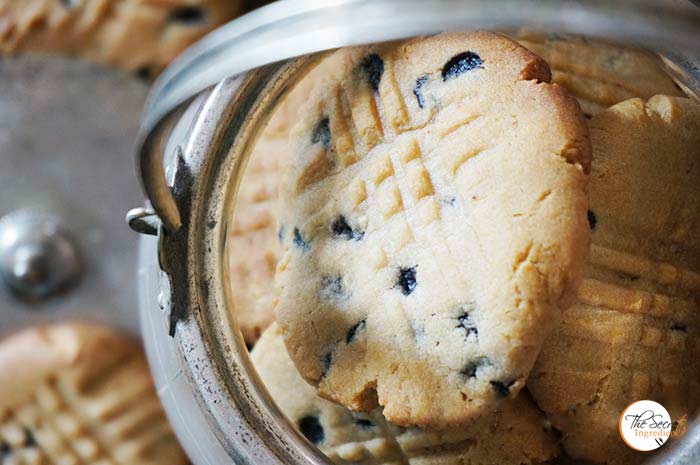
To my surprise the cake came out delicious, fluffy and moist in spite of being eggless. The most impressive thing about this cake was the center filling with candied orange peel. It  took this cake to the next level of deliciousness. Now you will understand why I chose this special cake for my 100th post on my blog 🙂 🙂

Directions:

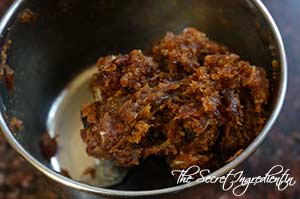
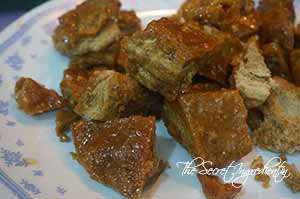
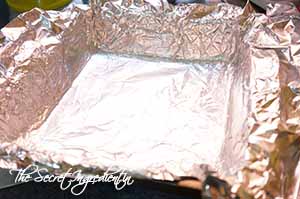
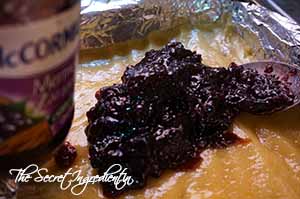
1. Make Candied Orange Peels and keep aside. You can follow this recipe. Grease a Bundt pan or any pan of your choice. Do not forget to dust it with flour so that the cake can come out easily after baking. Preheat your oven for 10 minutes on 180 degree Celsius. Learn More about Oven temperatures and Conversions.


DSC09849


DSC09850


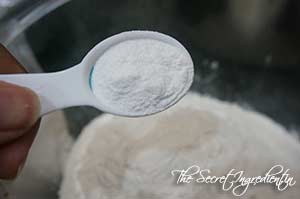
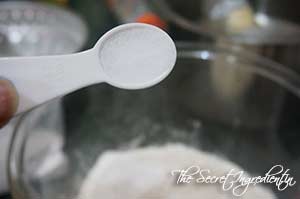
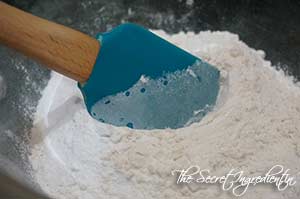
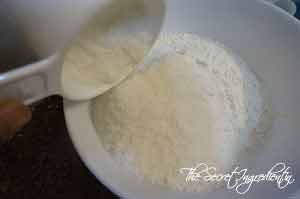
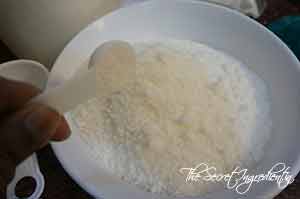
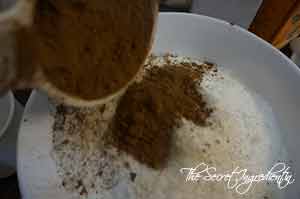
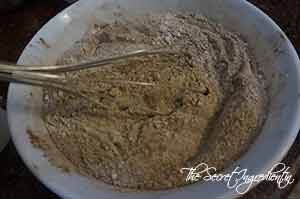
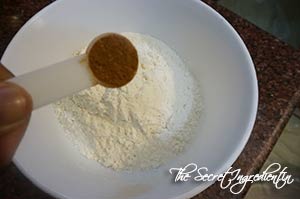
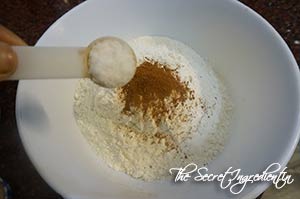
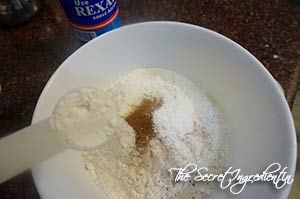
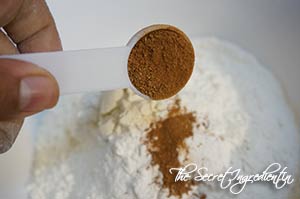
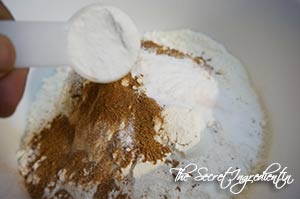
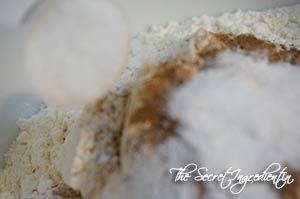
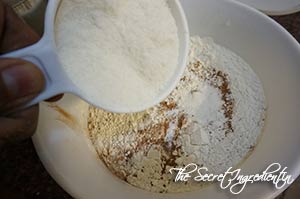
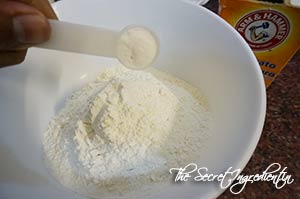
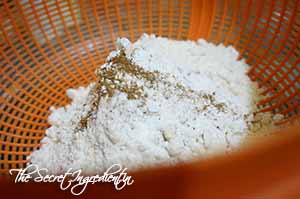
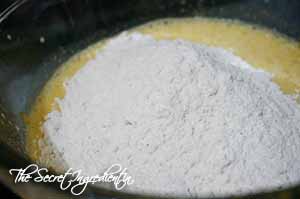
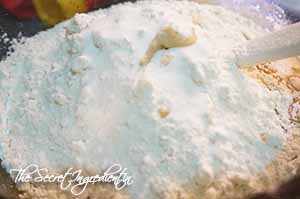
2. In a bowl add All purpose flour, salt and baking powder. Combine  them together and keep aside.


DSC09740


DSC09741


DSC09742


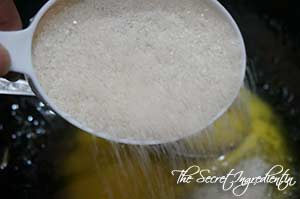
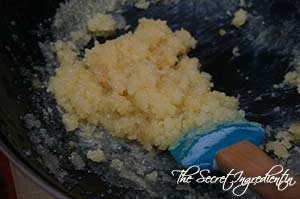
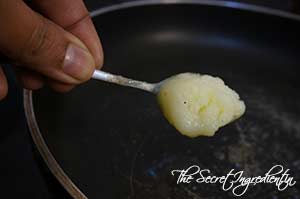
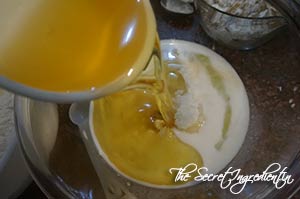
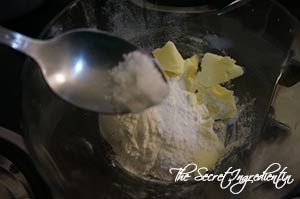
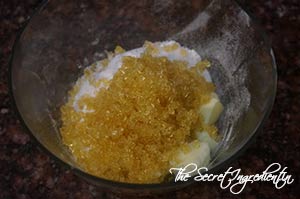
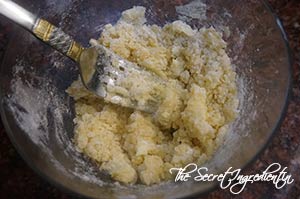
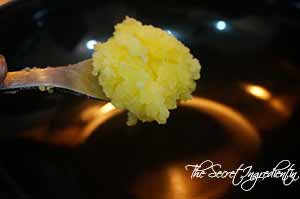
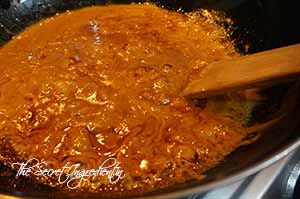
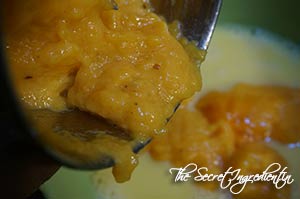
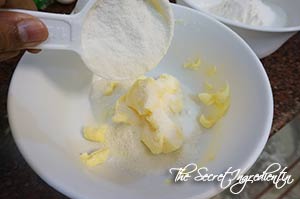
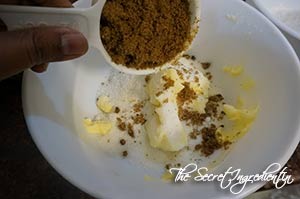
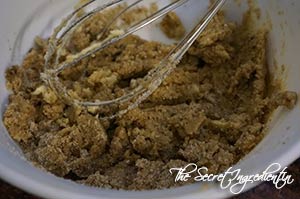
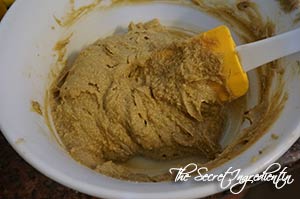
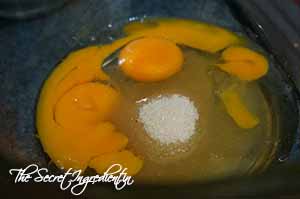
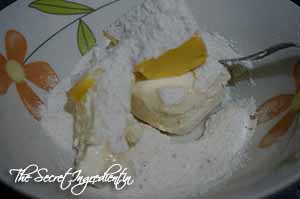
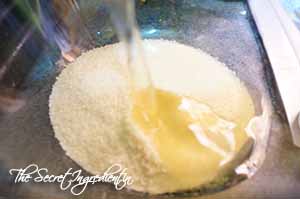
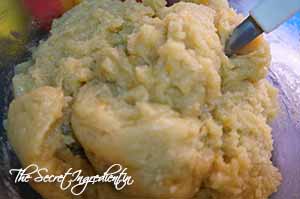
3. In another bowl add melted butter and sugar, Whisk them together. You can even use an electric whisker,


DSC09743


DSC09744


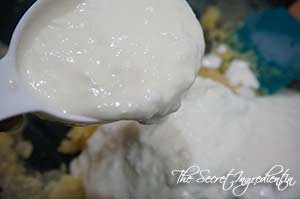
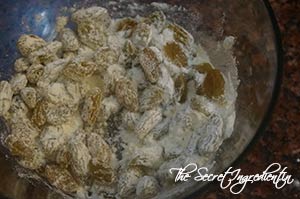
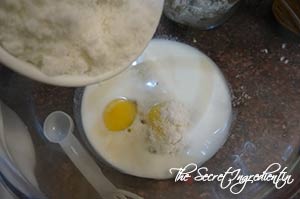
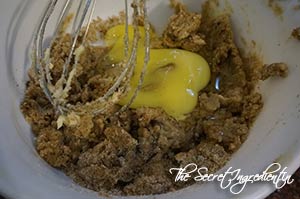
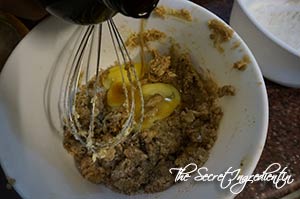
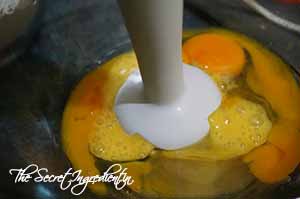
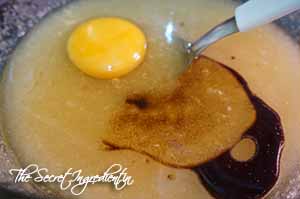
4. Add Yogurt or curd and keep whisking together till everything is smooth and lump free.

DSC09745


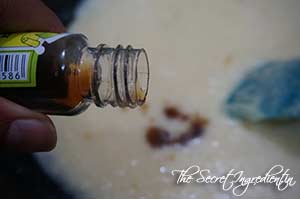
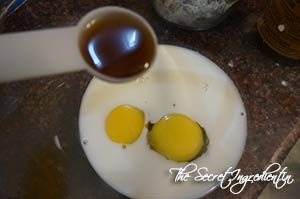
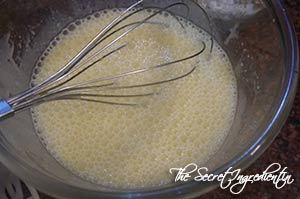
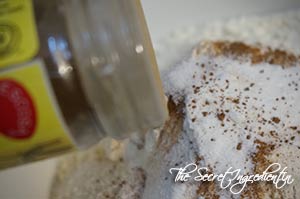
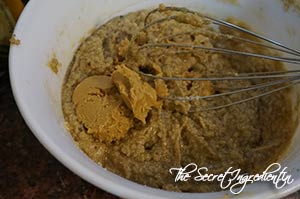
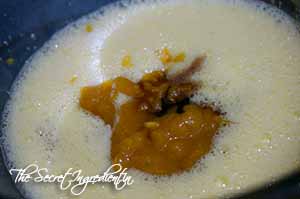
5. Add Vanilla extract and combine.

DSC09746

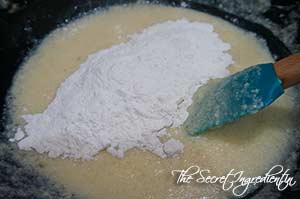
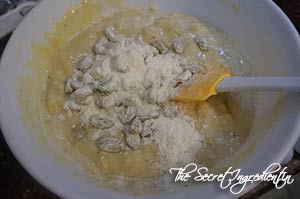
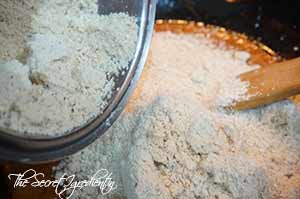
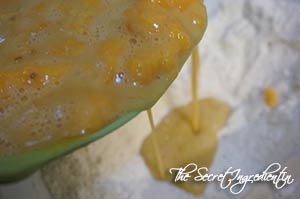
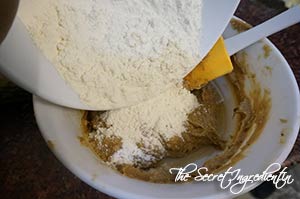
6. Pour half of wet ingredients in dry ingredients and combine.

DSC09747

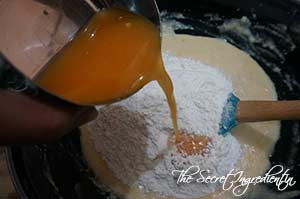
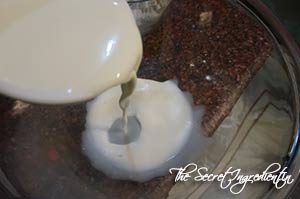
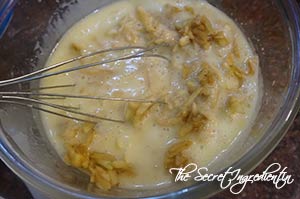
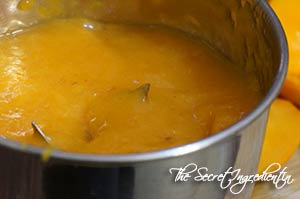
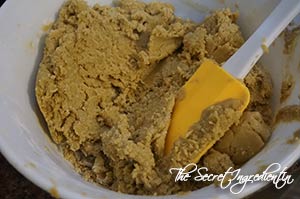
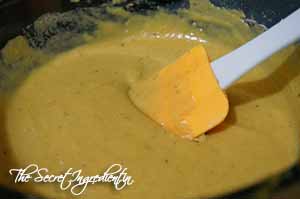
7. Add Orange juice and mix everything. Add rest of the flour mix and combine. 

DSC09749


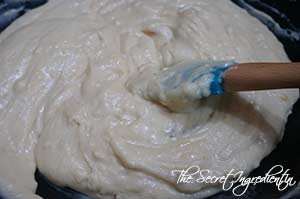
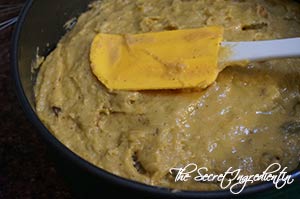
8. Add little milk to make the batter runny. Gently mix until everything is moistened. Do not over mix.

DSC09752


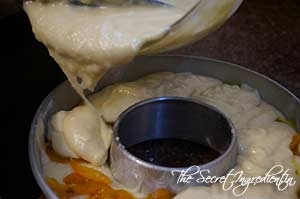
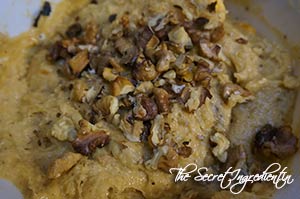
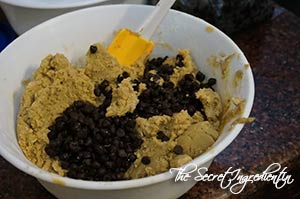
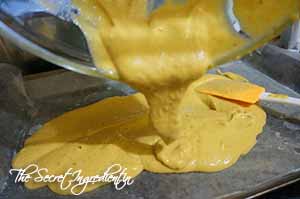
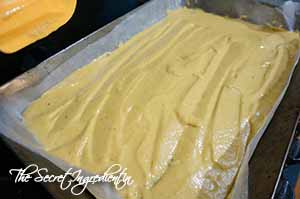
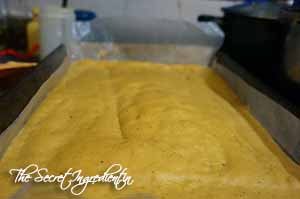
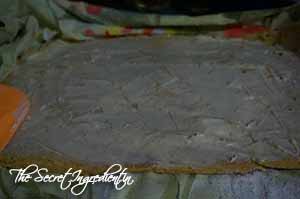
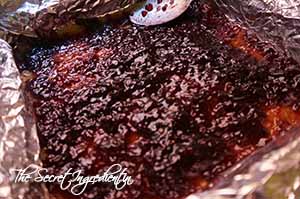
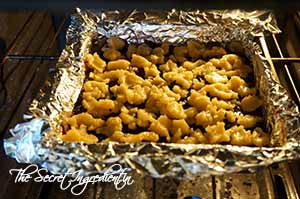
9.Pour half the batter in a greased pan and spread the candied orange peel all over the surface.

DSC09851

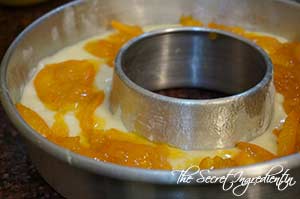
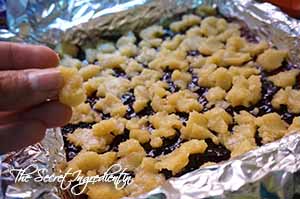
10. Now pour rest of the batter on top of the candied peels.

DSC09855

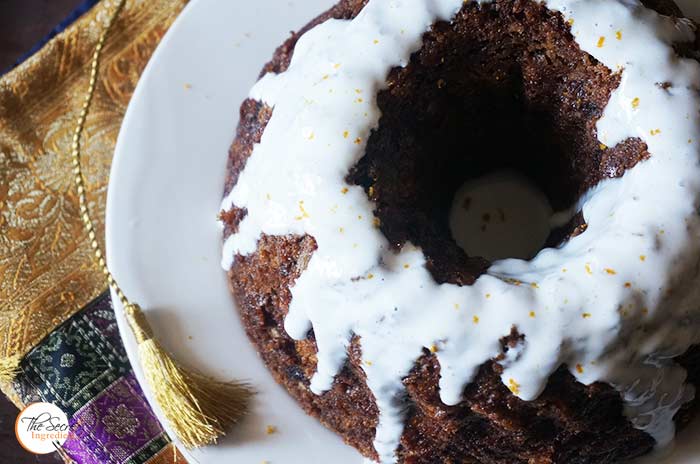
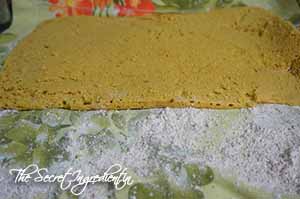
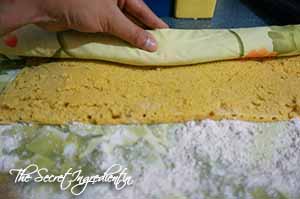
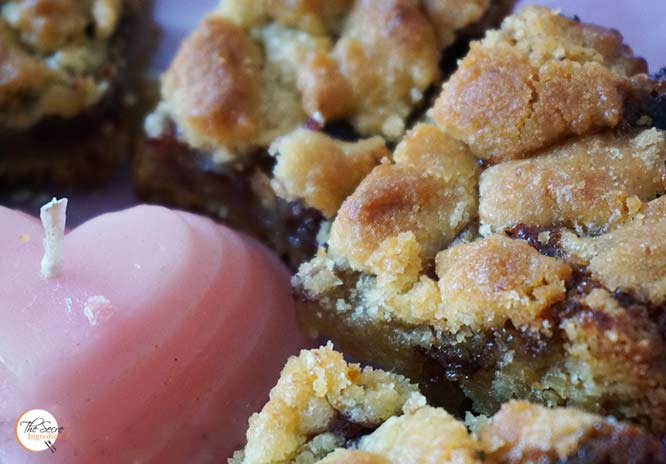
11.Bake in preheated oven on 180 degree Celsius  for 40-50 minutes or until the toothpick inserted comes out clean. Let the cake cool down completely before you invert it on a tray. Otherwise the cake will break. Cut into slices and enjoy the delicious, moist orange cake.

You can even try our other cakes and breads like Apple Raisin Streusel Bread, Persimmon Rum Cake, Pumpkin Cake Rolls. You can learn how to make Candied Orange Peel at home.

OrangeCake_Featured1

 [whohit]OrangeCake[/whohit]

[yumprint-recipe id=’102′]

DatesLaddoo_Featured1

This post is specially for diet conscious people or people who are watching their weight. These dates ball are quick and easy to do with minimal ingredients. When you want to snack on to something guilt free or quench your mid night cravings this is a perfect treat. Store them in air tight jar and these go a long way. They look small but they are very filling, so ensure you make small sized balls.

When I made them last time I never got an opportunity to store them for they were gone by the evening. Yes me and my husband had 6 each ;). A little dieting never hurts anyone 😛

Directions:

1. Remove the seeds from the dates.

DSC08289
2. Dry roast the almonds and walnuts or pecans in a pan in batches. You can use any nut of your choice. Ensure you keep tossing them for you don’t want to burn them. Coarsely grind them in a grinder leaving a few chunky pieces to give texture to the balls.


DSC08290


DSC08291


DSC08298


3. In the same pan add the sesame seeds and toss them to get a slight colour and crunch on them. Roast them on a low medium flame.


DSC08292


DSC08293


4.  Add the pitted dates in a coffee grinder or normal grinder and make a sticky paste.


DSC08294


DSC08295


5. In a pan add little butter or ghee or if you are vegan add coconut oil or any neutral oil.

DSC08296

6. Add the dates and cook them in ghee for about 2-3 minutes. The dates will absorb all the butter.

 DSC08297

7. Now add the ground chunky nuts and mix them to combine evenly using a spatula. Soon everything will be well combines in one thick paste.


DSC08299


DSC08300


8. Let the mixture cool down a bit. Take a spoon full of it in your palm and make a smooth ball with it.


DSC08301


DSC08302


9. Place all the balls in a plate and one by one roll them in roasted sesame seeds.


DSC08303


DSC08304


 10. Store them in an air tight jar and enjoy them whenever you feel like snacking!

DatesLaddoo_Featured2


[whohit]DatesLaddoo[/whohit]

[yumprint-recipe id=’101′]

There are many who say they cant bake. After numerous failed attempts they have given up on baking. This recipe is for those who have lost all faith in baking and for those who want to debut in baking muffins. Do not worry this is the basic recipe to make that perfect moist cake without the use of eggs. What can be more perfect than baking these moist chocolate muffins for your Valentine this Valentine’s Day.

Directions:

1. Line the Muffin Tray with Muffin Liners and Preheat the Oven to 180 Degree Celsius for ten minutes. (Learn more about Oven Temperatures and Conversions).

DSC06923

2. In a bowl add All Purpose Flour and Sugar.

DSC06916
3. Add Baking Soda and Cocoa Powder.


DSC06920


DSC06921


4. Give it a gentle whisk to combine. Set aside.

DSC06922

 5. In an another bowl add warm water and vegetable oil.


DSC06924


DSC06925


6. Add Vanilla Extract and White Distilled Vinegar.


DSC06926


DSC06927


7. Mix dry ingredients to the wet ingredients.

DSC06928

8. Whisk together till everything moistens and the batter is lump free. Do not over mix.

DSC06929

9. Using a spoon fill 2/3 of the muffin cup with batter.

DSC06930

10. Bake in the preheated oven for 10-12 minutes or until the toothpick inserted comes out clean.Let them cool down before you dig in. You can ice it, glaze it or eat just like that.

You can try Other Cake recipes like Surprise Heart inside Cake, Pumpkin Cake Rolls, Persimmon Rum Cake and Apple Raisins Streusel Bread.

[whohit]EgglessChocolateMuffins[/whohit]

[yumprint-recipe id=’100′] 

AppleBread_Featured1

When apples are in abundance you look haywire for some interesting apple recipes. This is in continuation to my post of Apple Cinnamon Pancakes. I made this very delicious cake with streusel or crumple topping. It gives this bread such an amazing texture. The bread has a lovely flavour of fresh apples and raisins. You can have a slice with your warm cup of Coffee or tea. Its perfect when you invite some friends over for an evening tea or serve it for dessert at dinner table with a scoop of Vanilla Ice cream.

Directions:

1. In a bowl combine All Purpose Flour, Cinnamon Powder,baking powder and Salt.


DSC07080


DSC07081


DSC07082


2. In a small bowl add raisins and 1/4 cup of Flour mix and toss them together. Set aside.

DSC07084


3. In another bowl add milk and eggs.


DSC07085


DSC07086


4. Add Vanilla Extract, Orange Zest and Sugar.


DSC07087


DSC07088


5. Add Oil and whisk everything together to form a frothy mixture.


DSC07089


DSC07090


6. Peel, core and grate apples and add to the wet ingredients.


DSC07091


DSC07092


7. Add dry ingredients to the wet ingredients and fold them using a spatula until every thing is moist. Also add the raisins and combine.

DSC07093

8. Preheat the oven on 350 degree Fahrenheit (Learn more about Oven temperatures and conversions). Grease a 9×5 loaf pan and line it with Oddy Uniwrap Parchment paper. Pour the batter into the pan and keep aside.

DSC04629


9. For the streusel or crumble in a bowl add cold butter cubes, all purpose flour salt and sugar. Using your finger tips or a fork combine them to form a crumbly mix.


DSC07095


DSC07096


DSC07097


10. Sprinkle the crumble on top of the bread batter evenly leaving no space.

DSC07098


11. Bake it in oven for an hour or until the toothpick inserted comes out clean without any wet batter. Let it cool down completely before slicing. Enjoy!

You can even try our Persimmon Rum Cake, Spiced Raisin Bread and Pumpkin Cake Rolls.

[whohit]AppleBread[/whohit]

AppleBread_Featured-2


[yumprint-recipe id=’97’]

TilKoot_Featured1

Its Makarsankranti, the festival of harvest celebrated by Hindus in India and Nepal. It has a special significance as it marks arrival of Spring in India and it is a traditional event. We celebrate this day by making sweets with Jaggery and Sesame. This tilkoot is made by pounding sesame and mixing it with melted jaggery.

This is a specialty from the states of Bihar and Jharkhand. They are ideal for midnight snacking specially in winters.

Directions:

1. In a flat bottom pan add sesame seeds and roast them on low flame by continuously stirring them.

TilKoot_01
2. Make sure to keep stirring as they burn very fast and taste not so good. The sesame seeds should be slight golden in colour and will acquire a crunch on getting toasted.

TilKoot_02

3. Put these sesame seeds in a blender to make a course powder, serving 1/2 cup for mixing later.

TilKoot_03

4. Pulse the blender for a short duration as longer time will take out the oil from the seeds and it will turn into a thick paste.

TilKoot_04

5. Cut jaggery into small pieces.

TilKoot_05
 6. Add ghee or clarified butter in a wok.

TilKoot_06
7. Add jaggery or gur pieces into the melted ghee.

TilKoot_07

8. As soon as the jaggery melts put the flame off.

TilKoot_08
9. Add the sesame powder into the melted jaggery and mix evenly.


TilKoot_09


TilKoot_10


 10. Also add the whole seeds reserved earlier.

TilKoot_11

11. At this stage act fast and make them into balls using your fist. If the jaggery mixture becomes cold it will be difficult to bring it together. apply ghee on your palms and squeeze the mixture and make it to look like a ball.


TilKoot_12


TilKoot_13


11. Serve them at room temperature and store them in an airtight container. Stays good for a very long time.

You can also try Besan Laddoos, Rasgullas and even Sooji Halwa.

TilKoot_Featured2

[whohit]TilKoot[/whohit]

[yumprint-recipe id=’95’]

persimmonrumcake_featured1
Some days back the food groups on facebook were infested with posts to guess this new kind of fruit ultimately revealed as Ram Phal, Japani Phal and in English Persimmon. I couldn’t restraint myself when I saw these babies in the market. They were at a throw away price so I bought them a kilo. Now after eating a few I was thinking where else can I utilise them. I found this incredible recipe  to make a spiced cake with persimmon, just perfect for the cold weather.

persimmonrumcake_featured2

The persimmons were sitting on my shelf for a few days now so they had become super ripe just the way they are needed for this cake. The cake came out so moist and delicious that my husband declared it the best cake baked by me so far. 

Directions:

1. Wash and Cut the persimmons into half.

DSC09219


2. Scoop out the pulp with the help of a spoon and throw away the peels.

DSC09221

3. Put the pulp in a blender and make a smooth puree. Set aside.


DSC09222


DSC09223


4. In a small saucepan pour some rum and raisins and bring them to a boil on medium low heat. Remove from heat and cover. Let them come to a room temperature.


DSC09224


DSC09226


5. In a bowl add All purpose Flour, Cinnamon powder, Baking Soda and salt.


DSC09227


DSC09228


DSC09229


6 . Also add nutmeg powder for that extra spice.

DSC09230
7. In the same bowl add castor sugar and mix everything. Set aside.

DSC09231

8. In a different bowl crack eggs and add the persimmon puree and also add rum soaked raisins.


DSC09232


DSC09233


DSC09234


9. Also add to this vanilla extract. Combine everything making sure everything mixes evenly.

DSC09235


10.  Grease a ten cup pan spring pan or bundt pan. Also preheat your oven to 175 degree Celsius.

DSC09236
1
1. Make a well in the center of the flour mixture and pour the wet ingredients into it.

DSC09237

12. Also add melted butter. Also add toasted walnuts or pecans.


DSC09239


DSC09240


 13. Combine everything using a spatula till everything is moistened. But do not overmix.

DSC09241

14. Transfer it to a greased pan and even out from the top by tapping the pan.

DSC09243 

15. Bake in preheated oven between 40 minutes to 1 hour or until the inserted toothpick comes out clean. Remove from Oven and let it cool completely. Invert the cake into a serving plate.

DSC09244
Slice it like that only or you can top it with Cream Cheese Icing.

You can even try Persimmon Sorghum Cup Cakes with Cream Cheese FrostingPumpkin Cake Rolls and  Spiced Raisin Cake.

[whohit]PersimmonCake[/whohit]

persimmonrumcake_featured3


[yumprint-recipe id=’94’] 


When you and your son loves peanut butter, what can be a better way to use whole of it than baking this soft, gooey chocolaty cookies. We loved baking these delicious babies and equally enjoyed devouring them. 

If you like the flavour of Peanut butter these cookies are definitely for you. You can store them in your cookie Jar and relish with your favourite cup of coffee or even tea. Bake them for your friends and gift them as personalized presents. Nothing brings more joy than that.

Directions:

1. Preheat your  Oven to  350 Degree F (Learn more about Oven Temperature and Conversions).In a bowl add some All Purpose Flour and baking soda.

DSC08734

2. Add salt to it and combine the dry ingredients and set aside.

DSC08735
3. In a different bowl add butter at room temperature and mix white and brown sugars to it. Cream them together using a whisker, till sugar and butter have creamed together.


DSC08736


DSC08737


DSC08738


4. Add egg and vanilla essence and mix until combined. If you want to make them eggless see the notes below*.


DSC08739


DSC08740


5. Add Peanut butter and mix further til you get an even mixture.


DSC08741


DSC08742


6. Add dry ingredients to the butter mixture.

DSC08744
7. Combine them together till no dry flour is spotted.

DSC08745

8. Add chocolate chip cookies and fold them in the batter. Do not overmix.


DSC08746


DSC08747


9. Take an ice cream scooper and place one scoop of the cookie dough on a baking sheet lined with parchment paper. I have used Oddy Uniwraps Parchment Paper, because it makes baking a breeze. It makes the cookies bake perfectly without sticking to the paper or tray and makes cleaning hassle free.

DSC08750

10. Press them gently to flatten them using your fingers,

DSC08751

11. If you wish you can make patterns using a fork. Bake them on a preheated oven for 15 to 18 minutes till they become slight golden in colour around the edges. Let them cool on baking sheet for a minute and then transfer on wire rack to cool completely. 

DSC08752

12. Enjoy with your favourite Cup of Coffee.

You can even try other cookies like Chocolate Coconut Cookies and White Chocolate Chip Cookies.


[whohit]PeanutButterCookies[/whohit]

[yumprint-recipe id=’91’]

PumpkinRolls_Featured1
Honestly, my love for Pumpkin was never sudden. Infact I always considered pumpkin as a vegetable to make Indian cuisines or my Grandmother’s delicious Kaddu ka Halwa . Until Mexico happened and that is were I discovered that pumpkin is more than we think it to be. My respect for pumpkin grew overnight as I  started experimenting with Pumpkin Puree. I learnt to make this Puree at home which made it a ready to make ingredient which can be used to make Pumpkin Rolls, Pumpkin Muffins, Pumpkin Bread and much much more.

In the west Pumpkins are symbolic to Halloween, a famous festival to remember saints, martyrs and all departed souls. Pumpkin is used to make feasts and even used for carving. The warmth of Pumpkin Puree along with spices makes the winter cozy and comfortable. So how are you celebrating your halloween. Treat or Trick? 😉 

Directions:

1. Line a Large rectangular baking tray with Parchment Paper  and brush it with Vegetable Oil . Set aside. Pre heat the Oven to 375 Degree Fahrenheit. Learn more about Oven Temperatures and Conversions

PumpkinRolls1
2. Sift All Purpose Flour, Salt, Baking Powder and Pumpkin Pie Spice (Learn to make homemade Pumpkin Pie Spice) using a sifter, so that the flour becomes lump free.

PumpkinRolls2

3. In  a large bowl whisk together eggs and sugar so that the mixture becomes thick and pale in colour.


PumpkinRolls3


PumpkinRolls4


4. Add in Pumpkin Puree and Vanilla essence together to the egg mixture and combine together. You can make Pumpkin Puree at home or you can use canned pumpkin puree.

PumpkinRolls5

5. Add the sifted flour mixture to it and combine to get an even batter. Do not over mix.


PumpkinRolls6


PumpkinRolls7


6. Spread the batter on the baking sheet lined with Baking Sheet. I have used Oddy Uniwraps Parchment Paper, because it makes baking a breeze. It ensures the cake bakes perfectly without sticking to the paper or tray and makes cleaning hassle free.You can use spatula to evenly spread the batter.


PumpkinRolls8


PumpkinRolls9


7. Bake it in preheated oven for 12 to 14 minutes or until the cake has cooked thoroughly.Let it cool for 5-7 minutes.

PumpkinRolls10

8. On your counter spread a kitchen towel and dust it with Confectioner’s Sugar generously. Remove the cake from the baking tray along with parchment paper and place on kitchen towel with parchment paper facing upwards and cake downwards. Now carefully remove the parchment paper.


PumpkinRolls12


PumpkinRolls13


9. Roll up the cake along with towel into a jelly roll starting from the shorter side. Let it cool completely for an hour or so.


PumpkinRolls14


PumpkinRolls15


10. Now for the filling you need butter and cream cheese at room temperature. Cream them together using a whisk. Add to it confectioner’s sugar or powdered sugar and little vanilla essence.


PumpkinRolls16


PumpkinRolls17


11. Add zest of orange or clementine to it and mix.

PumpkinRolls18

12. Now unroll the cake and spread the cheese filling on top using a spatula.

PumpkinRolls19

13. Now roll the cake again but this time without the towel. Try not to crack the cake. But if you get cracks never mind. 🙂

PumpkinRolls20

14. Wrap this with the kitchen towel from top and let it set in refrigerator for couple of hours. You can even do it over night. 

PumpkinRolls22

15. After refrigeration for several hours unwrap the cake roll on a tray .

PumpkinRolls23

16. Cut it diagonally into half from the center.

PumpkinRolls24
17. Keep slicing it on an angle into smaller pieces.

PumpkinRolls25
18. Serve with your favourite cup of Coffee or simply like that.

Other things you can try with Pumpkin are: Pumpkin ka Halwa, Pumpkin Puree Buns.

PumpkinRolls_Featured2
[whohit]PumpkinRolls[/whohit]

[yumprint-recipe id=’67’] 

MakhaneyKikHEER_fEATURED1
Navratras are approaching and this recipe is simply ideal for all those who wanna fast and also for those who wanna taste the Navratri food despite non fasting 😛 I know many such people in my family including my husband. I never tasted this kheer until my mother in law made it soon after I got married.

MakhaneyKiKheer_Featured3

It tasted amazing and I learnt from my Mother in Law and now I am sharing it with you. For those who are unaware of Makhanas or Phool Makhanas, they are nothing but Lotus dried seeds also known as Foxnut. You can eat this during any vrat or any festivity.

Directions:
1. Put Makhanas in a bowl and soak them in water for couple of hours or so till they become soft and gooey.


SopaDeFrijol1


SopaDeFrijol2


2.  Coarsely grind the soaked makhanas in a blender. You can also make a smooth paste if you prefer but I like it chunky. Set aside.

SopaDeFrijol5

3. In a deep bottom pan add milk and give it a boil.

SopaDeFrijol6

4. Add crushed cardamoms to the milk and boil for another 5 minutes on low flame . If you prefer you can even use powdered cardamoms.

SopaDeFrijol7

5. Add coasrsely blended Makhanas to the milk and give it a stir. Boil for ten minutes till the kheer attains a thicker consistency.

SopaDeFrijol8

6. Add a can of condensed milk or sugar as per your taste. Stir continuously.

SopaDeFrijol9

7. Add Chopped Pistachios or dry fruit of your choice. and give it a mix.


SopaDeFrijol10


SopaDeFrijol11


 8. Add few strands of saffron and mix.

SopaDeFrijol12

9. Serve Hot and Enjoy. 

Other traditional sweets you can enjoy during the festivity are: Pumpkin Halwa, Sooji Ka Halwa, Gajar Ka Halwa, Rasgulla, Attey Ka Halwa.

MakhaneyKiKheer_Featured2


MakhaneyKiKheer_Pintrest

[yumprint-recipe id=’13’][whohit]MakhaneKiKheer[/whohit]


Its Valentine’s Day, the day of love. Love doesn’t just mean loving your partner but it has a wider definition, it includes your parents, your kids, your friends and any one who means to you. This has been a hectic month for me for I am shifting my base from Mexico to India. I have been utterly busy doing packing with less than ten days left for my departure. Probably this is my last post from Mexico. Well coming back to the topic. Since, I had little time I wanted to make something easy and also utilise things I have on hand. Trust me this came out sinfully delicious.You can use any jam you have on hand and make these heavenly bars and tell your loved ones how much you love them.

Directions:

1. Preheat the oven at 375 degrees (Learn more about Oven temperature and Conversions) and line a 9×9 inch baking pan with parchment paper and spray it lightly with non stick spray, set aside. Since I was running out of parchment paper I lined the tray pan with aluminium foil and sprayed it with cooking oil.

BlueberryBars6
2. Mix together the flour, salt and baking soda and keep aside.

3.  In a bowl cream together butter and sugar. I used vegetable oil because as I said I had to utilise the things I had. The bars still  tasted incredible.

BlueberryBars1

4. After the butter or oil has been creamed with sugar add an egg and some vanilla extract. Also add orange zest. It brings in some contrasting flavour. Give the mixture a good whisk.


BlueberryBars2


BlueberryBars3


5. Add the dry ingredients and combine well with the wet ingredients.


BlueberryBars4


BlueberryBars5


6. In the lined baking pan transfer 2/3 of the crumbled dough and rest keep aside for topping. With the help of hands spread the crumbled dough evenly in the pan.


BlueberryBars7


BlueberryBars8


7. Now heat the jam in a bowl in the microwave  for 5-8 seconds so that it becomes loose and easy to spread. With the help of a spoon spread the jam over the dough.


BlueberryBars9


BlueberryBars10


8. Now distribute the remaining  dough in pieces all over the jam.

BlueberryBars12

9. Keep the baking pan in preheated oven for 25-30 minutes or till the bars start getting golden colour.

BlueberryBars13

10. Take it out of the oven and let it cool completely for couple of hours. If you cut it while it is still hot it can run out and become messy. Cut it into bar sized chunks.


BlueberryBars14


BlueberryBars15


Spread your love.


[yumprint-recipe id=’11’] [whohit]BlueberryBars[/whohit]