Tag

SweetTooth

Browsing

PaneerKiKheer_Featured2

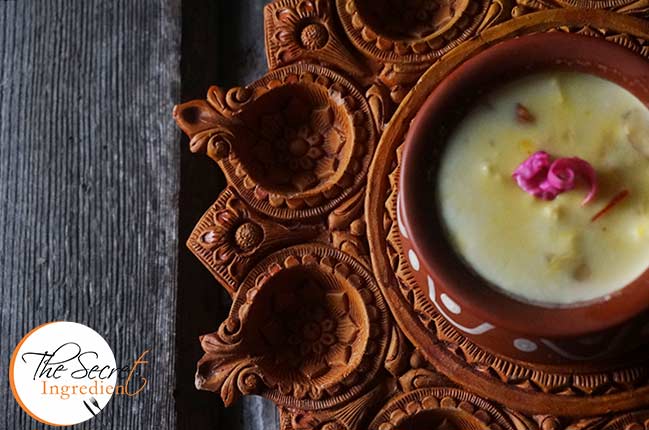
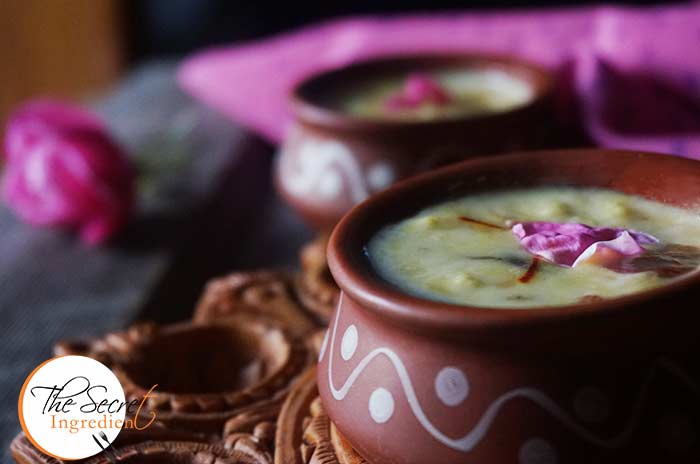
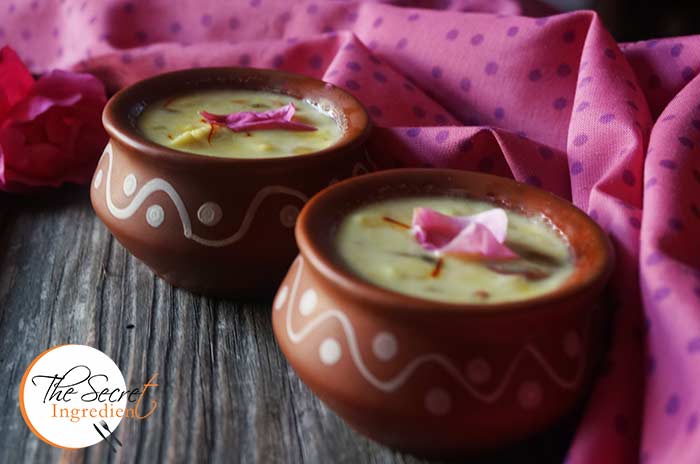
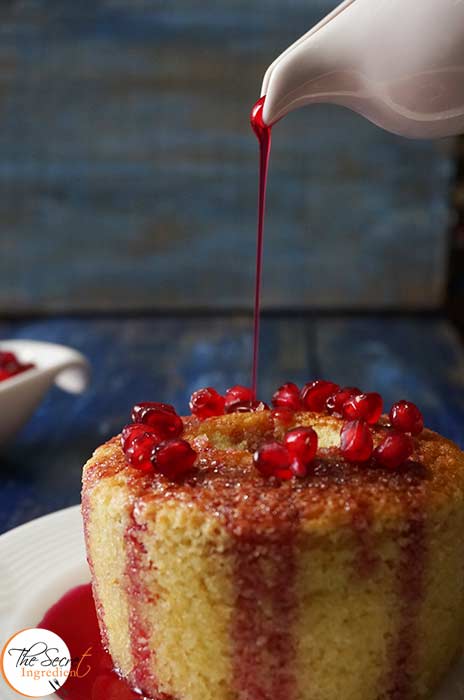
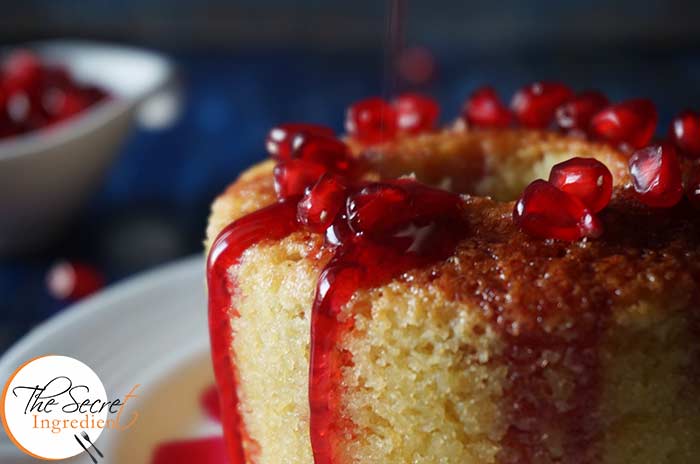
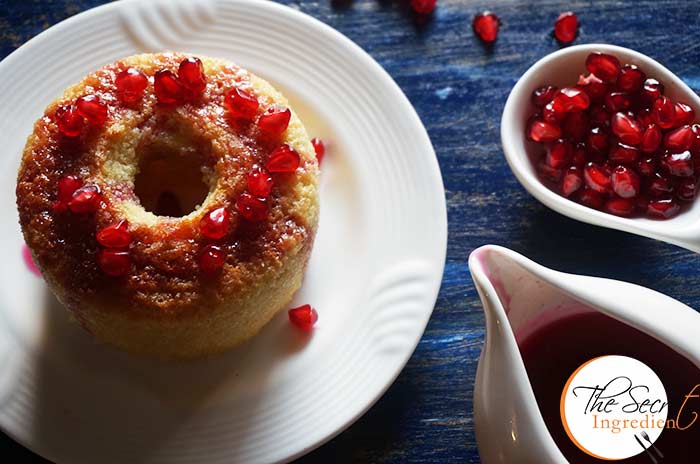
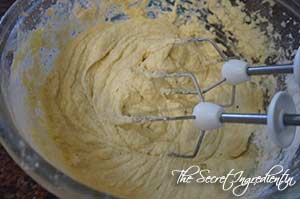
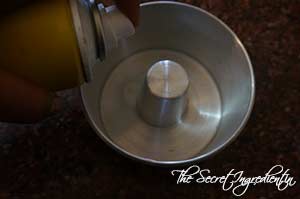
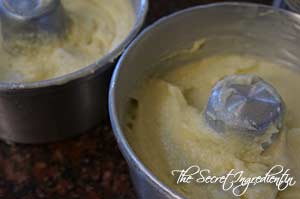
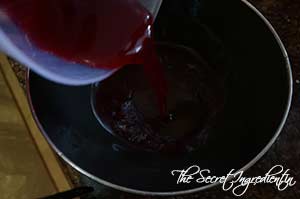
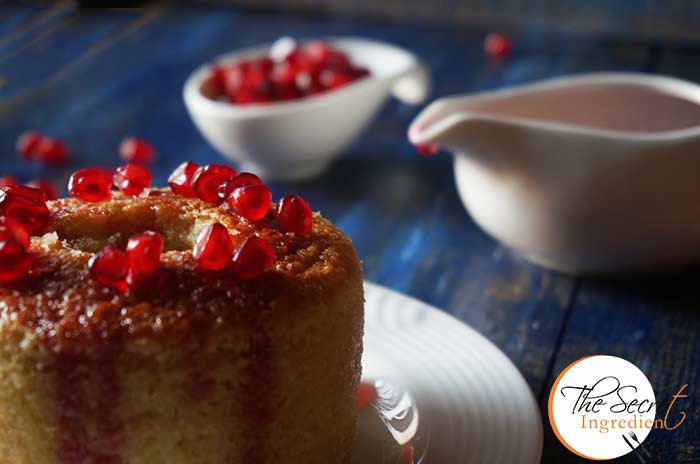
I am already here with my family for the upcoming festival of colours, Holi. Although each day is a festivity when you are with your loved ones but nevertheless something delicious and rich always makes the festival more beautiful and meaningful. I took my Vanilla & Pomegranate cake for my family and at the same time I tried to make this Paneer ki Kheer for my cousins. It was outrageously delicious. I know it sounds weird but trust me it was divine. It tastes just like Ras malai but much more quick and easy. 

PaneerKiKheer_Featured3

Its a very forgiving recipe. You simply cannot go wrong. You can make this exciting dessert in less than 25 minutes. So if you have some guests coming over make this for them, serve hot or chilled. They will be delighted with this appetizing bowl of kheer. 

Directions:

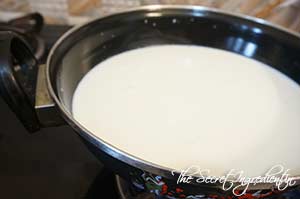
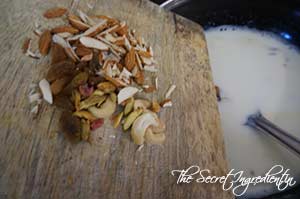
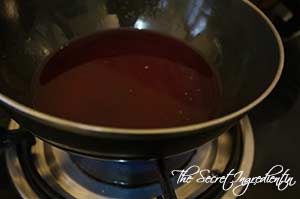
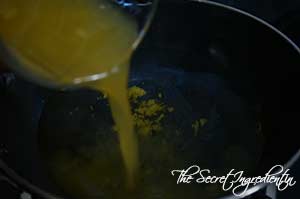
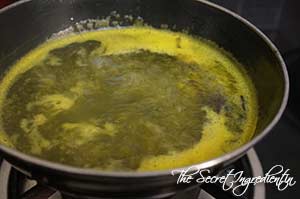
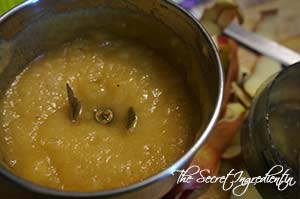
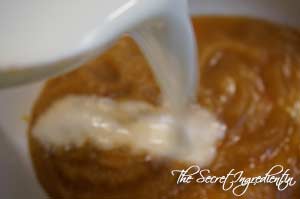
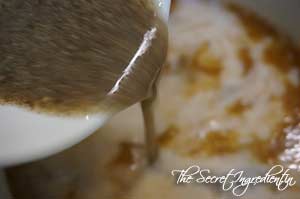
1. In a wok or heavy bottom pot, boil milk. When it comes to a boil reduce the flame and let it simmer for good 15 minutes or until the milk has reduced and thickened a bit. Do not forget to stir time to time for you don’t want milk to burn from the bottom.

DSC05711


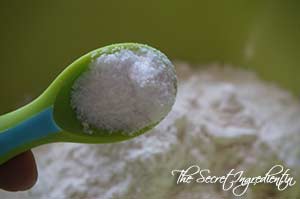
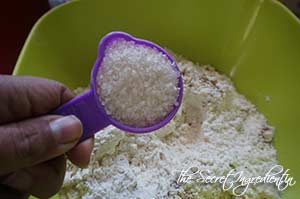
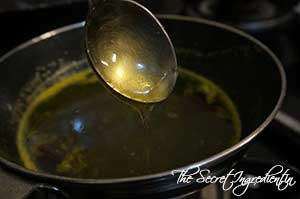
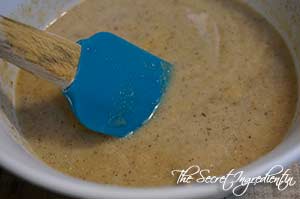
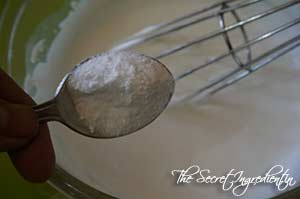
2. Add sugar to the milk and let it simmer for another 5 minutes.

DSC05713


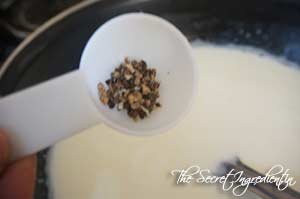
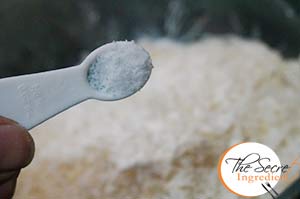
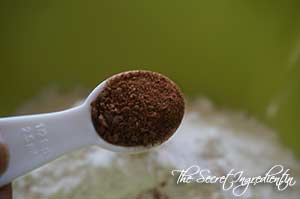
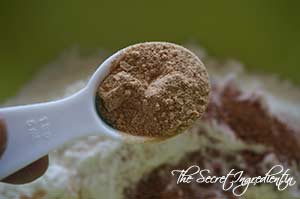
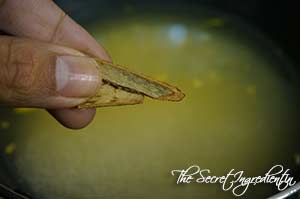
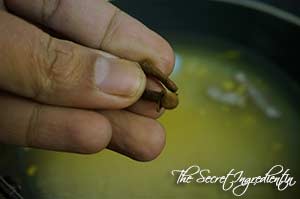
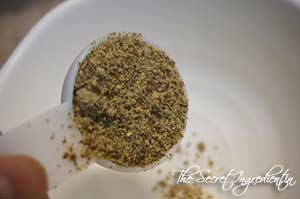
3. Also add crushed Cardamom seeds and combine.

DSC05714
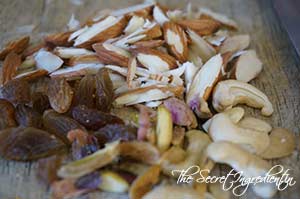
4. Sliver some Almonds and Pistachios and also half cashews. Add these along with raisins to the milk and combine.


DSC05712


DSC05715


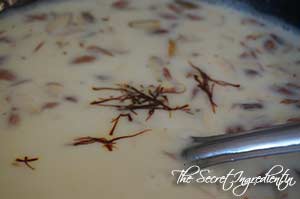
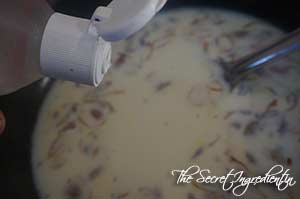
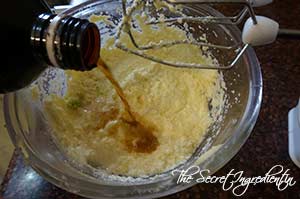
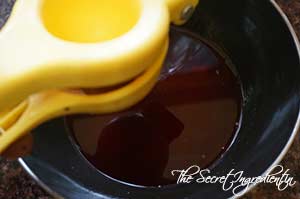
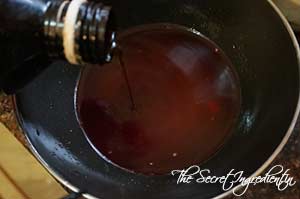
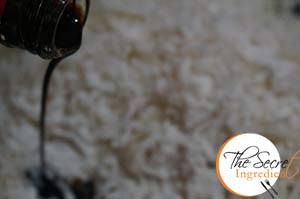
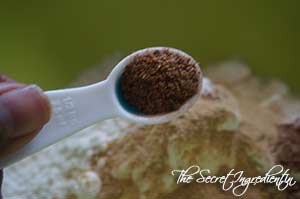
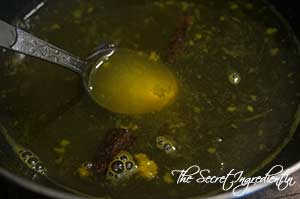
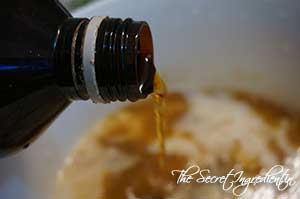
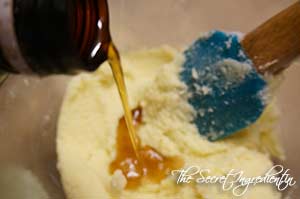
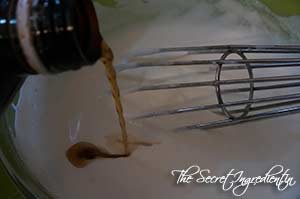
5. Add strands of saffron and rose essence or rose water to the milk for an amazing flavour.


DSC05716


DSC05717


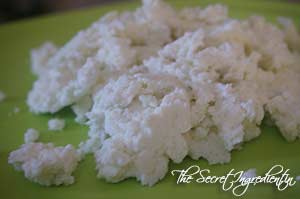
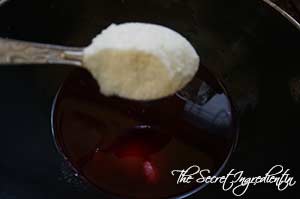
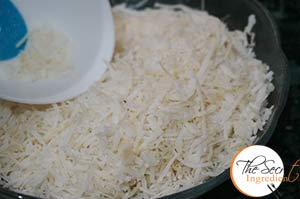
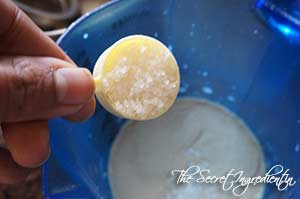
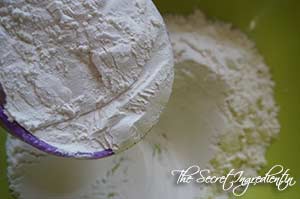
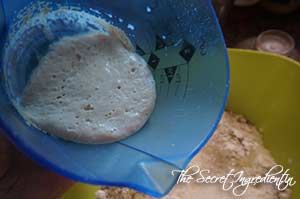
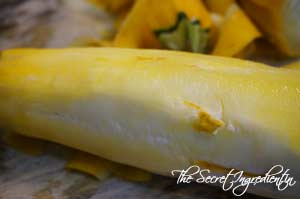
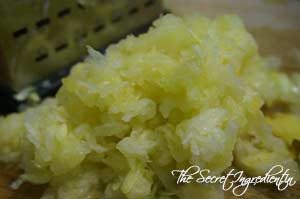
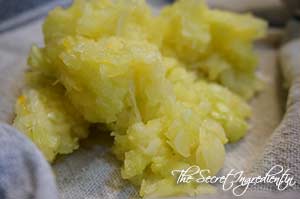
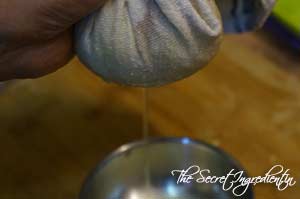
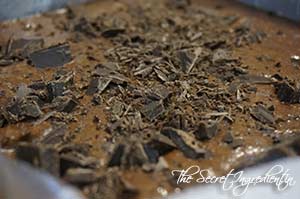
6. Crumble fresh paneer or cottage cheese with your hands and put it in the reduced milk. If you have fresh chenna or paneer it will be easier to crumble with hands or otherwise you can even grate the paneer.


DSC05718


DSC05719


7. Let the paneer get cooked with the milk for another 5-7 minutes and then put the flame off. Garnish with Rose petals and serve hot or chilled.

Other Desserts you can try on The Secret Ingredient are:  Apple LapsiKadda PrashadBasbousaCoconut Milk Mango PuddingGram Flour Semolina BallsKaddu Ka HalwaGajar Ka HalwaKesari SeviyanMakhane Ki KheerSooji Halwa , Swang Ke Chawal Ka HalwaSwang Ke Chawal Ki Phirni.

PaneerKiKheer_Featured5[whohit]PaneerKiKheer[/whohit]

[yumprint-recipe id=’200′]

PomegranateCake_Featured1

Holi is around the corner and I am heading home next week to be with my family. I know for a fact that like any holi there will be Gujiya, Thandai and more Indian sweets and savouries. I want to take them something different which is special, colourful for the occasion and yet delicious.  I decided to use pomegranates which I am currently loaded with. As you know my hunt for recipes begins when I start panicking with things in abundance. I have been eyeing this recipe on BBC good food for a while and with Holi on my mind this seemed a perfect match for the occasion.

PomegranateCake_Featured2

This was very easy to put together. The base of this can be any sponge cake with egg or eggless! I chose to do egg because you get the perfect rise without being too dense. But if you like you can do any. You can even make my Eggless Almond Vanilla Cake, skipping the almonds. The beauty of this cake is in the syrup, as you can see 😛 The pomegranate arils are like the jewels studded in the crown. Oh  I can become a poet now for I loved this cake. But the real kick is in the pomegranate syrup. It takes the cake to next level of deliciousness.

PomegranateCake_Featured5

See I can go and and on and yap so much about this cake and lure with pictures. But you must stop me here and look at the recipe and make for your loved ones this holi! Or why look for an occasion, just bake it, dress it and devour.. Oh yes and  don’t forget to thank me 😛 In the meanwhile I am sending this cake for my friend Shaheen from Spoon Fork and Food and Sonal from Simply Vegetarian 777 Holi Collective. Do check out their blogs for some amazing Holi Recipes.

Directions: 

1.In a bowl add Butter and castor Sugar. Cream them together. You can use hand held whisk or electric whisk.


DSC05591


DSC05592


DSC05593


2. Add eggs and combine till creamy and light.

DSC05594
3. Add Zest of Lemon, Lemon Juice and Vanilla Extract.


DSC05596


DSC05597


4.  In a bowl add All Purpose Flour, salt and Baking Powder.


DSC05598


DSC05599


5. Slowly add this to the wet ingredients and combine until moistened.


DSC05600


DSC05601


6. Pour this batter in a cake tin or smaller 4 cake tins and smoothen the top with a spatula.


DSC05602


DSC05603


7. Bake in the preheated oven on 160 degree for 50 minutes for large single tin and 20 minutes for smaller tins or until the toothpick inserted comes out clean. Let them cool down completely before removing them from the pans.

DSC05609


8. For the syrup add Pomegranate juice and Sugar a sauce pan.


DSC05604


DSC05605


9. Also add Lemon Juice and Vanilla Extract.


DSC05607


DSC05606


10. Place the saucepan on medium heat and let the sugar dissolve in the juice. After a few boils the liquid will became a little thick but with pourable consistency. When it reaches that stage turn the flame off.

DSC05608


11. After your cake has cooled poke some holes with a knife or skewer on its top.

DSC05611
12. Place a sheet of Oddy Parchment Paper below a wire rack and place your cake on the rack. Pour the syrup on the cake and let the parchment Paper catch the drippings. Its makes cleaning breeze. Also top it up with pomegranate arils.

DSC05612

13. Greet your guests with this gorgeous cake this Holi. I am sure they will never forget this one.

You can try other cakes here as well Wacky Vegan Chocolate Cake, Persimmon Rum CakeApple Raisin Streusel Bread, Pumpkin Cake Rolls, Surprise Heart Inside Cake, Chocolate Vanilla Marble Cake, Lemon Cake with Lemony Frosting

PomegranateCake_Featured3

[yumprint-recipe id=’199′]


Often there is an urge to eat something sweet, chocolaty which simply melts in your mouth. These cravings go berserk if you try to suppress them. And the only solution is to feed them with what they want. One super duper quick recipe is Brazilian Brigadeiros . These are simple chocolate fudge balls which involves minimal cooking and excellent results. Roll them in Chocolate Sprinklers and you get this amazing dessert.

I made this for my mother in law who is fond of chocolates and sweets. She was to do a road trip and I thought to make this for her so that she can enjoy her trip. And when I gave her a box of these she was like “wooowww did you make these they look just like store bought chocolate truffles”. And that made me a happy chirpy soul 🙂 Try them for your kids, specially when they are appearing for their exams. They would love to get pampered this way 😉

Directions:

1. In a pan melt Butter.
DSC05227
2. Empty a can of Condensed Milk.

DSC05229

3. Also add Cocoa powder and mix well. 

DSC05230

4. Keep cooking chocolate on medium flame until you see it bubbling. Make sure the chocolate doesn’t burn from the bottom so you need to keep stirring. If your chocolate is undercooked you wont be able to roll them into balls  and if its overcooked it wouldn’t taste good. So it has to be perfectly cooked. Draw a line in the centre with the spatula if the line remains  as it is , then its a sign your chocolate is done.

DSC05232
5. Line a plate with Parchment Paper, I have used Oddy Uniwraps Parchment Paper because it doesn’t stick to the food and you need not grease it. Spread the chocolate on the plate and let it refrigerate in fridge for 2 hours.


DSC05233


DSC05234


6. Grease your hands with oil and take a little portion of your chocolate and roll into a ball. If your chocolate is rightly cooked it will form the shape without a problem, if not you need to cook it further.


DSC05235


DSC05236


7. Roll the balls in chocolate sprinklers.

DSC05237
8. You can place them on a muffin cup liner to avoid sticking to the plate. Serve and enjoy the sweetness.

Other quick recipe you can try here are : Coconut Macaroons,Coconut Milk Mango PuddingApple Lapsi .

[whohit]Brigadeiros[/whohit]

[yumprint-recipe id=’195′]

CoconutMacaroons_Featured3
This is my first post the year. It has been crazy in the midst of workshops, bakes, pickle orders and a much much more. Not that I have not been baking , just that I have a different laptop to work with and it is taking a while to adjust. So a lull in posting. I hope you missed me as much I missed you. Here’s a super quick dessert which is easy, crisp and equally delicious.   

CoconutMacaroons_Featured2

These Coconut Macaroons are not to be confused with French Macarons. The two words refer to completely different things. Both macarons and macaroons are confections, and both names are derived from the Italian word ammaccare, which means “to crush” – but that’s where the similarities end. Traditionally, these coconut macaroons are made with whipped egg whites, however this recipe is eggless and far more easy and yet so delicious!

Directions:

1. Preheat your oven to  350 degree F ( Learn about Oven temperatures and Conversion). In a bowl add some dried flaky Coconut. Also add to it All purpose Flour and little salt.


DSC04576


DSC04577


DSC04578


2. Add to the bowl vanilla extract and condensed milk.


DSC04579


DSC04580


3. Mix them thoroughly using a spoon. Wet your hands and roll them into golf size balls.


DSC04581


DSC04584


4. Line a baking sheet with Oddy Uniwrap Parchment Paper and place these balls on it. 

DSC04585
5. Bake them in preheated oven for 15 to 17 minutes or until golden. Remove them on wire rack to cool off.

DSC04586
6. Enjoy these crispy flaky Coconut Macaroons in no time. Perfect solution for quick dessert cravings.

Still looking for more Coconut recipes? You can try Coconut Chutney , Coconut milk and Mango Pudding and Chocolate Coconut Cookies.
 
CoconutMacaroons_Featured5[whohit]CoconutMacaroons[/whohit]

[yumprint-recipe id=’188′]


PumpkinBuns_Featured1

It wasn’t until Mexico happened that I discovered that pumpkin can be used in making sweets and desserts apart from the traditional Indian style savoury curries. It was then I started making Pumpkin Puree at home which is available in abundance specially around halloween, thanksgiving and christmas. I find it an amazing ingredient to make nutritious pancakes for my kiddo. You can also make Pumpkin Soup, Pumpkin Pie and what not. My first stint with Pumpkin puree was when I made Pumpkin Cake Rolls. Ohh man! They were outrageously delicious.

PumpkinBuns_Featured2

Now that I am into bread baking, I came across this post from Aparna’s Blog My Diverse Kitchen where she made these gorgeous looking baby pumpkins. I decided then and there I will do this soon. And here I am with these little cute looking pumpkins. I showed them to my mother in law who loves tiny pumpkins and she took them for real pumpkins 🙂 When I told her these were buns she was amazed. They not only look cute but taste great with ground spices. You must try them soon.

Directions:
1. In a container take some lukewarm milk. Add instant yeast and also add sugar. Let the yeast sit for 5-7 minutes to bloom and become frothy. You can know more about ways and means to tame yeast.


DSC04461


DSC04462


2. In the meanwhile take All purpose flour in a bowl and add to it salt and cinnamon powder.


DSC04463


DSC04464


DSC04465


3. Also add ginger powder and ground cloves, along with more sugar, if you like them to be more sweet*. Give dry ingredients a mix.


DSC04466


DSC04467


DSC04468


4. Once you see the yeast milk has frothed up, you can add it to the flour mix.


DSC04469


DSC04470


5. Add Pumpkin Puree. You can use canned or you can easily make at home like this. Add to this egg and melted butter.


DSC04471


DSC04472


DSC04473


6. Using your hands bring the mixture together to form a dough. Dust your counter with flour and knead it well for good 10 minutes. Until it becomes paliable.


DSC04474


DSC04475


7. Make a ball of it and place in a greased bowl. Cover the bowl with a cling wrap and let it rest for an hour or until it doubles up. The time may vary depending on the weather conditions.


DSC04476


DSC04477


8. Once it has doubled in size deflate it and knead it on your flour dusted counter. Divide the dough into 8 equal size balls.


DSC04478


DSC04479


9. Press them a little from top to make them appear like discs. Cut them around with a sharp knife making it look like a flower. Ensure you just make incisions around the centre, not all the way. Let picture below be your guide.


DSC04480


DSC04481


10. Place them on a baking sheet lined with parchment paper. In this case I am using a silicon mat. Do keep a good gap between each bun for they will expand on second proof and further on baking. Using a clean Pencil make a small hole in the center of the flower. Cover the tray with a lint free towel and let it rise again for another 45 minutes or so.


DSC04483


DSC04486


DSC04484

11. That is how they should look after second rise. Give them a generous egg wash or you can use milk and water mixture. Bake them in a preheated oven for 15 to 20 minutes on 180 degree celsius (Learn more about Oven temperature and Conversions)


DSC04488


DSC04489


12. As they come out of the oven you can give them honey mixed with water glaze, for that sheen. In the cavity we made before you can place a pine nut or walnut piece sliced vertically like the tiny stem of pumpkin.

Other festive recipes you can try are: Gingerbread Man Cookies, Melomakarona: Greek Christmas Cookies, Pumpkin Cake Rolls, Persimmon Rum Cake, Pumpkin Pie Spice.

PumpkinBuns_Featured5
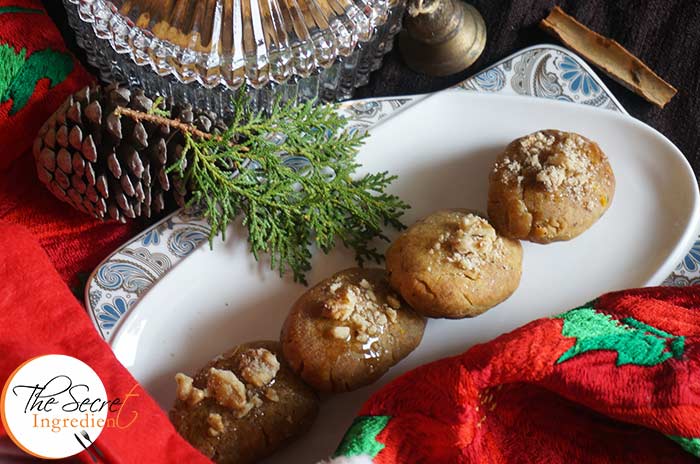
[whohit]PumpkinBuns[/whohit]
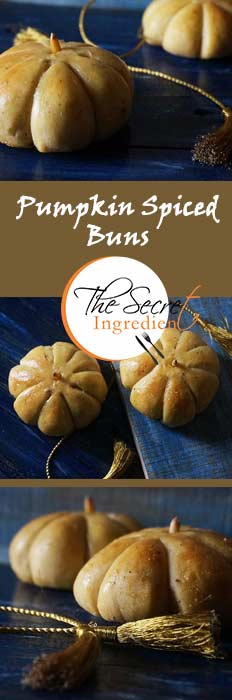
Sending this to YeastSpotting

PumpkinBuns_Pintrest

[yumprint-recipe id=’187′]

MelomakaronaCookies_Featured1

Its November end and Thanksgiving is over.  I can feel the chill in the air and my nose turns red when I take my daily walk in the hills. I have soaked the dry fruits in Rum for the Christmas Cake, which officially means that Christmas has begun. Hurray!! now who can stop me from baking delicious cakes and cookies. 

Incidentally, this months Spatula Force Theme Challenge was Greek Cuisine hosted by my Friend and Food Blogger Bhawna Pandey from Salt and Pepper . This motivated me to try  the Greek Traditional Christmas Cookies Melomakarona. They are delicious, melt in mouth, egg shaped cookies with goodness of Olive Oil and Honey. They are Spiced with Cloves, Cinnamon and Orange Zest. Doesn’t that sound very festive and christmasy? 

MelomakaronaCookies_Featured2
The baked cookies are dipped in Sugar Honey Spiced Syrup and finally glazed with Honey and chopped Walnuts. Ohh!! The taste is absolutely mindblowing and scintillating. You must try these to believe me 🙂 I loved to photograph these cookies and creating a little Christmas like ambience. Thanks to my friend Lily for the beautiful platter she gifted me on her visit. Doesn’t that look amazing!

Directions:

1. Wash and dry a firm Orange and take out its zest, only the orange part using a microplane or zester.

DSC04226
2. In a saucepan add some water and add to it lemon zest and orange juice.


DSC04228


DSC04229


DSC04230


3. Add sugar to the saucepan along with cinnamon and Cloves.


DSC04232


DSC04233


DSC04234


4. Bring the syrup to a boil and then simmer for two minutes. Turn the heat off and add honey and mix well till it is dissolved. Keep aside.


DSC04237


DSC04240


DSC04241


5. In a mixing bowl add Vegetable Oil, Olive oil and Orange juice. 


DSC04235


DSC04236


DSC04238


6. Add to bowl baking soda and whisk together with the juice and oils. Let the soda react with the juice.


TDSC04242


DSC04243


7. Add ground Cloves and Cinnamon and combine  


DSC04245


DSC04246


8. Add caster sugar or icing sugar to the oil juice mixture and mix well along with orange zest. Add semolina and combine using a whisk. 


DSC04247


DSC04248


DSC04249


9. Now add All purpose flour little by little and combine to make a smooth dough. Do not over work the dough.


DSC04250


DSC04251


10. Divide the dough into walnut size elliptical or oval shape balls and press them against a grater to get the pattern. Other wise you can use a fork to make pattern of your choice.


DSC04252


DSC04253


11. Place them on a baking sheet lined with parchment paper or silicon mat, with amble space between each cookie* and bake for 25-30 minutes on 200 degree Celsius  in middle rack. Keep an eye after 25 minutes, for it shouldn’t get over baked.


DSC04254


DSC04255


12. Immediately as they come out of the oven dip them in the  syrup we prepared before for 20 seconds. You can use slotted spoon to take them out.


DSC04256


DSC04257


13. Let them drain and rest on a wire wrack. When they cool down drizzle them with Honey and sprinkle on top some coarsely ground walnuts. 


DSC04258


DSC04264 


DSC04265


14. You are ready to dig into them and make this Christmas more special and Joyous.

Other Cookies you can try on The Secret Ingredient are: White Chocolate Chip Cookies , Ragi & Whole Wheat Biscuits, Coconut Chocolate CookiesPeanut Butter Cookies with Chocolate Chips and Italian Almond Biscotti.

If you are looking for Delicious Cakes and Sweet Breads: Apple Raisins Streusel Bread , Chocolate Vanilla Marble CakeEggless Almond Vanilla Cake,  Eggless Orange Cake with Candied Orange Peel FillingLemon Cake with Lemon GlazePersimmon Rum CakePumpkin Cake Rolls Vegan Chocolate Banana CakeWacky Vegan Chocolate Cake Whole Wheat Vegan Banana Bread with Melon Seeds.

Other Greek Cuisines from my fellow Bloggers participating in this challenge are: Spanakopita Triangles or Greek Spinach Pie by Binjal Pandya from Binjal’s Veg Kitchen, Baklava by Pooja Khanna from 2Bliss Of Baking.

MelomakaronaCookies_Featured3[whohit]Melomakarona[/whohit]

MelomakaronaCookies_Pintrest


[yumprint-recipe id=’182′] 

RagiBiscuits_Featured2

I live in the hills where Ragi or Manduwa is very popular. Kumaoni food has a special place for Mandua ki Roti or Ragi Flour Flat bread. Its considered very nutritional, specially in winters as it has the ability to keep body warm against fierce winters in this belt. I tried making crisp Instant Ragi Dosas with the flour and my family loved it. It has found a permanent place in my household. 

Recently, I opened my small bakery by the name The Secret Oven, for homemade breads and other baked items. A local shopkeeper asked me to supply sample for Ragi biscuits. I had never made them before but then it seemed an an appropriate opportunity to give it a try. I made these crisp delicious discs strictly following Padhu’s recipe from her blog Padhu’s Kitchen.

RagiBiscuits_Featured1
The recipe was foolproof and the biscuits came out so beautiful. Fortunately, my sample was liked and i got a 10 kg Ragi biscuit order 🙂 This would not have been possible without this perfect recipe. The biscuits are healthy and team up very well with a glass of cold milk. My boys (my son and husband) gorge on these. It is difficult to stop them from stealing biscuits from my order.

Directions:

1. Roast Manduwa or Ragi Flour in a pan on a medium low flame. Keep tossing for a few minutes until the aroma of roasted flour fills the air.


DSC03686


DSC03687


2. In a bowl add sifted Whole Wheat Flour and Roasted Ragi Flour.

DSC03688

3. Also add sifted Baking Powder to the flour and give it a gently mix.


DSC03689


DSC03690


4. Refrigerate butter for 20 minutes and cut it into cubes. Add these butter cubes to the flour mix. 

DSC03691
5. Mix the flour with the butter with your finger tips till you get a coarse mixture.

DSC03693 
6. Add powdered sugar and mix.

DSC03694 
7. Add milk 1 tablespoon at a time and bring the mixture together like a dough. If you add too much liquid or too less liquid it will not hold the shape and will crumble.


DSC03695


DSC03696


8. Cover it with a cling wrap and refrigerate for 15-20 minutes.

DSC03697
9. Roll the dough on a flat counter using a roller pin. You may dust a little with wheat flour to prevent it from sticking. The rolled dough should not be very thin nor very thick, just right 🙂 

DSC03698

10. Cut it into desired shapes. I am using a circular biscuit cutter, you can use cookie cutters or even lids.

DSC03699

11. Place the biscuits on a greased baking sheet. You can use a sharp knife or spatula to lift it up. You can line the baking sheet with parchment paper. I am using a silicon mat to prevent sticking to the bottom. 


DSC03700


DSC03701


12. You can make striped design with a fork and bake it in a preheated oven on 180 degree C (Learn more about Oven temperatures and Conversions) for 15-18 minutes in the middle rack until they acquire a slight brown colour. 

DSC03703
13. The biscuits will still me soft as you remove them from the oven. Let the cool down on a wire rack until they become crisp and delicious! You can enjoy them anytime with or without a glass of cold milk or a fresh cup of hot chai.

Other cookies and biscuits you can try are: Italian Almond Biscotti, Choco Coconut Cookies, White Chocolate Chip Cookies, Chocolate Peanut Butter Cookies.

RagiBiscuits_Featured4

[whohit]RagiBiscuits[/whohit]

[yumprint-recipe id=’172′] 

RagiBiscuits_Pinetrest


ZuchiniBrownies_Features1
Its been a month me and my husband have been clean. No No its not what you are thinking 😉 We are not on DRUGS!!! We are eating healthy and exercising to burn those extra kilos we have gathered as a result of food blogging 😛 We are trying hard to keep our meals simple, clean and avoiding sugar as much as we can. I know its a painstaking task. But you see every Christ has to carry one’s own cross 😉

ZuchiniBrownies_Features2

This gave me an opportunity to look into healthier and nutritious dishes. I recently made Couscous Chickpea Salad, Mexican Black Bean Mango Salad. But nevertheless the craving for sweet things gets in more too often. I tried to indulge in a dessert which is gultfree. I know Dessert and Guiltree are like the North and the South Pole. But trust me these Chocolate brownies are without any eggs, oil or butter and no extra sugar is added to it. Its sweetened with apple sauce, chocolate and maple syrup and above all it has goodness of Yellow Zucchini. Another fabulous idea to hide in Zucchini in your kiddos food without letting them know 😉

Directions:

1. Preheat oven to 180 degree Celsius for ten minutes. Wash, peel and core apple. Cut into small pieces and make a smooth puree in a blender. Set aside.


DSC03397


DSC03398


DSC03399


2. Wash, peel and grate a zucchini. You can use yellow or green. Both will serve the purpose. 


DSC03400


DSC03401


3. Place the grated Zucchini  in a cheese cloth and squeeze out all the water. Set aside. You can use this water to make roti dough. 


DSC03402


DSC03403


4. In a small bowl add Flax Seed meal or Flax seed powder (Learn how to make Flax seed Powder at home) and add some water. Let it rest for ten minutes and become gelatinous.


DSC03404


DSC03405


5. In a mixing  bowl add apple sauce and soya milk.*


DSC03406


DSC03407


6. Also add Maple syrup and Vanilla extract.


DSC03408


DSC03409


7. Add the gelatinous flax meal mixture to the bowl and give everything a good stir.


DSC03410


DSC03412


8. In another bowl swift and add cocoa powder and whole wheat flour.


DSC03414


DSC03415


9. Also sift and add in baking powder and combine with the dry ingredients. The purpose of sieving is to eliminate all lumps.


DSC03416


DSC03417


10. Gently fold the wet ingredients in the dry ingredients.

DSC03420

11. Add grated and squeezed zucchini and combine using a spatula.

DSC03421
12. Chop some chocolate and add to the batter. Save a little for the top garnish. You can even use chocolate chips instead.


DSC03419


DSC03422


13. Line a 8×8 baking tray with some parchment paper and grease it with little oil so that nothing sticks. Pour the batter in the greased tray. 


DSC03423


DSC03424


14. Top it with reserved chopped chocolate and keep it for baking in a preheated oven for 25 – 30 minutes.

DSC03425

15. Remove it from the oven and let it cool down completely before you cut it into squares. You can store them up in fridge in air tight containers for a few days .

Other desserts you can try here are: Blueberry Jam Bars, Pumpkin Cake Rolls, Mascarpone Cherry Compote Cheesecake Glasses

ZuchiniBrownies_Features5

[whohit]ZucchiniBrownies[/whohit]

ZuchiniBrownies_Featured_Pintrest

[yumprint-recipe id=’167′]


The story of this Lemon Cake with Lemon Glaze begins here. My parents in law brought for us lemons from our lemon tree back in Faridabad. The tree is a special variety which bears seedless lemons and the fragrance of fresh lemons is to die for. They were in abundance and then the search began to put them to right use. Easy way would have been to make lemon pickle out of it. However, I had a lot pickle lying in the house sent by my mom earlier this year. I never wanted to hoard pickle while no one eats it. So I decided to this amazing cake which was on my to-do list for a very long time. 


The Cake has an interesting lemony flavour (what else you expect!! Silly me :p). If you have a hang of lemon cakes and have tasted lemon tarts and muffins then decide to do this cake. This could be a little overpowering for those who are expecting this to be an ordinary cake with a spec of lemon here and there.. umm no! It has a distinct tartness which I love!! 

Directions:

1. Wash your lemons and pat them dry. Now remove the  green skin from the lemons known as zest. You can use a zester or simply grater for lemons. Do not use the yellow skin inside for that is known as rind and can be bitter in taste. Do not throw the zested lemons away.


DSC02777


DSC02778


2. Cut the lemons into half and squeeze out its juice. 

DSC02779
3. Grease or  Butter, or spray with a non stick cooking spray, a 9 inch (23 cm) spring form pan and then line the bottom of the pan with parchment or wax paper.


DSC02780


DSC02781


4. In a bowl add butter, at room temperature and add castor sugar. Cream them together till sugar and butter become creamy.


DSC02782


DSC02783


5. Add Vanilla extract and crack in some eggs* (for eggless see tip below in notes). Whisk them together using a strong hand or electric whisk until it become frothy.


DSC02784


DSC02785


DSC02786


6. Add the lemon zest and combine. Set aside.

DSC02787
7. In a separate bowl add the All purpose Flour, salt and Baking powder.


DSC02788


DSC02791


DSC02792


8. Give them all a gentle mix and add little by little to the wet ingredients and mix.


DSC02793


DSC02794


9. Add lemon juice and combine. Do not over mix, just enough to moisten the dry ingredients.


DSC02795


DSC02796


10. Pour the batter in the greased baking pan and slightly flatten the top surface with a spatula.

DSC02797
11. Bake it in a preheated oven for 40-50 minute on 180 degree celsius or until the toothpick inserted comes out clean. Let it cool down for 15 minutes on a wire rack then remove it from the pan.

DSC02799

12. In the meanwhile sieve icing sugar or confectioner’s sugar in a bowl.

DSC02798
12. Add lemon juice to it until it has reached pourable consistency.


DSC02800


DSC02801


13. Let the cake cool down completely Pour the frosting over the top of the cake, allowing it to drip down the sides. 

DSC02803

14. Let the frosting dry before covering and storing. This cake will keep for several days in an airtight container.

You can try other cakes Wacky Vegan Chocolate Cake, Persimmon Rum CakeApple Raisin Streusel Bread, Pumpkin Cake Rolls, Surprise Heart Inside Cake, Chocolate Vanilla Marble Cake.


Cherries are in season and that makes me very happy. My Love for cherries is unprecedented. It is my favourite fruit. It is not a common fruit in India and shows in markets for a brief period, but I ensure I enjoy it to the fullest before I have to wait for it the next year 🙂 To celebrate my love for these gorgeous looking cherries I made these Mascarpone Cherry Compote Cheesecake Verrines and Cherry Rosemary Focaccia Bread with Sea Salt, the recipe I will share super soon


This cherry cheesecake was a pure bliss and indulgence. It had a perfect harmony of flavors from sweet and sour cherries, Vanilla and Cookie base. It not only looked beautiful but tasted divine. The recipe is adapted from Life’s a feast. Its a simple treat and can be pulled in little time if unannounced guests surprise you.

This cherry saga doesn’t end here, I have even tried Cherry and Lychee Ice Cream and results were phenomenal. You may also like to try the very French Cherry Clafoutis which is a custard based dessert with fresh cherries.

Directions:
1. Gently wash cherries and pat them dry. Pit them using a cherry pitter or find out how to remove cherry stones easily without using a pitter.

DSC01897
2. In a saucepan transfer the pitted cherries along with brown sugar or mascabado.


DSC01898


DSC01899


3. Heat both of them over low medium  heat for 6-7 minutes , stirring occasionally. You want juices to run out. Remove from flame and set aside to cool down. Your cherry compote is ready.

DSC01900
4. In the meanwhile add digestive biscuits to a ziplog bag and crush them using a roller pin.


DSC01901


DSC01902


5. Distribute the biscuit crumble in the base of serving glasses or tumblers. Settle them down with the help of pestle.


DSC01903


DSC01904


6. In a bowl transfer chilled mascarpone cheese and chilled whipping cream. The bowl should also be chilled in fridge before pouring them.


DSC01905


DSC01906


7. Place the bowl inside a larger bowl with ice in it. This will help with quick whipping. You can use a hand whisk or electric whisk to whip the cream and cheese into stiff peaks.


DSC01907


DSC01908


8. When it is about to get stiff add confectioner’s sugar and vanilla essence and continue to whip. Set aside.


DSC01909


DSC01910


9. Spoon the cherry compote into the glasses over the cookie crumble. Let the juices seep into the crumble and make it more delicious. You can Leave a little to be poured on top for garnish.

DSC01911
10. Top it up with Whipped cream as much as you like.

DSC01912 
11. Serve it cold with a drizzle of leftover cherry compote and a cherry to make it more inviting.

You can even try Coconut Milk Mango Pudding and Blueberry Bars.

Related Post: Learn How to remove Cherry Stones without Cherry Pitter.

[yumprint-recipe id=’136′]