Author

anshu

Browsing


Its Valentine’s Day, the day of love. Love doesn’t just mean loving your partner but it has a wider definition, it includes your parents, your kids, your friends and any one who means to you. This has been a hectic month for me for I am shifting my base from Mexico to India. I have been utterly busy doing packing with less than ten days left for my departure. Probably this is my last post from Mexico. Well coming back to the topic. Since, I had little time I wanted to make something easy and also utilise things I have on hand. Trust me this came out sinfully delicious.You can use any jam you have on hand and make these heavenly bars and tell your loved ones how much you love them.

Directions:

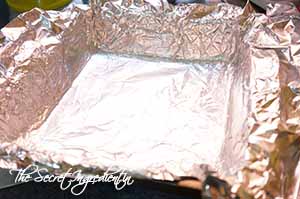
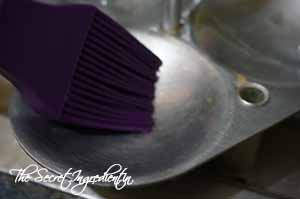
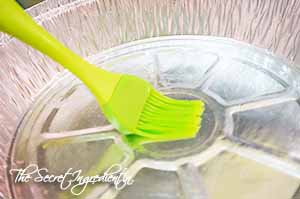
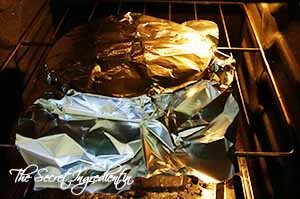
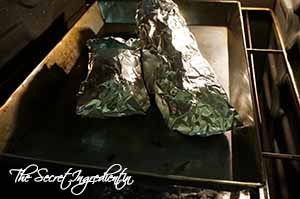
1. Preheat the oven at 375 degrees (Learn more about Oven temperature and Conversions) and line a 9×9 inch baking pan with parchment paper and spray it lightly with non stick spray, set aside. Since I was running out of parchment paper I lined the tray pan with aluminium foil and sprayed it with cooking oil.

BlueberryBars6
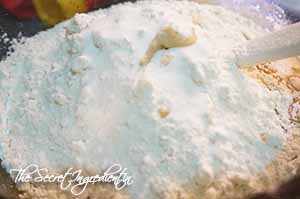
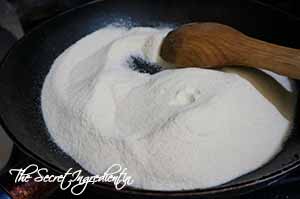
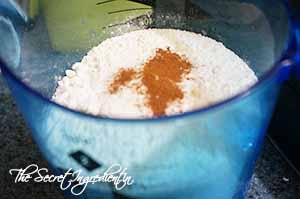
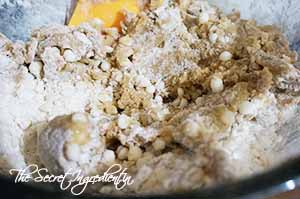
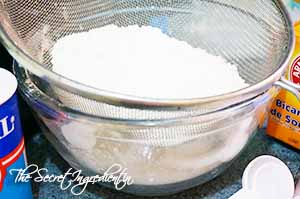
2. Mix together the flour, salt and baking soda and keep aside.

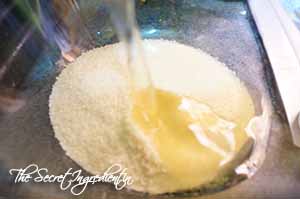
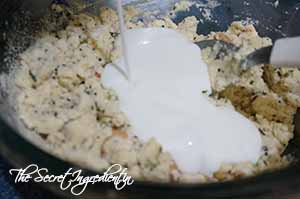
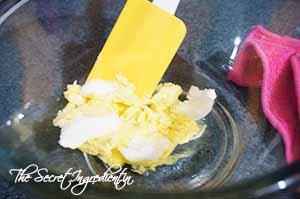
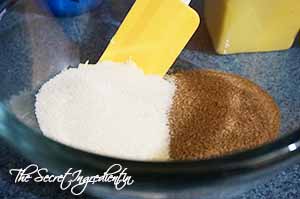
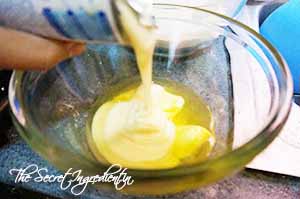
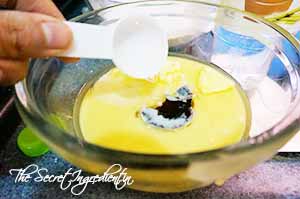
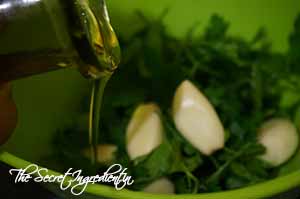
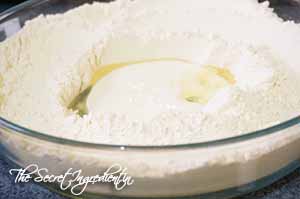
3.  In a bowl cream together butter and sugar. I used vegetable oil because as I said I had to utilise the things I had. The bars still  tasted incredible.

BlueberryBars1

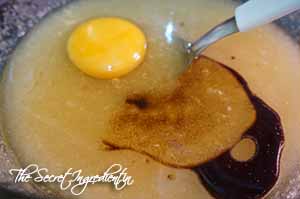
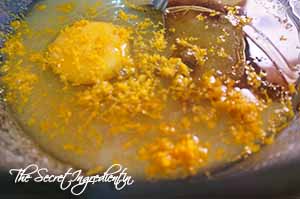
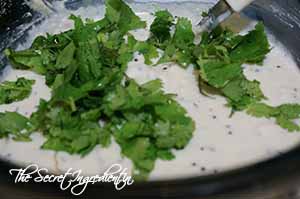
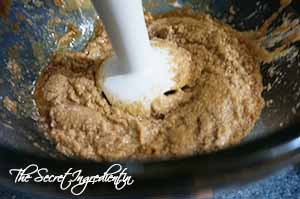
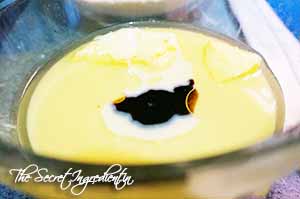
4. After the butter or oil has been creamed with sugar add an egg and some vanilla extract. Also add orange zest. It brings in some contrasting flavour. Give the mixture a good whisk.


BlueberryBars2


BlueberryBars3


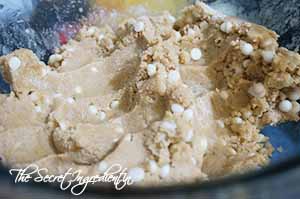
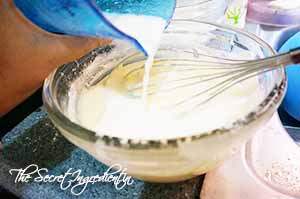
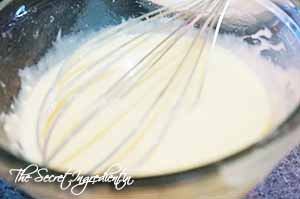
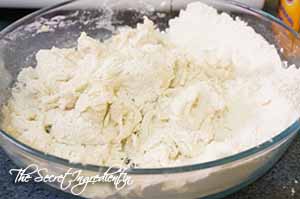
5. Add the dry ingredients and combine well with the wet ingredients.


BlueberryBars4


BlueberryBars5


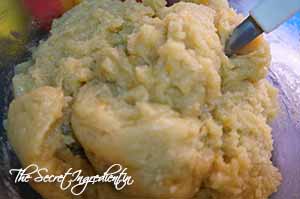
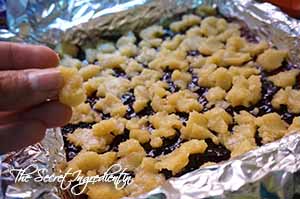
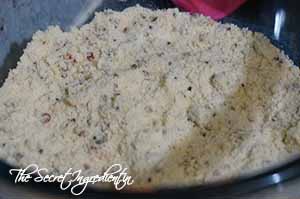
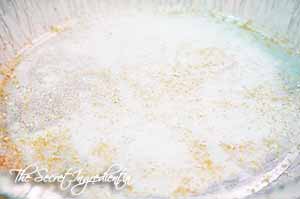
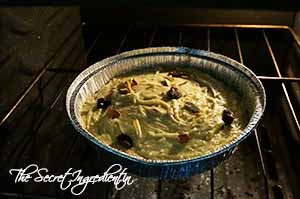
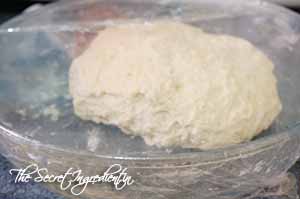
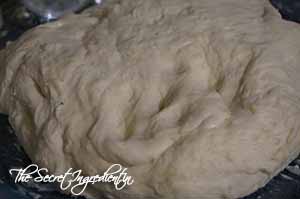
6. In the lined baking pan transfer 2/3 of the crumbled dough and rest keep aside for topping. With the help of hands spread the crumbled dough evenly in the pan.


BlueberryBars7


BlueberryBars8


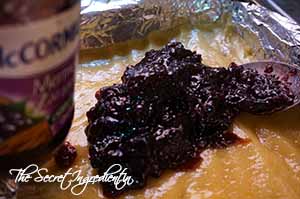
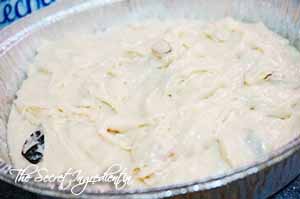
7. Now heat the jam in a bowl in the microwave  for 5-8 seconds so that it becomes loose and easy to spread. With the help of a spoon spread the jam over the dough.


BlueberryBars9


BlueberryBars10


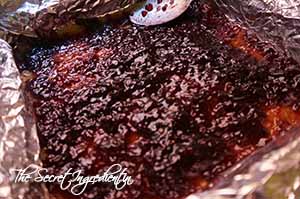
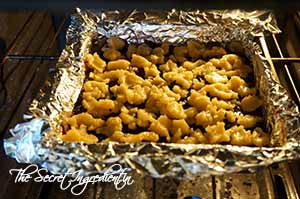
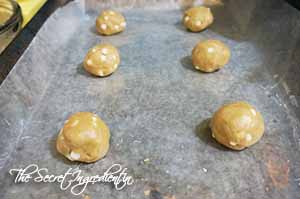
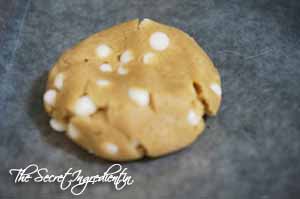
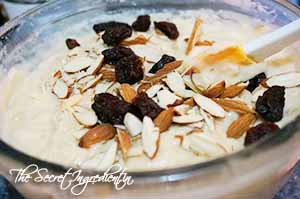
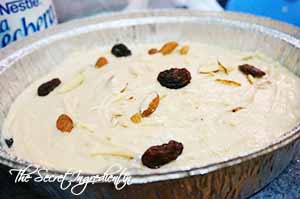
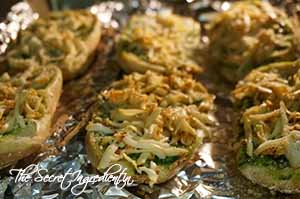
8. Now distribute the remaining  dough in pieces all over the jam.

BlueberryBars12

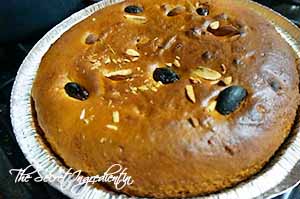
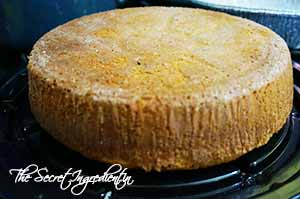
9. Keep the baking pan in preheated oven for 25-30 minutes or till the bars start getting golden colour.

BlueberryBars13

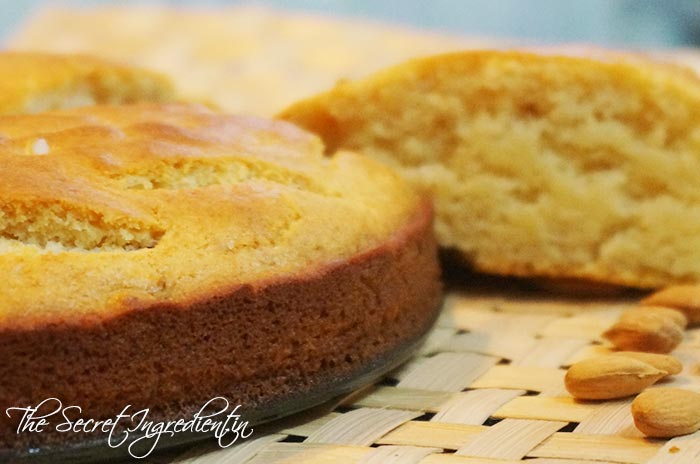
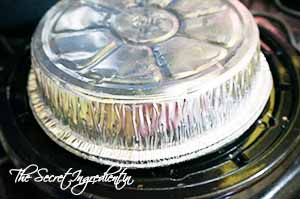
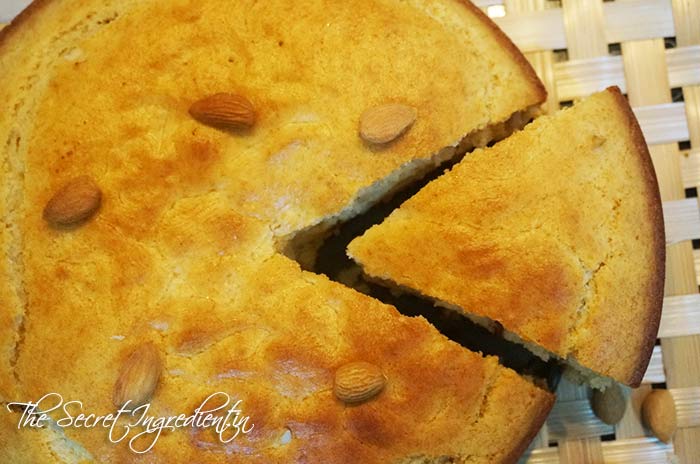
10. Take it out of the oven and let it cool completely for couple of hours. If you cut it while it is still hot it can run out and become messy. Cut it into bar sized chunks.
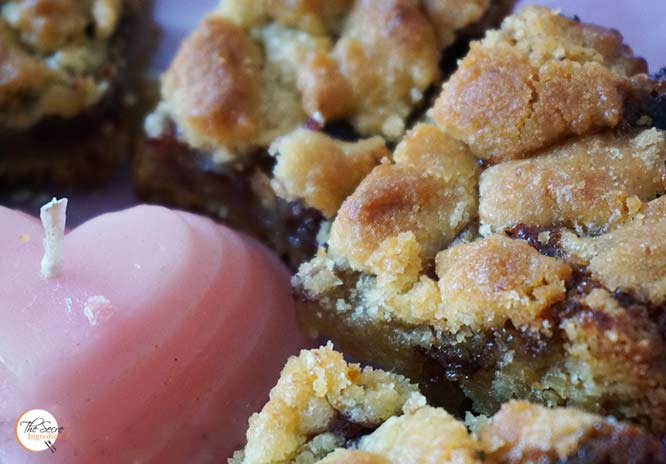

BlueberryBars14


BlueberryBars15


Spread your love.


[yumprint-recipe id=’11’] [whohit]BlueberryBars[/whohit]

QuickRavaIdli_Featured1
I always loved south Indian food ever since I was a little girl. I am the only child of my parents so have been little spoiled by them. At around 2’o clock at night I would knock on my parents door and tell them I am hungry. My Mommy will ask me what I wanted to eat. And I would reply “idli“. While my mommy is still giving me a look in disgust my father still in bed would say “Come on make her idli”. Yeah! those were such adorable days. I will only realise the pain when my kiddo grows up to ask me such weird things at even weirdo hours. In fact I should be ready with that 😛  Anyways coming back to the topic of idli, when I came to Mexico my packaged rava idli stock lasted a few months and then the craving would sink in. So, I decided to make it from scratch at home. I found an incredible recipe which tastes even better than packaged stuff. Also it has no preservatives!! Last when I made them this week, I was on cloud nine because they tasted sooooo goood.

Directions:

1. In a large bottom pan, roast semolina for ten minutes on low flame. The roasting should not change the colour of semolina otherwise the idlis wont taste good. Keep stirring it continuously to avoid burning. Once done keep aside in a mixing bowl.

QuickRavaIdli4
2. In the same pan pour some oil and add mustard seeds, kaddi patta, urad dal and arhar dal. Toast them on a low flame for a couple of minutes. Add halved cashews and asafoetida and toast them for another minute and turn off the flame.

QuickRavaIdli1

QuickRavaIdli3

3. After the mixture cools off add it to the mixing bowl with the semolina. Add salt and mix everything together with a spoon.

QuickRavaIdli6

4. Add half yogurt and mix it well with semolina. Let the mixture absorb the yogurt for ten minutes. Then add rest of the yogurt and mix well to form a creamy texture. If you feel the batter is not creamy and stiff add more yogurt to achieve the desired consistency.  

QuickRavaIdli10

5. Add chopped coriander leaves and chopped green chilies if you desire. I opted out for my kiddo will also be party to this feast.

QuickRavaIdli11

6. While the mixture rests you can brush the idli stand plates generously with oil and drop one halved cashew on each idli mould. I am using the pressure cooker idli stand, you can use an idli cooker for stove or even for microwave. Also add water in the bottom of your pressure cooker or idli cooker or microwave idli maker. It should be enough but should not touch the idli stand by any means when stand is immersed in cooker.

QuickRavaIdli12

QuickRavaIdli14

7.  When your plates are greased and water poured in cooker, add little baking soda or fruit salt in the batter and mix well. And immediately divide the batter with a spoon on the idli plates. Do not overload the plates.

QuickRavaIdli13

QuickRavaIdli19

8. Once the batter is poured in the pods. Immerse the stand inside the cooker and put the lid on without the whistle or weight. Turn on the flame and cook on high flame for exact 11 minutes. If using microwave to cook your idlis, it takes 3-4 minutes to cook idlis with this batter.

QuickRavaIdli21

QuickRavaIdli22

9. After 11 minutes turn off the heat and let it sit for 1 minute and then open the lid to find your idlis like this.

QuickRavaIdli23
10. Wait for another minute and with the help of back of a spoon or a blunt knife carefully scoop out the the idlis from the plate. Ensure you go till the bottom and if the plates have been greased well they will come out clear.

QuickRavaIdli25
11. Serve them hot with Sambar, or chutney or both. Indulge!

QuickRavaIdli_Featured2  

[yumprint-recipe id=’10’]  [whohit]QuickRavaIdli[/whohit]

ChocolateChipCookies_Featured1
Cookies!! Yes be it any type of cookie makes you drool. These white chocolate chip cookies are better than any store bought cookies. They are incredible with a cold glass of milk. I made my friend try and he exclaimed ” they are better than those subway cookies! Well I can be self flattering many a times but if you want the truth bake them today. Your kids will end up loving you more 🙂 

Directions:

1. Preheat your oven to 375 degrees. (Read Oven Temperature and Conversion).

2. Mix together the dry ingredients and keep aside.

ChocolateChipCookies4
3. Cream together the butter and shortening and both types of sugar.


ChocolateChipCookies1


ChocolateChipCookies2


4. Add eggs and vanilla extract to make everything creamy. I used a hand blender, you can even use your hand.

ChocolateChipCookies3

5. Add the dry ingredients and combine well. Throw in chocolate chips and form a evenly distributed dough. 


ChocolateChipCookies7


ChocolateChipCookies8


6. On a cookie sheet lined with parchment paper place the cookie dough rolled into balls. You can do it with hand or with an ice cream scooper. Press the cookie balls slightly from top. Keep a distance of two inches from each other for they will melt and spread. 


ChocolateChipCookies9


ChocolateChipCookies10


7. Bake them in preheated oven for  10 to 12 minutes, until lightly golden brown around the edges.

ChocolateChipCookies11
8.  Cool them for five minutes on the cookie sheet then cool them completely on a wire rack before digging in. 

ChocolateChipCookies_Featured2

[yumprint-recipe id=’9′] [whohit]WhiteChocolateChipCookies[/whohit]

EgglessCake_Featured2
I had been receiving a lot of requests to share a recipe for Eggless cake. The eggless cakes are known to be non spongy and dry. They have always been labelled to be less appealing in taste, texture and appearance compared to a cake with egg. But after you try this recipe you will know how wrong is this notion. The cake comes out as spongy as a normal cake plus it is delicioussss. The purpose of  adding egg is to make the cake fluffy and soft but instead we are using vinegar to achieve the same results.

Directions:

1. Preheat your oven to 350 F  (Know more about Oven Temperature and Conversions). In a bowl sift all purpose flour, salt, baking powder and baking soda and set aside. Sifting flour can be a messy exercise, at least for a lazy bone like me :P.  We sift all the dry ingredients so that they become lump free and the flour becomes fluffy as air is incorporated in it. All it helps to mix the ingredients evenly.


EgglessCake1


EgglessCake2


2. In another bowl, preferably bigger than the first one add butter,oil, condensed milk and vanilla essence.If you have a sweet tooth you can even proceed to add sugar, I won’t judge you ;).Whisk them together using a strong hand to make it creamy and soft.


EgglessCake3


EgglessCake4


3. Add vinegar  and combine well.

EgglessCake6

4, Add the sifted dry ingredients little by little and combine well with gentle hand. Add few spoons of milk to mix well. Then repeat the two steps till entire dry flour mix is combined well to form a lump free batter.


EgglessCake9


EgglessCake7


5. After the batter is ready add nuts of your choice. I used almonds and raisins. Simply fold them in the batter but do not whisk them.

EgglessCake13

6. Grease a 9×2 inch pan with vegetable oil or melted butter. I used the disposable tin pan because I had many and needed to use them before I fly India :). After generously greasing the pan sprinkle some flour all over the pan so that the flours sticks to the oiled pan.


EgglessCake11


EgglessCake12

7. Transfer the batter in the baking pan and give it a gentle tap couple of times so that the air bubbles trapped inside the batter escape. I sprinkled on top some more dry fruits to decorate. But if you feel its too much of an effort by all means you can skip this.


EgglessCake14


EgglessCake15


8. Place the baking pan in the preheated oven for 25-30 minutes. But keep a close eye on your cake after 18 minutes. If you feel the top is getting a lot of colour. Do not panic!! You can cover it with an aluminium foil, like I did and everything comes in control.


EgglessCake16


EgglessCake17


EgglessCake18


9. After 30 minutes I inserted a tooth pick in the center of the cake an it came out clean. That’s when you know your cake is ready. Take it out of the oven.

EgglessCake19

10. Invert it on a tray after a minute of talking out of the oven. If it cools inside the baking tray it can stick to the bottom and plus it wont set as it should.


EgglessCake20


EgglessCake21


11. Now cool it for another fifteen minutes on a wire wrack and then you are ready to pounce on it 😛


 EgglessCake_Featured1

[yumprint-recipe id=’5′] [whohit]egglessCakeAlmondVanilla[/whohit]

CheesyGarlicBread_Featured1
This cheesy Garlic Bread is simply awesome. I am not exaggerating. You have to try it at home to believe me. In any given restaurant you will pay a handsome sum for those tiny piece of breads. If you make them at home they are not just easy on your pocket but also  a delight for your taste buds. You can always be stingy or generous with the cheese topping. The best part is it gets ready in no time and is a perfect party food.

Directions:
1. Preheat the oven to 400 degrees.

2.  You need to take any deli bread, it can be Italian or the bread roll you buy for sandwich from a bakery. A commercial bread loaf/slice may not bring in the same taste and texture. If its a big loaf cut the slices in slant to get maximum surface to put toppings. And you buy a packaged deli bread like me. It comes like a bun cut in two halves. Just perfect for garlic cheese bread.

GarlicBread1

3. In a bowl put some fresh parsley leaves and garlic cloves. If you do not have access to fresh parsley leaves you can always use a teaspoon of dried parsley leaves Add a generous drizzle of olive oil and blend it with a hand blender to form vinaigrette . If you have a small blender you can use that.


GarlicBread3


GarlicBread4


GarlicBread5


4.  Spread the vinaigrette over the bread slices and keep them on a baking sheet. Put one end of bread on the other with vinaigrette in the center like a sandwich.


GarlicBread6


GarlicBread7


5. Carefully roll your bread with some aluminium foil , place it on your baking sheet and pop it in your preheated oven for 10 minutes until the vinaigrette is well absorbed by the bread.


GarlicBread8


GarlicBread9


6. After ten minutes of baking, remove the bread from oven and  unwrap the aluminium foil and spread the foil on the tray. Place the bread slices on the tray, vinaigrette side up. Top it with some mozzarella cheese. I used the chili marinated mozzarella so it looks reddish. You can use any. Season it with some salt and pepper and sprinkle generous shavings of parmesan cheese.


GarlicBread10


GarlicBread11


7. Return the baking tray with bread into the oven for another 10 to 15 minutes until you see the cheese has melted and and its bubbly.

GarlicBread12
Enjoy it as a party snack or as a side dish with food of your choice.

CheesyGarlicBread_Featured2


[yumprint-recipe id=’1′] [whohit]garlicBread[/whohit]

Matar_Featured1

Matar Kulcha, takes me back in time. Near the post office under that giant Ficus tree (Peepal tree), a hawker would stand and sell those luring matar kulcha all afternoons. I would ask my mommy to get me these for lunch when I return from school. Those were good days when we would not worry bout hygiene and nutrition like a retard. The street food was a delight both for young and old. These days we buy the same overpriced street food in big restaurants which do not taste the same. One of my friend requested for this recipe and I thought to give it a try. Surprisingly, it came out very well and delicious!

Matar in hindi means ‘Peas’ which can be green dried peas and also Chickpeas. The hawker on the street will make them out of green peas for chickpeas can be expensive for a street food price. However, in restaurants they make it out of Chickpeas. But the taste of both comes out the same provided the right type of spices are used to bring it upto that level. These matars are served with hot flattened fermented bread known as ‘Kulcha‘. These kulchas can be stuffed like a parantha or simply rolled into round shape like a roti.

Get the recipe of Matar below and Kulcha here.

Directions:
1. Soak the chickpeas for at least 5-6 hours in water or overnight.

Matar1

2. Boil the soaked chickpeas in a pressure cooker for about 20 minutes. Turn the flame on low after first whistle and if your pressure belongs to the modern generation then turn on low flame after 5-7 minutes. Do not release the pressure. Let them cook in their own steam.

Matar1

3. You can either turn off the flame and let steam evaporate all the water or you can reserve the water to be used as vegetable broth/ stock in soups or other curries. I chose to reserve it. Slightly mash the boiled chickpeas using a spoon. Do not make a paste. It should be chunky enough. Set aside.

Matar2

4. In a pan pour oil and on heating add cumin seeds. Once they start to crackle add salt, chili powder, roasted cumin powder, amchur powder, chaat masala and garam masala.


Matar3


Matar4


5. Add the mashed chickpeas to the spice mix and fold gently. Cook for 2-3 minutes.

Matar5

6. Now, its time to add Jaljeera. I fortunately, had jaljeera powder with me. So I dissolved a spoonful of it in half cup of water. This made my life simpler. If you cannot lay your hands on a jaljeera powder. You can make it at home by putting all the ingredients listed under ‘jaljeera mix’ in a blender and use that. Cook the chickpeas with jaljeera for another 3 minutes or so or until you start smelling the aroma of your delicious matar.


Matar6


Matar7


7. Add chopped fresh coriander. Mix it gently. Let the matar acquire right consistency. Neither, very dry nor very liquid. You can always add more water if you feel they have turned dry.


Matar8


Matar9


8. Top it with chopped onions, tomatoes and julienned Ginger with a dash of lemon.

salad

7.  Serve it with Kulcha and remember the taste of your childhood.

Matar_Featured2

[yumprint-recipe id=’30’] 


[whohit]matarkulchaa[/whohit]
Source: vegrecipesofindia

Kulcha_Featured2


Kulcha is type of leavened Indian bread famous from North of India usually eaten with Matar or Chole . Its traditionally made in a oven but this recipe I have for you is made on a stove top. Kulchas can be made like rotis and even stuffed. I will soon be trying the stuffed kulcha. Shall post the recipe soon 🙂

Directions:
1. In a kneading bowl put some maida or all purpose flour. Also add Baking powder, Baking soda and Sugar to the flour and mix.

Kulcha1

2. Make a well in the center and add oil, curd and little water. Start mixing the flour with the liquids and then start kneading it. Keep adding more water as required.


Kulcha2


Kulcha3


3. Knead for atleast 8-10 minutes till it comes together into a soft dough ball. Cover it with a wet kitchen towel or plastic cling wrap and keep it for fermentation for atleast 2 hours.


Kulcha4


Kulcha5


4. After 2 hours the dough will become much more soft and very elastic.

Kulcha6

5. Take a small ball and roll it into dry flour. Try to roll it into a round roti using roller pin and rolling it in dry flour as required.


Kulcha7


Kulcha8


6. Do not panic if the dough becomes elastic and comes back to the same shape . Just hold the rolled dough in both your hands and stretch apart slightly. Do not tear it apart 😛 After stretching it little it becomes a little easier to roll. True Story 😉 It will come with one or two practice. Once the dough ball is rolled spread sesame seeds or nigella seeds all over it and roll the pin over it so that it sticks to the dough.

Kulcha10

7. Transfer the roller dough to the pan or griddle. Cook on one side for til its cooked 1/4 and then flip on the other side and cook it till its half done. Apply ghee on both the sides. It has a tendency to inflate, if you wish you can make a small cut on the top to deflate it.


Kulcha12


Kulcha13


Serve warm with matar or chole. It tastes amazing.

Kulcha_Featured1

[yumprint-recipe id=’2′]


[whohit]kulcha[/whohit]

PanGrilledFish_Featured2

The only memory of me eating fish was when I was a little girl  and when my Father would get “Fish Pakoras” from a very famous shop in our town. After that I turned vegetarian and tried fish only in Mexico. With many fail attempts finally I figured out a healthy way to cook fish. It doesn’t take much effort and is a perfect date recipe. Even the bachelor’s can easily put this up together. You can serve this with salad.

Directions:

1. Take fillets of fish, wash and pat dry with a kitchen towel. Keep aside. I used tilapia or mojarra, as they call in Spanish but you can use any fresh water fish which is skinned and boneless. 

PanGrilledFish1

2. In a bowl place fish fillets and rub them on both sides with garlic powder, salt and black pepper powder. You can even use minced garlic if you cannot find garlic powder. I prefer garlic powder because it becomes easy to rub it.

PanGrilledFish2

PanGrilledFish3

3. Spread little olive oil and toss in some red wine. If you want to cook without wine you can easily ignore this. Squeeze in juice of a lemon and mix gently.

PanGrilledFish5

PanGrilledFish7

4. If you like to make it hot you can add red chili powder. Also chop some fresh parsley and mix it in the marinade. Nothing tastes like a fresh sprig of parsley but if you cannot lay hands on it you can always use a dried parsley herb.

PanGrilledFish8

PanGrilledFish9

5. Keep the fish in marinade to sit for ten minutes.

PanGrilledFish10

6. Now in a flat bottomed large pan pour some olive oil and let it become hot (if the oil isn’t hot the fillet are likely to break). Once the oil is hot place two fillet at a time, discarding the liquidy marinade . You can even add couple of capers for added flavour. Capers and Fish always taste great together. Cook on each sides for 2 minutes each as fish doesn’t take much time to cook. Also if the fish is overcooked all its moisture is lost and it becomes very tasteless.

PanGrilledFish11

PanGrilledFish12

7. Transfer the cooked fish in a serving platter and in the meanwhile in the same pan melt some butter and add some lemon juice to it. Now, generously pour this lemon butter sauce on your fish for that divine flavour.

PanGrilledFish15

Serve it with salad or roasted potatoes. Enjoy!

PanGrilledFish_Featured1 

[yumprint-recipe id=’19’][whohit]GrilledFish[/whohit]

Casserole-Eggs_Featured2

I tried this recipe in Mexico in a very popular restaurant over a breakfast rendezvous with my friend Teresa. Oh! by the way its her birthday today! This blog is dedicated to her. 🙂 Coming back to the topic, the recipe was simple yet fantastic. Although I am not a huge fan of tortillas, but they tasted so good with them. I decided to make them at home using my wisdom (yeah I am also laughing while writing this :P). It has a Mexican blend of Chili Poblano, Queso Panela,White Onions and Mushrooms. Oh these are known as Casserole Eggs and in Spanish Huevos en Cazuela. Usually, casserole recipes are oven made but I made my version of this recipe on stove top which is equally good. If you can lay your hands on Chili Poblano give it a try today!

Directions:

1. Wash, roast and peel Chili Poblano and cut into bite size pieces. (Learn How to Roast and Peel Chili Poblano?) Set aside.

2. In a wok pour little oil and sauté onion still they become translucent . Add roasted pieces of chili poblano.


CasseroleEggs12


CasseroleEggs13


3. After sautéing chili add mushrooms and black olives, both drained. If using fresh mushrooms, you can saute them a little longer till they release their water. I preferred to use canned mushrooms and olives. Sprinkle some salt and black pepper.


CasseroleEggs14


CasseroleEggs15


4. Break in the eggs and mix them evenly with rest of the sauteed vegetables.

CasseroleEggs16
5. If you like spicy food, you can even sprinkle some red chili flakes. Lastly, add cubed queso panela or paneer and mix well.


CasseroleEggs17


CasseroleEggs18


Transfer to a serving bowl and serve with toasted tortillas or bread.

Quick Rava Idli, Wrapped French Toast, Soya Veggie Vermicelli, Rava Pizza Bread ,Italian Frittata, Shahi Poha, Blueberry Buttermilk Pancakes. Apple Cinnamon Pancakes, Eggless Walnut Pancakes.

Casserole-Eggs_Featured1


[yumprint-recipe id=’8′]Sending this post for:

Recipe-Contest-Logo

[whohit]CasseroleEggs[/whohit]

Beaten Rice or Pohe as they are called in Marathi makes an interesting and healthy breakfast or quick snack. My father is very fond of pohe. I remember a normal evening in my house where my Father would be sitting on his porch. My Mom would ask him if he would like to have his tea. And with a spark in his eye he will say ” It will be great if chai is accompanied with pohe”. And in no time comes a platter of pohe with namkeen bhujia sprinkled on top along with raw onions, freshly chopped coriander and hint of lemon.

Well, back at home that is still the regular evening snack. I guess some tastes do not change. I call this recipe “Shahi” or “Royal” because it is cooked with dry fruits instead of just vegetables. You can vegetables and dry fruits both.

Directions:
1. In a colander put the beaten rice and run it under cold water. Move it with your fingers gently so that the entire rice is soaked in water for a minute or so. Keep aside and let the beaten rice become soft and excess water drains out.


ShahiPoha3


ShahiPoha9


2. In a pan pour oil and add cumin seeds and mustard seeds. As they begin to splutter add fresh Kaddi Patta or dried. Keep your flame on medium low for you would not like to over toast your seeds.

ShahiPoha5
3. Add Cashew Nuts, Almonds, Raisins and Peanuts and toast them for a minute . You will notice the raisin has swollen and dry fruits are acquiring colour.

ShahiPoha6
4. Add chopped  green chilies and onions and saute till they have become tender and translucent.

ShahiPoha7
5. Add Salt, turmeric powder and red chili powder and stir well.

ShahiPoha8
6. Add soaked beaten rice and mix well to coat all spices.


ShahiPoha10


ShahiPoha11


7. Transfer to a serving plate and garnish with freshly chopped raw onion, chopped coriander leaves, namkeen bhujia and a dash of lemon juice.

You can enjoy other hearty breakfast recipes on The Secret Ingredient: Quick Rava Idli, Mexican Style Casserole Eggs, Wrapped French Toast, Soya Veggie Vermicelli, Rava Pizza Bread ,Italian Frittata, Eggless Walnut Pancake, Apple Cinnamon Pancakes, Buttermilk Blueberry Pancakes.


[yumprint-recipe id=’7′][whohit]shahipoha[/whohit]